Browsing the archives for the baking tag.

I’m a Sucker for Apothica (plus Banana Bread, Rolo Cookies and Scrapbooking Paper)

Crafty, Domestic, Healthy, Pretty

I was pretty proud of myself with today’s updates for you. I added some really amazing Rolo Stuffed Chocolate Chip Cookies to the Domestic section, then wee little Post It Packages from scrapbooking paper (which are really, really cute, I have to say) in the Crafty section and I even managed to get my Deceptively Delicious Banana Bread post up in the Healthy section – all long before my self inflicted deadline. Then I got to the Pretty section, and there are a couple of hair tutorials I was going to post, but I’m not too happy with the photographs so I decided to do a Window Shopping post on Apothica instead. Oh boy. I got sucked in. I adore makeup and shiny things and girly colors (and even matte things and dark colors) and before I knew it, I was almost late to post this!! Ack! Way to be distracted by shiny things, May.

Moving on.

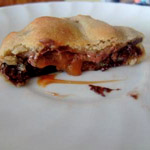
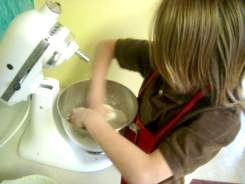
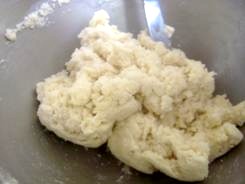
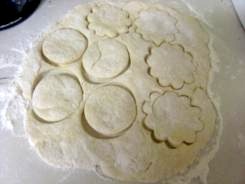
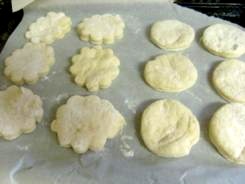
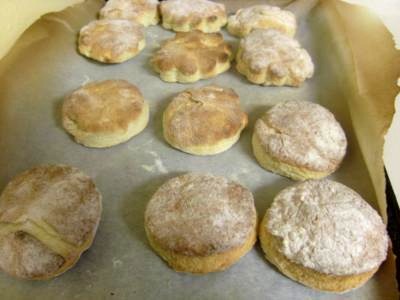
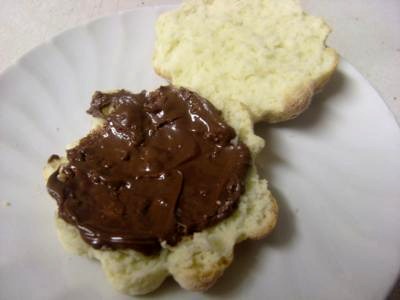
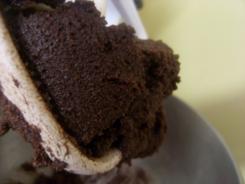
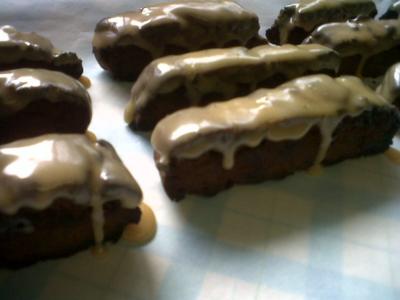
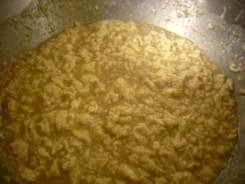
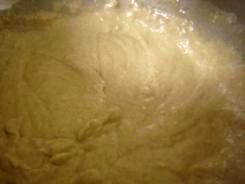
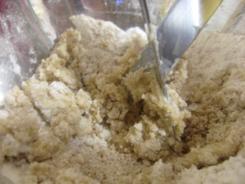
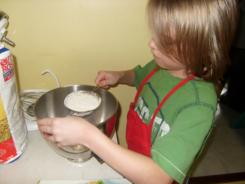
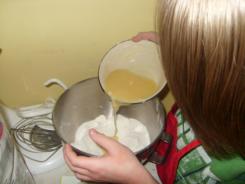
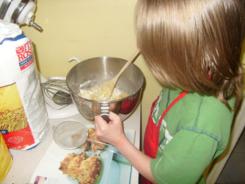
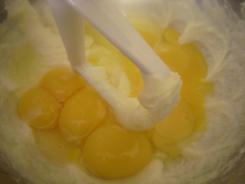
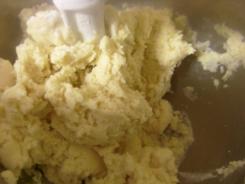
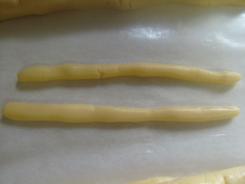
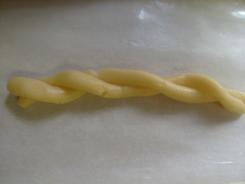
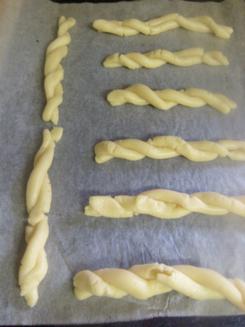
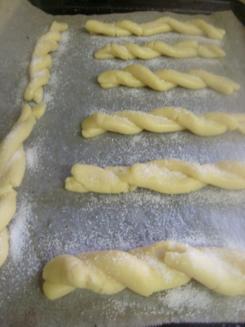
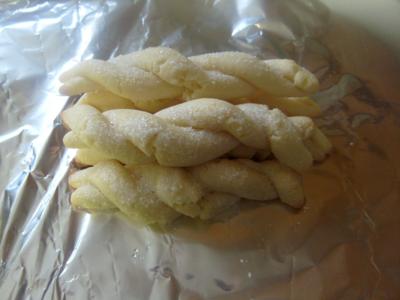
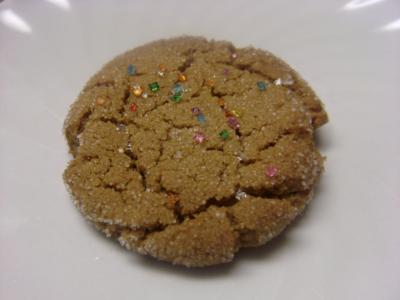
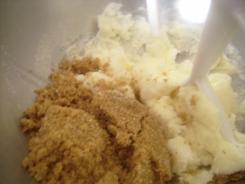
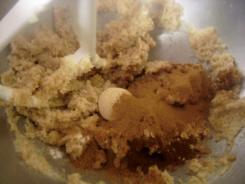
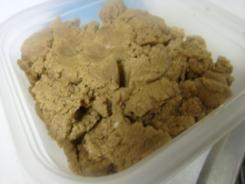
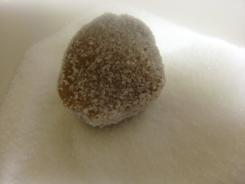
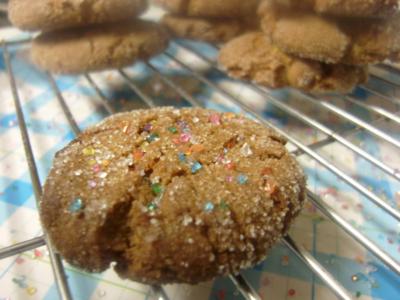
These cookies are a lot easier to pull together than they seem but so so so much yummier than photos can possibly get across to you. Imagine. It’s a chocolate chip cookie, which is already pretty great and then BAM, you’re hit with a mouthful of caramel. Right?!
This is the post that assisted in making me late today. Apothica is now accepting PayPal and for me, that’s cause to celebrate! Lipglosses that are so shiny they rival MAC’s Lipglass and shimmering face powders so pretty they’re right up there with Too Faced’s Candlelight Powder. Color me in love.
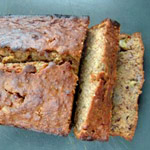
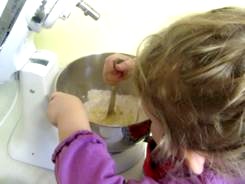
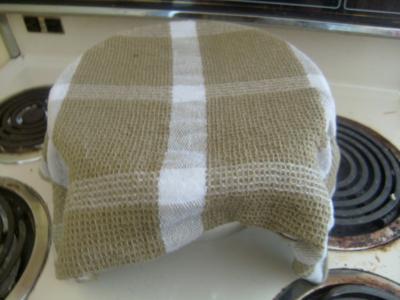
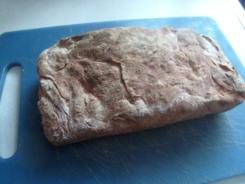
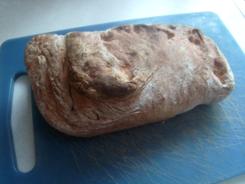
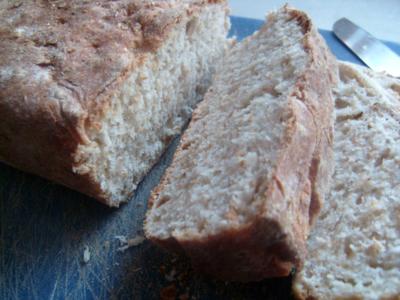
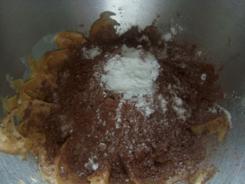
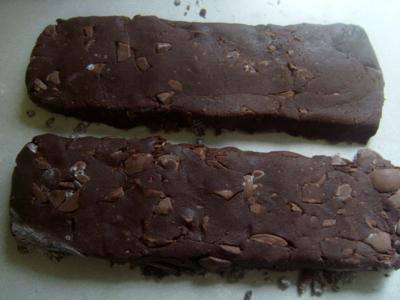
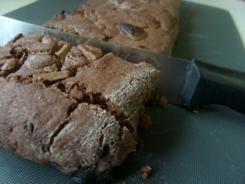
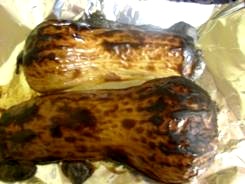
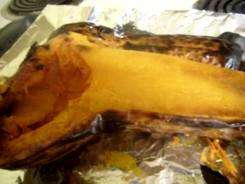
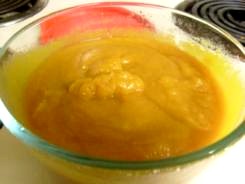
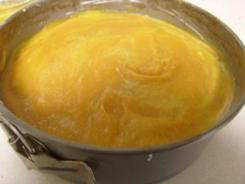
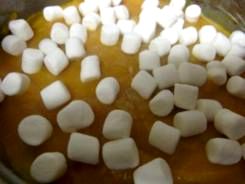
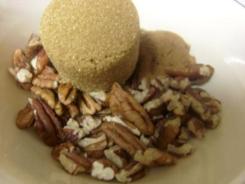
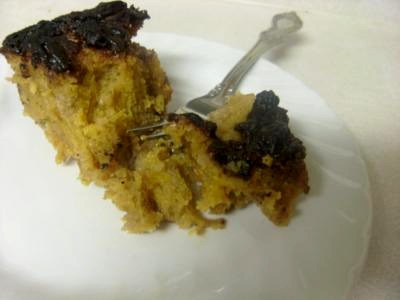
This banana bread tastes just like banana bread! So what? So it’s made with pureed cauliflower! Hello serious vitamin boost with no questions asked!
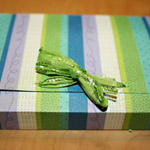
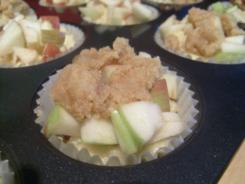
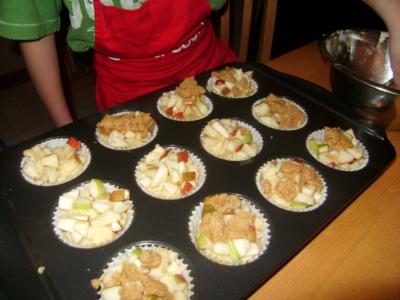
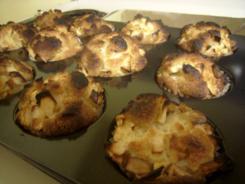
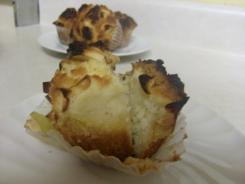
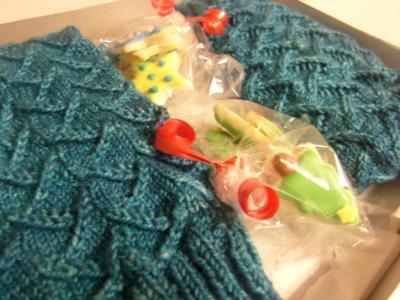
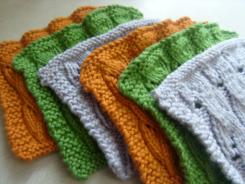
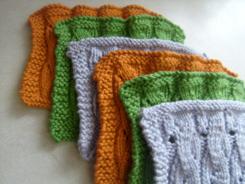
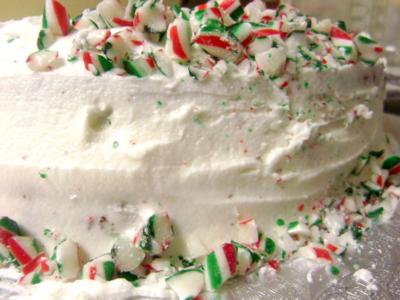
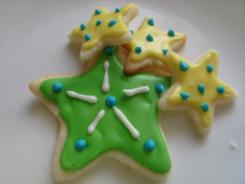
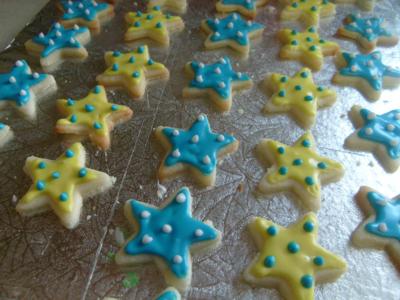
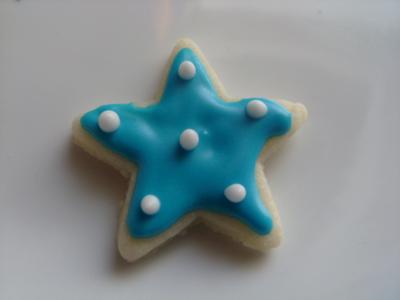
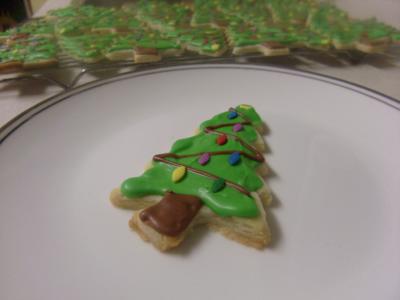
This was an end of school year gift for the hard working secretary at my kids’ school. All elementary school secretaries work hard, I have on doubt, but they so often are overlooked when all the teachers get well wishes and mugs!

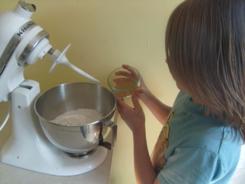
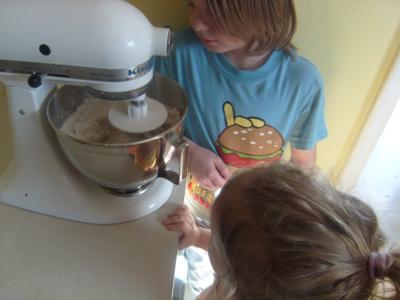
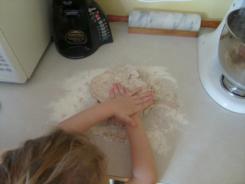
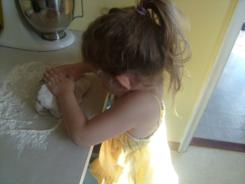
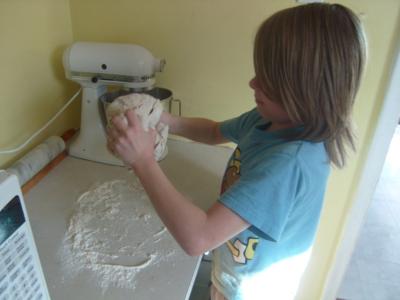
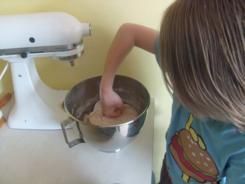
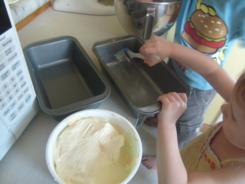
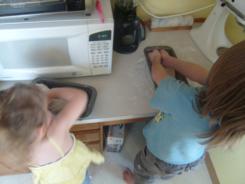
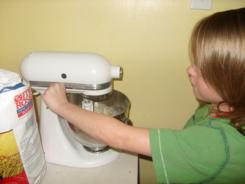
I would love to get some photos up of my new kitchen, but every time I think to do it there is something more pressing that needs to be done. The whole fridge to sink to oven kitchen work triangle is great in this house – for sure the best and easiest I’ve ever had. My husband has serious issues with clutter so I try to hide most of my kitchen power tools and this kitchen has decently deep cabinets so my blender, food processor, bullet, slow cooker, etc are all tucked away. At first I thought it would be a pain to pull stuff out when I wanted to use it, but as long as all the cabinets are kept tidy (so far, so good) I just grab the gadget I need when I need it. It also frees up space for rolling out dough or cooling things on racks. I’ll put it on my to do to get pictures of the kitchen today so I can have them up tomorrow.

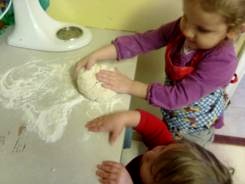
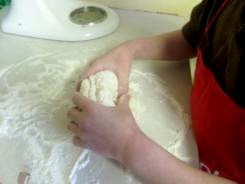
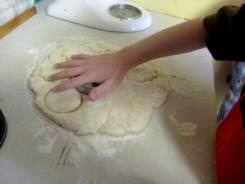
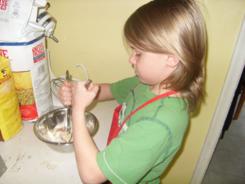
I promised Wee One #2 that today would be a crafty day. At the end of the school year, her report card was as perfect as a report card can be without your child being an alien. So we told her she could choose her ‘passing gift’ (who came up with that phenomenon anyway?!) and she chose a book on learning sewing crafts, Made By MeChildren's Crafts & Hobbies Books), a sewing basket with the essentials and fabric. She picked out some from Fabric Closet and tulle in 3 different colors from Fabricland. Her favorite thing so far has been embroidering and today she wants to attack a tshirt for the first time, so far we’ve stuck to plain squares of fabric to practice on. Wish us luck with this little project!

No Comments

Baking with Kids – Scones

Domestic, Kids

In this post, I’m participating in Tempt My Tummy Tuesdays, Tuesdays at the Table, Tuesday Night Supper Club, and Hearth ‘n Soul.

This is the third recipe the kids have made themselves and this one turned out the best yet! They’re really getting into it and embracing the concept of testing out every recipe in the book. It’s nice to see them working together and I’ve been impressed with their kitchen skills so far. Thumbs up for the So Very Domestic wee ones! 😉

Scones – from Baking With Kids (p. 13)

2 cups flour
4 tsp baking powder
pinch of salt
1/4 cup sugar
4 tbsp butter
1 egg
about 1/2 cup milk


First mix the flour, baking powder, salt and sugar. Then cut up the butter into small pieces and plunk them in. Use your hands to crumble the butter into the flour mixture until it looks like small crumbs.


Now, crack your egg into a measuring cup and add just enough milk to make 2/3 cup total. Then make a well in your dry mixture and add almost all of your milk + egg liquid.


Use a butter knife to mix the liquid in, until it becomes a soft dough. If you need to, add more of your liquid bit by bit.


Once it looks right, plunk it on a lightly floured counter and knead it. Here, even Wee One #3 got into it! So cute!!!


After both kids had a turn really kneading it, they pounded it down a bit and flattened it out so cut their scones from the dough. Wee One #1 chose a standard circle cutter, and naturally, Wee One #2 chose a ‘princess flower’.


Into the oven they went for 11 minutes at 425! Tah-daaaah!

They honestly were as good as they looked. Wee One #1 tried one with butter, then once he knew he loved it he had another with Nutella! Wee One #2 stuck with her raspberry jam, and the littlest one had a small piece of each!

Fun and simple recipe for kids. Again, all I did was turn the oven on and off and put in and take out the cookie sheet!

,
6 Comments

Baking with Kids – Basic Bread

Domestic, Kids

This is the kids’ second recipe from this book so far this year and they’re having a fun time with it. Wee One #1 has been helping in the kitchen since he was old enough to push a chair up to the counter and mix so he has lots of practice. Wee One #2 has been baking for about as long, but is 5 years younger.

Anyhoo, they’ve both helped bake all kinds of neat things, but they’ve never made plain old bread before, so here we go, on their second recipe all by themselves – they made bread!

Basic Bread – from Baking With Kids (p. 58)
5 cups white or whole wheat bread flour (or 2 1/2 cups each)
1 1/2 teaspoons salt
2 1/2 teaspoons active dry yeast
2 cups lukewarm water or milk


First they added the flour and the salt and the yeast (we used half white and half whole wheat flour). Then I put the hook attachment on the mixer and they poured in the warmish milk.


Taking the bread out of the mixer to get messy and knead it on the counter was the highlight of today’s bread baking session! They really got into it.

Then we covered it with a sort of damp towel and put the bowl on the oven (we turned the oven on super low to give a little heat to the room and bottom of the bowl), and then we waited about an hour.

Once the hour was up and the dough had done it’s thing, they took it out again and punched it down (as per the hilarious instruction).


Wee One #2, who is my official pan-butterizer, set to greasing the pans. She’s pretty serious about it. If she happens to come into the kitchen when I’m baking without her (like say first thing in the morning and she’s barely awake) she mortally offended I’d butter my own pans.


They decided that instead of baking a single 1lb loaf, they wanted to each have their own loaf. Which, of course, changes the baking time and the final look, but they were in charge of this kitchen venture, so two 1/2lb loaves it was.


You know what? Their loaves came out terrifically! They were obviously on the short side, lol, but very, very good! This is a great recipe for anyone to make bread for the first time.

This house feels like the perfect house for kids to cook and bake in because one of the counters is really low! My Kitchen Aid lives there for easy access. 😉

1 Comment

Peanut Butter Brownie Biscotti – Cookie #1

Domestic

In this post I’m participating in Social Parade.

I don’t mean that as in, these peanut butter brownie biscotti are the #1 cookie, I just mean that they’re the first official cookie in my Cooke Year 2011 series. Yes, I have a cookie series and yes, I know that’s weird.

I made these first for Christmas, but loved them and tore into them with the kids. I dunked in coffee and they dunked in hot chocolate (how cute is that?!), so I had to make more. Then my husband discovered that he liked biscotti after all, and we tore through the next batch too. The third time, I didn’t even intend to include them in our Christmas cookie tins, and I made them just for us.

Peanut Butter Brownie Biscotti – from Christmas Cookies Magazine (BHG) (p. 68)

Biscotti:
1/3 cup creamy peanut butter
1/4 cup butter, softened
2/3 cup sugar
1/3 cup unsweetened cocoa powder
2 eggs
1 tsp vanilla
1 3/4 cups flour
1 cup chopped semi-sweet chocolate
Peanut Butter Frosting:
1/2 cup icing sugar
2 tbsp peanut butter
1-2 tbsp milk


Start by mixing the peanut butter and butter with a mixer for about 30 seconds, then add sugar, cocoa powder and baking powder. Once it’s combined, beat in eggs and vanilla.

Then beat in the flour (unless you’ve got a serious mixer, you may need to switch to a wooden spoon at this point), and then stir in the chopped chocolate and you’re ready to shape the dough into loaves.

Make sure your countertop is floured and divide your dough in half. Shape each half into a 9″ long roll, and flatten them out a little so they’re about 2″ wide. Put them both on a parchment paper lined baking sheet, 3″ apart and bake for 20 minutes. Cool for 1 hour.

Slice each baked and cooled log into 1/2″ thick slices (16 pieces, give or take a couple), arrange on a parchment paper lined baking sheet and bake them for 5-10 minutes more, flip them, and bake for another 5-10 minutes. Sidebar; please note that much like how ‘Tres Leches’ cake (translation: three milk cake) has four kinds of milk in it, ‘biscotti’ (translation: twiced baked) is actually baked three times…sorry for digressing. Ahem, moving on.

Let them cool on a wire rack while you make the icing.


To make the icing, stir together 1/2 cup icing sugar, 2 tablespoons peanut butter and about 1 or 2 tablespoons of milk – just add enough to make the icing the right consistency for dipping. I just dunked them in a little, upside down and set them aside to dry.

These froze very well (lasted 2 weeks in the deep freeze before we raided it) and according to the recipe, they can be frozen for 3 months and soak up my Italian roast like no other. 🙂

Hopefully, anyone here from Social Parade likes my biscotti!

Smart and Trendy Moms

16 Comments

Deceptively Delicious – Coffee Cake

Domestic, Healthy

In this post, I’m participating in Tempt My Tummy Tuesdays, Tuesdays at the Table, Tuesday Night Supper Club, and Hearth ‘n Soul.

I mentioned a few days ago that I’d be cooking and baking my way through Jessica Seinfeld’s Deceptively Delicious cookbook this year, and I’m not making you wait! Her butternut squash infused coffee cake was my first project, and it was fun!

Every recipe in this book sneaks in a nutrient packed veggie or fruit. They’re all pureed ahead of time (though there’s no reason you can’t just make the puree before you make the recipe). So before we get into the recipe, let’s talk about pureeing the squash in the first place, shall we? I swear, it’s a cinch!

Just cut the stem off, cut the squash in half lengthwise and scrape out the seeds. Put them fleshy side down on a baking sheet and roast them naked for about 45 minutes. Then just scoop the flesh out and pop it in your blender or food processor till it’s baby food! Tah-dah!


Coffee Cake (with butternut squash) – from Deceptively Delicious (p. 61)

Batter:
1 cup firmly packed light or dark brown sugar
4 tbsp Becel
1 1/4 cups low fat buttermilk or nonfat milk
1 cup reduced fat sour cream
1 large egg
2 tsp vanilla extract
2 cups whole wheat flour
2 tsp baking powder
1/2 tsp cinnamon
1/2 teaspoon salt
1 cup butternut squash puree
1/2 cup mini-marshmallows
Topping:
1/2 cup chopped pecans or walnuts
1/4 cup firmly packed light or dark brown sugar
2 tsp cinnamon


I’ll warn you right now that after following the directions to beat the sugar and the butter till creamy and then add 1 cup of the buttermilk, sour cream, egg and vanilla it did not look pretty (left). However, just like that vanilla cake I made a lot of last year, once I added the flour, baking powder, cinnamon and salt it started to look a whole lot better (right).


Then comes the super weird part. Pour half the batter into your buttered or sprayed cake pan (9″ will do it) and smooth out the top. Now, spread your cup of squash puree over the batter. I know, right? THEN, sprinkle with the mini marshmallows and, as you can see, half a cup doesn’t totally cover the cake but I don’t think it’s supposed to. Now, take the rest of the milk (1/4 cup) and the other half of the batter, mix them together and then spread over the squash filling and marshmallows.


Now mix your topping ingredients together and sprinkle that over the batter. Bake at 350 for about 45 minutes.

My crust looks burnt, but it’s not bad at all. The photo in the book has a dark looking crust as well. This cake is probably the heaviest cake (for it’s size) that I’ve ever made, very dense – and also very good. I like squash anyway, but you can’t taste it at all.

P to the S, your leftover butternut squash puree can be frozen for months or made into soup. I looooove butternut squash, and at just 63 calories a cup, if you’re careful how you prep the soup it can be a really filling and healthy low cal snack!

,
2 Comments

Baking with Kids – Apple Crumble Muffins

Domestic, Kids

This recipe kicks off our year of baking through Baking With Kids. I guess I should say ‘their year’ of baking though this book. I have promised to be there for any and all things the cookbook tells them must be done by an adult, but otherwise it’s totally their thing.

Wee One #1 started with the very first recipe in the book, Apple Crumble Muffins.

Apple Crumble Muffins – from Baking With Kids (p. 10)

Muffins:
2 cups all-purpose flour
2 tsps baking powder
7/8 cup superfine or granulated sugar
1 unwaxed lemon
10 tbsp unsalted butter
2 extra-large eggs
1/2 cup whole milk
2 medium apples
Topping:
4 tbsp unsalted butter, chilled
1/4 cup coarse brown or superfine sugar
1/3 cup all-purpose flour
1/2 cup sliced almonds, ground (optional)


First, make the crust by mixing all of the topping ingredients together. Set that aside to sprinkle on later.

Then sift your flour into the mixing bowl, add sugar and mix with a wooden spoon. Grate the lemon zest (being careful to avoid the white pith), mix in and make a well in the middle of the ingredients. Melt the butter (either in the microwave or stovetop) and pour into the well. Then break the eggs into a small bowl and mix them with a fork till they’re broken up. Add the eggs and milk to the well and mix with a wooden spoon. Or in our case….


…mix with a wooden spoon until it becomes really tricky, and then turn to the trusty Kitchen Aid!

Once all the ingredients are combined, spoon the batter into your paper muffin cup lined tray. Using all of the batter, and almost filling the cups, you will have 12 good-sized muffins.


Now, chop up the apples and sprinkle the pieces over the batter. We left the skin on for a little burst of fiber, and we had about half an apple’s worth of pieces left over.


Now, on top of the apple pieces, sprinkle the topping mixture you made earlier! He tried a spoon, but soon realized that clean hands were much, much easier to sprinkle with!

Now bake them at 375 for about 30 minutes. These were done in 20, in my crazy supernova oven. 😉


I helped just the brown sugar and the baking powder, and that was only because my containers are a little tricky to get into. This entire recipe was done by my 10 year old – aside of course from putting in and taking out the pan from the oven. He even poked a tested into the muffins to check if they were fulled baked!

The topping burnt a little, as you can see, but I think in hindsight the topping should go in a little later through the baking. Other than that, this recipe was good! The muffins are dense, and 2/3 the kids didn’t love them, but Wee One #3 loves them!

1 recipe down, 52 to go!

1 Comment

Sugary Citrus Twists

Domestic, Kids, Marriage

9 more sleeps till Christmas!! Which means there is about to be a serious baking explosion going down in my kitchen over the next week during the day, and a whole lot of knitting every night. Thank goodness for online shopping or I’d not have any actual gifts to give out!

I have a soft spot for the Robin Hood flour characters, Elizabeth and Andrew. They’re adorable and remind me, in reverse, of my Wee One #1 and Wee One #2. So I do a lot of their recipes and recently, Robin Hood came out with a new recipe booklet, The Love of Baking. Elizabeth and Andrew are painfully absent from the collection of recipes, but I can forgive them because there are a lot of fun recipes in here.

Citrus fruit and Christmas never really went together in my mind until I married into a family that always puts clementines in the stockings. I will openly admit my parents tucked a ridiculous amount of toys in our stockings as kids, sometimes candy but never clementines – or nuts or anything else like that. I mean, we always had that stuff out on trays and in bowls around the house – but it wasn’t a Christmas thing. So, since we’ve been married (11 years in the spring!), I have developed a connection between Christmas and citrus fruits (my mother-in-law puts clementines in my stocking too!) and my husband now eats clementines year round, though he still calls them Christmas oranges!

In the spirit of adopting this citurs = festive feeling, I made these for my husband and my in laws. Hopefully, they love them. If they do, I’ll make them every year!

Sugary Citrus Twists – from The Love of Baking

1 cup sugar
1 cup butter
2 tbsp freshly grated lemon rind
2 eggs
+ sugar for sprinkling
4 egg yolks
1 tsp vanilla extract
4 cups flour
1 tsp salt

Beat sugar with butter and rind until fluffy, beat in the eggs, yolks and vanilla until well mixed. Add the flour and salt. Beat until blended.


Flour your counter a bit and knead the dough – but don’t over handle it! Shape the dough into two 10″ long logs. Mine were so long I couldn’t get a decent photo. Slice these into 12 pieces each and I found it worked best to roll each of those pieces into a little ball and set them aside till I was ready for them.

Then, working with one dough ball at a time cut it in half and roll each half into little ropes, about 4″. The Robin Hood recipe says to roll the whole thing into an 8″ rope and cut that in half, but I found this to be a lot easier.


Then make an X with the two ropes and twist them around each other! Simple and cute! Set it on a parchment paper lined baking sheet and do the rest!


Sprinkle with sugar before you pop them in the oven – 8 minutes or so at 350.

*This recipe is great to make the day before decorating sugar or butter cookies, because you have 4 egg whites for the royal icing.*

Now, if you’ll excuse me. I’m off to bake gingerbread cupcakes, craft with the kids and knit my little fingers off. <3

No Comments

Work in Progress Wednesday

Crafty, Domestic, Kids, Small Town

In this post, I’m participating in three WIP Wednesdays; Freshly Pieced, Tami’s Amis and Musings from the Fishbowl.

I am aware that it’s already well into the evening on Wednesday, but I really wanted to check in with my Christmas knitting progress and still blog about some tasty creations in the morning. 🙂

This morning was Wee One #2’s last day of school before Christmas vacation, so I packed up her teacher’s Socks of Kindness, that I blogged about earlier. I also packed up a few of the mini stars and tree cookies I made last weekend for her kids (she has three also), but she wasn’t there today! Bummer!! Hopefully she checks in before the school is officially closed for two weeks (kindergarten is only a few days a week out here). Anyhoo, here’s her little package!

Since my last knitting post a few days ago, I’ve finished a stack of facecloths and one mitten. I posted about the first two facecloths here. They’re all knit from the same pattern, Mock Cable Facecloths, in three colours of Shine Worsted. Clementine is pretty obviously the orange pair, Wisteria is the light purple and Green Apple, of course is the green. I really adore this yarn and will be using it for more facecloths for the fam and for gifts!


I’m on a serious Knit Picks bender lately, this time using Wool of the Andes Worsted in Dune Twist. These mitts are for the kids’ school bus driver. He’s a new addition to our list of gift recipients since we have moved out to the woods! He’s a very nice guy and the kids always say that he’s not a yeller! I’ve never taken the school bus to school personally, but I always heard about mean school bus drivers. Glad to know he isn’t one! Also, wee one #2 tends to move slowly in the snow and he never gives her a hard time about waiting for her so he deserves something special. He’ll get a tin of treats too of course!


I will be baking a whole lotta cakes and cupcakes in the next three weeks to catch up on my self-inflicted cake challenge. Which may prove extra tricky since we’re away for 5 days, but I can do this! I made a little dent tonight with cake #45, Candy Cane Cake. No adult could stomach this. Maybe Andrew. Maybe. Don’t take that as a challenge, I even tried it in milk and the peppermint still knocked me on my butt.

WIP Wednesday at Freshly Pieced
3 Comments

Gingersnaps

Domestic

Oh my goodness more ginger cookies! I know! I can’t help it – it’s December. This is the third ginger-themed cookie this week and I could not possibly be happier. Don’t worry, I’ll let up after Christmas. 😛

It depends entirely on who you learn the recipe from, or which way you prefer them yourself, but gingersnaps tend to fall into one of two categories; so hard they’re essentially a dunking cookie or so soft they’re totally meant for Santa and a glass of milk. (On that note, can we leave Santa a mug of Starbucks coffee, btw? Is that socially acceptable?) This recipe can be either. That’s less magic and more in baking time and dough placement.

Gingersnaps – from Christmas Cookies Magazine (Better Homes And Gardens, 2009)

1/2 cup butter, softened
1/4 cup shortening*
3/4 cup granulated sugar
1/2 cup packed brown sugar
1 tsp baking soda
2 tsp ground cinnamon
2 tsp ground ginger
1/4 tsp nutmeg
1/4 tsp ground cloves
1/4 tsp salt
1 egg
1/3 cup molasses
2 cups flour
1/4 cup coarse white or coloured sugar

Beat butter and shortening (if you even use both, lol, I just sub Becel for both and it always turns out just fine), till combined. Add both sugars, baking soda, cinnamon, ginger, nutmeg, cloves and salt. Don’t forget to scrape the sides of your bowl!


Beat in the egg and molasses. If you’ve got a stand up mixer you can probably add all of the flour, if not add as much as you can and then move on to mixing the rest by hand with a wooden spoon. Pop this into some tupperware and let it chill in the fridge for a couple of hours.

Use a spoon to scoop out the dough and shape into balls, then roll the balls in sugar. Crisper, dunking-style gingersnaps should be rolled into (heaping) teaspoon sized balls and mashed down with a glass. Softer, chewier gingersnaps should be more like tablespoon, and not squished as much as the small ones. To be on the safe side, put them about 2″ apart on your parchment paper lined baking sheet.


Bake them for about 8 minutes at 350. More for crispier cookies and less for softer ones, naturally.

I love the crackle on the top of these cookies and as you’re so painfully aware this week, I adore the smell too!!

1 Comment

Parade of Frosted Sugar Cookies

Domestic, Kids

In this post, I’m participating in Foodie Friday, Friday Potluck, and Food on Fridays

Sugar cookies are amazing because they have got to be the most versatile treat when it comes to being festive with themes. You can cut them into any shape you can imagine and then decorate them however you want. The only trouble is, unlike tasty drop cookies, you can’t just mix them, bake them and walk away!

I’m repeating this recipe for the eleventy billionth time here, but at least it’s organized, right? Really, this post is all about the dramatic photos.


Basic Sugar Cookies

1/2 cup + 6 tablespoons unsalted butter, at room temperature
3 cups + 3 tablespoons all purpose flour
1 cup caster sugar
1 large egg, lightly beaten
1 tsp vanilla extract

Cream butter, sugar and vanilla. DO NOT OVERMIX. Beat in egg till well combined and not a second longer. 😛

Add flour and mix till a sticky dough forms. Kneed into a ball and divide into 2 or 3 balls. Roll out each ball between two sheets of parchment paper for about half an hour. Preheat to 350, then take it out, peel off the first layer or parchment paper and slice it into strips like french fries!

Basic Royal Icing
2 tsp lemon juice
2 egg whites
3 cups icing sugar

Beat your lemon juice and egg whites together for a little bit before adding your icing sugar. You’ll want to thin it out a little for spreading (add drops of water till it’s the consistency you’re after), or add a little more icing sugar to make it that seriously thick stuff you typically find on gignerbread people in bakeries. I find this recipe just needs the smallest little touch of water and it’s perfect for spreading. It hardens just right and has a lovely shine.


The fun thing about this icing really is the colours! I used paste food colouring for vibrant colours (and because it’s all I know – I grew up with a cake decorator)!

I first made these trees about a week ago, and tucked them away in tupperware for my massive decorating weekend. That weekend turned into another sugar cookie extravaganza so by Tuesday I had over 200 cookies to frost. Thankfully, frosting the cookies is one of my fave cookie activities!

Grand total sugar cookies to package up with the others; 22 stars, 22 trees, 44 small stars, 33 small trees and 11 mittens. Honestly? I loved every second of them. There were even more, but every time one broke, I had to give the kids the broken one – and the rest of the set lol!


3 Comments
« Older Posts
Newer Posts »