Browsing the archives for the baking tag.

Orange Creamsicle Cake

Domestic

The second cake of the year! It was actually a happy birthday cake for my friend Brigid! Happy Birthday, Brigid!

It’s wonderfully simple and could not possibly be easier to pull together. No really. It has three ingredients – 4 if you include the orange zest – you really should, it makes it more legit I think. 😉

You know how I feel about using a cake mix as a base, or anything that comes from a box like that when you can just as easily make it yourself from scratch. I keep being told that some recipes (like this one) need the cake mix and it wont work out as well if it’s done from scratch. This usually infuriates me, but I’m trying to pretend it doesn’t bother me relax about this stuff a bit.

If you’re counting calories, this cake is a pretty good treat. If you slice it into 9 pieces, each slice is about 200 calories.

Orange Creamsicle Cake

via Better Recipes

1 box white cake mix (see, this bugs me, is ‘white’ a flavor??)
6oz plain Greek yogurt
1 cup orange juice
zest of 1 orange

This is one of those ‘dump it all in one bowl and you’re done’ type cakes, which, hatred for cake mixes aside, is actually really helpful. Preheat to 350 before you get started.

Orange Creamsicle Cake

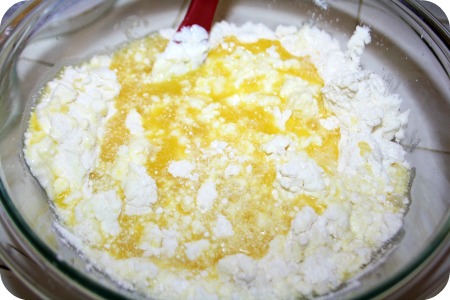
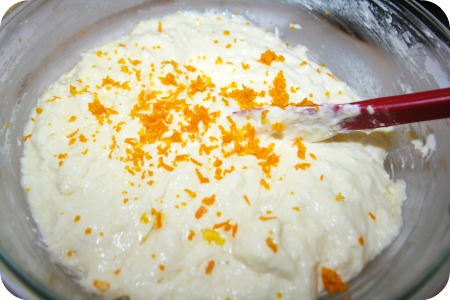
I mixed the yogurt and the cake mix together first, then added the orange juice and once that was well mixed I folded in the orange zest. Bake for about 30-35 minutes.

Orange Creamsicle Cake Orange Creamsicle Cake

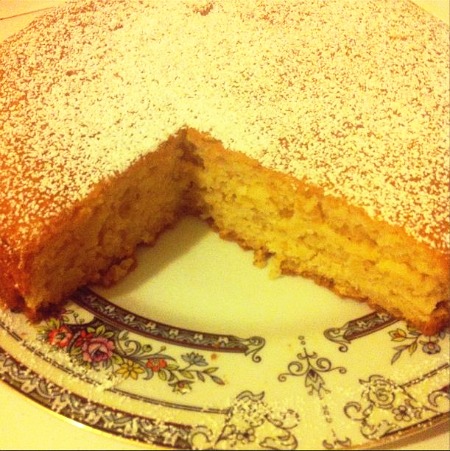
I keep taking pictures of my finished kitchen accomplishments with my phone for Instagram and then I totally forget to get a picture with my camera. Lame.

Orange Creamsicle Cake

This cake is really, really moist. Even the next day! It’s orangey, for sure, but not as orangey as I would have liked. If I make this again I will add more zest and maybe even some orange extract.

No Comments

Christmas 2013 Rewind

Domestic, Kids

Oh my goodness, this Christmas season really seemed to fly by faster than others have! I think it’s that this year we are involved in more activities than ever before. Several years ago, when we lived in the middle of nowhere, I felt like I had a pretty good grip on being fully present and that helps to make time feel a lot slower! I’m going to have to think about that and try to work out a way to be fully present when there is so much going on. Challenge accepted!

This holiday season I made a knitted advent calendar and it was so fun to do the activities with the kids. Some of the activities were seriously time consuming like making homemade marshmallows and some activities were especially messy like making window clings, but they were all a blast. The whole reason we do so many countdown activities with the kids is to spend time together, add to the magic of the season and stretch out the anticipation!

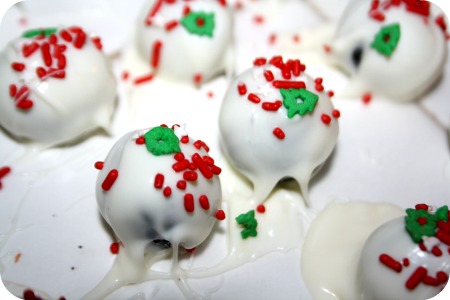
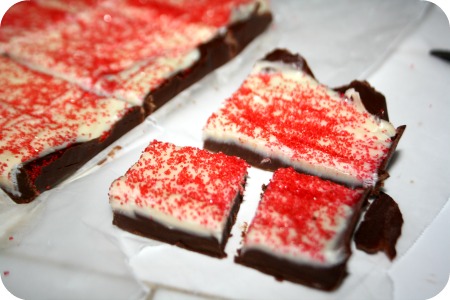
We celebrate Eastern Orthodox Christmas as well, though the focus on our ‘little Christmas’ is to make things for each other and to bake traditional Greek Christmas treats. I’ll post some of the other Christmas treats we have made between now and then (January 6) because they were all so good! This year we made peppermint fudge, Oreo truffles, a holiday version of cowgirl cookies, checkerboard cookies, English toffee, two kinds of peanut brittle (the accidental kind was voted the best), red and green velvet Ferrero Rocher cupcakes, chocolate dipped pie crust stars, and date cakes baked in tin cans with caramel sauce. Our oldest had a Jiu Jitsu tournament where he placed second, and a promotion ceremony where he moved on to his next belt! Our second had a weekend of dance workshops to prepare for her competitions next month, she danced for a fundraiser and her dance company had a Christmas party. The littlest and I were just trying to make sure everyone was where they needed to be and that we managed to have a healthy dinner on the table every night. She’s playing around in the kitchen a lot more lately and loves when she makes something she can share with her friends.

Oreo truffles peppermint fudge
checkerboard cookies peanut brittle

My husband and my sister both got me the bulk of my kitchen wish list, and I could not possible be more thankful or more excited! Aside from the glass bowls and the stainless steel measuring cups and spice rack (thank you so much guys), I got cookbooks from my two absolute faves – Bobby Flay and Ree Drummond. I am really excited to cook and bake my way through these books. I think I will start with some of The Pioneer Woman’s finger foods for New Years Eve and work on some cute mocktails. Today though, today is for knitting and relaxing and maaaaaaybe making some lemon curd, because why not?

Merry Christmas!!

No Comments

Peppermint Meringues

Domestic

Here we go, let the countdown to Christmas officially begin! We have 23 sleeps to go and my little family is packing a whole lot of Christmas insanity into this month. Our elf on the shelf has been bringing us treats and making messes since last Tuesday, in our family the elf shows up the day after we put up our tree and we’ve been putting up the tree on the same day for about 14 years now so it’s a neat addition to a family tradition.

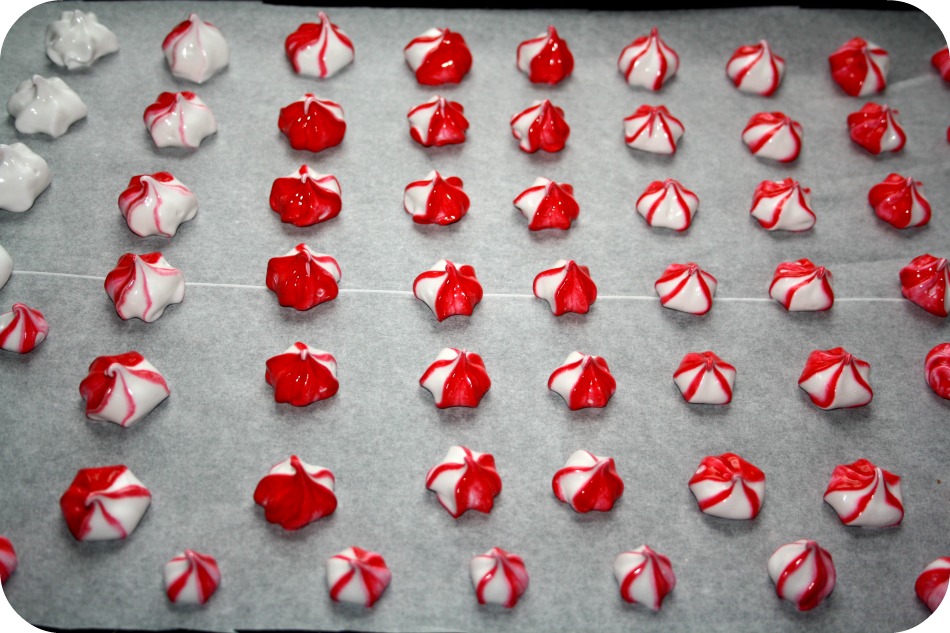
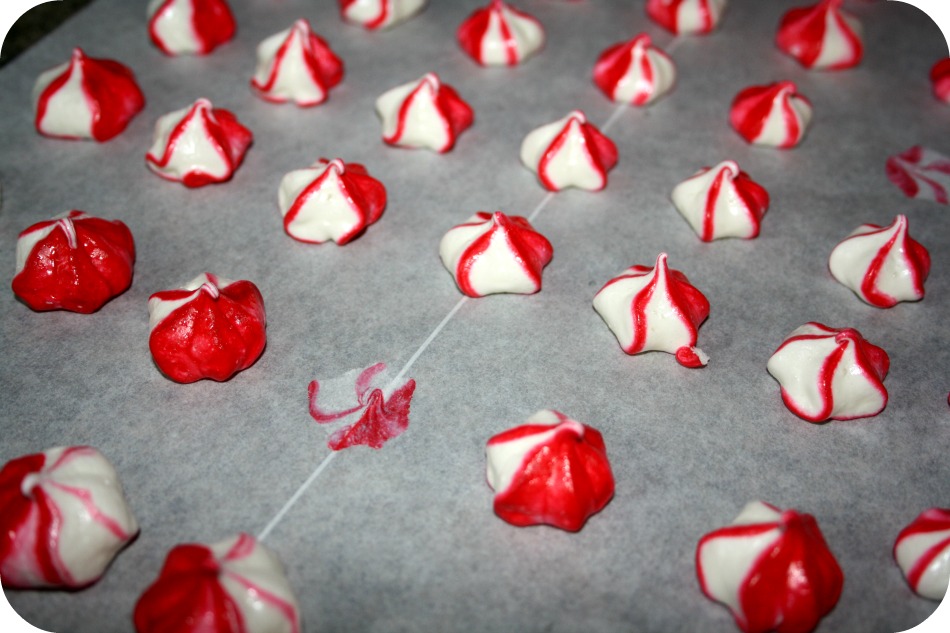
These little meringues are so simple and so good! I love how pretty and festive they look with minimal effort, and I really love how many little stars you can make in few hours! They look so pretty on cookie platters and they dress up assorted cookie tins too! I wish I knew where I got this recipe from, but I clipped it from a magazine years ago and have no idea which one. I am fairly sure it is from one of those holiday cookbook magazines by the checkout at the grocery store, probably either Good Housekeeping or Better Homes and Gardens.

Peppermint Meringues

3 egg whites
1/4 teaspoon cream of tartar
1/4 teaspoon peppermint extract
1/8 teaspoon salt
3/4 cup sugar
red paste food coloring

Peppermint Meringues Peppermint Meringues

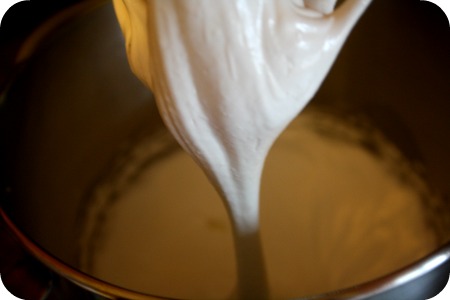
The meringue itself is fairly standard. Just beat your egg whites and cream of tartar until it magically transforms from goo into this big, billowy, fluffy cloud.

Peppermint Meringues Peppermint Meringues

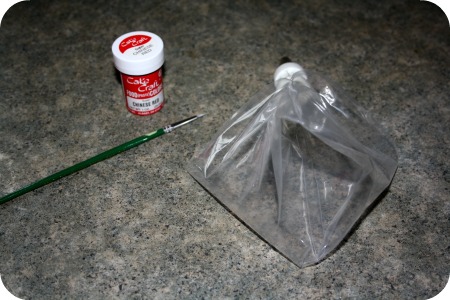
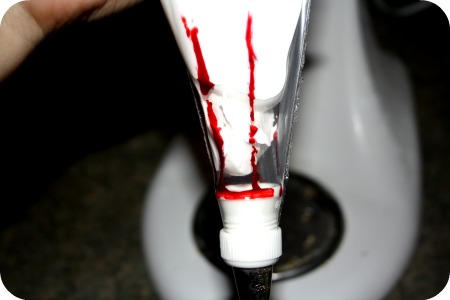
Next, prepare your pastry bag with a Wilton star tip and, using a fine paint brush, paint on four stripes of red food coloring before you spoon your meringue mixture into the bag. Then add the meringue and pipe sweet little stars on a baking sheet lined with parchment paper. Bake at 200 for about an hour and a half.

Peppermint Meringues
No Comments

Cheddar Bacon Buns

Domestic

When looking for new ideas for fancy meals (or fancy feasts as my littles call them), I almost always go straight for breads. I like to have a winning bread option at dinner because each of us can be picky about different things and while I do try hard to come up with meal ideas everyone will like, of course there are some meals that are better received by some littles than others. Thankfully, our pickiest little one loves pretty much anything to do with bread, so I always have something different ready for her.

Bread, scones, buns, rolls, sticks, whatever. Something carby with a little something extra, like cheese or bacon or like these, both!

Cheddar Bacon Buns

2 cups all-purpose flour
1/2 teaspoon baking soda
1/2 teaspoon salt
4 tablespoons cold butter
3/4 cup shredded cheddar cheese
3 bacon slices
1 cup low fat buttermilk

If you can make scones or muffins, you can make these. Simple and pretty fast but really good too!

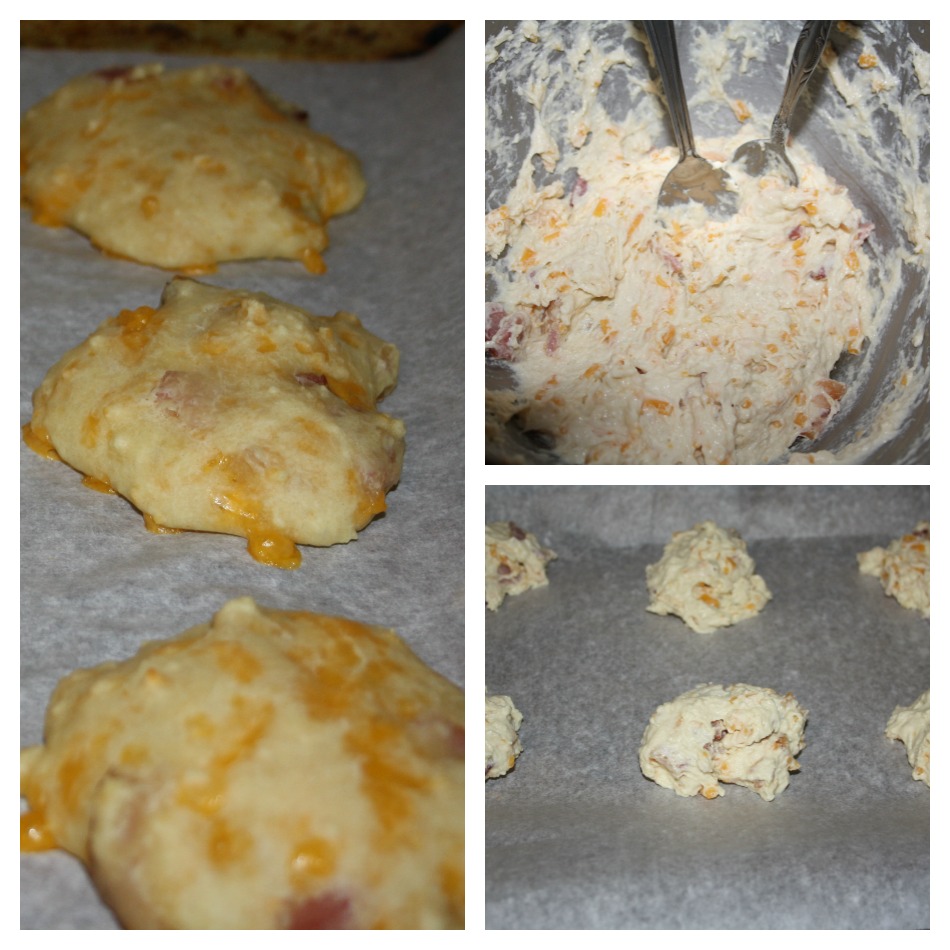
Preheat the oven to 400 and cook the bacon first so it’s ready to roll, and then chop it to bits. Whisk the flour, baking soda, and salt. Then using either a pastry cutter or two butter knives, cut in the pieces of butter until the batter looks oatmealy. Now stir in the cheese and chopped bacon, and add the buttermilk while stirring until you’ve got a sticky dough.

Place heaps of dough about 2″ apart on a parchment paper lined baking sheet. My heaps were about 1-2 tablespoons each, maybe a little more. Bake for about 20 minutes or until cooked through.

No Comments

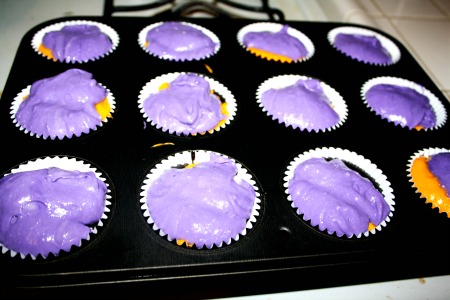
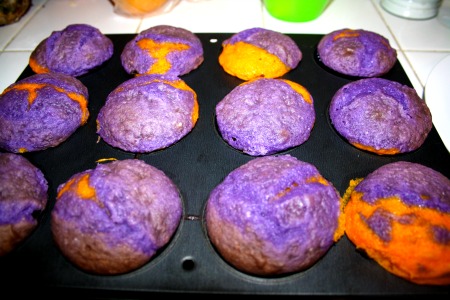
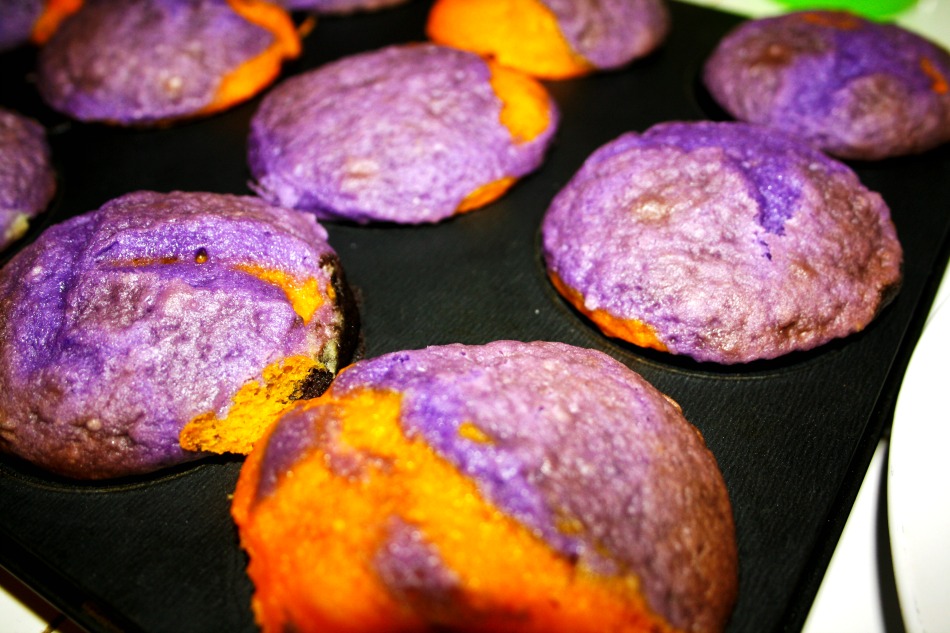
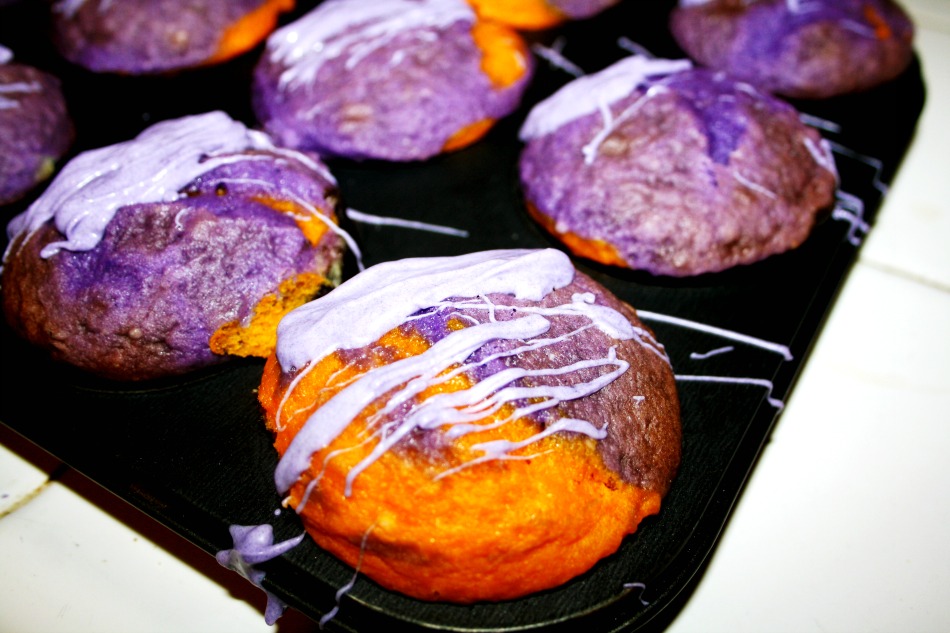
Celebrating 22 Sleeps with Halloween Rainbow Cupcakes

Domestic

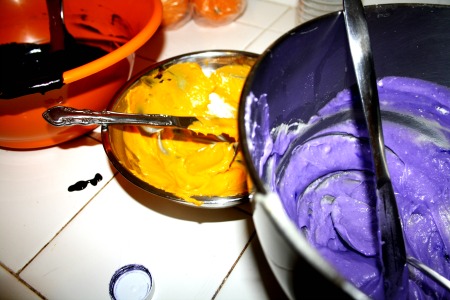
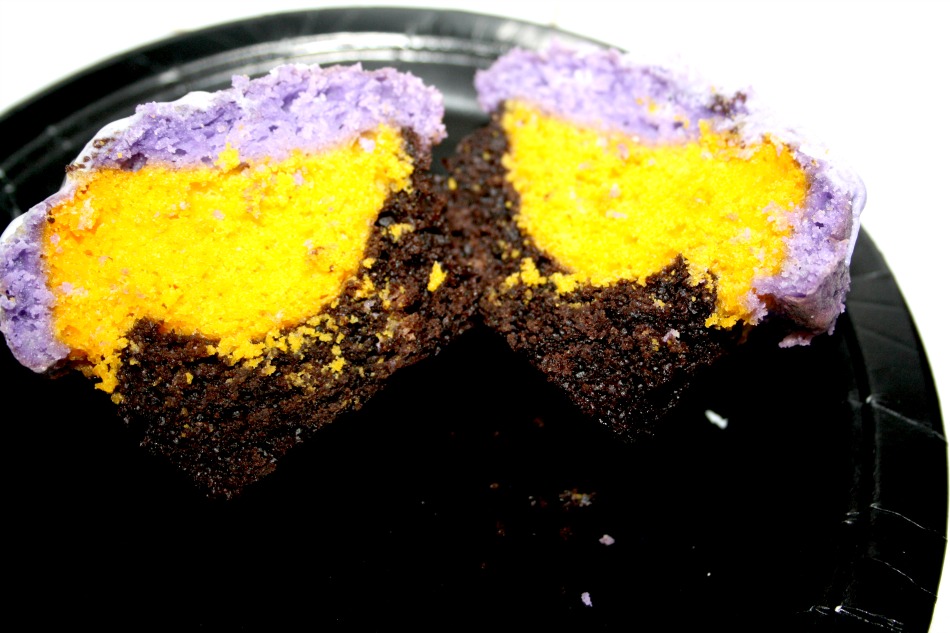
Rainbow cupcakes are so fun to do and you can make them fit any occasion. The first time I made them I used primary colors for Wee One #3’s kindergarten classmates. This time around, I used black, purple and orange. Since black mixed with white or an off white is usually gray and not actually black, we used chocolate cake for that part and vanilla cake for the purple and orange. It worked perfectly!

If you have your own favorite vanilla and chocolate recipe feel free to use those. It really doesn’t matter. I’m pretty partial to these though, and I’ve been using them both for a long time. If you are going to use cake mixes, please don’t tell me about it. 😉

I used my stir and bake chocolate cake for the black portions and the vanilla cake recipe from The Red Hen.

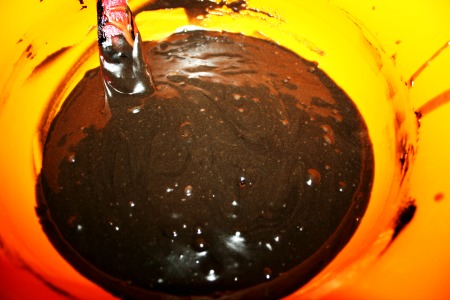
Whip up your cake batters, whichever ones you choose. Then add black food coloring to the chocolate batter, and divide the vanilla batter in two. Add purple to one and orange to the other. Then layer the colors however you like, I went with black, orange and purple. Following the baking time and temp for your recipe. Once they’re cool, melt some candy melts or tint some white chocolate to drizzle over top!


No Comments

28 Sleeps till Halloween with Halloweeny Chocolate Chip Cookies

Domestic

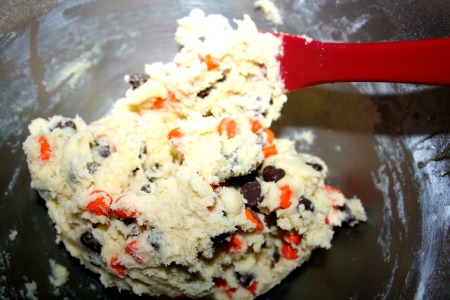
Truthfully, when my littlest tossed the orange and dark chocolate chocolate chips in the cart last week I had no idea what I was going to do with them. I did know however, that there can never be enough orange and black around this month. I’m trying to avoid random baking this month since I want to do up as many Halloweeny treats as possible, and when I saw that one of my favorite Canadian chefs, Michael Smith posted what he claimed to be the best chocolate chip recipe ever, I was tempted to just go off course and bake them because I wanted to see if they really were the best ever (so far each of his ‘best ever’ claims that I’ve tested have absolutely been the best). Then, I remembered those seasonal chocolate chips and started making them pretty much right away because now that they could be deemed Halloweeny, there was no reason not to make them! Right?! I know!

As I was making them I realized I had used the last of the brown sugar on some butter tarts and though I swear there is an extra bag (there is always an extra bag) I couldn’t find it anywhere and ended up using granulated sugar instead. Guess what? They’re amazing. I’m going to do them again with brown sugar and I have no doubt they’ll be even better.

Best (Halloweeny) Chocolate Chip Cookies Ever

1 1/2 cups all purpose flour
1 teaspoon baking powder
1/4 teaspoon salt
1/2 cup butter, softened
1 cup brown sugar
1 tablespoon corn syrup
1 egg
1 teaspoon pure vanilla extract
1 cup chocolate chips

Fairly simple. Preheat to 375 and whisk the flour, baking powder and salt.

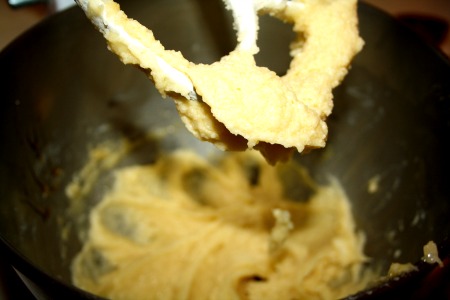
With a mixer or food processor cream the butter and sugar until smooth. Then add the corn syrup, egg and vanilla. Scrape down the bowl before slowly adding the flour mixture. Now stir in your chocolate chips and you’re ready to go!

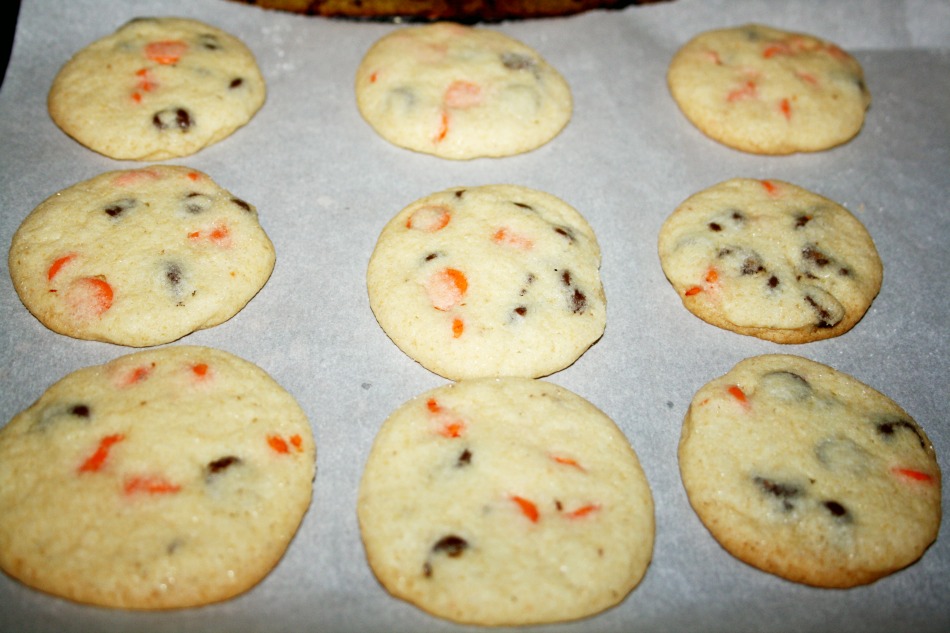
Halloweeny Chocolate Chip Cookies  Halloweeny Chocolate Chip Cookies

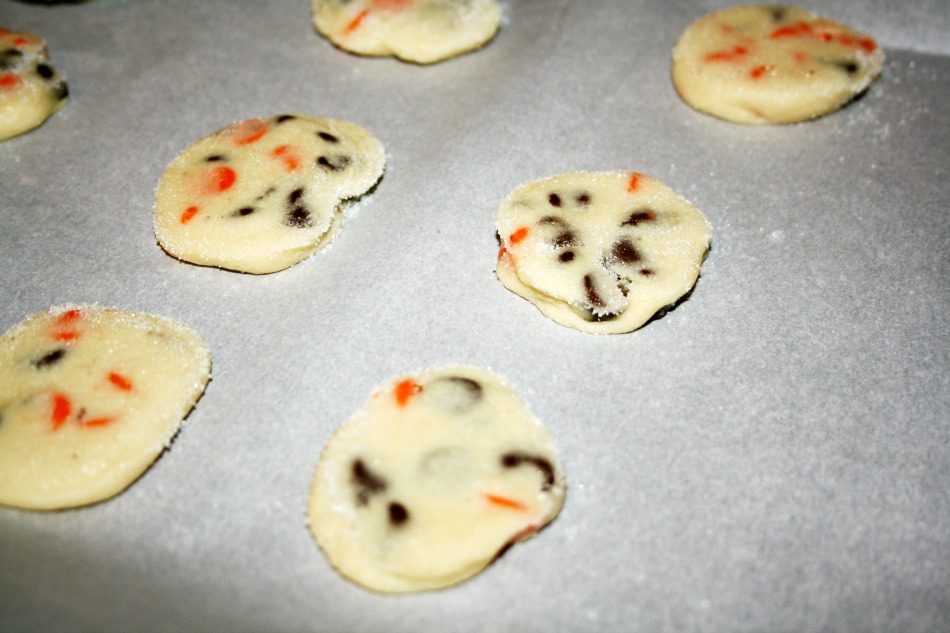
I scooped out the dough with a 1/2 tablespoon and overpacked it a little. I rolled it into a ball and then flattened it out with the bottom of a glass dipped in sugar for a little sparkle and crunch on the top of the cookie. I baked for exactly 13 minutes and my kids have nearly eaten the whole batch already. That’s a win!

Halloweeny Chocolate Chip Cookies
No Comments

Candy Corn Brownies and 29 Sleeps Till Halloween

Domestic, Kids

When I find a recipe that works for run of the mill things like brownies, I tend to stick with it and only deviate when it changes the flavor. I don’t know how many times I’ve made this recipe, but I know it by heart and didn’t even bring the cookbook it’s in with us to California. I love that cookbook too, The All New Good Housekeeping Cook Book. My go-to chocolate chip cookie recipe is from the same book. 😉

I love how 1953 it is to point to a Good Housekeeping recipe as my family’s favorite. Probably more than a person should, really.

Candy Corn Brownies

via The All New Good Housekeeping Cook Book

1/2 cup flour
1/2 cup unsweetened cocoa
1/4 tsp baking powder
1/4 tsp salt
1/2 cup butter
1 cup sugar
2 large eggs
1 tsp vanilla extract
+ handful of candy corn

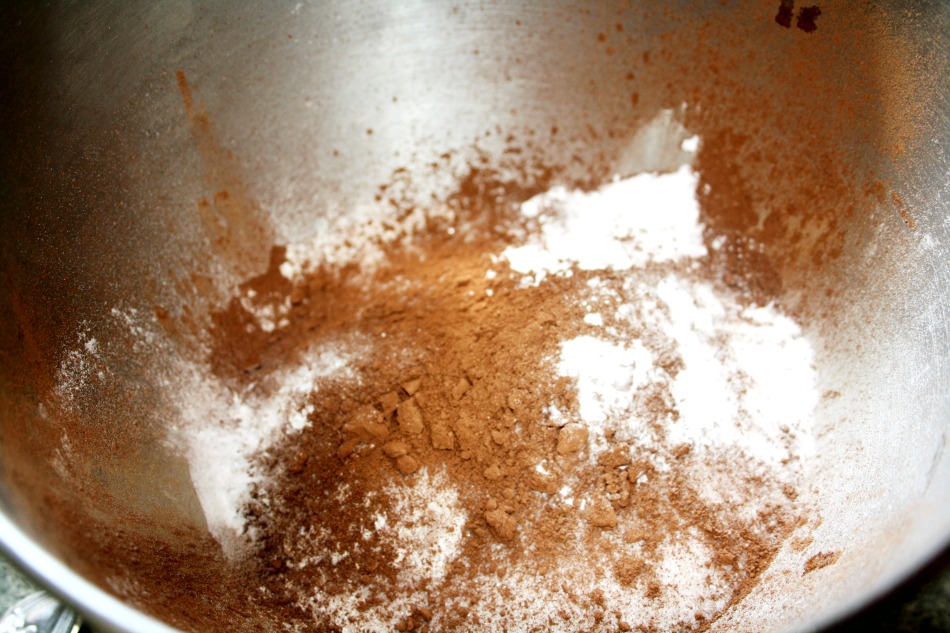
The brownies are crazy simple. Melt the butter in a small saucepan and mix all the dry in a medium bowl and set aside. Add the sugar, eggs, and vanilla one at a time, stirring until each ingredient is mixed in. Whisk in the dry ingredients and pour it all into a greased brownie pan. Bake at 350 for 25 minutes.

Candy Corn Brownies and 29 Sleeps Till Halloween

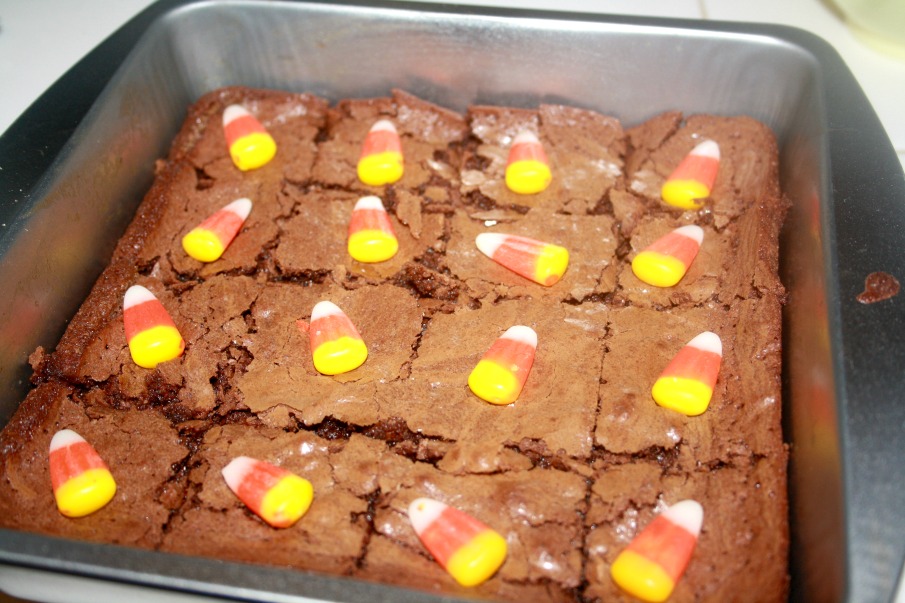
Then? Make them Halloweeny by studding the tray with candy corn!

Candy Corn Brownies and 29 Sleeps Till Halloween
No Comments

Baking With Kids – Sticky Toffee Pudding

Domestic, Kids

This is a hit or miss when it comes to the kids actually eating it at the end, but Miss Wee One #3 really liked making it. Some of our friends in the 10 and over crowd liked it, all the adults who tried it loved it, but none of the littlest ones liked it very much. Except for the syrup. Oh my. It so good, I made extra to give to a friend that loves caramel because it has that caramel taste to it (it’s only one ingredient away from the Amish caramel I make). I haven’t tried yet, but I’d imagine it would be perfect on everything from ice cream to apple slices.

I think the syrup is the main attraction here and it really takes the date cake over the top, but the cake itself is pretty good. It is a spice cake dotted with dates which really make or brake loving this or not. If you’re into them, it’s a win. If you’re not, just leave them out!

Baking With Kids - Sticky Toffee Pudding

Sticky Toffee Pudding via Baking with Kids

Cake:
1 cup pitted, chopped dates
1 1/4 cups boiling water
1 teaspoon baking soda
4 tablespoons unsalted butter, softened
3/4 cup granulated sugar
1/2 teaspoon vanilla extract
2 extra large eggs
1 2/3 cups flour
1 teaspoon baking powder
Syrup:
2/3 cup brown sugar
4 tablespoons butter
1 cup light cream

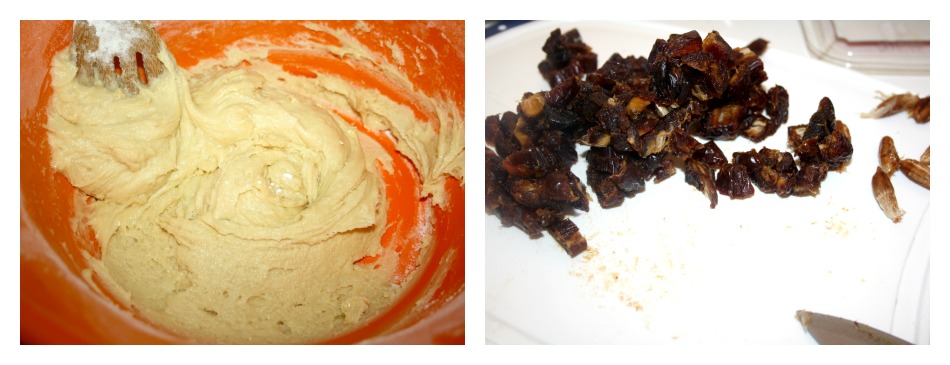
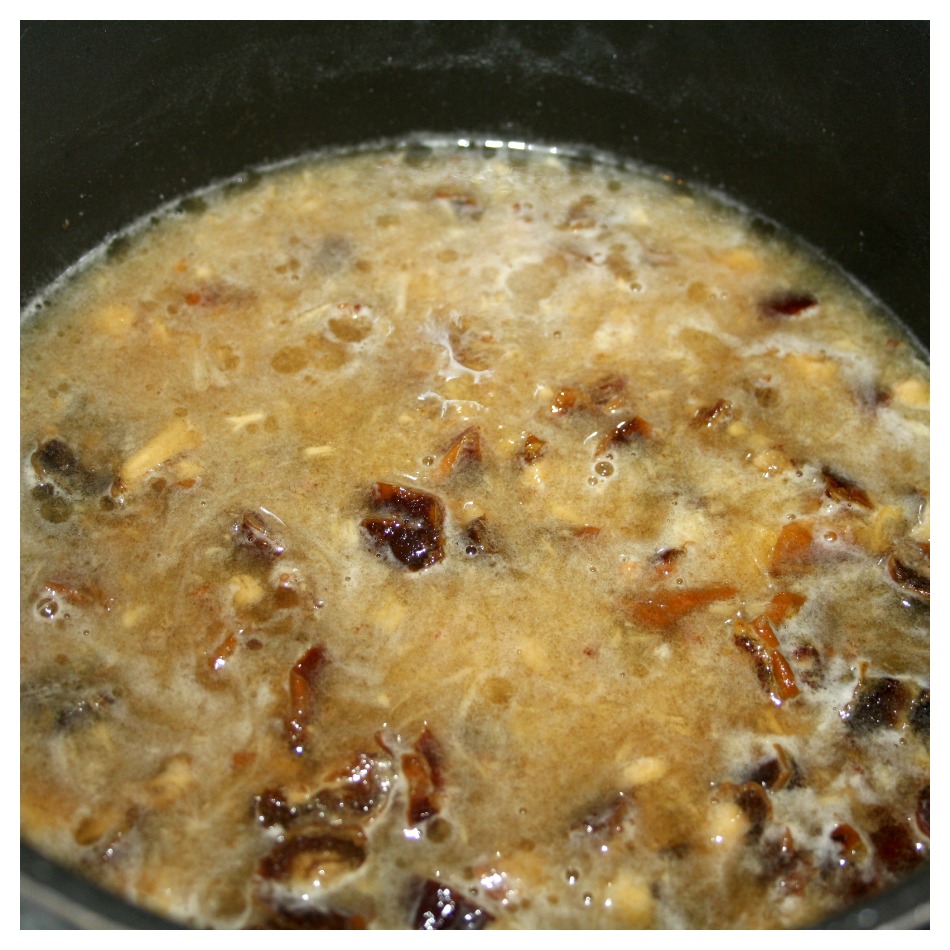
Preheat to 350, and pour the boiling water over the chopped dates. Add the baking soda and let it sit for a while.

Mix the sugar, butter and vanilla until well combined. Whisk the eggs on their own to break them up and then add them to the sugar/butter mixture one at a time. Make sure it’s well mixed each time.

Baking With Kids - Sticky Toffee Pudding
Here’s the water/dates/baking soda ready to roll.
Baking With Kids - Sticky Toffee Pudding
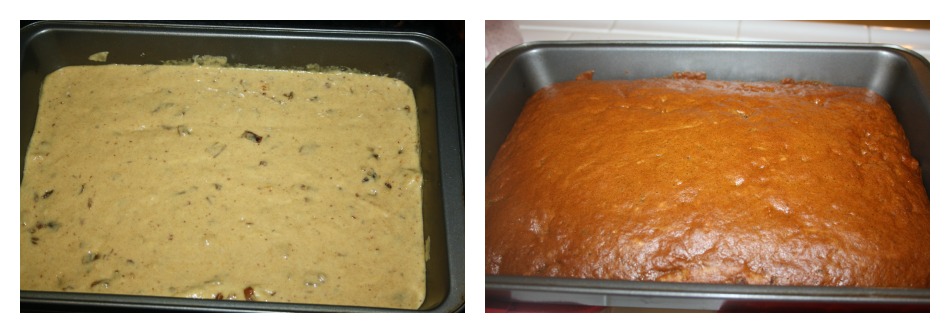
Sift the baking powder with the flour and add to the egg/butter/sugar mixture, then add the water and date mixture and mix it up!
Bake for about 45 minutes.
Baking With Kids - Sticky Toffee Pudding
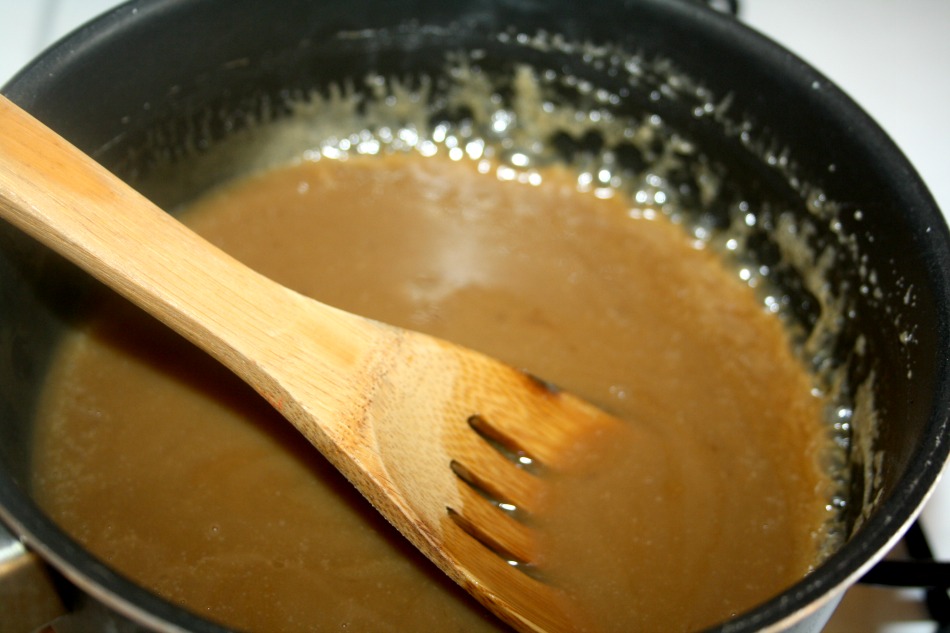
Make the syrup while the cake is baking by heating brown sugar, butter and cream until it starts to bubble and crystallize at the edges.

Baking With Kids - Sticky Toffee Pudding
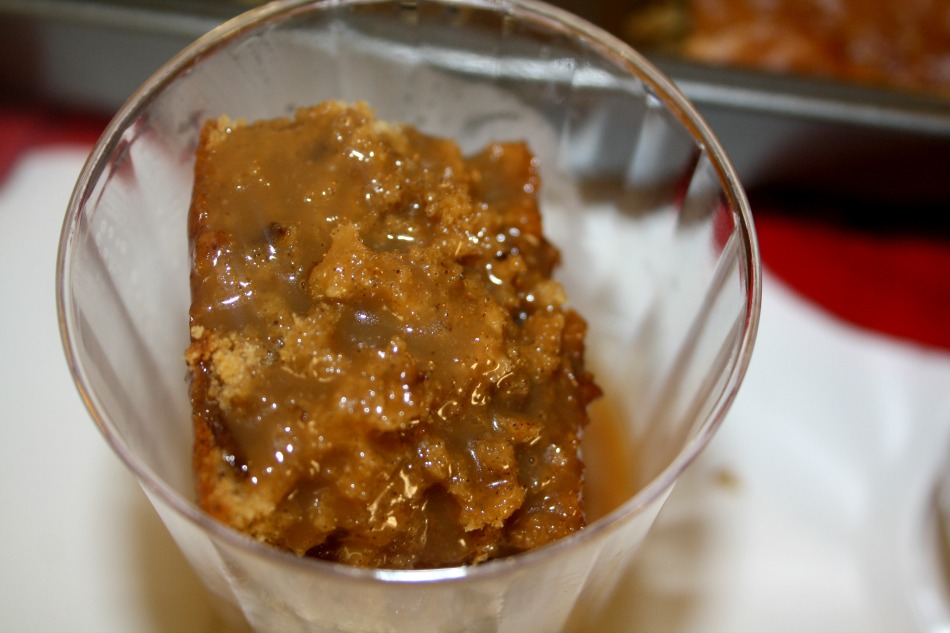
Once the cake is ready, chop it up however you like and then drown it in the syrup. Voila!

Baking With Kids - Sticky Toffee Pudding
No Comments

Strawberry Shortcake

Domestic

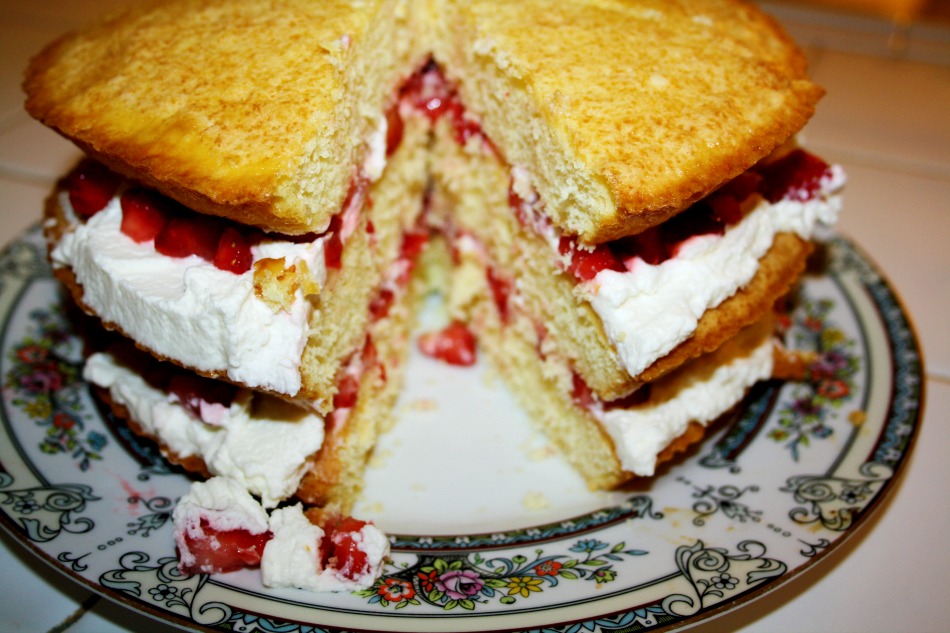
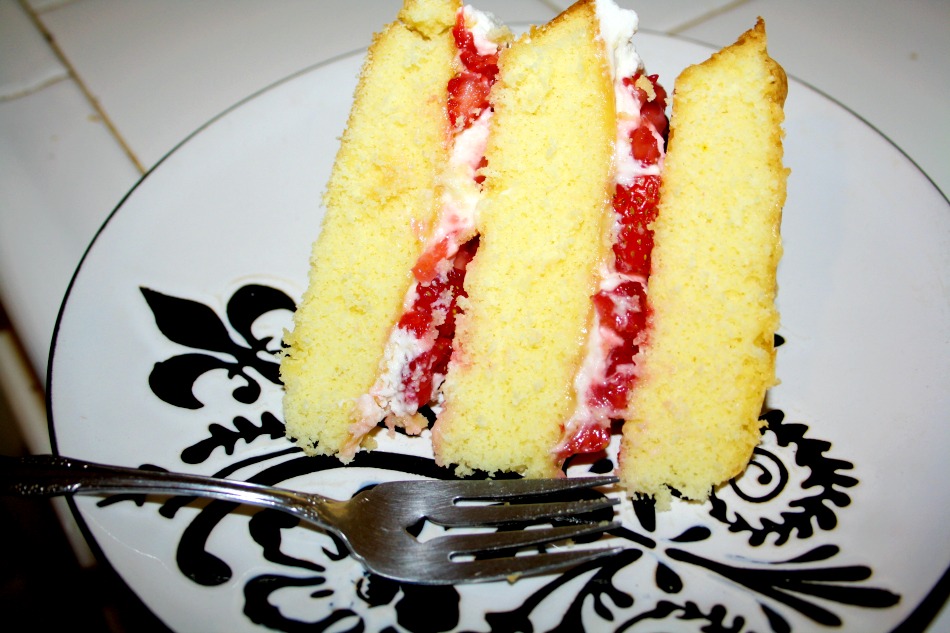
It started with beautiful strawberries. Huge, bright, lovely strawberries that inspired me to whip up a strawberry shortcake. For a split second, I thought of making an angel food cake with this but if I’m honest, as natural as angel food cake is to pair with fruit, I don’t really love it all that much. My husband doesn’t hate it but he’s not crazy over it either so I went with a pound cake.

I’ve been using Alton Brown’s pound cake recipe for about 4 years and it’s never gone wrong.

Strawberry Shortcake
Pound Cake via Alton Brown

16 ounces unsalted butter, cut into pieces and softened
16 ounces cake flour
16 ounces sugar
9 large eggs, room temperature
1 teaspoon vanilla extract
1/2 teaspoon kosher salt

Preheat to 350 and grease and flour three 9″ cake pans, or one 9″ x 13″ cake pan or a bundt or whatever makes you happy, in this case I went with fou4 9: cake pans (only three were used so I covered the fourth in whipped cream and strawberries and brought them to my neighbor). Cream the butter and the sugar, then add the eggs one at a time. Be sure to scrape down the sides with a spatula and then add the vanilla and salt.

Now very slowly add the flour, with the mixer on low, until it is all incorporated. Then pour into your prepared cake pan and bake for about an hour.

While it’s baking, prepare your whipping cream and strawberries! Wash, hull and chop your strawberries into smallish pieces. If you prefer bigger chunks, go for it. When I make whipped cream for dipping fruit in, or for something like this when it’s acting as a frosting, I always use the one pint carton. I whip it into oblivion with 1/4 cup confectioner’s sugar and about 1 or 2 teaspoons of vanilla. I used 2 teaspoons when I made it for this cake and I also added 2 tablespoons of granulated sugar for a slightly different texture from the standard whipping cream we are always dipping strawberries in.

Strawberry Shortcake

Once the cakes have cooled, flip one out onto a plate (or whatever you’re serving from) and slater it in a layer of whipping cream. Then sprinkle the bits of strawberry on top, but do a whole lot of sprinkling. You’re going to want a lot of strawberries in this. Add the second cake carefully and slater that with a (not so) healthy helping of whipping cream as well, and then again with the generous sprinkling of the strawberries. I opted not to cover the top of the cake as well, you can always add a dollop of whipped cream and more strawberries on the side for anyone who wants more.

Strawberry Shortcake

This really does taste even better if you pop it in the fridge for a bit before you’re ready to serve it. The whipping cream softens up the cake juuuust enough that it’s got a nice texture but not enough that it’s soggy and because the cake is so sturdy it can also absorb some of the strawberry juice and still hold it’s shape. So good!!

Strawberry Shortcake
No Comments

Menu Monday with Apple Cobbler, also where did summer go?

California, Domestic, Kids

Amazing to me that summer break is almost over for us! We had intended to be pretty laid back this summer (yeah, yeah, I know I can’t) and get some summer school work done. The first two weeks of summer break we ran around South Bay hanging out with my dear friend Jennifer and her kids before they moved back to Texas (sadface), and we really did manage to do a lot in those two weeks. Wee One #2 had a dance performance at a fair and our oldest was promoted to a second stripe white belt in jiu jitsu!

Then? July happened. The oldest two started swimming lessons three days a week, Wee One #2 started dance camp, and evening classes at the studio started up again as well. Most days she was at the studio for half a day, but at least once a week she was there all day. The window of her at dance camp in the morning and the second window of her home from dance camp in the afternoon wasn’t really long enough to go far, but I had fun in the pool and the yard with the other two. Our oldest had jiu jitsu camp this summer as well, every afternoon plus he has regular classes three days a week plus one additional lesson. Wee One #3 made running around our little ‘hood all month feel fun. The library is very close and she’d always suggest a trip over there to get new books between dropping off and picking up the big kids. <3 We had a break last week from the studio, and now our tiny dancer is starting her 'summer dance intensive' schedule today. Half day of dance classes from lunch until just before dinner. The catch for her is that she has her first check in day for school during the second week of intensives but I'm sure we can make that work. So just like that, our summer break is over and it feels both like it didn't even happen (where's the 'break' part?) and like it was well spent! We did manage to sneak in a weekend in Vegas with the kids to hang out with my girl Nichole and her kids and do some tourist stuff too. I am especially grateful to live somewhere that feels like summer so much of the year that you didn't really miss it, even if you missed it. You know? 😉

This week, I’m trying to make my husband’s favorite meals paired with desserts that will win our kids over if they didn’t love dinner as much as their Daddy. 😛

This Week’s Menu August 5-11

Monday – Lasagna with Savory Onion Bread and Pioneer Woman’s Apple Dumplings for dessert

Tuesday – Parmesan Breaded Chicken Breasts, Creamy Broccoli Noodles with Corn and Pioneer Woman’s Knock You Naked Brownies for dessert

Wednesday – Shredded Chipotle Chuck Roast with Bacon Mashed Potatoes and Roasted Cauliflower with Apple Cobbler for dessert

Thursday – BBQ Steaks, Hassleback Potatoes and Corn on the Cob with Pioneer Woman’s Homemade Glazed Donuts for dessert

Friday – Roasted Chicken, Baked Potatoes with Carrots and Pioneer Woman’s Malted Milk Chocolate Chip Cookies

Saturday – Tacos with Lime Jello Cubes and Whipped Cream for dessert

Sunday – Homemade Pizza with Ice Cream Sundaes for dessert

Apple Cobbler is hands down one of my husband’s all time favorite desserts and our kids are all big on apples. This was a hit, I loved it so much I shared with our neighbors. 🙂

Apple Cobbler via Baking Bites

1/3 cup sugar
1 1/2 teaspoon cinnamon
5 medium apples (about 2 lbs)
1/2 cup brown sugar
1 tablespoon cornstarch
1/8 teaspoon salt
1 1/3 cups flour
1/4 cup quick oatmeal
1 1/2 teaspoon baking powder
1/4 teaspoon salt
4 tablespoons butter, chilled and cut into small pieces
1/2 cup milk

Preheat oven to 350, and mix the sugar and cinnamon, you’ll need this later. Peel and core your apples, and chop them up. Mix the apple pieces with the brown sugar, cornstarch, and salt. Pour this into your baking dish and make the topping!

The topping is really simple and so so good! Just combine the flour, oatmeal, baking powder, salt and 1/4 cup of the cinnamon-sugar mixture you made first. Mash the butter in with your fingers to get it all combined. Drop this all over the top of your apples to form a messy crust, sprinkle with the rest of the cinnamon-sugar and bake for about 45 minutes.

I served it with hard cider from Angry Orchard but it was just as amazing later with coffee. 😉

It was so good I ended up bringing some around to our neighbors!
1 Comment
« Older Posts