Browsing the blog archives for January, 2013.

Homeschooling Multiple Ages (and being honest about it)

California, Homeschooling, Kids

Whenever people tell me they don’t know how I do it – the it being the juggling of homeschooling, having a social life, plugging away at my blog, my general June Cleaver-ness etc etc, I always tell them it’s not like I woke up one morning with three kids, an overachieving husband, and all of this…life. Please picture me gesturing wildly. I also usually tell them I’m not all that big on sleep, which is also totally true.

However, when it comes to homeschooling, I really did just wake up and start doing it one day. I’m going to attempt to outline how we homeschool, what our schedule is and the challenges we face while we do it – with the hopes that it will help others who are starting out on this journey with kids in multiple grade levels and one not yet school aged child. I should add here to people who don’t read my blog on the regular that we are homeschooling for a set period of time. Our school aged children were in public school before we moved to Los Angeles and they’ll go back into the same public school system when we move back to Canada in a couple of years. For us, this is a three year situation. I’m sure for people who have done this for a decade plus, or people who are planning to do this for their children’s entire academic career what works for us might not work for you. This post is essentially a (hopefully helpful) response to all the questions we get. 🙂

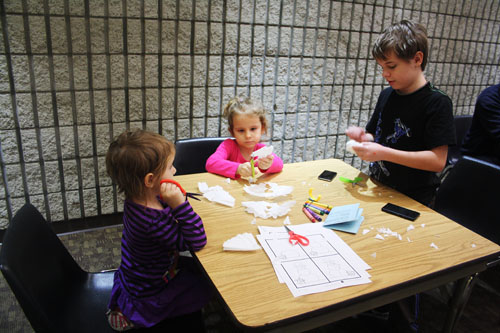
So, let’s do some honesty first, shall we? Most days I wake early, wake the kids with a cute breakfast, sweat glitter and kick ass all day (more or less). Then there are days when my toddler isn’t into anything I present to her. At all. Instead of all the fun amazing things I painstakingly set up for her, the thing she wants to do most is pester my 2nd grader. Or days when my 2nd grader isn’t understanding something right away and gets incredibly frustrated. Then there are days when my 7th grader is learning something tricky and needs a good chunk of the day. None of these things are anyone’s fault, they just happen. My kids aren’t horrible creatures who wake up ready to mess up my plans, and neither are yours. Honest, they’re not.

Take a deep breath and know that everyone who has ever homeschooled has had a bad day. I haven’t looked that up but I have no doubt that it’s true. Then look for ways to make it better! There are zillions! I didn’t look that up either, just fyi.

It seems so duh, but I find these situations don’t really affect me the same way when I keep in mind why certain situations play out the way they do. My toddler is really close to her sister, so naturally she wants to hang out with her all day. My 2nd grader gets pretty much everything on the first try so when she doesn’t, she gets frustrated pretty quickly. My 7th grader is doing challenging work, so of course some days are going to be even more challenging than others. There of course are so many other little annoyances – to the kids! If they don’t know when the next break time is coming they may start to feel antsy and distracted. If they’re hungry or tired they will probably get grumpy. This is my house, you have your own sets of challenges at yours, but I bet we have at least one in common!

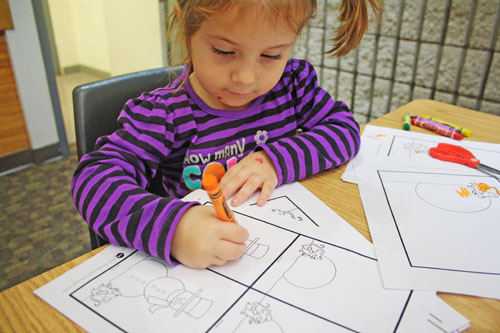
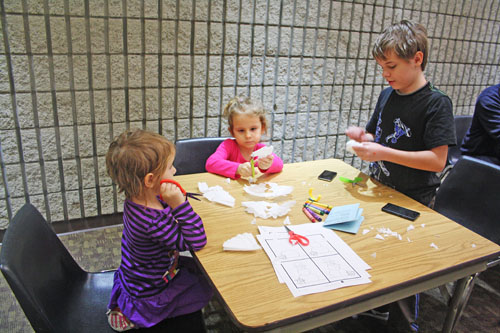
  • Have loads of activities on hand for your toddler. Looooads. Make sure a lot of them are things they can do when sitting alongside siblings.
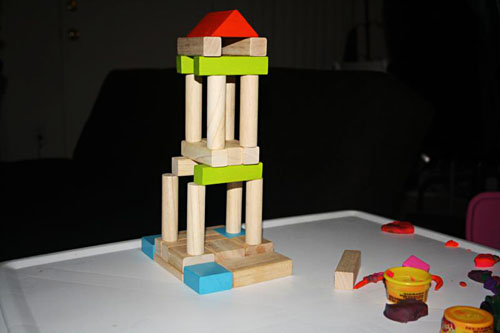
    • Make fresh play doh with Jello so it’s vibrant, soft and non toxic.
    • Beads with long, thin elastic for making bracelets.
    • Colorful buttons and small containers for sorting.
    • Construction paper and scissors – cutting doesn’t need a reason!
    • For most toddlers, markers are serious contraband. Let them use washable markers (at the table only of course)!
  • Post a schedule for the day in a prominent spot and stick to it as closely as possible.
    • If you don’t get everything done you planned to in the alloted time, think about changing the schedule to reflect that in the future.
    • If it’s time to move on to another subject and you’re not finished, move on and assign the leftover as ‘homework’ or….
    • Choose a ‘catch up’ time to finish up anything that wasn’t done within the time you alloted for it.
    • Make sure to include a decent lunch break and a hearty (but not food coma-inducing) lunch.
  • Have light, nearly mess-free snacks on hand all day for school aged kids.
    • Whatever healthy snacks they like, lay them out shortly after you start.
    • Replenish the snacks as they are eaten, it helps keep the kids from constantly breaking for a snack but helps them stay energized.
    • This should go without saying but I’ll say it anyway, choose light, healthy snacks, not sugary treats.
    • We usually put out orange and apple slices, banana chunks with toothpicks in them, grapes, banana chips, nuts, seeds, carrot and celery sticks and crackers.
    • Keep them hydrated too!
  • Make a ‘nibble tray’ for your toddler.
    • Even if your toddler likes the same snacks as your older kids, toddlers love having something just for them.
    • Fill an ice cube tray with different small snacks like Cheerios, halved grapes, banana chips, nuts, seeds, tiny pieces of favorite fruits and cheese.
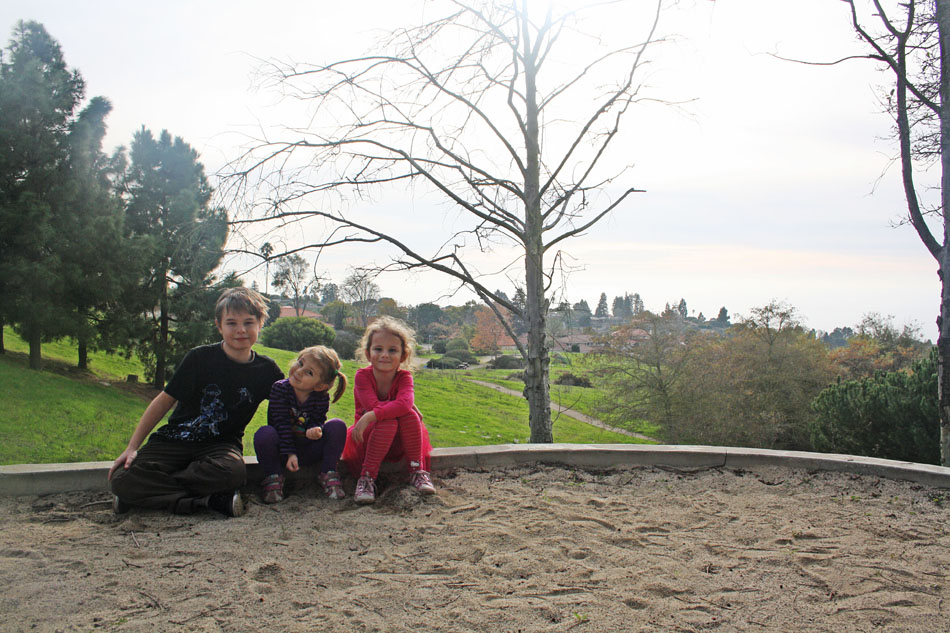
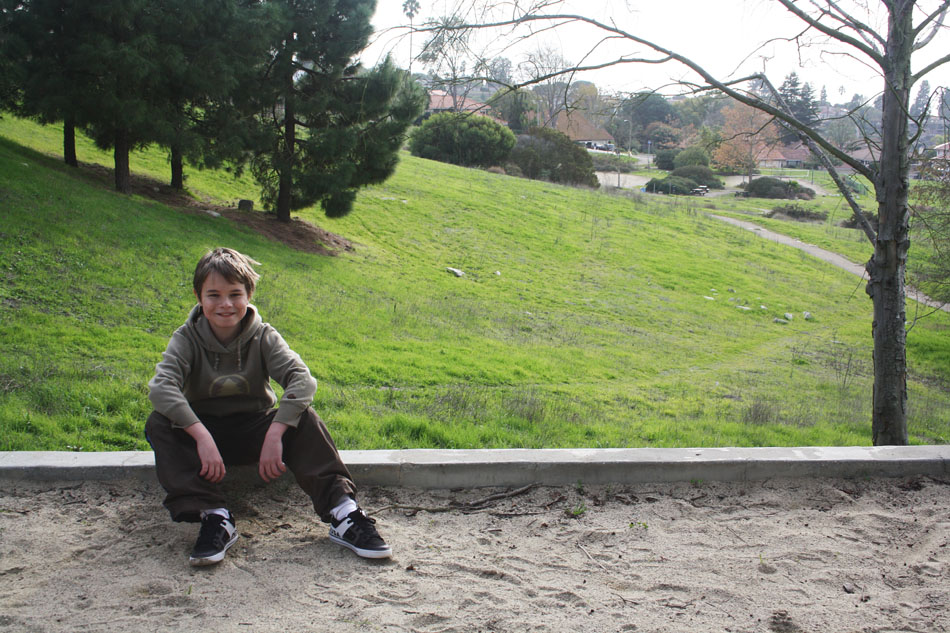
  • Let their lunch break be a fun break!
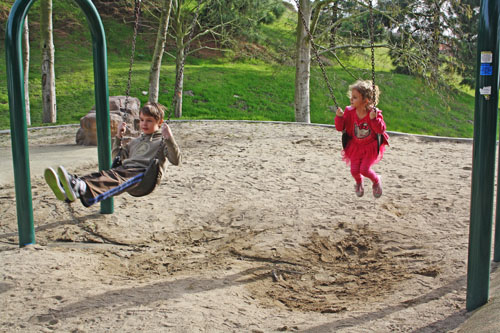
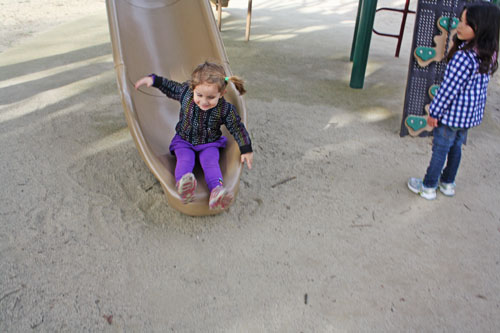
    • If at all possible, let them play outside and run around. We spend our lunch break in the pool when it’s nice out but even hitting a nearby park for a quick picnic or just the backyard is great for them.
    • Resist the urge to quiz or drill them during their lunch break – it’s a break!
  • Have a backup folder of additional work for your school aged kids on hand.
    • If you’re in the middle of something with one child and another needs your assistance, turn to your backup folder for help!
    • You can include worksheets with additional practice of what they are working on so one is busy with that while you’re helping the other one.
    • If you’re not a fan of worksheets, you can include things like word searches, sudoku or crossword puzzles to give one of the kids a little break while you help the other.
  • Keep something messy and fun on hand for your toddler.
    • For those days when your toddler isn’t happy with beads or buttons or markers have something messy ready for them – you know they’ll love it.
    • Keep a cheapy dollar store tablecloth on hand with your messy ideas so you can lay that down under them and make clean up easier on yourself!
  • You hear this all the time, but be sure to mingle your children with all kinds of other children!
    • Having friends and being active in the community helps your children feel connected in a similar way to how kids in school connect with their classmates.
    • Karate, dance class, swimming lessons, boy / girl scouts, volunteering, mommy group, whatever, get out there!
    • Meet other homeschoolers, this is just as much for your own sanity as theirs.

This list is saving my sanity, especially the schedule! I see them looking at it and checking the time throughout the day and it absolutely stabilizes the mood. Kids of all ages like to know what their day looks like, don’t you?

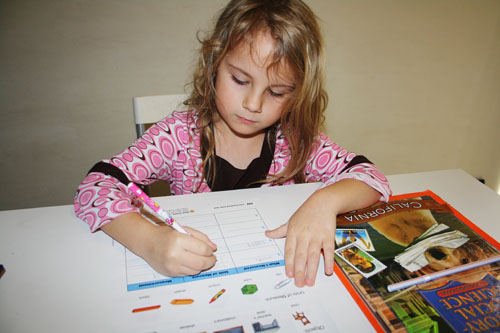
So onto how we homeschool. 🙂

We homeschool through an independent study program within the Unified Los Angeles School District. We use the materials they provided and hand in assignments and check in with them once a week. I also have a closet full of both Canadian and American curriculum that I supplement with. I posted back in September a big list of books we planned on using but we ended up getting even more and we use these most. There are a lot of second grade books because of the flip carts and vocabulary cards and that kind of thing. The 7th grade books are huge and cover a lot of material in one book.


California Treasures
2nd Grade LA, Book 1

California Treasures
2nd Grade LA, Book 2

California Treasures
2nd Grade Grammer & Writing

California Treasures
2nd Grade Flip Chart

California Treasures
2nd Grade Phonics

California Treasures
2nd Grade Cursive

California Treasures
2nd Grade Oral Vocabulary Cards

Wonders California
2nd Grade Content Reader

California Treasures
2nd Grade Decodable Reader (5 books total)

California Mathematics
2nd Grade Math Teacher’s Guide

California Mathematics
2nd Grade Math

California Mathematics
2nd Grade Math Workbook

Houghton Mifflin
2nd Grade Social Studies Workbook

Houghton Mifflin
2nd Grade Social Studies

Houghton Mifflin
2nd Grade Social Studies Assessment Options

Harcourt Science
2nd Grade Science

Harcourt Science
2nd Grade Science Workbook

Harcourt Science
2nd Grade Science Assessment Options

California Mathematics
7th Grade

Prentice Hall Literature
Bronze Level (7th Grade)

Prentice Hall Literature
Bronze Level (7th Grade) Workbook

McDougall Littell World History
7th Grade Medieval and Early Modern Times

McDougall Littell World History
7th Grade Medieval & Early Modern Times Workbook

Holt California
7th Grade Science

Holt California
7th Grade Science Workbook

Math Makes Sense 7

This is the general schedule we follow for what I usually call ‘double days’ where we get twice as much done as the lesson plan calls for. Our standard school days are Monday – Wednesday and Friday & Saturday. Thursday is the day we check in at school and it’s also our ‘catch up day’. So whatever hasn’t been done from the previous Friday-Wedneday, we finish up. It’s never usually more than just an hour or so of work, but it’s so much better to get it done on Thursday afternoon when we get back from checking in than it is forcing it into whatever school day it spilled over from. If there is only a page left to do, or a few pages to read or something very quick at the end of the day, I give them the option to do it before dinner, but after they’ve had a break for a while and they almost always choose to do it that way, so it’s done. We work on many Saturdays to make up for the lost Thursday.

I have found that with all the one on one time the kids get from me to learn new concepts, we never need this much time. Some weeks we double up a day here and there so we’ll manage to get two days worth of language arts done in the morning, depending on what is assigned in the lesson plan. On days when we know for example that our friends from my local mommy group (hi ladies) are going to be at the indoor playspace down the street (or the beach or a park or whatever), we’ll plan ahead and do a double day the day before. Or if there is something happening at the aquarium in Long Beach or my husband wants to take us to Disneyland on a Wednesday or explore the tide pools (man those are cool), we make sure we are ahead a day so we can do that. Some other weeks we don’t do any double days and we’re done with the lesson plans by lunch, on those days if we are not meeting up with friends we’ll get crafty or I’ll help the kids bake or cook something from their cookbook. My oldest loves messy science experiments and board games that require a little mental math are pretty big around here too.

Wee One #1
Wee One #2
8:30am – 9:30am Language Arts Language Arts
9:30am – 10:15am Math Math
10:15am – 10:30am first break first break
10:30am – 11:15am History or Science Social Science or Science
11:15am – 12:00pm Nature Study or Nutrition Nature Study or Nutrition
12:00pm – 1:00pm lunch lunch
1:00pm – 1:45pm Art or Music Art or Music
1:45pm – 2:30pm Special Interest or French Special Interest or French
2:30pm – 2:45pm second break second break
2:45pm – 3:30pm PE PE

To clarify this table a bit better, we alternate between art and music, and between a special interest they have and French. So we go between doing each of them twice a week and three times a week (if we did art on Friday, we’ll do music on Monday). The special interest time slot was added to make sure we made time a few days a week to focus on something the kids want to learn about. Naturally, they continue working on their special interest activities in their downtime as well, but I wanted to make sure they had a time when they knew I’d be available to help them out no matter what. Right now, my 7th grader is working on video editing and my 2nd grader is big on rug hooking.

I just bought this Scholastic File Organizer Pocket Chart to organize all the folders their work is kept in and it’s visually right there for them to see how many more folders are left at any given time in the school day.

Because you asked, here are the workbooks we supplement with!


Spectrum Language Arts 2

Spectrum Math 2

Brain Quest 2

Bright & Brainy 2

Complete Canadian Curriculum 2

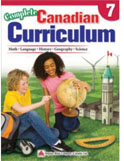
Complete Canadian Curriculum 7

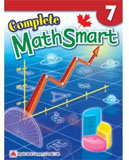
Complete Math Smart 7

Spectrum Science 7

Harcourt Test Prep 7

I will dedicate specific blog posts to more detailed ideas, but all of this hyper-organization to save my sanity (and frankly my zest for homeschooling) brings up a newish issue for me. I mentioned in this post that I was a serious planner for years and years and years and California has chilled me out so much that I even stopped making lists!! I really loved the freedom that came from not making specific plans and doing whatever when the mood happened to strike. However, I noticed some not so fun behavior changes in my littles. Miss Wee One #2 was becoming sassier and a little ok, a lot harder to handle and that as responsible and amazing as Wee One #1 is and has always been, he has been a little lazier and less into following through with chores. The littlest of course learns from the other two and if they were slipping into a place I don’t even want to think about (cue bratty 7 year old stomping around the house) she’s the next in line.

So, the planner had to come back out. I will try not to be as crazy OCD about everything as I was before the move, but being so chill about everything has created issues I never thought I’d have to deal with.

I will post activities I find or come up with for my littlest to share!

*When I started this post, it turned out to be a crazy long novel that included all of this and a whole lot of info about the program we homeschool through. It’s only relevant to people living in Los Angeles County and people who are curious but a lot of people seem interested so I made it into a separate post I will polish up and share next week.


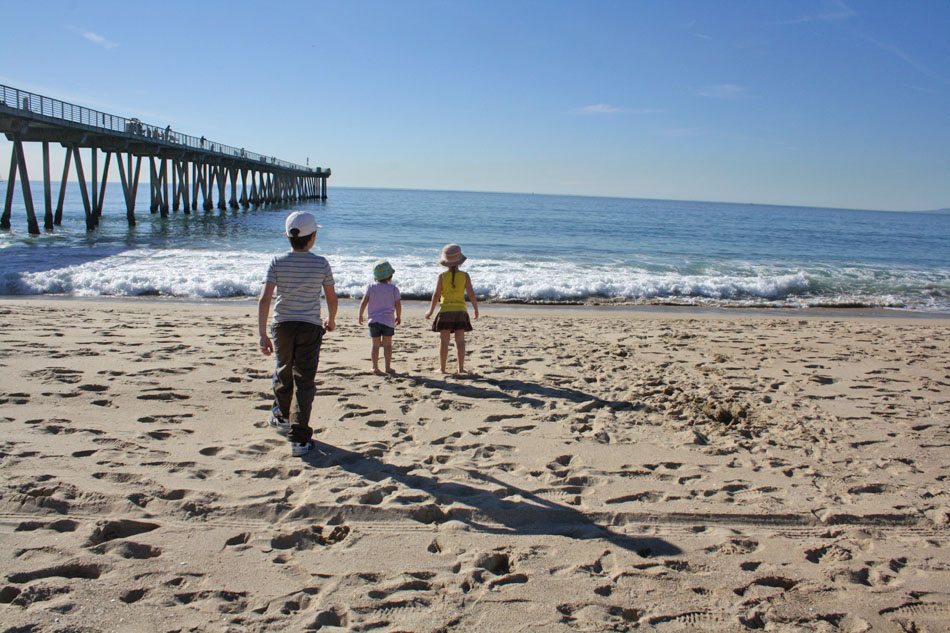
This is everyone’s favorite thing about being able to open up pretty much any afternoon while we are down here.
2 Comments

Corner Bookmarks

Crafty

I had seen these around all over and just love, love, loved them! They perfectly combine my love of paper crafts and reading! I am not at all a fan of scrapbooking, but I love me some scrapbooking paper. I hope to be bit by the scrapbooking bug eventually, because I do really like the finished product – either of the wee ones or our friends. However, at the moment I’d rather knit. That’s pretty accurate of almost anything ha!

The two best tutorials I have found for these cuties are over at Midwestern Moms and Tally’s Treasures. My photos are pretty much the same as theirs but I’m posting them anyway – Tally’s Treasures added teeth and big eyes to hers and they look so so cute for little ones. I think I will show my littles how to make these and see what they come up with!

Corner Bookmarks

double sided scrapbooking paper
sharp pencil
ruler
scissors
glue stick

Corner Bookmarks
Corner Bookmarks
First, measure out three 2.5″ squares on cardstock or cardboard, as in the photie up there ^ on the left. Draw a line through the squares to the right and above the corner square, like the photie up there ^ on the right. Draw a little x on the same two triangles as I did. 🙂
Corner Bookmarks
Corner Bookmarks
Next, cut out the shape, without the x’ed out triangles. This is your template, use it to trace around on pretty scrapbooking paper and cut it out.
Corner Bookmarks
Corner Bookmarks
Score along the edges of the original square and fold those triangles down.
Corner Bookmarks
Corner Bookmarks
The first triangle that’s folded down only needs glue on top of it and then press the second triangle down on top. So simple and fun!
Corner Bookmarks
Corner Bookmarks
I didn’t decorate mine further, but you can add whatever you want to them!
Corner Bookmarks
No Comments

Man Pleasing Chicken

Domestic

What a name! I feel really inclined to say ‘people pleasing chicken’ but then I feel terribly cheesy. When I pinned it, that’s what it was called and it went on my kitchen recipe card like that! For the record, the only ‘man’ that ate it was my 12 year old who declared it ‘boy pleasing chicken’.

There are times when I feel like spending the whole afternoon in the kitchen dicing, stirring, mixing and washing. This meal is for those afternoons when I don’t – or when I can’t. The sauce has just three ingredients (four if you count the black pepper) but sometimes that’s all you need and in this case, these three ingredients play off each other so well it tastes like there is more to it than that. It’s a little sharp but has a sweetness to it and is very juicy, it just falls apart with your fork. The best part about it of course is that you can pop it in the oven and get back to whatever else you need to do before dinner time!

I served this with basmati rice and green beans. The rice was a great combo with this chicken because the sauce works well with it as well. We poured the leftover sauce on the rice. Wee One #1 loved it and the other two liked it enough to eat most of it – which is pretty rare around here.

Man Pleasing Chicken

2-4 chicken breasts
1/2 cup of dijon mustard
1/4 cup of maple syrup
1 tablespoon of rice/rice wine vinegar
2 teaspoons black pepper

Just whisk together the mustard, maple syrup and rice vinegar and pour over the chicken breasts in a casserole dish. Sprinkle with black pepper. Cook for 45 minutes at 350.

Man Pleasing Chicken
2 Comments

Peanut Butter Tofu Ice Cream

Healthy

This is a great recipe for people who avoid dairy on the regular and need a chemical-free alternative to ice cream. It’s also a great recipe for people who don’t avoid dairy but are dieting! I wont give an official calorie count for this recipe because it can change a lot depending on what kind of peanut butter / tofu / sweetener you use.

Even if you’re not a fan of tofu, this recipe is amazing. I started experimenting with tofu in desserts last year thanks to Peas and Thank You, and this was a winner too!

It all happens in the food processor and if you have teeny tiny little containers like these it measures out to about 100 calories per serving!

Peanut Butter Tofu Ice Cream

13.5 oz package of silken tofu
4 tablespoons organic chunky peanut butter (can be smooth if you don’t want peanut chunks)
2/3 cup agave / maple syrup / Joseph’s Original Sugar Free Maple Syrup <- that's what I used 1 medium ripe banana Blend it all together in the food processor and divide it into 10 servings. Freeze overnight and voila! It gets harder than regular ice cream, so take it out a little before you want to eat it and let it warm up and melt a bit. So good. Even if you end up having more than one, it's still a lot less calories than a bowl of ice cream.

Peanut Butter Tofu Ice Cream
Peanut Butter Tofu 'Ice Cream'
No Comments

Happy Birthday Dad Ginger Cookies!

Domestic

My Dad and I have always been close and until this year, I’ve always been around to celebrate with him. It’s a little weird to have to ship him cookies, but he’s never been a birthday cake kind of guy (ok he likes cake, but he prefers a birthday pie or a birthday tower of brownies). So this year, I’m sending him a batch of his favorite cookies! I have made a lot of ginger cookies over the years, more than ever before last year since Wee One #3 loves them so much and this recipe is absolutely the best. This is my new go to for ginger cookies!

ginger cookies

Ginger Cookies via Food 52

2 1/4 cups all-purpose flour
2 teaspoons baking soda
1 teaspoon ground cinnamon
1/2 teaspoon ground ginger
1/2 teaspoon allspice
1/2 teaspoon salt
1/4 teaspoon ground cloves
3/4 cups unsalted butter, room temperature
3/4 cups packed dark brown sugar
1 large egg
1/2 cup unsulfured molasses
granulated sugar for rolling
Pretty standard recipe, it’s all about the quality of your ingredients! Whisk the flour, baking soda, cinnamon, ground ginger, allspice, salt and cloves together. Make sure the spices are well combined in the flour. In the bowl of your mixer, cream the butter and sugar together for about 3 minutes – then add the egg and molasses. Stir in the dry ingredients and chill for an hour.

Preheat to 375, line your cookie sheet with parchment paper and roll the dough into tablespoon-size balls. Use the bottom of a glass dipped in sugar to flatten them. Bake for about 10-14 minutes. DO NOT OVERBAKE. They are crispy on the outside and just a little bit chewy on the inside. Perfect ginger cookies! I hope my dad loves them!

ginger cookies
ginger cookies
ginger cookies
1 Comment

Fabric Covered Clothespins

Crafty

Today, I’m linking up with Dandelion House, Petals to Picots, Chubby Cheeks Thinks, Finding Fabulous, 504 Main, Thirsty World Designs and Serenity Now.

I first saw clothespins covered in fabric in a craft shop in Toronto about a million years ago. I loved them right away but didn’t buy them because I had no idea what I’d do with them. It wasn’t long after that I was hanging up a masterpiece made by one of the littles with a horribly plain clothespin on a string in the play room. That was the first thing I decided I needed them for. I ended up painting some wooden clothespins to use for this.

Then a couple of years ago, I came across Martha’s Mitten Clips, they’re super cute to attach to packages. I think it’s especially sweet to make them in a cold climate and send them to friends and family in warmer places (which is the opposite of what we’ve got going on right now….).

Then I came across this tutorial on Creature Comforts and I knew I had to try! They took maybe 10 minutes and I adore them. Next up of course will be glittered clothespins, clothespins with cute flowers and pom poms and stuff glued to them. I’m far too into this, I know. But so cute – look!

All I did was cut a strip of double sided tape for both sides of each clothepin, then cut fabric the same size and then pressed the fabric to the tape! Voila!

Fabric Covered Clothespins
3 Comments

Exploring Fred Hesse Park

California, Homeschooling, Kids

This week we went to a fun preschool storytime at Fred Hesse and then later we played in the playground. The storytime event was called Little Critter Afternoon Tale, it was put on by the Palos Verdes library, so sweet! It might be my new favorite picnic spot! These activities are held once a month so next month I think I will bring our picnic basket with us! There were stories (duh) and songs, a puppet and some crafts that actually held the kid’s attention. The most hilarious thing about it to me was the theme was winter – any time someone in Southern California says ‘winter’ a Canadian rolls their eyes – and since there is no sign of actual winter down here, the kids made paper snowflakes. Hilarious. This time last year, our oldest was rolling a snowball bigger than himself around the backyard to make an epic snowman – and now he’s wearing a tshirt at the park.

No Comments

Craftster Craft Challenge #82 – Gingerbread House Contest

Crafty, Domestic
Craftster Craft Challenge #82 - Gingerbread House Contest
This house on the right was my first attempt at my first Craftster Craft Challenge of the year. The house pictured above is my shining masterpiece that I submitted last night! I made two pretty epic missteps with the first house. My pieces were not completely cooled off when I started and I used homemade marshmallow fondant for the decoration, which was a little heavier than I anticipated. Duh. I think I also wasn’t as careful as I should have been when I was cutting out the pieces for the house and they didn’t fit together as well as they should have.

So this time around, I carefully measured every piece and made sure it cooled off for a few hours before I started working on it! I used slightly thicker icing glue this time around and I also went with thinned royal icing instead of fondant.

I also opted to decorate each piece before I assembled it all, and I think that helped. I went with pastel colors, inspired by our white Christmas tree this year that has a real vintagey feel.

Craftster Craft Challenge #82 - Gingerbread House Contest
Royal Icing
3 egg whites
1 tablespoon cream of tartar
2 lbs icing sugar
1/4 cup cold water (more or less)

Beat the egg whites on high for 3-5 minutes, then reduce speed and add the cream of tartar, reduce to low and slowly add the icing sugar. The mixture will be really thick. From here, the less water you add here the strong the icing will be as glue – but the less smooth it will be as ‘paint’. So when making a gingerbread house, set aside some icing while it’s really thick and thin the rest of it out with water before adding colors!

Craftster Craft Challenge #82 - Gingerbread House Contest
Gingerbread

This is the gingerbread recipe I used, I don’t remember where I came across it but I have been using it forever!

1/2 cup butter
1/2 cup packed brown sugar
1/4 cup molasses
1 tablespoon cinnamon
1 tablespoon ginger
1 teaspoon ground cloves
1 teaspoon baking soda
2 cups flour
2 tablespoon water

First, cream the butter and the sugar and add molasses. Then whisk together the cinnamon, ginger, cloves, baking soda and flour. Mix that with the butter mixture and when it gets really chunky add the water slowly.

Put the dough in a baggie and chill for about an hour. Then roll out it with plenty of flour and cut out your shapes!

Craftster Craft Challenge #82 - Gingerbread House Contest
1 Comment

Xronia Polla! Celebrating with Amygdalota me Orange!

Domestic

So today is Orthodox Christmas. Widely celebrated in Eastern Europe and Medetarrian countries, I still call it Greek Christmas for two reasons. One because I’m half Greek and that’s why I celebrate it (duh) and two because 95% of the population of Greece is Orthodox while the numbers are smaller (though still fairly high) in other area of Europe (87% in Romania for example, 80% in Ukraine, etc). So Happy Greek Christmas. Or as my mother and my aunts and uncles would say, Xronia Polla!

In Canada, we normally don’t celebrate it much at all. We’ll usually have dinner together but that’s no different from any other Sunday. Being so far from everyone right now though, I feel the need to celebrate extra the little things. Even though it doesn’t directly involve our families I think it keeps the kids engaged and remembering. So we made Amygdalota me Orange (aka Orange Scented Almond Cookies) to celebrate! Usually I make Kourabiethes or Melomakarona but I can only make those when I know there are a bunch of other people around to eat them because otherwise I am in serious danger of eating them all myself. These cookies though, they make a smaller batch and they are a little more transportable. I’ll be mailing this batch to my folks. <3 These are officially my second cookie of 2013!

Amygdalota me Orange

Amygdalota me Orange via Cat Cora

3 cups blanched almonds
3 cups confectioners sugar
1 tablespoon orange water
1/4 cup orange juice, plus some for shaping

First, process the almonds into a almond meal, and add 2 1/2 cups sugar. Then pour the mixture into a saucepan over medium high heat. Add the orange water and the orange juice and mix it until the sugar as dissolved and the liquids are all mixed in. Cool.

From here, you can shape it into the traditional pear shape or you can chop it into chunks instead. Either way, roll it through icing sugar, wrap it in cellophane and leave it for three days before you serve it. In my case it’ll take about 4 days to mail to my parents so it should be perfect by the time they get it.

Amygdalota me Orange
2 Comments

BH Cosmetics

Pretty

I’ve been a big fan of BH Cosmetics for about two years. I have big love for pops of color and even bigger love for serious lashes, so those are two qualities BH has in spades, but I also don’t want to drop $300 every time I need to refresh my makeup kit or pay $7-$16 for a pair of lashes (especially considering I wear them often). I’m not against splurging, and in the interest of full disclosure I do love me some Sephora and have a mild obsession with my pink Tarina Tarintino glitter. Having said that, I don’t shop Sephora to stock up and I don’t wear pink glitter everyday (sigh, but in a perfect world…).

So enter BH. Not only will you get way more for your dollar here than anywhere else I’ve looked, the quality is far better than the price implies. The eyeshadow pigments are long wearing and really bright! The 120 Color Palettes are usually between $30-35 but there is always some promotion or another. Right now they are actually 40% off and that’s not all that strange. I’ve never paid full price on this site and never been disappointed.

The 120 Color Palettes come in 5 editions with variations in each. I have the 1st edition and I love it. Bright, lasting colors. The shimmer palette comes in cool and tropical, I have the cool. It is very blendable and also very long lasting. I have the Earth, Blossom and Candy lip liners. I find them all to be very smooth and blendable and they are all very easy to sharpen which is a serious plus!

I will say that the $15/pair Urban Decay lashes are nicer than these $5/pair lashes from BH, but they are not 3 x nicer! I like the Come Hither lashes from Urban Decay for something a little snazzier than everyday, but not crazy fancy. I have found that BH’s China Doll lashes are very similar. I’d also compare Urban Decay’s Instaflare, Darlin’ and Babydoll to BH’s Foxy, Flare and Sassy – in that order. Using BH is a little safer for daily wear in case you get glitter on them that wont come off or you’re not as gentle as you think you are and bend them. Or you know, when you have a late night and fall asleep with your full face on. Whoops!

No Comments
« Older Posts