Browsing the archives for the dessert tag.

Frozen Oreo Pie

Domestic, Kids

Oh. My. Goodness. I remember when we told our two oldest kids (12 and 7 at the time) that they could each choose one physical activity to do. We had decided to continue homeschooling and they needed some kind of organized physical fitness a few times a week. Each of them chose things that they not only came to love, but they came to be very dedicated to as well! Now we homeschool every week day, our oldest has classes 5-6 days a week with 3 private lessons on top of that, our tiny dancer has classes 5 days a week with 1-2 private lessons on top of that and we try to take a few afternoons a week for our littlest one to spend time with her buddies. Non stop action. This is why I stay up so late, so I can knit and talk to my husband and do nothing for a minute.

For now, though? For now, let’s forget about everything else and just make an Oreo pie.

I have made this entirely from scratch with homemade pudding and whipping cream and guess what? It doesn’t work! I KNOW!

Frozen Oreo Pie

via Kraft

1 1/2 cups Oreo cookie crumbs
6 tablespoons melted butter
2 pkgs instant vanilla pudding
2 1/2 cups milk
8 oz thawed whipped topping
10-15 Oreos, chopped up or broken

Super simple. Just mix the cookie crumbs and butter in your pie plate and, once combined, smoosh the crust into the pie plate. Make sure it’s all over the bottom and up the side to form a good looking crust.


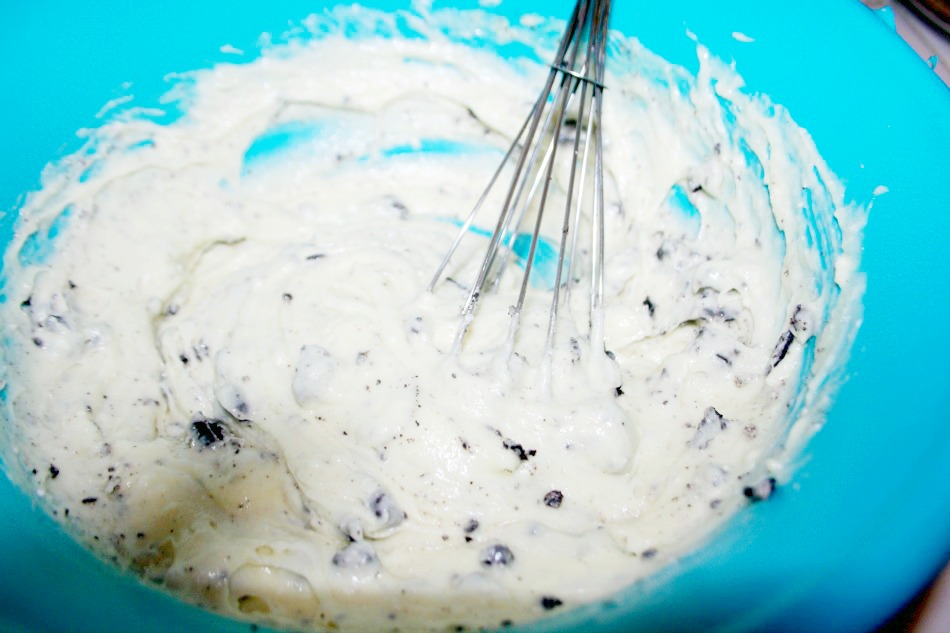
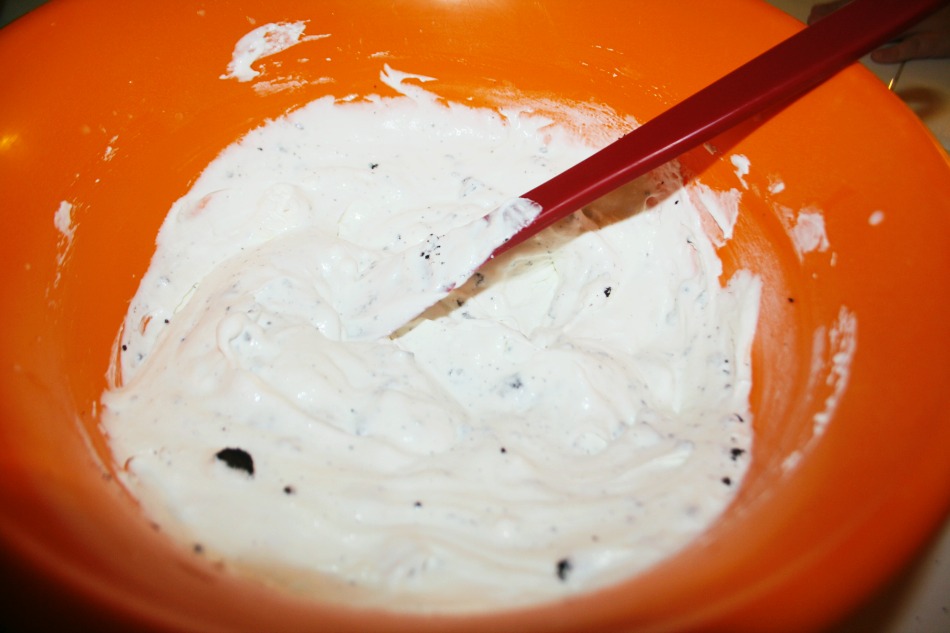
Mix the milk with half of the whipped topping and then mix that with the pudding mixes. Fold in Oreo cookie chunks.

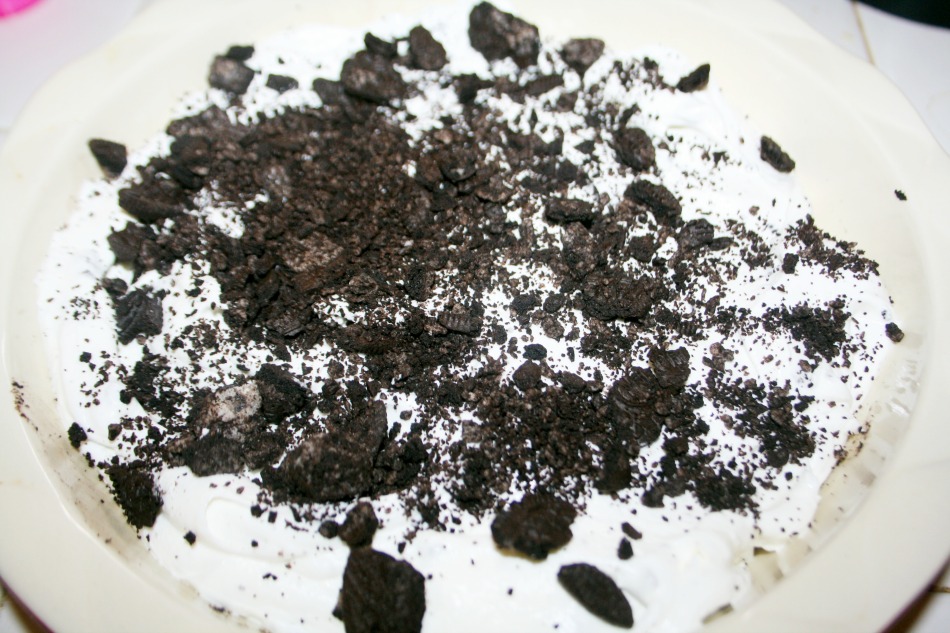
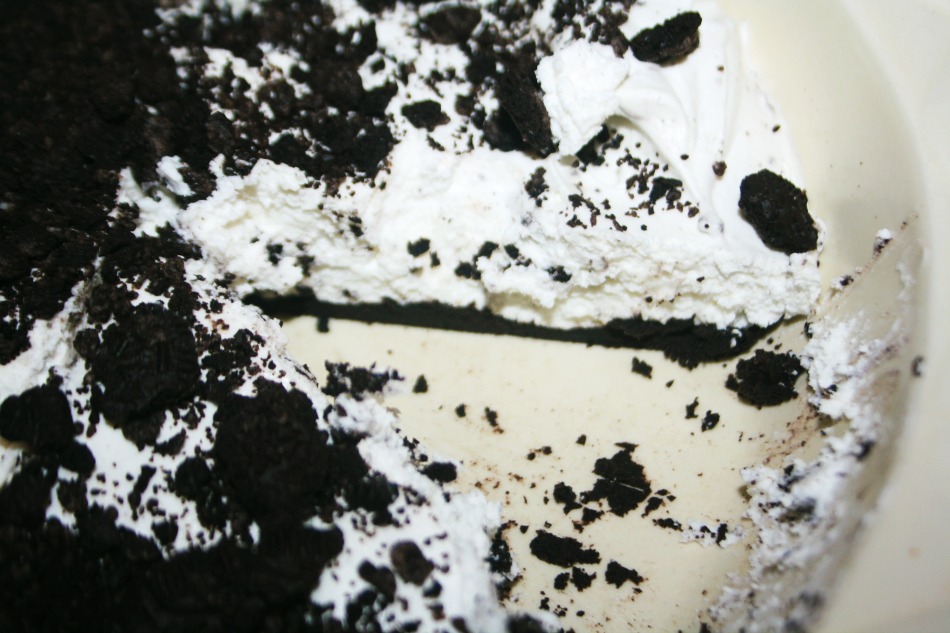
Pour the filling into the crust and top with the rest of the whipped topping. Sprinkle more Oreo cookie chunks and crumbs on top. Freeze for at least 4 hours.

No Comments

Warm Chocolate Pudding

Domestic, Kids

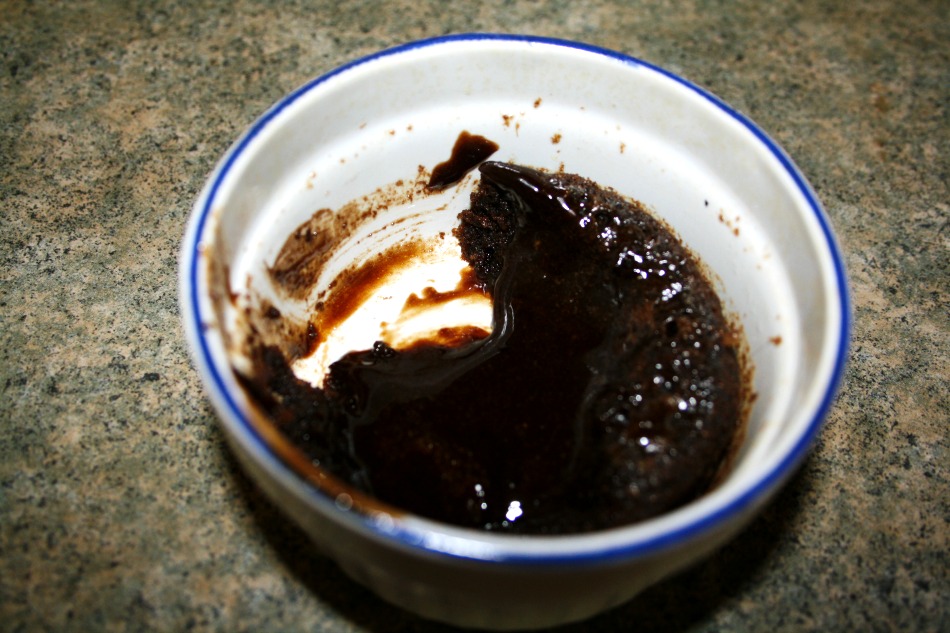
I know that pumpkin and brown sugar generally take center stage in Thanksgiving desserts, maaaaaaybe something with apples too. None of our littles like pumpkin all that much, as far as I remember I didn’t like it much when I was a kid either. My granny always did Thanksgiving dinner and she always, always made sure there was something chocolaty for my sister and I to have for dessert. This chocolate pudding is served warm but instead of having a typical pudding skin on it, it bakes on top so you have a wonderful little layer of cake and then the warm pudding under it. So good – especially nice when it’s cold outside.

This recipe is another from Baking with Kids. All of the recipes in this book are well written and simple enough for small children to do with assistance either from an adult or an older child. Between our three, they can make these recipes by themselves and they love to be able to say they didn’t need any help. So sweet! It’s especially fun to have the littles involved in Thanksgiving dessert since the day is supposed to be about coming together as a family and celebrating what we are all thankful for – and most of the time, kids are shooed out of the kitchen!

Warm Chocolate Pudding

6 ramekins
5 1/2 oz bittersweet chocolate
7 tablespoons unsalted butter
2 extra large eggs, at room temperature
2 egg yolks, at room temperature
5 tablespoons sugar
2 tablespoons sliced almonds, ground

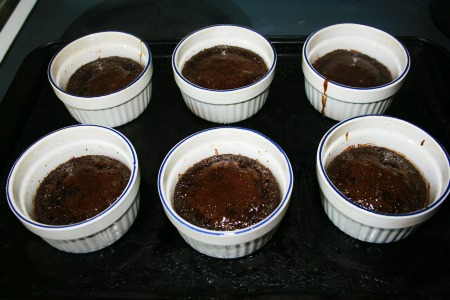
Warm Chocolate Pudding Warm Chocolate Pudding

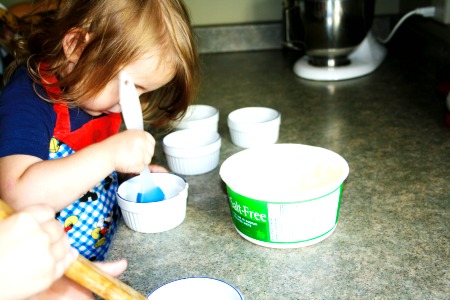
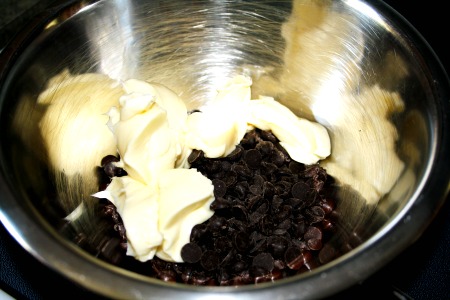
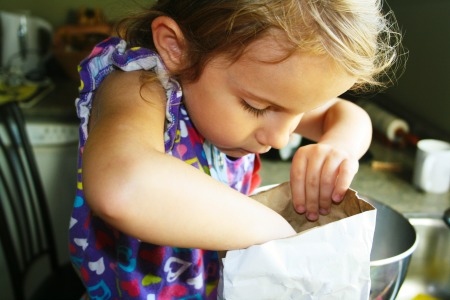
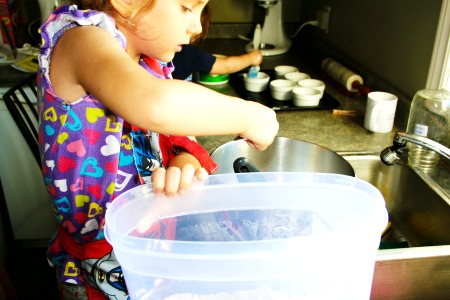
First preheat your oven to 425, get a small helper to butter your ramekins, and then put your chocolate and butter in a heat proof bowl. Set it over a pan of simmering water until it melts.

Warm Chocolate Pudding Warm Chocolate Pudding

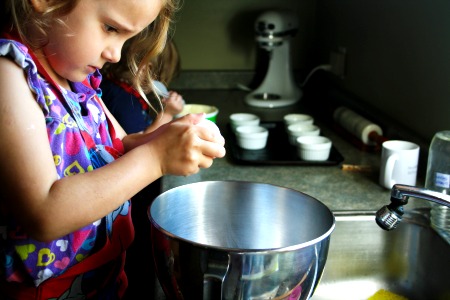
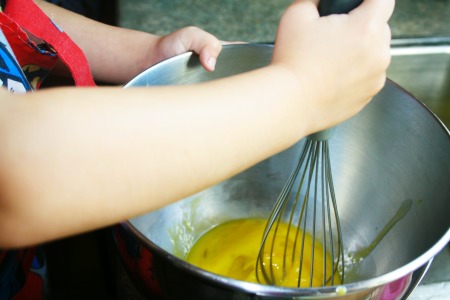
Then have a small helper crack open the eggs into a mixing bowl and add the additional 2 egg yolks and sugar. The kids love using the kitchen power tools so this is the perfect time to let them use the mixer. Beat it until very light and foamy. Now add the ground almonds and whisk.

Warm Chocolate Pudding Warm Chocolate Pudding

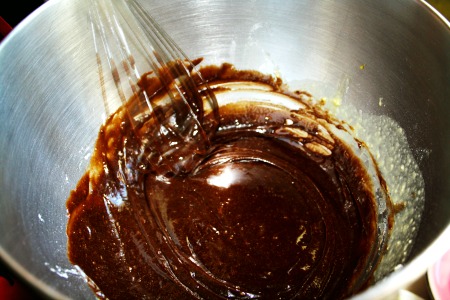
With a slightly older helper, stir the melted chocolate mixture until smooth and pour the chocolate mixture into the egg mixture. Be sure to scrape the bowl and then whisk the mixture again, for about two minutes.

Warm Chocolate Pudding Warm Chocolate Pudding

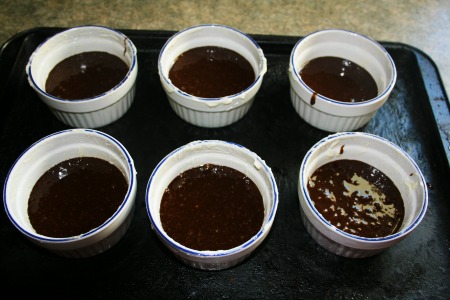
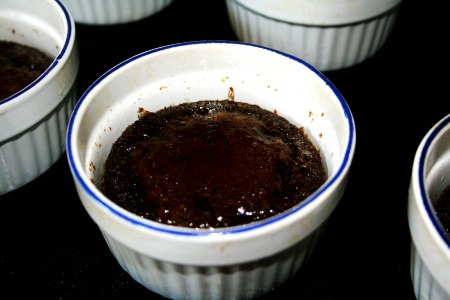
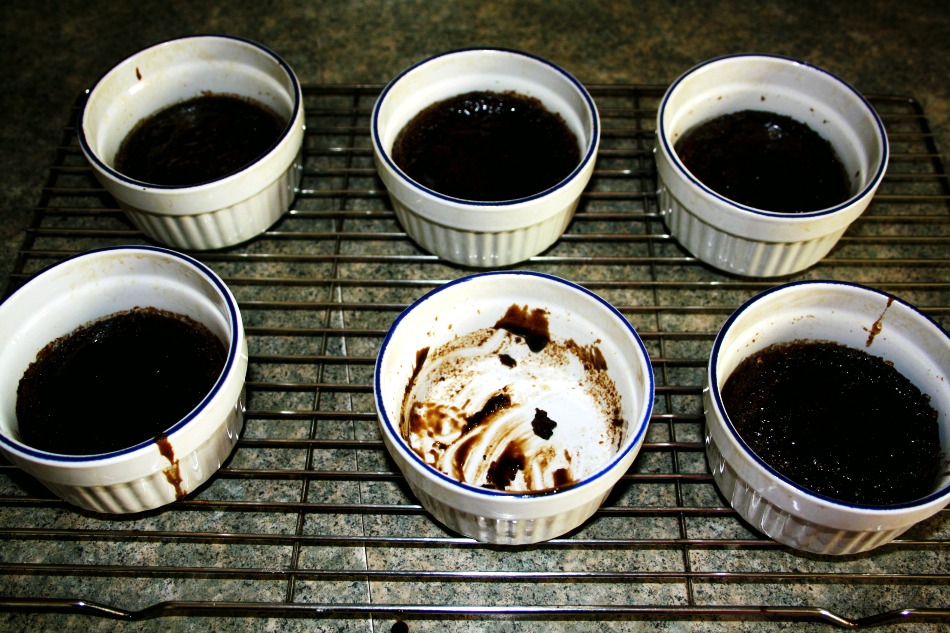
Bake for about 10 minutes. You just want them to be a little puffed and still soft in the middle. They are so good warm from the oven (let the ramekins cool off first, duh), but they are also really good once they have cooled off.

Warm Chocolate Pudding

No Comments

Vegan Chocolate Bites

Healthy

Sometimes I come across a recipe that’s very vegany and it tastes like rocks and sticks and dirt. Usually, I’ll eat it anyway because I know it’s good for me and really, vegan kitchen fails can be pretty pricey!

This one though, it’s not at all like rocks or sticks or dirt! It’s actually sweet and sort of chocolatey! It’s also not pricey if you have most of these ingredients on hand and there are plenty of subs if you don’t. They’re also really, really, really easy to make. Just mix some stuff, then toss some stuff in the food processor, the combine both mixtures and shape into balls (or whatever).

Vegan Chocolate Bites
2 ripe bananas
4 tablespoons almond butter (any kind of nut butter will work really)
4 tablespoons agave (or sugar is fine too)
2 tablespoons wheat germ (or flax if you want)
1/2 cup raw oats
1 cup dates
1/2 cup walnuts
1/2 cup almonds
1/4 cup shredded coconut
1/4 cup raw cocoa

Vegan Chocolate Bites
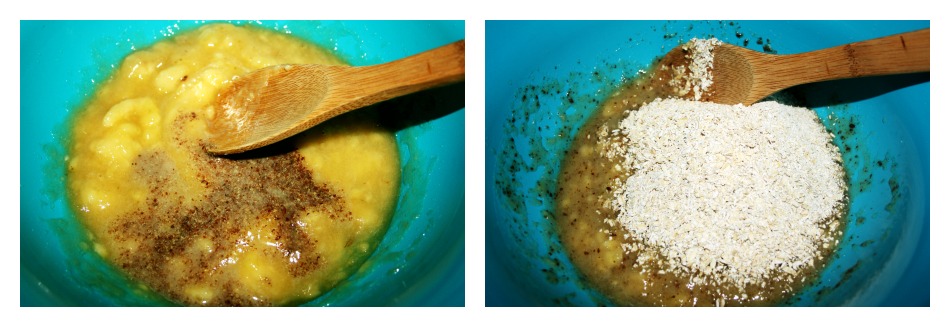
Mash the bananas and mix with the almond butter, agave, wheat germ and oats.
Vegan Chocolate Bites
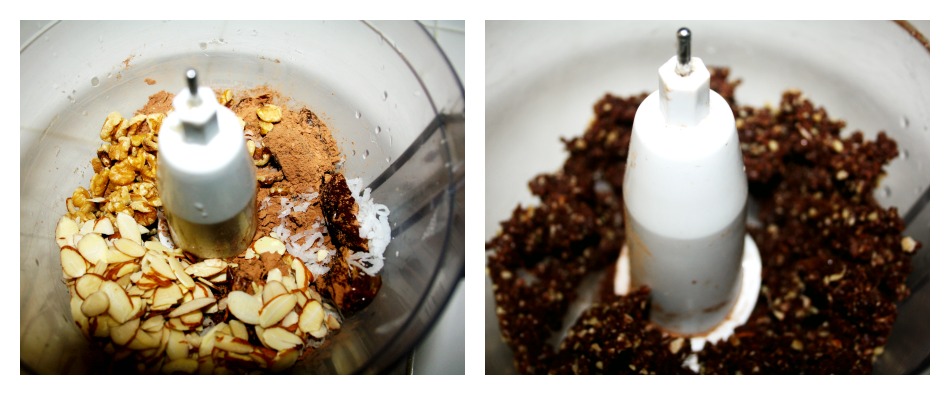
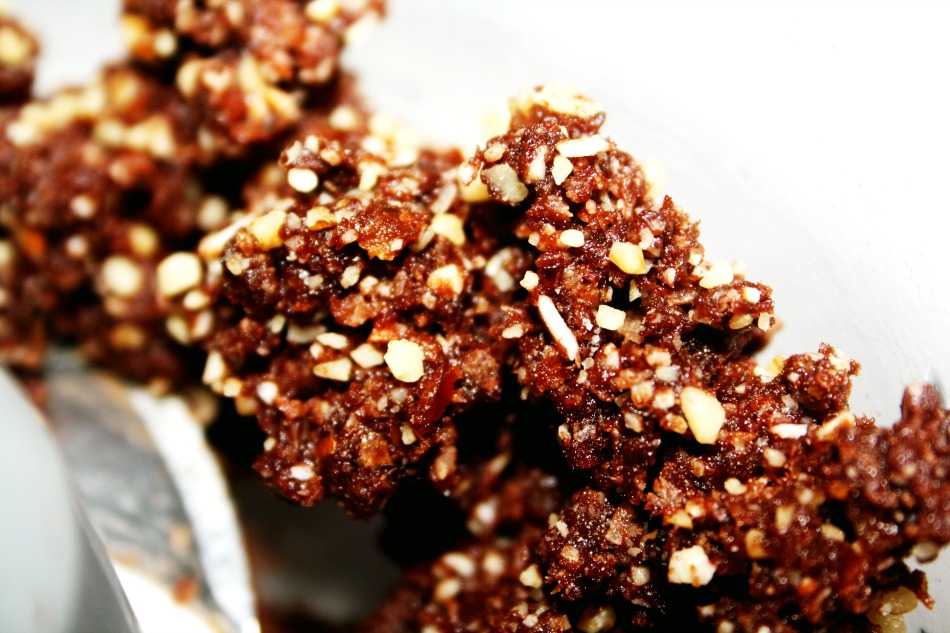
In the food processor, mix the rest of the ingredients until they’re all mashed together.

Vegan Chocolate Bites

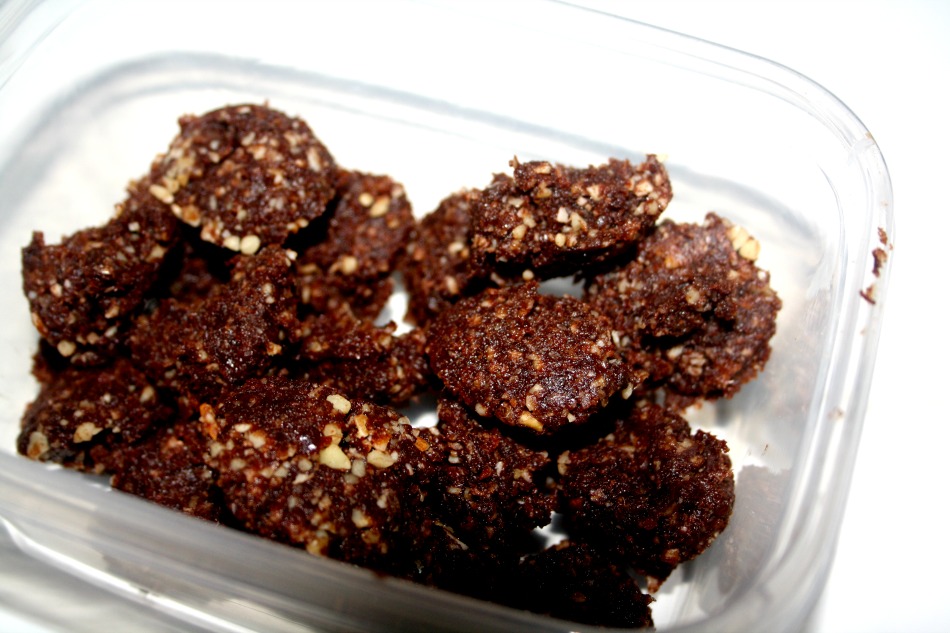
Now just shape into balls and leave in the fridge for a few hours to set up. Voila!

Vegan Chocolate Bites
No Comments

Super Easy Apple Dumplings

Domestic

Generally, when I come across a recipe that uses something premade in it, I shy away from it. Mostly because I’m a full blown bit of a kitchen snob. However, I’m madly in love with Miss Ree Drummond and she uses a very popular refrigerated dough in these dumplings so I went with it and honestly? They’re so so good, it doesn’t even matter. Also? This recipe is totally weird but I trusted it and my neighbors loved them too! In her description about these dumplings, The Pioneer Woman says she had to toss the rest of the tray after trying one (and then another and another). That’s pretty much what happened to me as well, but since we don’t live in the woods anymore I just packed up the rest and took them to my neighbors.

Ok so I classified this recipe as ‘totally weird’ because it involves two sticks of butter, refrigerator crescent roll dough AND a can of Mountain Dew. I know, right?! It feels so wrong, but it’s crazy amazing.

Super Easy Apple Dumplings

via The Pioneer Woman

2 Granny Smith Apples
2 8oz cans refrigerated crescent roll dough
2 sticks butter
1 1/2 cup sugar
1 teaspoon vanilla
cinnamon (enough to cover)
1 12oz can Mountain Dew

Super Easy Apple Dumplings

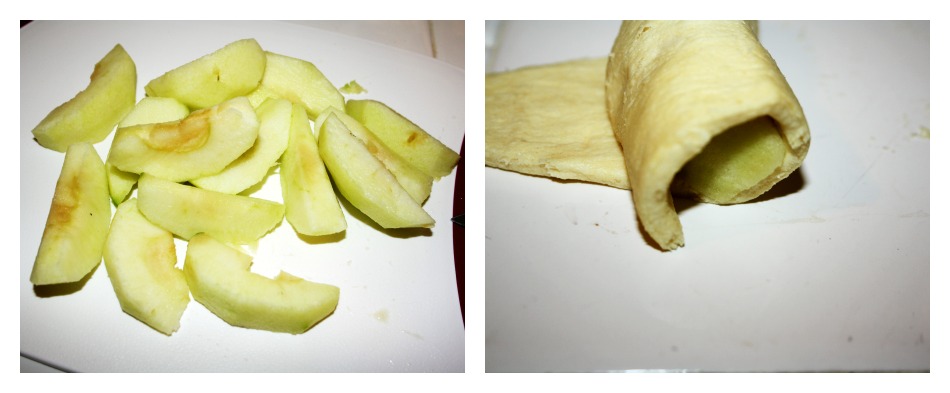
So first, butter up your baking pan and cut your apples into equal slices and wrap each one in a crescent roll segment. Arrange the wrapped apple slices in the buttered pan.

Super Easy Apple Dumplings

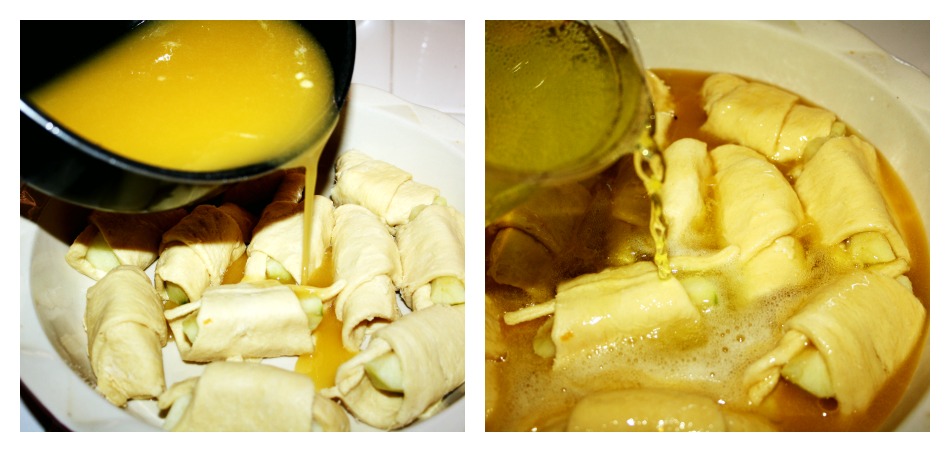
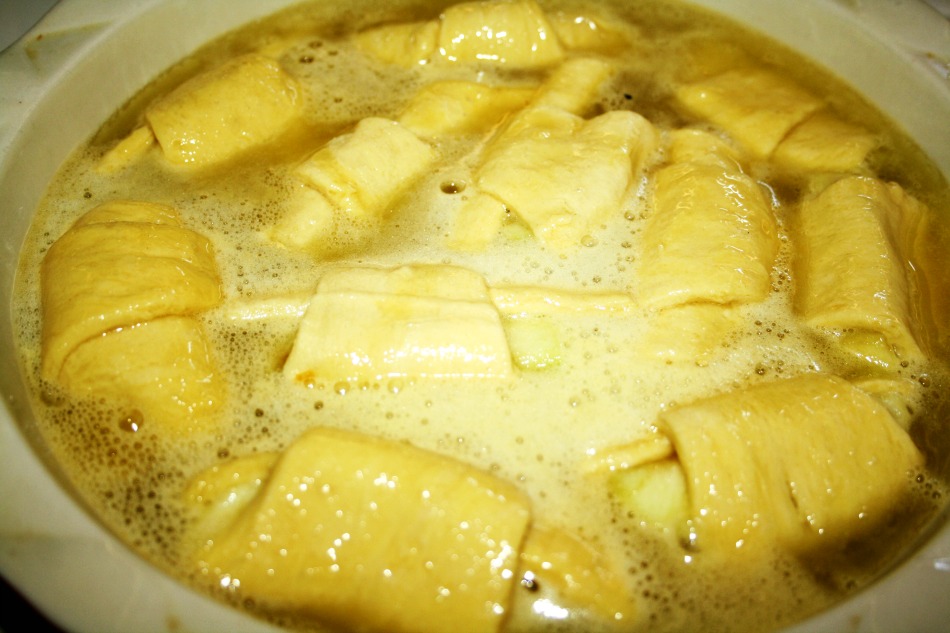
Make the first part of the sauce by melting the butter and adding the sugar and vanilla but don’t stir it much, you want it to have some sugar chunks. Now, pour the butter mixture all over the prepared apple crescents. Theeeeeen, put the Mountain Dew on it. I know, I know. Just just do it, I swear. It looks very, very wrong at this point. I was a little iffy about putting it in the oven, but I did. So glad I did. Sprinkle with cinnamon and bake at 350 for about 30 – 45 minutes. Your house will smell alarmingly good.


Super Easy Apple Dumplings

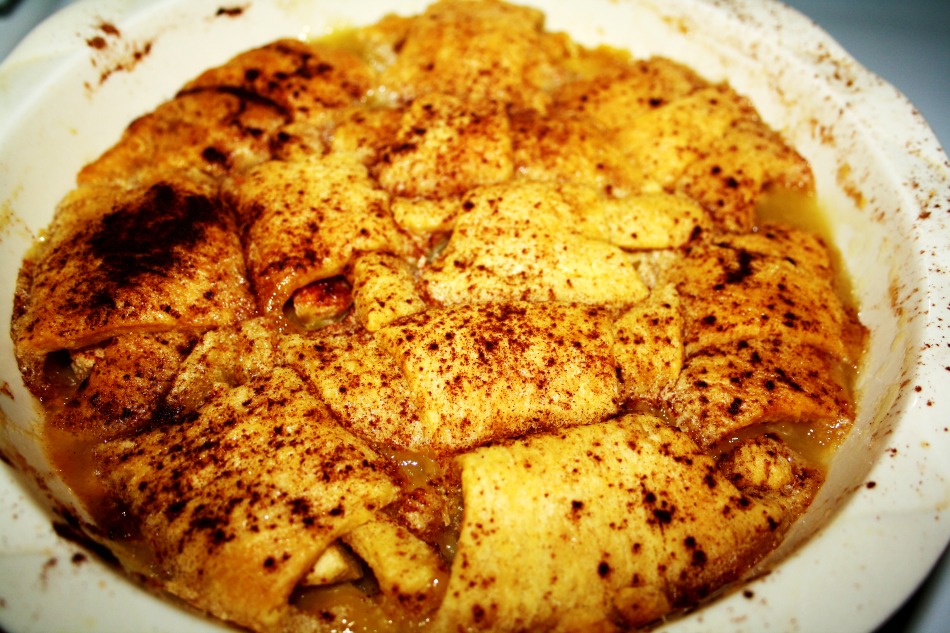
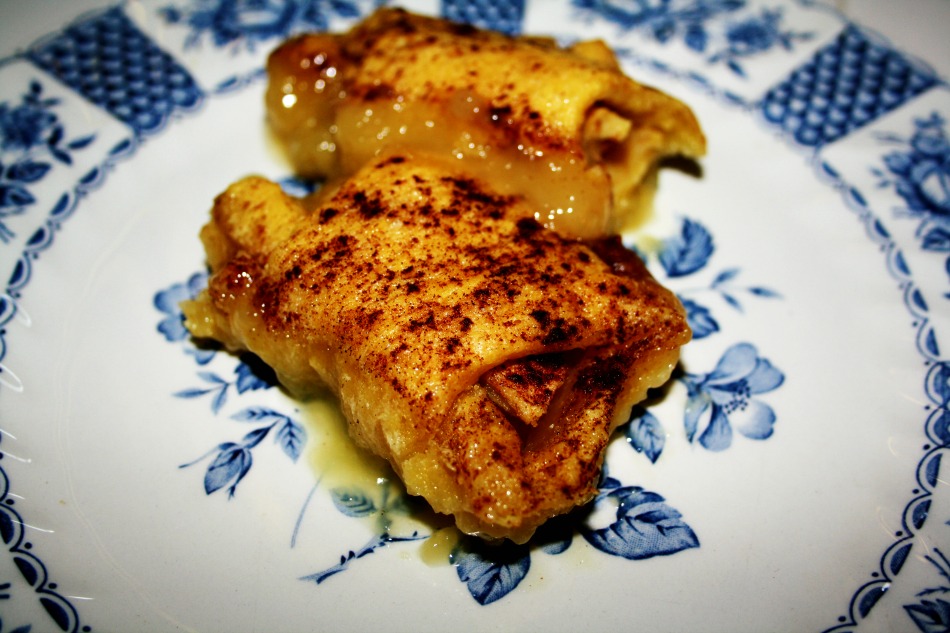
Just look at this thing!! It’s runnier than you probably think it should be, but don’t worry about it. Lift them out one at a time and spoon some of the sauce over top.

Super Easy Apple Dumplings

The butter and the soda make the bottom of each dumpling soft and mushy in the best possible way. They are not crescent roll-esque at all – butter and soda and heat magically transformed them into dumplings. You can add some ice cream if you must, but the built in sauce is awesome enough!

Super Easy Apple Dumplings
1 Comment

Baking With Kids – Sticky Toffee Pudding

Domestic, Kids

This is a hit or miss when it comes to the kids actually eating it at the end, but Miss Wee One #3 really liked making it. Some of our friends in the 10 and over crowd liked it, all the adults who tried it loved it, but none of the littlest ones liked it very much. Except for the syrup. Oh my. It so good, I made extra to give to a friend that loves caramel because it has that caramel taste to it (it’s only one ingredient away from the Amish caramel I make). I haven’t tried yet, but I’d imagine it would be perfect on everything from ice cream to apple slices.

I think the syrup is the main attraction here and it really takes the date cake over the top, but the cake itself is pretty good. It is a spice cake dotted with dates which really make or brake loving this or not. If you’re into them, it’s a win. If you’re not, just leave them out!

Baking With Kids - Sticky Toffee Pudding

Sticky Toffee Pudding via Baking with Kids

Cake:
1 cup pitted, chopped dates
1 1/4 cups boiling water
1 teaspoon baking soda
4 tablespoons unsalted butter, softened
3/4 cup granulated sugar
1/2 teaspoon vanilla extract
2 extra large eggs
1 2/3 cups flour
1 teaspoon baking powder
Syrup:
2/3 cup brown sugar
4 tablespoons butter
1 cup light cream

Preheat to 350, and pour the boiling water over the chopped dates. Add the baking soda and let it sit for a while.

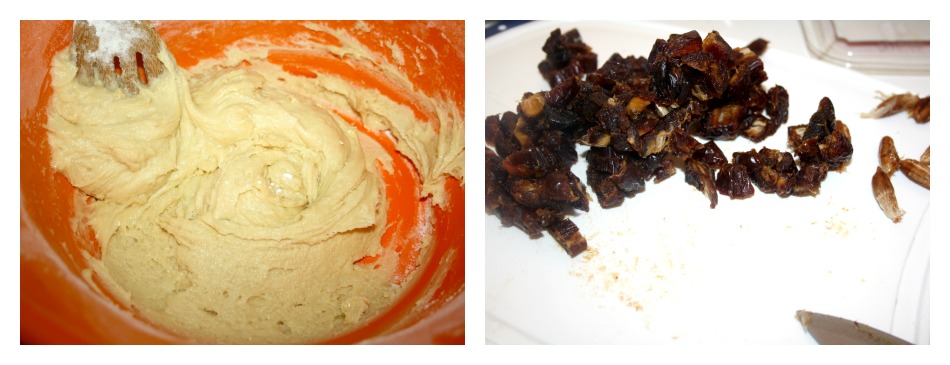
Mix the sugar, butter and vanilla until well combined. Whisk the eggs on their own to break them up and then add them to the sugar/butter mixture one at a time. Make sure it’s well mixed each time.

Baking With Kids - Sticky Toffee Pudding
Here’s the water/dates/baking soda ready to roll.
Baking With Kids - Sticky Toffee Pudding
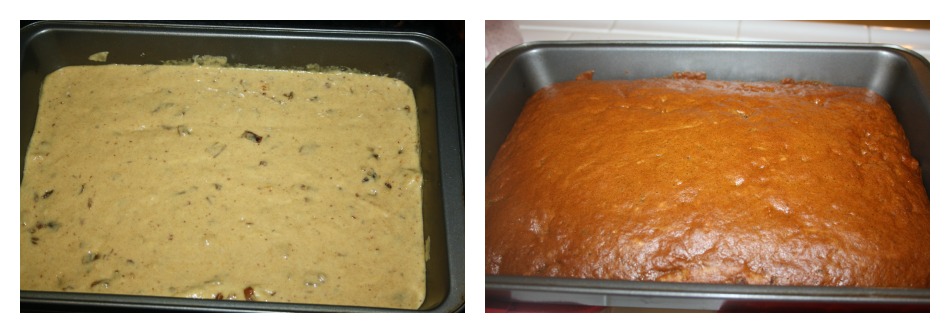
Sift the baking powder with the flour and add to the egg/butter/sugar mixture, then add the water and date mixture and mix it up!
Bake for about 45 minutes.
Baking With Kids - Sticky Toffee Pudding
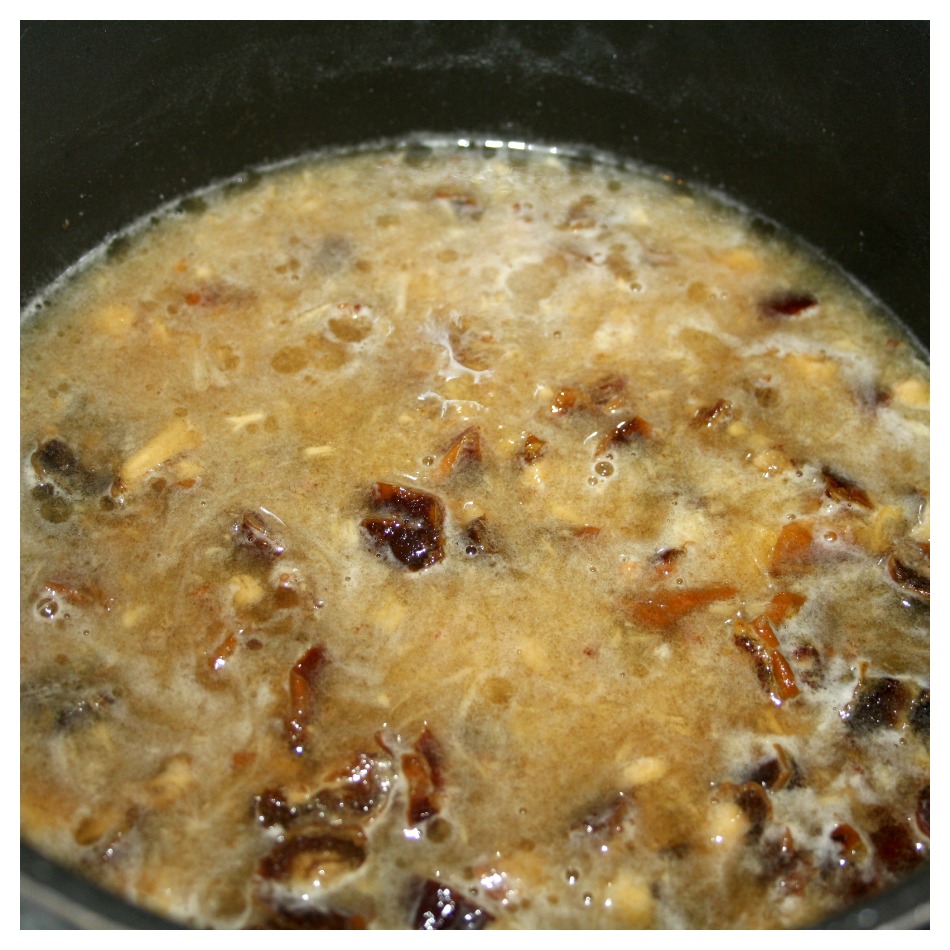
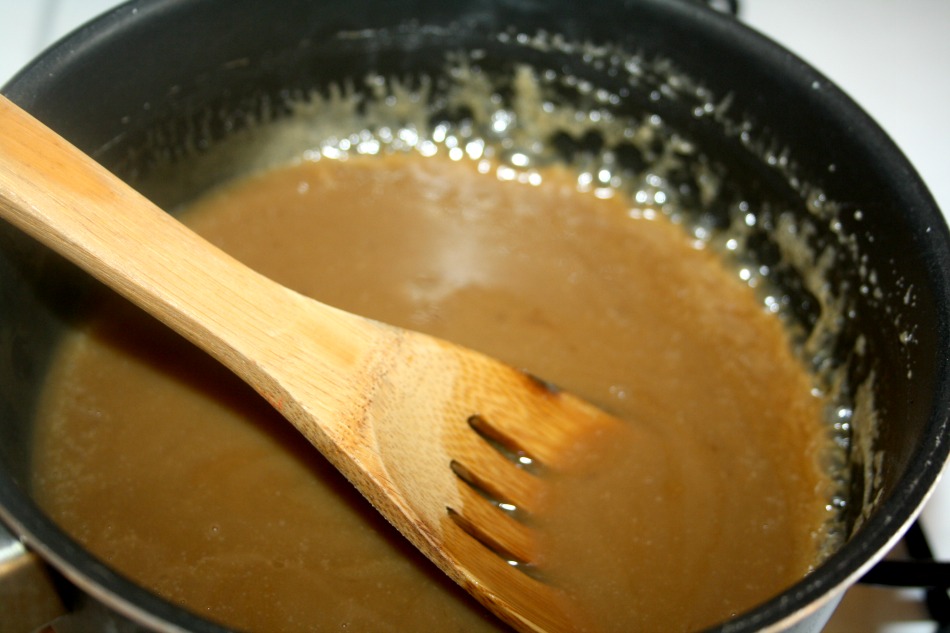
Make the syrup while the cake is baking by heating brown sugar, butter and cream until it starts to bubble and crystallize at the edges.

Baking With Kids - Sticky Toffee Pudding
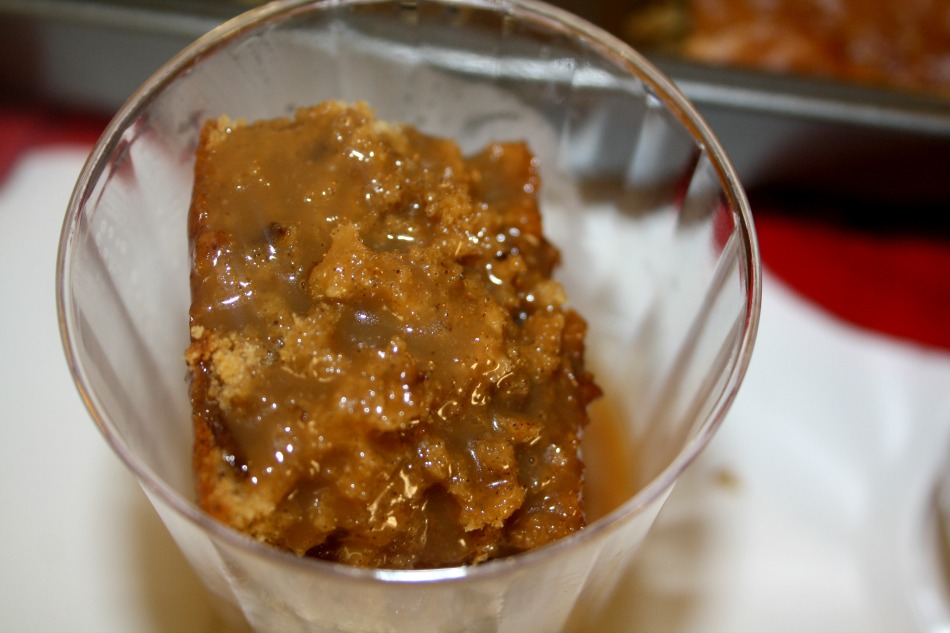
Once the cake is ready, chop it up however you like and then drown it in the syrup. Voila!

Baking With Kids - Sticky Toffee Pudding
No Comments

Strawberry Shortcake

Domestic

It started with beautiful strawberries. Huge, bright, lovely strawberries that inspired me to whip up a strawberry shortcake. For a split second, I thought of making an angel food cake with this but if I’m honest, as natural as angel food cake is to pair with fruit, I don’t really love it all that much. My husband doesn’t hate it but he’s not crazy over it either so I went with a pound cake.

I’ve been using Alton Brown’s pound cake recipe for about 4 years and it’s never gone wrong.

Strawberry Shortcake
Pound Cake via Alton Brown

16 ounces unsalted butter, cut into pieces and softened
16 ounces cake flour
16 ounces sugar
9 large eggs, room temperature
1 teaspoon vanilla extract
1/2 teaspoon kosher salt

Preheat to 350 and grease and flour three 9″ cake pans, or one 9″ x 13″ cake pan or a bundt or whatever makes you happy, in this case I went with fou4 9: cake pans (only three were used so I covered the fourth in whipped cream and strawberries and brought them to my neighbor). Cream the butter and the sugar, then add the eggs one at a time. Be sure to scrape down the sides with a spatula and then add the vanilla and salt.

Now very slowly add the flour, with the mixer on low, until it is all incorporated. Then pour into your prepared cake pan and bake for about an hour.

While it’s baking, prepare your whipping cream and strawberries! Wash, hull and chop your strawberries into smallish pieces. If you prefer bigger chunks, go for it. When I make whipped cream for dipping fruit in, or for something like this when it’s acting as a frosting, I always use the one pint carton. I whip it into oblivion with 1/4 cup confectioner’s sugar and about 1 or 2 teaspoons of vanilla. I used 2 teaspoons when I made it for this cake and I also added 2 tablespoons of granulated sugar for a slightly different texture from the standard whipping cream we are always dipping strawberries in.

Strawberry Shortcake

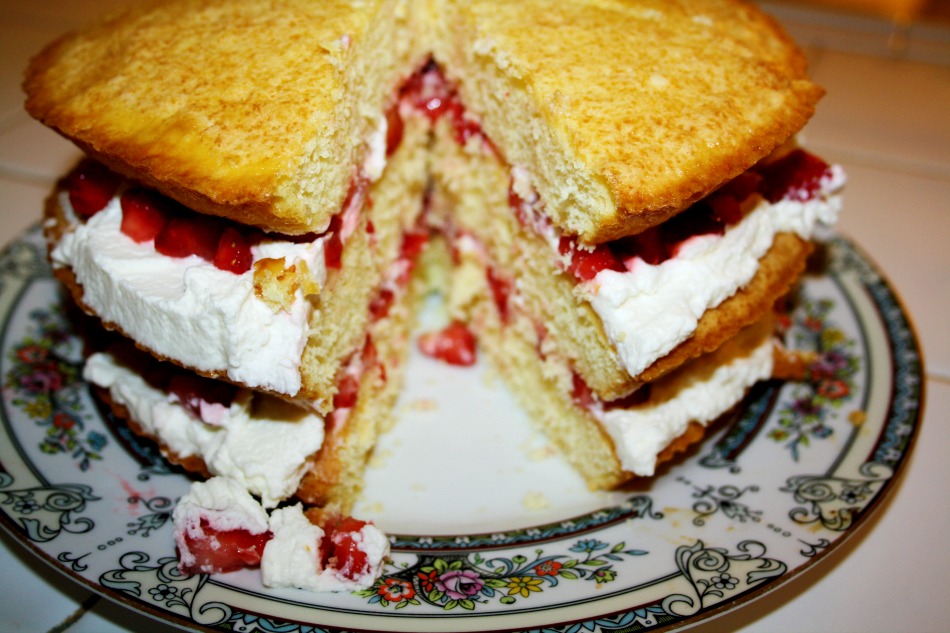
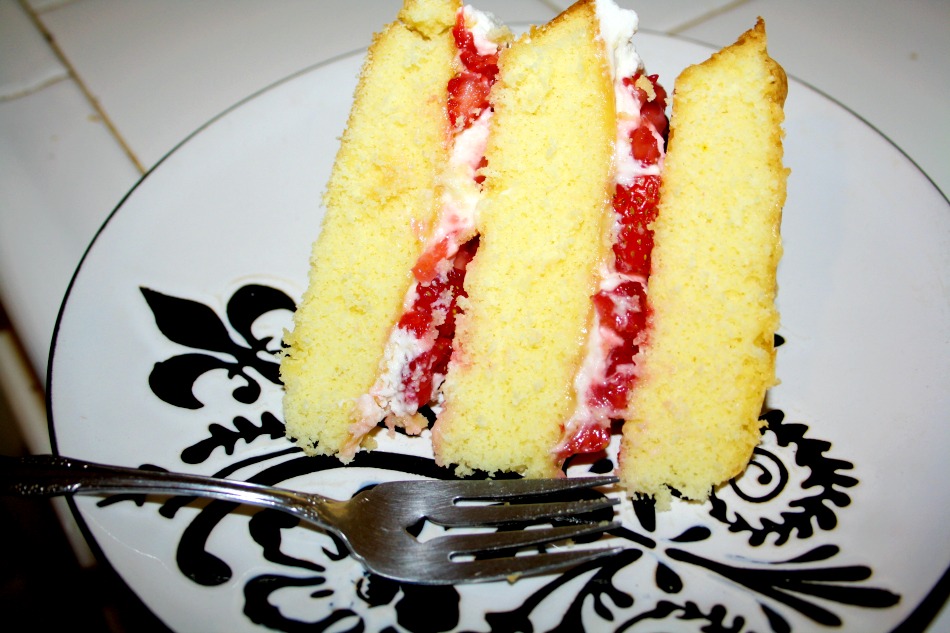
Once the cakes have cooled, flip one out onto a plate (or whatever you’re serving from) and slater it in a layer of whipping cream. Then sprinkle the bits of strawberry on top, but do a whole lot of sprinkling. You’re going to want a lot of strawberries in this. Add the second cake carefully and slater that with a (not so) healthy helping of whipping cream as well, and then again with the generous sprinkling of the strawberries. I opted not to cover the top of the cake as well, you can always add a dollop of whipped cream and more strawberries on the side for anyone who wants more.

Strawberry Shortcake

This really does taste even better if you pop it in the fridge for a bit before you’re ready to serve it. The whipping cream softens up the cake juuuust enough that it’s got a nice texture but not enough that it’s soggy and because the cake is so sturdy it can also absorb some of the strawberry juice and still hold it’s shape. So good!!

Strawberry Shortcake
No Comments

Menu Monday with Apple Cobbler, also where did summer go?

California, Domestic, Kids

Amazing to me that summer break is almost over for us! We had intended to be pretty laid back this summer (yeah, yeah, I know I can’t) and get some summer school work done. The first two weeks of summer break we ran around South Bay hanging out with my dear friend Jennifer and her kids before they moved back to Texas (sadface), and we really did manage to do a lot in those two weeks. Wee One #2 had a dance performance at a fair and our oldest was promoted to a second stripe white belt in jiu jitsu!

Then? July happened. The oldest two started swimming lessons three days a week, Wee One #2 started dance camp, and evening classes at the studio started up again as well. Most days she was at the studio for half a day, but at least once a week she was there all day. The window of her at dance camp in the morning and the second window of her home from dance camp in the afternoon wasn’t really long enough to go far, but I had fun in the pool and the yard with the other two. Our oldest had jiu jitsu camp this summer as well, every afternoon plus he has regular classes three days a week plus one additional lesson. Wee One #3 made running around our little ‘hood all month feel fun. The library is very close and she’d always suggest a trip over there to get new books between dropping off and picking up the big kids. <3 We had a break last week from the studio, and now our tiny dancer is starting her 'summer dance intensive' schedule today. Half day of dance classes from lunch until just before dinner. The catch for her is that she has her first check in day for school during the second week of intensives but I'm sure we can make that work. So just like that, our summer break is over and it feels both like it didn't even happen (where's the 'break' part?) and like it was well spent! We did manage to sneak in a weekend in Vegas with the kids to hang out with my girl Nichole and her kids and do some tourist stuff too. I am especially grateful to live somewhere that feels like summer so much of the year that you didn't really miss it, even if you missed it. You know? 😉

This week, I’m trying to make my husband’s favorite meals paired with desserts that will win our kids over if they didn’t love dinner as much as their Daddy. 😛

This Week’s Menu August 5-11

Monday – Lasagna with Savory Onion Bread and Pioneer Woman’s Apple Dumplings for dessert

Tuesday – Parmesan Breaded Chicken Breasts, Creamy Broccoli Noodles with Corn and Pioneer Woman’s Knock You Naked Brownies for dessert

Wednesday – Shredded Chipotle Chuck Roast with Bacon Mashed Potatoes and Roasted Cauliflower with Apple Cobbler for dessert

Thursday – BBQ Steaks, Hassleback Potatoes and Corn on the Cob with Pioneer Woman’s Homemade Glazed Donuts for dessert

Friday – Roasted Chicken, Baked Potatoes with Carrots and Pioneer Woman’s Malted Milk Chocolate Chip Cookies

Saturday – Tacos with Lime Jello Cubes and Whipped Cream for dessert

Sunday – Homemade Pizza with Ice Cream Sundaes for dessert

Apple Cobbler is hands down one of my husband’s all time favorite desserts and our kids are all big on apples. This was a hit, I loved it so much I shared with our neighbors. 🙂

Apple Cobbler via Baking Bites

1/3 cup sugar
1 1/2 teaspoon cinnamon
5 medium apples (about 2 lbs)
1/2 cup brown sugar
1 tablespoon cornstarch
1/8 teaspoon salt
1 1/3 cups flour
1/4 cup quick oatmeal
1 1/2 teaspoon baking powder
1/4 teaspoon salt
4 tablespoons butter, chilled and cut into small pieces
1/2 cup milk

Preheat oven to 350, and mix the sugar and cinnamon, you’ll need this later. Peel and core your apples, and chop them up. Mix the apple pieces with the brown sugar, cornstarch, and salt. Pour this into your baking dish and make the topping!

The topping is really simple and so so good! Just combine the flour, oatmeal, baking powder, salt and 1/4 cup of the cinnamon-sugar mixture you made first. Mash the butter in with your fingers to get it all combined. Drop this all over the top of your apples to form a messy crust, sprinkle with the rest of the cinnamon-sugar and bake for about 45 minutes.

I served it with hard cider from Angry Orchard but it was just as amazing later with coffee. 😉

It was so good I ended up bringing some around to our neighbors!
1 Comment

Patriotic Jello

California, Domestic, Kids

Yup, that’s right. Patriotic jello. Anyone who knows me at all, knows that I do whatever I do with both feet. I’m either out or I’m all in. Sometimes this is not such a great trait to have, but in terms of moving stateside, I think it’s hilarious and super fun. This year for the 4th, I will wear my ridic American flag Abby Dawn heels (in red, duh), I will barbecue epic burgers, I will bake an apple pie and I will make this jello flag dessert. That’s what happened last year (aside from the shoes, those were bought for Memorial Day this year), and it’s what I intend to do every year that we are here. Thanks for having us, America. 😉

I’m sure a lot of my American friends grew up with a red, white and blue loving mother or grandmother that used to make this every year. I totally love it, it’s so so silly but not like when you make something silly that is borderline wasteful because it’s mostly decorative. It’s jello! And whipped cream! And blueberries! What’s not to like?!

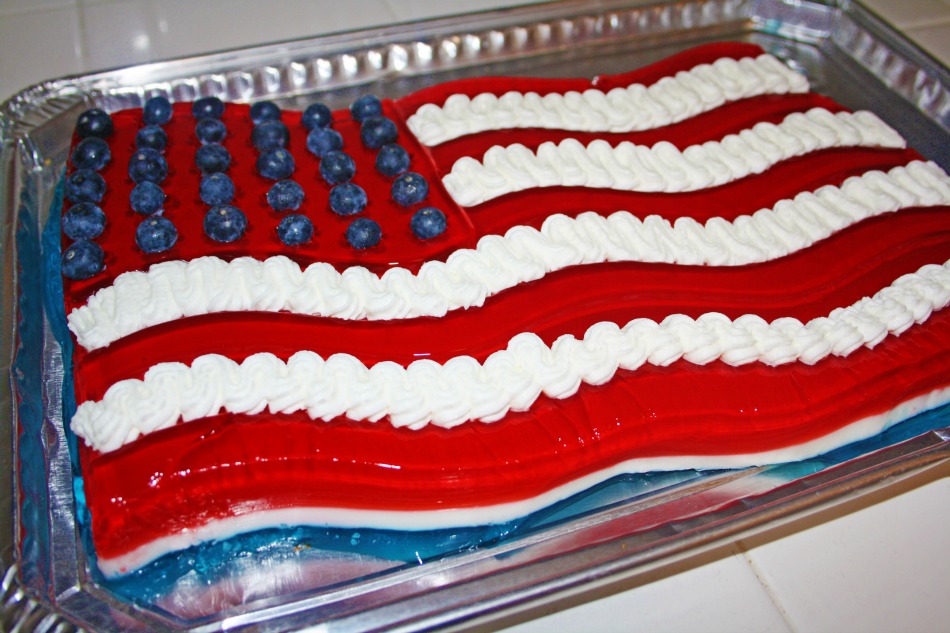
It is a little labor intensive and it does require a special mold, but look at this thing, epic and totally appropriate for the 4th.

Patriotic Jello

4 1/2 cups boiling water (total, not all at once)
2 packages berry blue jello (3 oz boxes)
2 packages any red jello (3 oz boxes) I used strawberry
3 1/2 cups cold water (total, not all at once)
2 packages plain gelatin
1/2 cup cool whip
1 can sweetened condensed milk
homemade whipped cream (a carton of heavy cream, sugar and a mixer)
blueberries

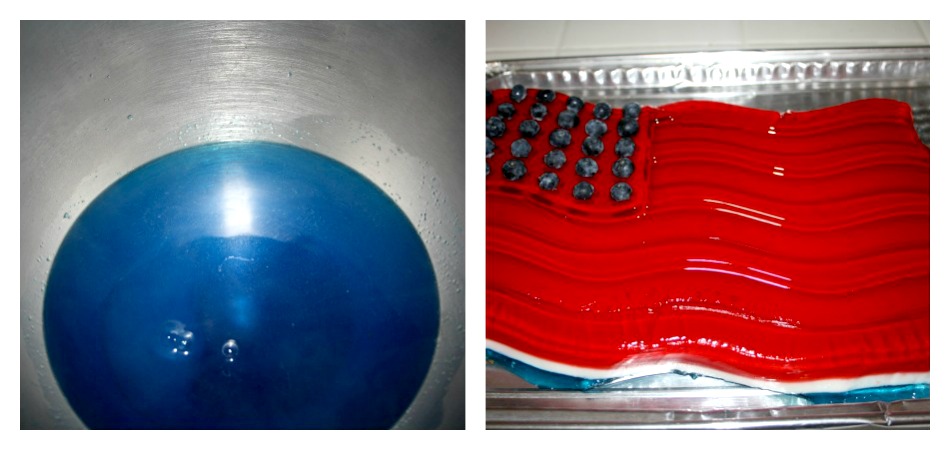
You have to make this upside down, so even if your first inclination is to make the blue first, don’t! Prep the red jello first, I think it’s safe to assume you can handle that, but just in case you need a reminder it’s 1 1/2 cups of boiling water poured over the jello powder, then 1 1/2 cups cold water and mix till all the powder is dissolved. Pour this in the mold first and chill for about an hour.

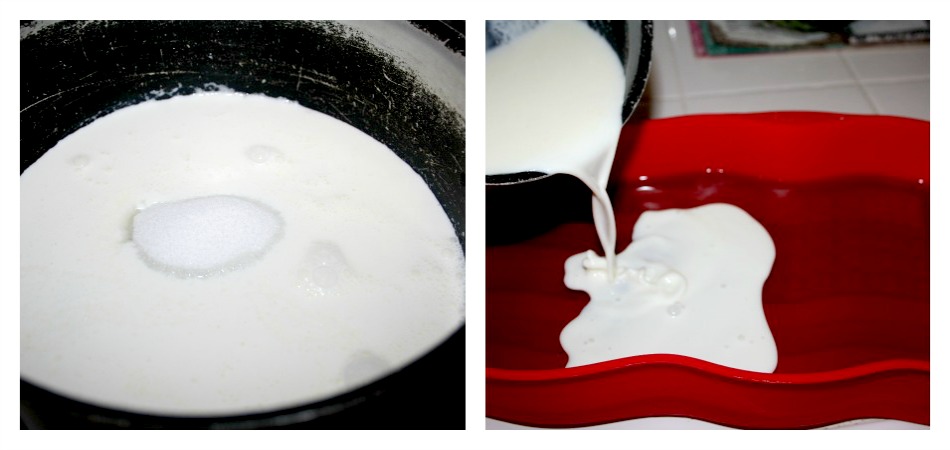
Then make the white jello by mixing 1/2 cup of cool water and two packets of plain gelatin, let sit for about 5 minutes before adding 1/2 cup hot water and stir until the gelatin has dissolved. Then add the sweetened condensed milk and stir, pour this over the red jello layer. Chill this another hour or so.

Patriotic Jello

Now make the blue jello (1 1/2 cups hot water plus the powder, plus 1 1/2 cups cold water, duh) and pour that over the red layer. Chill this another hour.

Patriotic Jello

Fill a larger pan with hot water and set the mold in it to loosen it up, then say a little prayer and flip it over onto a flat board or cookie sheet or whatever.

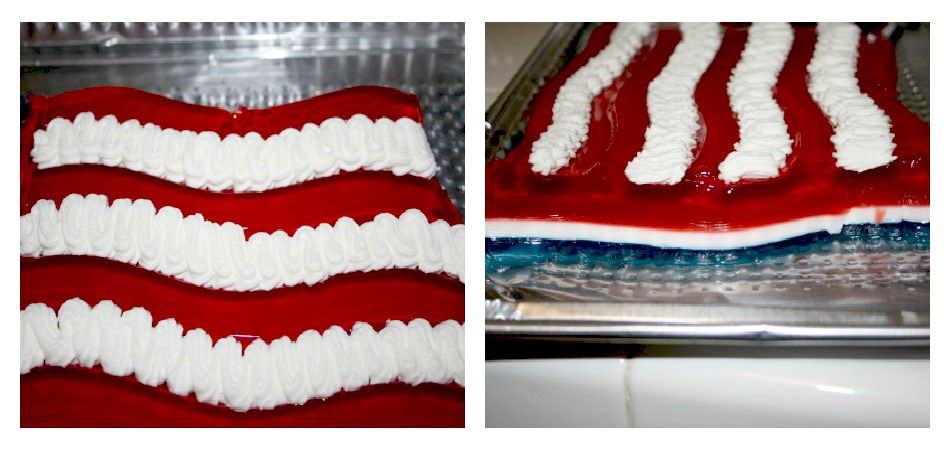
Now, make some whipped cream (or use the rest of the cool whip), and wash some blueberries. Plunk the blueberries in place of stars and pipe the whipped cream for the stripes! Voila!!

Patriotic Jello

Isn’t she beautiful?

Patriotic Jello
No Comments

Mint Nanaimo Bars for a belated Canada Day!

Domestic

So technically I didn’t really celebrate Canada Day yesterday. Last year I made peameal bacon sandwiches on kaisers with poutine, and this year I have to admit I’m kinda excited about my plans for the 4th so all I managed to do last night after all the kids were cleaned up and in bed (both the jiu-jitsu dojo and the dance studio really produce some sweaty kids in July) were these mint nanaimo bars.

I’m going to give you a little history lesson today because no one seems to know about any of the random Canadian treats my husband and I obsess over. No matter how long we live here, and no matter how many churros we eat, we will always be suckers for Canadian desserts.

So first of all, Nanaimo is a little city on Vancouver Island, off the coast of British Columbia. Both my husband and I have family out there and it’s one of those lovely picturesque places in Canada that has evergreens and no snow. In the early 1950s, an old school domestic goddess (her name was actually Mabel Jenkins, can you believe it, how perfect that her name was Mabel?) came up with these bars and submitted them to the Ladysmith and Cowichan Women’s Institute Cookbook. No really, that’s what it was called and yes, it was an extremely regional publication lol. They were an instant hit and started popping up in coffee shops on the island and very quickly went from being called Mable’s Bars to Nanaimo Bars since that was the only place anyone could find them. Over the years the recipe has been tweaked by various people so there are a whole lot of variations. Since the middle is a pretty simple pudding-type custard, it can be made in any flavor (and of course color to match). The top is always chocolate but I have seen a lot of variations on the bottom crust as well.

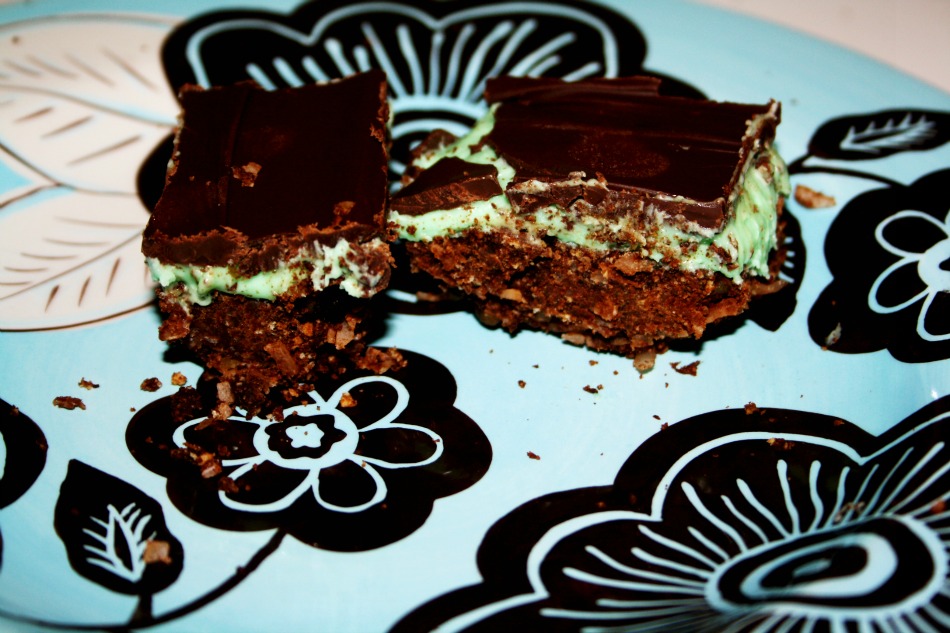
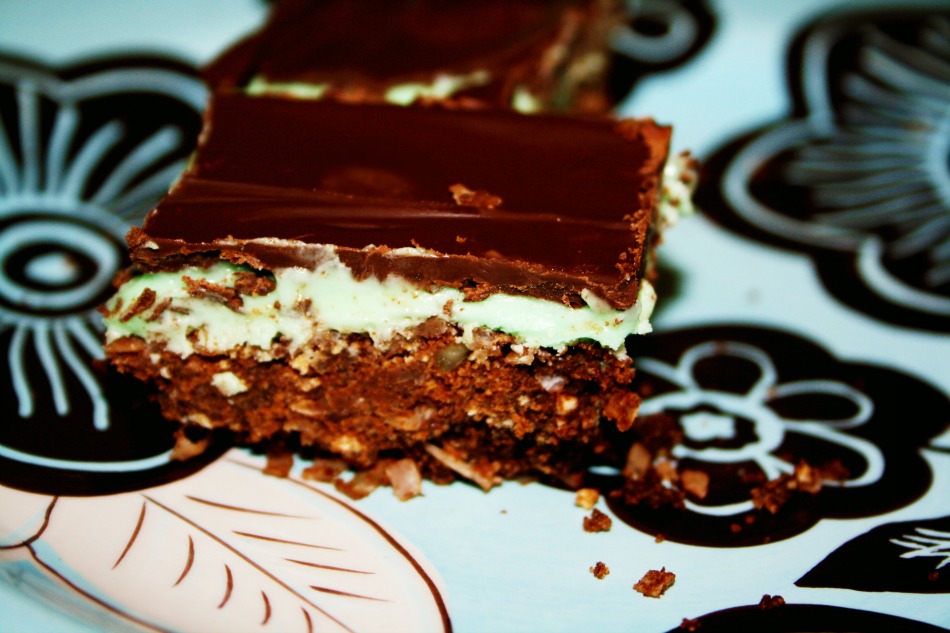
My husband loves the mint version and of course if something is mint, we have to be made aware of it with a painfully green tint. 😉

Mint Nanaimo Bars

Mint Nanaimi Bars adapted from Canadian Living and also Canadian Living. (I used the filling from the first, the crust from the second and the standard topping)

Crust:
2 cups graham cracker crumbs
1 cup sweetened shredded coconut
2/3 cup finely chopped walnuts
1/2 cup cocoa powder
1/2 cup granulated sugar
2/3 cup butter, melted
2 eggs, lightly beaten
Filling:
1/3 cup butter, melted
1/4 cup milk
1 tablespoon peppermint extract
4 cups icing sugar
1 green food coloring

Topping:
8 oz chopped semisweet chocolate
2 tablespoons butter

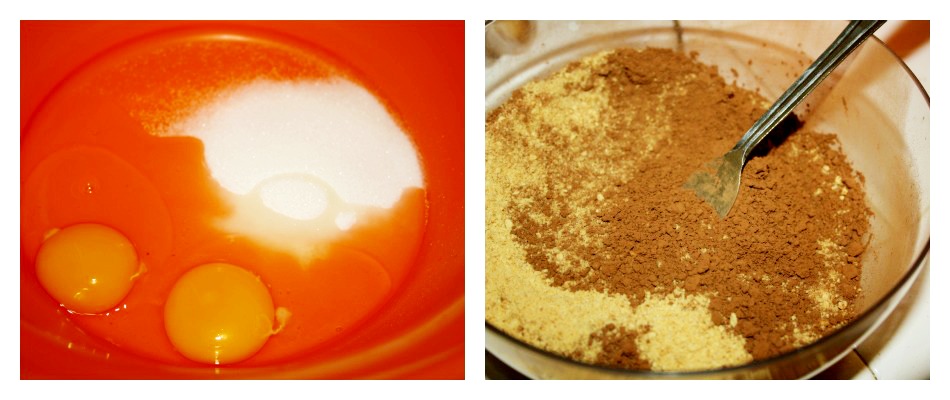
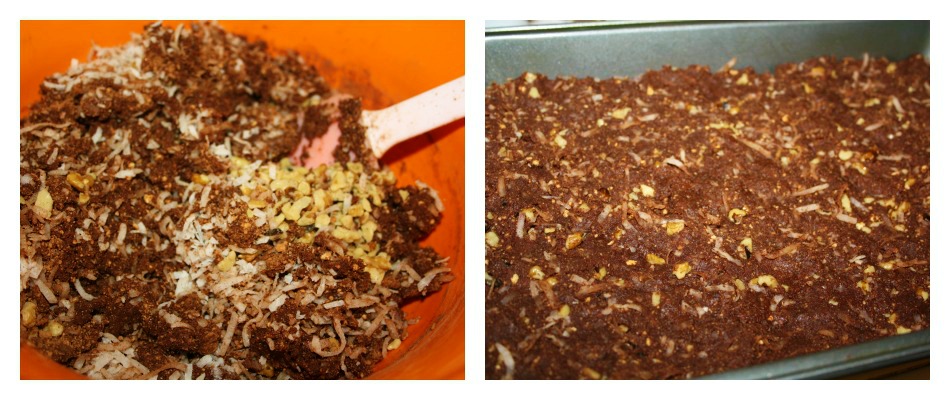
I swear, it’s a pretty simple process for a three layer situation, but like most layered situations, there is some chilling time between each one. To make the crust, mash up the graham cracker crumbs, coconut, walnuts, cocoa powder and sugar. Slowly add the butter and the eggs until it will hold it’s shape.

Mint Nanaimo Bars

Now press it into a 9 x 13 pan and bake at 350 for about 10 minutes.

Mint Nanaimo Bars

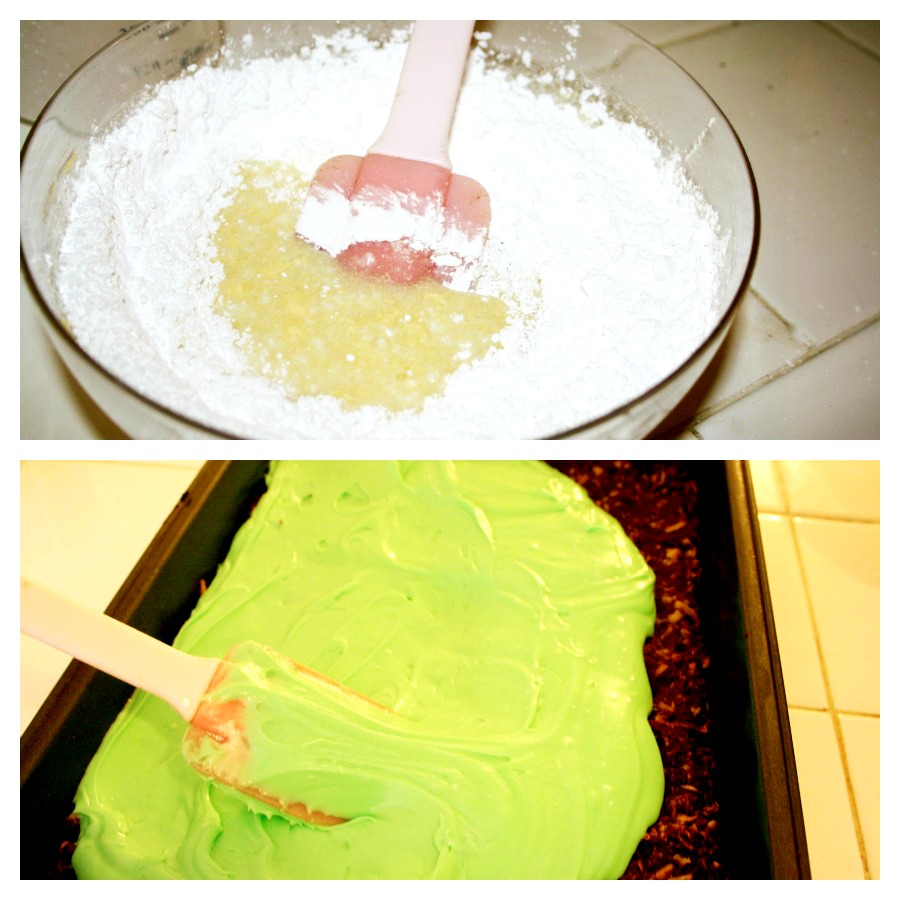
The filling is even easier! Just combine the butter, milk and peppermint, then add the sugar in one cup at a time until it’s all mixed in. Once the crust has cooled, spread this over it and chill it for about an hour.

Mint Nanaimo Bars

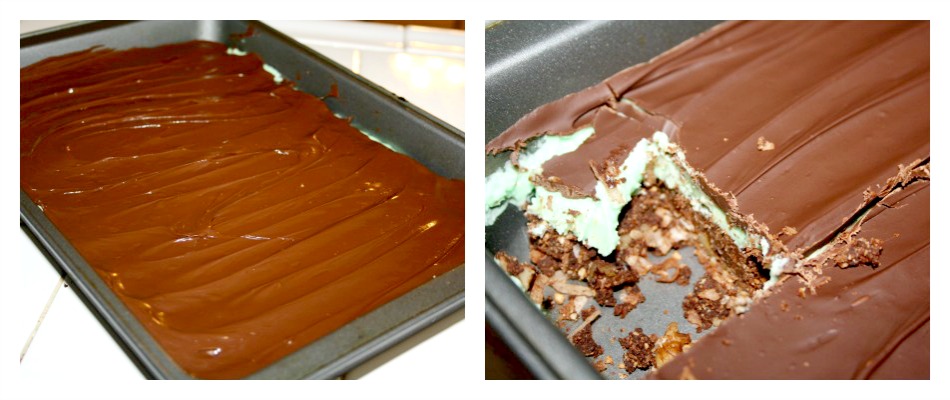
Finally, the last and thankfully easiest layer! Just melt the chocolate in a double boiler, add a little butter and spread over the chilled peppermint layer. Chill it again for about another hour and you’re done!

Mint Nanaimo Bars

Make a coffee and crack into that chocolate layer to get to the mintyness inside! So good!

Mint Nanaimo Bars
Mint Nanaimo Bars
1 Comment

Slutty Brownies

Domestic

Today I’m linking up with Ducks ‘n a Row, Wednesday Whatsits, Fluster Buster, Buns In My Oven, The NY Melrose Family, Gooseberry Patch, Lady Behind the Curtain, Ginger Snap Crafts, Polka Dots on Parade, Sugar and Dots, Lil Luna, Sew Much Ado, and All She Cooks. So many inspiring recipes and crafts in these link ups!

Yes. Slutty. Brownies. I know, I didn’t make it up, but it’s a great name, right?

These brownies involve chocolate chip cookies, Oreos and well, brownies. These treats have been made and blogged about and made again and blogged about again all over everyone’s favorite foodie blogs but as far as I can tell, it was Rosie over at The Londoner that first introduced these to the internet.

Slutty Brownies

Slutty Brownies via The Londoner

chocolate chip cookie dough (use the Good Housekeeping version)
chocolate brownie batter (this is my granny’s recipe)
Oreos

Does this require a recipe? Really?

I’m going to completely gloss over that you could choose to use a box of cookie mix and a box of brownie mix. I will judge you and be really disappointed in you if you don’t make them from scratch. Just kidding! No but really, I’m totally judging you.

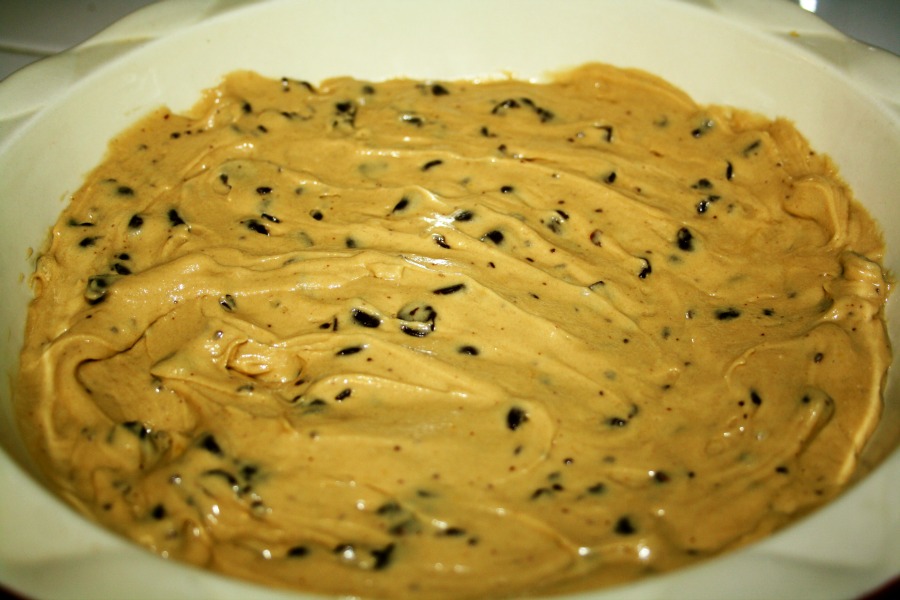
Make a batch of chocolate chip cookie dough and spread it in a greased brownie pan.
Slutty Brownies

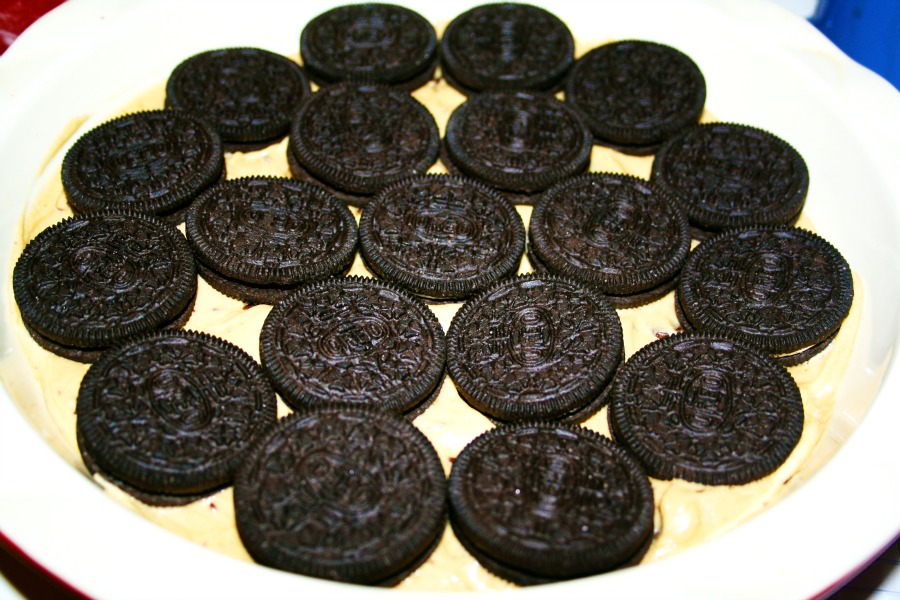
Now place Oreos on top!
Slutty Brownies

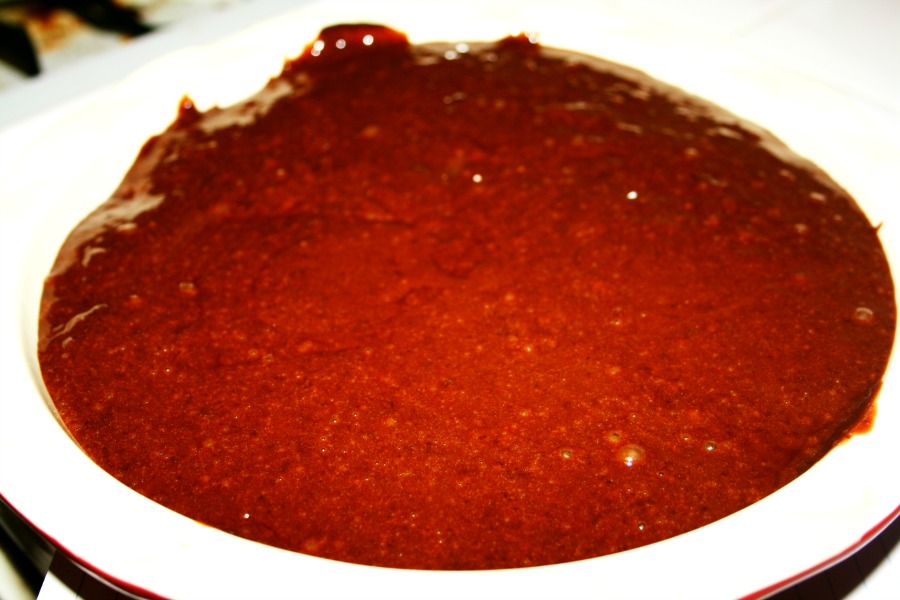
Whip up a batch of brownie batter and pour it over the cookies! Bake for 30 minutes.
Slutty Brownies

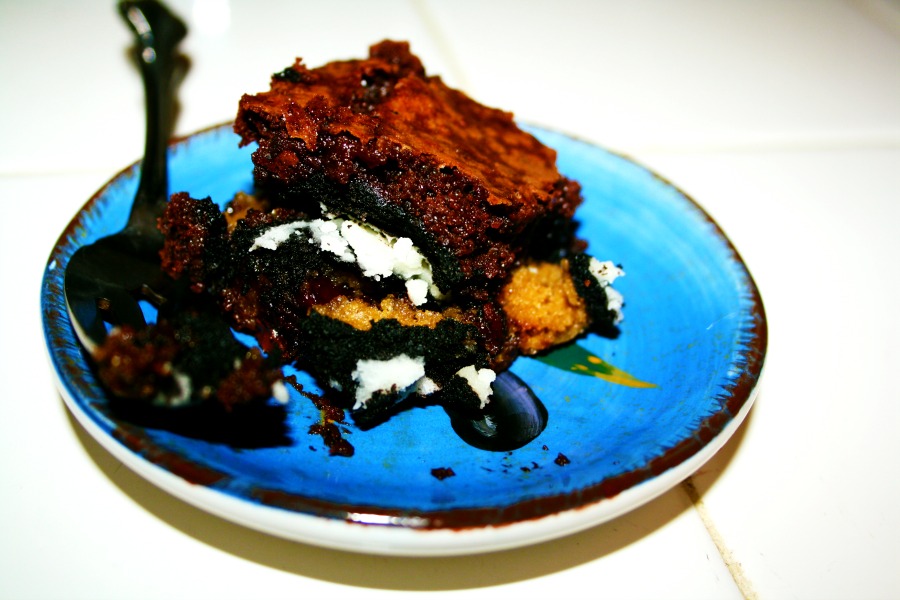
Look what you can do!! How amazing is this? So so very!!
Slutty Brownies

2 Comments
« Older Posts