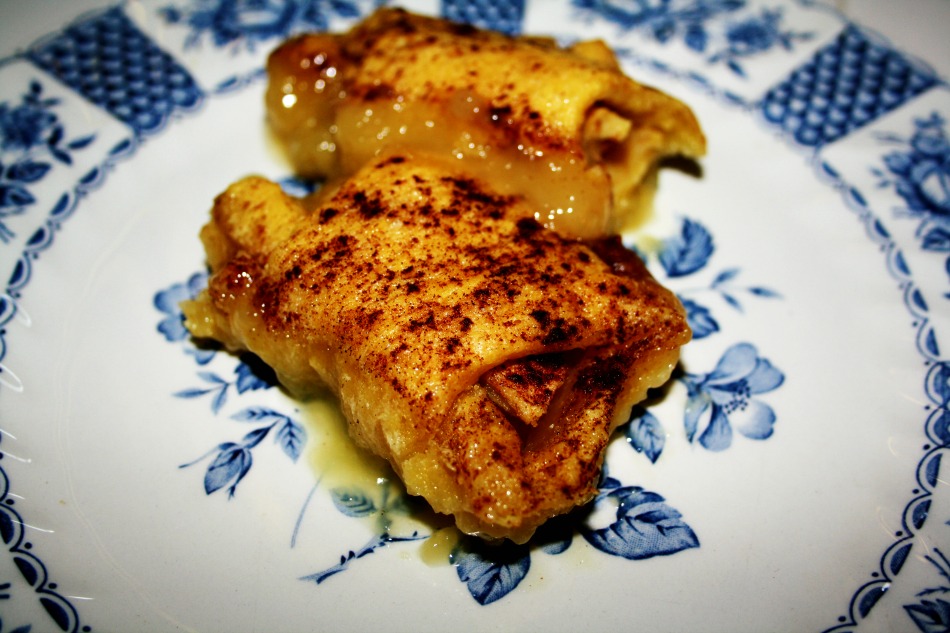
Making a different pie every week all year has lead to some pretty funny pies. I strive to rival Martha, and some days I do (hello Valentine’s Day, 2009!), but other days I end up making a chocolate crumb crust, lining the bottom with sliced apples and pouring chocolate pudding on top. Yup. Meet pie #47, Apple Chocolate Pudding Pie. It was delicious, for the record, but the description above is 100% true. My 9 year old could have made this, actually I bet my 4 year old could have made it too (she likes to make instant pudding in the Kitchen Aid)!
Moving along to treats I am more proud of, brain cupcakes made for wee one #1’s school Halloween party! One of my dearest friends, Talea, gave me an icing pen for my birthday this year, because 2010 is the Year of Cakes and Cupcakes! I used it for the first time to make these brains. I was so happy while making them because the pen, though a little fiddly to fill, works like a dream and made the cupcakes look all brainy! Of course, once they were all packaged up and ready to roll the night before the party I started to get self-conscious about them. Did they look brainy enough? Maybe I should have tinted the icing to be pinkish? Maybe I should have added blood? No.
I made these Chocolate Witch Hats from a Martha Stewart recipe. In her recipe is says to paint the cones with chocolate, but the image it conjured of the messy hands killed it for me. All you need; a box of sugar waffle ice cream cones, a tray of chocolate wafer cookies (I made mine from scratch thankyouverymuch), a bowl of broken Kit Kats, and a bowl of melted chocolate.
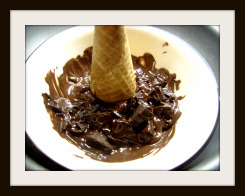
Dunk the ice cream cone into the melted chocolate, put a few broken Kit Kat pieces inside, and top it with the cookie (using the flat bottom of the cookie as the underside of the lid so it holds to the cone better), you may have to brush the seal with melted chocolate too. Just as many children ate these as adults once we got them into the school. Most of the office staff had one!
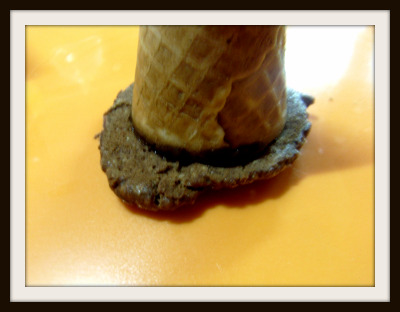
Shortly after all this Halloweening it up in the kitchen, I came across this post on Cake Spy from May on a Cookie Cake Pie, which naturally, got me very excited! I still had some of the cocoa cookie dough in the fridge from the Chocolate Witch Hats I had made, so I went with a chocolate version. I’m not sure what I did wrong. I think I will try this again when I visit with my friend Heather when we go on our Christmas trip. I didn’t do the idea justice, it was ok, but a little dry and not half as exciting as the original idea.
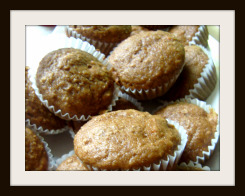
I immediately redeemed myself with these Pumpkin Carrot Muffins, though, so it’s ok. 😉
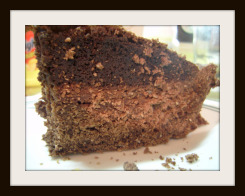
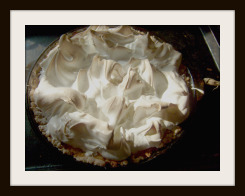
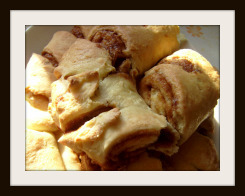
Standard Lemon Meringue was pie #51, with the standard coffee ring (chopped up to fit on the platter, naturally), and (drum roll please) pretzels.
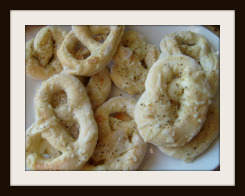
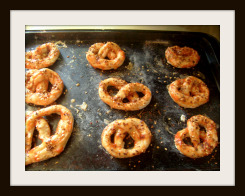
I made pretzels from scratch! The recipe was alright, but the instructions were sub par so I will try this again and share a how to once I’m better at it!
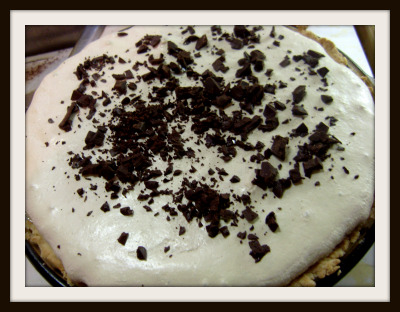
This was exciting for me. Meet pie #52, Mint Chocolate Chip! It was delicious, but it was also so pretty and the sound the meringue made when I cut it was that perfectly crunchy but not hard shell cracking sound. Mmmm. I was impressed with myself, for sure.
I made a standard white flour pie crust (we’ve established that whole wheat flour and chocolate only work nicely in brownies), baked it, then made chocolate pudding with some mint extract, filled the pie crust and popped it back in the oven for another 30 minutes or so. Then I whipped the meringue and added green food coloring, I topped the pie off with that and then put it back in the oven again for another 10 minutes. I added the chopped chocolate once I took it out.
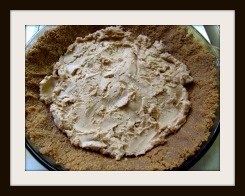
I maybe should have called this the Elvis Pie, since it’s pretty much equal parts banana and peanut butter, I learned when making this pie that while a smashed banana is delicious and invisible in baked goods, the same is not true for actual pieces of banana. They are still delicious, but they’re not pretty.
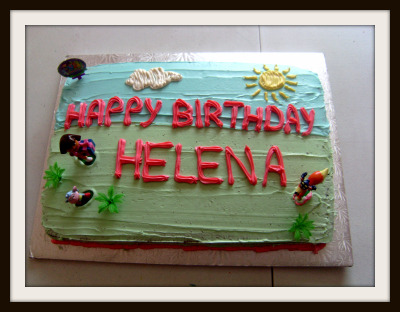
Finally, this cake is my most favorite recent accomplishment. One of my wee ones has a thing for Dora, as many wee ones do and asked me to make her a cake. So far, on the baking front, I’ve been getting pretty good at making very pretty cakes, but they are decorated differently. My mother was always baking and frosting cakes. By the time I was half way through elementary school, she was making cakes and chocolates from home as a small business. Her style of decorating was piping the entire cake from the Wilton decorating tips and it was so so so nice. I have yet to get that good at piping, so I smooth out the cake and pipe what I think I will do the least damage with. I used the same decorating pen from Talea for the sun and cloud. She loved it, and so did her wee friends!
Next up is some serious holiday baking!
