Browsing the blog archives for July, 2013.

Coca Cola Cake

Domestic, Kids

Something really crazy happened to us this weekend. I mean, it didn’t really come without warning, even though it totally feels like there was no warm up or anything and while it is amazing, wonderful news, it’s also kind of intense.

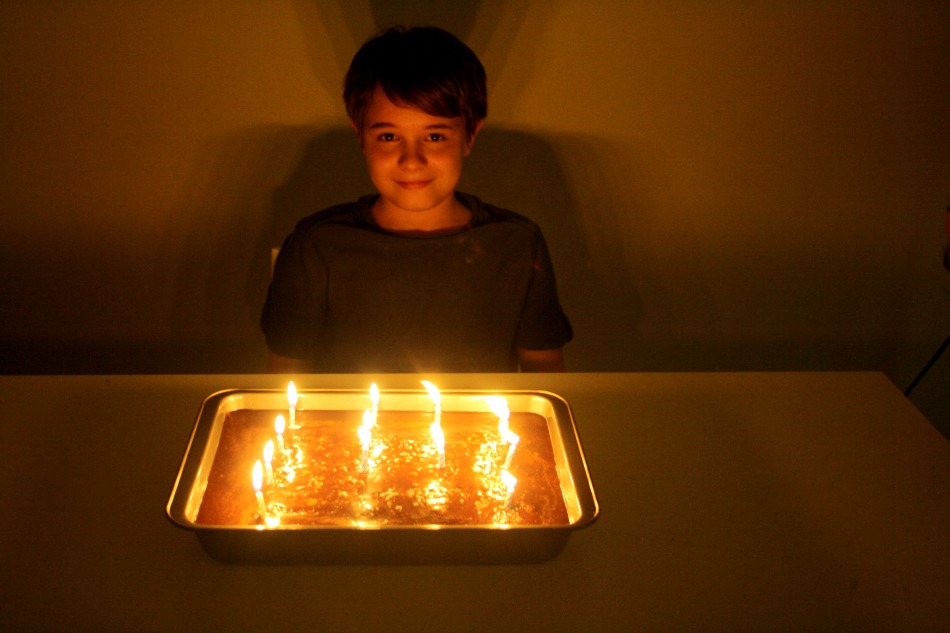
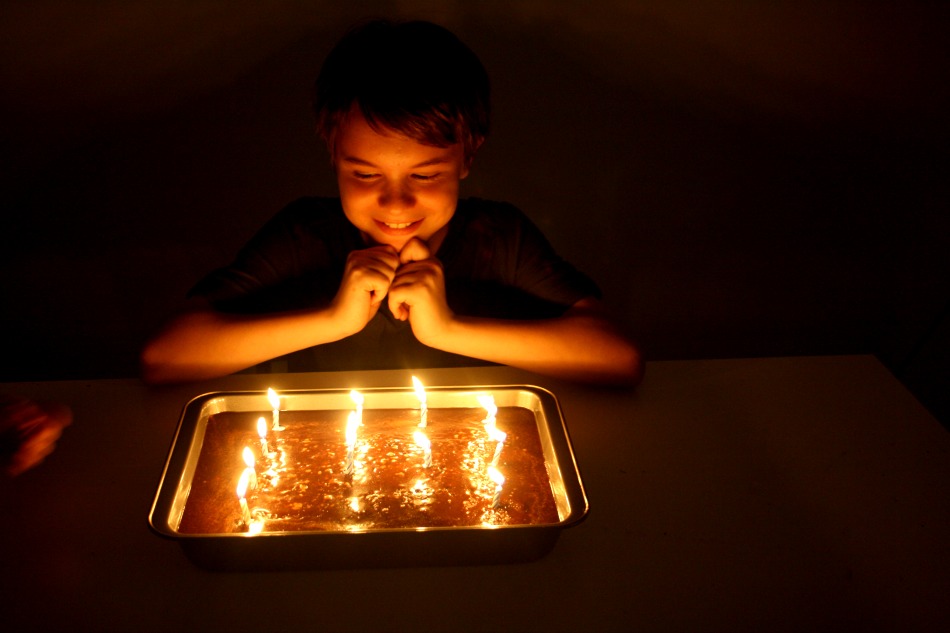
Yeah, we officially have a teenager now. As in, we are the parents of a teenager.

This sweet little bundle…
Is now this wonderful, official teenager…

There’s a lot that goes along with this happening, but for now I choose to just think about how gone the days are of making birthday cakes for him that fit the theme of whatever he’s into. You know, because what he’s into is Call of Duty and it’s not like I’m going to make an MP5K cake, right? Instead, he now joins the ranks of those of us who are looking for flavor.

Dark cola is pretty much blacklisted in our house. I turn a blind eye at birthdays though, so when I saw the recipe for this I had to make it for him.

Coca Cola Cake

Coca Cola Cake via May Flaum

Cake:
2cups flour
2cups sugar
1/2tsp salt
1tsp baking soda
1/2tsp cinnamon
1 cup butter
1/4 cup unsweetened cocoa powder
1 cup coca-cola (from bottle is my preference!)
1/2 cup buttermilk
2 eggs
1tsp vanilla extract
Glaze:
1/2cup butter
1/4 cup unsweetened cocoa powder
1/2 cup coca cola

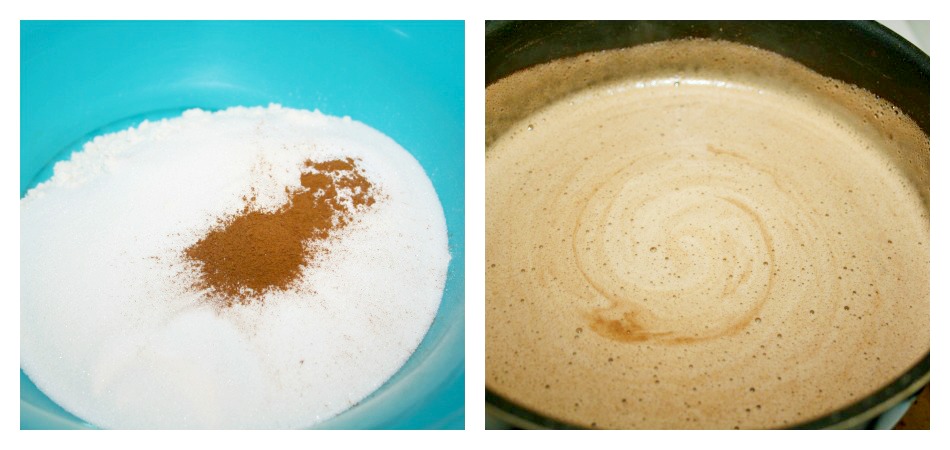
Preheat to 350, spray a 9 x 13″ pan with cooking spray and set aside. Whisk together the flour, sugar, salt, baking soda and cinnamon. In a medium pot, mix up the butter, cocoa, coca cola, and buttermilk. Let that boil.

Coca Cola Cake
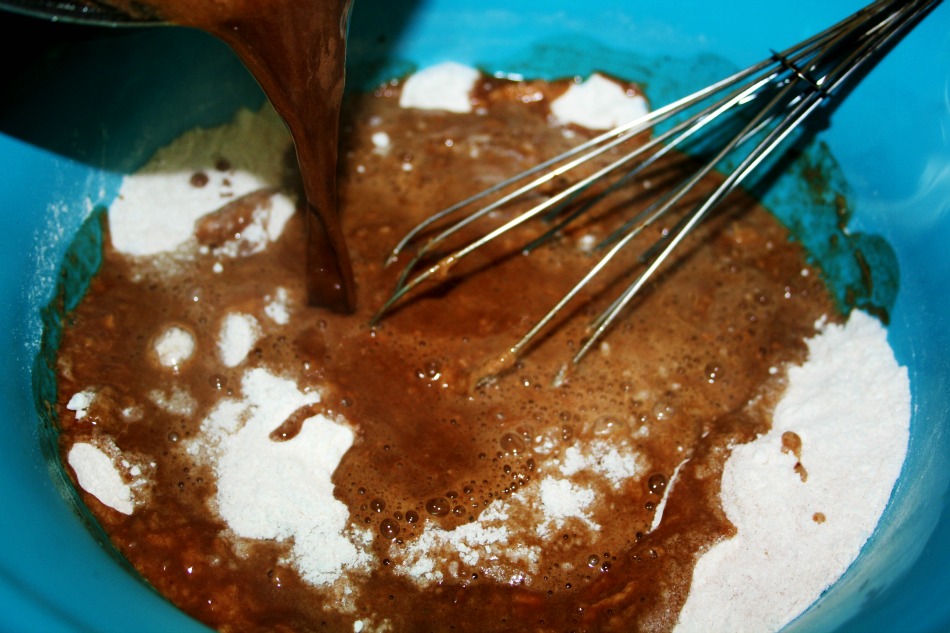
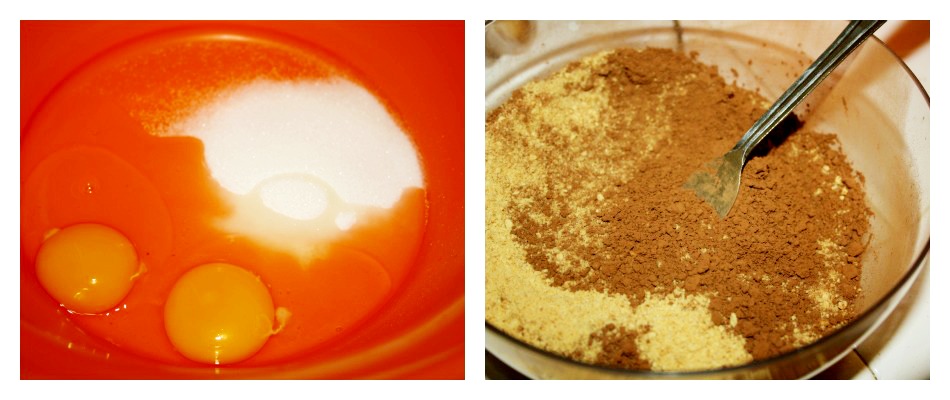
Add the boiling mixture to the dry ingredients and whisk, whisk, whisk! Then mix in the eggs and vanilla.

Coca Cola Cake

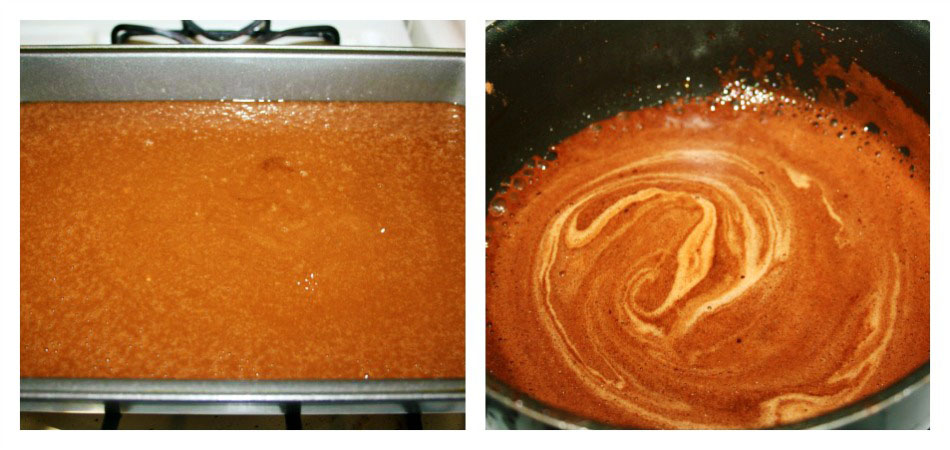
Pour it into the prepared pan and make the glaze by heating the butter, cocoa and coca cola in a medium pan.
Coca Cola Cake
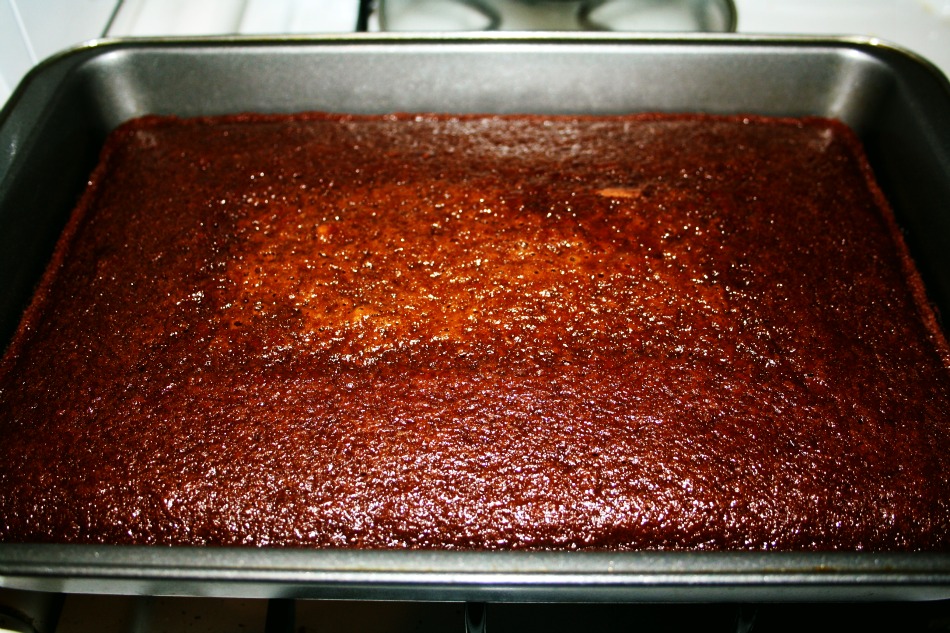
Now, pour it over the top and try to resist touching it so the glaze has a chance to set up. 20 minutes is enough. 😉

Coca Cola Cake

Coca Cola Cake
Coca Cola Cake
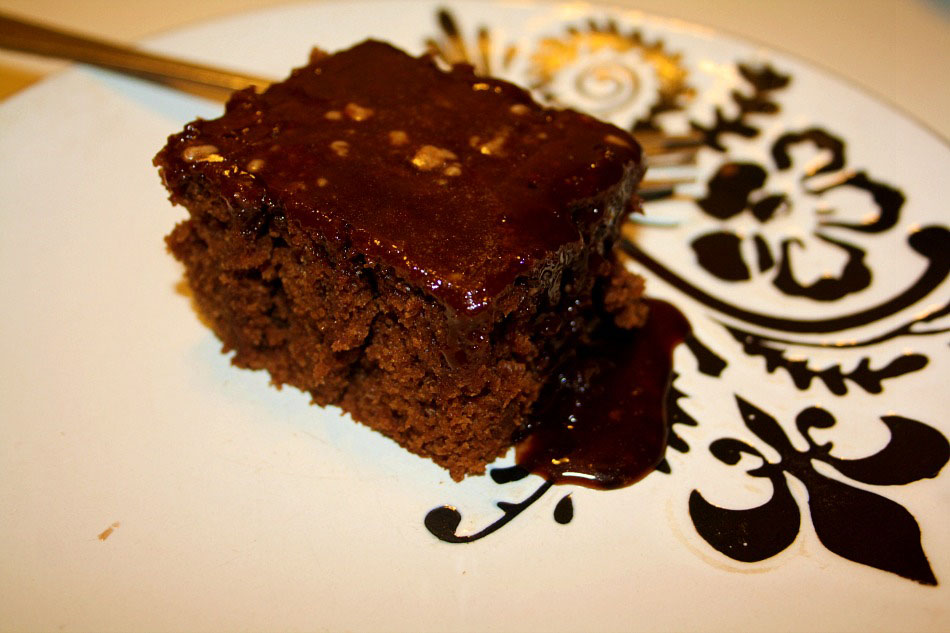
We all ate entirely too much of this, it was that good.

Coca Cola Cake

1 Comment

Homemade Laundry Soap!

Crafty, Domestic

I have seen recipes for homemade laundry soap around on Pinterest and some of my favorite blogs for at least a year, and while I made soap with my girl Vanessa last year, I had never attempted to make it. Last week I hit the bottom of my 2 gallon tub of bulk laundry soap and texted my dear friend Sammie for her recipe because she’s been making and using her own soap for a while and has had great success.

Initially, I was going to use a liquid recipe because I only use liquid soap but Sammie and I had both read that oftentimes the liquid soap gets gloopy and stuck together. So, powdered it is, and then my husband had the idea to mix the powder with a little water before adding it to the washer. Perfect!

Homemade Laundry Soap
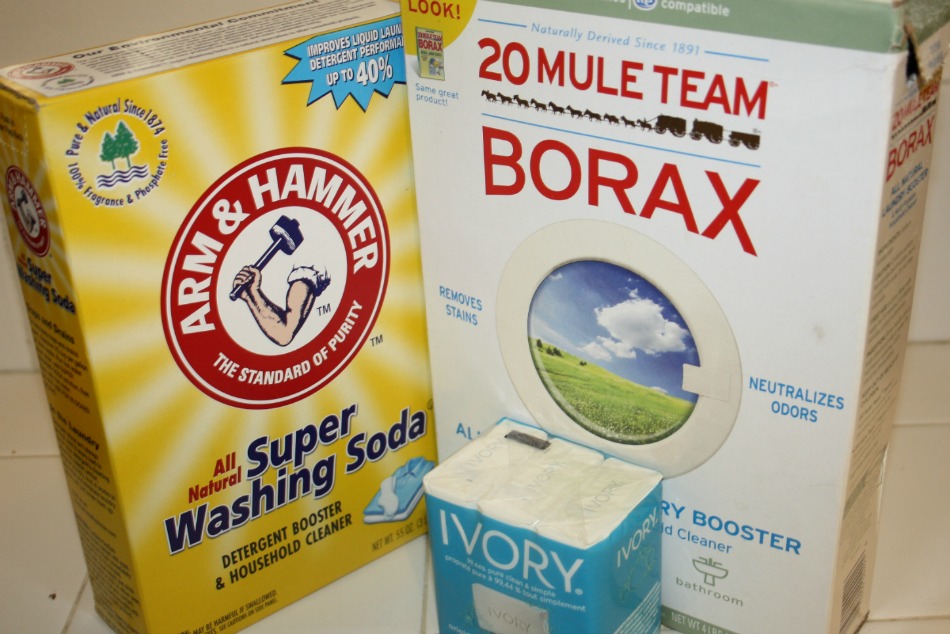
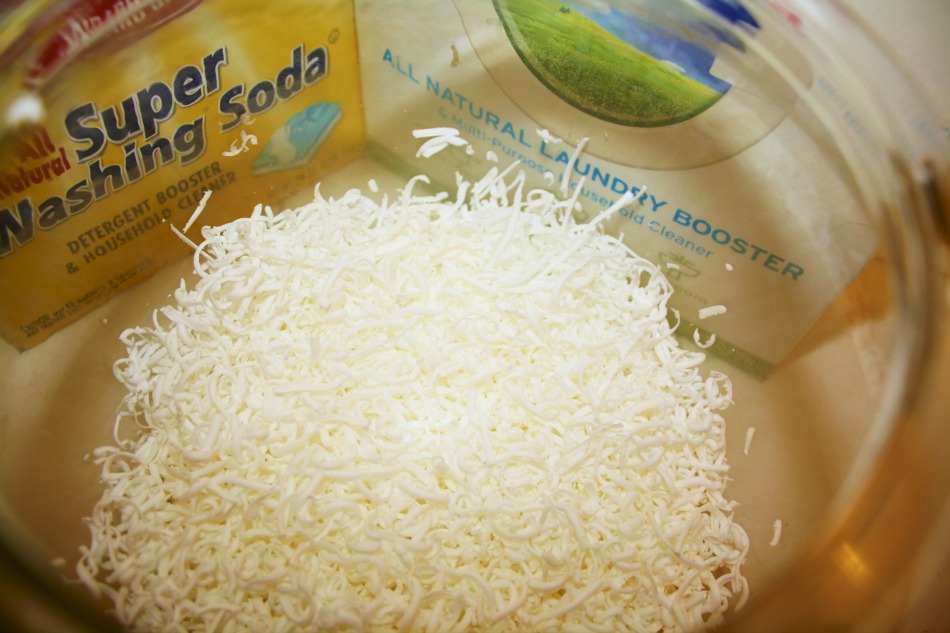
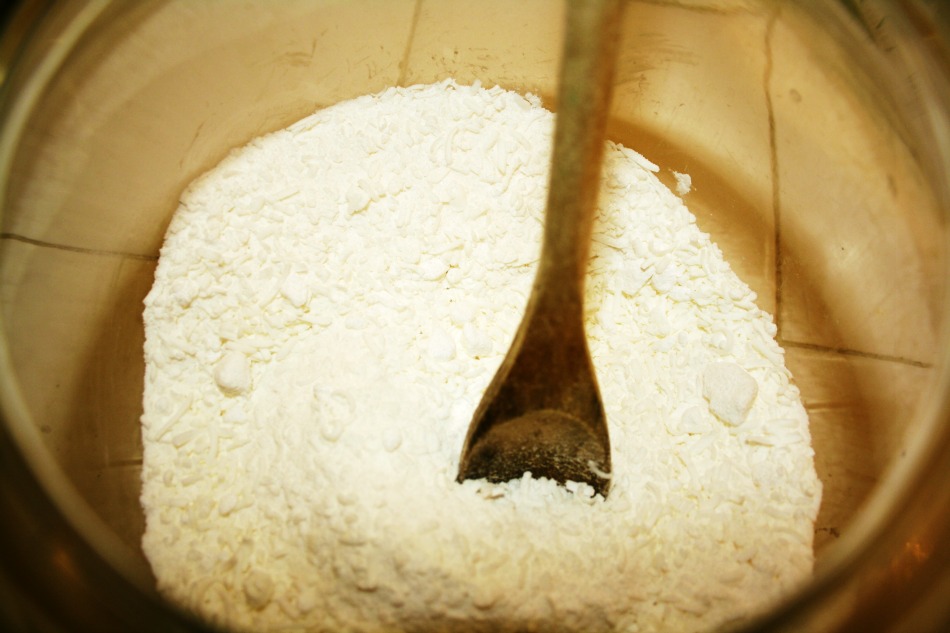
The recipe for it is insanely easy. Just grate two bars of Ivory soap and mix it up with a cup of washing soda and a cup of Borax. Seriously, that’s it!

Homemade Laundry Soap

What really matters to be, aside from the obvious savings, does it work?

Honestly? I feel that it works better than any other laundry soap I’ve ever used. I know that seems crazy, but I think it’s the washing soda really lifting the dirt off. I washed three different loads of laundry to put it to the test.

In my first load with this soap, I washed Wee One #3’s laundry. She basically spends all her free time either painting up a storm or playing in the dirt in the backyard. There was a shirt covered in day-old paint and a dress covered in serious dirt from earlier that day. No pre-treating with either, I just threw all the laundry in the washer, topped it with 2 tablespoons of soap mixed with about 1/2 cup warm water. Everything came out bright and clean and smelled just clean without smelling like that fake clean smell, you know?

The second load included a pair of my husband’s pants. He is always brushing up against the truck when he gets in and out of it and ends up with grease on his pant legs on the regular. Ugh. Regular laundry soap almost never gets it out on the first try. Usually, I just pretreat it before I wash it, but that’s not really the most convenient thing. So this time around I put the rest of his laundry basket in the washer, topped it with the same 2 tablespoons of soap mixed with about 1/2 cup warm water but I also rubbed some of that soap into the grease on the pants. This grease had sat for at least a day, maybe two before I did this. I saw it start to lift off as I rubbed the soap into it. Whaaaat? That’s pretty incredible!

The third load was all about smell and maybe sweat stains too. Apologies to Wee One #1, who is not at all wee anymore. He just turned 13 and took up jiu jitsu early this year. He puts in a lot of hard work and training four days a week, and you know, that leads to a lot of sweat! So I was hoping for both a clean smell and no yellowing of the fabric! Guess what? It totally worked! It smelled clean without the factory clean smell and his gi is as white and sparkly as when he got it!

This recipe is officially a win. I’ll never buy laundry soap again, it took less than 10 minutes to grate the bars of soap and mix it together. One box of washing soda will do several batches, one box of Borax will do even more and you can easily buy bars of soap in larger quantities, but even at 3 bars per package, three packages would do more than four batches. Keeping extra bars on hand just means when you run out, you can easily make more right away!

No Comments

4th of July Recap

California, Domestic, Kids

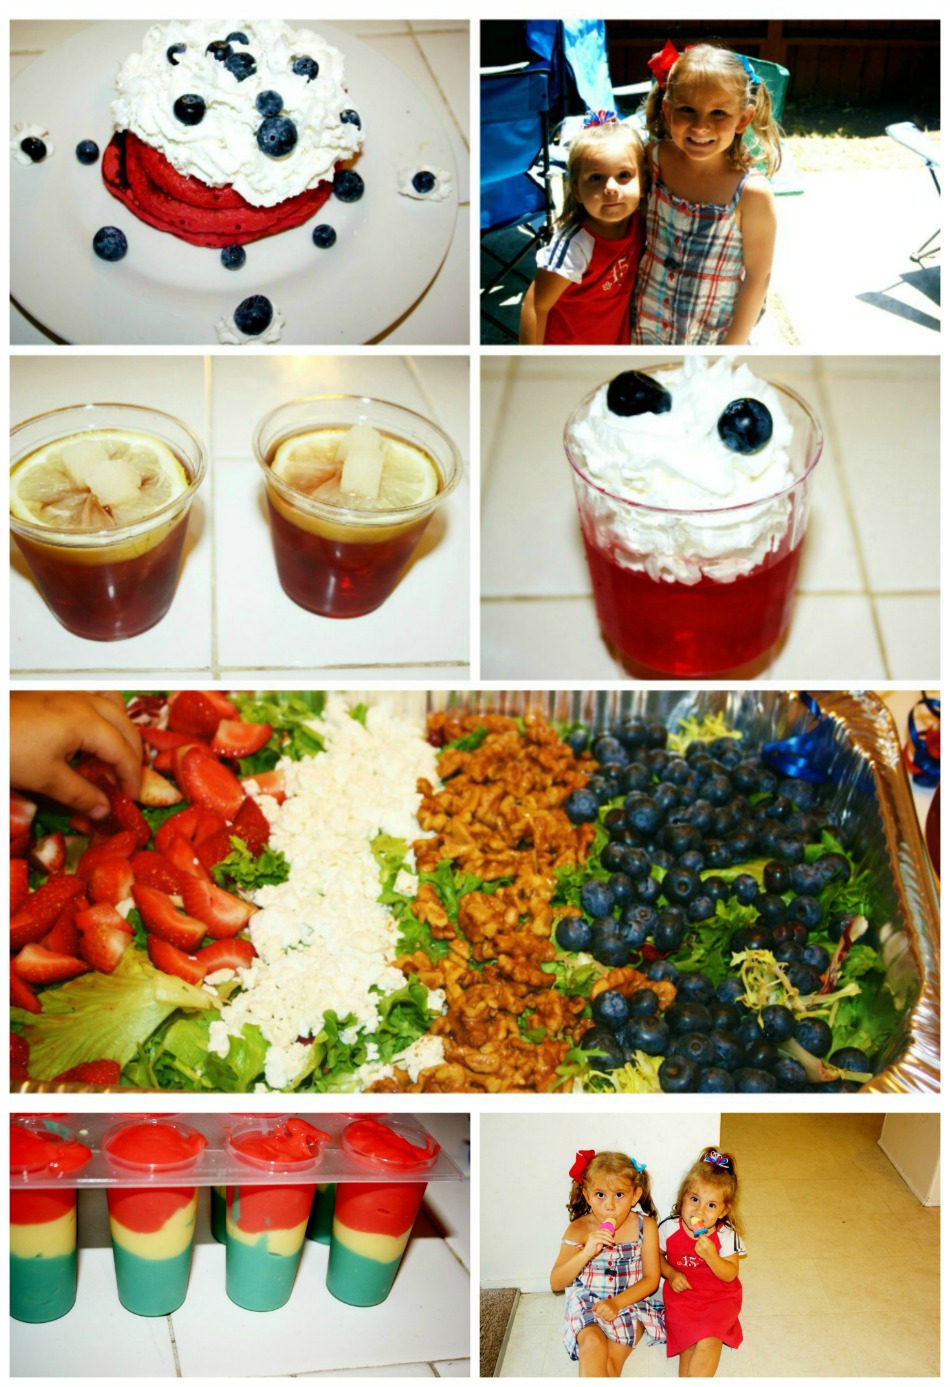
We started the day with red velvet pancakes, whipped cream and blueberries. Patriotic before 9am! The girls picked some festive dresses and immediately played in the backyard until they were covered in dirt. Naturally.

I attempted to make fireworks on our Cherry Jerry’s by soaking sugar cubes in rum and lighting them. I was even going to toss a little cinnamon on top for a spark. Total fail. The drinks themselves were good though! 1 oz Sailor Jerry spiced rum, 4oz cherry juice, splash ginger ale, lemon slice and a pinch of cinnamon.

The kids had strawberry jello, whipped cream and blueberries for dessert. They may have also had some red, white and blue pudding pops much later for dessert.

My girl Jillian made two kick ass salads. One was an epically creamy potato salad that I had to share with neighbors to stop myself from eating it all, and the other was a fresh green salad with strawberries, feta cheese, walnuts and blueberries. I have already polished off the leftovers.

We had a lovely holiday with friends and broke in our new barbecue by filling it with 4 different meats! Haha, happy America day!

No Comments

Patriotic Jello

California, Domestic, Kids

Yup, that’s right. Patriotic jello. Anyone who knows me at all, knows that I do whatever I do with both feet. I’m either out or I’m all in. Sometimes this is not such a great trait to have, but in terms of moving stateside, I think it’s hilarious and super fun. This year for the 4th, I will wear my ridic American flag Abby Dawn heels (in red, duh), I will barbecue epic burgers, I will bake an apple pie and I will make this jello flag dessert. That’s what happened last year (aside from the shoes, those were bought for Memorial Day this year), and it’s what I intend to do every year that we are here. Thanks for having us, America. 😉

I’m sure a lot of my American friends grew up with a red, white and blue loving mother or grandmother that used to make this every year. I totally love it, it’s so so silly but not like when you make something silly that is borderline wasteful because it’s mostly decorative. It’s jello! And whipped cream! And blueberries! What’s not to like?!

It is a little labor intensive and it does require a special mold, but look at this thing, epic and totally appropriate for the 4th.

Patriotic Jello

4 1/2 cups boiling water (total, not all at once)
2 packages berry blue jello (3 oz boxes)
2 packages any red jello (3 oz boxes) I used strawberry
3 1/2 cups cold water (total, not all at once)
2 packages plain gelatin
1/2 cup cool whip
1 can sweetened condensed milk
homemade whipped cream (a carton of heavy cream, sugar and a mixer)
blueberries

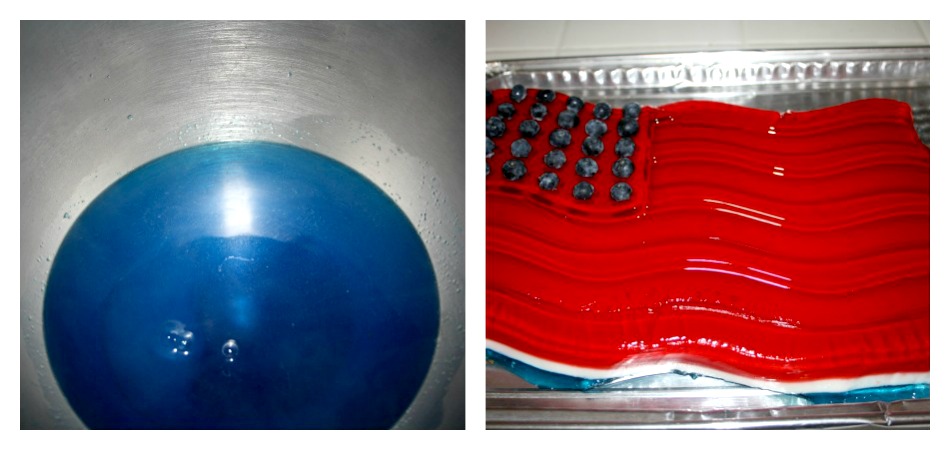
You have to make this upside down, so even if your first inclination is to make the blue first, don’t! Prep the red jello first, I think it’s safe to assume you can handle that, but just in case you need a reminder it’s 1 1/2 cups of boiling water poured over the jello powder, then 1 1/2 cups cold water and mix till all the powder is dissolved. Pour this in the mold first and chill for about an hour.

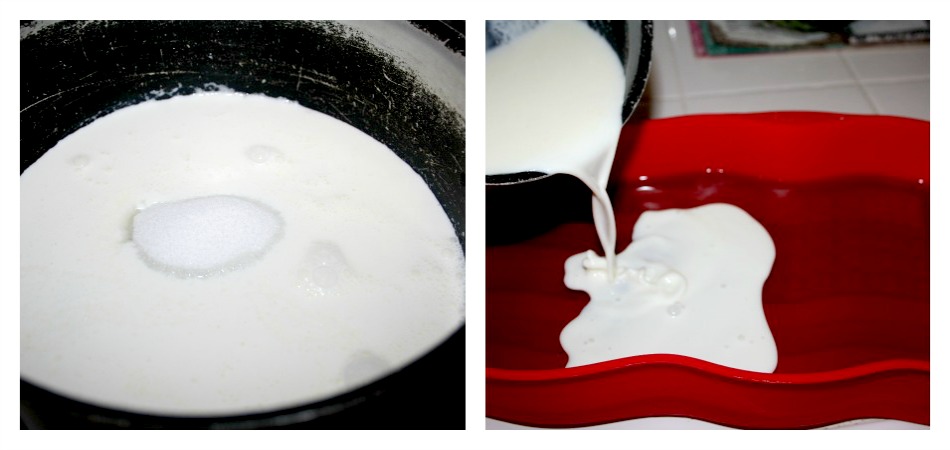
Then make the white jello by mixing 1/2 cup of cool water and two packets of plain gelatin, let sit for about 5 minutes before adding 1/2 cup hot water and stir until the gelatin has dissolved. Then add the sweetened condensed milk and stir, pour this over the red jello layer. Chill this another hour or so.

Patriotic Jello

Now make the blue jello (1 1/2 cups hot water plus the powder, plus 1 1/2 cups cold water, duh) and pour that over the red layer. Chill this another hour.

Patriotic Jello

Fill a larger pan with hot water and set the mold in it to loosen it up, then say a little prayer and flip it over onto a flat board or cookie sheet or whatever.

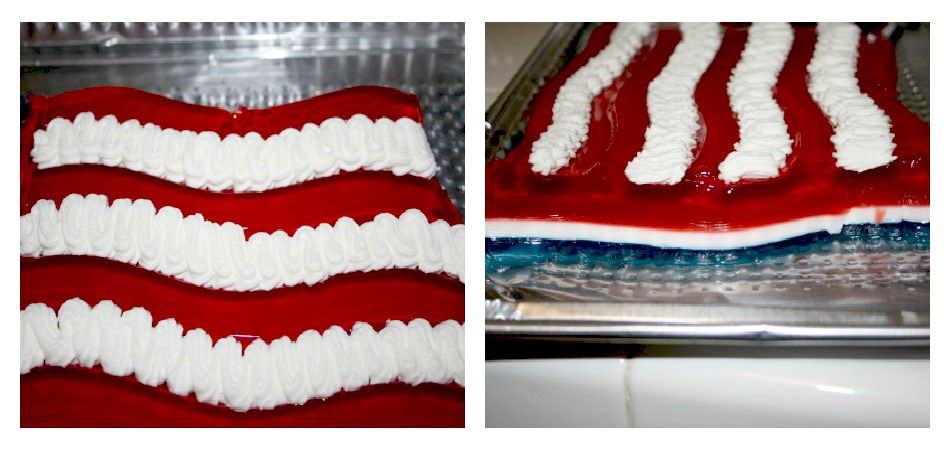
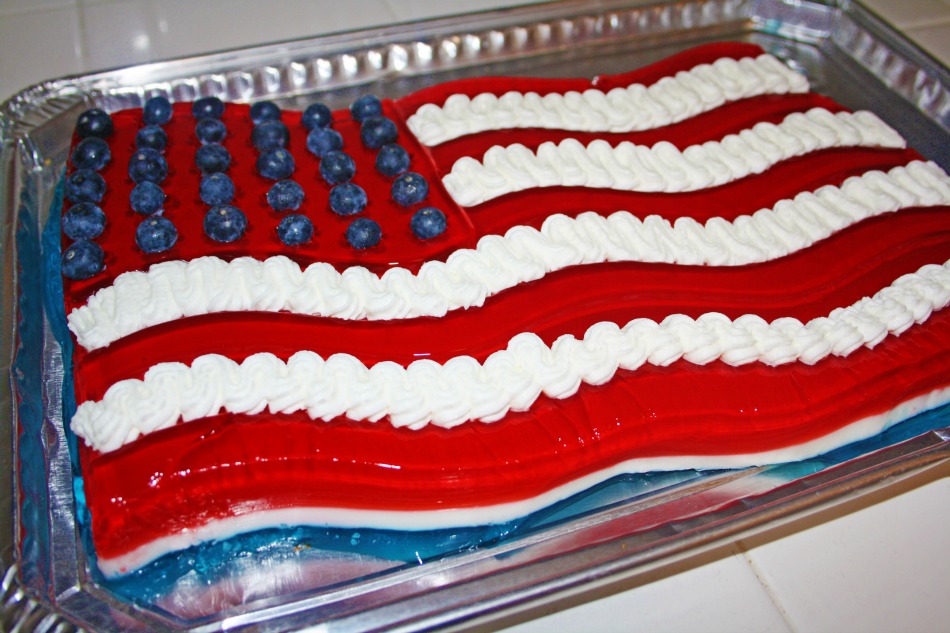
Now, make some whipped cream (or use the rest of the cool whip), and wash some blueberries. Plunk the blueberries in place of stars and pipe the whipped cream for the stripes! Voila!!

Patriotic Jello

Isn’t she beautiful?

Patriotic Jello
No Comments

Mint Nanaimo Bars for a belated Canada Day!

Domestic

So technically I didn’t really celebrate Canada Day yesterday. Last year I made peameal bacon sandwiches on kaisers with poutine, and this year I have to admit I’m kinda excited about my plans for the 4th so all I managed to do last night after all the kids were cleaned up and in bed (both the jiu-jitsu dojo and the dance studio really produce some sweaty kids in July) were these mint nanaimo bars.

I’m going to give you a little history lesson today because no one seems to know about any of the random Canadian treats my husband and I obsess over. No matter how long we live here, and no matter how many churros we eat, we will always be suckers for Canadian desserts.

So first of all, Nanaimo is a little city on Vancouver Island, off the coast of British Columbia. Both my husband and I have family out there and it’s one of those lovely picturesque places in Canada that has evergreens and no snow. In the early 1950s, an old school domestic goddess (her name was actually Mabel Jenkins, can you believe it, how perfect that her name was Mabel?) came up with these bars and submitted them to the Ladysmith and Cowichan Women’s Institute Cookbook. No really, that’s what it was called and yes, it was an extremely regional publication lol. They were an instant hit and started popping up in coffee shops on the island and very quickly went from being called Mable’s Bars to Nanaimo Bars since that was the only place anyone could find them. Over the years the recipe has been tweaked by various people so there are a whole lot of variations. Since the middle is a pretty simple pudding-type custard, it can be made in any flavor (and of course color to match). The top is always chocolate but I have seen a lot of variations on the bottom crust as well.

My husband loves the mint version and of course if something is mint, we have to be made aware of it with a painfully green tint. 😉

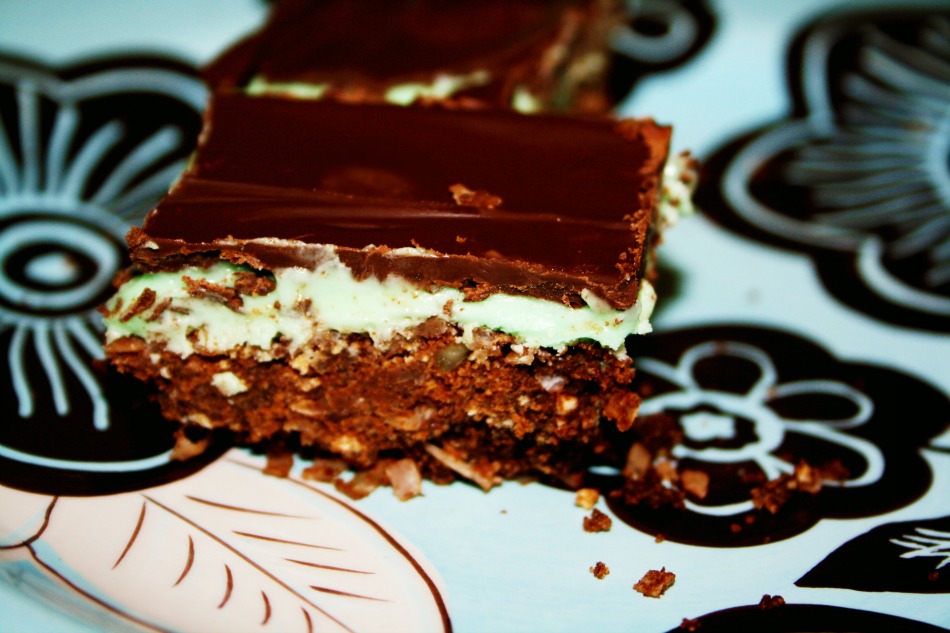
Mint Nanaimo Bars

Mint Nanaimi Bars adapted from Canadian Living and also Canadian Living. (I used the filling from the first, the crust from the second and the standard topping)

Crust:
2 cups graham cracker crumbs
1 cup sweetened shredded coconut
2/3 cup finely chopped walnuts
1/2 cup cocoa powder
1/2 cup granulated sugar
2/3 cup butter, melted
2 eggs, lightly beaten
Filling:
1/3 cup butter, melted
1/4 cup milk
1 tablespoon peppermint extract
4 cups icing sugar
1 green food coloring

Topping:
8 oz chopped semisweet chocolate
2 tablespoons butter

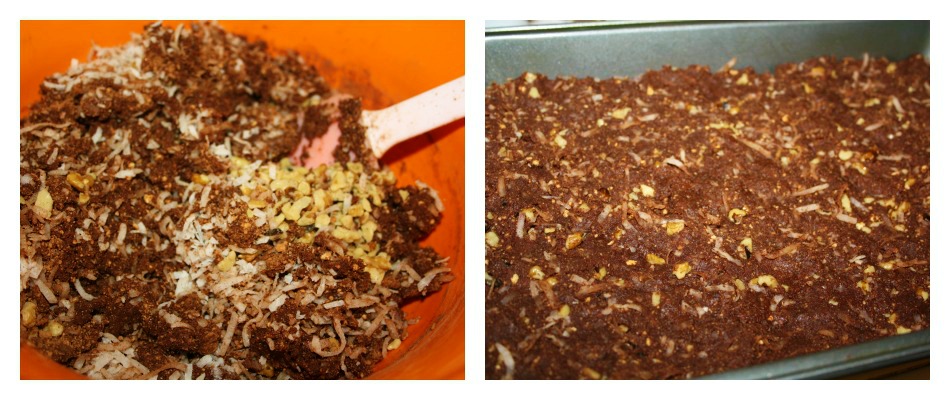
I swear, it’s a pretty simple process for a three layer situation, but like most layered situations, there is some chilling time between each one. To make the crust, mash up the graham cracker crumbs, coconut, walnuts, cocoa powder and sugar. Slowly add the butter and the eggs until it will hold it’s shape.

Mint Nanaimo Bars

Now press it into a 9 x 13 pan and bake at 350 for about 10 minutes.

Mint Nanaimo Bars

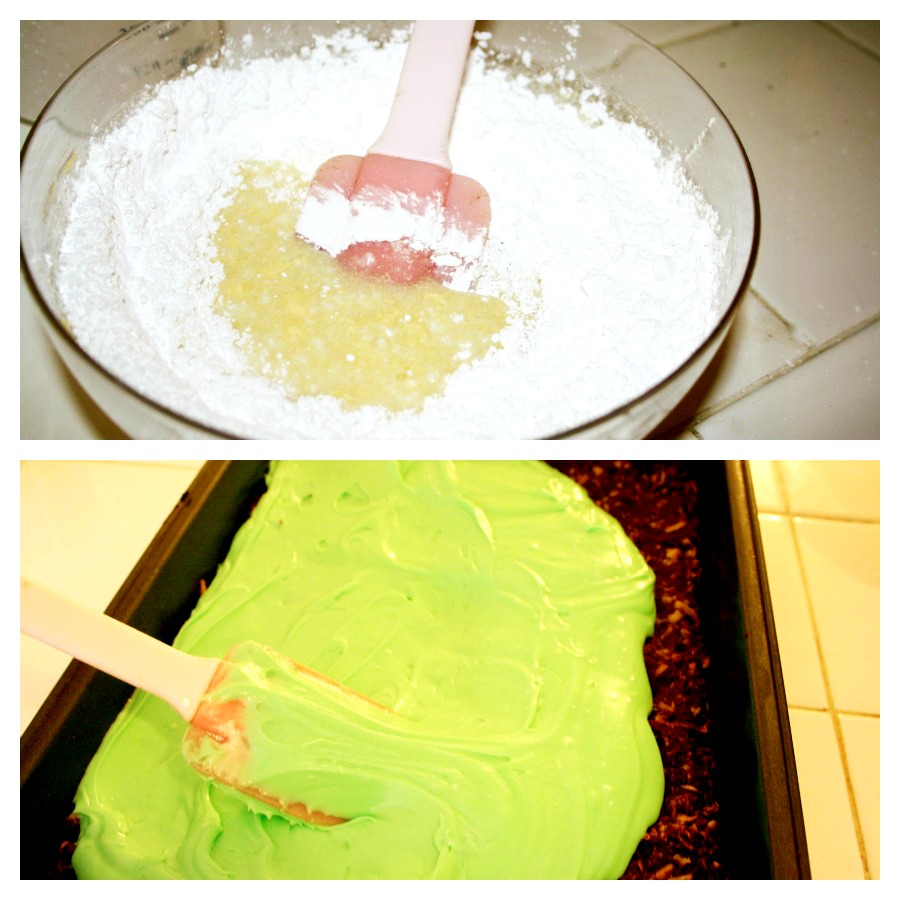
The filling is even easier! Just combine the butter, milk and peppermint, then add the sugar in one cup at a time until it’s all mixed in. Once the crust has cooled, spread this over it and chill it for about an hour.

Mint Nanaimo Bars

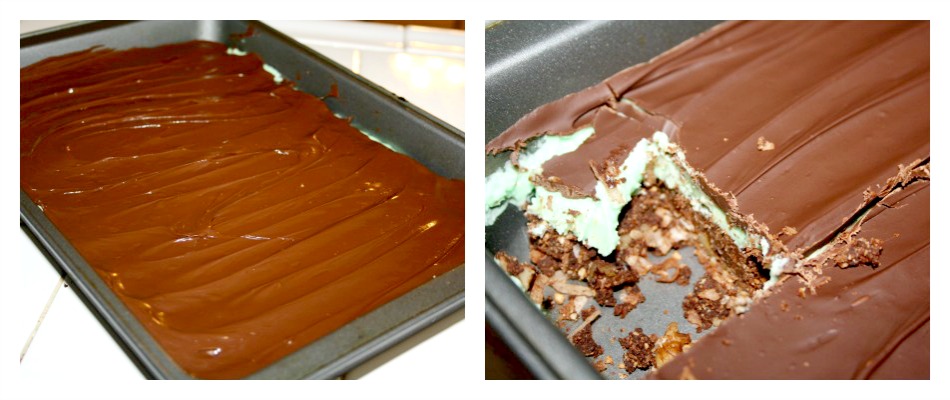
Finally, the last and thankfully easiest layer! Just melt the chocolate in a double boiler, add a little butter and spread over the chilled peppermint layer. Chill it again for about another hour and you’re done!

Mint Nanaimo Bars

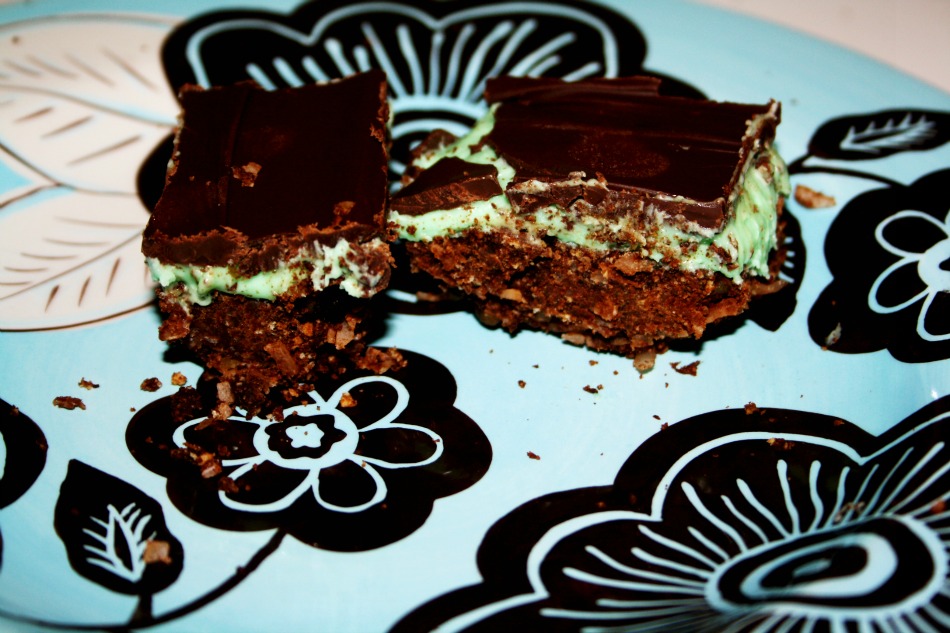
Make a coffee and crack into that chocolate layer to get to the mintyness inside! So good!

Mint Nanaimo Bars
Mint Nanaimo Bars
1 Comment

BBQ Meatballs

Domestic

Happy Canada Day!! I know, I know, meatballs have nothing to do with Canada Day, but I swear after I make something appropriately Canadian this afternoon, I’ll show it to you tomorrow. 😉

I made these for a going away party for my friend and her littles before they left California last week and they were a serious hit. Usually I take a pot luck as an opportunity to test out a recipe I’ve bookmarked for later. Ok, pinned for later. Does anyone really bookmark anymore now that Pinterest has taken over the internet? Anyhoo, instead of doing that, I opened the cupboard and saw a can of green chilies that I had mistakingly bought for a recipe from the new Pioneer Woman cookbook (I was supposed to get chipotle peppers in adobo sauce whoops, big diff). After setting the can of chilies on the counter, I kept poking around in there to see what else wanted to leap into these meatballs. I spied a pouch of ranch powder that I had used half of in a ‘ranch burger’ experiment a few days before (the experiment went very well, thanks for asking) and decided to use that too. I already knew I wanted to serve the meatballs in a barbecue sauce and when I do that I like to have a little taste of the sauce in the meatball itself so I also used a squirt of the base hickory barbecue sauce and mustard to make sure it wasn’t too sweet.

The final meatballs included the usual onions and garlic but I also used a couple of small shallots to mix it up a little, paprika and a healthy dose of chili power. And salt and pepper, duh.

The sauce is a very simple little combo I learned from my dad years ago that will give you so many different flavors depending on what combination you use. equal parts barbecue sauce and chicken stock! Voila! You’ll want to adjust that depending on how thick your base barbecue sauce is, and of course how thick you want your finished sauce to be. With all the different ways to make barbecue sauce (vinegar, whiskey, hickory, brown sugar, molasses etc etc etc), and all the different ways to make chicken stock (endless combinations of spices to be spicy or sweet, different flavors from strictly chicken bones to whole carcasses and veggies etc etc) make it a very versatile sauce for meatballs. I’ve used it with meatballs made from pork, beef, chicken and turkey and they all were total winners! Honestly, they are even better the next day!

BBQ Meatballs

Meatballs:
3lbs ground beef
1 small onion, chopped
2 small shallots, chopped
4 cloves garlic, chopped
3-4 tablespoons hickory barbecue sauce (or whatever)
1 11 oz can green chili peppers
2 tablespoons mustard
1 egg
1/2 package ranch powder
1 teaspoon paprika
2 teaspoons chili powder
1/4 teaspoon salt
1/2 teaspoon black pepper
1 cup breadcrumbs
Sauce: (for simmering and serving)
2 cups chicken stock
2 cups hickory barbecue sauce

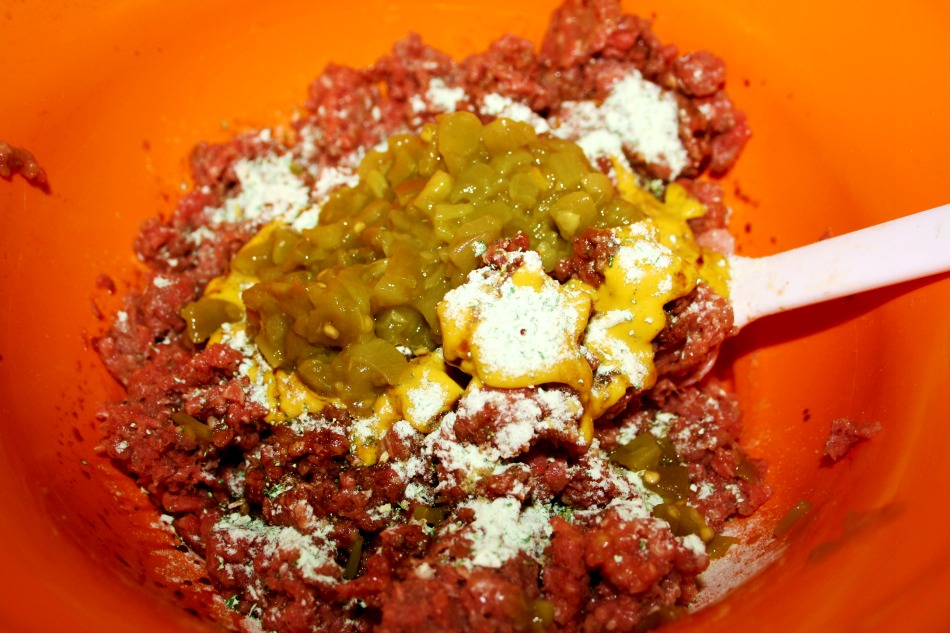
Get right in there and use your hands to mix up the ground beef with the onions, shallots and garlic. Add and mix in the barbecue sauce, green chili peppers, mustard and egg. Then add the ranch, paprika, chili power, salt and pepper and of course, the breadcrumbs. Mash it all up until it holds together, adding more breadcrumbs if you need to.

BBQ Meatballs

Roll them into cute little meatballs and arrange them on a parchment lined baking sheet. I think the smaller the meatballs the better (without them being clearly too small, ahem), because they will cook quickly and evenly in the oven, allowing more time to soak up the sauce they’ll simmer in later. Also because if you make twice as many small meatballs as big ones, more people will have a chance to taste them and go back for more. 😉
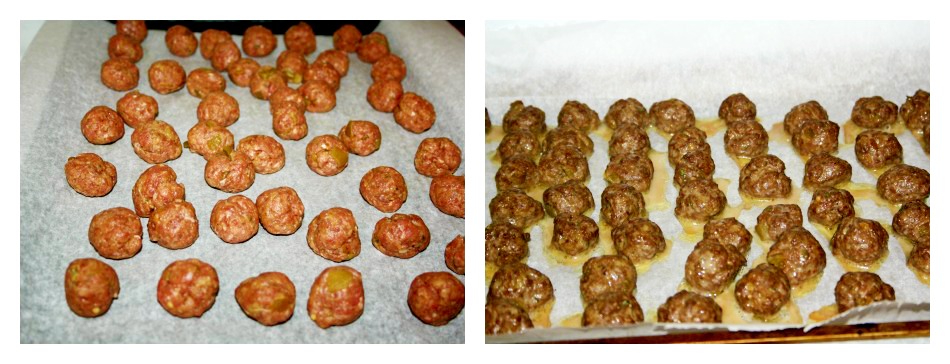
BBQ Meatballs

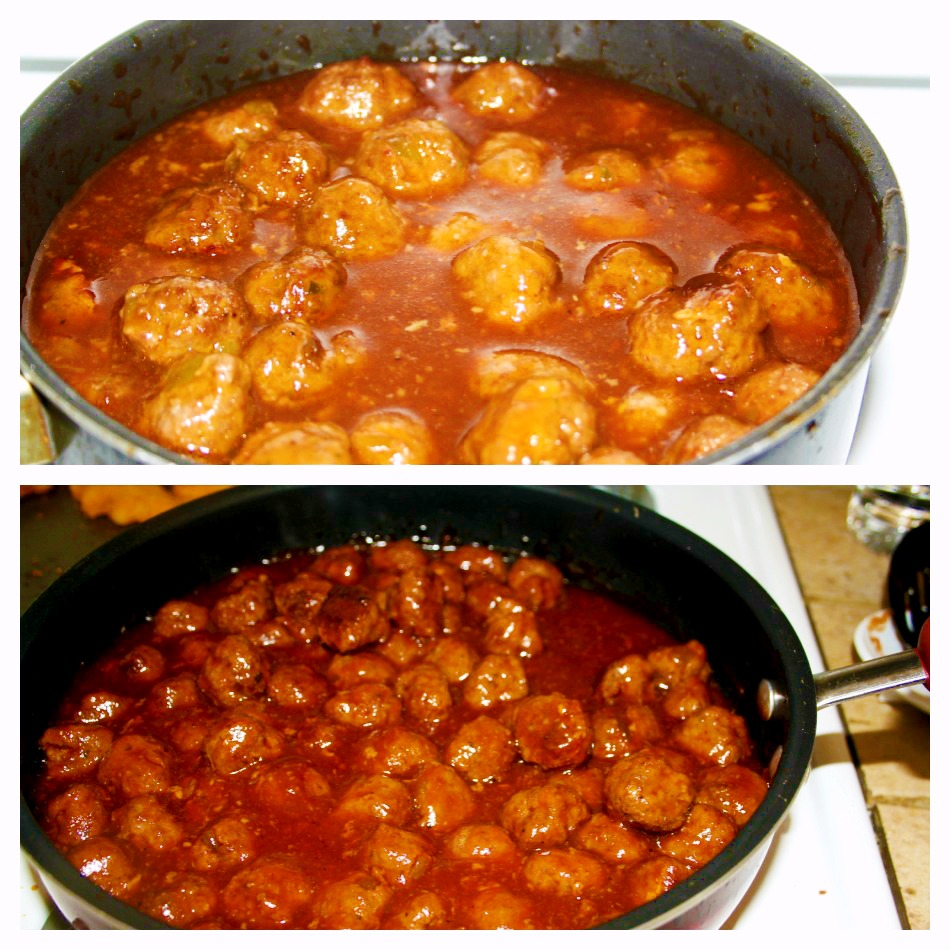
I warmed up the chicken stock and whisked the barbecue sauce into it and then plunked my finished meatballs in the sauce to simmer a while. My husband and Wee One #1 were in the kitchen, loitering (as they do when they smell something good happening), and they each wanted to taste one. Of course, I obliged, but assumed the weird ranch + hickory + green chili peppers combo would be dismissed as ‘too weird’. I was way mistaken. Way. First my husband said he wasn’t sure if he was ok with me taking them to the potluck and then our son was all ‘omg they’re not for us?’ haha. Sorry kid, but I swear I’ll make them again just for you guys!

BBQ Meatballs
No Comments