Browsing the archives for the Domestic category.

Little Updates and Homemade Hot Chocolate Mix

Domestic

Much, much business is happening around here lately, as I have no doubt is happening at your house as well!

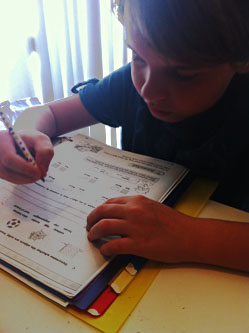
First a quick homeschooling update. When we started this journey a little over eight months ago, I was really excited to do it but I honestly wasn’t sure how it was going to work out. I had the best intentions and the best books, but that alone will only take you so far, right? Well, I am very happy to report that since we have started working with a local independent study program and doing a fairly even mix of Canadian and American curriculum, the kids are doing even better than expected! Wee One #2 started 2nd grade this year, but at the rate she has been going, she is fast tracking through it and will end this school year finishing 3rd grade. Next fall, she will likely be challenged enough by the 4th grade work to keep working at a steady pace through it and not fast track again. Our 7th grader is progressing ahead of schedule but instead of fast tracing through to 8th grade, he is spending his extra time exploring some of his lessons more in depth than the textbooks go. It’s been a really amazing to see how they learn at home and with each other.

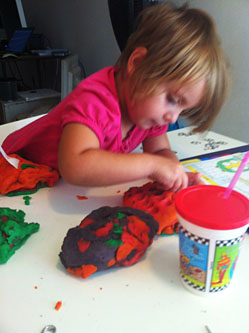
I have been asked about our littlest one, and what she gets up to while the others are working. Truthfully, I have folders and folders of neat activities I have been saving to post about. We make play doh every other day, we conduct a lot of mini science experiments and she is learning her letters and numbers by sight. She is learning something that is normally an epic problem in households with a busy toddler – she is learning patience! Since I spend so much time working and crafting and reading and just being with her, she knows that if I need to step away for 5 minutes and help one of the other kids, that I really will be right back. She used to be on the verge of a fit every time I had to walk away from her and now? She just continues on with whatever it is we were doing until I get back (not that I’m ever really more than across the room during school time anyway), but it’s nice to see.
Thanksgiving in Vegas was such a blast we have all decided it’s our new go-to for a random family weekend getaway. If we can’t hop in the car and visit our family, we may as well hop in and have a super fun weekend (& visiting our friend Nichole and all her kids is a serious plus too)!

This year we were lucky enough to be sent an Elf on a Shelf from Santa himself!! The girls have been so excited each morning when they get up to see what she has been up to! I will devote a blog post this week to our first week or so with her. This of course has meant a lot of silly late night insanity with my husband preparing for our little elf’s arrival! Hilarious.

There’s also been more holiday baking going on between Thanksgiving and today than ever before in previous years – I even started on my crazy complicated cookies. You know how much I love to bust out the ruler and egg wash, right?! Usually, I have my girlfriends around to sample new cookies and plenty of family members on both sides and even kids and teachers at school to pawn the sweets off on. Here though, there is considerably less and I am eating waaaay more than I should. However, I have joined a local mommy group and they have been the happy recipients of some treats already so it’s looking up. 😉

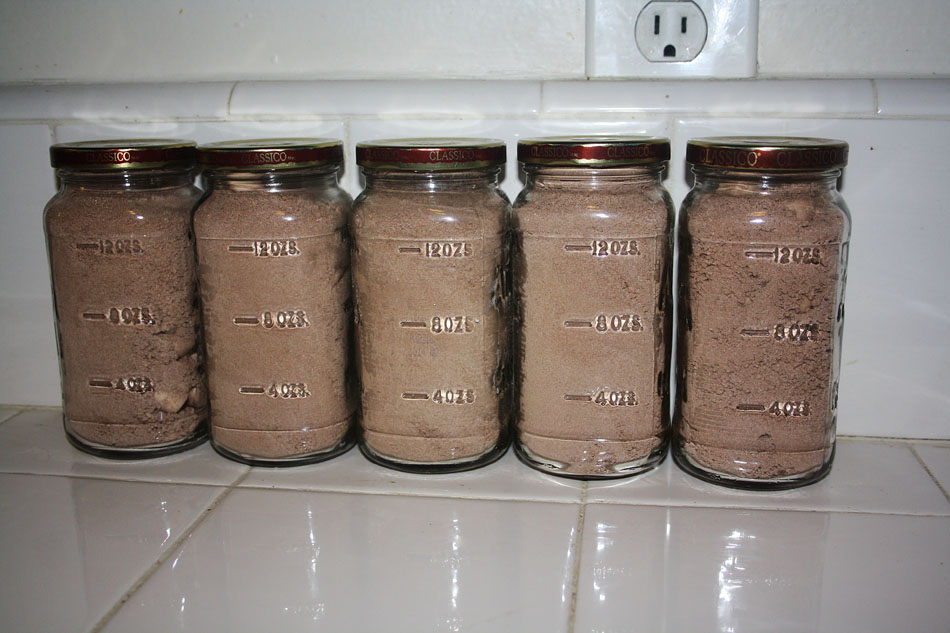
Years ago, I came across a recipe for homemade hot chocolate mix and then last year my girl Sammie made homemade instant cake mix and I’ve been searching for just the right recipe this season. Mason jars filled with hot chocolate mix and tied with a cute ribbon are a simple but still sweet gift to give to people you might not know well but see ALL. THE. TIME. Like the FedEx guy (even though he’s always kinda surly) or the UPS guys (who is always super nice). This recipe is crazy rich – which is perfect for the holidays, right?!

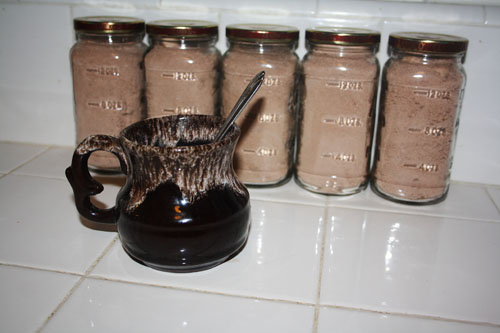
This recipe filled 6 15oz mason jars, we saved one for home and we are keeping the other 5 around for gifting.

Homemade Hot Chocolate Mix – via Just a Pinch

7 cups non-fat powdered milk
1lb confectioner’s sugar
2 cups unsweetened cocoa powder
2 cups powdered non-dairy creamer*
2 cups mini marshmallows
1/2 cup mini chocolate chips
1/2 cups mini white chocolate chips
*you can choose a flavored version but it might compete with the chocolate unless it’s hazelnut
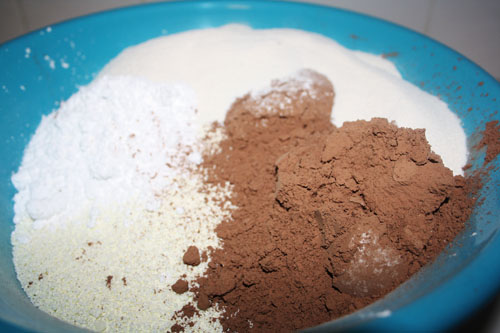
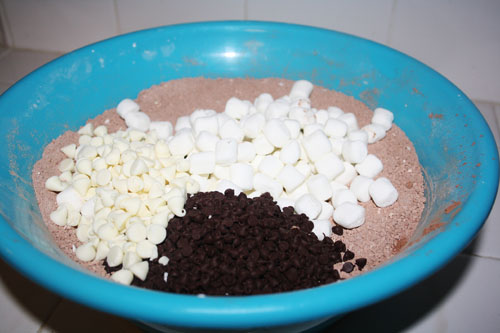
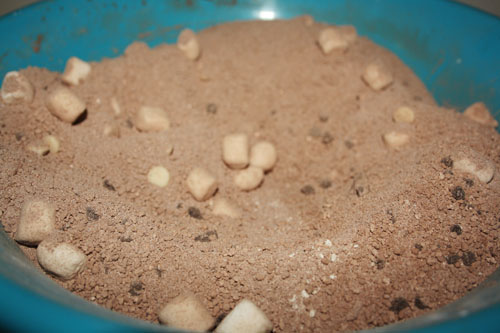
Sift together the powdered milk, confectioner’s sugar, cocoa powder, and non dairy creamer.
Now add the mini marshmallows and chocolate chips! See? So easy! Now just fill your jars and voila! Prepare a cup the same as you would any other cup of instant hot chocolate, by warming up a cup of water or milk and adding more or less scoops to taste.
No Comments

Red Velvet Cupcakes

Domestic

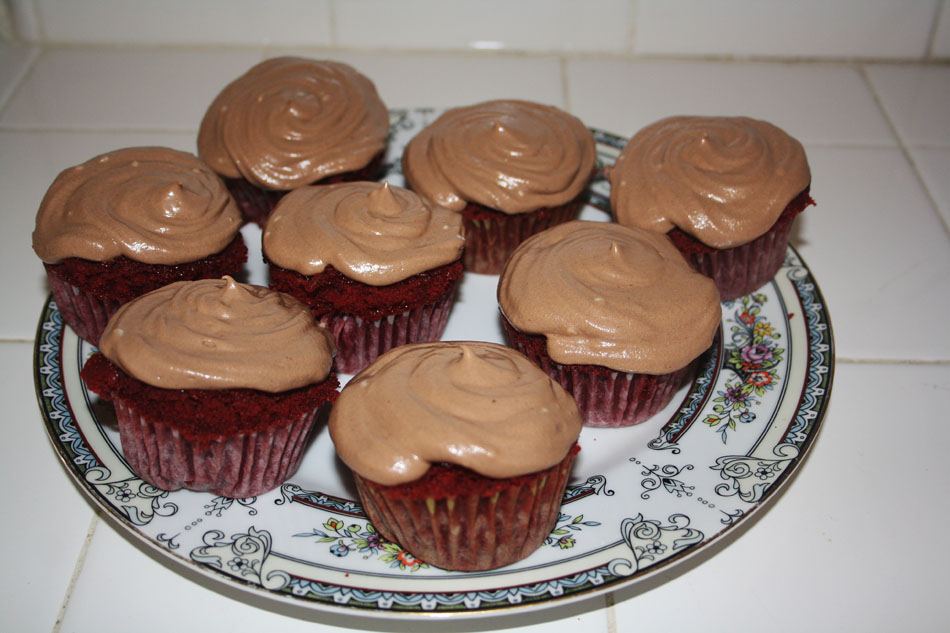
We spent Christmas and New Years 2009 with my husband’s family in Sudbury and had a blast. At the time, we were living in Toronto and my girlfriends were over every single Saturday night without fail to knit and eat whatever ridic treat I forced on them and you know, maaaaaybe hit the wine. 😉 So, those two weeks caused some withdrawal for all of us and we were all anxious to hang out again. My dear friend Gill called me when we were driving home and asked how far out I was. I told her we were about an hour away and she said she wanted to kick off ‘Cake Year – 2010’ with a red velvet and she wanted to do it right now, which is one of the many reasons I adore her so. So she kidnapped my sister to buy a head scratcher and ingredients for the red velvet at a mall by our house and met us there (yeah, I dunno, she just really wanted one – I will post pics of us playing with it after the recipe). It is still hilarious to me that I was baking the first cake of January less than half an hour after rolling into our garage. I am loving Los Angeles, but man I miss those nights. <3 So, the point of my long winded story is that when Gill's birthday rolled around this year I knew I wasn't going to get to see her and celebrate with her but I really wanted to show some love (no worries though, she and her kick ass bro Will and cousin Al came to visit about a month later and we got to have some fun). Sooooo, I baked her a batch of red velvet cupcakes and ate them in her honor. The kids ate a few and I shared them with our neighbors too! The thing with red velvet cake of course is getting the color right. If you dump a bottle of red food coloring in, you'll get the red you're after but you risk it tasting funny and then needing to add more sugar. The solution is beets! But not beet juice, because it tends to make the batter too runny and then it doesn't want to hold together while baking. You need to roast your beets for as long as possible (at least an hour) and then puree them to death. There are a lot of different recipes worth trying, but this one worked for me!

Red Velvet Cupcakes

3/4 cup beet puree
1 tablespoon lemon juice
1 1/2 teaspoons vinegar
1 cup sugar
1/2 cup butter
3/4 teaspoon vanilla
3/4 teaspoon salt
3/4 teaspoon baking powder
1 1/4 cups flour
2 eggs
1/2 cup buttermilk
1 tablespoon cocoa powder

Red Velvet Cupcakes
Red Velvet Cupcakes
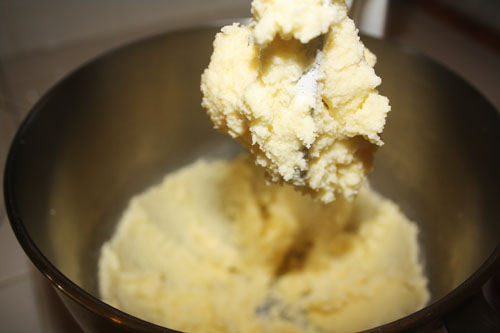
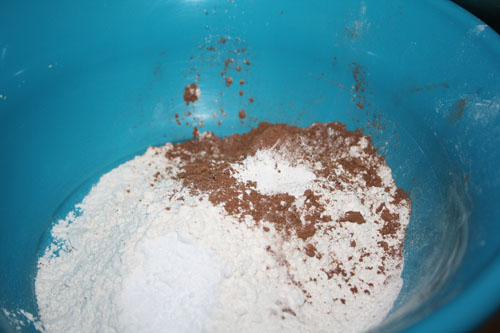
So first, preheat to 350 and pop cupcake liners in your muffin tin. Cream together the butter and sugar, then add the eggs and mix again and add the vanilla and give it another stir. In a separate bowl, whisk together the flour, salt and baking powder.
Red Velvet Cupcakes
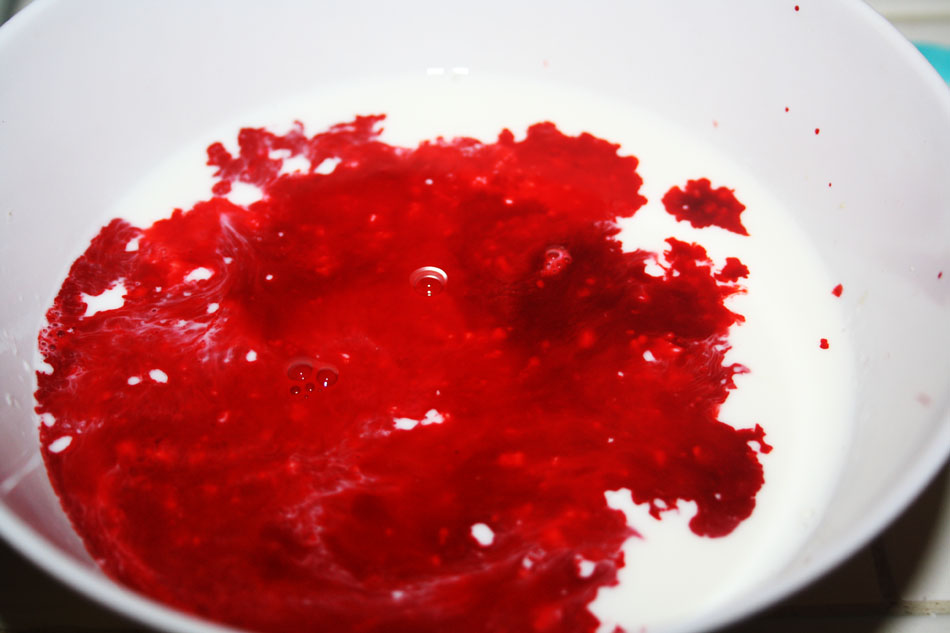
This is the crucial part. You have to mix the buttermilk with the beet puree, vinegar and lemon juice in a small bowl before you add it to the rest of the wet ingredients. It will be an epic time wasting fail if you just dump it all in. Boo! Also, I always just add vinegar to make my own buttermilk but in this case I chose to err on the side of caution and actually buy a small carton of it because I really, really didn’t want to muck it up. 😉
Red Velvet Cupcakes
Red Velvet Cupcakes
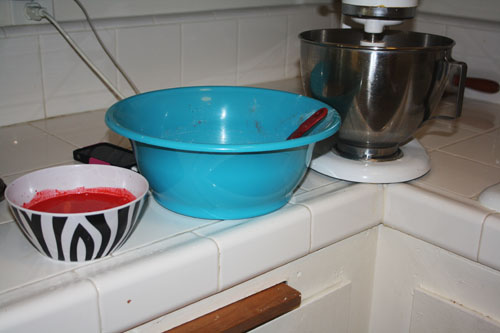
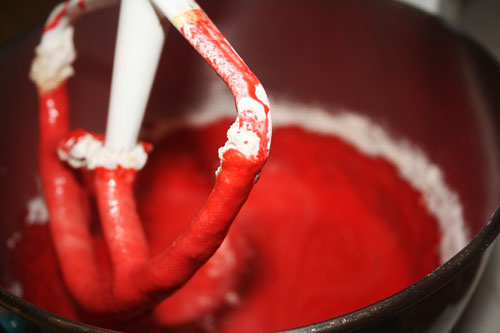
So there are my three bowls, from left to right; beets puree mixture, cocoa/flour mixture and sugar/butter/eggs mixture. I added the cocoa/flour mixture to the sugar/butter bowl with the mixer on low and then slowly poured in the beet mixture. The flash made this picture a bit brighter than it was in person but it was really bright! Also, word of advice, beets don’t mess around, they’ll dye your fingers pink no problem! Now put them in the oven for about 20 minutes (maybe a little more or less, check them at 15 minutes or so to be safe) and whip up some chocolate buttercream while you’re waiting for them to cool off.
Red Velvet Cupcakes
Red Velvet Cupcakes
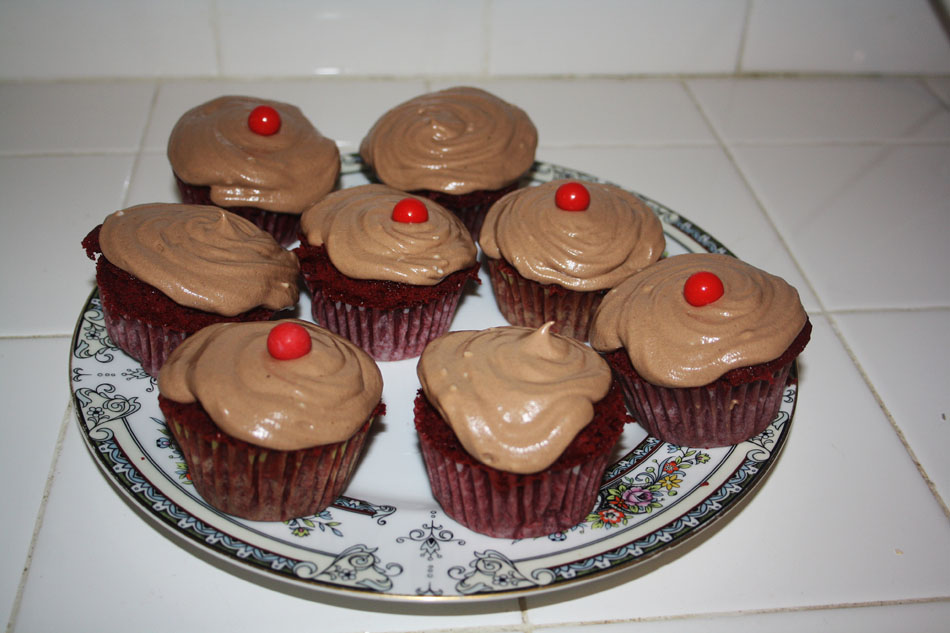
I thought the little red Gobstoppers gave them just the right touch, no? Love you Gill!
Now, about that head scratcher. My sister knows that my knees are incredibly ticklish. I mean, incredibly. Hysterical laughter and pathetic screams. So naturally, she attacked my knees with it….but she? Looks way cute.
Red Velvet Cupcakes
Red Velvet Cupcakes
No Comments

Mini Chicken Pot Pies

Domestic

Chicken Pot Pie is one of those meals that pretty much all of us are happy with, though Wee One #2 still picks out the corn. What’s with that? Corn is the hardly-even-a-vegetable vegetable that kids actually eat! Anyhoo, so she ‘hates corn’ but otherwise is happy with this and the rest of us eat it up. I try to make more than one at a time and stick one in the freezer so I can come to my own rescue a couple of hours before dinner and I’m not finished with the kid’s school for the day and my husband is on his way home – insert your own dinner time stress here.

However, I have sometimes used that extra chicken pot pie and am left with the ingredients and no time to make the actual pie. So, enter Bisquick. I will post a proper recipe for homemade Bisquick but essentially it’s just flour, baking powder, salt and either butter or shortening. Also, as far as I’ve read (will need to experiment before I actually post about it) the recipes that include powered milk are the best. So, if you have some Bisquick on hand or the ingredients for homemade Bisquick on hand this recipe is crazy easy. The only painful part (and it’s only painful if you’re dealing with a time crunch) is the rolling out of the pie crust. With this recipe, you mix up the batter, make the filler and then layer it all into a muffin pan. Genius, right? I know! After about 15 minutes or so of prep and then 20 minutes (ish) of baking while I clean up the kitchen, and dinner is done! Which is great because it takes about 35 minutes from the moment my husband signs out of Skype to when he arrives at the front door. So win-win!

You’re welcome.

Mini Chicken Pot Pies

2 chicken breasts, cooked and chopped
1/2 – 1 cup corn (depending on how much you love or hate corn)
2 teaspoons black pepper
2 teaspoons rosemary (I chop mine a little so they’re not so ‘pokey’ as Wee One #3 would say)
2 – 3 potatoes, chopped and boiled
1/4 cup chicken stock
2 cups chicken gravy

Mini Chicken Pot Pies
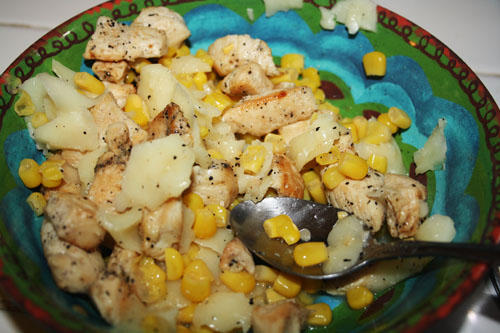
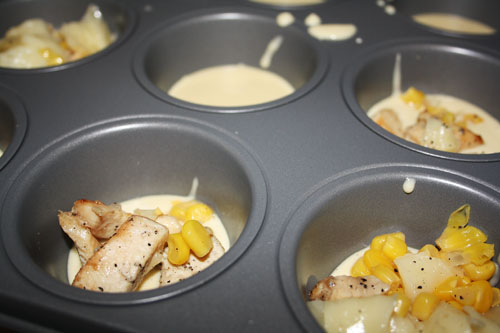
It’s so simple it’s silly to even call it a recipe. Mix the chicken, corn, pepper, rosemary, potatoes and chicken stock in a bowl. Prepare the Bisquick batter (usually just Bisquick and water). Fill each muffin cup about 1/4 full with batter and add filling. Not so little that they’re diet pies, but not so much that they explode in the oven. Then top with the rest of the batter. Voila!
Mini Chicken Pot Pies
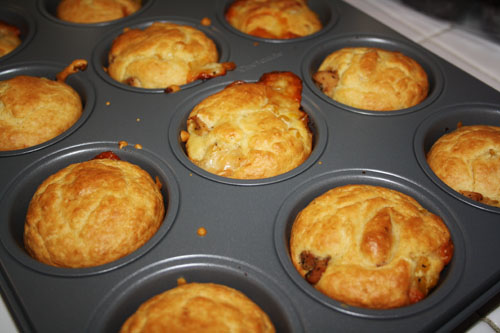
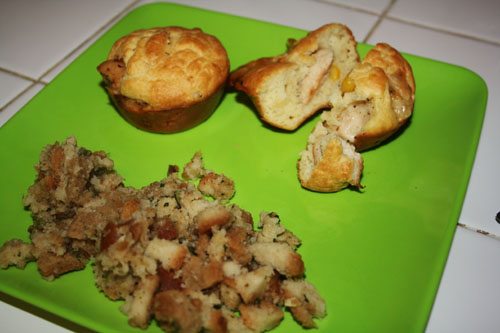
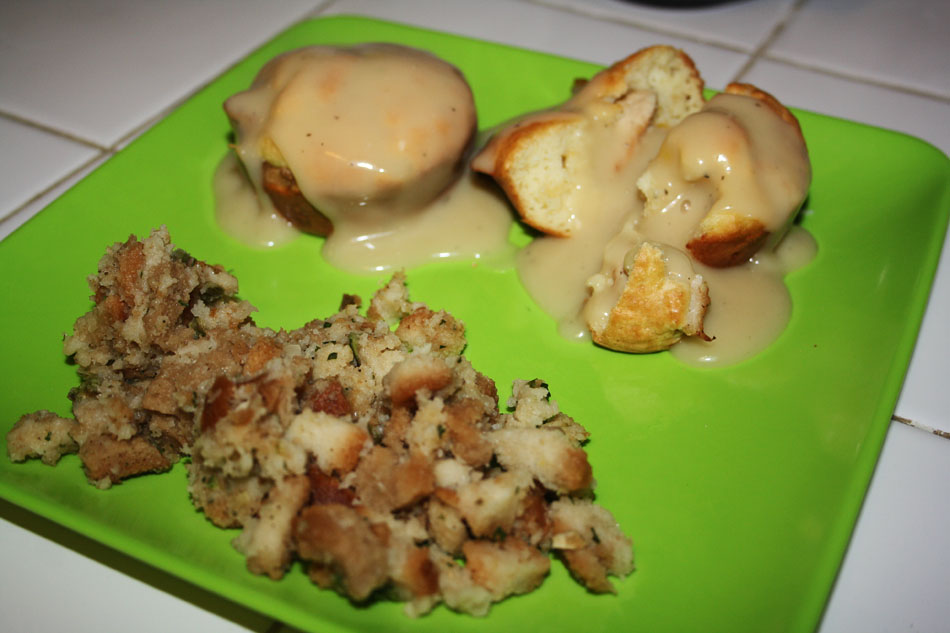
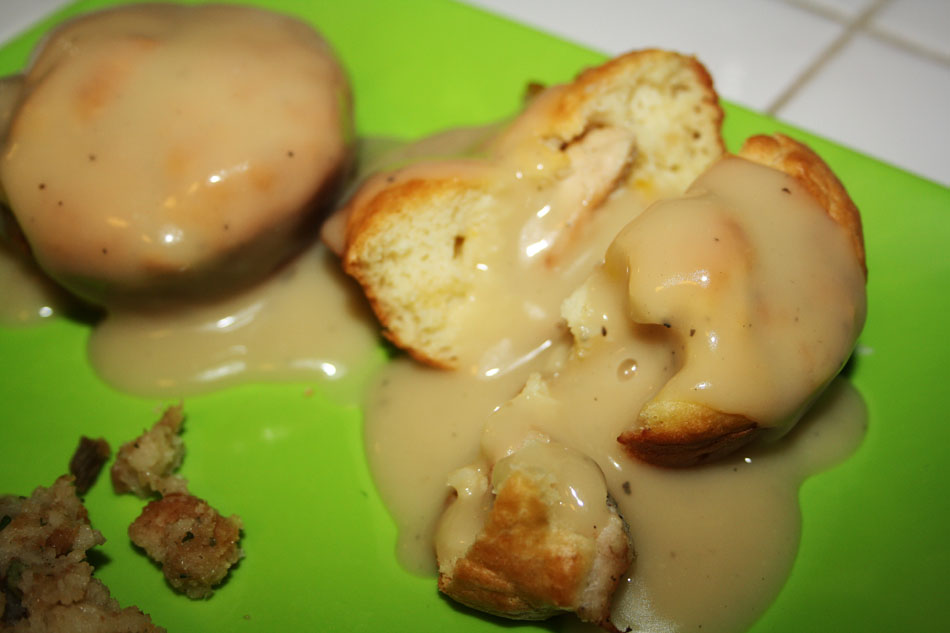
Bake them at 350 for about 20 minutes and clean your kitchen! Kidding. Well, you probably should but I’m not going to bully you into cleaning. At the very least make a simple (cheater) side to go with it – and heat up your gravy! We usually break them open at the table and pour gravy over them. This is pretty obvy one of the kid’s plates and yes, it was attacked by some kind of gravy monster!
Mini Chicken Pot Pies
1 Comment

Popovers (& Williams Sonoma / Sur la Table Giveaway Winner)

Domestic, Kids

This week I’m linking up with Organizing Junkie!

First thing on my mind this morning was hitting up random.org to choose a winner for the Williams Sonoma / Sur la Table giveaway, sponsored by Country Crock. We had 5 entries, I numbered each person 1-5 and the random number generator picked…..


Congratulations Julie! Email me back and Country Crock will get your prizes out to you!

So most of you know we are going to Vegas for Thanksgiving this year to celebrate with a dear friend and her children. A dear friend who just happens to be a real, live, Southern Belle! Please note the capitalization. She’s from the south, y’all so our very first American Thanksgiving is going to be a down home American Thanksgiving. We will be spending the whole day cooking and cleaning and then cooking and cleaning and cooking and baking and cleaning – all with 7 children underfoot. I will do some prep here since I’m not sure it’s physically possible to do the entire menu in a single day at her house. We are, both of us painfully, overachievers. Expect epicness next Thursday.

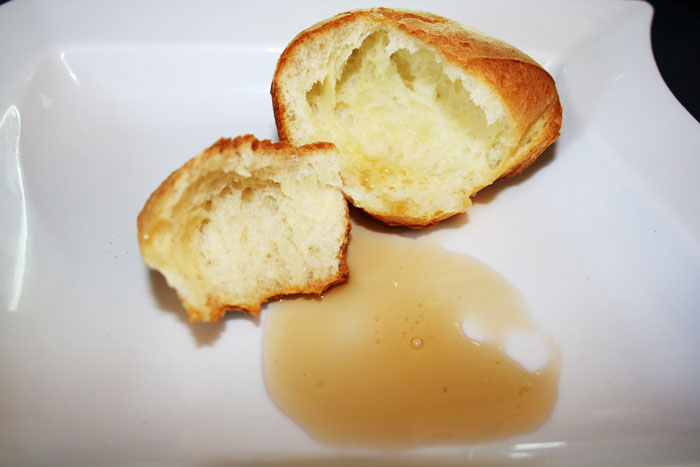
Anyhoo, so since we have so many kids between the two of us and since arts and crafts will only distract them for so long, I’d love for them to jump into the kitchen for a kid-friendly recipe! This comes from Linda Collister’s Baking with Kids (the best kid’s cookbook we’ve ever used). My kids have made this recipe so many times I’ve lost count. Not So Wee One #1 likes these with a little butter, Wee One #2 likes them with jam and Wee One #3 likes them with maple syrup – and they all like them still warm! They’re a hit with grown ups too, especially good with gravy – you know, like with a serious turkey dinner!

Baking with Kids Popovers

Popovers – via Baking with Kids

1 cup whole or half fat milk
1 cup all purpose flour
1/4 teaspoon salt
1 tablespoon wheatgerm or oat bran
3 extra large eggs
2 tablespoons melted butter

Baking with Kids Popovers
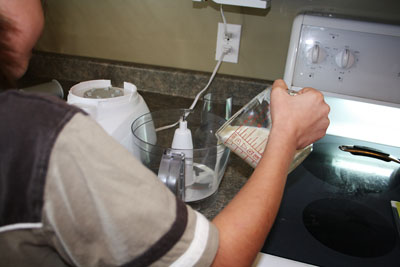
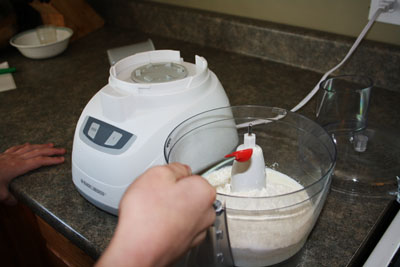
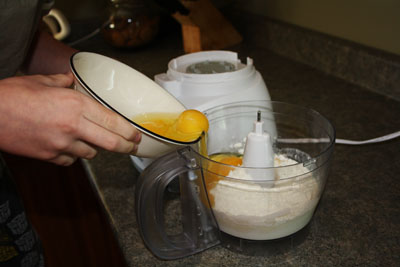
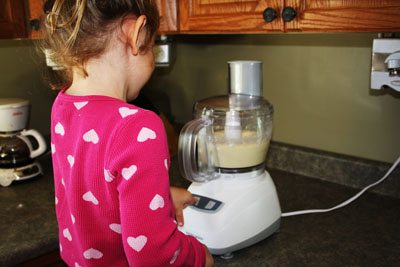
Preheat your oven to 425 and add the milk, flour, salt and wheatgerm (or oat bran) to a food processor or blender and process just to mix them.
Baking with Kids Popovers
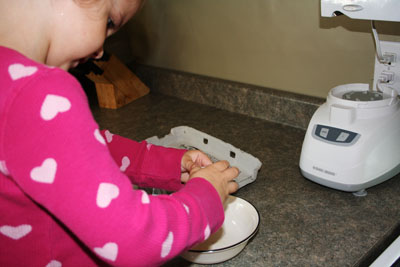
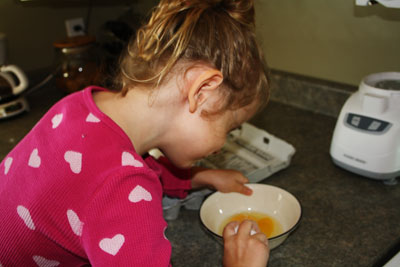
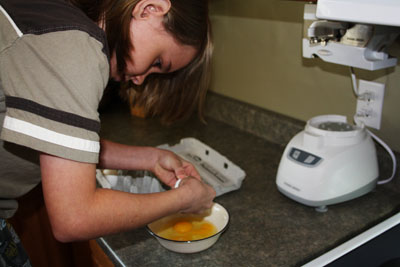
Now it’s egg breaking time and they’re really serious about it.
Baking with Kids Popovers
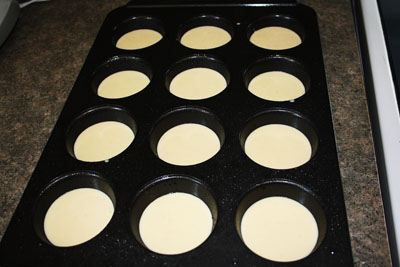
Melt the butter and add it and the eggs to the processor and pulse again until it’s well blended together. If your food processor has a spout (or you used a blender), you’re set. Otherwise, pour the batter into a pitcher to make it easier for the kids to pour it into the (lightly greased) muffin cups. Each muffin cup should be about half full.
Baking with Kids Popovers
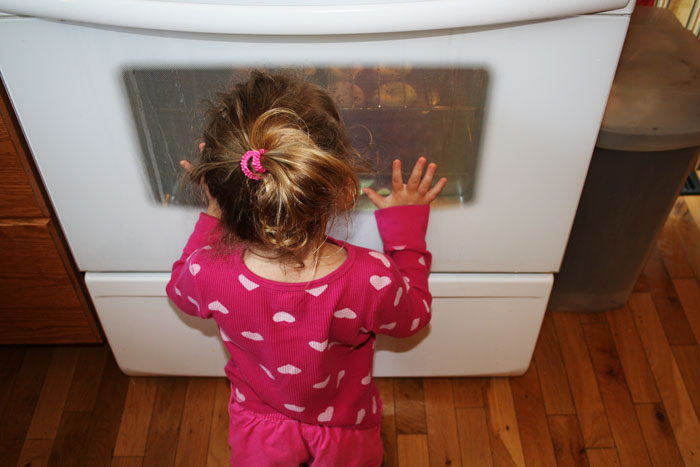
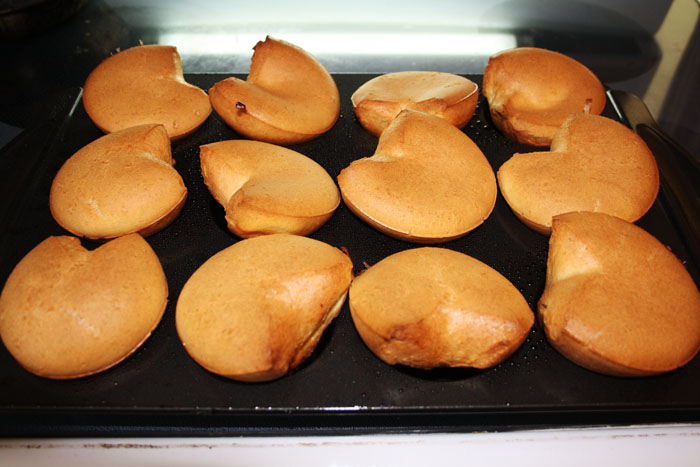
Now carefully watch them puff up. 🙂 Bake for 25 minutes and then without opening the door turn the oven down to 350 and bake for another 15 minutes.
Baking with Kids Popovers
They are best just a few minutes out of the oven, which is perfect for impatient wee ones, but they are still good later the same day!

Now, since it’s menu Monday after all, here’s what’s up this week around here!

This Week’s Menu (Nov 12 – Nov 18)

Monday – Beef Stew with Cheesy Pull Apart Bread and Boston Cream Whoopie Pies for dessert

Tuesday – Chicken Alfredo with Ceaser Salad and Fudgey Oreo Brownies for dessert

Wednesday – Toasted Ravioli with Parmesan Knots and Sugar Cookie Bars for dessert

Thursday – Chicken Crescent Rolls with Hush Puppies and Triple Chocolate Pound Cake for dessert

Friday – Chicken Florentine Bowtie Pasta with Garlic Cheddar Biscuits and Rolo Cupcakes for dessert

Saturday – Old Fashioned Chili with Bacon Cornbread and Cookie Dough Brownies for dessert

Sunday – Chicken Parmigiana with Scalloped Potato Stacks and Nutmeg Donuts with Berry Icing for dessert

3 Comments

Bacon-Cheddar Potato Rounds (and a serious Williams Sonoma giveaway)

Domestic

It’s no secret that I’m big on full-out meal planning, so of course I have been trying to map out a wonderful Thanksgiving celebration – especially since this year it involves a longish road trip and a long time, long distance friend. It’s also no secret that I adore pretty kitchen gear and ever since I started collecting treasures in our new place in California, I have been absolutely smitten, so I am hunting for the perfect dishes and bakeware to bring with us on our Thanksgiving visit. This amazing giveaway is so timely and right up my alley I am so excited to present it to you guys!

Just three simple steps will get you entered in this giveaway for A set of 4 Harvest Pumpkin Tiny Taper Holders from Williams Sonoma, 10″ x 6″ Scalloped Italian Bakers from Sur la Table and the matching Wire Baker Racks.

1. Check out The Country Crock Chronicle and leave a comment on an article there.

2. Like So Very Domestic on Facebook.

3. Leave a comment here to let me know you did!

A winner will be chosen by a random draw and posted on the blog on Monday, November 12 (the winner will also be contacted via email). The winner must reply with their mailing address within 24 hours or a new winner will be chosen by a second random drawing. Good luck!!

This year we are spending Thanksgiving with a dear friend of mine and her four children, and I have been trying out different side dish ideas to help make it a really special holiday. This was one of my favorites so far (you can find loads more inspiration over at Country Crock and here on the blog in the next couple of weeks).

In trying out and coming up with different recipes for Thanksgiving of course the emphasis leans towards bigger is better and this time of year especially the menus often tend to be a lot richer. We don’t need to give up the richness completely, but it is a smart to make adjustments to recipes to make them healthier for ourselves and our families. Years ago I would have made this recipe with butter, traditional bacon and full fat cheddar cheese. However, with a few small changes I was able to make this recipe much healthier! Country Crock has 0g trans fat, no-nitrate bacon is always a better choice than a bacon (either pork or turkey) made with nitrates and low fat cheese is a no brainer switcheroo.

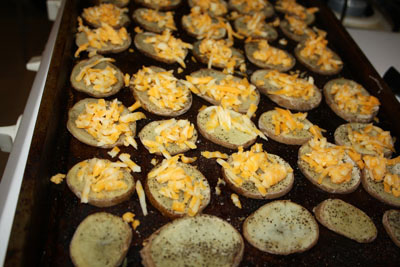
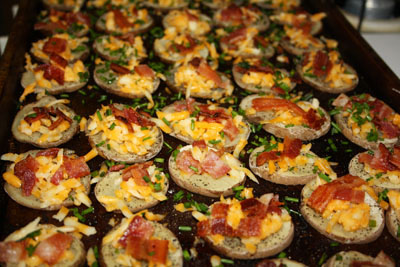
Bacon-Cheddar Potato Rounds

4 potatoes, sliced about 1/2″ thick
1/4 cup melted Country Crock
black pepper, to taste
8 slices of no-nitrate, turkey bacon, cooked and chopped
8 ounces low-fat shredded sharp cheddar cheese
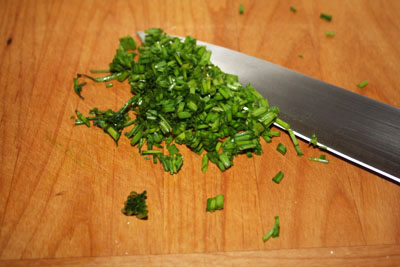
1/2 cup chopped green onion or chives

Bacon-Cheddar Potato Rounds
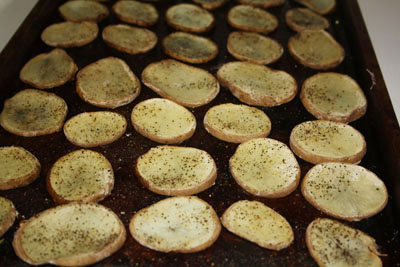
Preheat oven to 400 degrees Using a pastry brush, cover both sides of each potato slice with Country Crock and put them on an ungreased baking sheet. Sprinkle with black pepper and cook for about 45 minutes, until potatoes are cooked through.
Bacon-Cheddar Potato Rounds
Once the potatoes are cooked, sprinkle with the cheddar cheese, the bacon and then top with the chives or green onions (or use a mix of the two). Cook for another 10 minutes or so until the cheese is melty and serve alongside your main! I had intended them to be cut up and eaten but more than one person picked them up and ate them as finger food!
Bacon-Cheddar Potato Rounds

Thank you to Country Crock for being a sponsor. I was selected for this opportunity as a member of Clever Girls Collective. All opinions expressed here are my own.

6 Comments

Sturdy Cut Out Cookies – Ghosts & Tombstones

Domestic, Kids

Happy Halloween!!!

There is so much going on today for us that I have no idea where to begin. We ended up spending most of the day on Monday dealing with long distance house selling issues. Please note, however stressful irritating maddening ahem troublesome you think selling a house may be, imagine for a moment that you are about 2600 miles away from it and all cleaning, packing, moving and signing of official documents will be done long distance. Yeah, so that was Monday.

Yesterday was a fun meeting with Wee One #2’s teacher, I really like homeschooling this way. Support from the teacher, freedom to accomplish it our own way and most important the time we all get to have together! Amazing, really. So instead of Twinkle Twinkle’s Halloween party on Monday, we are going this afternoon and the kids are really, really hyped for it. I’m not going to lie, I’m super hyped for it too. It’s my favorite place to take the kids for some fun (and too many Caffe Americanos for mommy).

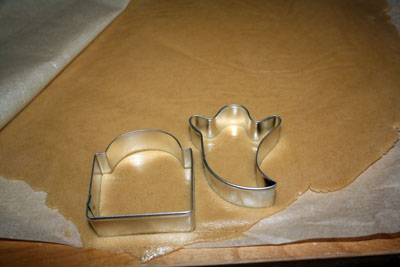
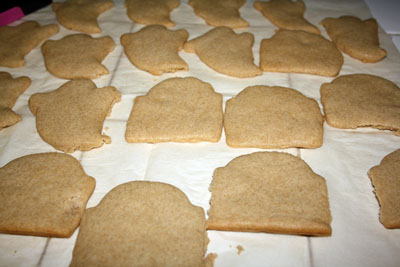
Today, we attack a stack of cookies and turn the kitchen upside down. It seems the best days around here end in a destroyed kitchen that I then spend a good hour after they’re done cleaning – but it’s totally, undoubtedly, absolutely worth it. <3 This recipe is from a book of activities to do with preschoolers, so you know this cookie is sturdy! They are not horribly chewy, which would be a really weird texture for a cut out cookie, but they are not so tough they're really crunchy either - just perfect. Especially perfect for handing over half the batch to an eager 3 year old and 6 year old with royal icing covered aprons, an arsenal of sprinkles and a whole lot of imagination. They didn't break a single cookie! This is officially my new go-to recipe for cut outs. The only thing to note about them really is that they are not as white as a traditional sugar cookie and the cinnamon and ginger give them a spice cookie taste without being overwhelming. Sturdy Cut Out Cookies - Ghosts & Tombstones

Sturdy Cut Out Cookies – via The Preschooler’s Busy Book

2 1/2 cups flour
1 teaspoon cinnamon
1/2 teaspoon ginger
1/2 teaspoon baking powder
1/4 teaspoon baking soda
1/4 teaspoon salt
3/4 cup butter
1/2 cup liquid honey
1/3 cup sugar
1 egg

Sturdy Cut Out Cookies - Ghosts & Tombstones
Super super simple, just mix all the dry, then the wet and then the two together! I found they rolled out and baked best when I followed this method: Divide the dough into four balls and roll each one between two sheets of parchment and pop in the freezer for as long as it takes to roll the rest out between their own sheets of parchment. Then take out the first one you put in and cut out the shapes, pop it back in the freezer and repeat that until all four balls are rolled out and cut into shapes. Follow the same process for lifting the shapes onto a baking sheet lined in parchment and rolling and cutting new shapes. Bake at 375 for about 7 minnutes.
Sturdy Cut Out Cookies - Ghosts & Tombstones
The beauty of these is you can cut out whatever shapes you want (or whatever shapes your kids want) and then decorate them in any way you (or more likely your kids) choose – or even better, both! Win-win! I chose ghosts, Wee One #2 chose tombstones (the other two were totally uninterested in what shapes we used). I made my standard Royal Icing (2 large egg whites, 3 cups icing sugar and 1 teaspoon lemon juice). I tinted a little bit black, a whole lot gray and left the rest of it white.
1 Comment

Menu Monday

Domestic, Homeschooling

Usually when our schedules are overflowing, it’s full of crazy fun stuff that I planned. So when I’m crazy busy, it’s generally because I want to be. This week however, not so much.

I mean, I WANT our house in Canada to close but I don’t love that I have to run out to a notary today to do the paperwork. I am super hyped for a Halloween party at Twinkle Twinkle this afternoon (hands down my favorite place to take the kids), but making sure I balance out the day with school between (and after) the notarizing and the party isn’t exactly laid back.

Tuesday is the second week we are meeting with Wee One #2’s teacher (we are still homeschooling but now we are doing it through a local school) and I’m happy to check in with her and get some feedback and show off what we did last week, but I’m not looking forward to also taking all the kids with me to the YMCA to sign up for memberships – even though I am looking forward to using those memberships!

Wednesday is Halloween of course, so after we do a day of school we’re having a Halloween party! I have a handful of games planned for the kids and some silly activities to get them in the mood for trick or treating. We’ll have a busy BUT crazy super fun day.

Thursday is the second week we are meeting with Wee One #1’s teacher (homeschooling through the same local school as Wee One #2), we’ll likely use this day as a catch up for whatever we didn’t manage to accomplish with school and around the apartment.

By Friday, life should be a little calmer.

Since none of this has anything to do with dinner, I made a menu for this week as I normally would.

This Week’s Menu (Mon Oct 29 – Sun Nov 4)

Monday – Mini Shepard’s Pies with Corn, Gravy and Garlic Cheddar Biscuits and Trix Treats for dessert

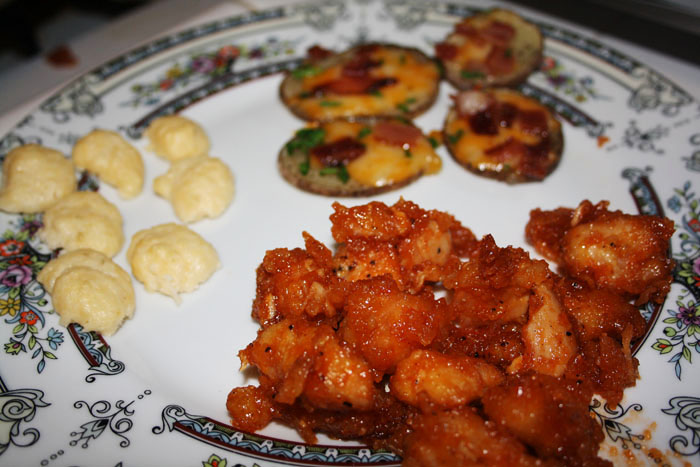
Tuesday – Sweet & Sour Chicken with Cheese & Bacon Potato Rounds and Cauliflower Tots and Oreo Brownies for dessert

Wednesday – ‘Forgotten’ Pork Chops with Hush Puppies and Corn on the Cob and Polka Dot Halloween Cake for dessert

Thursday – ‘Man Pleasing Chicken’ with Chipotle Rice and Candied Carrots and Chocolate Swirl Biscuits for dessert

Friday – Wendy’s Style Chili with Bacon Cornbread and Garden Salad (or small Ceasers, we’ll see) and Nutmeg Donuts for dessert

Saturday – Honey Garlic Pork Chops, Smashed Potatoes & Cheesy Broccoli Gratin and Triple Chocolate Chunk Muffins for dessert.

Sunday – Bacon Wrapped Herb-Stuffed Chicken with Chicken Stuffing and Creamed Corn and Strawberry Cake for dessert

I’m going to photograph every recipe I make this week and then maybe blog about them all next week!

No Comments

This Week (aka Happy Sunday)

California, Crafty, Domestic, Kids, Pretty

So so so much is going on this week and so much fun happened last week! I made a lot of Halloweeny treats in the last couple of weeks and they were all hits with the kids! Wee One #1 is dressing as a warrior skeleton type guy (he’s been picking pretty much the same costume every year in a bigger size for 3 or 4 years now), Wee One #2 is going as Hello Kitty and out littlest is going as ‘The Tooth Fairy’, she is very specific about what kind of fairy she is exactly. Much running around Los Angeles in costumes!

Sparkly gold shoes, ridiculous wedges with an equally ridiculous bow, a really cute necklace and dress combo and some Halloweeny cocktails rounded out my week. We made normal screwdrivers but we used black vodka and then we made Bloodtinis, which were just as delish without any booze in them at all. I really just wanted an excuse to use the shaker. 😉

Oh, and my piggie spatula, which is probably my most prized kitchen possession at the moment. You love it right? Of course you do!

Back in the morning with Menu Monday!!

1 Comment

Chocolate Peanut Butter Cupcakes

Domestic

These cupcakes were one of four different kinds I made for the second birthday we celebrated after our move to LA. The first one involved the much loved (and totally insane) Chocolate Kit Kat Skittles Cake. This birthday boy is not into candy so much as overall decadence, so a tray of snazzy cupcakes was my obvious choice. 🙂

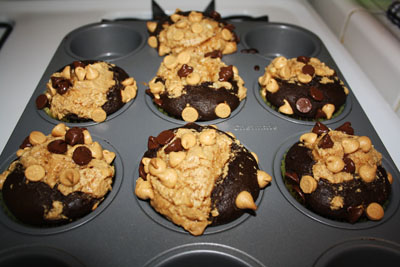
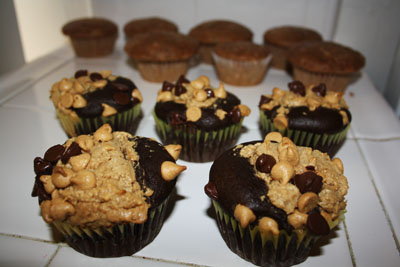
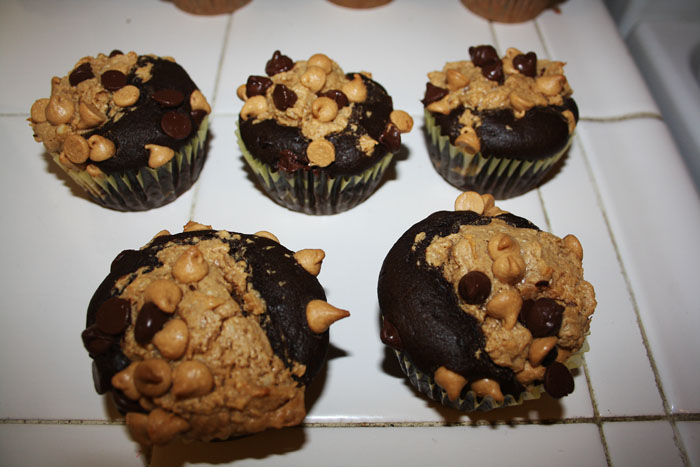
These cupcakes were one of my favorites because I really, really love the combination of chocolate and peanut butter. It’s such a shame that the mass produced partnerships of chocolate and peanut butter taste so fake. Anyhoo, these cupcakes do involve two batters, however the extra work of mixing a second batter is totally negated by not having to frost them when they’re done. The way the two batters bake into each other and of course the peanut butter chips and chocolate chips on top is more than enough of a replacement for frosting!

The grow ups loved these as well, but they were a really big hit with the kids!

Chocolate Peanut Butter Cupcakes

Chocolate Peanut Butter Cupcakes via Pillsbury

1 1/2 cup all purpose flour
1/3 cup cocoa
1 cup packed brown sugar
1 teaspoon baking soda
1/4 teaspoon salt
1/3 cup vegetable oil
1 cup water
1 tablespoon white vinegar
1/2 teaspoon vanilla
1 egg
1 8oz package cream cheese, softened
3/4 cup creamy peanut butter
1/3 cup sugar
1/3 cup confectioner’s sugar
1/4 cup peanut butter chips
1/4 cup semi-sweet chocolate chips
Chocolate Peanut Butter Cupcakes
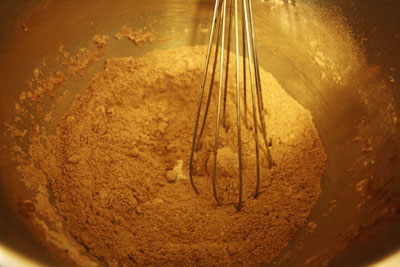
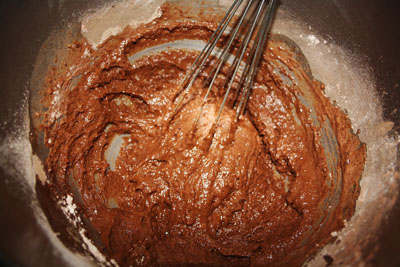
Preheat to 350 and pop liners in your muffin cups. 🙂 Whisk together the flour, cocoa, brown sugar baking soda and salt. Once that’s all incorporated, add the oil, water, vinegar and vanilla – do NOT overmix!
Chocolate Peanut Butter Cupcakes
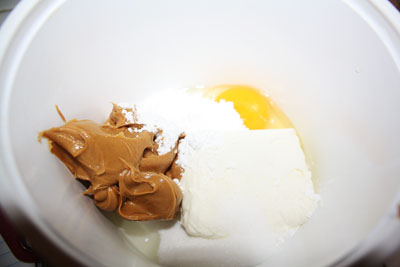
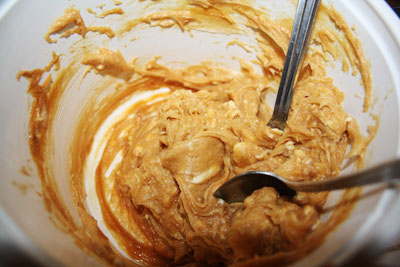
In a new bowl, mix the egg, cream cheese, peanut butter and sugar (much easier with an electric mixer) until smooth, then add the confectioner’s sugar.
Chocolate Peanut Butter Cupcakes
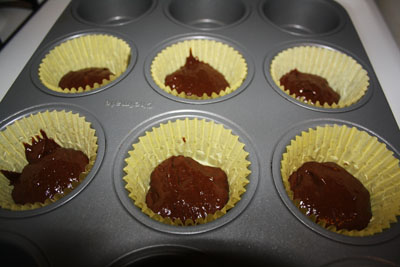
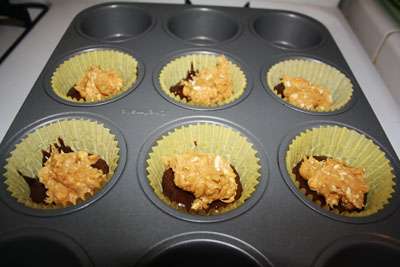
This is the fun part! Spoon 1 tablespoon of the chocolate batter into each muffin cup, then 1 tablespoon of the peanut butter batter, then a second tablespoon of chocolate batter and a second tablespoon of peanut butter batter.
Chocolate Peanut Butter Cupcakes
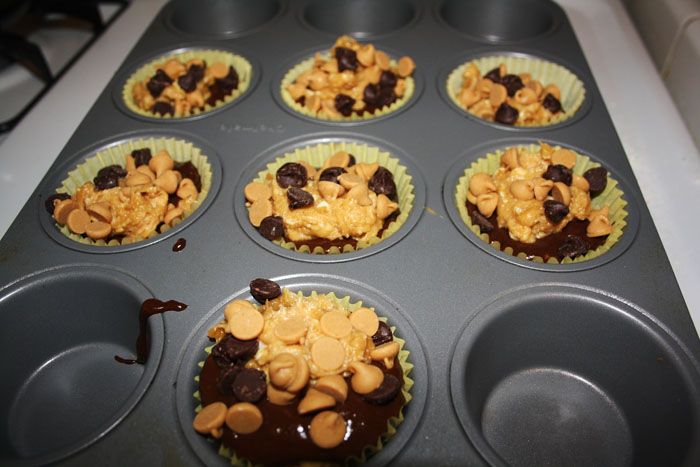
Sprinkle with peanut butter chips and chocolate chips!
Chocolate Peanut Butter Cupcakes
Bake for 25 minutes or so and let cool 15 minutes before you try to pry them out! The original recipe says to wait another 15 minutes before you serve them but I made these for our friend’s birthday so we didn’t get to them until way later that night (and they were amazing).
Chocolate Peanut Butter Cupcakes
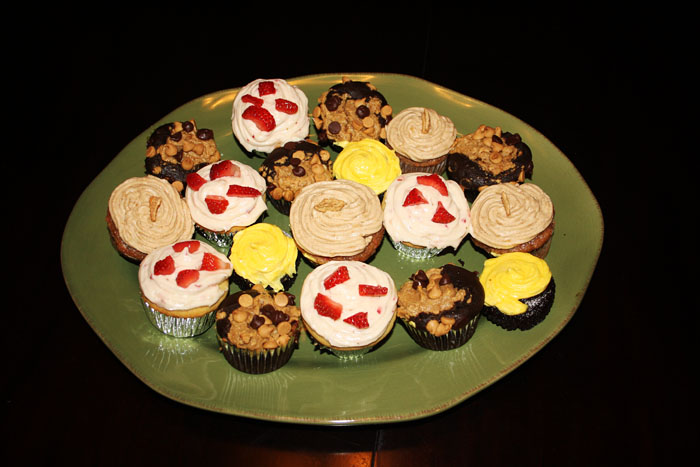
Behold! The rest of the birthday cupcake tray!
Chocolate Peanut Butter Cupcakes
3 Comments

Chocolate Cocoa Crinkles

Domestic

These are among my family’s top 10 favorite Christmas cookies, which is a list that will be rundown at some point next month and even though I’m up to my neck in festive Halloweeny fun right now, these were just begging to be made and posted about! Sometimes, you just have to veer off track and bake a batch of Christmas cookies in the middle of October surrounded with orange and black construction paper and pumpkin seeds. Amiright?! No? That’s just us?

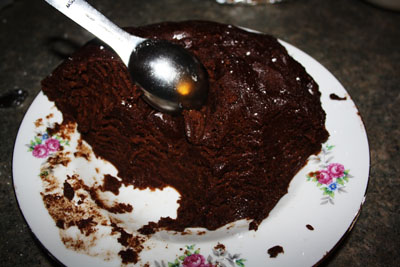
These cookies are good whenever, honest. They are slightly crunchy on the outside (hence the ‘crinkle’) but they are soft and chocolaty on the inside. They are hella addictive though so be sure to share!

Chocolate Cocoa Crinkles

Chocolate Cocoa Crinkles – via Betty Crocker’s Best Christmas Cookbook

2 cups sugar
3/4 cup vegetable oil
3/4 cup cocoa
4 eggs
2 teaspoons vanilla extract
2 1/3 cups all purpose flour
2 teaspoons baking powder
1/2 teaspoon salt
powdered sugar (for rolling)

Chocolate Cocoa Crinkles
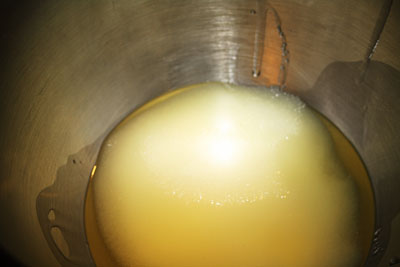
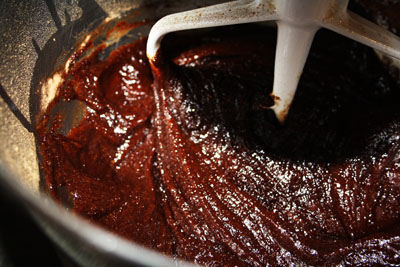
So first up, mix the sugar and oil and then add in the cocoa until totally combined. Now add the eggs, and vanilla. Sift the flour, baking soda and salt and then stir that into the cocoa mixture. Now pop it in the fridge for a few hours.
Chocolate Cocoa Crinkles
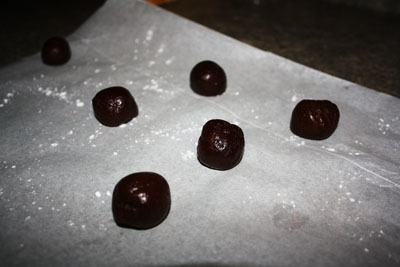
Once the dough is solid enough to form into balls, do just that! Make them each with about a tablespoon of dough. Of course you can make them much smaller or bigger depending on what you are making them for and how you want to package them, but you’ll have to adjust the baking time.
Chocolate Cocoa Crinkles
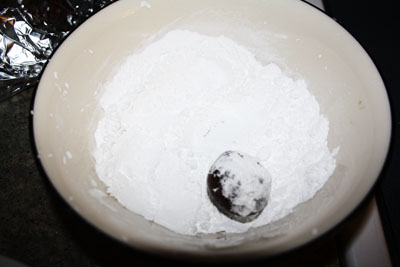
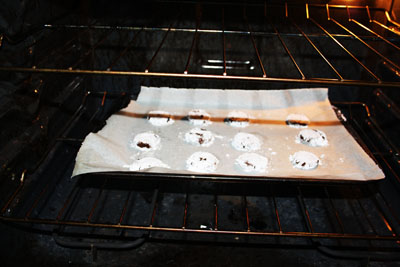
Now, whatever size your balls are, roll them in the powdered sugar and place them about 1″ apart (the bigger the balls the more space you need hehe) on a parchment paper lined baking sheet. Smoosh them down with the bottom of a glass before you bake them – for 11-13 minutes at 350 (more or less of course if they are smaller or bigger than a tablespoon each). I am making these for the base of a Halloween cookie so I’ll have festive versions of these babies up soon!
No Comments
« Older Posts
Newer Posts »