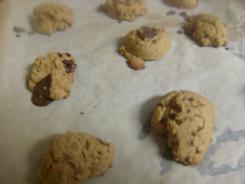
Browsing the archives for the cookies tag.

Pillow Cookies – Cookie #3

Domestic

I’m skipping the oatmeal cookie post (cookie #4 for 2011) because oatmeal, however amazing they may be are really not worthy of their own post. My husband may argue that, as he looooves them and requests them on the regular, but we all make oatmeal cookies, don’t we?

As with most genius baking ideas I come across online, I found the idea for pillow cookies over at Bakerella. She found them in the bakery of Fresh Market and this version was her reproduction. Hers are huge and way way bigger than the inspirational cookies that she ate. I went with much smaller ones, probably closer to the ones she bought, simply because my wee ones and husband will eat them and eat them, so they’ll last a little longer if they’re smaller!
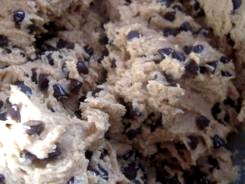
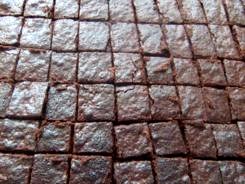
 

First whip up a batch of brownies and cut them pretty small. I went with 1/2″ squares (ish) and Bakerella went with 1 squares. Then, as they’re cooling, make a batch of chocolate chip cookie dough (use mini chips). Do you need recipes for these elementary school baked goods?

The brownies could not be simpler; melt 1/2 cup butter in a saucepan, once it’s melted add 1 cup of sugar and stir till it’s totally dissolved. Then mix in 2 eggs, one at a time and 1 tsp of vanilla. Now dump in 1/2 cup flour, 1/2 cup cocoa, 1/4 tsp salt, 1/2 tsp baking powder. It’ll be pretty gloopy, but just mix it in till it’s all one gloopy mass and away you go. Pop them in for about 10-15 at 350.

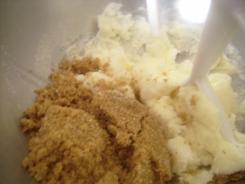
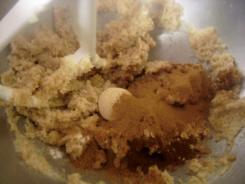
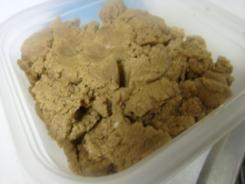
The cookies are also painfully easy. Mix 1 cup butter and the 1 1/2 cups packed brown sugar till creamy. Then add 2 large eggs, 1 large egg yolk, and 1 tablespoon of vanilla. Yes, a tablespoon not a teaspoon. Mix 2 1/2 cups flour, 2 tsps baking powder, 1/2 tsp salt, and 1/2 tsp baking soda. The add that to the rest of the mix. Now stir in a whole 12oz bag of mini chocolate chips. Chill the dough for about an hour.

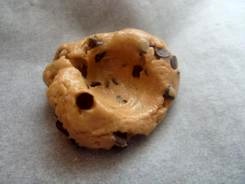
Now, the fun begins! Make a generous ball of cookie dough. Smoosh a thumbprint into it.
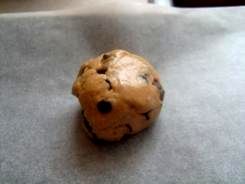
 

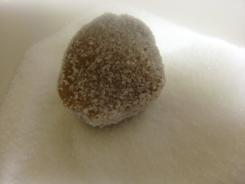
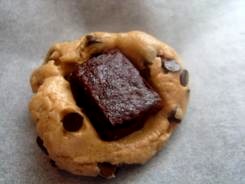
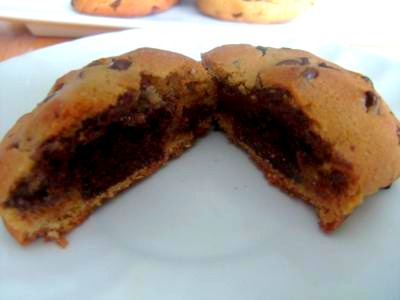
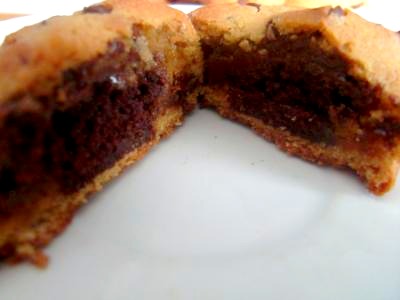
Plunk a brownie into the indentation you just made. Now roll the rest of the cookie ball around the brownie, add a little more dough if you need to. Now giggle. You just hid a brownie in a cookie.
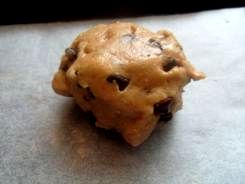
 

Repeat over and over. Don’t try to put more than 6 on your tray at a time (assuming it’s an average size tray) because they run together like woah.
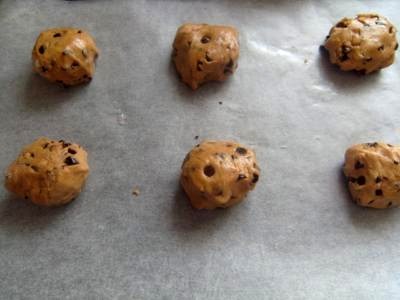
It was really hard to wait for the kids to get home after school to try one, but I usually have the first tea time treat with them. It was painful but I waited!
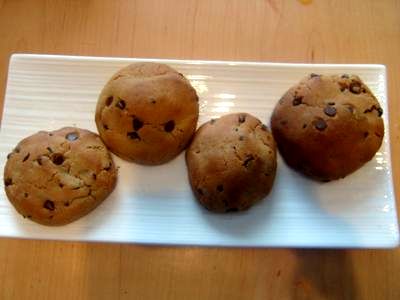
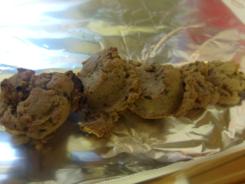
I could not, however, wait to open one up and see what it looked like inside, so I sliced this one – then my husband walked by and ate it! Can you blame him?!
9 Comments

Peanut Butter Chocolate Chip Cookies – Cookie #2

Domestic, Kids

Introducing the second cookie of the year – Peanut Butter Chocolate Chip. I bet your Granny made these, or makes if you’re lucky. My Granny made them, and then I made them with her. This isn’t her recipe exactly, unfortunately. I got a bunch of her kitchen gear and two cookbooks after she passed, but I don’t have her scribbled down recipes on messy and stained index cards – yet. That’s what I really want.

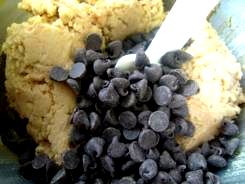
So, anyhoo. These cookies are very close to the one she used to make, I adapted the recipe just a teeny bit by swapping chocolate chips for whole peanuts from the excellent cookbook, Great Cookies. I have used this book over and over, and I’m sure I’ll be turning to it a lot during this Year of the Cookie.

Peanut Butter Chocolate Chip Cookies – adapted from the Peanut Jumbles in Great Cookies

2 1/2 cups sifted cake flour
1/2 teaspoon baking powder
1/2 teaspoon salt
1/4 teaspoon baking soda
3/4 cup butter
3/4 cup smooth peanut butter
1 cup lightly packed brown sugar
1/2 cup granulated sugar
2 large eggs
2 teaspoons vanilla
2 cups chocolate chips

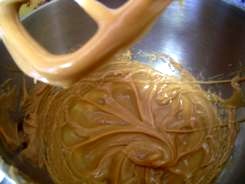
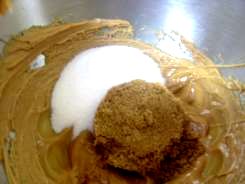
First up, of course, you sift together the flour, baking powder, salt, and baking soda, and set that aside. Then, using a stand up mixer if you have one, cream the butter till smooth and add the peanut butter. I love the way it looks, so silky! Next add the brown sugar and granulated sugar.

 

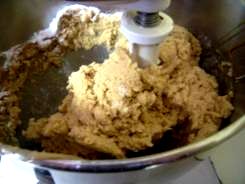
Plunk in your eggs, one at a time while mixing, then the vanilla. Now put your mixer on the lowest speed, and add your dry ingredient mix very slowly so it all gets combined properly, but don’t over mix! The take it off your stand mixer and fold in the chocolate chips with a wooden spoon.


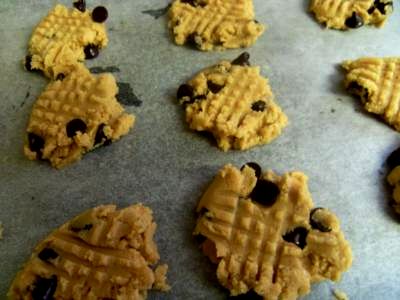
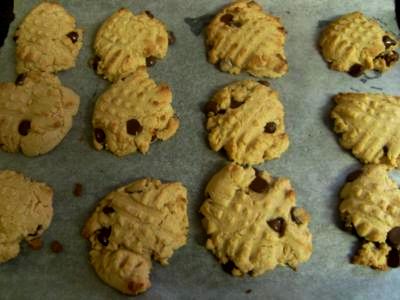
I have always, always, always put the cross hatch marks on top of peanut butter cookies with a fork. I don’t know if that’s a thing or if it’s just a thing my family did, but I’ve always done it. The addition of chocolate chips didn’t deter me from doing it here too. 😉

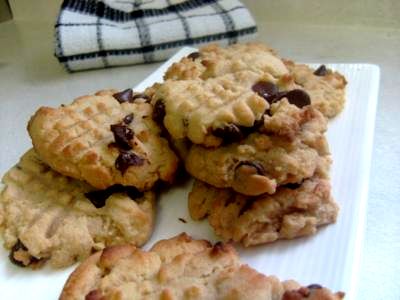
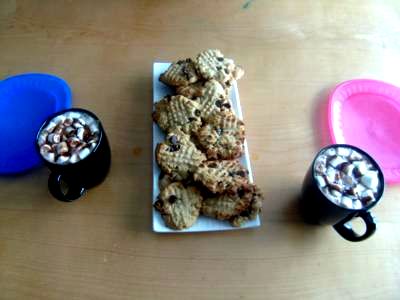
8 minutes at 375 and they were perfect. I made great time on these treats too because as soon as I was done pulling the last batch from the oven….

…it was time to set the table for the kids’ after school snack!

Yes, I set a little tea party for my kids every day after school. Trust me, they’re amazing and totally deserve it

1 Comment

Peanut Butter Brownie Biscotti – Cookie #1

Domestic

In this post I’m participating in Social Parade.

I don’t mean that as in, these peanut butter brownie biscotti are the #1 cookie, I just mean that they’re the first official cookie in my Cooke Year 2011 series. Yes, I have a cookie series and yes, I know that’s weird.

I made these first for Christmas, but loved them and tore into them with the kids. I dunked in coffee and they dunked in hot chocolate (how cute is that?!), so I had to make more. Then my husband discovered that he liked biscotti after all, and we tore through the next batch too. The third time, I didn’t even intend to include them in our Christmas cookie tins, and I made them just for us.

Peanut Butter Brownie Biscotti – from Christmas Cookies Magazine (BHG) (p. 68)

Biscotti:
1/3 cup creamy peanut butter
1/4 cup butter, softened
2/3 cup sugar
1/3 cup unsweetened cocoa powder
2 eggs
1 tsp vanilla
1 3/4 cups flour
1 cup chopped semi-sweet chocolate
Peanut Butter Frosting:
1/2 cup icing sugar
2 tbsp peanut butter
1-2 tbsp milk


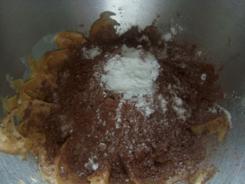
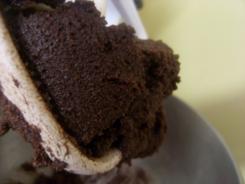
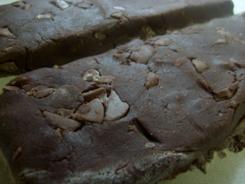
Start by mixing the peanut butter and butter with a mixer for about 30 seconds, then add sugar, cocoa powder and baking powder. Once it’s combined, beat in eggs and vanilla.

Then beat in the flour (unless you’ve got a serious mixer, you may need to switch to a wooden spoon at this point), and then stir in the chopped chocolate and you’re ready to shape the dough into loaves.

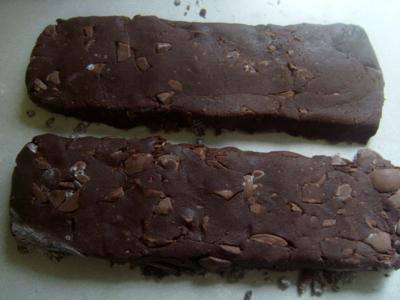
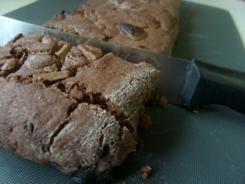
Make sure your countertop is floured and divide your dough in half. Shape each half into a 9″ long roll, and flatten them out a little so they’re about 2″ wide. Put them both on a parchment paper lined baking sheet, 3″ apart and bake for 20 minutes. Cool for 1 hour.

Slice each baked and cooled log into 1/2″ thick slices (16 pieces, give or take a couple), arrange on a parchment paper lined baking sheet and bake them for 5-10 minutes more, flip them, and bake for another 5-10 minutes. Sidebar; please note that much like how ‘Tres Leches’ cake (translation: three milk cake) has four kinds of milk in it, ‘biscotti’ (translation: twiced baked) is actually baked three times…sorry for digressing. Ahem, moving on.

Let them cool on a wire rack while you make the icing.


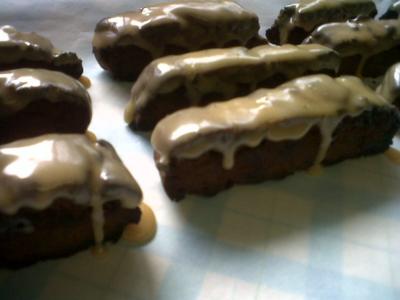
To make the icing, stir together 1/2 cup icing sugar, 2 tablespoons peanut butter and about 1 or 2 tablespoons of milk – just add enough to make the icing the right consistency for dipping. I just dunked them in a little, upside down and set them aside to dry.

These froze very well (lasted 2 weeks in the deep freeze before we raided it) and according to the recipe, they can be frozen for 3 months and soak up my Italian roast like no other. 🙂

Hopefully, anyone here from Social Parade likes my biscotti!

Smart and Trendy Moms

16 Comments

Happy New Year!

Crafty, Domestic, Healthy, Kids, Marriage

There is so much going on here for the blog I hardly know where to start. Tomorrow is my first proper post of the year but I thought I’d outline a little of what I’m cooking up!

With my Uncle Bob passing last spring, my Granny last summer and then our big move in the fall, Cake Year 2010 did not go down as I had hoped. The official count for 2010 was 45 different cakes or cupcakes, but I did not do as well as Pie Year 2009 – when I made 57 different pies or tarts. Now that we’re settled into our new house and I’ve gotten comfortable in my new kitchen, I’m taking on two cookbooks, one with the kids help, and declaring 2011 to be Cookie Year. All of my long distance friends just got really excited because they know I’ll totally mail cookies.

I’m also going to make a separate gallery for my handmades because I knit more socks than I can keep track of!!

The first cookbook I’ll be baking from with the kids, the oldest two anyway. It’s called Baking With Kids and I’ll supervise them baking one thing from it every week – there are 53 recipes so we’ll double up one week. They’re really excited about this so I’m super looking forward to it!

Last year for Christmas my dear friend Brigitte got me Deceptively Delicious: Simple Secrets to Get Your Kids Eating Good Food, the cookbook about hiding veggies in unusual places (like french toast and brownies). I’d see it on my counter and flip through it and think about cooking from it and now it’s been a year! This year, my aunt got me the next book, Double Delicious!: Good, Simple Food for Busy, Complicated Lives and getting this second book was the kick in the butt I needed to really get into the first one! I’ll be making something from Deceptively Delicious slightly more often than once a week. Thankfully my husband is on board to try out these new recipes! He is getting a lot more adventurous in the kitchen (ever since I really mastered some recipes he’s been asking me to figure out), so that’s a win for us as a team for sure!

My adorable friend Sammie has asked me to help her pull together a little DIY cookbook for a good friend of hers who has had gestational diabetes in the past and is blessed with another wee one on the way! Good thinking on her part, to be proactive about it before it becomes a problem!

Between these two books, Cookie Year 2011, our light on the sugar project and all the random seasonal and holiday themed baking that is sure to fill in the gaps, this promises to be a busy year for my kitchen and I could not possibly be more excited!

I’ll leave you with that as I made a mad dash to my kitchen to get baking!!

No Comments

Cookies of 2011

Domestic

3. January 21 – Pillow Cookies

2. January 15 – Peanut Butter Chocolate Chip

1. January 7 – Peanut Butter Brownie Biscotti

No Comments

Sugary Citrus Twists

Domestic, Kids, Marriage

9 more sleeps till Christmas!! Which means there is about to be a serious baking explosion going down in my kitchen over the next week during the day, and a whole lot of knitting every night. Thank goodness for online shopping or I’d not have any actual gifts to give out!

I have a soft spot for the Robin Hood flour characters, Elizabeth and Andrew. They’re adorable and remind me, in reverse, of my Wee One #1 and Wee One #2. So I do a lot of their recipes and recently, Robin Hood came out with a new recipe booklet, The Love of Baking. Elizabeth and Andrew are painfully absent from the collection of recipes, but I can forgive them because there are a lot of fun recipes in here.

Citrus fruit and Christmas never really went together in my mind until I married into a family that always puts clementines in the stockings. I will openly admit my parents tucked a ridiculous amount of toys in our stockings as kids, sometimes candy but never clementines – or nuts or anything else like that. I mean, we always had that stuff out on trays and in bowls around the house – but it wasn’t a Christmas thing. So, since we’ve been married (11 years in the spring!), I have developed a connection between Christmas and citrus fruits (my mother-in-law puts clementines in my stocking too!) and my husband now eats clementines year round, though he still calls them Christmas oranges!

In the spirit of adopting this citurs = festive feeling, I made these for my husband and my in laws. Hopefully, they love them. If they do, I’ll make them every year!

Sugary Citrus Twists – from The Love of Baking

1 cup sugar
1 cup butter
2 tbsp freshly grated lemon rind
2 eggs
+ sugar for sprinkling
4 egg yolks
1 tsp vanilla extract
4 cups flour
1 tsp salt

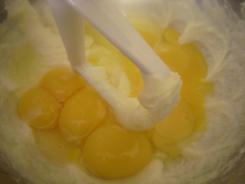
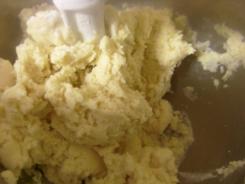
Beat sugar with butter and rind until fluffy, beat in the eggs, yolks and vanilla until well mixed. Add the flour and salt. Beat until blended.


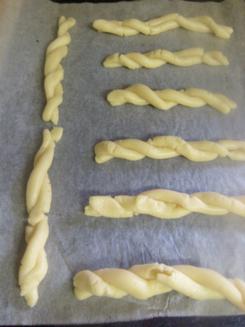
Flour your counter a bit and knead the dough – but don’t over handle it! Shape the dough into two 10″ long logs. Mine were so long I couldn’t get a decent photo. Slice these into 12 pieces each and I found it worked best to roll each of those pieces into a little ball and set them aside till I was ready for them.

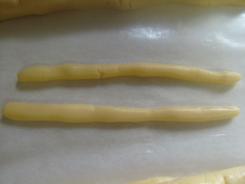
Then, working with one dough ball at a time cut it in half and roll each half into little ropes, about 4″. The Robin Hood recipe says to roll the whole thing into an 8″ rope and cut that in half, but I found this to be a lot easier.


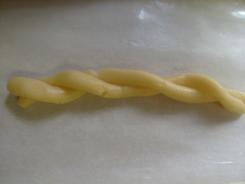
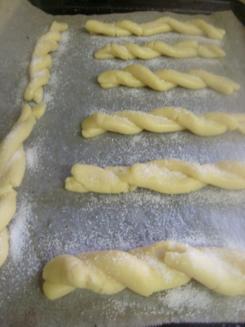
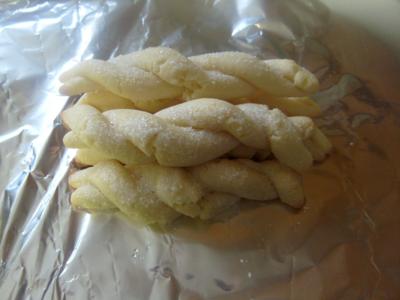
Then make an X with the two ropes and twist them around each other! Simple and cute! Set it on a parchment paper lined baking sheet and do the rest!


Sprinkle with sugar before you pop them in the oven – 8 minutes or so at 350.

*This recipe is great to make the day before decorating sugar or butter cookies, because you have 4 egg whites for the royal icing.*

Now, if you’ll excuse me. I’m off to bake gingerbread cupcakes, craft with the kids and knit my little fingers off. <3

No Comments

Gingersnaps

Domestic

Oh my goodness more ginger cookies! I know! I can’t help it – it’s December. This is the third ginger-themed cookie this week and I could not possibly be happier. Don’t worry, I’ll let up after Christmas. 😛

It depends entirely on who you learn the recipe from, or which way you prefer them yourself, but gingersnaps tend to fall into one of two categories; so hard they’re essentially a dunking cookie or so soft they’re totally meant for Santa and a glass of milk. (On that note, can we leave Santa a mug of Starbucks coffee, btw? Is that socially acceptable?) This recipe can be either. That’s less magic and more in baking time and dough placement.

Gingersnaps – from Christmas Cookies Magazine (Better Homes And Gardens, 2009)

1/2 cup butter, softened
1/4 cup shortening*
3/4 cup granulated sugar
1/2 cup packed brown sugar
1 tsp baking soda
2 tsp ground cinnamon
2 tsp ground ginger
1/4 tsp nutmeg
1/4 tsp ground cloves
1/4 tsp salt
1 egg
1/3 cup molasses
2 cups flour
1/4 cup coarse white or coloured sugar

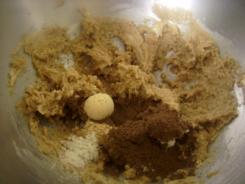
Beat butter and shortening (if you even use both, lol, I just sub Becel for both and it always turns out just fine), till combined. Add both sugars, baking soda, cinnamon, ginger, nutmeg, cloves and salt. Don’t forget to scrape the sides of your bowl!


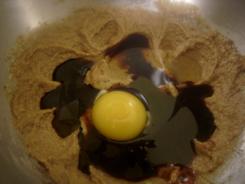
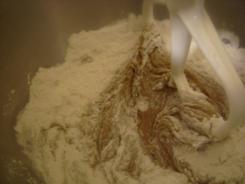
Beat in the egg and molasses. If you’ve got a stand up mixer you can probably add all of the flour, if not add as much as you can and then move on to mixing the rest by hand with a wooden spoon. Pop this into some tupperware and let it chill in the fridge for a couple of hours.

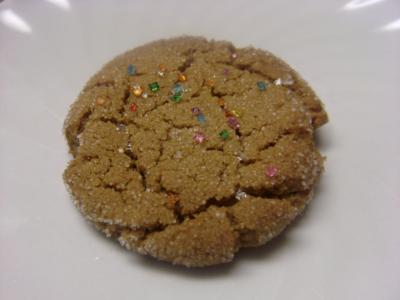
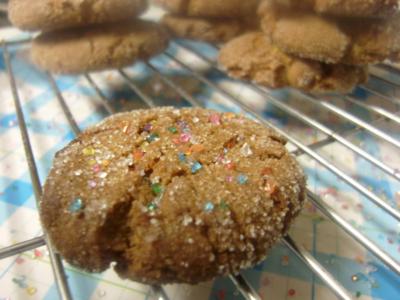
Use a spoon to scoop out the dough and shape into balls, then roll the balls in sugar. Crisper, dunking-style gingersnaps should be rolled into (heaping) teaspoon sized balls and mashed down with a glass. Softer, chewier gingersnaps should be more like tablespoon, and not squished as much as the small ones. To be on the safe side, put them about 2″ apart on your parchment paper lined baking sheet.


Bake them for about 8 minutes at 350. More for crispier cookies and less for softer ones, naturally.

I love the crackle on the top of these cookies and as you’re so painfully aware this week, I adore the smell too!!

1 Comment

Parade of Frosted Sugar Cookies

Domestic, Kids

In this post, I’m participating in Foodie Friday, Friday Potluck, and Food on Fridays

Sugar cookies are amazing because they have got to be the most versatile treat when it comes to being festive with themes. You can cut them into any shape you can imagine and then decorate them however you want. The only trouble is, unlike tasty drop cookies, you can’t just mix them, bake them and walk away!

I’m repeating this recipe for the eleventy billionth time here, but at least it’s organized, right? Really, this post is all about the dramatic photos.


Basic Sugar Cookies

1/2 cup + 6 tablespoons unsalted butter, at room temperature
3 cups + 3 tablespoons all purpose flour
1 cup caster sugar
1 large egg, lightly beaten
1 tsp vanilla extract

Cream butter, sugar and vanilla. DO NOT OVERMIX. Beat in egg till well combined and not a second longer. 😛

Add flour and mix till a sticky dough forms. Kneed into a ball and divide into 2 or 3 balls. Roll out each ball between two sheets of parchment paper for about half an hour. Preheat to 350, then take it out, peel off the first layer or parchment paper and slice it into strips like french fries!

Basic Royal Icing
2 tsp lemon juice
2 egg whites
3 cups icing sugar

Beat your lemon juice and egg whites together for a little bit before adding your icing sugar. You’ll want to thin it out a little for spreading (add drops of water till it’s the consistency you’re after), or add a little more icing sugar to make it that seriously thick stuff you typically find on gignerbread people in bakeries. I find this recipe just needs the smallest little touch of water and it’s perfect for spreading. It hardens just right and has a lovely shine.


The fun thing about this icing really is the colours! I used paste food colouring for vibrant colours (and because it’s all I know – I grew up with a cake decorator)!

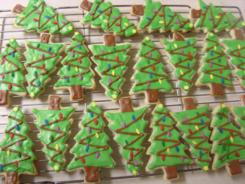
I first made these trees about a week ago, and tucked them away in tupperware for my massive decorating weekend. That weekend turned into another sugar cookie extravaganza so by Tuesday I had over 200 cookies to frost. Thankfully, frosting the cookies is one of my fave cookie activities!

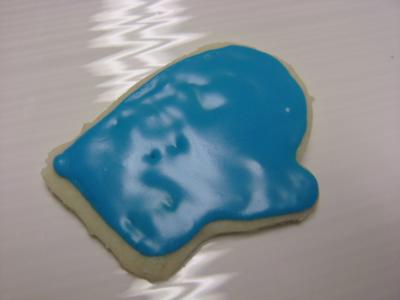
Grand total sugar cookies to package up with the others; 22 stars, 22 trees, 44 small stars, 33 small trees and 11 mittens. Honestly? I loved every second of them. There were even more, but every time one broke, I had to give the kids the broken one – and the rest of the set lol!


3 Comments

Snickerdoodle Cookies and Cupcakes

Domestic, Kids

I’m backtracking a little here, because while I do have a stash of mini snickerdoodle cupcakes in the freezer for Christmas, I made this for my sister’s birthday party two weeks ago.

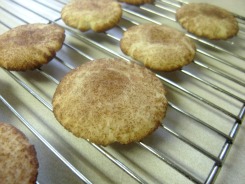
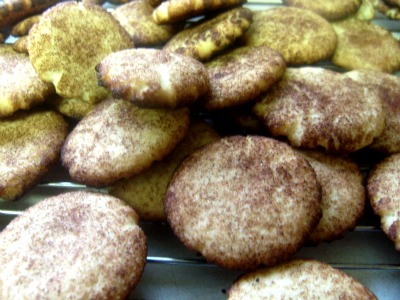
I first read about snickerdoodle cookies in Great Cookies: Secrets to Sensational Sweets in 2003 when I picked up the book (amazing book, by the way – full of fun cookies) and I knew I had to try them based on the name! They’re essentially a cinnamon sugar cookie, then rolled in cinnamon and sugar before they’re baked. We all liked them and made themfrom time time to time. Then in 2008, one of my kids discovered A Barbie Christmas Carol, and the main Barbie’s favorite cookies are snickerdoodles! Since then, it’s become a household staple and Martha’s snickerdoodles, are hands down the best.

Martha Stewart’s Snickerdoodles – from Martha Stewart Holiday Magazine 2005, Cookies Special Issue

2 3/4 cups flour
2 tsp cream of tartar
1 tsp baking soda
1/4 tsp salt
8 tbsp unsalted butter
1/2 cup shortening (I used more butter)
1 3/4 cups sugar + more
2 tbsp cinnamon + more
2 large eggs


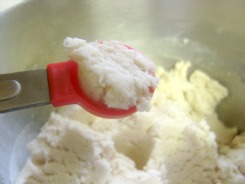
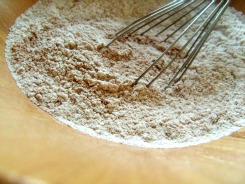
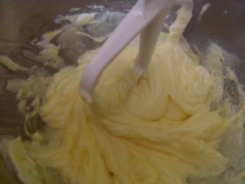
Sift your flour, cream of tartar, baking soda, and salt. In a separate bowl with your mixer, cream together the butter, shortening and 1 1/2 cups of the sugar. Beat for about 2 minutes, until fluffy. Scrap down the sides of the bowl and mix in your eggs, one at a time. Then slowly add your flour mixture and beat until it’s totally mixed in. I also add about 1 tsp of cinnamon to my dough.


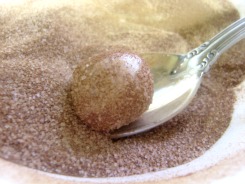
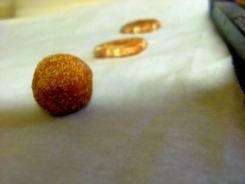
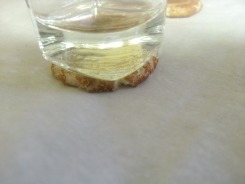
Mix the leftover 1/4 cup of sugar and the 2 tbsp of cinnamon in a small bowl. Use a tablespoon to scoop out regular sized cookies or a teaspoon for mini cookies. Shape them into little balls with (slightly) wet hands and then drop them in the cinnamon sugar. Roll them around so they’re covered and then put them on your parchment paper lined cookie sheet and flatten them with a glass. It helps a little of the glass is dipped in the cinnamon sugar as well.


Bake for 10 minutes at 400. Martha recommends rotating your baking sheets after 10 minutes, but I have found that it really doesn’t change anything. These cookies crack on top, but they do not brown – so don’t wait for them to or they’ll burn.

These cookies are alarmingly good for dunking in either coffee, milk, soy milk or, my biggest weakness, vanilla chai smoothies.

I’ve been trying to keep my posts down to just one recipe at a time to make things easier to find later, but this second recipe really goes with the first! I first saw on Bakerella the teaming of snickerdoodle cookies with snickerdoodle cupcakes. For Valentine’s Day 2009, I made heart shaped cocoa brownies and stacked them on top of chocolate cupcakes with a layer of buttercream, which decedent as it is made perfect sense to me. So the idea of stacking cookies on cupcakes with layers of buttercream is totally logical.

For consistency’s sake, I used Martha Stewart’s snickerdoodle cupcakes.

Martha Stewart’s Snickerdoodle Cupcakes – from Martha Stewart Online

1 1/2 cups flour
1 1/2 cups cake flour
1 tbsp baking powder
1/2 tsp salt
1 tbsp cinnamon + 1/2 tsp for dusting
1 cup butter, room temp
1 3/4 cups sugar + 2 tbsp for dusting
4 large eggs
2 tsp vanilla
1 1/4 cups milk


First, sift together both flours, baking powder, salt and 1 tbsp cinnamon. In another bowl, with your mixer, cream butter and sugar until they’re ‘pale and fluffy’. Then add the eggs one at a time, and beat in the vanilla. Don’t forget to scrape down the sides of your bowl.


Alternate between adding the milk and the flour mixture until it’s all combined. Now pour the batter into lined muffin cups, about 3/4 full. Bake for about 15-20 minutes at 350.

Now, if you need to (I needed to and then we ate them all), whip up a batch of buttercream, pipe a bit on your cupcake, top with a cookie and then top that with another bit of buttercream.

Divine. Snap photos while you can – this pile of treats wont last long!!

2 Comments

More Christmas Cookies – Chocolate Gingerbread Drops

Domestic

So I mentioned yesterday that I’m all about the gingerbread, and I meant it. It just makes the house smell so Christmasy and, at least to me, it takes like Christmas – second only to peppermint. What smells and tastes like Christmas in your house?

After rolling out and cutting about 50 gingerbread men and reindeer and over 150 sugar cookie shapes this weekend (post coming after I’ve decorated them at some point this week) it was a great relief to make some drop cookies. Just mix, drop and bake? Yes please!

Chocolate-Gingerbread Drops – from Christmas Cookies Magazine (Better Homes And Gardens, 2009)

1/2 cup butter
3/4 cup packed brown sugar
3/4 tsp baking soda
1 tsp ground ginger
1 tsp allspice
1/4 tsp salt
1/4 cup molasses
1 egg
2 cups flour
3 oz bittersweet chocolate, chopped


Beat the butter for about 30 seconds, then add the brown sugar, baking soda, ginger, allspice and salt. Mix until this is well combined before adding in the molasses and egg.


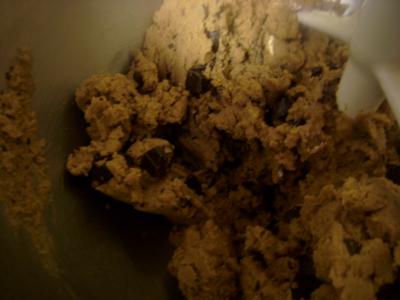
Now if you have a serious stand up mixer (thanks Mom!), you can add all of the flour, but if not use your mixer for as much of the flour as you can before you mix the rest of it by hand. Then stir in the chocolate chunks. The original recipe called for 1/2 cup of dried cherries to be added now, but I’m not big on dried fruit in cookies.

Drop the dough by rounded teaspoons onto a parchment paper lined baking sheet and bake for about 8 minutes at 350. Make sure to cool them on a wire rack before you try to move them because the chocolate chunks are going to be melty.


To avoid eating them, I wrap them in tin foil, tuck that in a freezer bag and pop them in the deep freeze till just before Christmas. I only leave enough out for my husband and the kids. 😛

No Comments
« Older Posts
Newer Posts »