Browsing the archives for the Domestic category.

Chocolate Shortbread Cookies

Domestic

Shortbread cookies, of any variation have a very distinct texture and really nothing else will do when you’re craving shortbread. I’ve tried too many types of shortbread to remember but only baked a few. I’ve made a few different recipes of traditional shortbread recipes, and a few with dried fruits in them (cranberries and cherries, natch) and of course these – Chocolate Shortbread. I have to admit I really, really love shortbread that has very finely chopped nuts in them but even against those, I think this is my favorite bastardization of shortbread.

Chocolate Shortbread Cookies

Chocolate Shortbread Cookies via Great Cookies: Secrets to Sensational Sweets

1 1/4 cups flour
1/2 cup rice flour
1/2 cup strained Dutch process cocoa
1/4 teaspoon salt
1 cup butter
2/3 cup superfine sugar
1 teaspoon vanilla extract
1 tablespoon sanding sugar
4 ounces bittersweet chocolate
1 teaspoon canola oil

Chocolate Shortbread Cookies
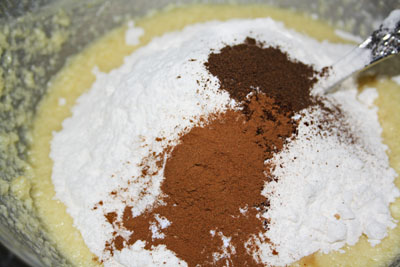
To prep, preheat your oven to 350F and line a baking dish with aluminum foil. Then sift togetherthe flours, cocoa and salt. In a separate bowl, cream the butter and the sugar, then add the vanilla and mix again.
Chocolate Shortbread Cookies
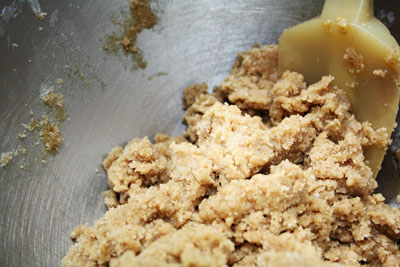
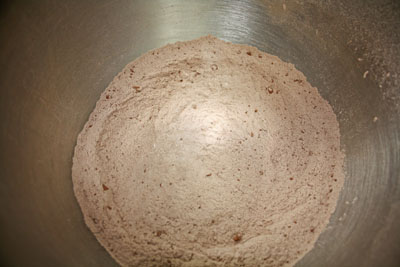
This next step is a lot easier if you use a big bowl. Add half the dry ingredients to the butter mixture and combine, then add the rest. Don’t overmix it!
Chocolate Shortbread Cookies
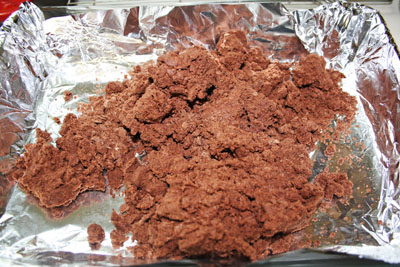
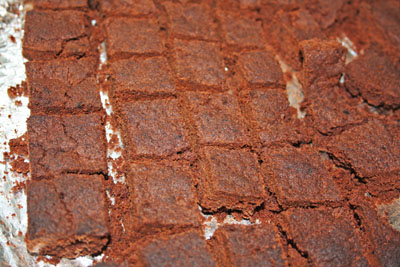
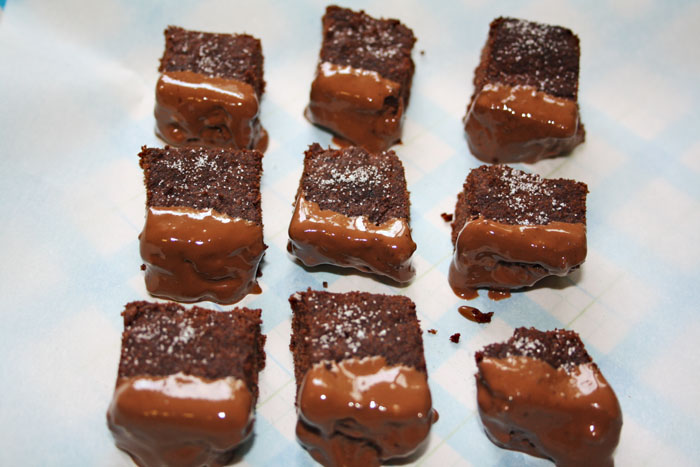
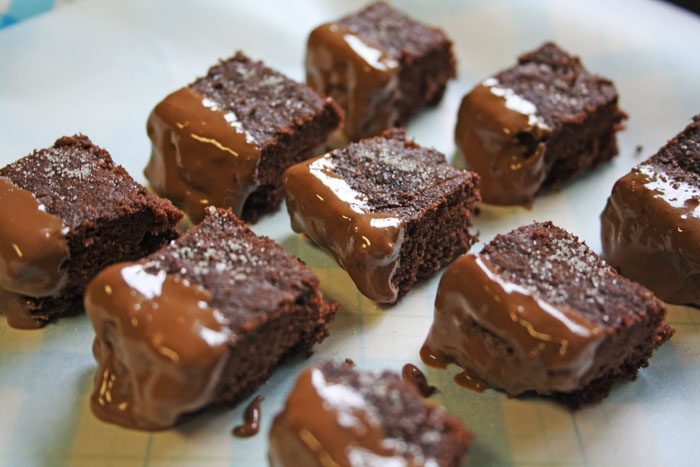
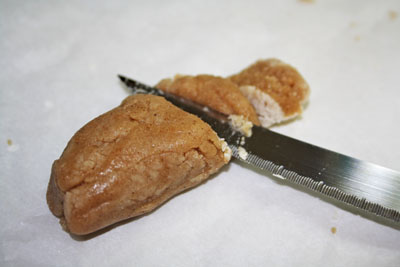
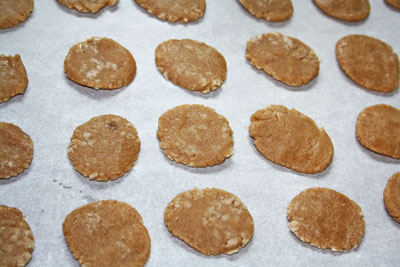
Now dump the mixture out onto your foil-lined dish and press it into it. Try to make it as even all the way around the pan as possible. Bake it for about 45 minutes, turning it twice during baking. Once it’s cooled off a bit, (but not totally cool), cut into bite sized squares. Then melt your chocolate and mix in your oil. Dip the cookie pieces into the chocolate and let dry on parchment paper. Sprinkle with sanding sugar and voila! Cute, yes?
Chocolate Shortbread Cookies
No Comments

Barbie Party and Pink Jello Cookies

Crafty, Domestic, Kids

Wee One #2 is a serious Barbie kid and loves all things pink, so naturally for her 6th birthday we went all out. She’s really turning into a mini May and it’s totally happening just by watching me. When she decided she wanted a Barbie party she did three things that struck me as so very … me. First, she went to Google for inspiration. Next, she made a board on Pinterest (right here if you’re interested) and pinned things she found and wanted to incorporate into her party. These two steps alone only really prove that she was born after 2000, right? I mean most kids (especially kids with computer geeky parents) would think to do this, right? The third thing though, totally me. She passed over all the glossy post-1980 Barbies and was only interested in the vintage style black and pink old school Barbies. Love!!!

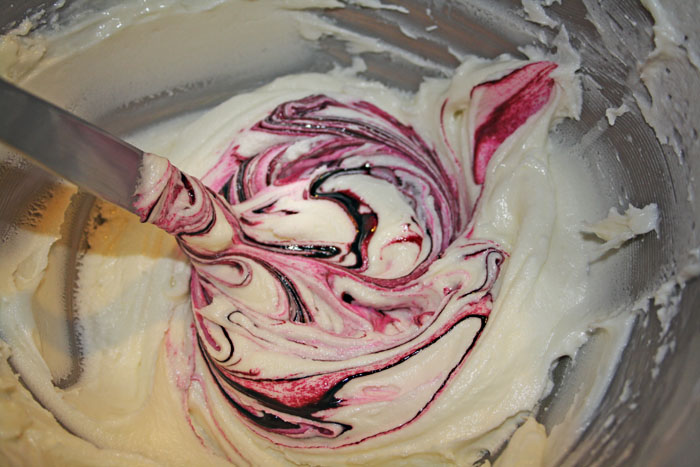
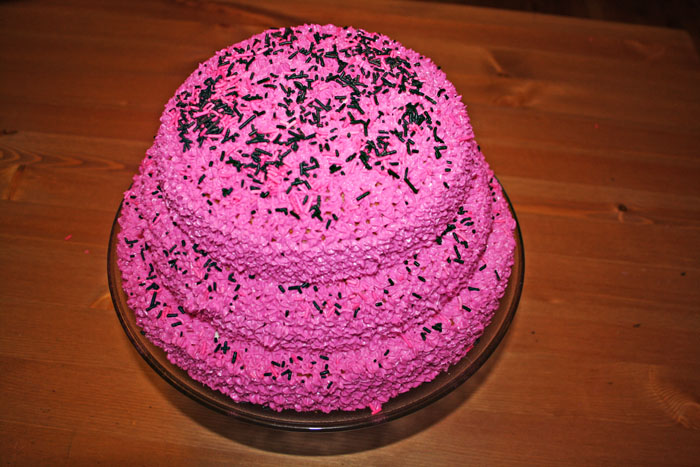
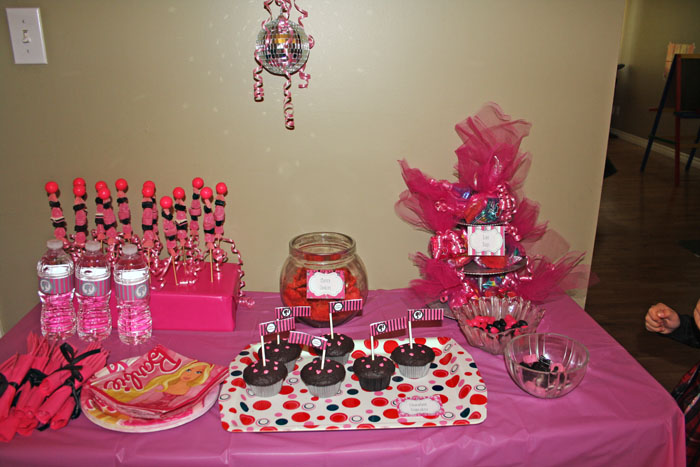
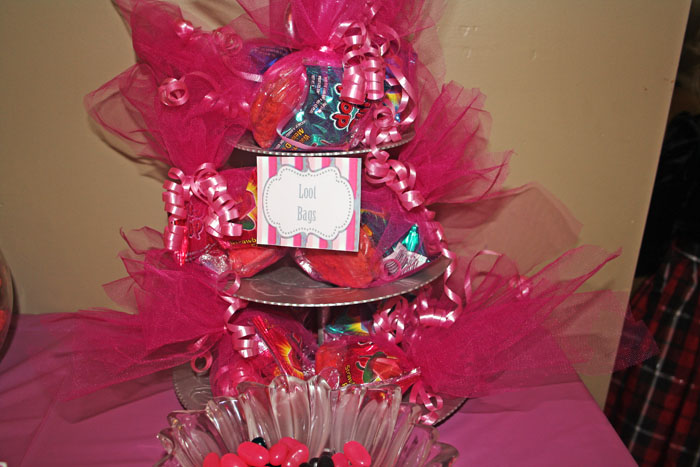
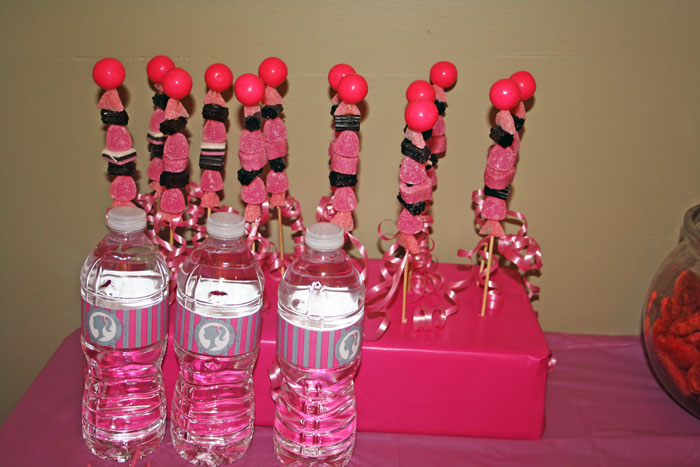
I whipped up some fuchsia buttercream for her three tiered cake, strung vintage Barbie printables and small disco balls from pink curling ribbon from our kitchen chandelier, and set up a cute pink table with treats, loot bags, cutlery, and candy kabobs – as per her instructions! The pink cookies I had made before and liked, but I didn’t loooove them. She however, did. So she insisted they be included in her party and all her wee little girlfriends really, really liked them. I thought the bright pink and black candy kabobs would have stolen the show, or that the crazy sugar coma inducing cake with buttercream would do it, but no. It was the pink jello cookies.

Barbie Party and Pink Jello Cookies

The Chocolate Cake was the same chocolate cake I usually make, with Classic Wilton Buttercream.

Barbie Party and Pink Jello Cookies
Pink Jello Cookies via Kraft Recipes
3 1/2 cups flour
1 teaspoon baking powder
1 1/2 cups butter or margarine, softened
1 cup sugar
2 pkg. (3 oz. each) Jello Cherry Flavor Gelatin, divided
1 egg
1 teaspoon vanilla
Barbie Party and Pink Jello Cookies
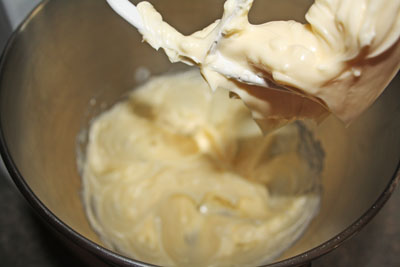
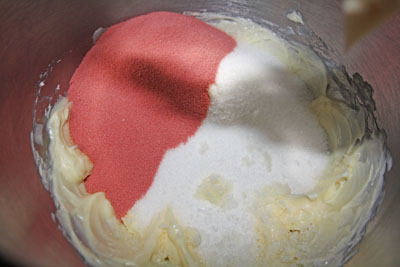
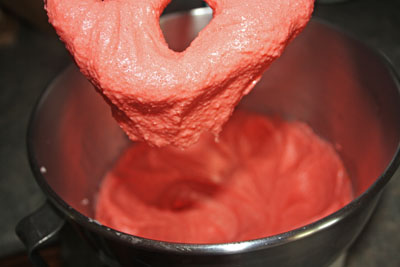
Cream the butter till smooth (don’t skip this), then add the sugar and one of the jello packages. Beat till totally smooth.
Barbie Party and Pink Jello Cookies
Now add the egg and vanilla.
Barbie Party and Pink Jello Cookies
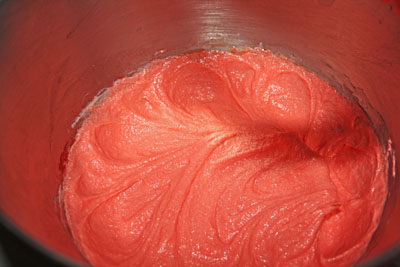
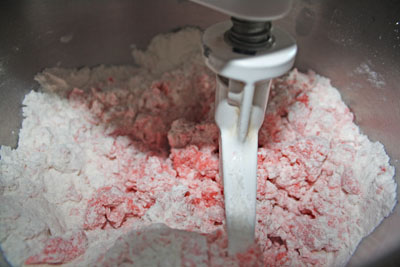
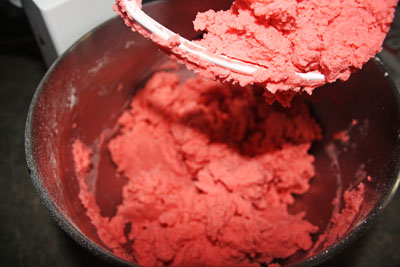
Slooooowly add in the flour and stop once it’s all combined and pink.
Barbie Party and Pink Jello Cookies
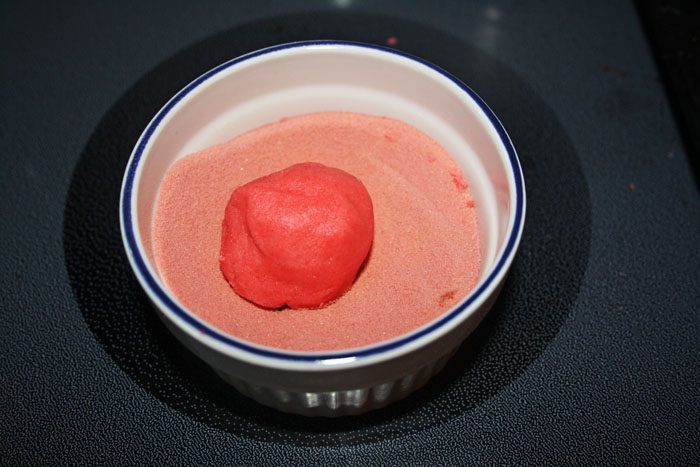
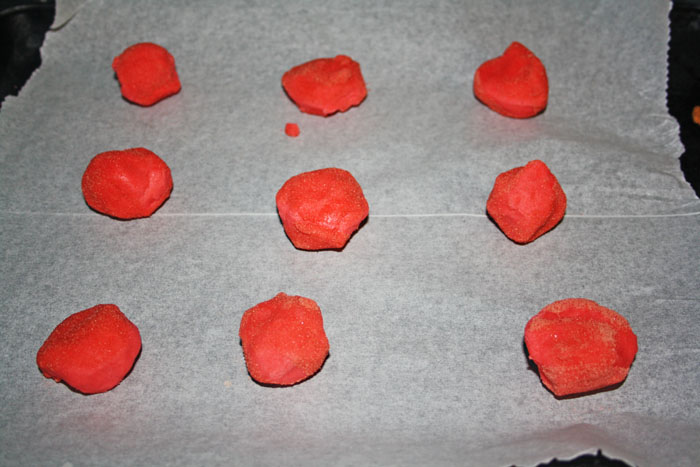
Empty the other jello package in a small bowl, and roll up all of the dough into smallish balls. I got almost 5 dozen. Drop each ball hehe into the jello powder to coat it.
Barbie Party and Pink Jello Cookies
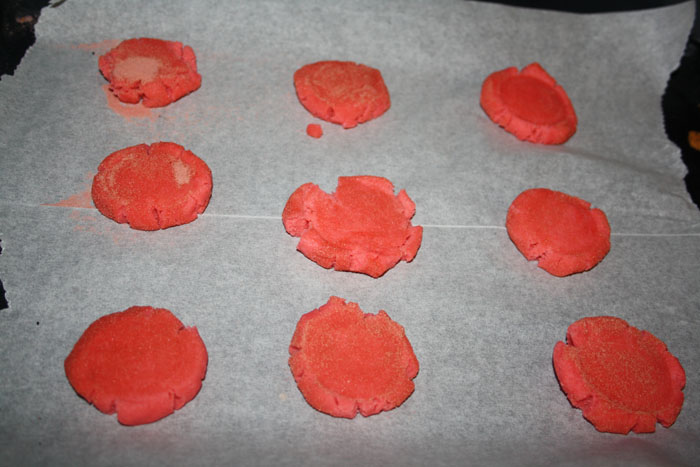
Flatten each ball with the back of a glass and bake at 400F for 8 minutes.
Barbie Party and Pink Jello Cookies
No Comments

Pies in Cakes

Domestic

I don’t know if this even qualifies as a recipe, and if I posted step by step pictures of all of it, it’d be a seriously epic post. You may have heard about a bakery in Philadelphia that baked up a two layer cake with two pies in it. Then of course other bakers made it, and most added a third layer. Depending on what cakes and pies used, the name differs. Made from cherry, pumpkin and apple pies, this one is called the Cherpumple. I first saw it on Outrageous Food about a year and a half ago and naturally, I had to make it.

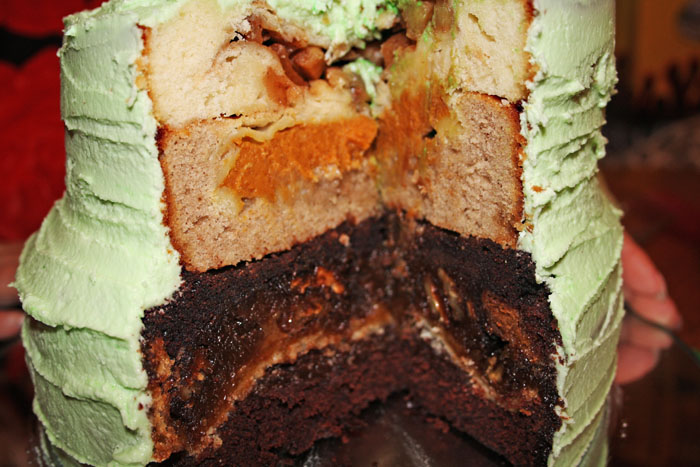
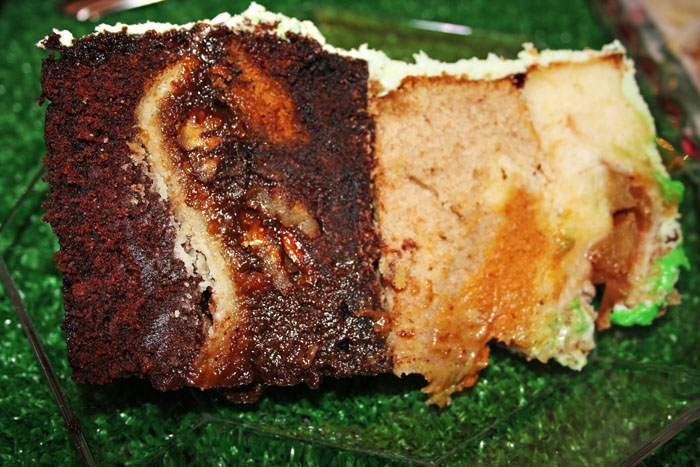
My version is three layers, two medium tiers and one big one. The top tier is an apple pie baked into a vanilla cake, the second tier is a pumpkin pie baked into a spice cake and my personal favorite is a chocolate pecan pie baked into a chocolate cake! So what is that?! Apppumpecan? Or maybe a Pecapumple? I dunno, but it’s like 2000 calories a slice and so good it’s a little frightening.

I trust you can handle the how to of each recipe. If you’re super lazy or really just feel like you can’t do it, go ahead and get some premade pie crust. Just please, don’t use cakes mixes. I’ll know!

Pies in Cakes

This is how I pulled it all together. First, I baked an apple pie, a pumpkin pie and then a larger chocolate pecan pie. As they were all cooling, I made the batter for a vanilla cake, a spice cake and a larger chocolate cake and poured each into their cake pans. Theeeeen, I turned the pies upside down and slammed them into their respective cakes-in-waiting.

Also note these recipes made more than I needed for this project. Extra cake batter was made into cupcakes, pie filling was either made into tarts with extra pie crust or snarffled down from a bowl in the kitchen standing over the sink. What?! Don’t look at me like that!

Vanilla Cake via Martha Stewart
1 cup (2 sticks) unsalted butter, room temp
2 1/2 cups all-purpose flour
1/2 teaspoon baking powder
1/2 teaspoon baking soda
1 teaspoon salt
1 1/2 cups sugar
2 large eggs
3 large egg yolks
2 teaspoons pure vanilla extract
1 cup low-fat buttermilk
Apple Pie via my Granny
7 cups chopped apples (your pick!)
2 tablespoons lemon juice
1 cup sugar
1/4 cup all-purpose flour
1 teaspoon ground cinnamon
1/4 teaspoon ground nutmeg
2 tablespoons butter or margarine
1 egg yolk
1 tablespoon water
Spice Cake via The Hungry Mouse
2 cups cake flour
3/4 cups sugar
3/4 teaspoon baking soda
1 1/2 teaspoons cinnamon
1/2 teaspoon nutmeg
1/2 teaspoon cloves
2 tablespoons ground ginger
3/4 teaspoon salt
3/4 cup brown sugar
8 tablespoons butter, room temp
3/4 cup buttermilk
2 eggs
Pumpkin Pie via my Granny
3/4 cup white sugar
1 teaspoon ground cinnamon
1/2 teaspoon salt
1/2 teaspoon ground ginger
1/4 teaspoon ground cloves
2 eggs
1 (15 ounce) can pureed pumpkin
1 (12 fluid ounce) can evaporated milk
Chocolate Cake via Me in 2010
1 1/2 cups flour
1 cup granulated sugar
1/4 cup cocoa powder
1 teaspoon baking powder
1 teaspoon baking soda
1/2 teaspoon salt
1 cup warm water
1/3 cup canola oil
1 tablespoon vinegar
Chocolate Pecan Pie via Me in 2009
3oz unsweetened chocolate
2 oz butter
4 large eggs
1 cup maple syrup
1 cup sugar
1/4 teaspoon salt
2 tablespoons instant espresso powder
1 tablespoon hot water
2 tablespoons Bailey’s (or something like it)
2 cups pecans
Pies in Cakes
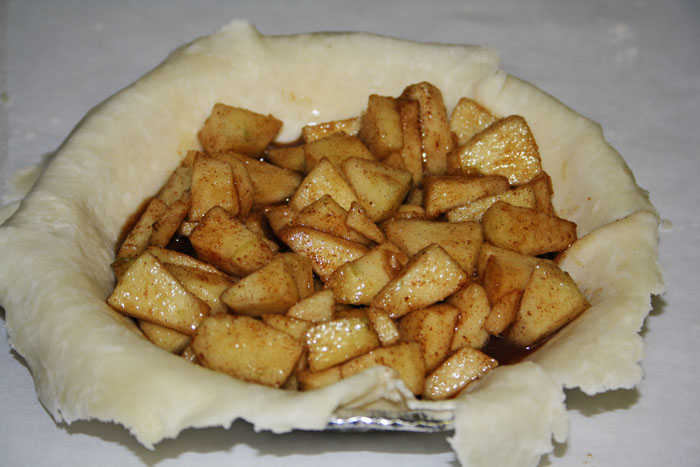
Apple Pie waiting it’s turn for the oven!
Pies in Cakes
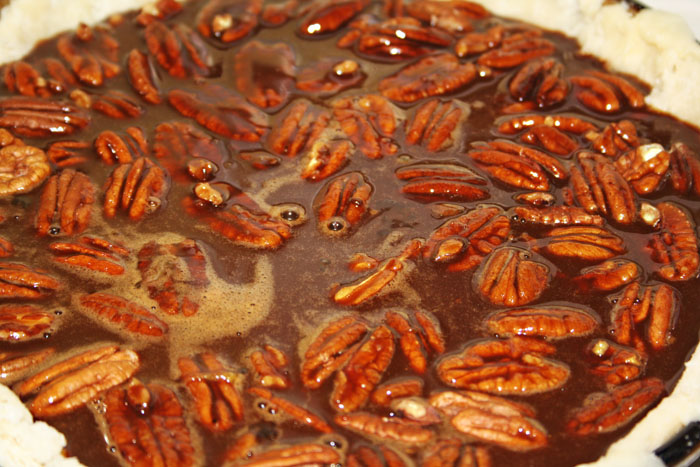
Chocolate Pecan Pie headed for the oven.
Pies in Cakes
Pies in Cakes
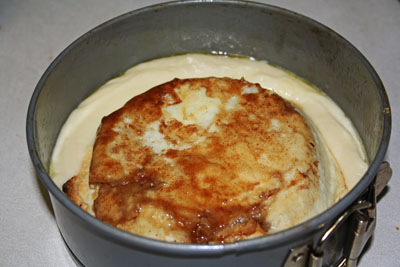
Baked Apple Pie sitting face down in it’s Vanilla Cake batter (left) and the beginnings of the Chocolate Cake (right).
Pies in Cakes
Pies in Cakes
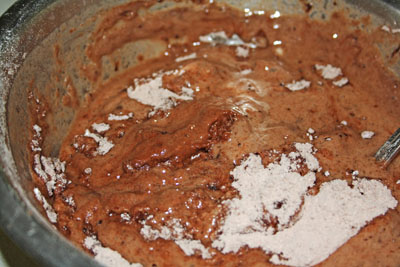
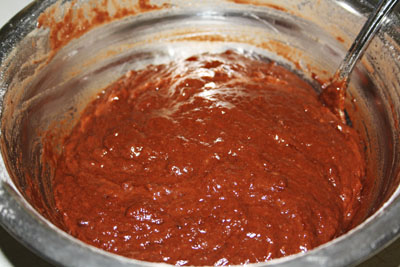
Chocolate Cake batter, ready to be poured (left), and the starting of the Spice Cake batter (right).
Pies in Cakes
Pies in Cakes
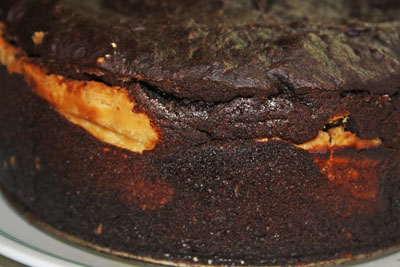
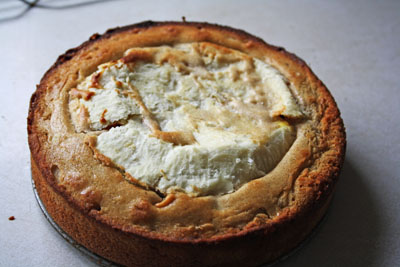
Finished Chocolate Pecan Pie baked into the Chocolate Cake (left), innocent looking Vanilla Cake that’s hiding an Apple Pie (right).
Pies in Cakes
Pies in Cakes
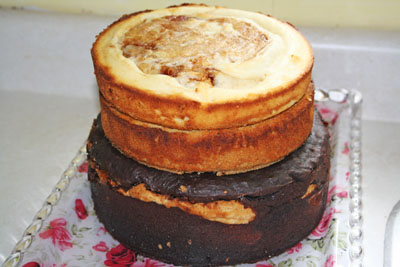
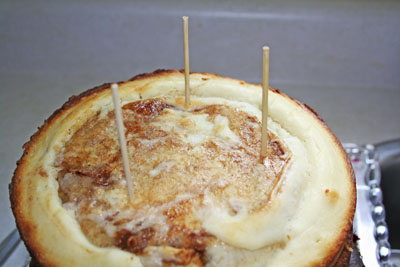
The teetering tower of pies in cakes (left), the dowels I decided to stick in the top of the Pumpkin Pie/Spice Cake to make sure the Vanilla/Apple didn’t fall off.
Pies in Cakes
And voila! This took one day and about an hour the following afternoon. I made it for a party about 2 hours from home so I had to finish assembling it there.
Pies in Cakes
Everyone had a favorite layer, mine was defo the Chocolate Cake / Chocolate Pecan Pie. I always add espresso to my pecan pies because I’m a total coffee junkie and that layer is a dessert I would make again on it’s own.
2 Comments

Ginger Button Cookies

Domestic

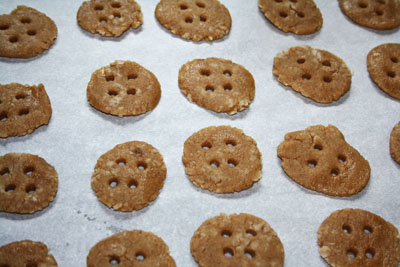
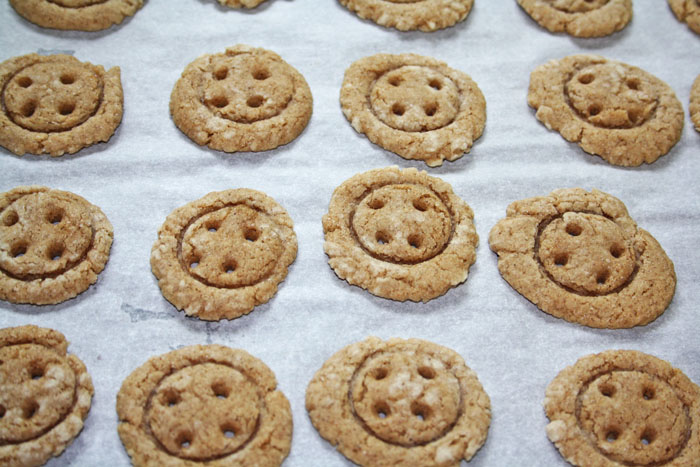
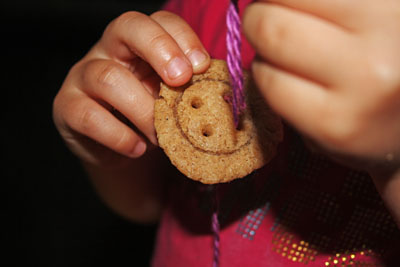
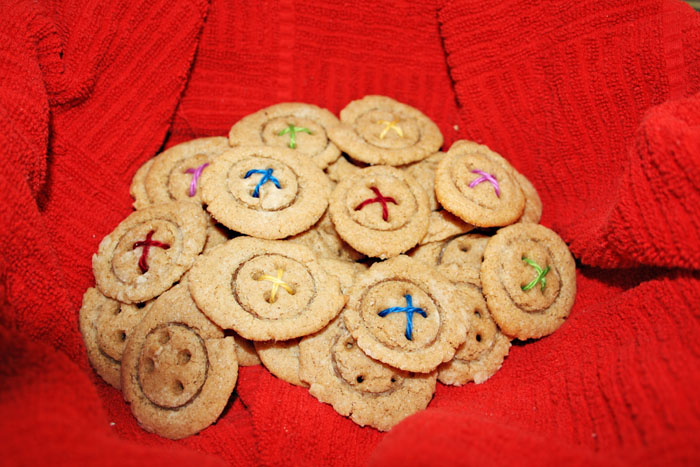
These cookies are super simple and super silly! The cookie itself is simple enough, a basic ginger cookie. It’s the little creative addition of button holes and then yarn, yes yarn, threaded through the button holes that make these little cuties so adorable. You’d think having the yarn in them would make eating them a little annoying and that you’d be less likely to stuff your face. Sorry people, no such luck.

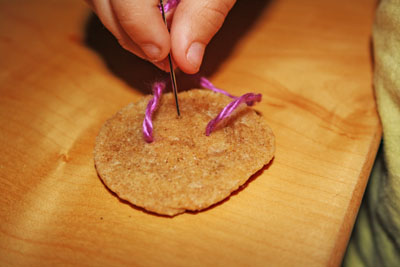
Wee One #2 insisted in doing the needlework herself! She has been fallen pretty hard for embroidery and wants to sew every chance she gets.

Ginger Button Cookies

Ginger Button Cookies via Diamonds for Dessert
1 2/3 cups flour
1 tablespoons ginger
1 teaspoons cinnamon
1/2 teaspoons cloves
1/2 teaspoons salt
4 tablespoons room temp butter
1/2 cup sugar
1/2 cup brown sugar
2 egg whites

Ginger Button Cookies
So, as you’d expect, you cream the butter and the sugars together. Then add the egg whites one at a time. Mix the dry ingredients in a different bowl and then mix the dry into the wet and voila! Ginger cookie dough. I totally sped through the actual recipe because I trust that you can handle that part. Now roll the dough into a log and cut off slices!
Ginger Button Cookies
Shape your slices as well rounded (or not) as you’d like. I used a straw to poke out my button holes.
Ginger Button Cookies
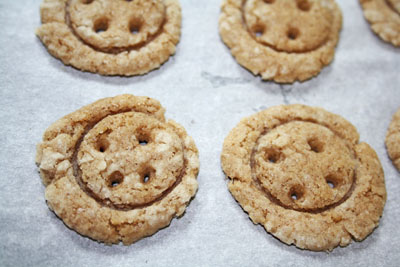
You’ll have to scour your kitchen to find a small circle shape that you can use as the inner edge of your button. The original recipe used the lid of a water bottle. I happen to have a crazy narrow shot glass – class all the way.
Ginger Button Cookies
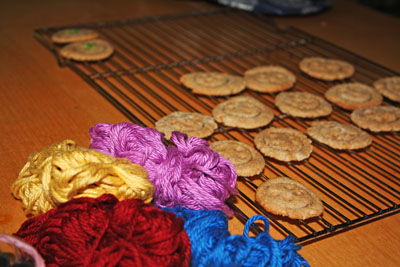
I baked them at 350F for about 15 minutes. Leave them in longer if you like a better crunch. The tops of the button holes didn’t shrink in baking, but the bottoms almost closed up. No biggie, we just used an actual needle and sock yarn!
Ginger Button Cookies
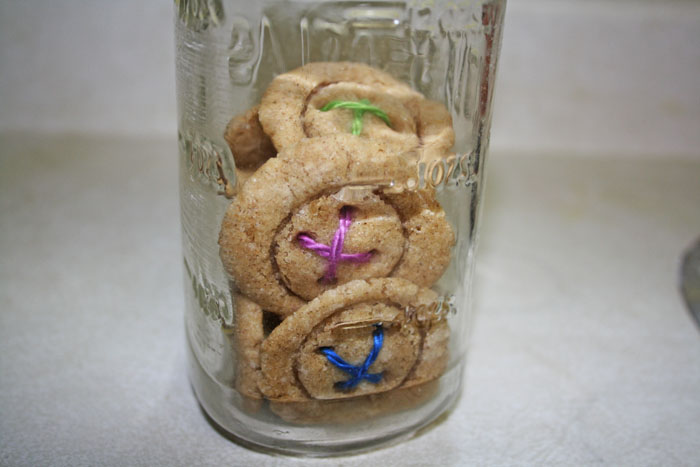
I packaged some cookies in a mason jar for our next door neighbors. I can’t tell if they think I’m cute or totally crazy. Let’s just say it’s a fine line and I’m at least endearing. Right?! Ha!
No Comments

Ice Cream Bites and Vegan Chocolate Syrup

Domestic

This is one of those recipes that’s hardly even a recipe. If you use chocolate chips instead of making your own chocolate sauce, it’s even less of a recipe! Like most kids, mine will eat ice cream anytime – when it’s snowing, in the middle of a heat wave, when it’s raining, whenever. So this after school treat in March in Canada should not be surprising.

The reason I went with making my own syrup instead of using chocolate was only because I wanted to try out some vegan chocolate recipes – and this one was amazing.

ice cream pops

Vegan Chocolate Sauce via Happy Herbivore
1/4 cup unsweetened cocoa
1/4 cup water
2 tbsp agave nectar
1 tbsp water
1 tbsp cornstarch
Ice Cream Bites via This Chick Cooks
ice cream
vanilla wafers
chocolate for melted (or chocolate syrup)
ice cream pops
ice cream pops
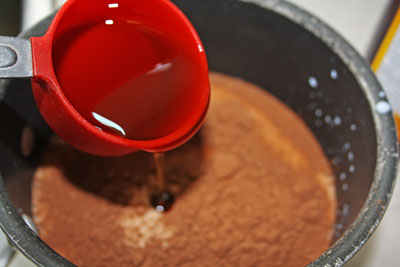
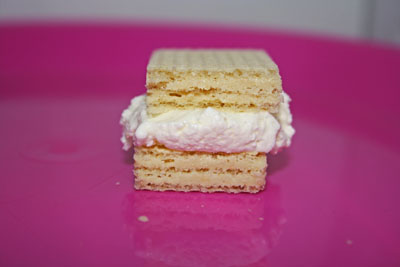
To make the syrup all you do is mix the cornstarch with 2 tbsp of water and set it aside. Then whisk the cocoa and the water together, stir in the agave and the cornstarch mixture. Bring it to a boil and keep stirring till it’s thick enough to set up but thin enough to coat the ice cream sandwiches (OR you can just melt about a cup of chocolate chips and add a teeny bit of oil). Then assemble your little sandwiches! I cut each vanilla wafter in 3 pieces and used about a tablespoon or so of ice cream.
ice cream pops
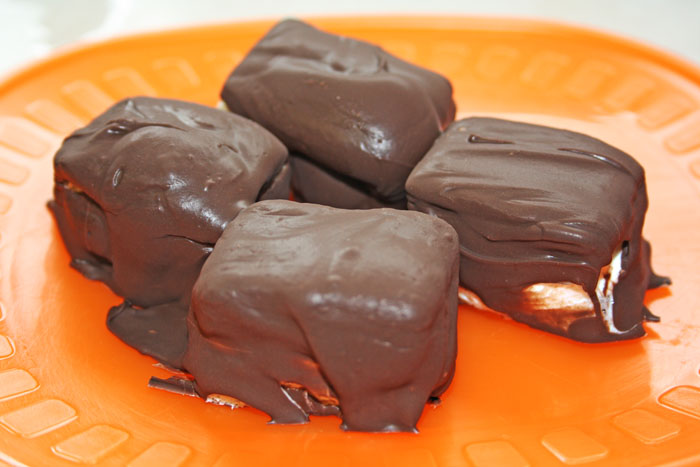
Now coat the little sandwiches with the chocolate syrup and pop in the fridge for a few hours till it’s set up. So so so good and such a fun surprise for the kids after school.
No Comments

Forgotten Kisses Cookies

Domestic

I confess, I made these at Christmas for my annual cookie tin. Yes, I know it’s March – that doesn’t make them any less delicious! I’d be more apt to call these little treats Hidden Kisses or Surprise Kisses or something like that, but Forgotten Kiss is the name of the original recipe so we’ll go with Forgotten Kisses, since you know, many kisses are better than just one, yes? Or, I guess, oui?

This is one in a series of cookies I made last year with random things baked into them! First I made Rolo Stuffed Cookies, then came Peanut Butter Stuffed Double Chocolate Chip Cookies and somewhere in there I also whipped up some Brownie Stuffed Chocolate Chip Cookies. Phew. The kids have been happy!

forgotten kisses cookies

Forgotten Kisses Cookies via Tasty Kitchen
1 cup butter, softened
1/3 cup sugar
1/3 cup packed light brown sugar
1 teaspoon vanilla
2 cups flour
1 cup mini chocolate chips
1 9oz. bag hershey kisses

forgotten kisses cookies
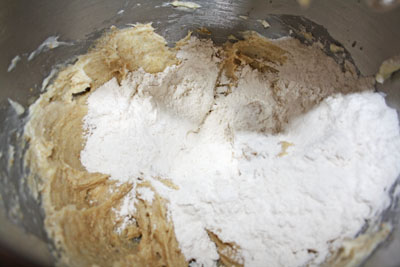
Preheat your oven to 375F, then cream the butter with the sugars ad add the vanilla. Then add the flour.
forgotten kisses cookies
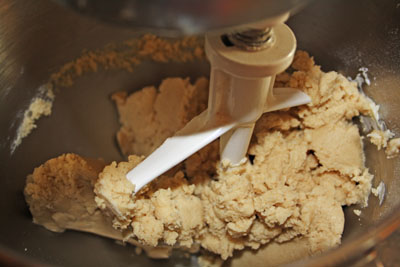
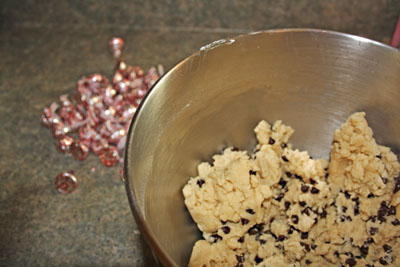
Keep mixing till it’s creamy! Now go ahead and add the chocolate chips. The original recipe suggests you can use mini M&Ms instead of chocolate chips.
forgotten kisses cookies
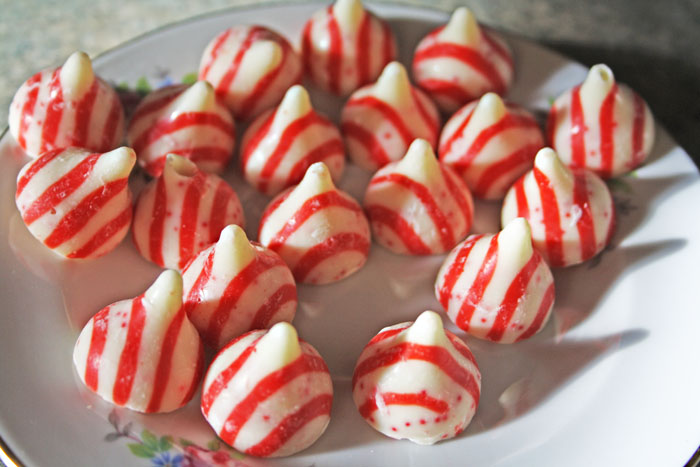
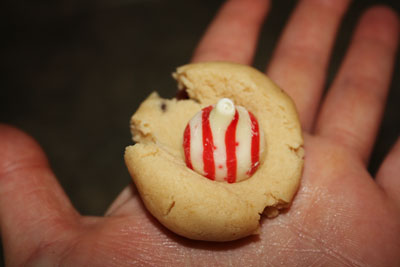
Unwrap all of your Christmasy kisses! Or whatever kind of kisses you’re using. I made these at Christmas for the first time so I used peppermint kisses.
forgotten kisses cookies
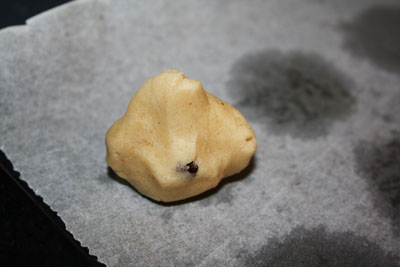
Roll the dough into a ball and flatten it a little. Put the kiss in the middle and form the ball of dough around the chocolate.
forgotten kisses cookies
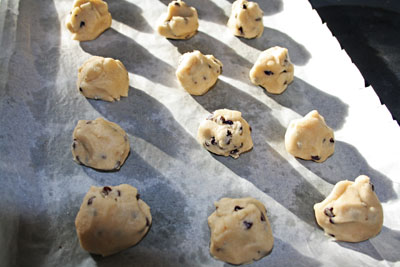
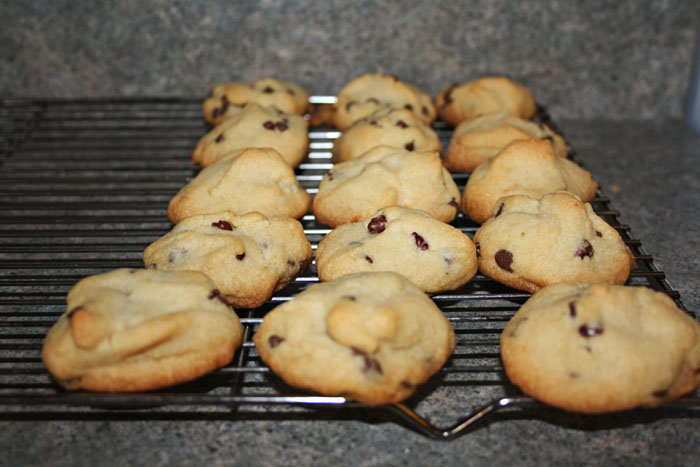
Then do it again and again and again! Bake for about 10 minutes or so and voila!
forgotten kisses cookies
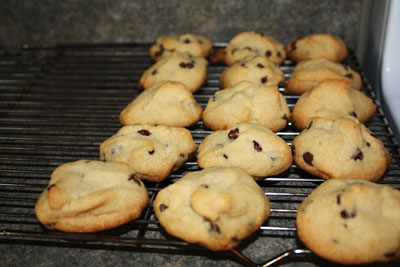
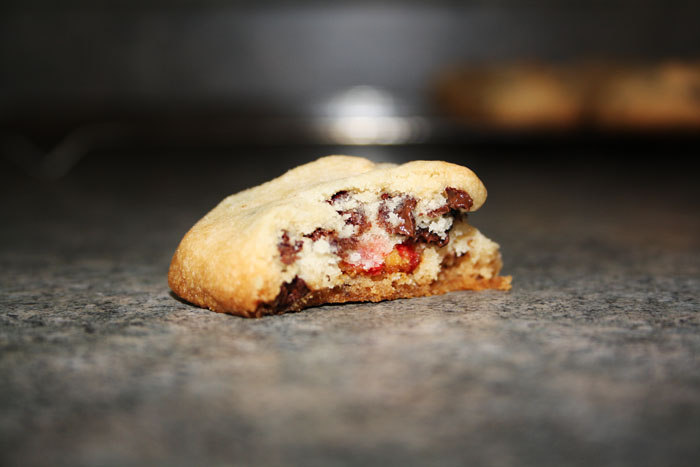
They look like innocent chocolate chip cookies!
forgotten kisses cookies
But they’re way tastier than that!!
No Comments

Pixie Purses (with Bacon & Goat Cheese)

Domestic

Today, I’m participating in Tasty Tuesday at 33 Shades of Green.

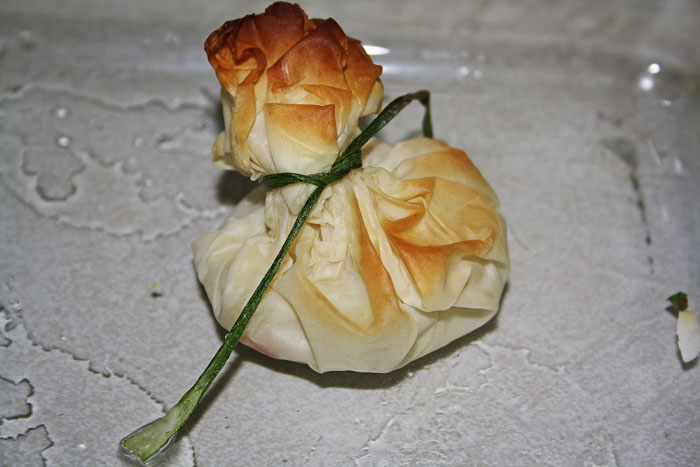
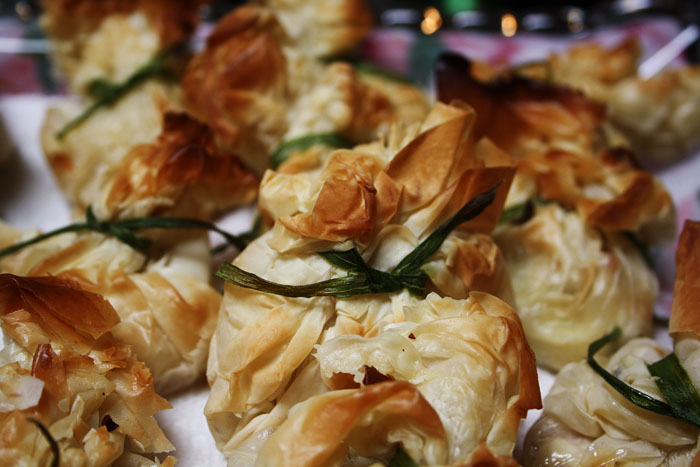
I know technically these little bundles of deliciousness are called Beggar’s Purses but I made them for my mother’s Pixie-themed 60th birthday party (my mother loves fairies and anything to do with fairies), so Pixie Purses they are! Bacon + goat cheese? OMG. I’ve recently given up the bacon but I’d probably still snarffle down a few of these little babies. They were a hit with everyone that tried them and the only treat I made for my mother’s party that didn’t have any leftovers!

You could make these suit your needs however you like! You could fill them with fake cheese and tempah or with mozza and chicken or or or…endless combinations really. They also look really snazzy but don’t require too much effort.

pixie purses with bacon and goat cheese

Pixie Purses (aka Beggar’s Purses, aka Goat Cheese Phyllo Purses) via Confessions of a Foodie Bride
5 oz goat cheese, softened
2 tablespoons chives, chopped
I also added a few tablespoons of fresh chopped parsley
4 slices of bacon, cooked to a crisp
black pepper
6 sheets of phyllo dough
6-8 tablespoons of melted butter
Chives or strips of the tops of green onions for tying

pixie purses with bacon and goat cheese
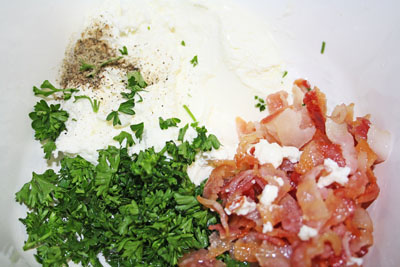
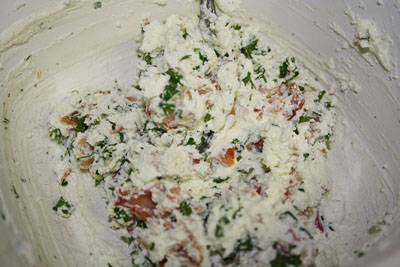
Preheat your oven to 400 F and mash together your goat cheese, chives, parsley (if you’re using it) crumbled bacon, and black pepper.
pixie purses with bacon and goat cheese
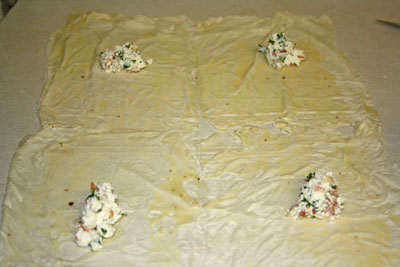
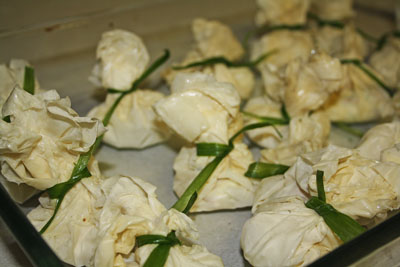
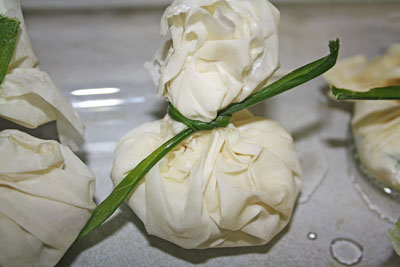
The thing about phyllo is it pretty much always starts out the same. Lay a single piece on your counter, use a pastry brush to paint melted butter all over it, then add a second sheet and attack that with melted butter and again with a third piece. Then cut it into four equal pieces and put about 1 1/2 to maybe 2 tablespoons of the mixture into the middle of each square. Then gather the phyllo around it like a little package and tie with your chive or strip of green onion.
pixie purses with bacon and goat cheese
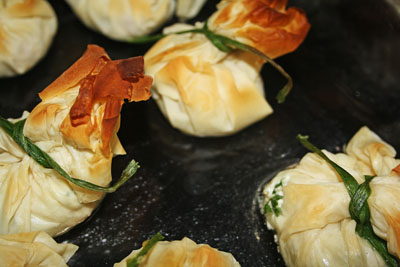
So cute!!! It’s looking pretty pale on the left! I brushed the tops of each one with a little butter and made a bunch more. I put all of them in a shallow dish and baked them for about 8 minutes. Check on them though!! If your oven runs hot they’ll be incinerated in a heartbeat! Let them cool for a bit so you don’t burn yourself with 400 degree goat cheese!
pixie purses with bacon and goat cheese
No Comments

The Duggar’s Tater Tot Casserole

Domestic, Healthy, Kids, Small Town

I’m participating in Menu Monday at Organizing Junkie and Life as a Lofthouse

I didn’t blog last week because honestly I have been extremely distracted. It’s all been pretty fun distractions though!! Since Christmas we thought we were going to be planning a long distance short-term work-related move. We were extremely excited because it was to a place we’ve always wanted to go. Then last weekend we thought that it wasn’t going to happen after all, only to find out a few days later that it’s going to happen, just not as soon as we thought. For a planner this was at first, extremely painful. However, after a while I have come to appreciate that it can be fun to just live my life as I live it (playing in the kitchen while making sock puppets and cocktails) and let surprises unfold on their own – and in their own time. I asked my husband not to keep me in the loop about this work move. Only to tell me when it’s a sure thing and it’s time to start packing. Which honestly takes a load off. So now I’m focusing on Wee One #3’s teeny weeny Hello Kitty birthday party next weekend. It’s teeny weeny because she only really has one friend, I mean she is just turning three after all!

I mentioned a couple of weeks ago that my oven died, thankfully my stove stop still works perfectly so I’ve been cooking quite a bit, and working through my ‘no bake’ recipes but I haven’t been doing any baking at all. Le sigh. I love baking. At first we looked into having it fixed, but it’s not much of a savings compared to getting a new one and then we have a new warranty. Anyhoo, it’s Menu Monday so while we pick a new stove here’s yet another stove top menu!

This Week’s Menu (Feb 27 – March 5)
*I mentioned last week, I make two separate dinners most nights because I’ve made some dietary changes and I’m not pushing it on my family. They tend to join in with a healthy May-style breakfast and lunch and I make their faves for dinner. Wee One #2 has started eating ‘dinner like mommy’ though, so that’s something!

Monday – Chicken with Rice for the fam, Falafels with Rice for me

Tuesday – Tacos for the fam, Butternut Squash Soup for me

Wednesday – Chicken Slovakia for the fam, Vegan Quesadilla for me

Thursday – Beef Romanoff for the fam, ‘Creamy’ Leek Soup for me

Friday – Homemade Chicken Fingers and Wedges for the fam, Tofu Nuggets and Salad for me

Saturday – Stew and Salad for the fam, Black-Eyed Bean and Tomato Broth with homemade crackers for me

Sunday – Hamburgers and French Fries for the fam, Chick Pea Burgers and Sweet Potato Fries for me

This week, I will photograph these meals as I make them so I can blog about them and link back to those posts when I mention them in a future Menu Monday, which you know I probably will!

Today though, since I have no oven and you probably do, I will hit you with this recipe for Tater Tot Casserole so you can make it for me! It’s the ultimate in trashy food (I have a weakness for such things, remember?) I’m not even going to lie to you (though it would save face if I said something like ‘I don’t remember where I came across this recipe‘), this is totally a Duggar Family recipe. Don’t look at me like that! Don’t act like you don’t love that show too! Johanna is my fave little one and I think Jessa is fierce. <3 the duggar's tater tot casserole with homemade tater tots

Casserole: from The Duggar’s Favorite Recipes
*I cut it in half and it’s still enough to feed an army, though it’s so good you might not have any leftovers!
1 lb ground turkey cooked, seasoned, drained
3lb tater tots*
1 can cream of mushroom soup
1 can evaporated milk
1 can cream of chicken soup
Tater Tots: from Macheesmo
4 Russet potatoes, peeled and chopped
1 egg
1/2 Cup milk
3 Tablespoons unsalted butter
1 Cup all-purpose flour
Salt
Pepper
the duggar's tater tot casserole with homemade tater tots
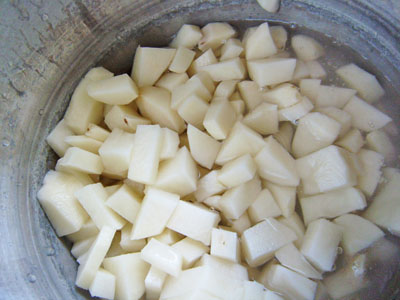
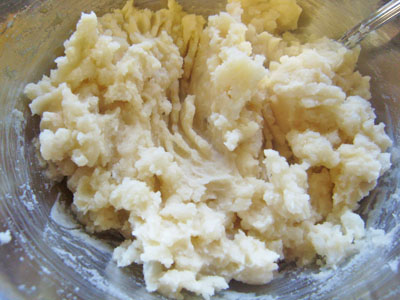
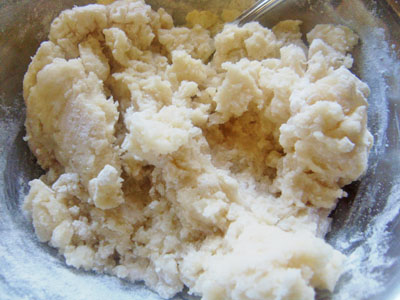
First, make mashed potatoes however you usually do that. I toss mine in the pressure cooker and then mash them up with some garlic and butter.
the duggar's tater tot casserole with homemade tater tots
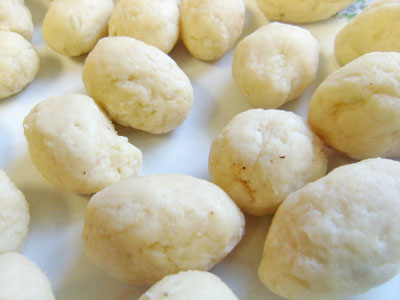
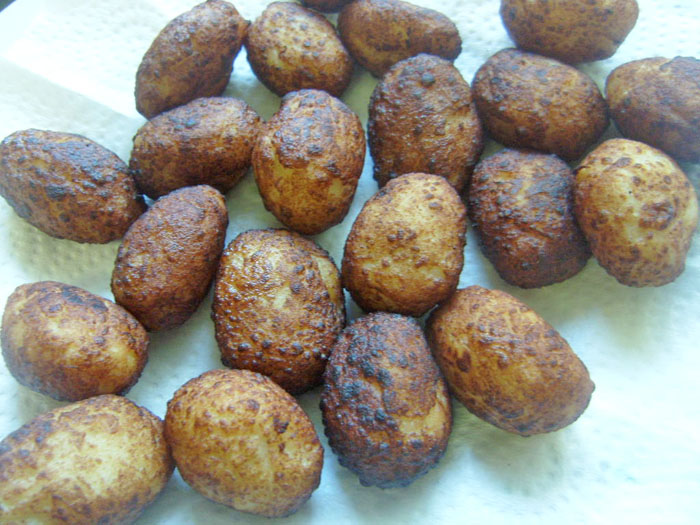
Now add the egg, milk and flour or else they will just be mush in the oil. MUSH. The original tater tot recipe coats them in breadcrumbs and I didn’t. I totally will next time though! This is when you heat a pot of oil and toss these babies in. They only need to be in the oil for like 30 seconds. I had my first few in for about 2 minutes and look what happened!!
the duggar's tater tot casserole with homemade tater tots
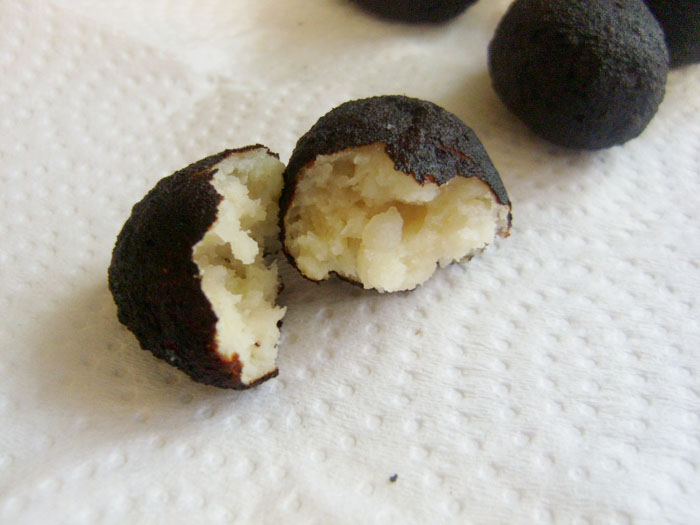
They were perfect on the inside, burnt to a blackened crisp on the outside. Whoops!
the duggar's tater tot casserole with homemade tater tots
I had the next batch in for about 45 seconds and that’s all they needed!
the duggar's tater tot casserole with homemade tater tots
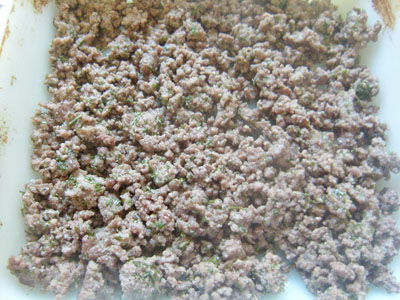
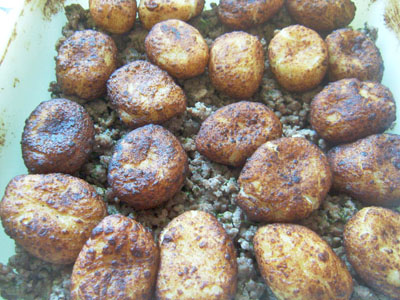
Now for the actual casserole part. I just browned the ground turkey (you could use chicken or pork or beef or fake tofu-ish stuff) with a little parsley, garlic and onion though none of those three are technically called for in the recipe, and spread it over the bottom of a casserole dish. Then I put the tater tots on top!
the duggar's tater tot casserole with homemade tater tots
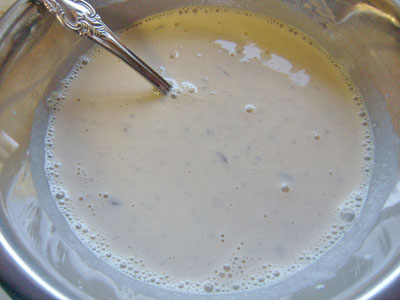
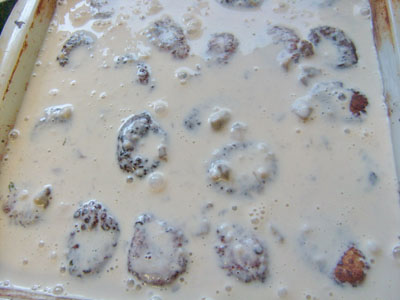
Then in another bowl, I mixed the evaporated milk with the cream soups and poured it over meat and tater tots in the casserole dish.
the duggar's tater tot casserole with homemade tater tots
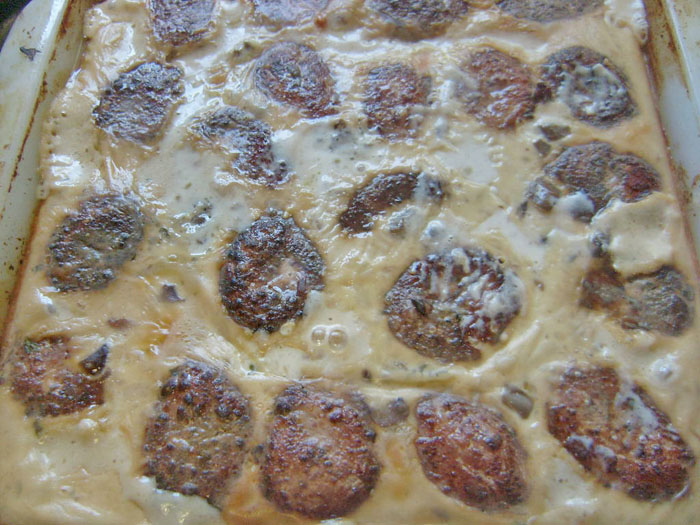
Bake at 350F for about an hour and OH MY shit this is amazingly good.

If my new oven isn’t chosen and delivered by Friday, I’m going to have to bake a Hello Kitty cake at my neighbor’s house. Oh small town living, you come in handy sometimes.

3 Comments

Sugar Cookie Rice Krispie Treats

Domestic

We make a lot of Rice Krispie treats around here. I don’t mean like, a few times a month a lot, or ever once a week a lot. I mean, like, a lot of Rice Krispie treats. My husband snarffles down a handful as a midnight snack, my oldest requests them in his lunch nearly everyday and the girls are all over them. Sometimes I add things like wheat germ or ground flax seeds to them and no one is ever the wiser, in this case however, I added more sugar to them via the addition of sugar cookie mix. I know, I know. A treat comprised mostly of marshmallows and I added more sugar? Blame Jaclyn over at Cooking Classy for this one. Aren’t her pictures so cute?! Don’t they make you want to run to your kitchen and whip up a batch? You’re a dirty liar, I know they do.
Ahem.

I had to run to the grocery store to pick up some cookie mix because DUH I don’t keep that shit in my house on the regular. Theeen, I ran to my kitchen and whipped up a batch – with my husband because he was intrigued. I was messing with one of his favorite snacks, so he wanted to know what was up.

After we made them, (sorta) let them cool and iced them, they were good but not so much better than regular Rice Krispie treats for me to add the cookie mix to them all the time. It did get me thinking though, if adding sugar cookie mix made them taste sort of like a sugar cookie, what about adding chocolate cookie mix? Is that even a thing? It must be. Or maybe the same amount of brownie mix? I will have to experiment!

sugar cookie rice krispie treats

As I mentioned above, the recipe was originally posted at Cooking Classy.

Rice Krispies:
1/3 cup butter
1/8 teaspoon salt
5 cups miniature marshmallows
1/2 cup sugar cookie mix
6 cups Rice Krispies Cereal
Frosting:
1/4 cup butter, softened
2 tablespoons milk
1/2 teaspoon vanilla
pinch salt
2 cups icing sugar

I trust that you know how to make Rice Krispie treats, but here’s the blow by blow anyway.

sugar cookie rice krispie treats
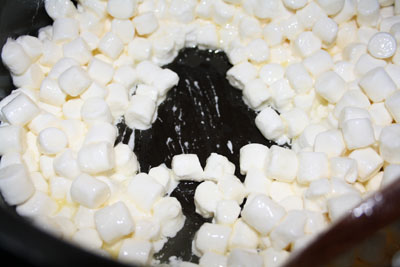
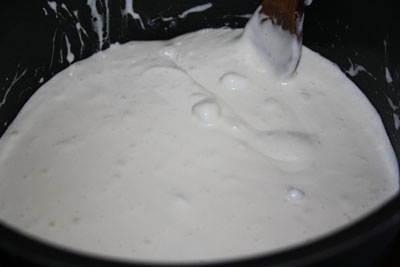
Melt the butter and the marshmallows together till it’s soupy.
sugar cookie rice krispie treats
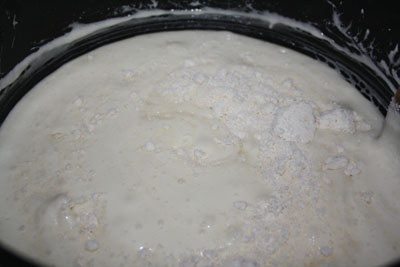
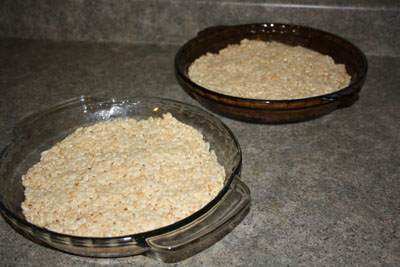
Now add the sugar cookie mix and mix till it’s dissolved. Then add the Rice Krispies and stir until they are all coated with marshmallowy goodness. Press them into your pan/s and let them cool off a bit.
sugar cookie rice krispie treats
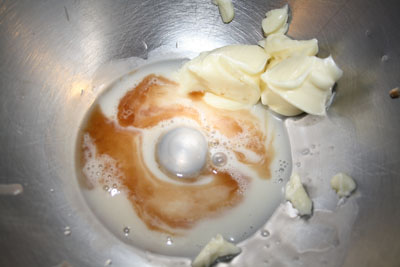
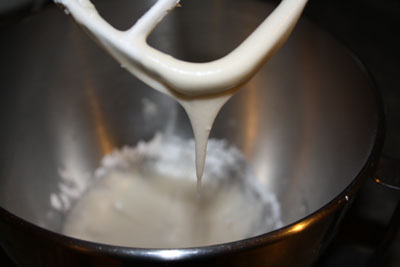
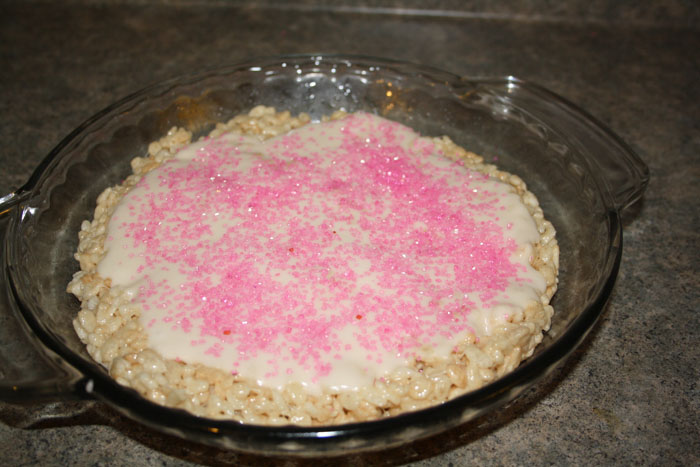
For the frosting, beat the butter, milk, vanilla, salt and icing sugar till it’s the consistency you’re going for. If you want thicker frosting, add more icing sugar. Spread it over the top of your cooled Rice Krispie treats and you’re done. Well, add some sprinkles or something to make them festive!
sugar cookie rice krispie treats
No Comments

Sweet and Sour Chicken

Domestic

I found this recipe over at Life as a Lofthouse forever ago and bookmarked it for ‘later’. This recipe was originally posted in September of 2010! I finally made this for my dear friend Brigitte, her brother Mike and her husband Hal when they came for a visit around Christmas. Brigitte was with me in the kitchen when I made it (hilariously typical) while the guys were, where else? In the garage (omg what a horrible poster group for stereotypes ha). Anyhoo, later when we served this, along with a few other tasty apps I’ll post about later this month, Hal totally thought the sauce came from a jar! Not like ‘this sauce is so bland I bet it’s from a jar’, more like ‘omg this sauce is so good, as if you made it yourself’. It’s always a super rad feeling to be able to whip up something that family and company loves, but to do it with such basic ingredients that we all have on hand? Super mega rad, my friends.

I also just noticed that Life as a Lofthouse has a Menu Monday!! I will link up with her next week!

sweet and sour chicken

Coating:
3-4 boneless chicken breasts
salt +& pepper
1 cup cornstarch
2 eggs, beaten
1/4 cup canola oil
Sweet and Sour Sauce:
3/4 cup sugar
4 tablespoons ketchup
1/2 cup vinegar
1 tbs soy sauce
1 tsp garlic salt

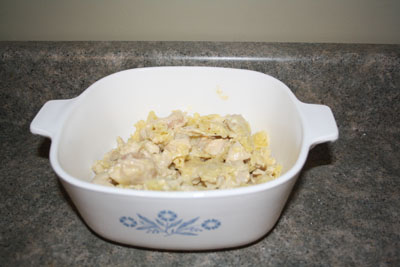
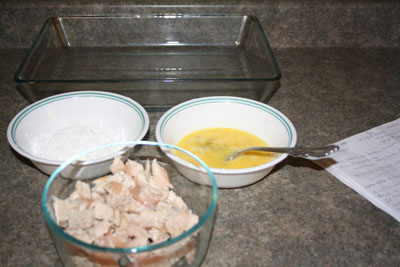
Preheat your oven to 325F, rinse the chicken in water and then cut into chunks. Season with salt and pepper (or not, your call).

sweet and sour chicken
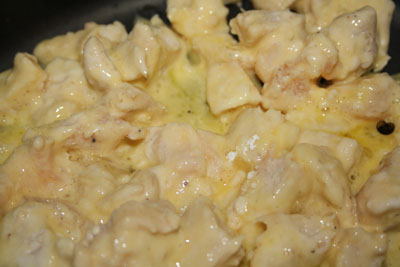
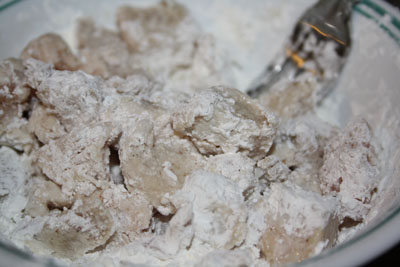
Dip each piece into the cornstarch first.
sweet and sour chicken
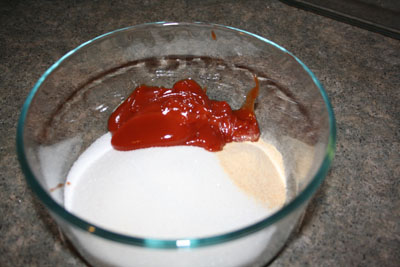
Then dip into the eggs! Mix the sugar and the ketchup in a medium sized bowl.
sweet and sour chicken
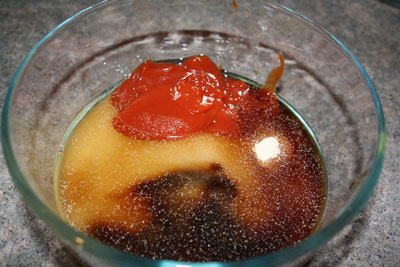
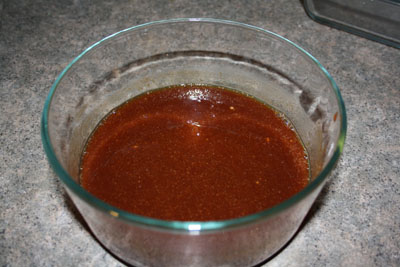
Add vinegar, soy sauce and garlic salt. Mix, mix, mix!
sweet and sour chicken
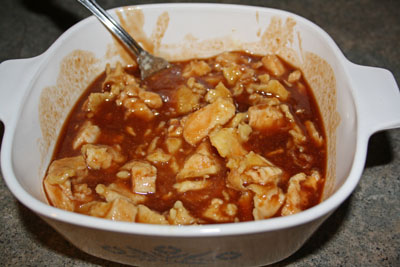
Transfer the cooked chicken chunks to a baking dish and pour the sweet and sour sauce over it. Bake for about an hour and give it a stir once every 15 minutes or so.
No Comments