I’m participating in Menu Monday at Organizing Junkie
My oven died a few days ago, so this Menu Monday is a creative one! Just as I had finished mopping up my tears over discovering it wasn’t just a fuse issue, my wonderful husband delivered another striking blow – it could take over a month for us to get the part our oven needs. Shake it off, May! It’s ok, there are plenty of stove top, no bake and slow cooker options. Deeeeep yoga breaths. Ok so I think I’m alright.
This Week’s Menu (Feb 13-19)
*In case you’re wondering why I’m making two meals every night, I made some dietary changes that were important to me earlier this year and my family is a little slow to jump in. They usually join me in a healthy breakfast and lunch and I refuse to bicker over dinner.
Monday – Chicken Alfredo for the fam, Vegan Quesadilla for me (tortillas, daiya cheese & hummas)
Tuesday – Spaghetti with homemade sauce for the fam, Falafels with Rice for me
Wednesday – Beef Stroganoff for the fam, ‘Creamy’ Tomato Soup for me
Thursday – Chicken Stir Fry for the fam, Tofu Nuggets for me
Friday – Beef Barley Soup for the fam, Won Ton Soup for me
Saturday – Hamburgers and Fries for the fam, Veggie Burger and Fries for me
Sunday – Tacos for the fam, Tofu Nuggets for me (yes again, I’d eat them everyday if I could with homemade BBQ sauce)
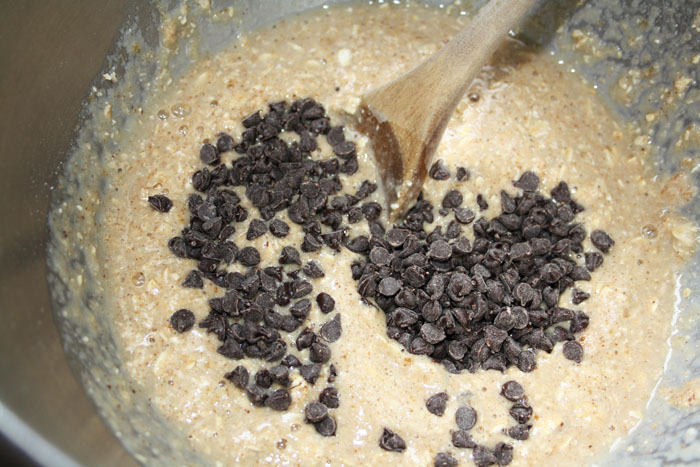
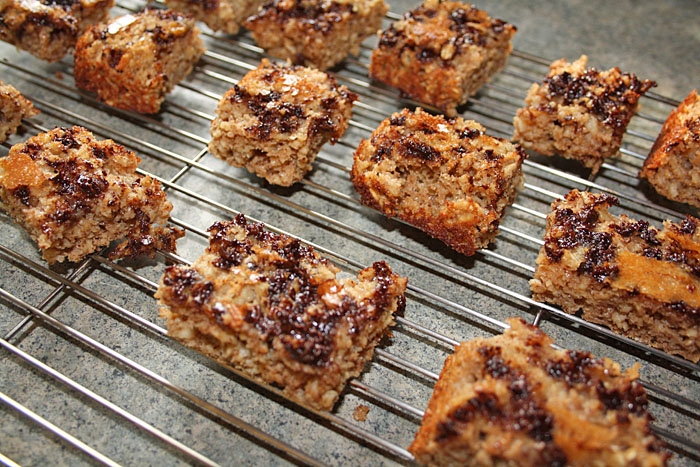
I know this recipe is not mentioned at all in my menu for this week but let’s totally ignore that and be thankful for moderately healthy cookies. If you like your Oatmeal Cookies Granny-style, just add a cup of raisins at the very end and mix them in with a wooden spoon. None of us are fans of raisins in baked goods (except maaaaybe cinnamon buns but even then not really), so I didn’t use any.

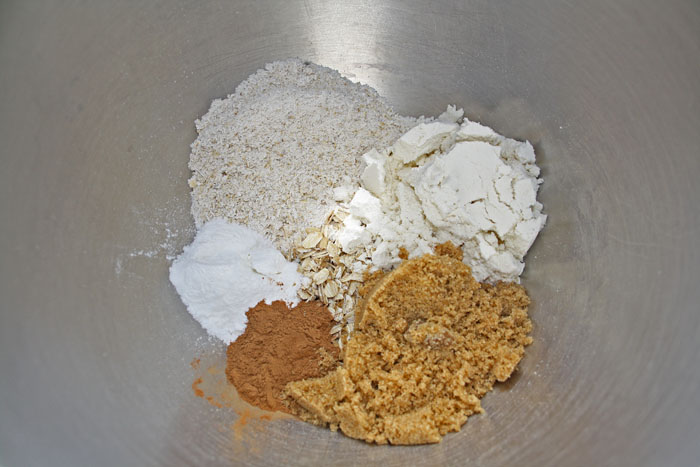
Grandmother’s Oatmeal-Raisin Cookies – From Good Housekeeping Cook Book (p. 722)
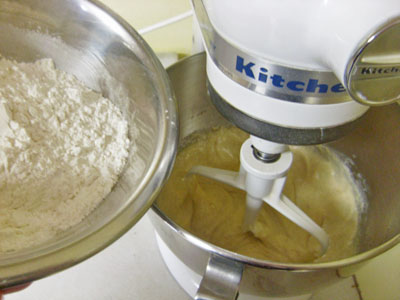
3/4 cup flour
1/2 teaspoon baking soda
1/4 teaspoon salt
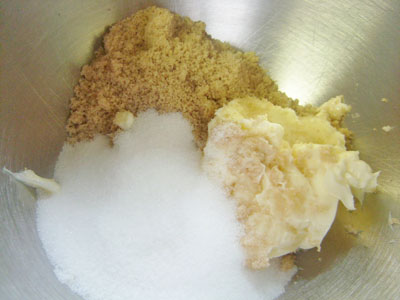
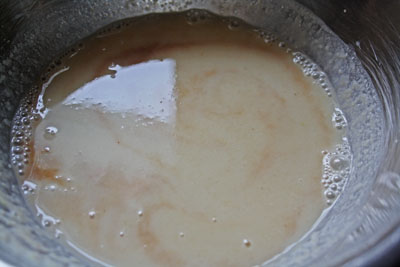
1/2 cup butter
1/2 cup sugar
1/3 cup packed brown sugar
1 large egg
2 teaspoons vanilla extract
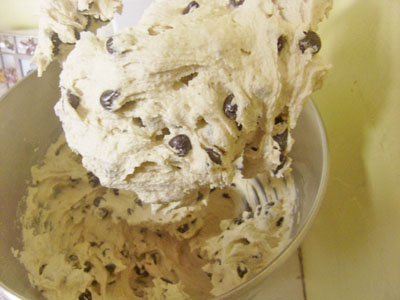
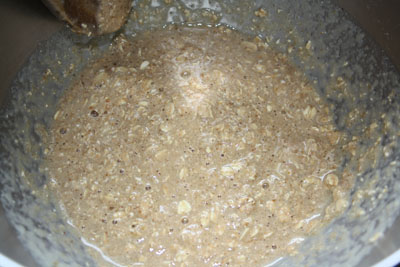
1 1/2 cups old fashioned oats, uncooked
|
|
|
|
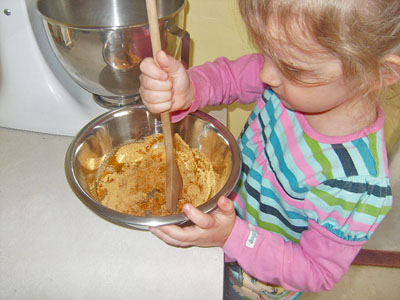
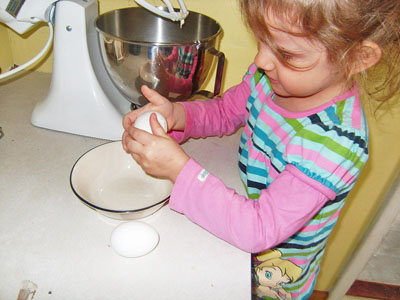
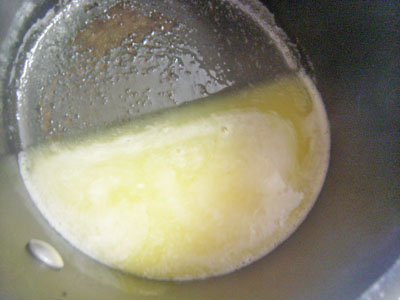
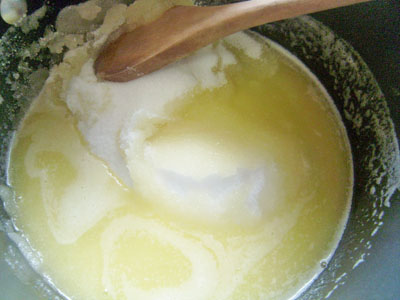
As you’d expect, cream the butter and the sugars together first. Then add the egg and vanilla.
|
|
|
|
|
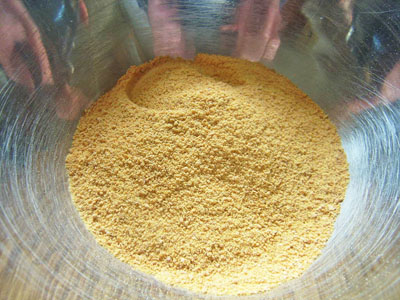
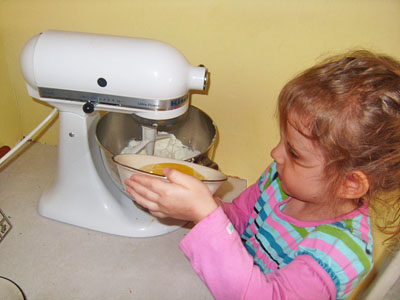
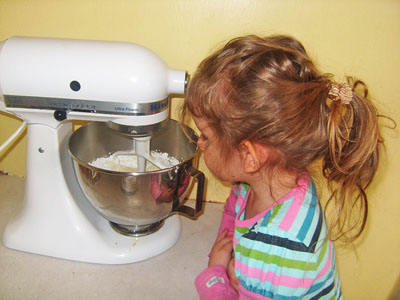
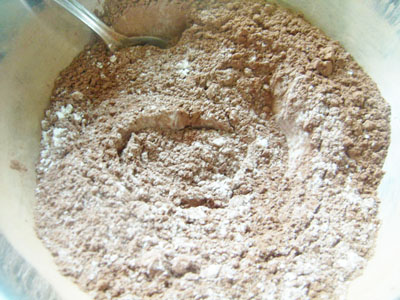
Whisk together the flour, baking soda and salt in a smallish bowl before you tip that bowl into the wet mixture. Beat till just combined.
|
|
|
|
|
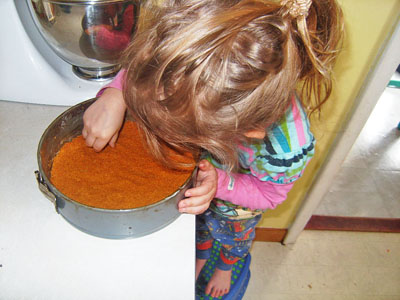
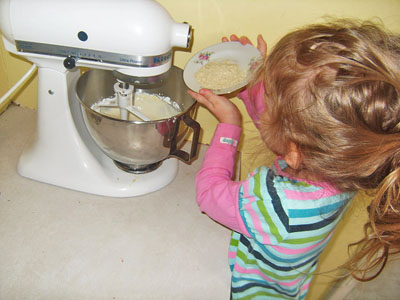
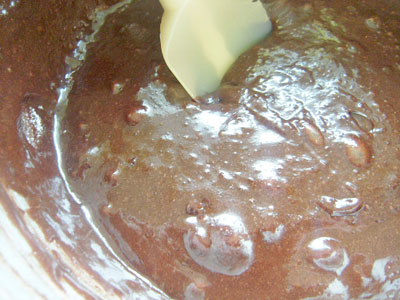
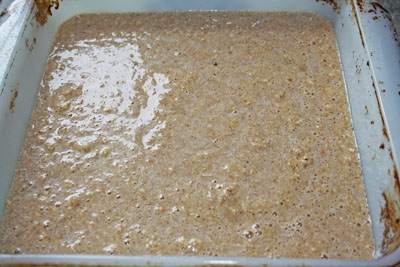
Finally, mix in the oats with a wooden spoon (this is where you’d add raisins if you’re so inclined).
|
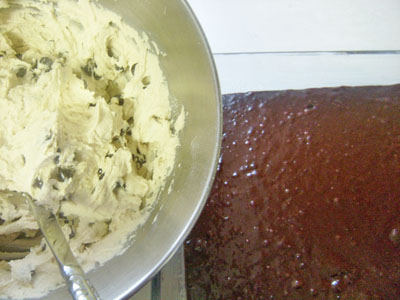
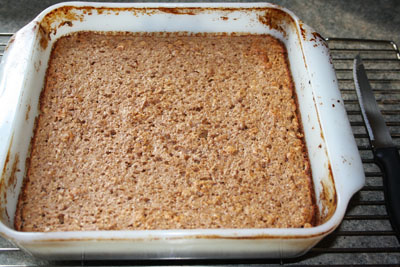
Bake for about 15 minutes at 350!
 |