Oct 5, 2013
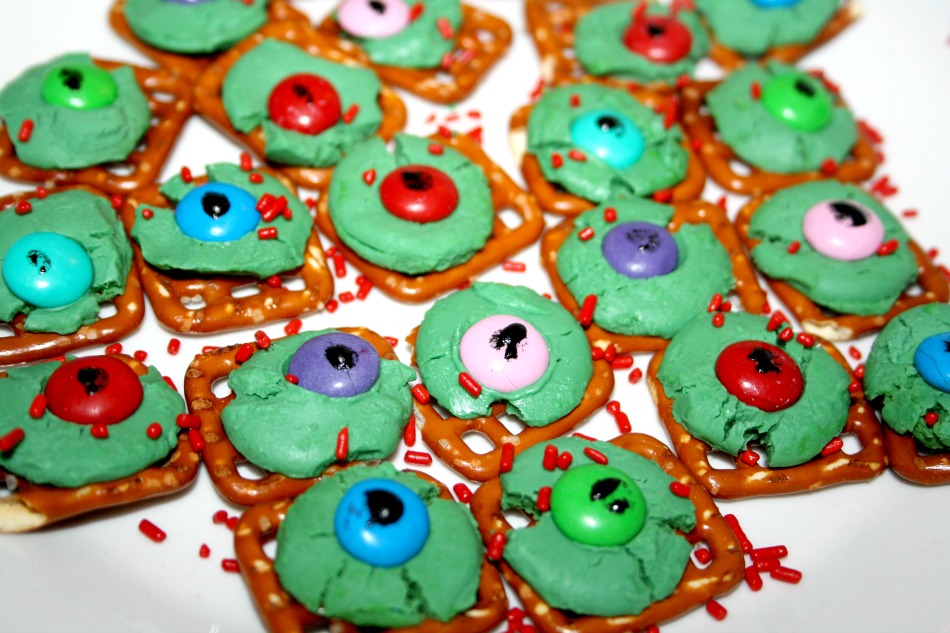
This is not really a recipe, it’s just an idea and comes together with 5 ingredients. You don’t even have to turn on the oven, the microwave will work for this too! Totally perfect for a last minute addition to a Halloween party or potluck.
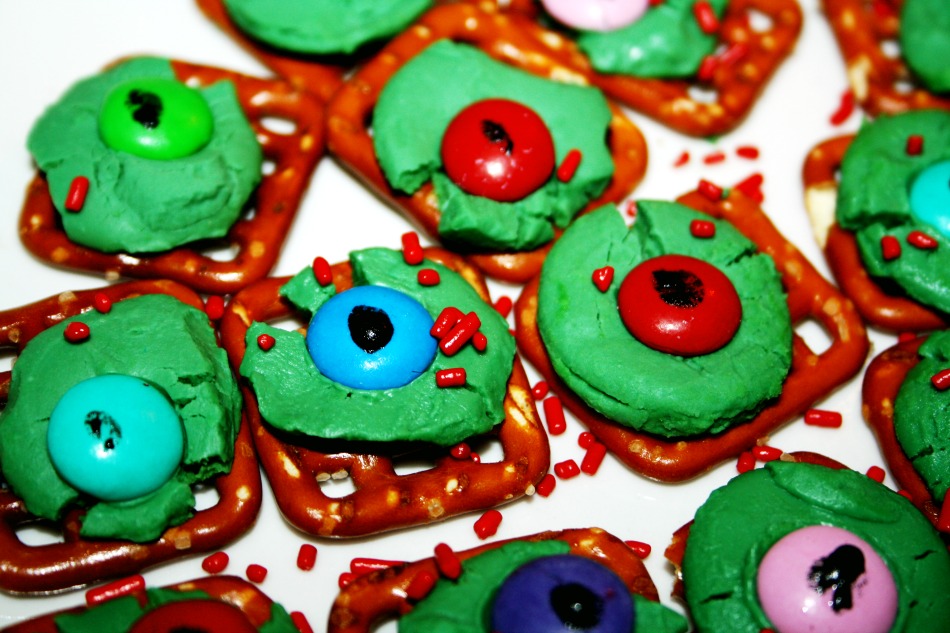
Zombie Eyeballs
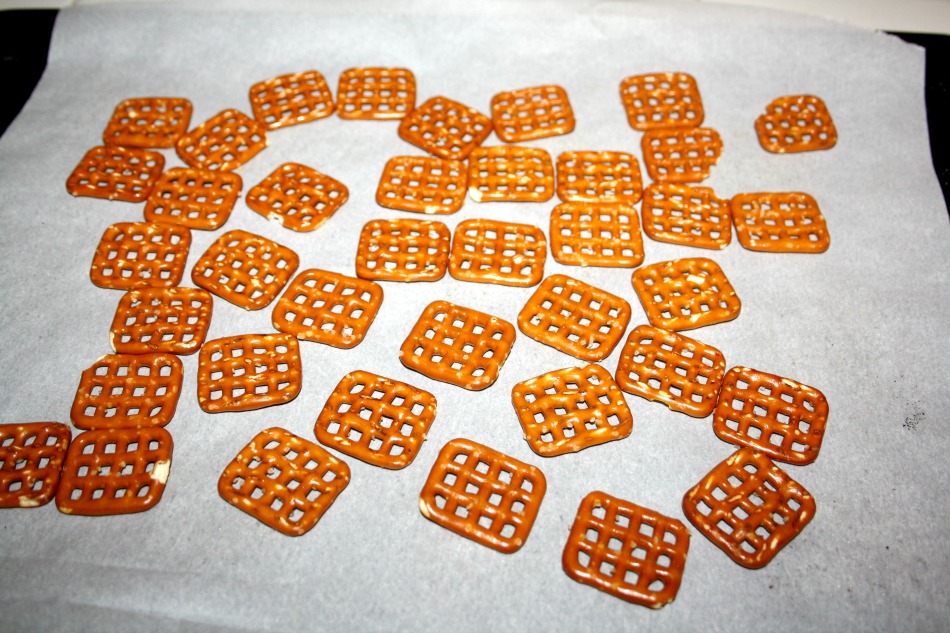
-square pretzels
-green candy melts
-black icing
-assorted M&Ms
-red sprinkles
Arrange the pretzels on a baking sheet (or a plate), then place one green candy melt on each pretzel square. Either pop the tray in the oven for about 10 minutes at 300 or microwave the plate for 5 minutes. Whichever method you choose, make sure to check on the candy melts so they are just melty and not burny. 🙂
Once they’ve melted and you’ve taken them out of the oven, push one M&M (‘m’ side down) onto each candy melt and then dot each M&M with a tiny bit of black icing. Now sprinkle the red jimmies over all of them and voila! Creepy zombie eyes!

Aug 29, 2013
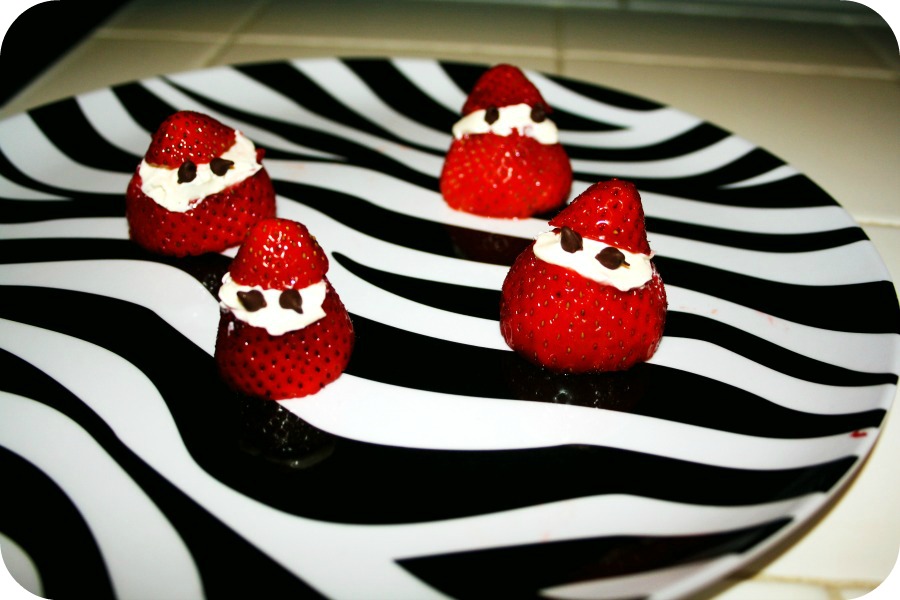
This is not a recipe, it’s just a cute idea. It takes less than 10 minutes and it’s really adorable. All day in the sun was super fun and calls for some strawberry ninjas.

fresh strawberries (hulled)
fresh whipped cream
mini chocolate chips
All you do is place the hulled strawberries upside down and cut enough of the point off so you can fill it from the top. Remove the point, fill the strawberry with whipped cream and put the point back on. Pop mini chocolate chips in as eyes and voila. Super cute snack for pretty much anytime.
I spent the day at Seaside Lagoon with all the littles. With the load of work we have for homeschool this year, I’m not really a fan of taking a day for the beach, but I made an exception today because this is their favorite spot and it’s seasonal so it closes for the off seasons this weekend. Our last time for 2013 was super fun and I’m looking forward to going back again next year.

Aug 28, 2013
Mozzarella Sticks are standard pub fare and often accompany pizza on family game night with garlic bread, because when are you ever going to have time to make them yourself – and why would you? They must take hours right? And you can’t just make it with stuff you probably already have in your pantry RIGHT NOW, can you? I swear, these little snacks go from passing thought to burning your greedy fingers in less than 30 minutes. No, honest. I have seen versions of them kicking around online but I didn’t trust that any recipe I could make myself would come close to the glorious fried gooeyness Mr So Very Domestic adores so much. And you know, given that I clearly refer to myself as ‘so very domestic’, I take kitchen fails as crushing blows to my womanhood a little harsher than most others. Ahem.
Then my husband got me The Pioneer Woman’s cookbook and this little gem was in there! I adore Miss Ree so much I’d never reprint a recipe from her book – however, she first posted this on her recipe site Tasty Kitchen over 3 years ago, so I think it’s ok. 😉
I am all over any excuse for my husband and I to play around in the kitchen (no, not like that). He especially likes to offer up help with frying, shaping and any cutting that looks the least bit complicated or fun (hello scalloped potatoes and my mandolin). When we make these, we save even more time by working together so we can get back to the movie watching / Chinese checker playing / whatever silly thing we are doing at 1am while making food we shouldn’t. We have been known to even make these for the kids, but since only 1/3 of them likes them it’s still a pretty self indulgent endeavour. I set up the bowls of flour / egg / crust and he opens and cuts up the cheese.
I bread a few while the oil heats up and then he fries as I finish breading. Match made in heaven, really.
Here are the deets!

Mozzarella Sticks via The Pioneer Woman
16 pieces string cheese, (removed from wrappers)*
½ cups flour
2 eggs
3 tablespoons milk
1 tablespoon dried parsley flakes
canola oil (for frying)
2 cups panko bread crumbs
*you’ll get two mozzarella sticks per string cheese, so just use as many as you need
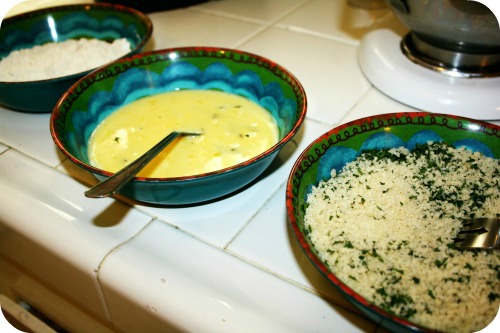
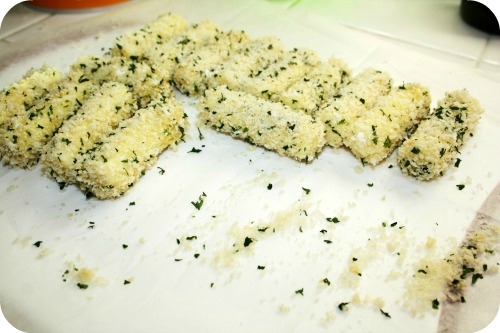
| First, unwrap all the string cheese you need and cut each piece in half. We’ve also experimented with making the sticks smaller by cutting each string cheese in three pieces. It works better that way for a crowd so you have more pieces but if there are just two or three people, halves is fine. Then prep the bowls. You’ll need one with the flour, one with the egg and milk and one with the panko and parsley. Just like when you’re making fish and chips, roll the cheese first in the flour, then the egg and then the breadcrumbs. Make sure each piece is well coated each time so it all sticks! |
|
|
 |
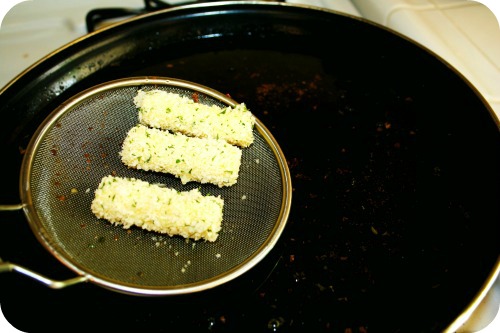
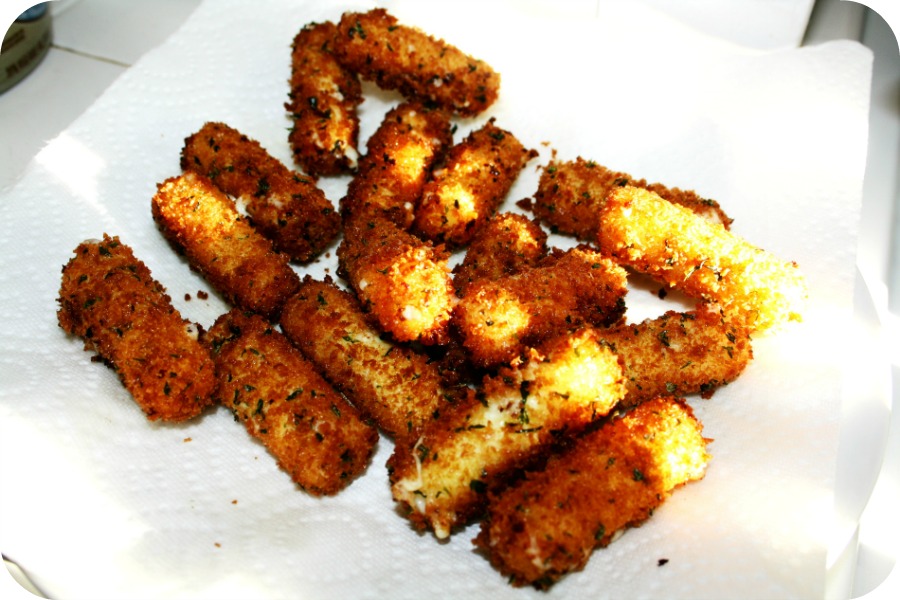
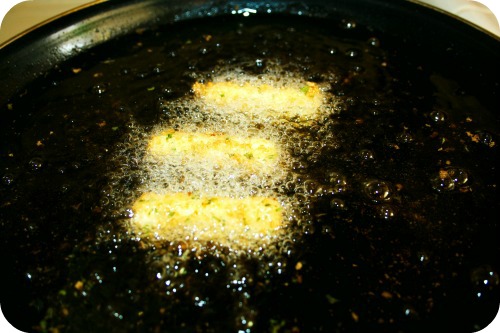
| PW flash freezes these before she fries them but really ain’t nobody got time fo’ that!, so we just jump on in. Fry as many at a time as you feel comfortable with. We usually do about 6 or 8 at a time, but we have been known to be snacky and impatient (a dangerous combo really) and make them all in two batches. It doesn’t take long to cook these babies! The entire operation in the pan is under two minutes for sure. Just marvel as they turn a lovely golden brown about 45 second after you drop them in the oil, poke them a bit to turn them over around the one minute mark and take them out before the two minute mark. |
|
|
 |
| I know right?! |
|
|
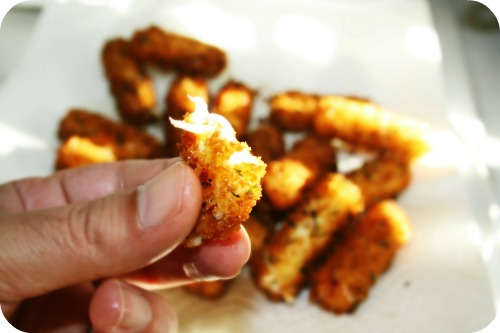
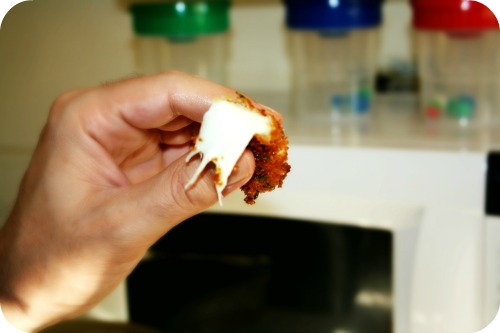
| My husband eats them with nothing at all, I love them in marinara sauce or a sweet and sour sauce. Our one, lone mozzarella stick loving child (how are the rest even related to us?!) looooves them with ketchup. She’s 4, so ketchup is still socially acceptable on pretty much everything, right? No matter what you eat them with, they’re crazy amazing and so much better than they are at restaurants or from frozen. |
|
|
 |

Sep 22, 2012
Ok so, as you are all painfully aware by now, I’m the biggest fan girl there ever was for Peas and Thank You and for Mama Pea’s cookbook . I will have to tally it up but I think I have made almost all of the recipes now. However, since Mama Pea (aka Sarah Matheny), is someone I really admire and look up to, there is no way I’m posting the details to her recipes – you’ll just have to buy her book. So all year long, I have been posting pretty pictures of my attempts at her recipes and my thoughts on them and how many of our littles liked them and that sort of thing.
However.
The recipe for these crackers is available on her blog, (in the reci’peas’ section har har). So I can post this recipe and encourage you to visit her blog and it’s win-win! We all loved these – and so did our neighbors!
Before I do that though, take a look at some of the recipes I’ve made from her book recently!
|
|

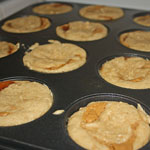
These cupcakes have enough sweetness to them to easily be called a cupcake – but they are healthier than your average muffins! 2/3 of my kids loved these and to be fair the one that didn’t isn’t big on jam. I will try these again as Peanut Butter Cupcakes and see what happens. They come together pretty quickly too! |
|
|

I know, I know. ‘Mama Pea’s Balls’. Whatever. You’re the one with your head in the gutter. |
|
|

These cupcakes have enough sweetness to them to easily be called a cupcake – but they are healthier than your average muffins! 2/3 of my kids loved these and to be fair the one that didn’t isn’t big on jam. I will try these again as Peanut Butter Cupcakes and see what happens. They come together pretty quickly too! |
Ok, so moving along. No, these do not taste just like a goldfish cracker, because vegan cheese doesn’t taste like cheese. But that doesn’t mean they aren’t amazing! I love these! I love them with soup or alone or dipped in whatever I’m dipping veggies in at any given moment.

1 cup all purpose gluten free flour
1 cup garbanzo bean flour
3/4 teaspoon xanthan gum
1 teaspoon salt
1/4 teaspoon dry mustard
1 cup non dairy cheese
1/2 cup vegan margarine
5 tablespoons cold water
|
|
|
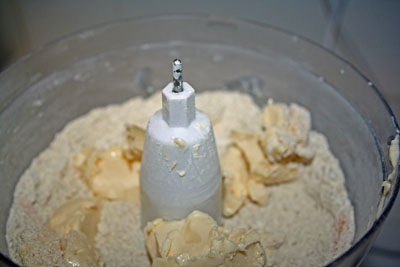
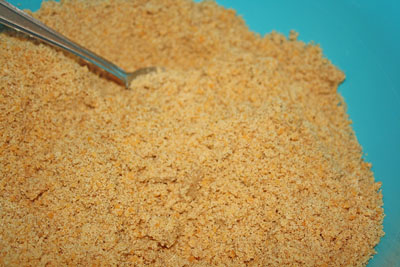
| First process both flours, the xanthan gum, salt and mustard. Then add the vegan cheese and pulse. Add the vegan cheese and pulse till it’s all mixed. Now add the vegan marg in chunks and pulse till that is all mixed as well. |
|
|
|
|
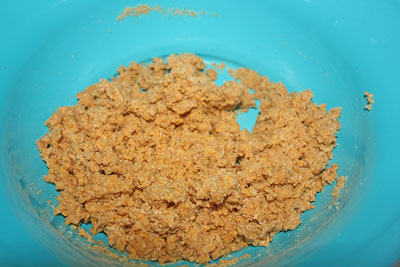
Dump this mixture into a bigger bowl and slowly add the cold water while stirring. Eventually, it’ll hold itself together.
|
|
|
|
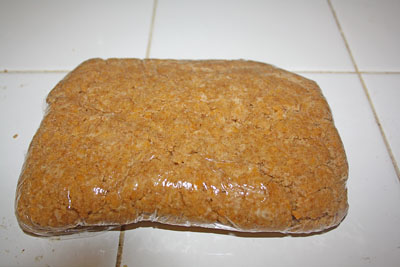
| Once you can make a loaf out of it, wrap it in plastic wrap and pop it in the first for about an hour (or more). Theeeeen, preheat your oven to 350 and roll out your chilled dough on a floured surface and cut out shapes (or if your cookie cutters happen to be, oh I don’t know, say 4200km away – that’s 2600 miles, people, you can just use a knife and cut little squares out of them). Then bake them for 10-14 minutes. The kids totally demolished them when they came out of the oven. |
|
|

May 24, 2012
They don’t look like fishies, but they taste pretty bang on!! I was going to follow the little homemade goldfish cookie cutter tutorial on the post with the recipe, but I just moved about a million miles and don’t have kitchen scissors yet! I know, I know, it’s total insanity. It really is, I’m forever saying ‘why didn’t I bring that?!?.
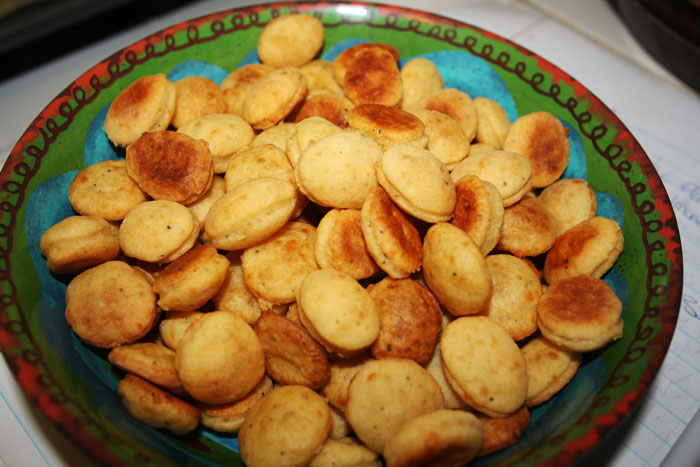
The recipe itself is very simple and as long as you have a food processor you’re totally set. You have to pop the dough in the fridge for a while so it’s easier to work with, and then of course you’re rolling it out and cutting it, but it’s absolutely worth it. Any time you make a snack from scratch yourself it’s worth it because you know what’s in it!

Homemade ‘Goldfish’ Crackers – via Miss Anthropist’s Kitchen
1 cup all-purpose flour
4 tablespoon cold unsalted butter
8 ounces grated cheddar cheese
3/4 teaspoons salt
1/8 teaspoon onion powder
1/2 teaspoon fresh-ground pepper
1 teaspoon baking powder
|
|
|
|
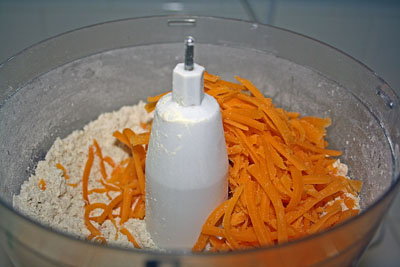
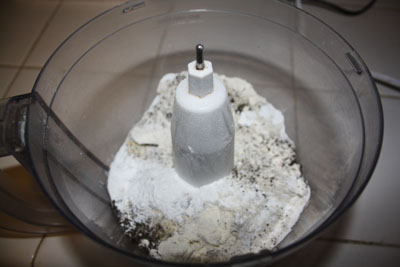
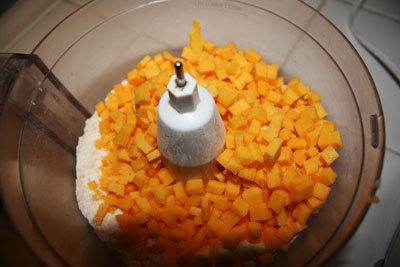
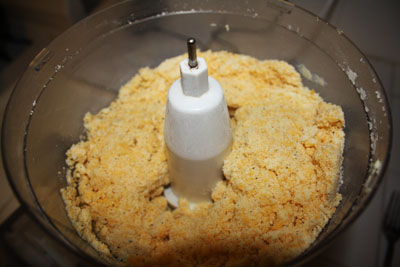
So simple – first process the flour,onion powder, salt, pepper, and baking powder. Then add the butter and cheese.
|
|
|
|
|
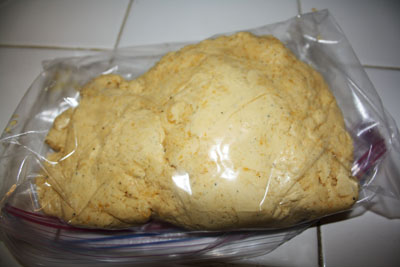
It’ll look doughy and hold together. Now wrap it and chill it for a while.
|
|
|
|
|
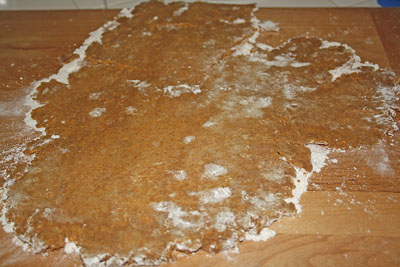
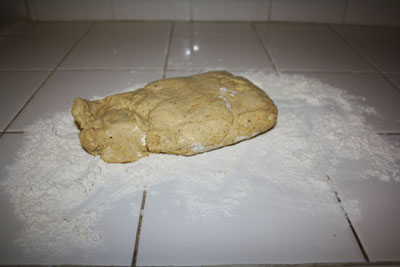
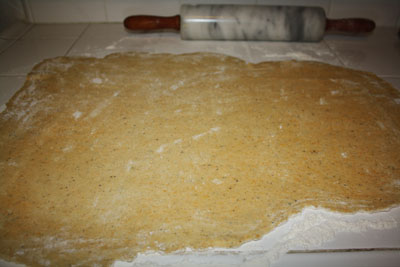
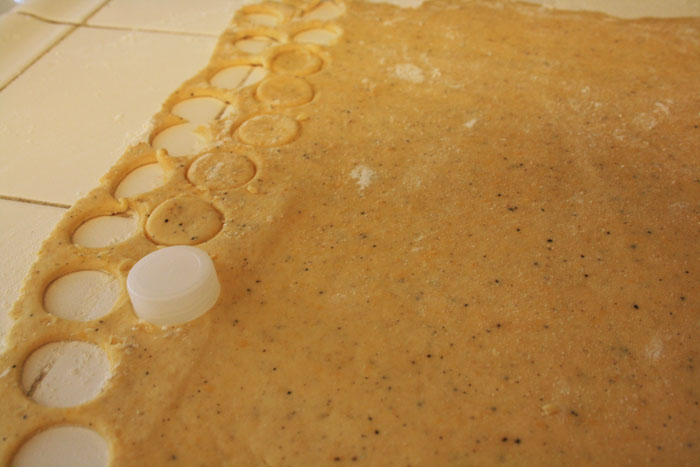
Flour your surface and roll it out! Cut whatever shapes you want, just make them small and mostly uniform so they bake the same.
|
|
|
|
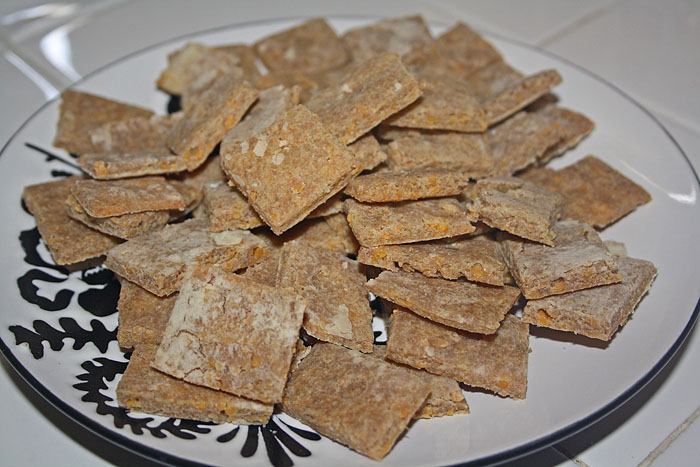
Yes, I used a water bottle lid. Ahem. 10 minutes at 350 did the trick for me! So good!
|
|
|

May 21, 2012
Today I’m linking up with Organizing Junkie and The How To Mommy.
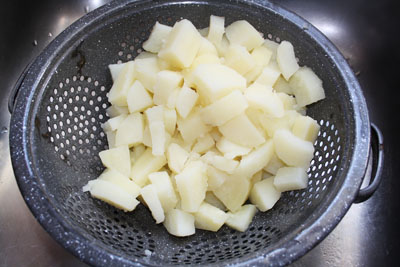
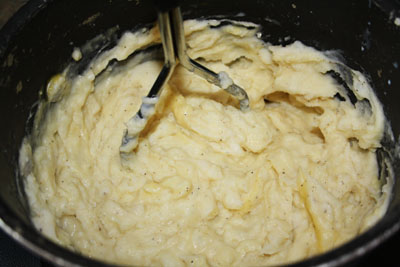
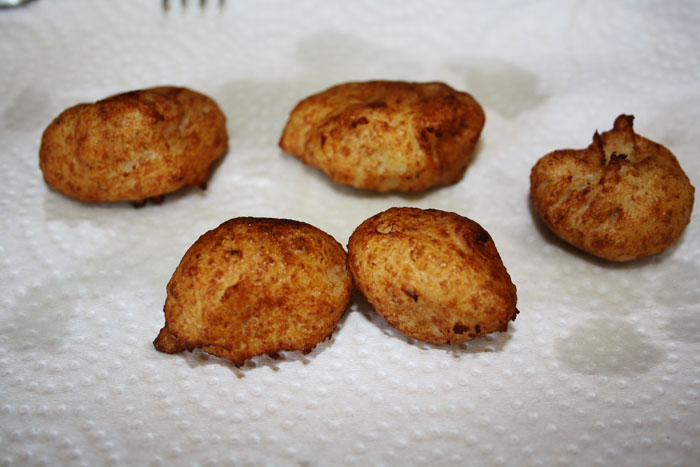
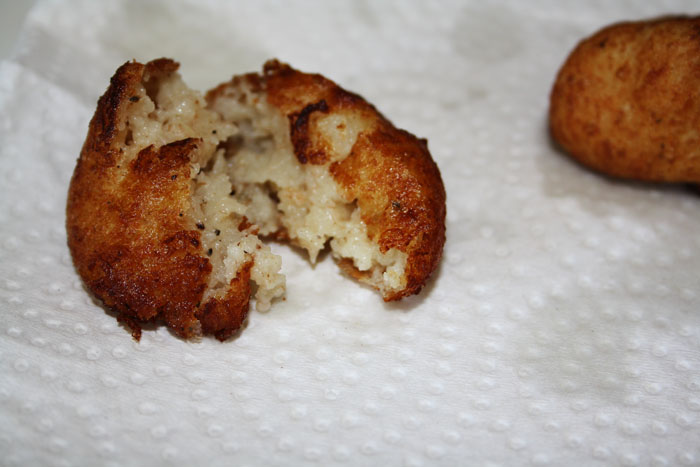
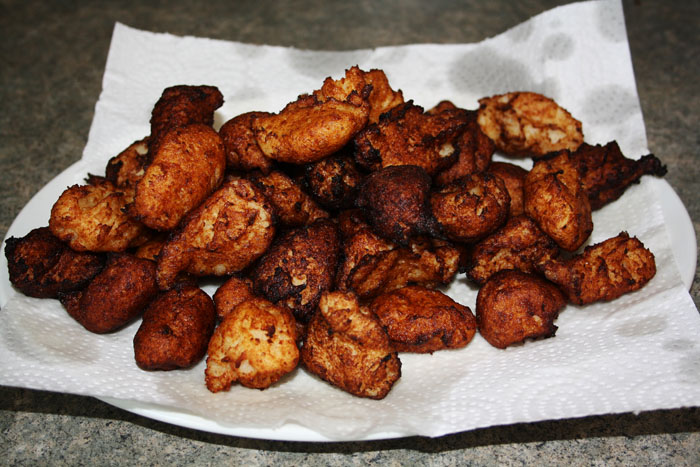
Tater tots are really just rolled up mashed potatoes and everyone knows mashed potatoes go with pretty much anything! Whatever they don’t work with french fries or scalloped potatoes can totally stand in for them. It’s potato madness. So once I discovered how to make tater tots myself, a whole world of weird culinary (I use the word extremely loosely) adventure opens up. Tater tots IN a casserole? sure, why not? Wrapped in bacon? What isn’t there to love?! I have also recently stumbled onto, but haven’t tried, Tater Tot Pie, Cheeseburger Tater Tots and some kind of insanity called Tater Tot Hot Dog Casserole?! What?!
I’ll stick to wrapping or stuffing mine, thanks.
This Week’s Menu:
Monday – Lasagna with Pretzel Bites for the fam, Crack Wrap for me and Vegan Blondies for dessert
Tuesday – Scratch Chicken Nuggets and Fries for the fam, Lentil Soup and Whole Wheat Crackers for me and Zee Bars for dessert
Wednesday – Sweet and Sour Chicken with Rice and Veggies for the fam, Tempeh Bacon Reuben for me and Chocolate Chip Cookies for dessert
Thursday – Breaded Chicken Breasts with Bacon Mashed Potatoes for the fam, Tofu Nuggets for me and Homemade Granola Bars for dessert
Friday – Chicken and Bacon Wraps with Garden Salad for the fam, Homemade Falafels and Rice for me and I’m letting the kids pick dessert 🙂
Saturday & Sunday – Cooking with Visitors! We’ll let them pick!
The tater tot recipe I used in this recipe is the same one I used when I made The Duggar’s Tater Tot Casserole last year.

|
|
|
|
|
|
|
|
|
|
|
|
|
|
|
|
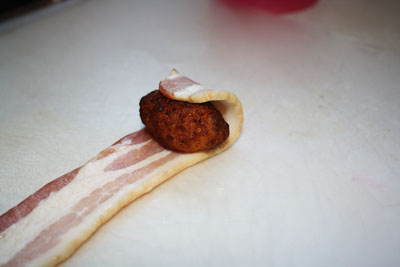
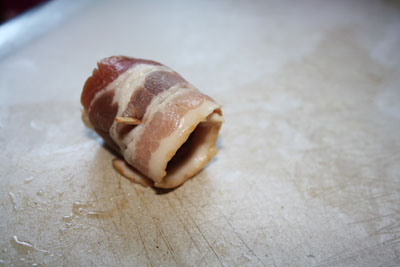
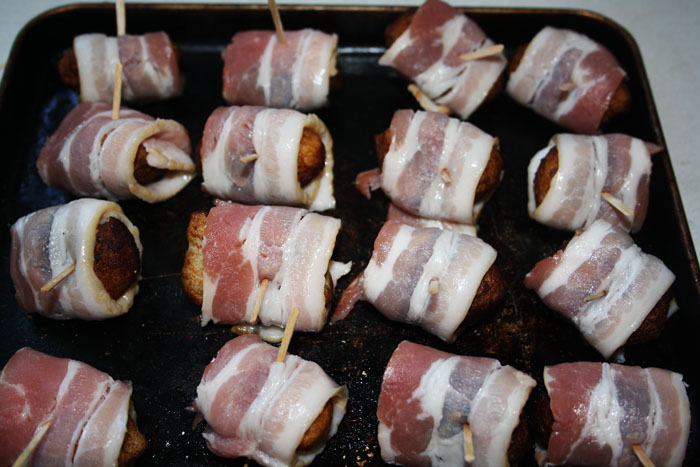
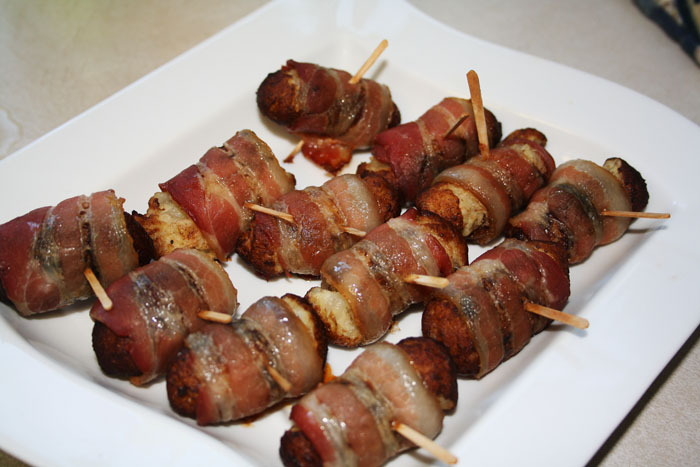
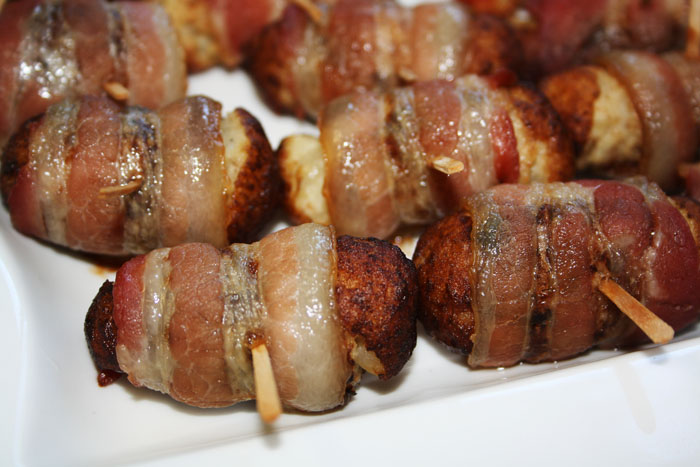
From here, it’s painfully simple. Just roll each tater tot in a single strip of bacon and secure with a toothpick. Cook at 375 for about 30 minutes, give or take (check on it). Make these for a crowd, take some to your neighbors, whatever you do – share them!
|
|
|
|
|
|
|
|
|
|

Mar 23, 2012
Don’t forget about our giveaway with Keeley Behling Studios! Like the Keeley Behling Studios Facebook page and leave a comment there about something in her Etsy shop to enter. It wouldn’t hurt if you liked the So Very Domestic Facebook page too. 😉
I started adding chia seeds to my smoothies about a year ago, and when I started making pudding with almond milk and the kids complained it wasn’t ‘pudding-y enough’, I started crushing the chia seeds and blending them into the pudding because they have a weird ‘pudding-y’ quality about them and since then the kids happily eat the almond milk-based pudding. I honestly thought their usefulness ended there. I know, I know. They’re an ancient superfood May!, you say. I hear you, I know it. I’m not a fan of little seed sin my salad or on my oatmeal or where ever else you’re going to tell me to put them.
(I walked right into that, didn’t I?)
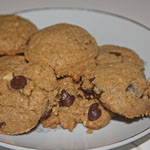
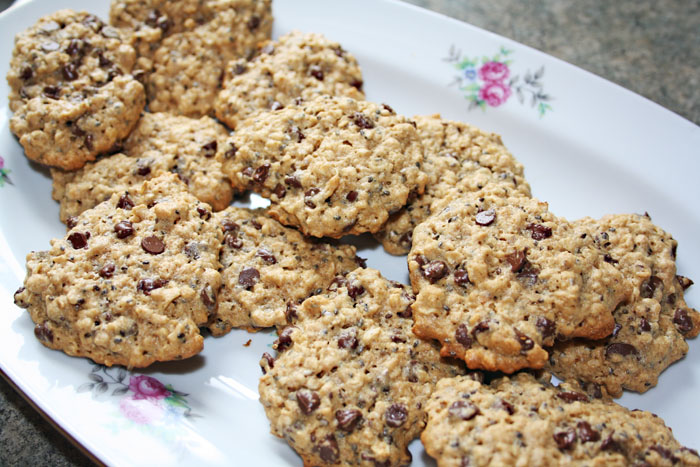
However, when I saw this recipe I had a huge DUH moment. Of course they’d work in cookies! For suspicious kids (and husbands and friends), they look pretty normal alongside chocolate chips! You know the chocolate dust at the bottom of the bag of chocolate chips? When they’re baked, they look just like that. There’s no rule that says I have to openly advertise all the ingredients in my kitchen, right? Right.
The original recipe yields a dozen big cookies. I made mine more like regular size cookies and got about two dozen. It was hard to tell with how fast the wee ones (and then later my girlfriends) ate them! They hardly hit the plate, it was pretty amazing. When I finally made some coffee and had one I was glad there were not many left because I easily could have polished off the tray myself. Easily.

Chia Seed Peanut Butter Cookies via Yummy Mummy Kitchen
1 1/2 cups rolled oats
1 teaspoon baking powder
1/2 cup flour
1 1/2 tablespoons chia seeds
1/4 cup butter, room temperature
1/2 cup brown sugar
3/4 cup peanut butter
2 eggs
1 teaspoon vanilla
1/2 cup chocolate chips
|
|
|
|
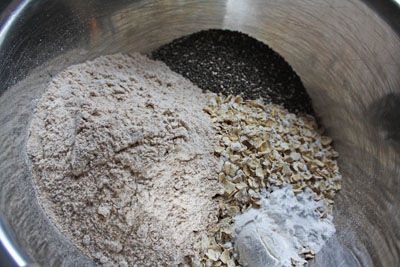
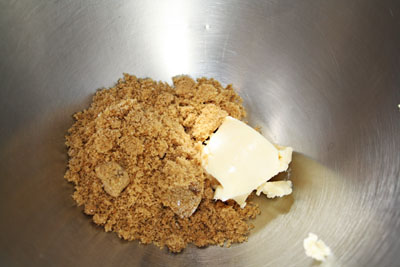
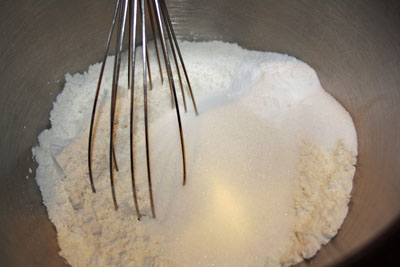
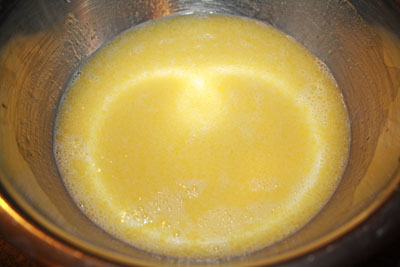
In a medium bowl, mix the oats, baking powder, flour, chia seeds. Then with your electric mixer, cream the butter and sugar together.
|
|
|
|
|
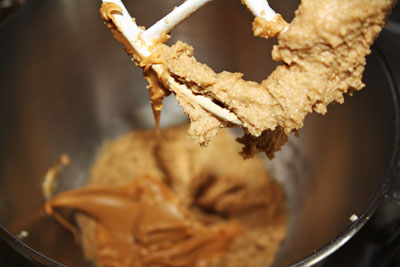
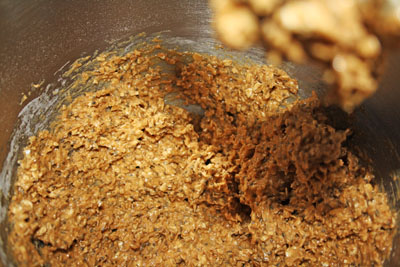
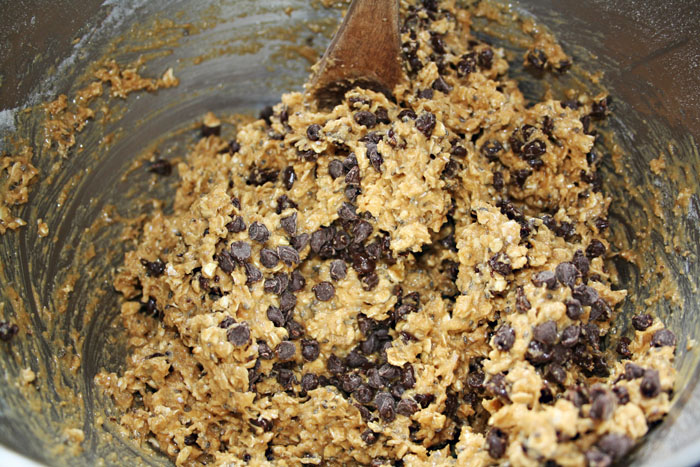
Now add to the butter mixture, the peanut butter, eggs and vanilla. Bit by bit add the oat mixture and mix till combined.
|
|
|
|
Fold in the chocolate chips, and bake at 350F for about 12 minutes.
|
|
|

Mar 22, 2012
Don’t forget about our giveaway with Keeley Behling Studios! Like the Keeley Behling Studios Facebook page and leave a comment there about something in her Etsy shop to enter. It wouldn’t hurt if you liked the So Very Domestic Facebook page too. 😉
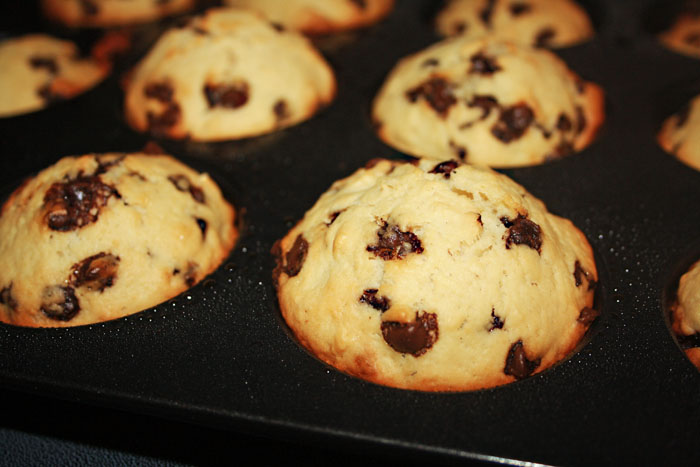
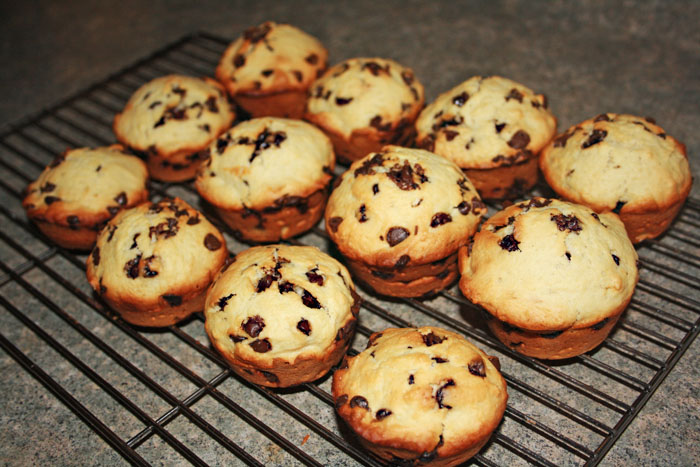
These muffins are a lunch box staple around here, (they are also a middle of the night snack and a running out the door breakfast). So I make these a lot. So much that it seems like the fam should be sick of them by now, but somehow they’re not. Somehow, I still hear requests for them almost daily. Truthfully, I can make them without looking at the recipe and even Wee One #2 gets in on the action now, being able to make these mostly herself!
They clock in at about 230 calories, so I encourage my children to have at them because they are built like supermodels. No lie. I, however, try not to eat quite as many as they do…

Chocolate Chip Muffins via The All New Good Housekeeping Cook Book
2 1/2 cups flour
1/2 cup sugar
1 tablespoon baking powder
1/2 teaspoon salt
1 cup milk
1/2 cup butter, melted
1 large egg
1 teaspoon vanilla extract
1 cup chocolate chips
|
|
|
|
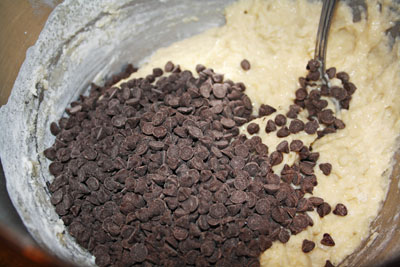
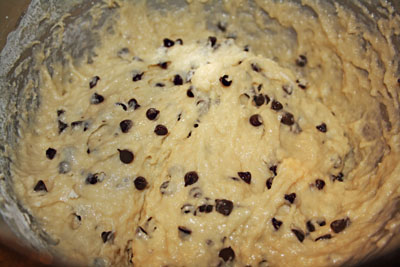
Whisk the flour, baking powder and salt in a bowl. In a smaller bowl, with a fork, beat the milk, melted butter, egg and vanilla until totally blended.
|
|
|
|
|
|
|
|
|
|
