Anyone who reads this blog with any regularity knows that I adore holidays. I was going to say especially ones where the kids have some magic like the Easter Bunny and Santa Claus but I also really love holidays that bring people together like Thanksgiving and the 4th. So, yeah, just about every holiday is awesome as far as I’m concerned. So we’ve been doing it up with the kids with crafts and baking and celebrating with friends. With just two more sleeps to go, the littlest ones are hyped for the hunt and since Wee One #1 is turning 13 this year instead of subjecting him to the standard-issue egg hunt, we are doing up a treasure hunt for him where he’ll find things along the way with clues for what’s next and then at the end his basket of mostly non-sugary items. I can hardly wait.
The other exciting news is that we are moving to a bigger place on Monday – within the same complex! So we get the upgrade of more space and a yard and a bigger kitchen, and we don’t have to lose the pool or this amazing location where all the essentials (and so much fun) are a short walk away. I’m packing up soooome things, since everyone keeps reminding me that I can literally just walk all of our stuff over to the new place in just a few hours. I also don’t want to turn the place upside down before Easter, but a little chaos is pretty natural for the 5 of us. 😉
After posting all of our Easter fun this week, it occurred to me that some people may like to make actual Easter bread for their families this weekend, not sweet bread stuffed with cheese and made to look like bunnies and not Greek Easter bread, but you know, standard old school straight up Easter bread. Like your granny probably made, in a braid, with dyed eggs on top.

Standard Easter Bread – I’ve been using this recipe forever
2 1/2 cups flour
1/4 cup sugar
1 teaspoon salt
2 1/2 teaspoons active dry yeast (1 pkg)
2/3 cup warm milk
2 tablespoons butter
2 eggs
PLUS:
4 or 5 whole, dyed eggs (they don’t need to be hard boiled first since they’ll cook in the oven with the bread)
2 tablespoons butter (to brush over dough before baking)
Pretty standard bread dough. Mix 1 cup of the flour with the sugar, salt and yeast. Then warm the milk and butter in a small saucepan and mix this in with the flour mixture.
Let it set for about 10 minutes, then add the eggs and another 1/2 cup of the flour and mix until it’s fully incorporated. Slowly add the rest of the flour 1/2 cup at a time. Now turn out the dough and knead it for about 8 minutes.
Spray a large bowl with cooking spray and put the dough in. I usually use the same bowl I mixed it in. Cover it with a damp cloth in a warm place and let it rise for about an hour. It should be double the size.
Punch down the dough and divide into three pieces. Let them rest 10 minutes.
Roll out each piece into about a 36″ strip and loosely braid them, then join the ends. Or don’t, some people make it a ring and some don’t. Delish, either way. My recipe card says ‘lay eggs’! Haha, place the eggs around the braid, brush with butter and bake for about 50 minutes at 350.

Mar 28, 2013
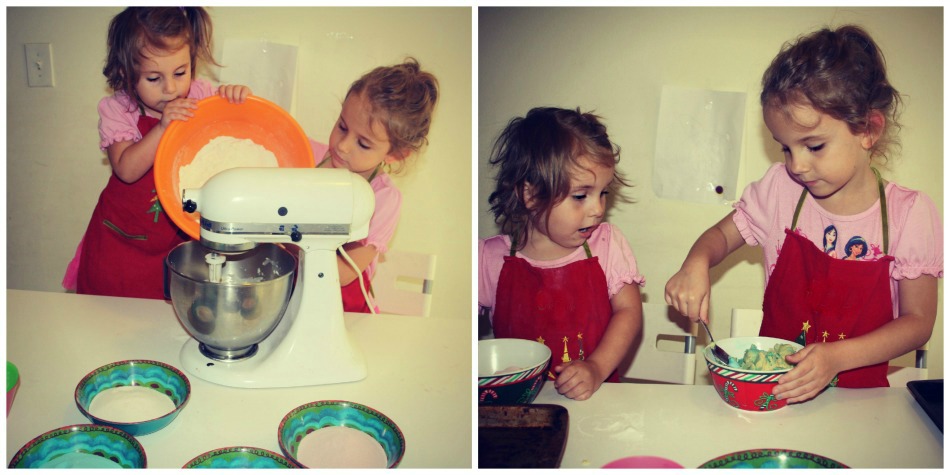
This is a quick and fun activity for the littles in the days before Easter that doesn’t require too much prep for them to do it all themselves. When Wee One #3 does something entirely on her own, she’s the happiest kid in. the. world.
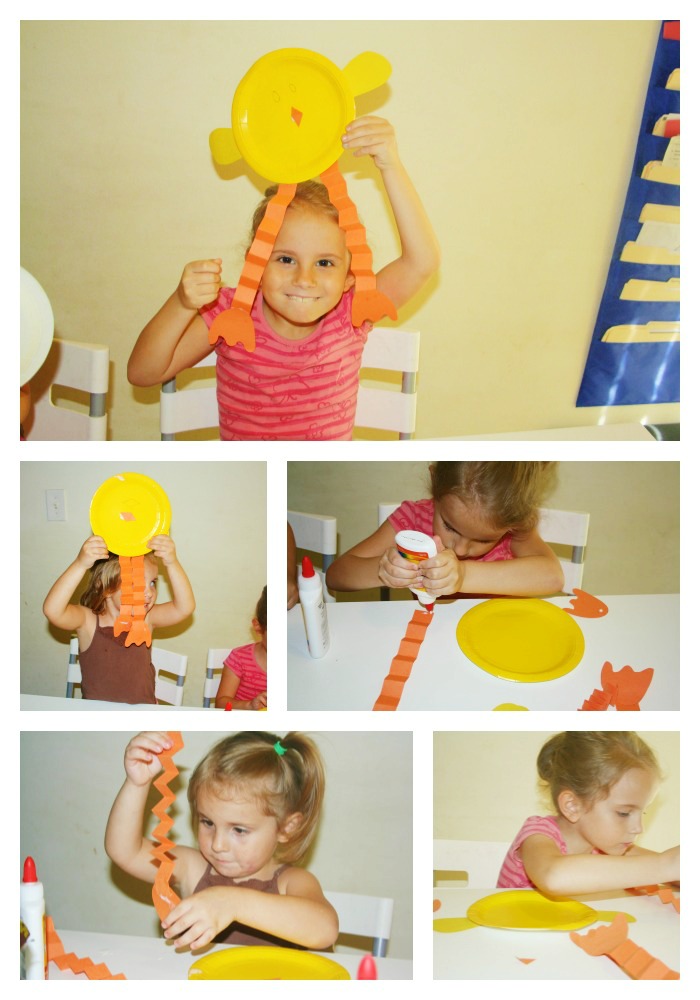
The prep took me maybe half an hour the night before and it entertained both girls for way longer than it should have – almost an hour. That’s like, daaaaays in preschooler time! Of course they got glue all over the table and a little on themselves, but they also made 5 of these little Easter chicks each and they’re currently hanging in the living room window to decorate our patio! Cute!

You’ll need:
yellow paper plates
yellow wings (either teardrop shapes cut from construction paper or craft feathers)
orange construction paper legs (accordion long strips of paper)
orange construction paper feet
small orange diamonds for beaks
glue (most fun for littles is a fresh bottle of white glue)
googley eyes (or you can lose them the night before like I did, and suggest they use markers)
I made one myself after I had prepped all the pieces so they’d have a finished product to go by, but I told them if they wanted the accordion legs to be arms, that’s their call. They ended up making them as I had because they decided that was ‘the cutest way’.
I’m sure you can figure it out, but they found it helpful to glue the feet to the legs and then glue the legs to the body.

Mar 27, 2013
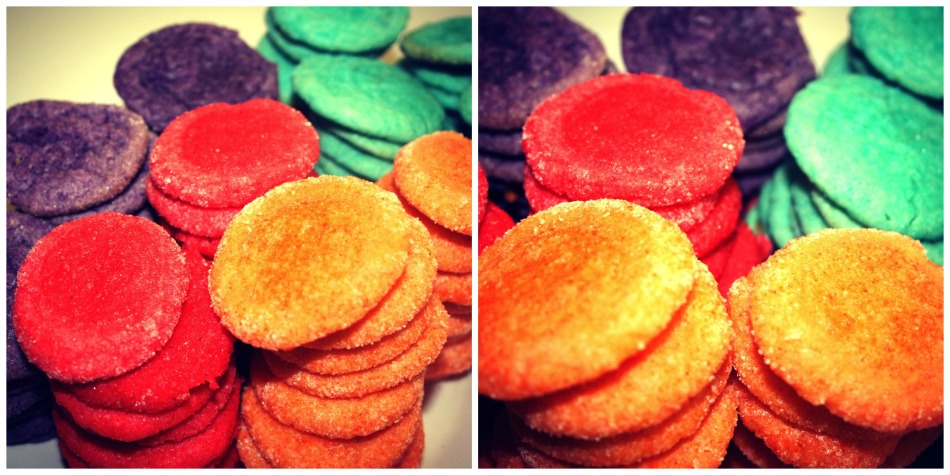
Are these Eastery? I’m not sure that rainbows = Easter, but my littles seem to think so, so I embraced it and we whipped up these little treats yesterday. This recipe makes A LOT of cookies, so my neighbors will be getting an extra visit this week!

Rainbow Cookies via Pint Sized Baker
3 1/2 cup flour
1 teaspoon baking powder
1 1/2 cups room temp butter
1 cup sugar
1 egg
1 teaspoon vanilla
Jello! I used grape, blue raspberry, orange and strawberry (you can use whatever flavors you want)
It starts out as a pretty standard cookie. You know, cream the butter and sugar then add the egg and vanilla. Stir the baking powder into the flour and slowly add that to the butter mixture.
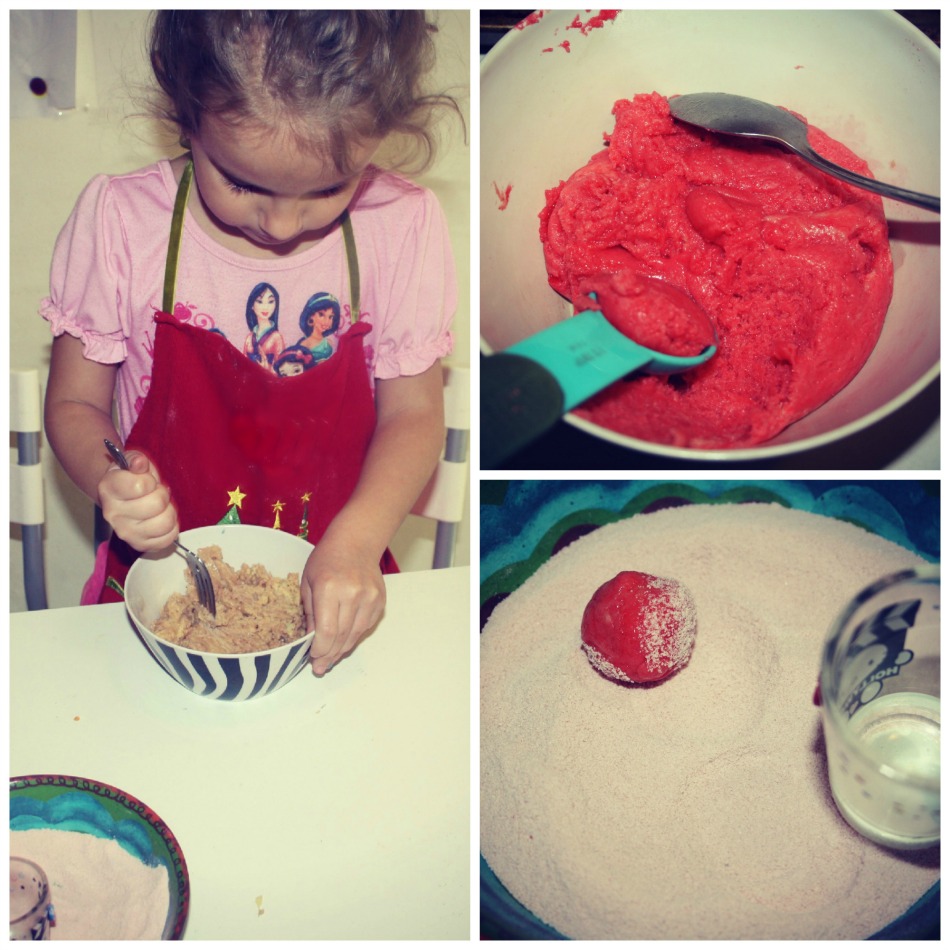
Then the magic happens! Divide the dough into as many pieces as you have Jello flavors. I only had four flavors when my littles wanted to make this right now with a whole lotta urgency, so I had four big pieces.
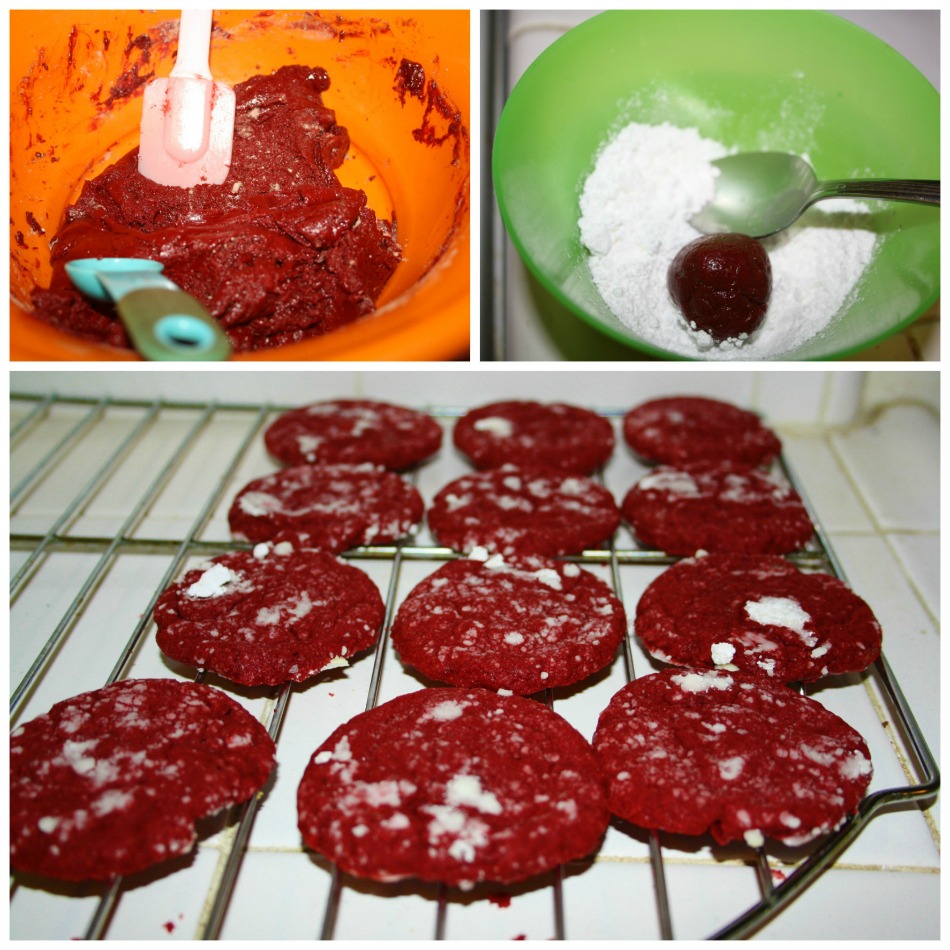
Sprinkle about two tablespoons of Jello powder per piece. I found using a spoon in a big bowl helped mix it in faster. Some flavors will need more than two tablespoons – with the grape I ended up using a little Wilton food coloring to kick it up to actual purple (instead of this wimpy lavender color it was giving me). I scooped out 1/2 tablespoon balls and dropped them in a bowl of their matching Jello powder before flattening them with a Hello Kitty shot glass. You could use any drinking glass I guess. 😉
Bake at 350 for about 8 minutes! The kids loved them and they smelled amazing.

Mar 26, 2013
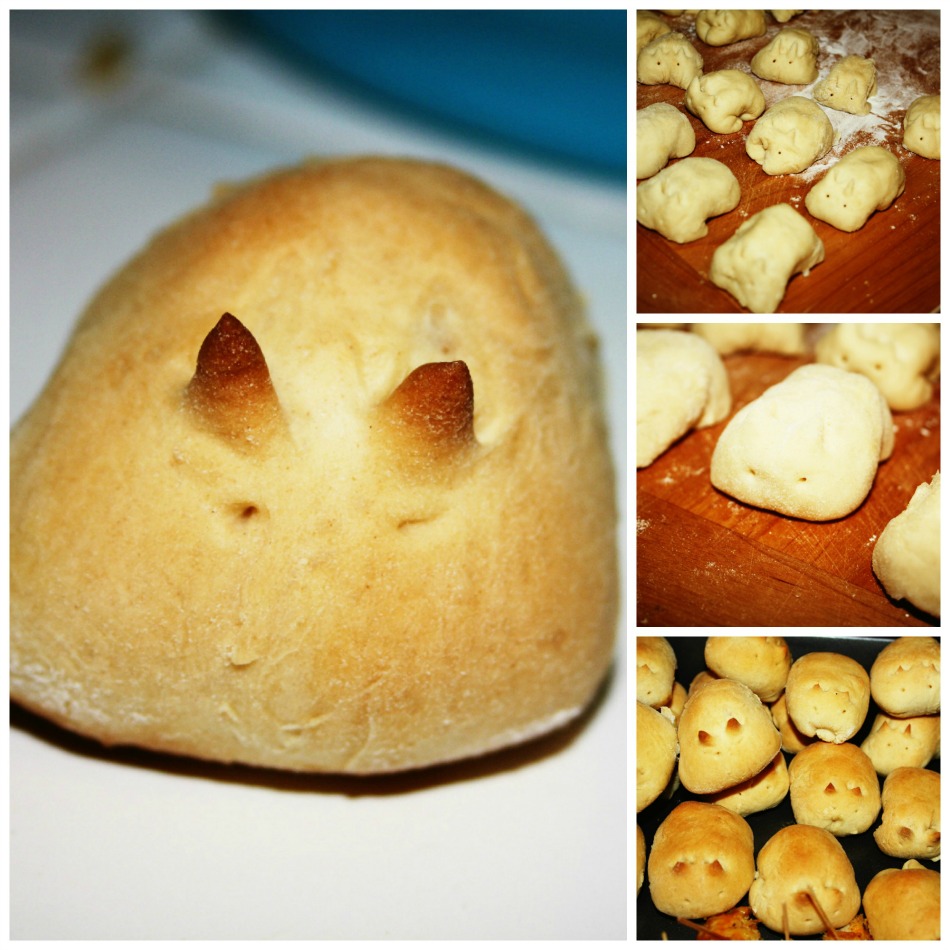
These little bunny buns are the cutest food I’ve made in a very long time. So so cute. I will admit right now – some of them look like cats. But you can tell they’re all at least trying to be bunnies. It’s actually a very basic and entirely painless process. Essentially, you mix it all together, leave it alone for a bit, then roll it around, a couple of snips and pokes later, and you’re done! Easy!
The dough itself is just a little sweet, so you could also play that up with a desserty filling like cream or chocolate or jam or something. It’s not too sweet to interfere with savory fillings though, so I went with Monterey Jack because Wee One #3 was helping and it’s her favorite. 3 of the 20 or so that I made leaked in the oven. My kids and carbs are best buddies though so they were happy to eat the deformed ones. 😉
I will use this dough again for sure. It has great potential for some kind of cinnamon bun situation! Or pizza pockets!

Sweet Bunny Buns via Kit Frazier
2 1/2 cups flour
1/2 cup warm milk
1/3 cup warm water
4 tablespoons sugar
1/4 oz active dry yeast
1/2 teaspoon salt
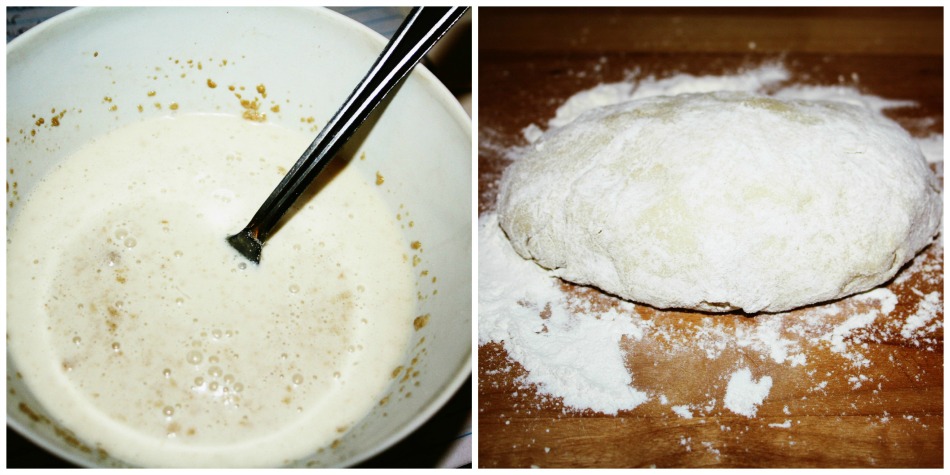
Dissolve 2 tablespoons sugar in warm milk and water. Add yeast and set aside 10 minutes.
Stir in the rest of the sugar, salt and 2 cups flour.
Mix until the dough holds together and isn’t sticky, add more flour if you need to. Knead until smooth. Place in a greased bowl, cover and allow to double, about 1 hour.
After you punch it down and roll it out, roll a long log, cut into 18 pieces (you may get more or less depending on how big you make the pieces), and roll each piece into an oval shape. I filled mine with small pieces of cheese.
Use kitchen scissors to make small snips in the front of each oval, and use a knitting needle to poke some eyes (or I suppose you could use a toothpick or something, but the original recipe used a knitting needle too). The instructions I wrote to myself on the index card for this recipe were ‘Cut ears. Poke eyes’
If you use cheese (or whatever) as a filling, make sure you pinch the dough closed securely! It’s so not fun to make treats like these and see the filling running out of the buns in the oven! Also, bake them seam side down!
Before you pop them in the oven, brush them with an egg wash (1 egg and a bit of water). Bake at 350 for 15 minutes.

Mar 25, 2013
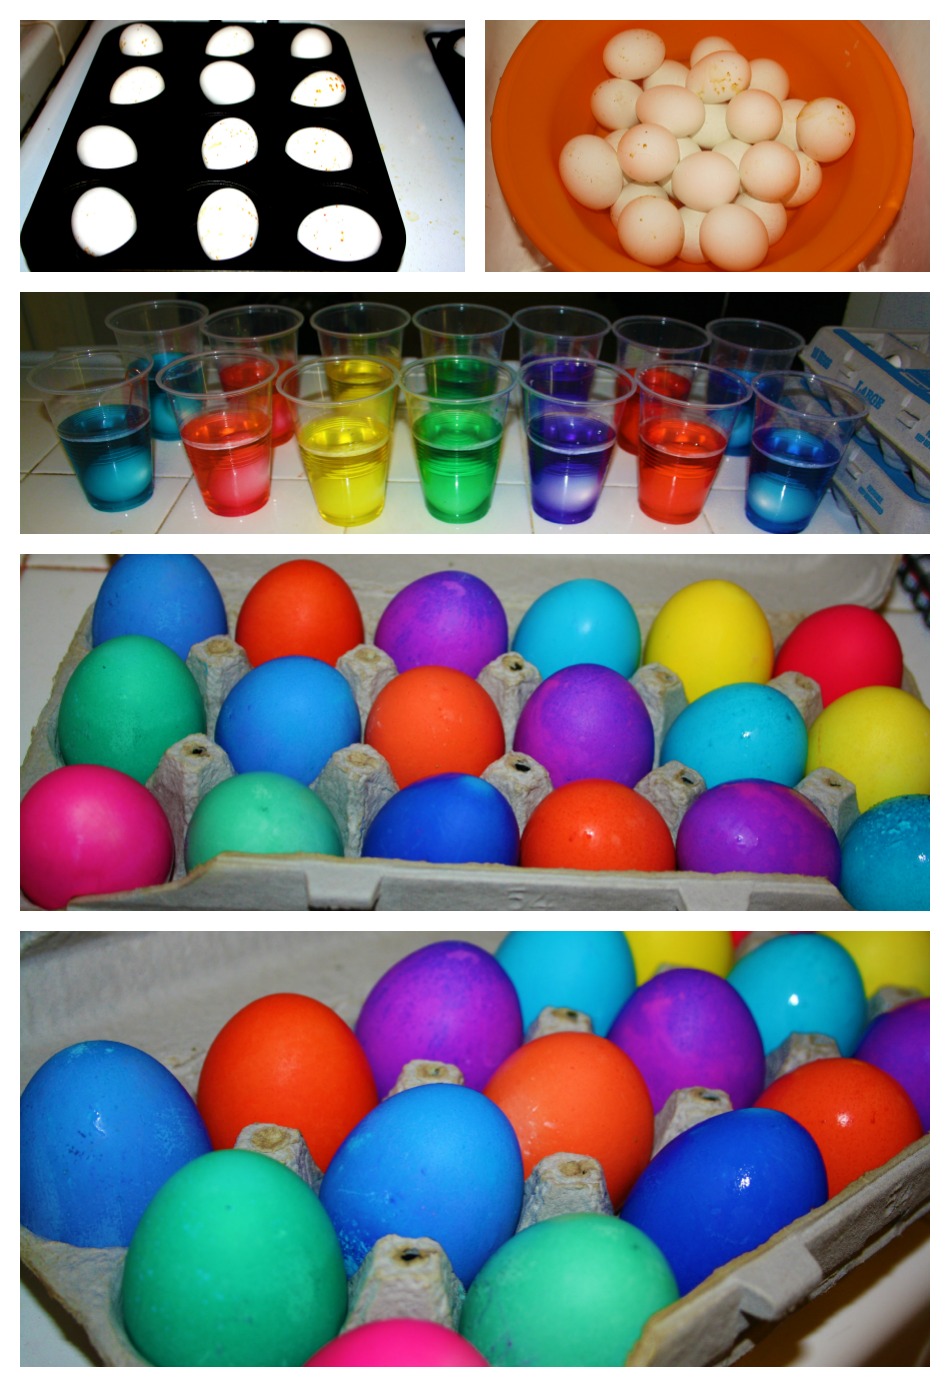
I know that traditionally, Easter is very pastely, but I’m not a huge fan of pastels when it comes to Easter eggs (or anything really). A general rule for dying eggs is to just use water and your food coloring of choice if you want light eggs, add a little lemon juice for slightly brighter eggs and add a bit of vinegar for bright eggs. I knew I was going to go the vinegar route and I had a whole lotta food coloring. Still, those tiny food coloring jars from the grocery store are only going to get the eggs so bright, you need to amp up the food coloring to get them really, really, bright. So I used Wilton Food Coloring . Normally this gel food coloring is reserved for fondant and buttercream but you know, mega watt Easter eggs were top priority for me lol.

You’ll need:
hard boiled eggs (le duh)
Wilton food coloring
cups
3/4 cup hot water (per egg)
1 tablespoon white vinegar (per egg)
When I cooked these eggs, the oven was still hot from baking, so I just filled a couple of muffin tins with eggs and cooked them at 350 for about 15-20 minutes. Then I left them in there for a while longer after I turned the oven off. Then I let them soak in a big bowl of cold water for another 30 minutes before I started dying them.
The hands on part of the process is pretty minimal, and the longer you leave the eggs dying, the brighter they’ll be!
Once your eggs are cooked and cooled, pour 3/4 cup of hot water in each cup. Use a toothpick (because a little bit is really all you need with this stuff) to dissolve the food coloring paste in the water. Now add the 1 tablespoon of white vinegar to each cup and mix. Now plunk your eggs in – one to a cup! I made 2 dozen so the counter was littered with cups and I left them there for a day and a night! The littles insisted on checking on them every time they walked by, and it was neat to see the colors get deeper. These eggs were made for the potluck last weekend and since there were so many babies and small toddlers there I didn’t embellish them any further, but when I make these again this weekend for my littles, I’ll dress them up a lot more.
Whatever you do with them, the crazy bright colors feel festive and are a great canvas for further decorating.

Mar 24, 2013
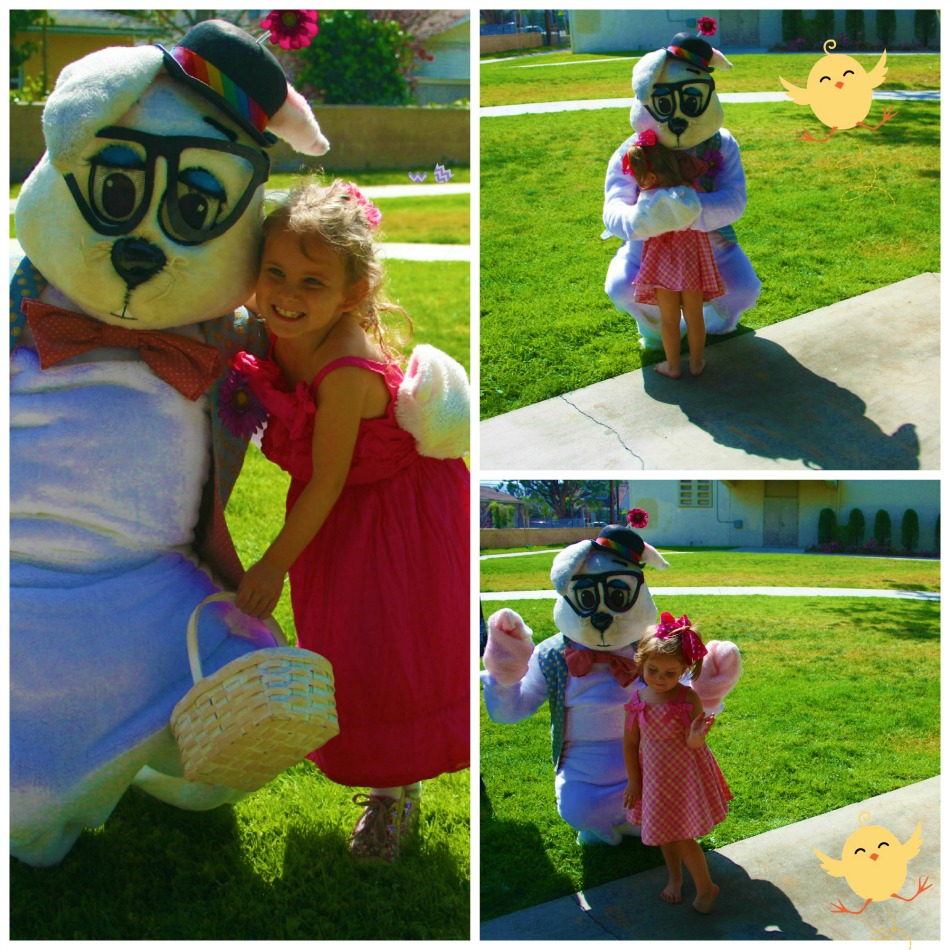
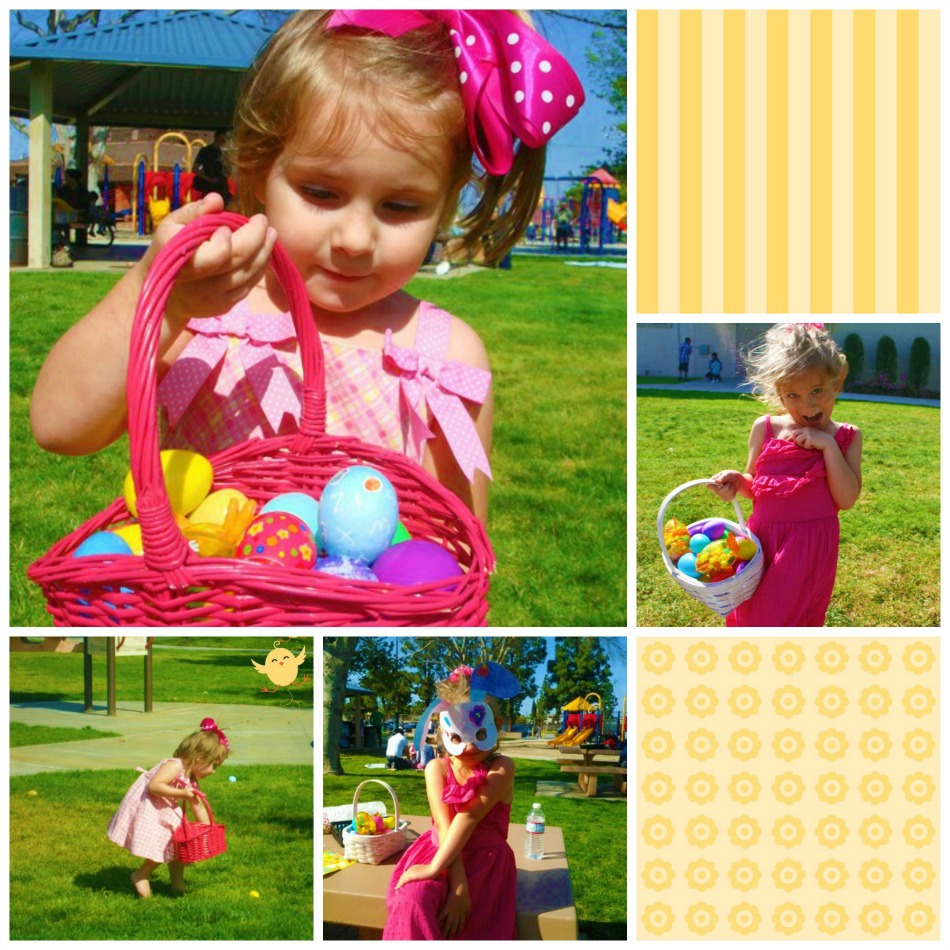
I have had the most amazing treat of joining a sweet, tight, cheerful group of ladies here in South Bay. Our kids range in age from newborn to adults! The Wee Ones and I have been hanging out with them since last September and we’ve not only explored all over South Bay, but forged some wonderful friendships as well – both with the kids and with the moms! Yesterday, we came together to host a potluck in our neighborhood park and it was as close to perfect as life gets. Everyone brought something delicious to eat or something fun to do and we all pitched in to hire an Easter bunny! Everyone brought one dozen eggs per child and a few of us ran around laying them in the grass for the kids to find later.
I brought the decoupaged Easter eggs I blogged about this morning, three dozen really brightly dyed eggs, traditional Easter egg bread, Cheesy Onion Chicken and Sweet Bunny Buns. I’ll post these tutorials and recipes this week, I promise! So much Easter fun ahead of us still!
