Chicken Parmesan

Domestic

Super, super easy weeknight dinner (or super lazy weekend dinner 😉 ) that tastes like you worked a lot harder than you did. My favorite kind!

We have had a pretty laid back but still busy holiday season. It was different spending the holidays with just the 5 of us (and some wonderful local friends) but there were a lot of pluses to it. At the end of some nights, meals like this were all I was able to muster. Thankfully, my husband and the littles loved them. Phew!

Chicken Parmesan

3/4 cup breadcrumbs
3/4 cup grated Parmesan cheese
4 chicken breasts, halved
salt & pepper to taste
1 large egg, beaten
2 cups pasta sauce (homemade or jarred)
1/4 cup olive oil
6 ounces mozzarella cheese

Heat oven to 400 (or broiler). Mix breadcrumbs and Parmesan cheese. Season chicken with salt and pepper. Dip chicken in beaten egg, then in crumb mixture, making sure it’s coated all over.

Pour the pasta sauce into the bottom of a baking dish. Heat the oil in a frying pan and cook the chicken breasts until golden (just a couple minutes each side). Then place the chicken on top of the pasta sauce.

Top each piece with mozzarella and bake for about 20 minutes or so. I always serve this with a plate of garlic penne because it goes so well with the pasta sauce, but really, you could use whatever side you like.

Chicken Parmesan
Chicken Parmesan
No Comments

Glass Etching

Crafty

I had been pinning etched glass projects for months on Pinterest before I finally picked up some etching cream and glass vases and tried it out. Now, I want to do this to ALL THE THINGS!

Glass etching is one of those things that seems a lot harder than it really is. The etching cream scratches the glass, so all you really need is a template and some glass. I printed out ‘LOVE’, ‘JOY’ and ‘PEACE’ and then used transfer paper to copy them onto contact paper. I used an x-acto knife to cut out the pieces and then stuck the contact paper onto the glass. It only took a few minutes for the cream to do it’s thing and then I wiped it off, removed the contact paper and voila! So lovely!

Of course, you can use any simple image you want! Anything you can easily cut onto contact paper would look sweet!

Just be mindful when you are applying the cream to the contact paper so it doesn’t drip! A little drip can ruin a whole project!

Glass Etching

Glass Etching
Glass Etching
Glass Etching
Glass Etching
Glass Etching
Glass Etching
Glass Etching
Glass Etching
No Comments

Christmas 2012

California, Kids

Here are a few pieces of our Christmas this year. Much excitement. Much fun. My husband and I LOOOOOVE playing Santa, absolutely one of the best parts of Christmas with kids! <3 Back soon with more recaps and fun recipes!

No Comments

Elf on a Shelf- Week Two

Kids

This elf of ours (Sparklez, for those of you following along) has had another busy week!

Day Eight – She was riding Barbie’s horse in the kitchen, and there were little pieces of carrot all over the place!
Day Nine – Sparklez was caught going for a ride on our ceiling fan in a paper cup!
Day Ten – She brought us a board game – Candyland of course! Right after breakfast we played three games and each of us (myself and Wee Ones #2 & 3 each won a game).
Day 11 – Playing a game of cards with one of her new Barbie friends! I wonder who won?!
Day 12 – She was trying to roast mini marshmallows over a candle using a barbecue skewer! Day 13 – Clearly, she’s been watching Daphne’s journey though potty training!
1 Comment

Candy Cane Cookies

Domestic

This is yet another of those recipes that I hesitate to call a recipe. All you’re really doing here is adding crushed candy canes to your already winning sugar cookie recipe and even better – these lazy little treats require no chilling / rolling / chilling / cutting. You just mix it up, add the candy canes, form into balls and sprinkle more candy bits on top.

There are so many different ways you can switch this up. Either to make a fancy platter of essentially the same cookie but not or as assembly line food gifts for neighbors! You can change the base of this basic sugar cookie by adding cocoa for a chocolate version, adding cinnamon and nutmeg for a spice cookie version, or you can tone down the peppermint flavor of the cookie by using vanilla extract instead. Whatever your little heart desires really, as long as it pairs up with the candy canes. Another way to mix it up would be to use different kinds of candy canes. I recently bought a box of Willy Wonka candy canes, they are purple, yellow, green, red and blue swirly and have a Gobstopper center! There are about eleventy billion different kinds out there, you could make this recipe different with each dozen by changing the candy canes.

If you don’t have a solid sugar cookie recipe, use this one! It’s my go-to for sugar cookie cutouts and I have posted it before.

Candy Cane Cookies

Basic Sugar Cookies
1/2 cup + 6 tablespoons unsalted butter, room temp
3 cups + 3 tablespoons all purpose flour
1 cup superfine sugar
1 large egg, lightly beaten
1 tsp peppermint extract
plus whatever kind of candy canes you want to use

Cream together the butter, sugar and peppermint extract. DO NOT OVERMIX. Beat in the egg, add the sifted flour and mix on low till you have a sticky dough. Done! This is normally where the chilling / rolling / chilling / cutting happens but with these, you stir in about 4 or 5 crushed candy canes and form 1/2 tablespoon balls. Top with more crushed candy canes if you like, I found that made them look really festive and the kids loved them!

Candy Cane Cookies
Candy Cane Cookies
Candy Cane Cookies
Candy Cane Cookies
Candy Cane Cookies
No Comments

Broccoli Gratin

Domestic

I absolutely hate broccoli. I know, I know. But I do. I usually make soup out of it and add either potato until it’s crazy creamy or I add cauliflower to mask the taste. Otherwise, I steam and puree it so I can add it to sauces and stews and still get a decent amount of it but I’m not about to just, eat a piece of broccoli. I hope one day I will, but I’m just not there. This recipe helped though! I can conceive of myself eating broccoli now!

I’ve seen recipes for broccoli gratin all over the place for years and years but it never really crossed my mind to try it – you know, on account of my hating broccoli. The kids love broccoli though and so does my husband and we all love cheese (it’s recipes like this that throw me off my vegan intentions – whoops) so I gave it a go. Holy moly. Super, super, crazy amazing good.

I had seconds happily (mostly because I wanted to eat the cheese sauce with a spoon), which I think is also how I learned that I’d eat broccoli if it was slathered in something delicious. Like this!

Broccoli Gratin

Cheesy Broccoli Gratin via Kitchen Comments

1/4 cup butter
1/4 cup flour
2 cups milk
1/8 teaspoon ground nutmeg
1/4 teaspoon thyme
8 oz cheddar cheese
24 oz broccoli
1/3 cup bread crumbs
1/2 cup grated Parmesan cheese

Broccoli Gratin
Broccoli Gratin
Preheat your oven to 400, then melt butter in a saucepan. Whisk in the flour and cook for about a minute. Add the milk and whisk till smooth, now add the nutmeg and thyme – and have your cheese and broccoli at the ready!
Broccoli Gratin
Broccoli Gratin
Remove your saucepan from the heat and stir in the cheese until it’s melted. Arrange the broccoli in a casserole dish (or whatever).
Broccoli Gratin
Just LOOK AT THIS. Ugh. It was so good.
Broccoli Gratin
Broccoli Gratin
Pour the cheese sauce over the broccoli. Slooooooowly to make sure it’s all coated.
Broccoli Gratin
Broccoli Gratin
Broccoli Gratin
Now toss the bread crumbs and Parm on top and bake for 20-30 minutes. Cool just enough to avoid burning your family/guests but serve it gooey!
Broccoli Gratin
1 Comment

Red Velvet Fireplace Cookies

Domestic

I have wanted to make these little darlings since I first read about them last year! So cute! Since I was bringing mine to a park date with my favorite mommies ever, I skipped the chocolate and royal icing fire in the fireplace and opted to just decorate the mantle. They were a hit with everyone we shared them with because they were equally as tasty as they were adorable! True story!

I do try to avoid using food coloring when I can, though I admit that I always add it to my frostings. To me, it’s just one of those ‘time and a place for everything’ kind of things and I think the time for artificial food coloring is anytime you’re making royal or buttercream icing (though I will also say that I’d never use anything other than Wilton food color gels – if you’re going to do it, you may as well do it right). So in this case, I thought about using beet puree in place of the food coloring, but it would change the texture of the cookie completely and possibly make them unusable. So, food coloring it is!

Loads more cookies coming your way this month, pinky swear.

Red Velvet Fireplace Cookies – via Diamonds for Dessert

1 1/4 cups flour
1/3 cup sugar
2 tablespoons cocoa
1/4 teaspoon salt
1/2 cup butter, cubed
1 tablespoon food coloring
green, yellow and red gummy bear hands and feet (just cut the nubs off with kitchen scissors)

You don’t need me to tell you how to make these, but I will anyway. Ha! Just mix the flour, sugar, salt and cut in the butter with two knives. Usually, like with red velvet cake I strive for beet puree instead of red food coloring but it totally messes with the texture of the cookies. Just use let this be the day you throw food coloring caution to the side, k? Thanks!
Now roll out the dough to about 1/4″ thick, give or take a little and trim off the edges, then cut into 3″ x 2″ rectangles.
This part is a little tricky, so pop the dough in the fridge for freezer for a few minutes first. Then cut out a smallish square in the middle of the bottom of each rectangle to make a fireplace opening. I made some bigger than others to see how different they’d look after I decorated them! I baked them at 325 for about 15-20 minutes.
I had some extra dough so I rolled it out and cut out some candy canes!
Once they were cool, I dipped the tops in melted white chocolate and then piped melted green chocolate to hang like a string of lights! You could use royal icing, but they’d be a little more delicate that way. I dusted the entire cookie in sanding sugar and attached the gummy bear nubs to the still-wet green chocolate.
Super, super cute right?!
No Comments

Elf on a Shelf – Week One

Kids

The kids are over the moon with excitement that Santa has sent us an Elf on a Shelf!! Wee One #2 has been hoping and wishing for one since she first heard about their existence in the fall. The girls have named our elf Sparkle and she’s up been to all kinds of hilarity the first week she’s been here!

Day One – we woke up to a breakfast of teeny tiny pancakes! She tried her best to make us a feast, but I made some bigger pancakes for us.
Day Two – She was spotted on the kitchen counter reading a new storybook with some Barbie friends!
Day Three – Sparkle loves being in California, here she is sunning herself with a makeshift umbrella she made from a barbecue skewer and a cupcake liner! She also filled my favorite pie plate with graham cracker crumbs for her own personal beach!
Day Four – Sparkle got up early and tried to make coffee, but she made a mess instead!
Day Five – This was the day before advent began, so Sparkle brought us a lovely wooden advent project! The girls painted the wooden Christmas tree and cabinet and all 25 of the little ornaments! They had a lot of fun getting it ready, we do a few different advent countdowns and the kids really get into it (ok, ok, we all really get into it).
Day Six – Sparkle brought her own tree from the North Pole to decorate! It now has it’s own shelf in the living room!
Day Seven – We woke up to a very odd scene on Sunday morning. We found Sparkle crammed in a mason jar in the kitchen, with Wee One #3’s Cinderella doll suspiciously sitting beside it. Did Cinderella get jealous of Sparkle and stuff her in the jar?! *gasp* or did Sparkle get scared of Cinderella and hide in the jar? We’ll never know!!
1 Comment

Thanksgiving Rewind

California, Domestic, Kids, Marriage

So as I mentioned about eleventy billion times last month, we took a road trip out to Las Vegas to celebrate our first American Thanksgiving with our dear friend Nichole and her four children! She is originally from the south and I am..well, I’m me, so we went all out. Our Vegas adventure was short and sweet. We drove out after dinner on Wenesday, checked into Circus Circus, did some late night wandering around the hotel and went to bed alarmingly late. Fun! We had an incredibly lazy Thanksgiving morning, much to Nichole’s dismay, but we did have a fantastic evening together once we finally got there!

The whole menu is pretty crazy, but it was a lot of fun and there were 11 of us total. We had to leave all the leftovers with her (sorry!!), but there are 5 of them so that made sense anyway! She made a lovely turkey with stuffing and gravy, she and her wee ones also made the cranberry sauce, ham, pinto beans, macaroni and cheese, mashed potatoes and green bean casserole. I brought my very first sweet potato pie, apple crumble, cocoa brownies for the kids and my trio of tarts; lemon meringue, pumpkin and Sailor Jerry pecan (and of course my cherry apron and matching headband – essential items).

I’m linking to three recipes I just put up on the site from that day. They are all equally bananas-amazing.


Lemon meringue has been one of my husband’s favorite pies since we met so I have a lot of practice with this, and I’ve tried a few different recipes over the years but this has been the absolute best one. (read)

These are another piece of the trifecta of awesome that was my tart collection at our first American Thanksgiving. Half a dozen are made without any run and the other half are spiked with Sailor Jerry. (read)
Sweet Potato Pie
Sweet Potato Pie
It sounds typical to say I’m from Canada and I’ve never had sweet potato pie, but I think it’s just all in who you know and my exposure to Southern Belles up to this point has been pretty limited. However, I spent Thanksgiving this year with a real life Southern Gal, and she put me in charge of the sweet potato pie – she even gave me her Granny’s recipe. (read)

On Friday, we picked three of the zillion things there are to do in Vegas with kids and each of them was a hit.

First we just went downstairs to The Adventuredome in Circus Circus. As the name implies, it’s an indoor amusement park, and it’s way bigger than this Canuk remembered from my own childhood! Like, woah. We wanted to get to make sure we got to do all three things before we headed home so we let the kids each pick a couple of rides and away we went! Please note there are very few actual horses on the carousel. Wee One #2 picked the dragon and Wee One #3 picked the flying bunny. There were also flying bears and pigs. I honestly thought that was pretty rad.

We are all a little in love with Vegas and we’re all eager to go back again. This was our first road trip since we moved to LA and I have to be honest, it feels pretty amazing to come home to California. Like, taking a vacation from vacation!

Our next stop was The Silverton to check out the aquarium and the mermaid that was rumored to hang out there. While we waited for her to make her entrance, we saw a leopard print sting ray. What?? We spent some time this summer with Wee One #3’s Godmother, exploring the aquarium in Long Beach and we got to see a lot of sting rays but I had no idea that leopard print sting rays existed! So cool!
The chocolate factory was a must do because every year for years and years and years, going back before I can remember and ending when my granny started getting ‘the old’, my aunt went to Vegas every year with either her girlfriends or her sister in laws or nieces or all of the above. Every single time she came back, she’d bring us Ethel M chocolates. It only felt fitting for us to hit the chocolate factory and pick her up a box of Ethel M chocolate. The kids thought it was pretty cool to see where M&Ms come from, though I’m sure this is not the only place they are made!

This picture is hilarious to me and really sums up where they are right now. Wee Ones #2 & 3 are crazy and hyper and delightfully insane. Wee One #1? Well, he’s 12 now so he’s not about to get into shenanigans with them ON CAMERA, but trust me, he is just as delightfully insane as they are. 😉

No Comments

Little Updates and Homemade Hot Chocolate Mix

Domestic

Much, much business is happening around here lately, as I have no doubt is happening at your house as well!

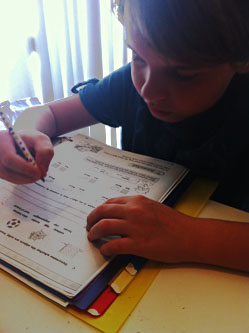
First a quick homeschooling update. When we started this journey a little over eight months ago, I was really excited to do it but I honestly wasn’t sure how it was going to work out. I had the best intentions and the best books, but that alone will only take you so far, right? Well, I am very happy to report that since we have started working with a local independent study program and doing a fairly even mix of Canadian and American curriculum, the kids are doing even better than expected! Wee One #2 started 2nd grade this year, but at the rate she has been going, she is fast tracking through it and will end this school year finishing 3rd grade. Next fall, she will likely be challenged enough by the 4th grade work to keep working at a steady pace through it and not fast track again. Our 7th grader is progressing ahead of schedule but instead of fast tracing through to 8th grade, he is spending his extra time exploring some of his lessons more in depth than the textbooks go. It’s been a really amazing to see how they learn at home and with each other.

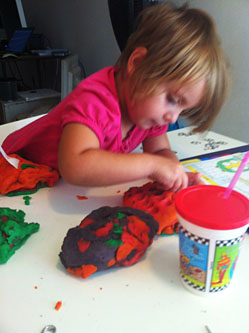
I have been asked about our littlest one, and what she gets up to while the others are working. Truthfully, I have folders and folders of neat activities I have been saving to post about. We make play doh every other day, we conduct a lot of mini science experiments and she is learning her letters and numbers by sight. She is learning something that is normally an epic problem in households with a busy toddler – she is learning patience! Since I spend so much time working and crafting and reading and just being with her, she knows that if I need to step away for 5 minutes and help one of the other kids, that I really will be right back. She used to be on the verge of a fit every time I had to walk away from her and now? She just continues on with whatever it is we were doing until I get back (not that I’m ever really more than across the room during school time anyway), but it’s nice to see.

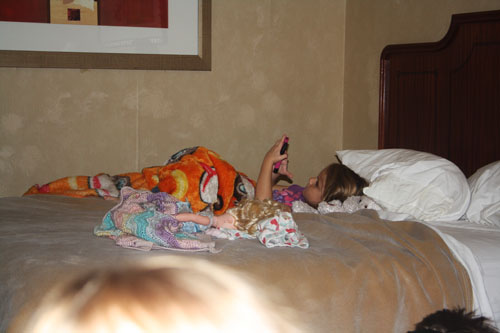
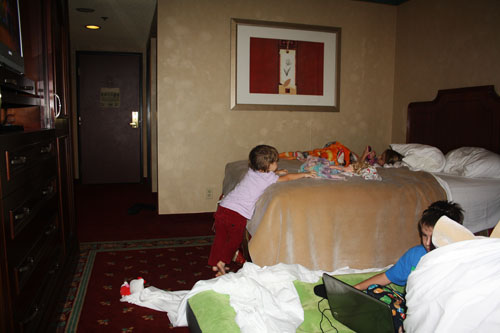
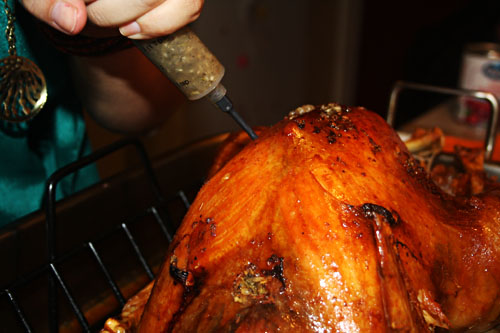
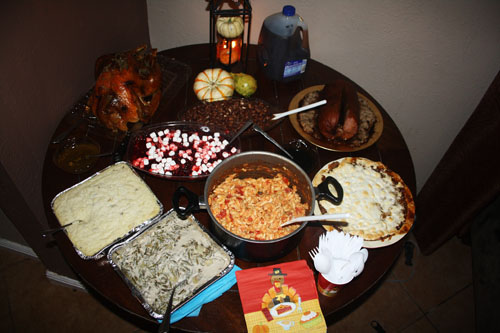
Thanksgiving in Vegas was such a blast we have all decided it’s our new go-to for a random family weekend getaway. If we can’t hop in the car and visit our family, we may as well hop in and have a super fun weekend (& visiting our friend Nichole and all her kids is a serious plus too)!

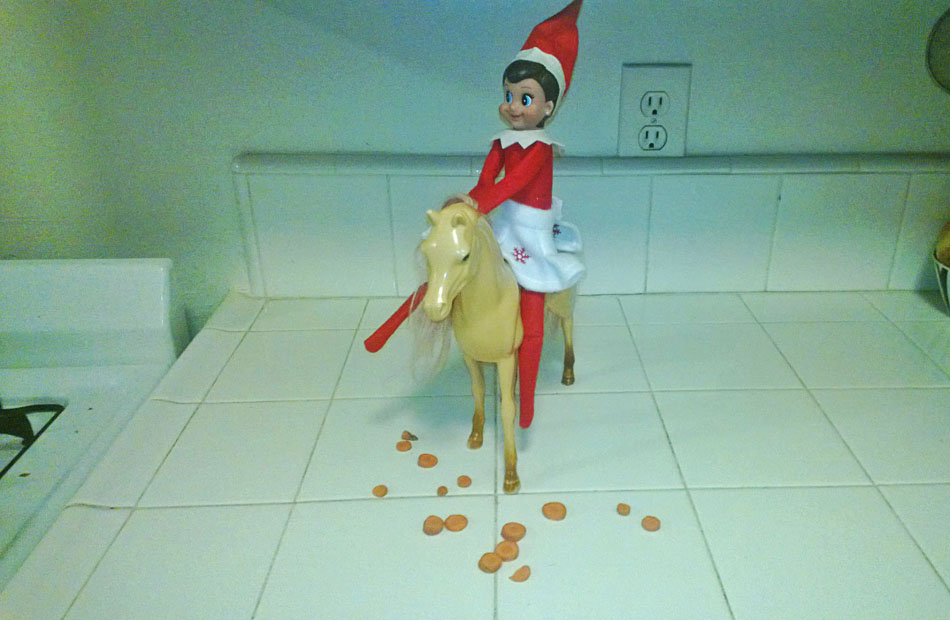
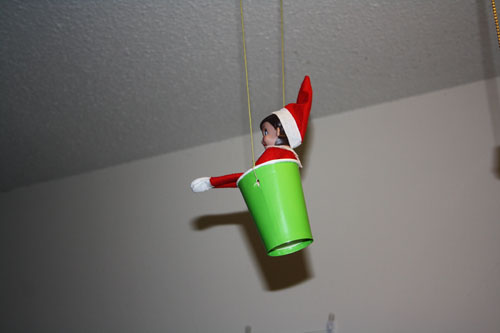
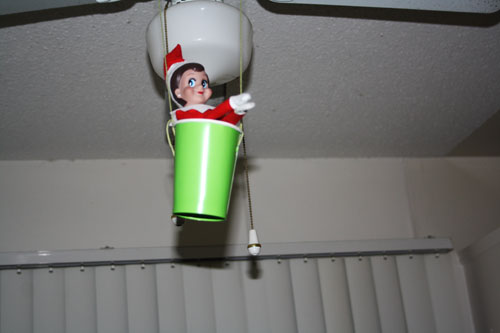
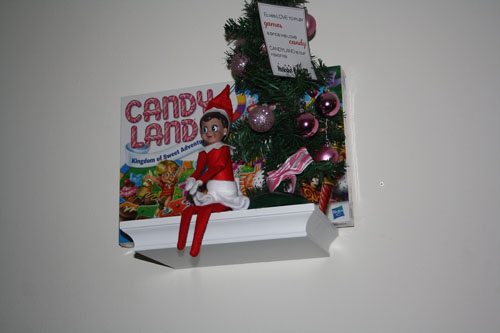
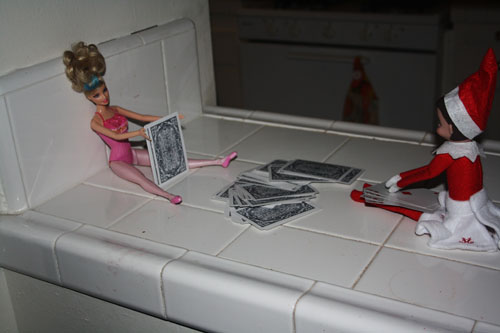
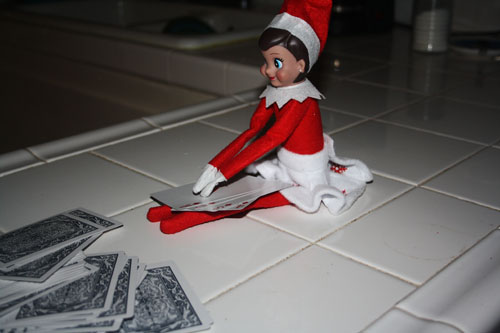
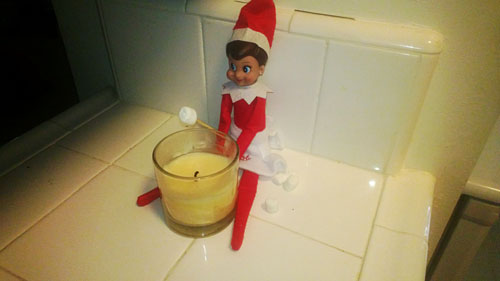
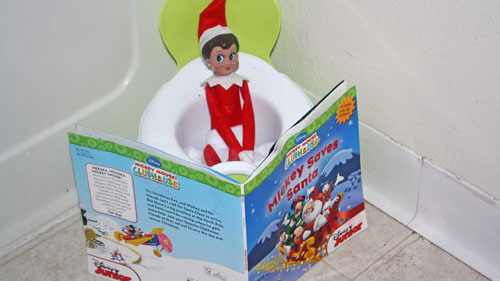
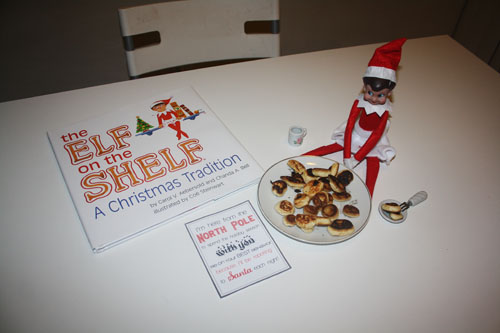
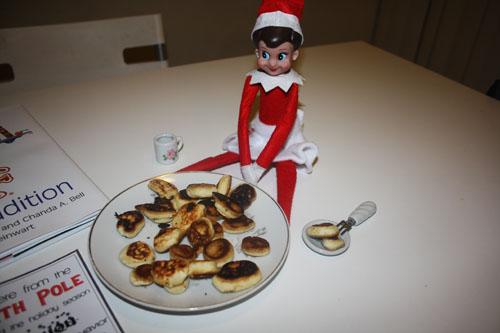
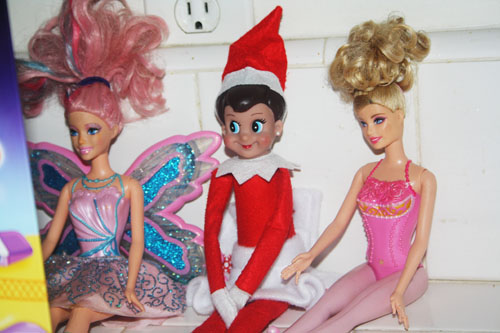
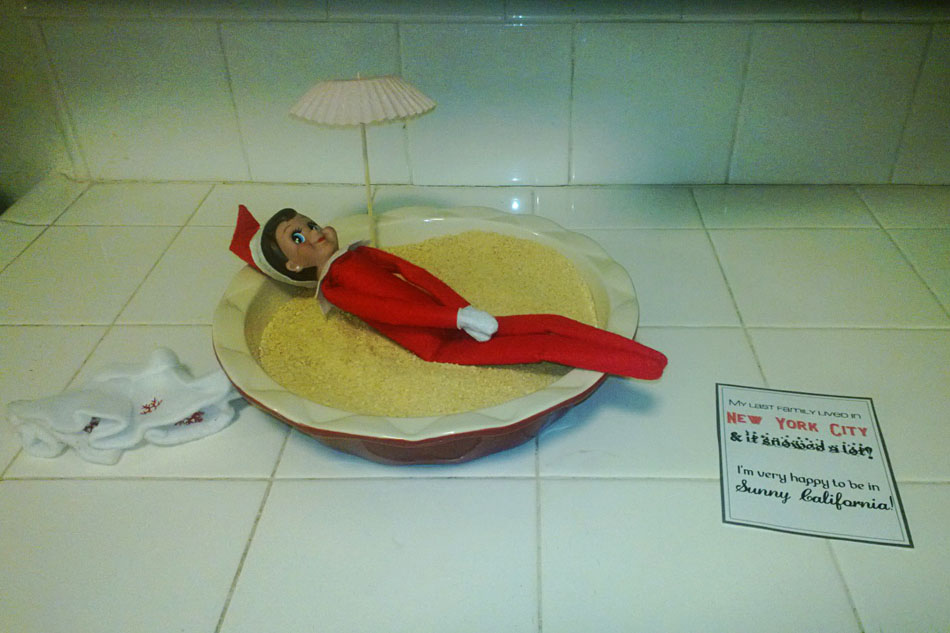
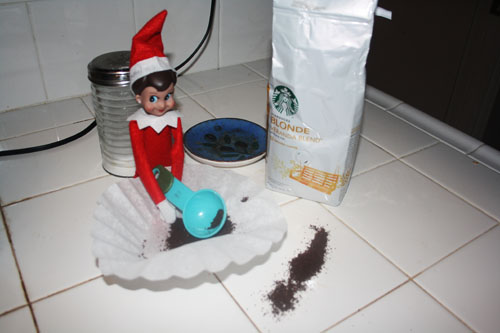
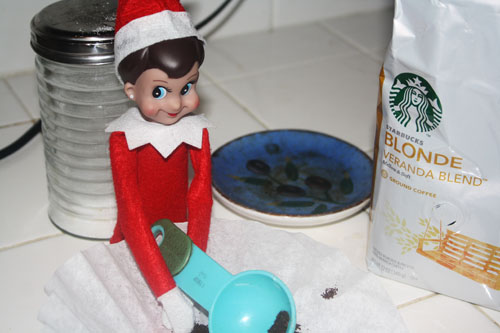
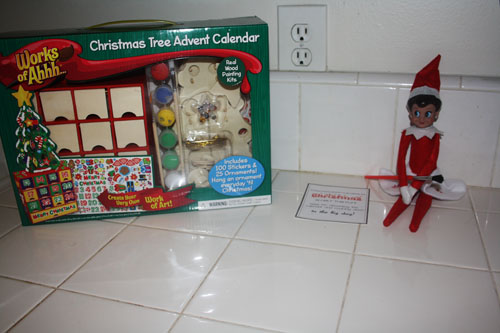
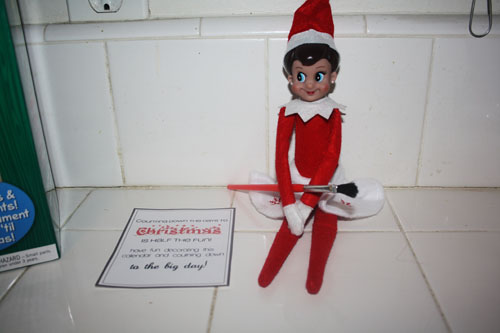
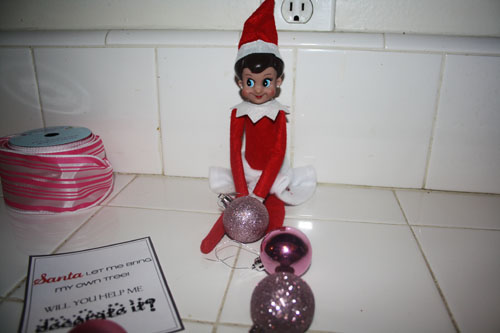
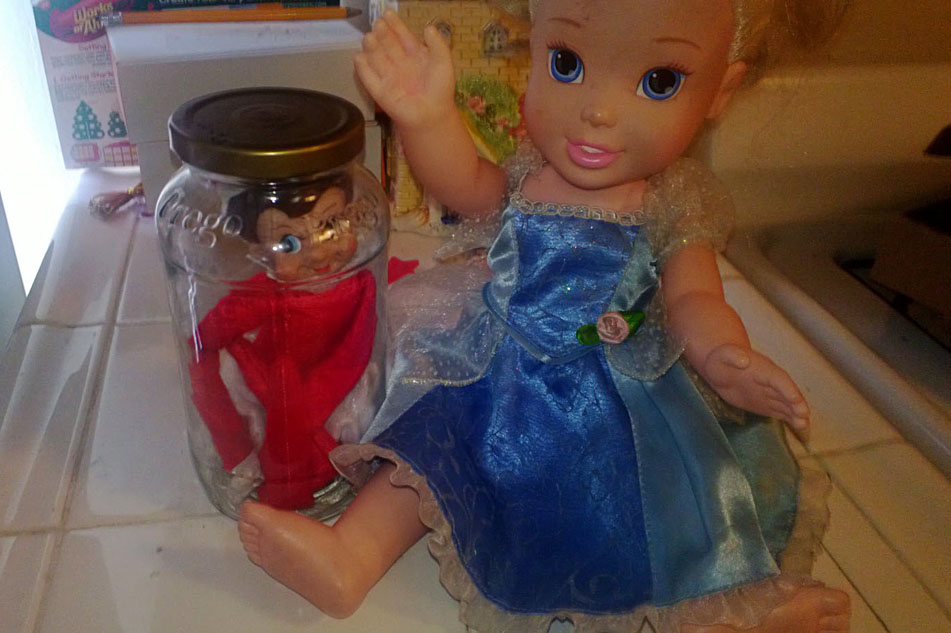
This year we were lucky enough to be sent an Elf on a Shelf from Santa himself!! The girls have been so excited each morning when they get up to see what she has been up to! I will devote a blog post this week to our first week or so with her. This of course has meant a lot of silly late night insanity with my husband preparing for our little elf’s arrival! Hilarious.

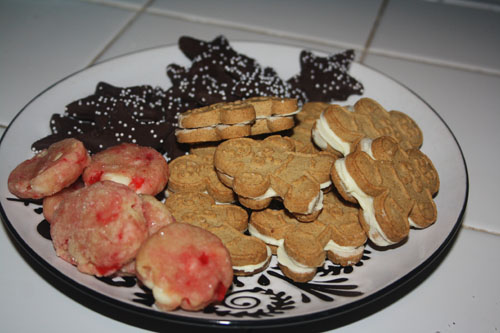
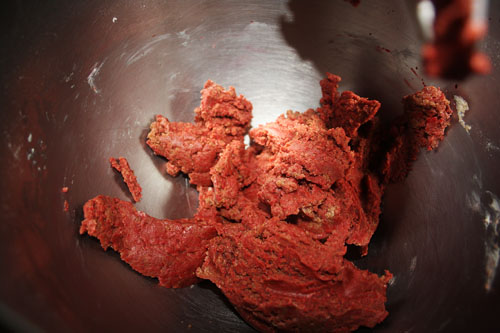
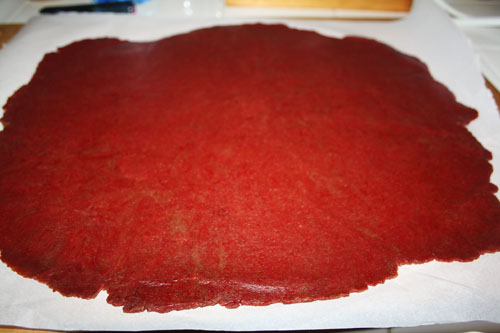
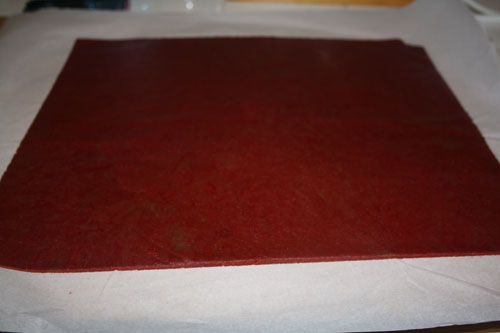
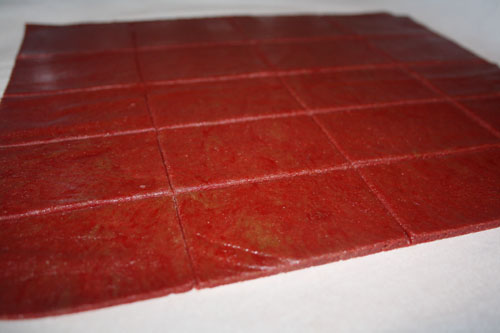
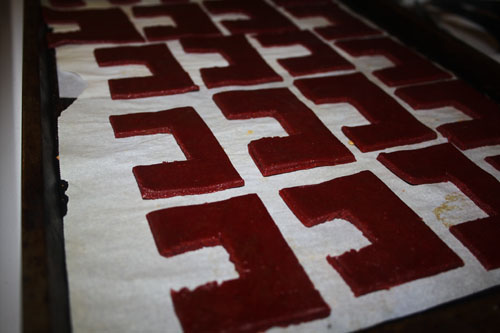
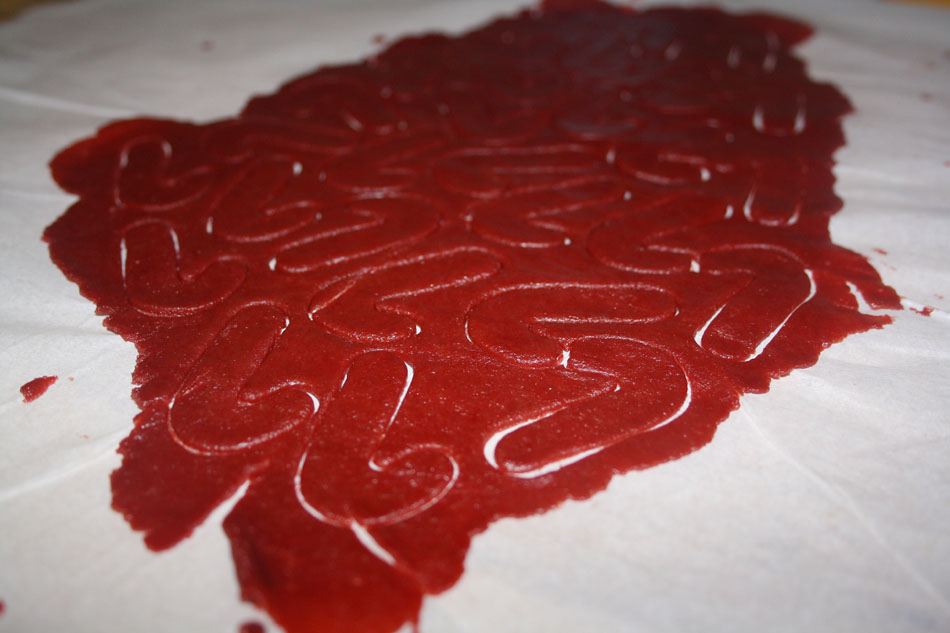
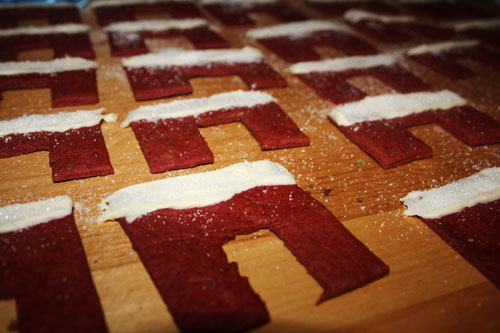
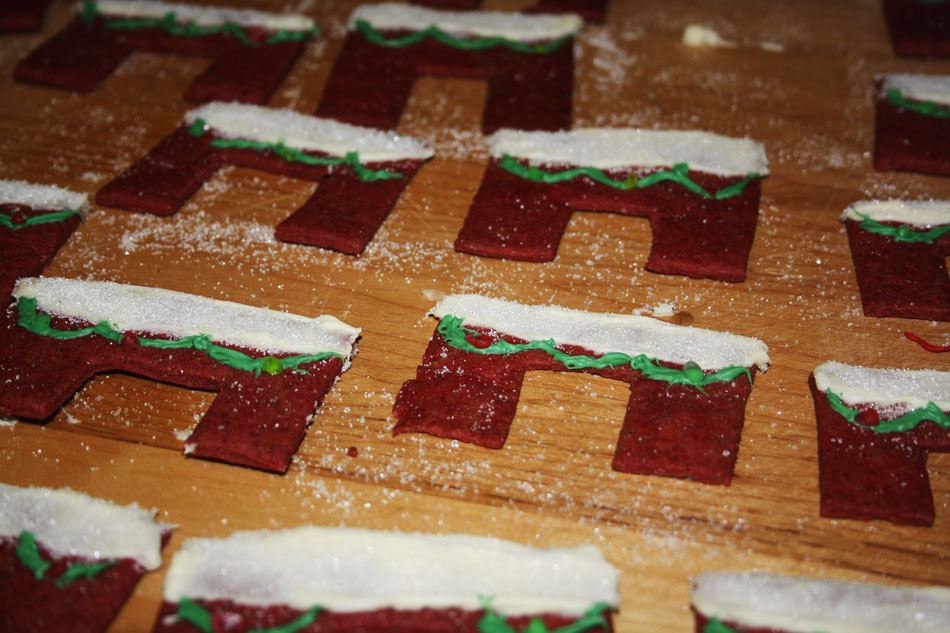
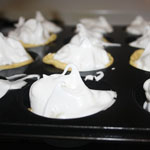
There’s also been more holiday baking going on between Thanksgiving and today than ever before in previous years – I even started on my crazy complicated cookies. You know how much I love to bust out the ruler and egg wash, right?! Usually, I have my girlfriends around to sample new cookies and plenty of family members on both sides and even kids and teachers at school to pawn the sweets off on. Here though, there is considerably less and I am eating waaaay more than I should. However, I have joined a local mommy group and they have been the happy recipients of some treats already so it’s looking up. 😉

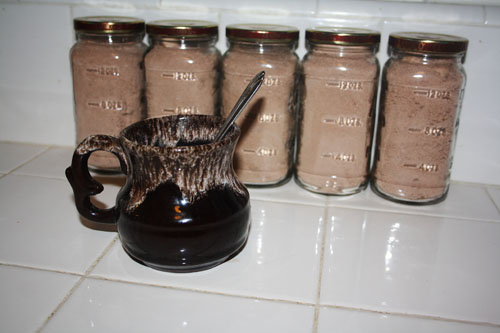
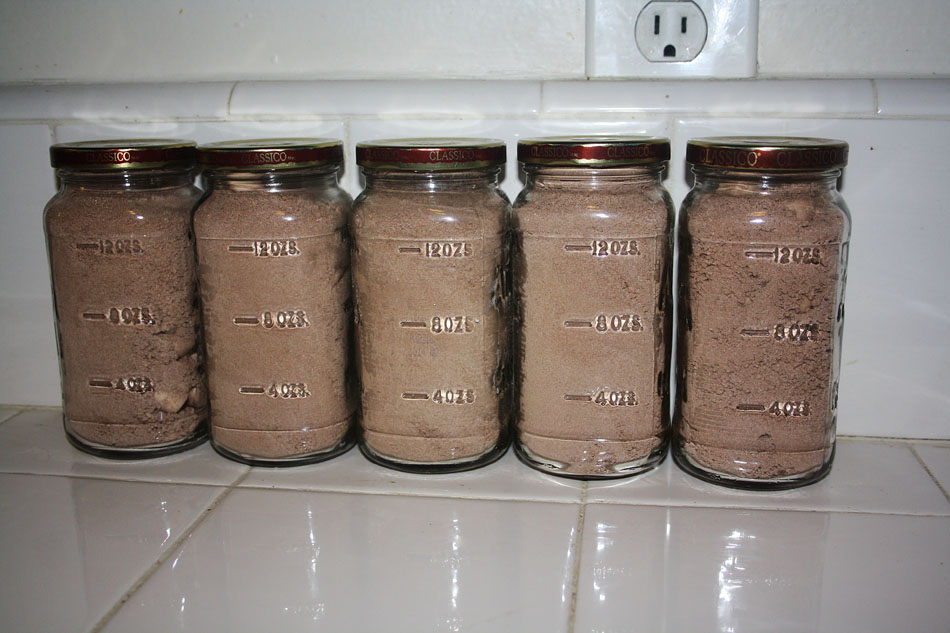
Years ago, I came across a recipe for homemade hot chocolate mix and then last year my girl Sammie made homemade instant cake mix and I’ve been searching for just the right recipe this season. Mason jars filled with hot chocolate mix and tied with a cute ribbon are a simple but still sweet gift to give to people you might not know well but see ALL. THE. TIME. Like the FedEx guy (even though he’s always kinda surly) or the UPS guys (who is always super nice). This recipe is crazy rich – which is perfect for the holidays, right?!

This recipe filled 6 15oz mason jars, we saved one for home and we are keeping the other 5 around for gifting.

Homemade Hot Chocolate Mix – via Just a Pinch

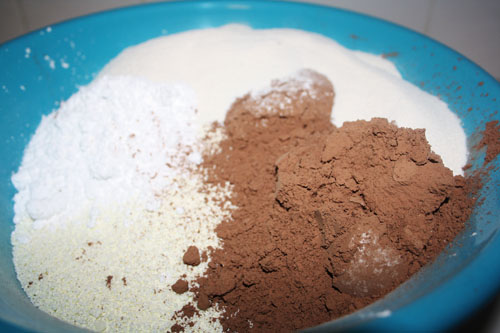
7 cups non-fat powdered milk
1lb confectioner’s sugar
2 cups unsweetened cocoa powder
2 cups powdered non-dairy creamer*
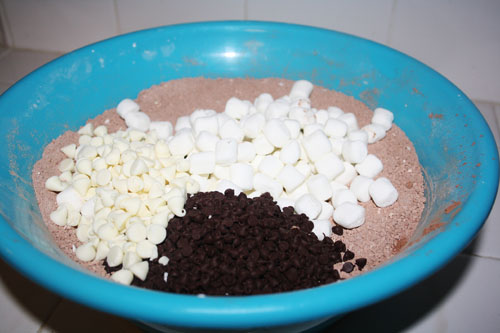
2 cups mini marshmallows
1/2 cup mini chocolate chips
1/2 cups mini white chocolate chips
*you can choose a flavored version but it might compete with the chocolate unless it’s hazelnut

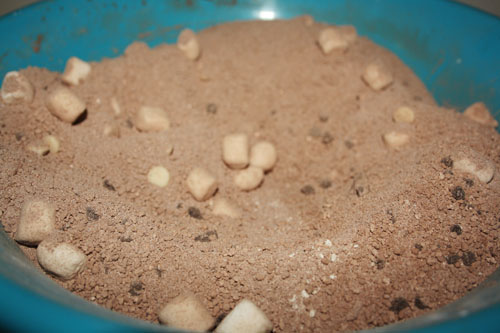
Sift together the powdered milk, confectioner’s sugar, cocoa powder, and non dairy creamer.
Now add the mini marshmallows and chocolate chips! See? So easy! Now just fill your jars and voila! Prepare a cup the same as you would any other cup of instant hot chocolate, by warming up a cup of water or milk and adding more or less scoops to taste.
No Comments
« Older Posts
Newer Posts »