Browsing the blog archives for March, 2012.

Work in Progress Wednesday #9

Crafty

Today I’m linking up with Work in Progress Wednesday, Whatever Goes Wednesday, and Welcome Wednesday

Work in Progress Wednesday #9

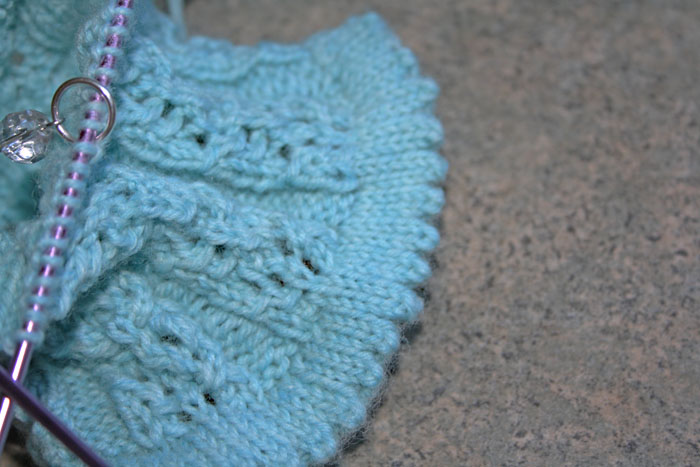
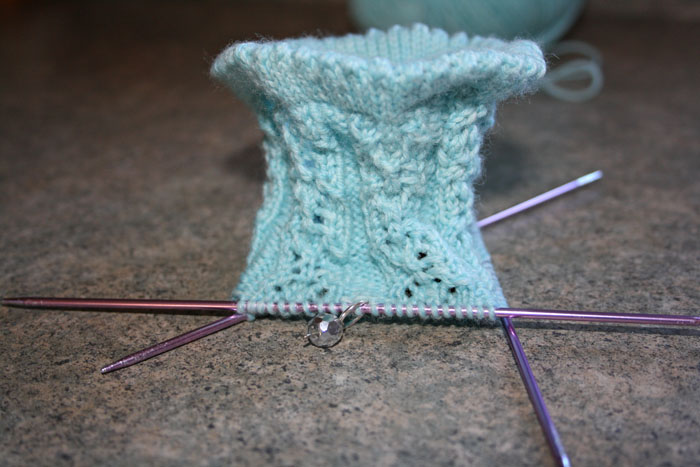
This week I casted on for Sock #3 of 2012 – Bintje. Super super pretty. They’re meant to be knee socks, but we’ll see what happens. Ha!

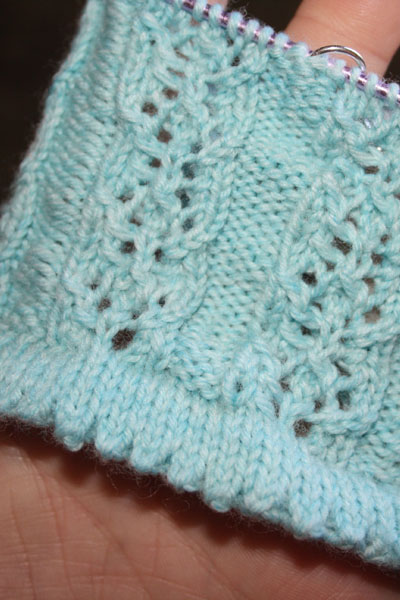
The cuff on these socks is so neat!! I had seen it in other patterns before, but truthfully I had thought it was more complicated than it actually is and I had skipped it every time I saw it and knitted a normal cuff. I know, super lameo. This year however, along with my resolution to knit a pair of socks every month (I’m on my third pair right now, so far so good), I’m going to follow the patterns I picked out last year and actually knit up this year’s socks as the patterns tell me to. I’m glad I did, look how cute!!!

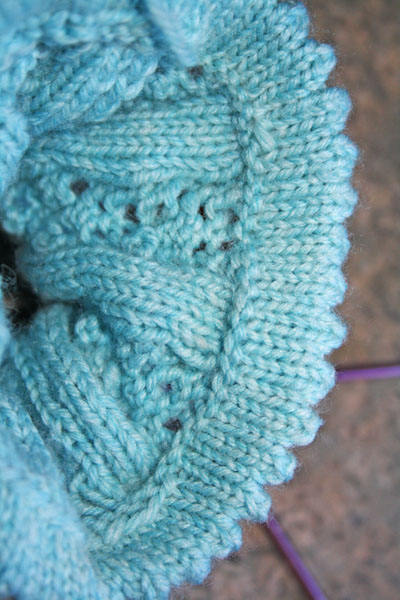
Essentially, you knit 6 rows, then you knit a row of k2tog, yo – giving you a row of holes, then you knit another 6 rows. I’ll take pic of that on the second sock. Then you fold it over so the holes are the middle and the yarn overs between the holes form the little ridges you see. You can either sew down the top of the cuff or do it the way the pattern says, which I did thankyouverymuch. You pick up stitches at the very beginning and knit them to the last row of the cuff, of course you have to do this when you’re actually on the last row of the cuff, but it was fairly simple. All sock knitters can pick up stitches because we have to when we do the gusset anyway, right? In the third picture you can see the inside seam where I did this. Maybe when I get to the second sock I’ll make a video.

I also chose to use slightly thicker sock yarn (Stroll Fingering hehe fingering instead of Stroll Sock) on 2.5mm needles instead of 2mm needles so the sock would be a little denser than other socks. They’re for someone in a wettish coldish area who reads my blog so that’s all I’m going to say, though that’s probably all I needed for say for her to know they’re for her. Sigh.

There is a lot going on around here in the next couple of weeks and then we depart for a serious adventure that I have no doubt I will fill you in on in horribly painful detail once it begins. I hope to have at least the second sock started by this time next week!

Work in Progress Wednesday #9
3 Comments

Window Shopping Wednesday – Keeley Behling Studios

Crafty, Window Shopping

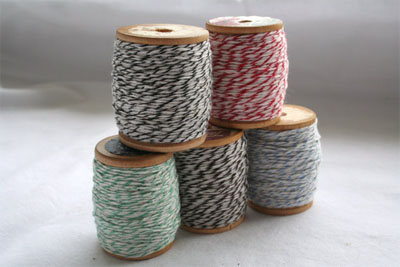
This week’s Window Shopping Wednesday is a special one!! I love this shop and have bought Scrabble tiles and trays for crafts and baker’s twine for wrapping up kitchen creations here. Keeley, of Keeley Behling Studios not only agreed to do an interview with me about her shop and crafting in general, but she’s going to give one of you a present! I know right?! You’re so lucky!

All you have to do is ‘like’ the Keeley Behling Studios Facebook page, and leave a comment there about

an item in the shop. That’s it, you’re entered to win $15 towards anything in the shop! It’d be pretty rad

if you ‘liked’ the So Very Domestic Facebook page too.

Window Shopping Wednesday - Keeley Behling  Studios

As you know, I have a serious weakness for baker’s twine and Scrabble tiles. What item do you find you sell the most of?
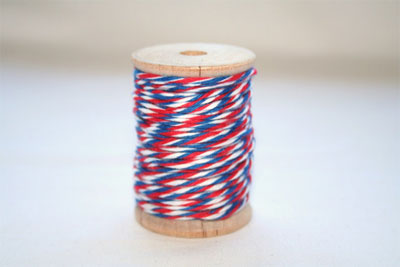
Twine, twine, twine! There are so many color options and so many things you can make with it! I think it is also one of the things I use most in making other items. It’s great for card making, gift wrap, embellishment, and so much more. It’s the first thing I grab when I am in a rut when making something.

Do you ever buy stuff for your shop and love it so much you can’t part with it?
All the time! That’s actually how I started my little shop. I would go treasure hunting (thrifting) for vintage items and craft supplies, bring all the wonderful treasures home and have them sit around and never be used or enjoyed. One of several reasons for starting my shop was to sell some of those items to others who truly had the time/ space to enjoy them. It’s gotten easier over the years to let things go but occasionally I will find something and hang on to it.
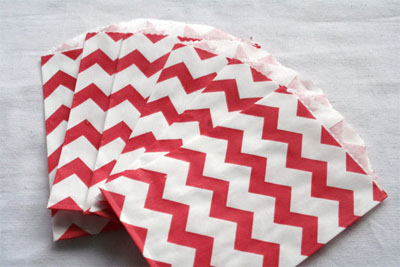
Window Shopping Wednesday - Keeley Behling  Studios - Red Chevron Bitty Bags Set of 10
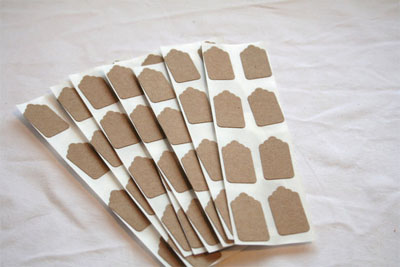
Window Shopping Wednesday - Keeley Behling Studios - Kraft Removable Price Tags 100 Count
What is your favorite item in the shop right now?
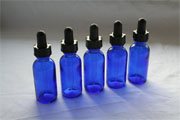
I would have to say my favorite item in my shop right now is the really small cobalt blue jars. I love the deep blue glass and there are always so many uses for them. Right now I have some that I am using to make my own essential oils.

What do you find yourself crafting when you have the time?
I really enjoy crocheting. I am one of those people who can’t just sit and watch TV, I have to do something too. I constantly need to keep my hands busy so my mom taught me to crochet when I was really young and I have not stopped since.
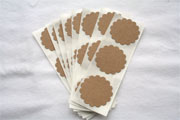
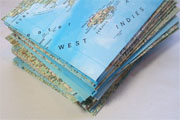
Window Shopping Wednesday - Keeley Behling Studios - Pretty and Pink Coin Envelopes Set of 28- Fits a Business Card     Window Shopping Wednesday - Keeley Behling Studios - School Journaling Stickers Set of 15     Window Shopping Wednesday - Keeley Behling Studios - Kraft Scalloped Circle Stickers Set of 24     Window Shopping Wednesday - Keeley Behling Studios -Atlas Map Envelopes Set of 12
Starting your own business can be challenging under the best circumstances, what spurred you to get started?
I had wanted to start my own business for several years but didn’t know really what I wanted to do or how to go about all the details. I was asked to do a show at a friends house and found that all the things I was worried about were not as difficult as I had originally thought. Within six months I had my etsy shop up and running. There was very little focus in the beginning for me. After all, it started out more as a hobby and something that I just enjoyed doing. It took me a year to discover where I really fit and how I wanted my shop/ business to become, a place where others could find unique, quirky, and unusual items.
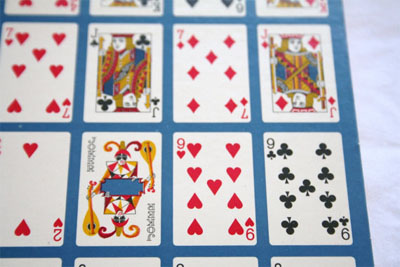
Window Shopping Wednesday - Keeley Behling  Studios - Vintage Poker Bingo Cards Set of 6
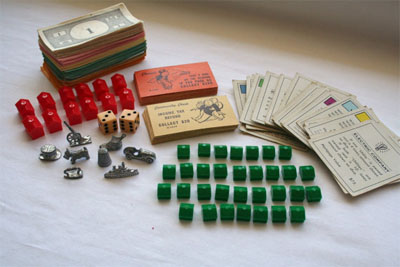
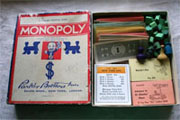
Window Shopping Wednesday - Keeley Behling Studios - Vintage Monopoly Pieces
How do you keep personal crafting / life separate from the shop?
Well my personal crafting and the shop have to share a room like siblings. It can get a little chaotic at times but it all works out in the end. Usually my personal crafting becomes a gift, something I put in my shop or take to a show. As far as my life and my shop that’s a bit more difficult. Because I run my own business it’s up to me to keep everything afloat. There are never enough hours in the day to do everything I would “like” to do, but in the end the have to’s get done and the rest can wait til tomorrow.
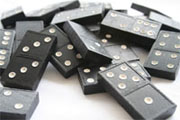
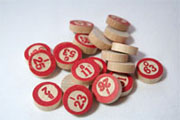
Window Shopping Wednesday - Keeley Behling Studios - 50 Scrabble Like Tiles     Window Shopping Wednesday - Keeley Behling Studios - 50 Vintage Wooden Dominoes     Window Shopping Wednesday - Keeley Behling Studios - Vintage Antique Monopoly 1937 Parker Brothers     Window Shopping Wednesday - Keeley Behling Studios -Vintage Wooden Bingo Tiles Set of 20
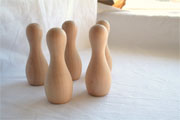
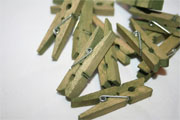
Window Shopping Wednesday - Keeley Behling Studios - Cobalt Blue Bottles with Eye Dropper Set of 5     Window Shopping Wednesday - Keeley Behling Studios - 1/2     Window Shopping Wednesday - Keeley Behling Studios - Mini Wooden Bowling Pins Set of 20     Window Shopping Wednesday - Keeley Behling Studios -Mini Green Clothespins Set of 12
What is your favorite dish to cook or bake?
I have a bit of a sweet tooth so when we go to large gatherings I love to make this yummy chocolate fudge brownie trifle.

What are you reading right now (or what was the last book you read)?
Well I’m not much of an avid reader. I enjoy perusing design books and cook books for inspiration. My husband and I recently purchased our first house so I am always looking for ideas, how to fix something or the grand idea, “I could make that…”. I started receiving a subscription to Better Homes and Garden’s this year and have thoroughly enjoyed reading the latest issues. Pinterest also takes me to some amazing blogs and articles that help in my inspiration process
Window Shopping Wednesday - Keeley Behling  Studios - Bakers Twine AIRMAIL (10 Ply) 20 Yards
Window Shopping Wednesday - Keeley Behling Studios - Bakers Twine Pack 125 Yards
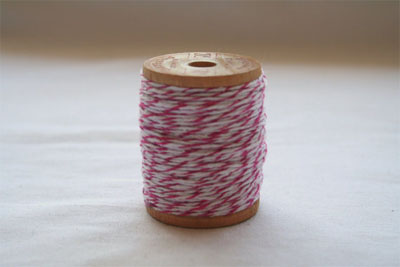
Window Shopping Wednesday - Keeley Behling  Studios - Bakers Twine PINK LEMONADE 25 Yards
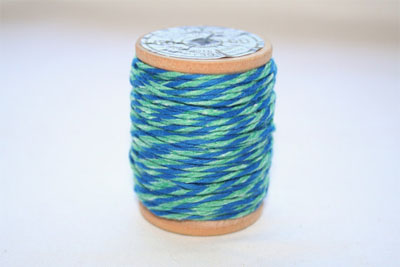
Window Shopping Wednesday - Keeley Behling Studios - Bakers Twine TEAL and BLUE (10ply) 20 Yards
No Comments

Ginger Button Cookies

Domestic

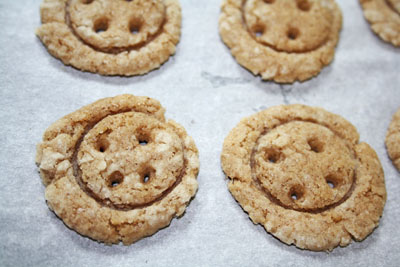
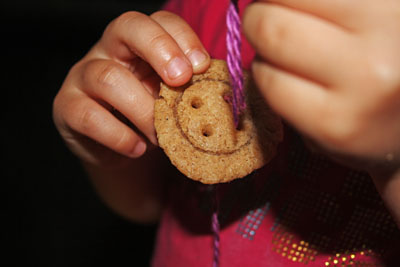
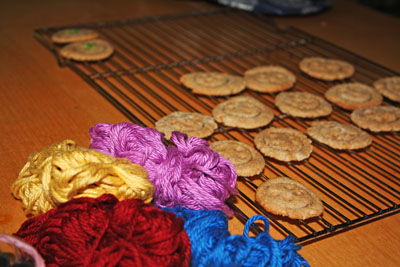
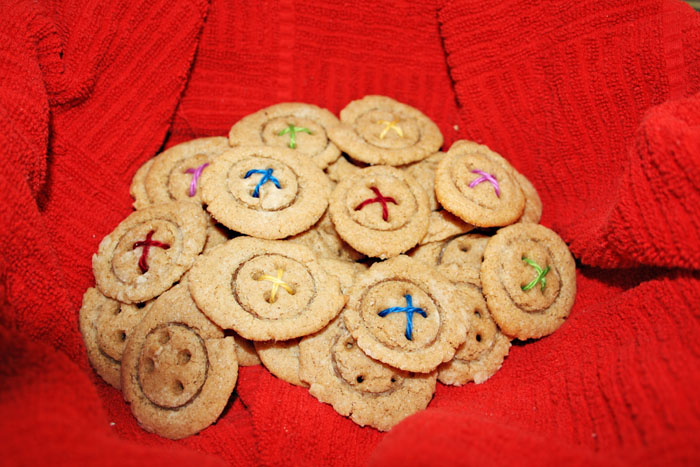
These cookies are super simple and super silly! The cookie itself is simple enough, a basic ginger cookie. It’s the little creative addition of button holes and then yarn, yes yarn, threaded through the button holes that make these little cuties so adorable. You’d think having the yarn in them would make eating them a little annoying and that you’d be less likely to stuff your face. Sorry people, no such luck.

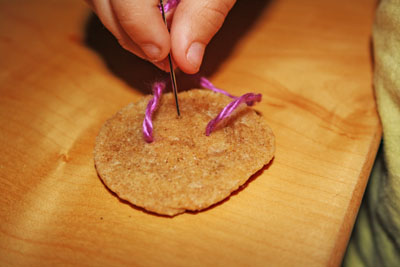
Wee One #2 insisted in doing the needlework herself! She has been fallen pretty hard for embroidery and wants to sew every chance she gets.

Ginger Button Cookies

Ginger Button Cookies via Diamonds for Dessert
1 2/3 cups flour
1 tablespoons ginger
1 teaspoons cinnamon
1/2 teaspoons cloves
1/2 teaspoons salt
4 tablespoons room temp butter
1/2 cup sugar
1/2 cup brown sugar
2 egg whites

Ginger Button Cookies
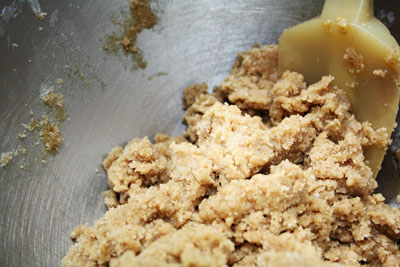
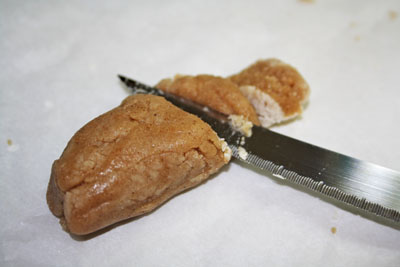
So, as you’d expect, you cream the butter and the sugars together. Then add the egg whites one at a time. Mix the dry ingredients in a different bowl and then mix the dry into the wet and voila! Ginger cookie dough. I totally sped through the actual recipe because I trust that you can handle that part. Now roll the dough into a log and cut off slices!
Ginger Button Cookies
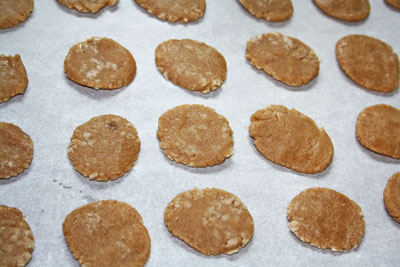
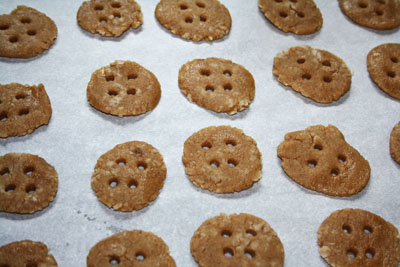
Shape your slices as well rounded (or not) as you’d like. I used a straw to poke out my button holes.
Ginger Button Cookies
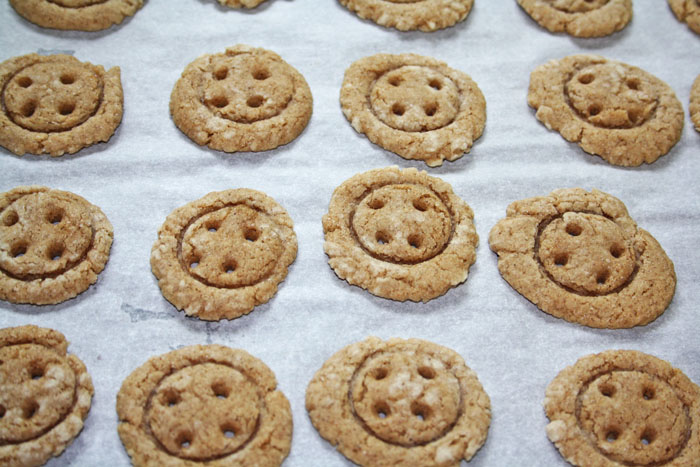
You’ll have to scour your kitchen to find a small circle shape that you can use as the inner edge of your button. The original recipe used the lid of a water bottle. I happen to have a crazy narrow shot glass – class all the way.
Ginger Button Cookies
I baked them at 350F for about 15 minutes. Leave them in longer if you like a better crunch. The tops of the button holes didn’t shrink in baking, but the bottoms almost closed up. No biggie, we just used an actual needle and sock yarn!
Ginger Button Cookies
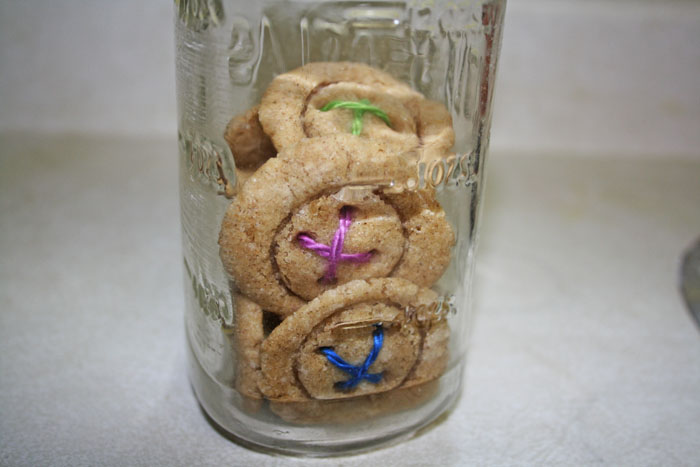
I packaged some cookies in a mason jar for our next door neighbors. I can’t tell if they think I’m cute or totally crazy. Let’s just say it’s a fine line and I’m at least endearing. Right?! Ha!
No Comments

Drawstring Toddler Pants

Crafty, Kids

I’m linking up with The Tuesday Glam Party, One Project at a Time, Take a Look Tuesday, Tuesday’s Treasures, Ta-Da Tuesday, Tuesday Time Out and Tuesday Tutorial Link Party. Check out some of the amazing projects in these link ups!

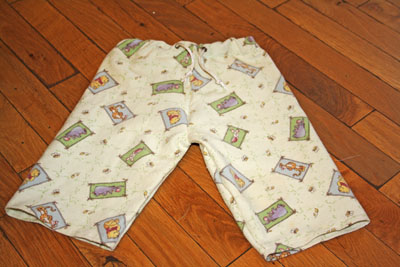
I am always looking for sewing practice, and as I’ve mentioned before and will mention again, I’m not amazing with a sewing machine. I mean, I earn the domestic in my title with my oven and my knitting needles, but yeah, sewing is something I’m still figuring out. So, I try to do it as much as possible and hopefully sometimes the things I practice with are wearable or usable! In this case, it is!

Prudent Baby has a serious archive of quick and useful crafty projects and I love to comb though it for ideas, inspiration and a lot of the time, instructions!

Drawstring Toddler Pants

Drawstring Toddler Pants via Prudent Baby
Pair of elastic or drawstring pants that fit your wee one
2+ yards of cute fabric (how much depends on the size of your wee one)
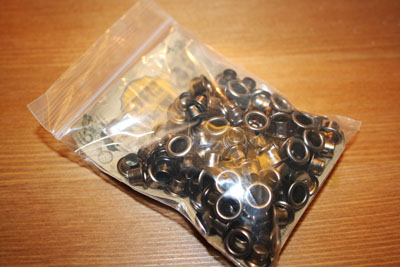
Grommets
Drawstring
Pins, sewing machine, stuff like that…

Drawstring Toddler Pants
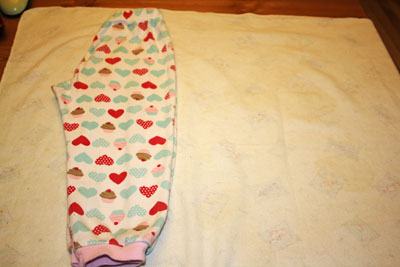
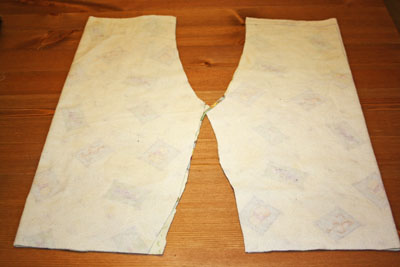
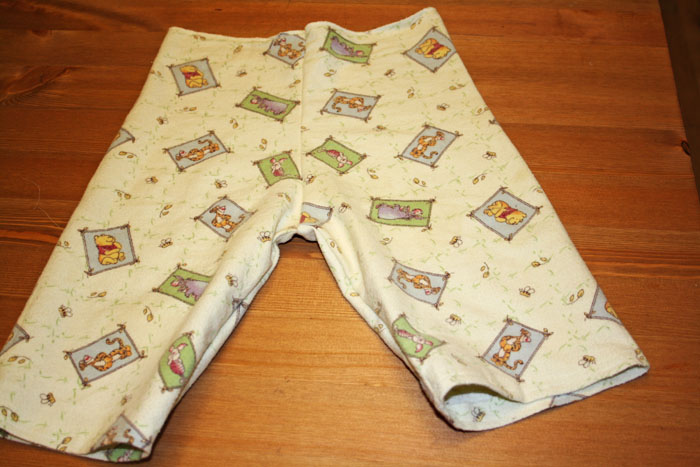
First, fold the pair of pants that fit your wee one in half and lay them over the fabric. Trace around, adding about 1/2″ for the seam all the way around. Now do it again. Lay them right side facing and pin together.
Drawstring Toddler Pants
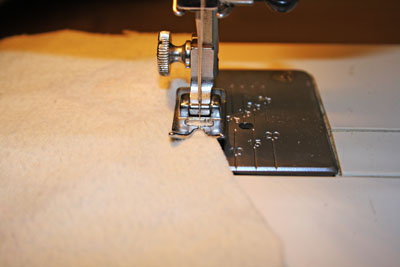
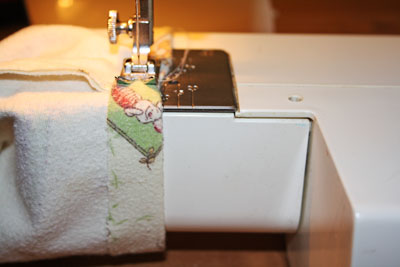
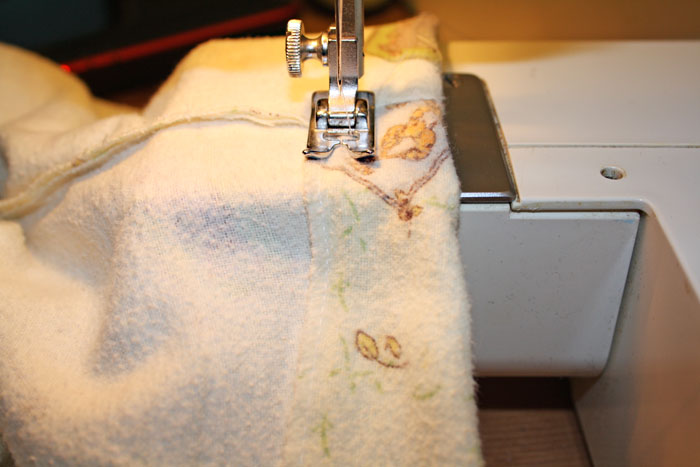
Sew the curves first, down the sides and hem the bottoms.
Drawstring Toddler Pants
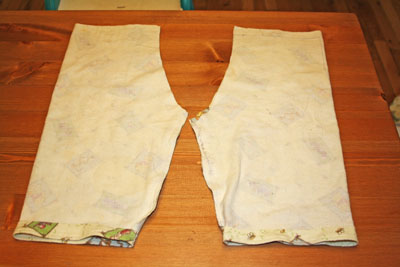
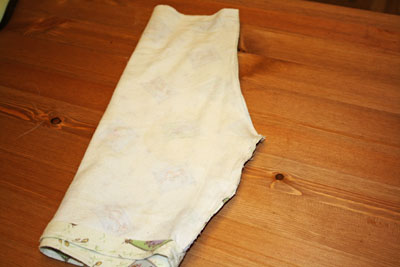
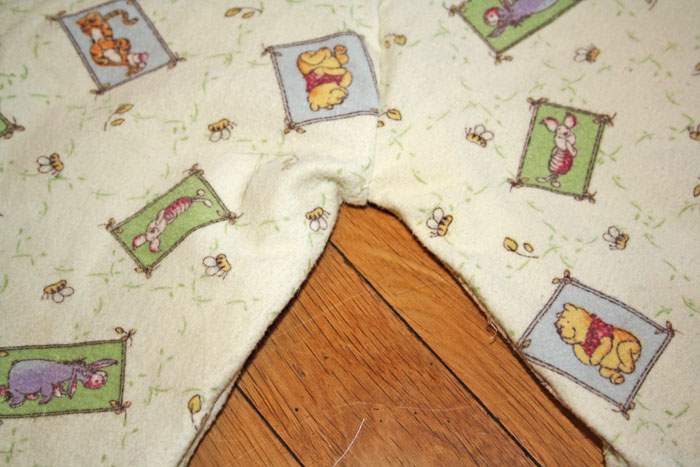
This is the part that gave me trouble, I had to keep checking and double checking that I wasn’t about to sew the front of the pants to the butt, you know? I did it! If I can do it, you can defo do this.
Drawstring Toddler Pants
Tah-daaaaah!!!
Drawstring Toddler Pants
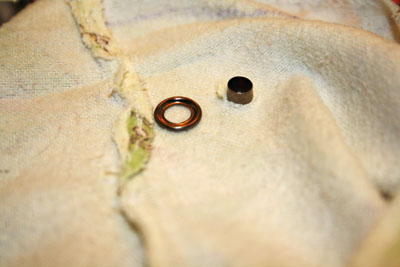
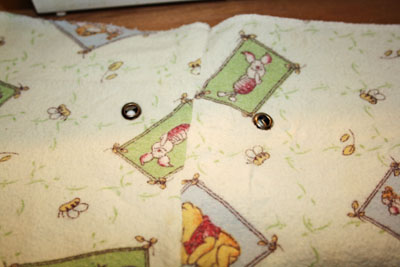
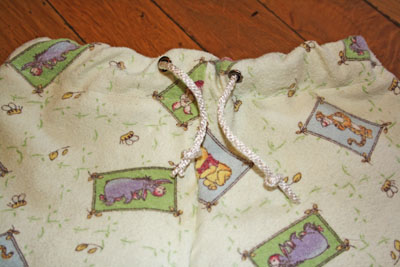
Now for the grommets! You can make an actual drawstring waist or a fake faux drawstring like I did. Snip a wee hole to pop one side of the grommet through.
Drawstring Toddler Pants
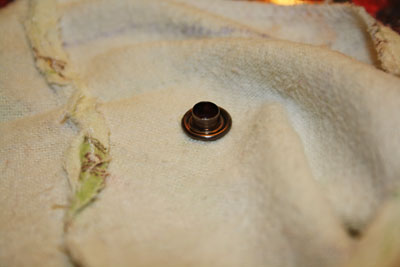
Then punch the other side through with a hammer. So neat!
Drawstring Toddler Pants
This is when I slipped in the elastic and sewed up the waistband, just shy of the grommets.
Drawstring Toddler Pants
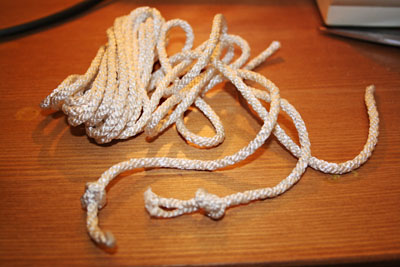
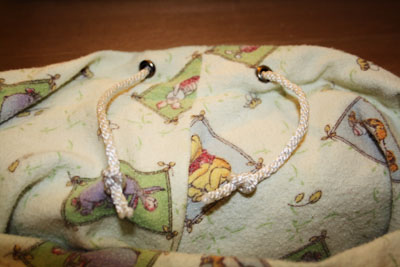
I cut two shortish lengths of nylon cord and knotted one end of each. I pushed them through the grommets and knotted them again. Then I finished off the waistband and I was done!! When I note in the sidebar that I’m struggling with sewing, that’s no exaggeration. I’ve never been very good at it even though in my head (and only in my head) I’m a brilliant seamstress. So this was great news for the future brilliant seamstress I will become. Ha!
Drawstring Toddler Pants
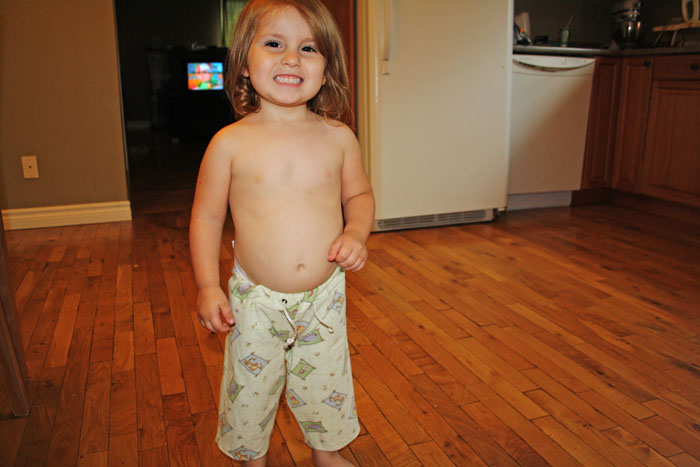
I think my eager little model likes them! This is Wee One #3 with her creepy Joker smile.
No Comments

Homemade Granola Bars

Healthy, Kids

I’m linking up with Flock Together Blog Hop and Inspiration Linky Party.

I mentioned a few months ago about my ever mounting paranoia general concern thoughts on how processed some most all of the garbage touted as ‘healthy’ and marketed to kids has become. Though to be fair, I don’t know if it’s right to say ‘has become’, it’s probably always been pretty negative and unhealthy but I didn’t know better as a kid and my hippie father did a pretty good job of sheltering me from stuff like that. I however? Do not do such a great job with the sheltering of my wee ones. They can ask for store those chewy granola bars all they want, I’m not caving, and this is why.

The granola bars I make have 14 ingredients, including the granola. They could only be healthier if I made the marshmallows myself and now that I type that, I will totally make the marshmallows myself next time!

The granola bars with the shiny commercials have 31 ingredients and while most of them are not so bad, too many of them are totally unnecessary. I know they need to be shelf stable, and that’s what they are loaded with preservatives, but man. Like, if I can make and eat them within a few days I don’t need to add any preservatives so while the additives are justifiable for shelf stable, pre packaged crap snacks, I don’t have any use for them – and if you have half an hour or so once a week, neither do you.

Homemade Granola Bars

Granola via Amateur Gourmet (modified)
2 cups rolled oats
1 teaspoon cinnamon
1 teaspoon salt
3 tablespoon plus 1 teaspoon vegetable oil
1/4 cup honey
1/4 cup firmly packed light brown sugar
1 teaspoon vanilla extract
Bars via Back to the Cutting Board
4 tablespoons unsalted butter
1/4 cup packed light brown sugar
1/4 cup honey
2 cups plain granola
1 cup rice cereal (Rice Krispies, etc.)
1 cup mini marshmallows
1/4 cup semisweet chocolate chips
Homemade Granola Bars
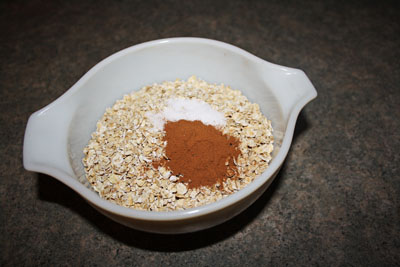
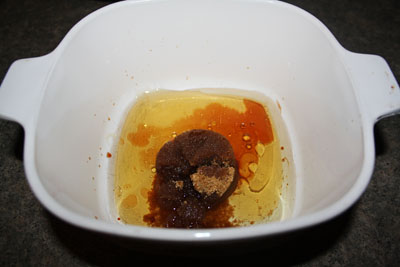
First, preheat the oven to 325F and line a cookie sheet with parchment paper. Mix the oats, cinnamon, and salt on a small bowl. Then in a separate bowl, mix the vegetable oil, honey, brown sugar and vanilla.
Homemade Granola Bars
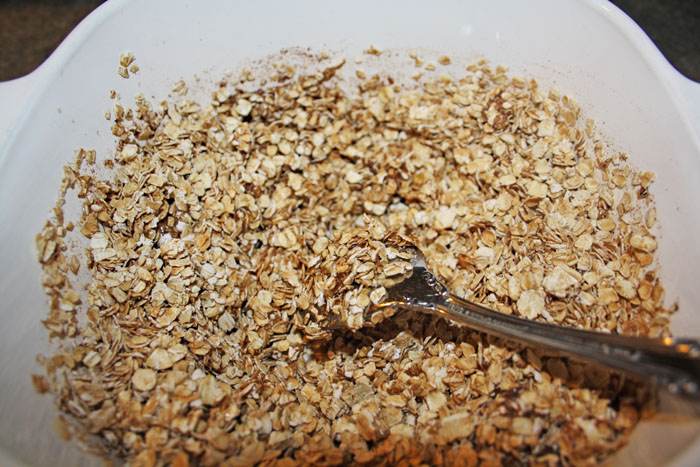
Add the wet ingredients to the dry and make sure all of the oats are coated.
Homemade Granola Bars
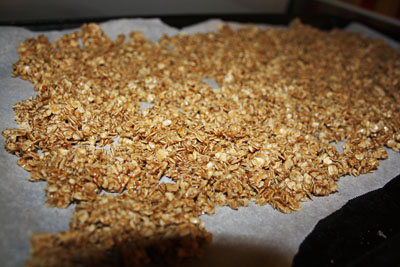
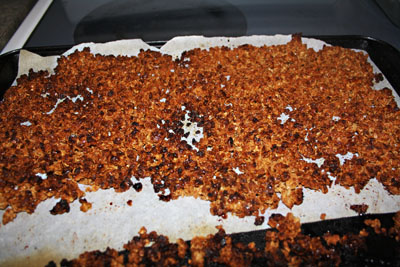
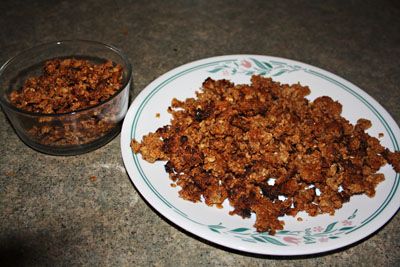
Bake for about 10 minutes, take out and mix it up, then another 10 minutes, take it out and mix it up again and then bake for another 5 minutes.
Homemade Granola Bars
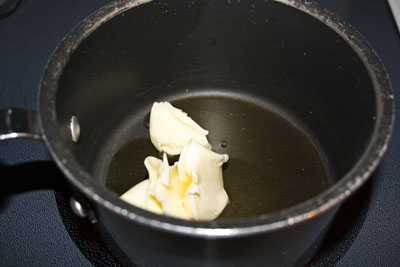
Now on to the actual granola bars! Melt the butter in a saucepan.
Homemade Granola Bars
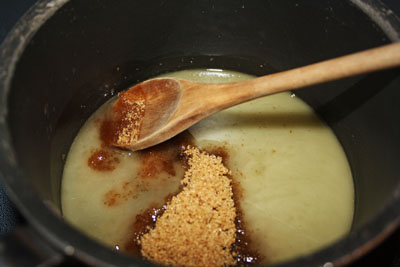
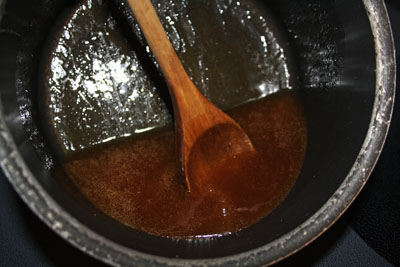
Add the brown sugar and the honey. Stir and heat till it’s melted.
Homemade Granola Bars
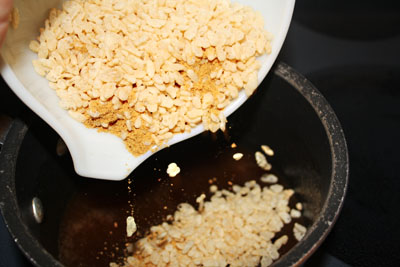
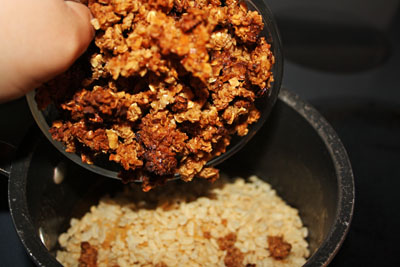
Now add the rice cereal and the granola.
Homemade Granola Bars
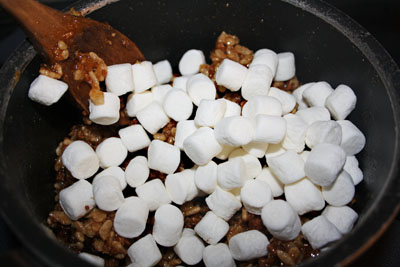
Marshmallows!!
Homemade Granola Bars
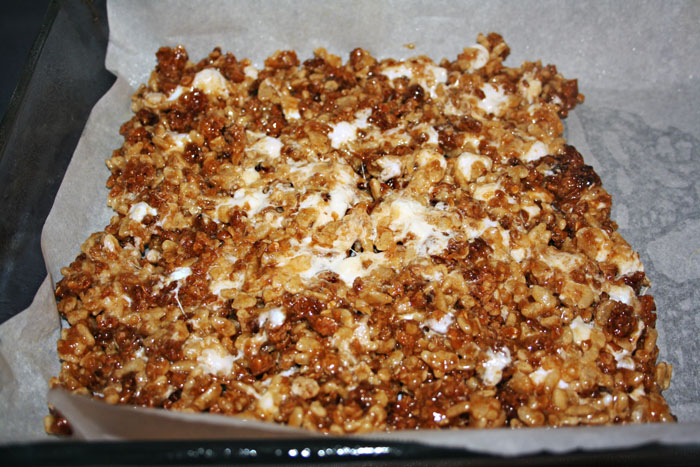
When the marshmallows are partially melted, spread the mixture into a parchment lined brownie pan.
Homemade Granola Bars
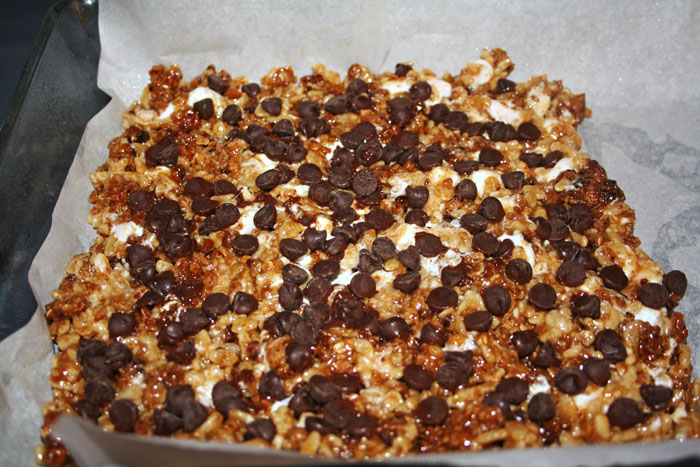
Then cover with chocolate chips!
Homemade Granola Bars
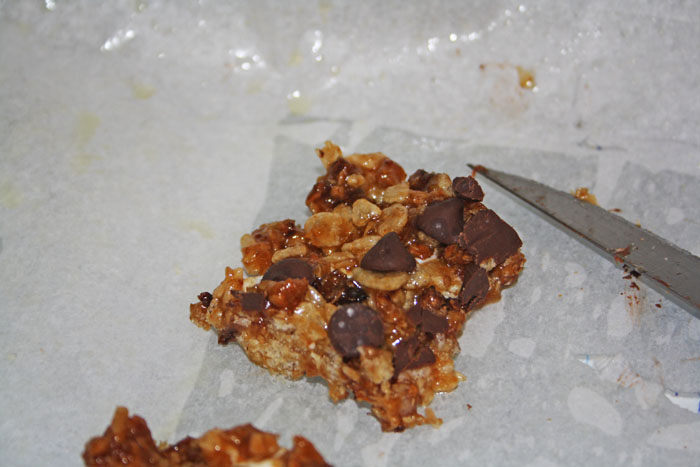
Cut them into bars and voila!
2 Comments

Raw Vegan Chocolate Cake

Healthy

Yes, yes. I know. Another raw vegan recipe. Yes people, it is another raw vegan recipe and it is amazing! Getting into raw vegan cooking doesn’t mean I’m only going to ever eat raw or even that I’m only ever going to eat vegan, but I’m looking at it the same way a lot of people look at quitting smoking. Every cigarette a person doesn’t smoke is better for them, right? So I really think that every vegan or raw vegan meal I eat is better for me. Plus with raw vegan desserts like this, it’s pretty hard to go wrong!

This was yet another vegan treat that was happily devoured by a room of non vegans.

Raw Vegan Chocolate Cake

Raw Vegan Chocolate Cake via Mama in the Kitchen
1/4 teaspoon sea salt
1/2 cup raw cocoa or carob powder
1 1/2 cups dates, pitted
2 cups soaked oat groats (or oatmeal grinded into oat flour)
6 tablespoons raw local honey

Raw Vegan Chocolate Cake
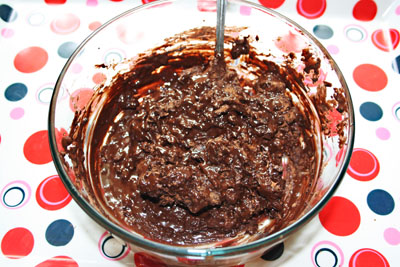
First, process your sea salt, raw cocoa or carob and dates. It’s sticky! Then add in the honey!
Raw Vegan Chocolate Cake
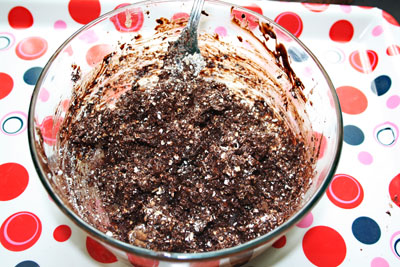
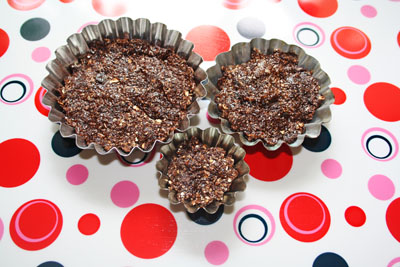
After that was mixed as well as I could get it, I mixed in the oat flour (or soaked oat groats). Now grease whatever tins or pans you’re using with coconut oil and press the batter into them. They don’t take very long to set, then you just pop them out and add whatever vegan frosting you like! I used the Deceptively Delicious chocolate pudding recipe I first tried last year. To make it vegan, I used non-dairy margarine instead of Becel.
Raw Vegan Chocolate Cake
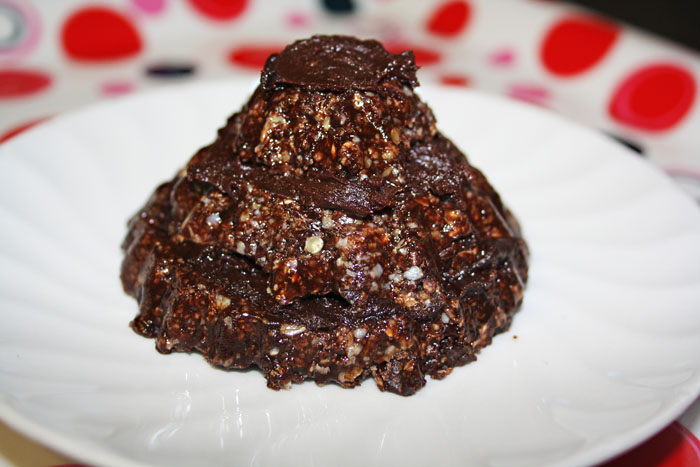
This recipe is pretty dense, I could only eat one layer of this little cake at a time!
No Comments

Homemade Tutu

Crafty, Kids

This week, I’m linking up with Polly Want a Crafter, Motivate Me Monday, Made By You Monday, Make It Monday, More the Merrier Monday, Masterpiece Monday, Craftomaniac Monday, Make It Monday, Metamorphosis Monday, Making the World Cuter, Make It Yourself Monday, and Bedazzle Me Monday! Check out the projects in these links, so creative and so fun!

This is one of those projects that’s only hard in your head, once you actually get started on it you’ll find it’s no biggie and comes together really, really quickly. As long as you can sew, even a little, you’re good to go!

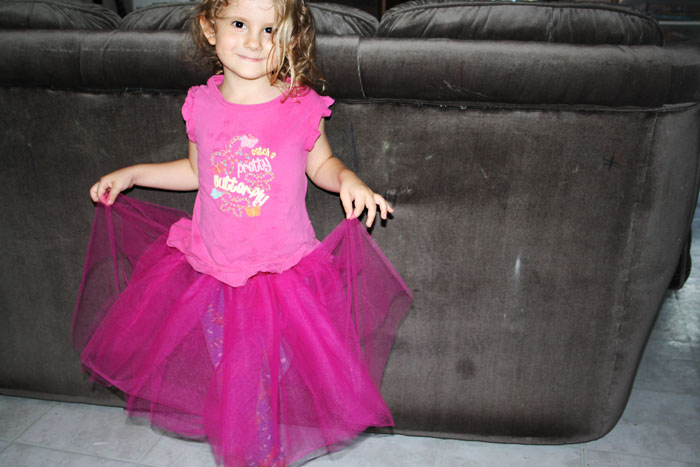
I made this for Wee One #2, but the same instructions apply for an adult, just bigger! She love, love, loves to dress up and run around and cause a lovely disaster in her cutest dresses. Making an inexpensive but adorable tutu for less than $10 makes a lot more sense than dropping $40 on one – especially if your wee one runs into the backyard and rolls around in the grass and/or dirt while playing princess and pirates!

Homemade Tutu

Tutu via Prudent Baby
4 yards of tulle
matching thread
safety pin (I ended up using a hair clip!)
2ft elastic (to fit around your wee one’s waist)
sewing machine duh
scissors double duh

Homemade Tutu
Homemade Tutu
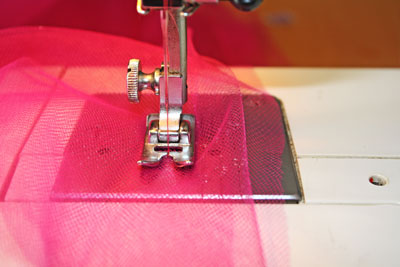
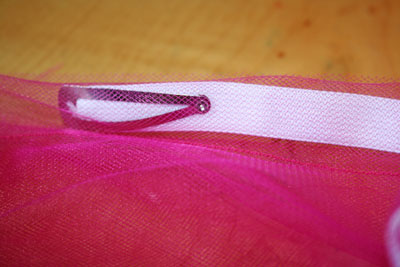
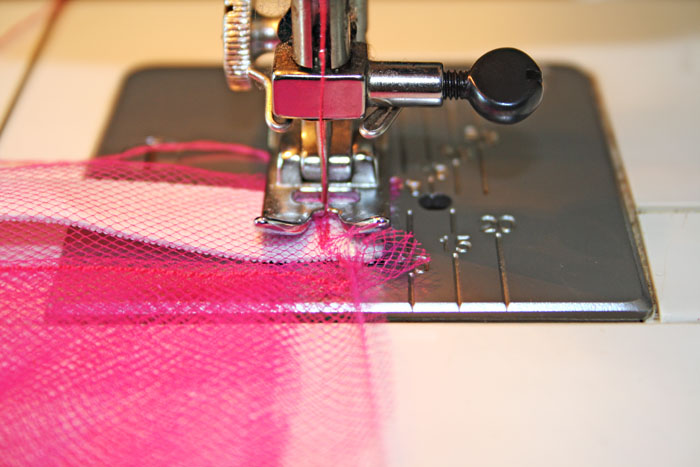
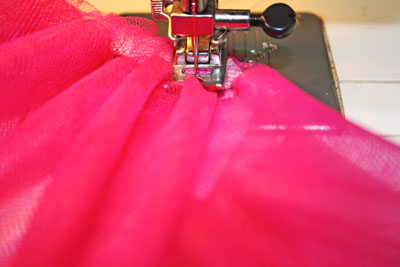
First, fold your fabric in half, widthwise so you have a wiiiiiide strip of tulle that is as long as you want the skirt to be. Now sew a small loop in the very top of all the layers to make a waistband. Then attach your elastic to a safety pin and feed the elastic through to the end. DO NO use a hair clip like I did. It was a bit of a nightmare.
Homemade Tutu
Make sure you sew the end in place once you have fed the elastic into the waistband.
Homemade Tutu
Homemade Tutu
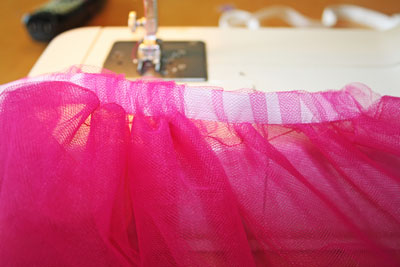
Keep feeding the elastic through to the end, it’ll be a little harder to work with the further through all the fabric you get. The wider your piece of tulle, the puffier the skirt will be. Puffier is always better when it comers to tutus. When you reach the other end, sew the elastic in place and then sew up the two ends to officially make it a skirt!
Homemade Tutu
Next time, I’d use about twice as much tulle to make it even puffier!
2 Comments

Raw Vegan Strawberry Pie

Healthy

Today, I’m linking up with Organizing Junkie and Life as a Lofthouse for Menu Monday and with KD Buggie Boutique, Mom Blog Monday and Tough Cookie Mommy for Mingle Monday.

One of the best intros to a vegan diet, or even just helping people to be less put off by vegan food in general, is with vegan desserts. Strawberries are always amazing, whether you think bacon is a good idea or not. Amirite?!

I made this for dessert one day and my husband wasn’t really interested in it. He’s a trooper though so he tried and it he was sold! He ate one individual pie and asked for a second one. Then he insisted Wee One #1 try one, and as reluctant as he he, he tried it too and also loved it! Hooray for strawberries!!

As with the grapefruit pancakes post, I’ll go on a little about why this recipe is a healthy choice.

In order of appearance, let’s start with coconut oil! Coconut oil is a saturated fat, and we all know that saturated fats are bad for us, so what’s up? MSN Health does a decent job of covering both sides of the debate, while The Huffington Post explains that not all saturated fats are equal and Care 2 Make a Difference lists six healthy uses. The truth is that the jury’s out on this one. That may not have been helpful, except to confuse you further. Sorry (and welcome to the club).

Honey is a an anti-bacterial, anti-viral, anti-fungal substance. Um, so I take that to mean we should all be rolling in it?! There are also studies that claim honey can promote better blood sugar control and insulin sensitivity! Plus as many of us with hippie parents know, it works pretty well as a natural cough suppressant! Though that last point is moot with honey as an ingredient. Moving on!

Almonds are one of those foods we’ve been reading about as a ‘superfood’ for so long we’ve accepted it but what’s so super about almonds? They’re high in mono-unsaturated fat and that has been linked to lowering LDL cholesterol and a reduction in the risk of heart disease. The heart disease reducing ability comes from the vitamin E in almonds and of course almonds are also a great source of magnesium (amazing for your veins and arteries) and potassium (important for nerve transmission and contraction of all muscles including your heart).

Orange juice, yes, is full of vitamin C. The phytonutrients in oranges are helpful in lowering both blood pressure and cholesterol!

Cashews, another seriously healthy nut, have the same mono-unsaturated fat that lowers cholesterol and heart disease risks as almonds have. They are also linked to a reduction in coronary heart disease and of course, the elimination of those little bastards we call free radicals.

Strawberries are the star of this show, both in taste, presentation and health benefits. Not only are they amazing for all the reasons we already know they are amazing, like their off the charts antioxidant scores, their combination of phytonutrients, cardiovascular support, prevention of cardiovascular diseases, improved regulation of blood sugar, decreased risk of type 2 diabetes and prevention of of certain types of cancers (like breast, cervical, colon and esophagel) – they are a very good source of fiber (duh) and iodine (really?!) which can help protect us from radiation exposure of iodine-131.

So eat up!!

We are moving long distance in just a couple of weeks. I don’t want to jinx it so I’m not going to talk about it until we are on our way, but it means we are eating from our pantry, and while well stocked, it’s going to be funny next week trying to use up what we have!

This week’s menu (March 12 – 18)
I mentioned last week, I make two separate dinners most nights because I’ve made some dietary changes and I’m not pushing it on my family. They tend to join in with a healthy May-style breakfast and lunch and I make their faves for dinner.

Monday – Slow Cooked Chicken with Rice for the fam, Sweet and Sour Tofu and Rice for me

Tuesday – Visiting my folks! So I’m not cooking!! But I’m bringing this Raw Vegan Strawberry Pie for dessert!

Wednesday – Beef Stew for the fam, Falafels and Beans for me

Thursday – Chicken Legs and Rice for the fam, Vegan Quesadilla for me

Friday – Chicken Ceasers for the fam, ‘Creamy’ Tomato Soup for me

Saturday – Chili for the fam, Tofu Nuggets and Salad for me

Sunday – Chicken Alfredo for the fam, Chick Pea Salad and Flatbread for me

Raw Vegan Strawberry Pie

Raw Vegan Strawberry Pie via Mama in the Kitchen
Cookie Crust
1/4 tsp sea salt
1/2 teaspoon vanilla extract
1/2 tablespoon extra virgin coconut oil
1 1/2 tablesppoon raw local honey
1 cup raw almonds, ground into a powder
Orange Cream
2tablespoons raw local honey
1 organic orange, juiced, (about 1/3 cup)
1 cup raw organic cashews, soaked overnight, drained and rinsed
1 pint organic strawberries

Raw Vegan Strawberry Pie

Raw Vegan Strawberry Pie

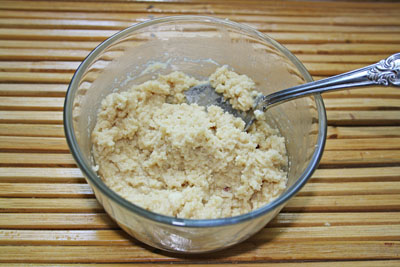
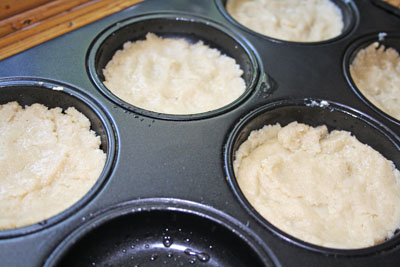
Blend all of the crust ingredients together in your food processor until it’s mushy. Grease whatever molds you’re using with coconut oil and then press the crust into the molds. Put these in the freezer for a while. You can leave them in for as little as it takes you to prep the rest of the recipe and hope for the best or do this part earlier in the day and make the rest later. I did mine all at once.

Raw Vegan Strawberry Pie

Raw Vegan Strawberry Pie

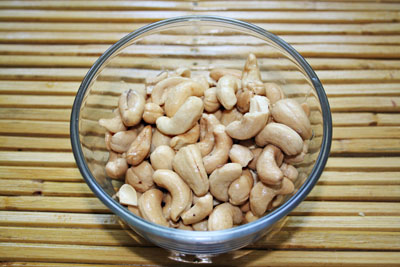
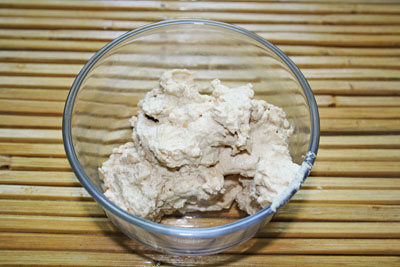
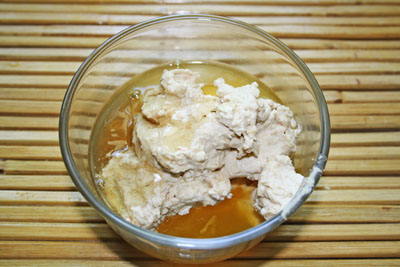
Drain all the water from your soaking cashews and pulse them till you have cashew butter!

Raw Vegan Strawberry Pie

Raw Vegan Strawberry Pie

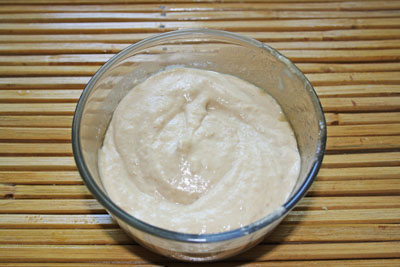
Mix your cashew butter with the orange juice and the honey till it’s smooth.
Raw Vegan Strawberry Pie
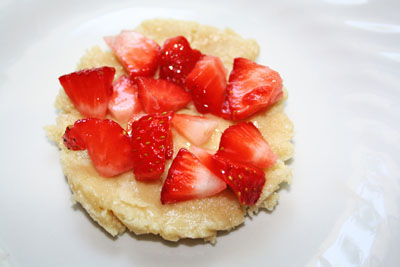
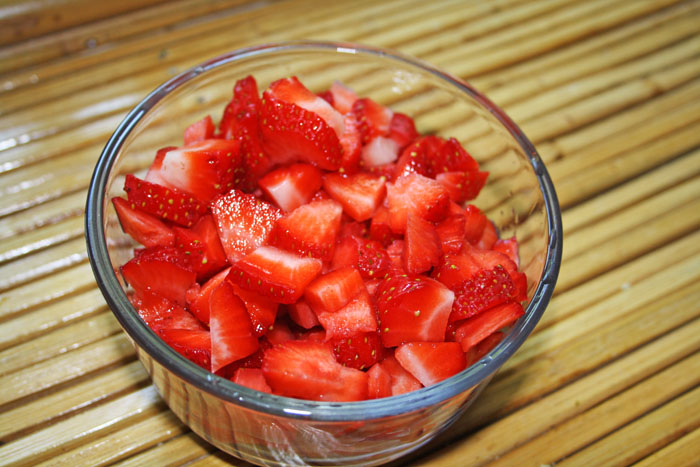
Wash and chop your strawberries.

Raw Vegan Strawberry Pie

Raw Vegan Strawberry Pie

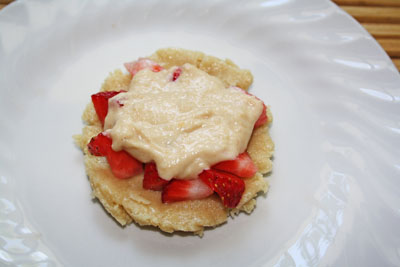
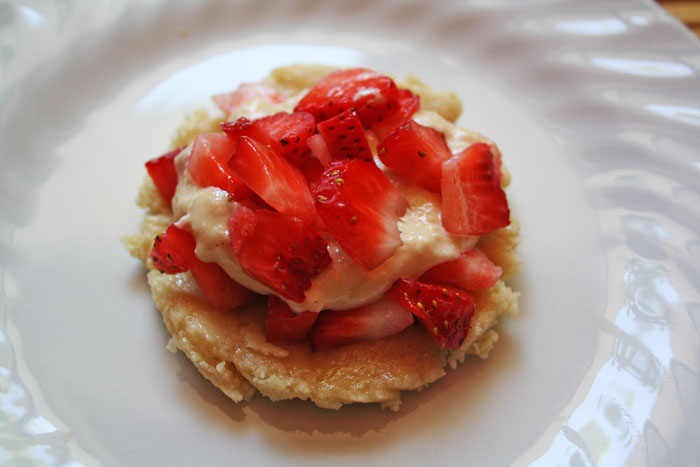
Now the magic. Assembly time! Pop out the frozen crusts and layer them crust, strawberries, orange cream, strawberries.
Raw Vegan Strawberry Pie
Honestly so good and refreshing!
2 Comments

Vegan Donuts

Healthy

Last year I fell head over heels for vegan food blogs, and one of my hands down faves is The Domestic Vegan, and though she hasn’t posted anything new since September, it’s a kick ass blog and is FULL of great recipes! Plus, I have at more than one point, gone months and months without blogging only to resurface so you never know if she’ll pop back up again!

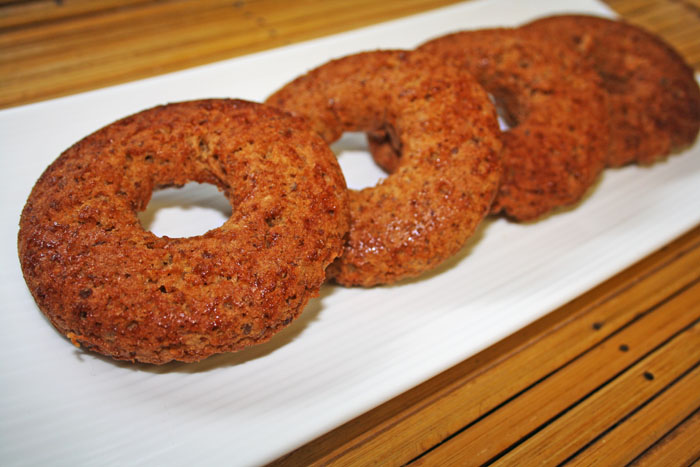
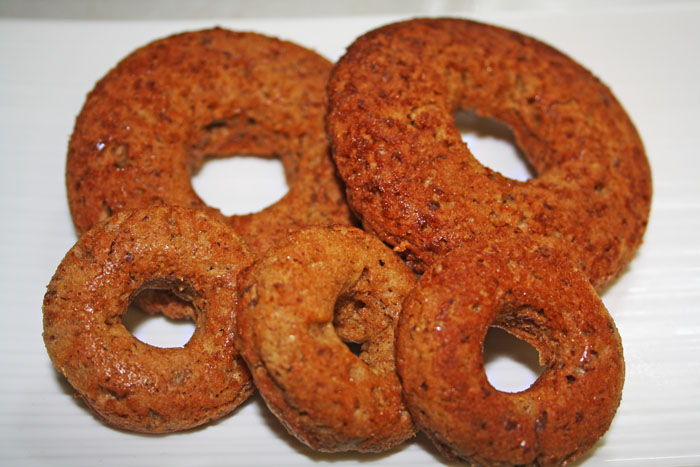
Usually in baking, I’ll use 1 tablespoon of ground flax with 2 or even 3 tablespoons of water to replace an egg. This is part of vegan baking 101, you generally grind up the flax seed and let it sit with the water for a few minutes so it can ‘set’, or you know, so it can get sort of goopy and be able to hold things together like the egg impostor we need it to be. In this recipe though, it all goes in together. I think it’s because it’s heated. Not totally sure why but look at the finished donuts! They look amazing! They puffed up as if they were made with eggs!

Not so surprisingly, since my kids seem to love things baked with almond milk, these donuts are now their most asked for after school treat! Even more than the deep fried donuts and donut holes I made for them last year that they loved! I swear it’s the nutmeg, nutmeg makes everything magic!

vegan donuts

Vegan Donuts via The Domestic Vegan

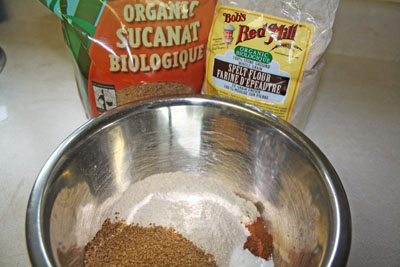
1 cup spelt flour
1/2 cup unrefined sugar
1 1/2 teaspoons baking powder
1/4 teaspoon nutmeg
1/4 teaspoon sea salt
dash cinnamon
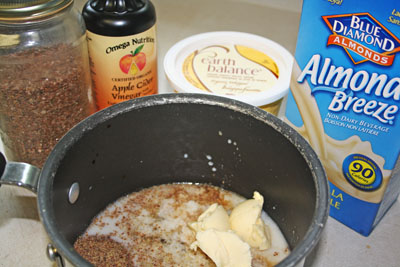
1/2 cup almond milk
1 teaspoon apple cider vinegar
1/2 teaspoon vanilla extract
1/4 teaspoon maple extract (optional)
3 tablespoons Earth Balance nondairy butter
1 tablespoon ground flaxseed + 2 tablespoons water
vegan donuts
vegan donuts
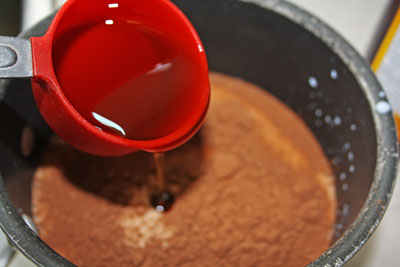
Preheat to 350F. This recipe is wonderfully simple. Mix all your dry ingredients in a bowl (spelt flour, unrefined sugar, baking powder, nutmeg, sea salt and cinnamon). Then mix all your wet ingredients in a saucepan (almond milk, apple cider vinegar, vanilla, maple, nondairy butter, ground flax and water). Set aside the bowl of dry ingredients and warm up the wet ingredients until the nondairy butter melts. Don’t let it get hot, you’re not trying to cook it!
vegan donuts
vegan donuts
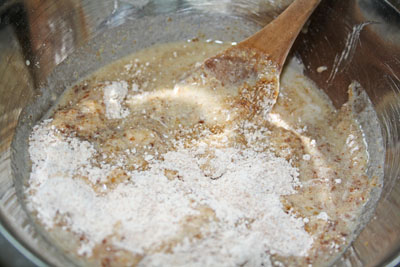
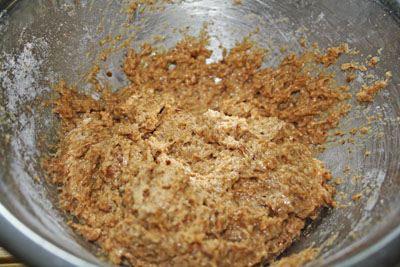
Now pour the warm wet ingredients over the dry ingredients and mix it all up. It’ll be really soft, but not runny.
vegan donuts
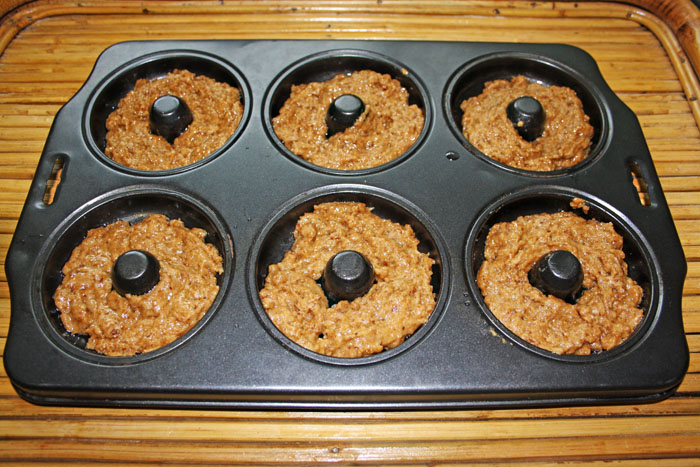
Spread the mixture into your (greased) donut pans. Cook for about 15 minutes. The originally recipe said 16-18 minutes but mine were done at 15 minutes.
vegan donuts
Voila!!
vegan donuts
No Comments

Ice Cream Bites and Vegan Chocolate Syrup

Domestic

This is one of those recipes that’s hardly even a recipe. If you use chocolate chips instead of making your own chocolate sauce, it’s even less of a recipe! Like most kids, mine will eat ice cream anytime – when it’s snowing, in the middle of a heat wave, when it’s raining, whenever. So this after school treat in March in Canada should not be surprising.

The reason I went with making my own syrup instead of using chocolate was only because I wanted to try out some vegan chocolate recipes – and this one was amazing.

ice cream pops

Vegan Chocolate Sauce via Happy Herbivore
1/4 cup unsweetened cocoa
1/4 cup water
2 tbsp agave nectar
1 tbsp water
1 tbsp cornstarch
Ice Cream Bites via This Chick Cooks
ice cream
vanilla wafers
chocolate for melted (or chocolate syrup)
ice cream pops
ice cream pops
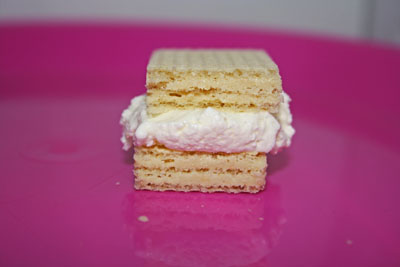
To make the syrup all you do is mix the cornstarch with 2 tbsp of water and set it aside. Then whisk the cocoa and the water together, stir in the agave and the cornstarch mixture. Bring it to a boil and keep stirring till it’s thick enough to set up but thin enough to coat the ice cream sandwiches (OR you can just melt about a cup of chocolate chips and add a teeny bit of oil). Then assemble your little sandwiches! I cut each vanilla wafter in 3 pieces and used about a tablespoon or so of ice cream.
ice cream pops
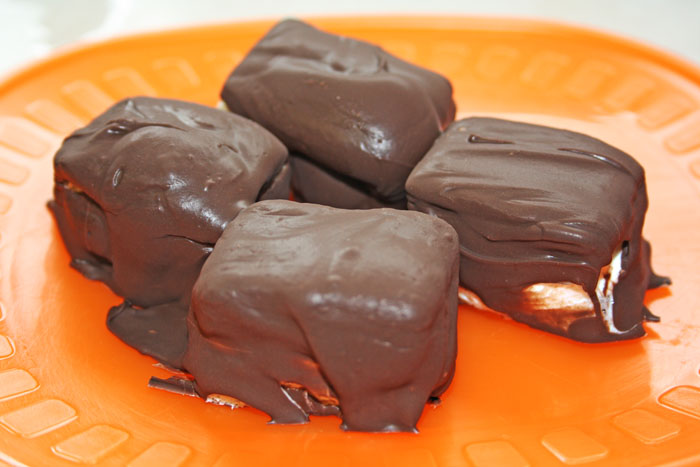
Now coat the little sandwiches with the chocolate syrup and pop in the fridge for a few hours till it’s set up. So so so good and such a fun surprise for the kids after school.
No Comments