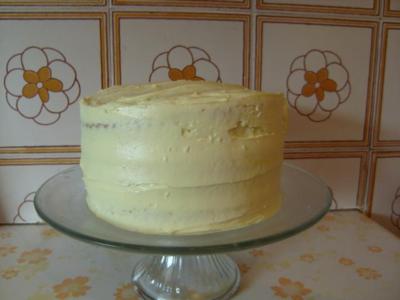
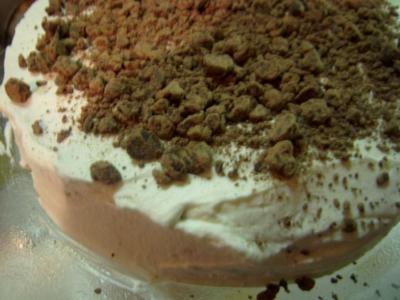
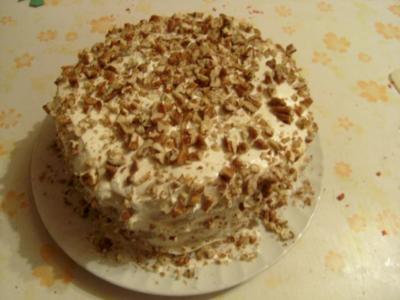
Browsing the archives for the baking tag.

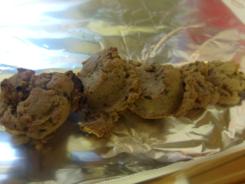
More Christmas Cookies – Chocolate Gingerbread Drops

Domestic

So I mentioned yesterday that I’m all about the gingerbread, and I meant it. It just makes the house smell so Christmasy and, at least to me, it takes like Christmas – second only to peppermint. What smells and tastes like Christmas in your house?

After rolling out and cutting about 50 gingerbread men and reindeer and over 150 sugar cookie shapes this weekend (post coming after I’ve decorated them at some point this week) it was a great relief to make some drop cookies. Just mix, drop and bake? Yes please!

Chocolate-Gingerbread Drops – from Christmas Cookies Magazine (Better Homes And Gardens, 2009)

1/2 cup butter
3/4 cup packed brown sugar
3/4 tsp baking soda
1 tsp ground ginger
1 tsp allspice
1/4 tsp salt
1/4 cup molasses
1 egg
2 cups flour
3 oz bittersweet chocolate, chopped


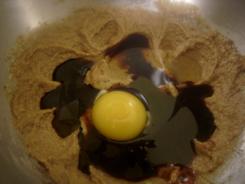
Beat the butter for about 30 seconds, then add the brown sugar, baking soda, ginger, allspice and salt. Mix until this is well combined before adding in the molasses and egg.


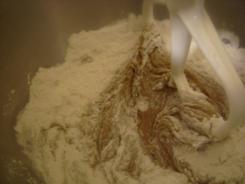
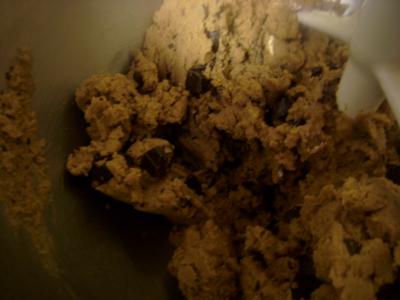
Now if you have a serious stand up mixer (thanks Mom!), you can add all of the flour, but if not use your mixer for as much of the flour as you can before you mix the rest of it by hand. Then stir in the chocolate chunks. The original recipe called for 1/2 cup of dried cherries to be added now, but I’m not big on dried fruit in cookies.

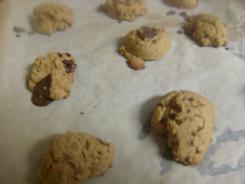
Drop the dough by rounded teaspoons onto a parchment paper lined baking sheet and bake for about 8 minutes at 350. Make sure to cool them on a wire rack before you try to move them because the chocolate chunks are going to be melty.


To avoid eating them, I wrap them in tin foil, tuck that in a freezer bag and pop them in the deep freeze till just before Christmas. I only leave enough out for my husband and the kids. 😛

No Comments

It’s Gingerbread Time!

Domestic, Kids

In this post, I’m participating in Tempt My Tummy Tuesdays, Tuesdays at the Table, Tuesday Night Supper Club, and Hearth ‘n Soul

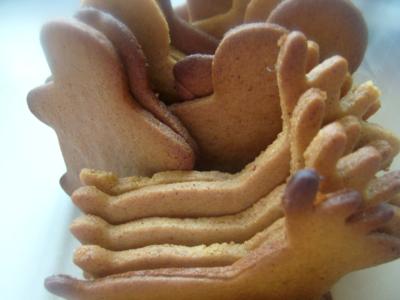
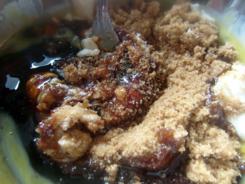
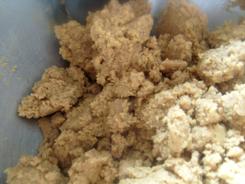
Christmas in our kitchen means a lot of things, it means sugar cookies and almond crescents, and my mother’s truffles and white chocolate snowmen. Above all else though, it means gingerbread! I love making classic gingerbread, and as you’ll see in recipes over this week, I love making other forms of gingerbread-style cookies and treats because of the way it makes the house smell. I also feel like a serious baker when I use this many spices in a single recipe!

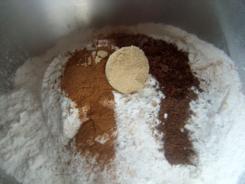
First, mix these ingredients in a big bowl:
2 1/2 cups flour
1 tsp baking powder
1/4 tsp baking soda
1/4 tsp salt
1 tsp ground cinnamon
1 tsp ground ginger
1 tsp ground cloves
1/4 tsp ground allspice
Then mix these separately:
1 egg
1 cup firmly packed dark brown sugar
2/3 cup dark molasses
6 tbsp butter


Add the dry to the wet and voila! The original recipe says to cover the dough and refrigerate it for an hour. I learned from a Daring Baker challenge in September (sugar cookie recipe) to roll out portions of the dough between pieces of parchment paper and refrigerate that – it takes not even a quarter of the time, so by the time you’ve rolled out the last of it, the first is ready to come out.

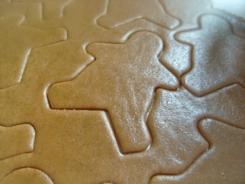
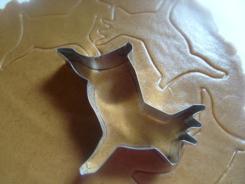
People are the most traditional shapes to make, but I also adore the reindeer shapes. This batch was made for the kids to decorate and eat, for the next batch I’ll also make some Santa boots and teddy bears. Painfully cute. I’ll post more pics as I bake them.


Royal icing is the best for decorating these, of course! Mix 2 egg whites with 2 teaspoons of lemon juice and 2 1/2 to 3 cups of icing sugar. The more icing sugar you add, the thicker it’ll be, and I have found that to get those childhood memories of the serious gingerbread cookies you’ll want a thick batch of icing. If you find it too thick, just add a touch of water – tiny drops at a time.

More festive recipes this week! Chocolate-Gingerbread Drops, Milk Chocolate Fudge Crinkles, Sugary Citrus Twists, Sugar Cookies and Gingersnaps!

5 Comments

Christmas Freezer Baking

Domestic

I have missed three posting days after not missing for over a month! The horror!! I will wait till next Monday to catch up on my Marriage Monday posts, and will resume my regular posting schedule next week. For now though, I’ve got some fun recipes to get you in the mood for Christmas!

Just a little note for future reference, mostly to myself. All recipes made for the 2010 Christmas season will come from magazines and books I have fallen in love with, bought, and left to sit alone (well, alone with each other) in my kitchen. I have about eleventy billion of them, time to actually use them!

I’ve been gearing up for Christmas baking, mostly icebox cookies that are made for freezing. Some doughs make for great slice and bake logs and some cookies freeze excellently after they’ve been baked and cooled. So I’m doing a bit of everything and as I make things for the freezer, I’ll post recipes and next month let you know how well they froze. I can’t possibly explain to you how hard I am hoping that next month I’ll say that all the recipes I chose to freeze worked out perfectly! The whole point to doing this is to cut back on my December baking time and to make as many different kinds of cookies and bars and wee treats to package up and send out as possible!

So far, I have made White Chocolate Dipped Red Velvet Shortbread Cookies, Peanut Butter Brownie Biscotti and Ooey Gooey Chewy Smore Bars. Yes, I sampled – but just one of each! They were all pretty straightforward and turned out well. Today I’ll give you the shortbread and the biscotti – stay tuned tomorrow for these gooey bars. Mmmmm.

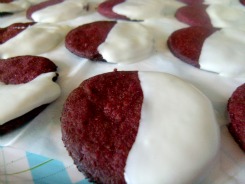
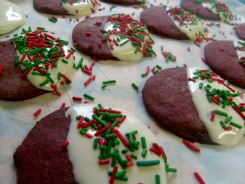
The red velvet shortbread was pretty much what you’d expect – a fairly standard shortbread with a general addition of red food colouring, once they were baked and cooled, I dipped them all in white chocolate. I got two dozen cookies out of the recipe, half of them I left the white chocolate alone, and the other half got a dash of red and green sprinkles.
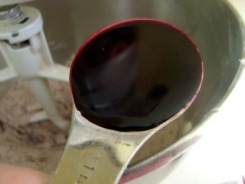
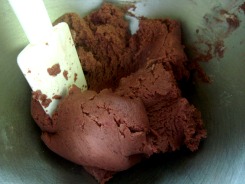
 

Red Velvet Shortbread Cookies – from Christmas Cookies ’09 (a Better Homes & Gardens magazine)

1 1/4 cups flour
1/2 cup sugar
2 tablespoons unsweetened cocoa powder
1/4 teaspoon salt
1/2 cup butter, cut up
1 tablespoon red food colouring
3 ounces white chocolate
1 1/2 teaspoons shortening
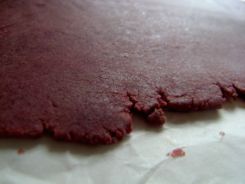
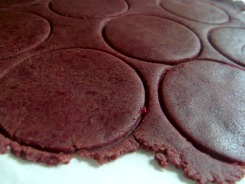
 

Preheat to 325. Stir together the flour, sugar, cocoa powder and salt. Use a pastry cutter to cut in butter and food colouring until mixture is crumbly and starts to cling together. Form into a ball, knead till smooth.

Now flour your counter, knead your dough on it and roll out to about 1/2″ thick, cut your dough in whatever shape you like, just keep in mind the baking times will be off. Put them on your parchment paper lined baking sheet, mush the scraps up, re roll them and do it again.

The recipe said to bake for 20 minutes and mine burnt at the 10 minute mark. In my supernova oven they were ready in 6 minutes, so test your oven!!
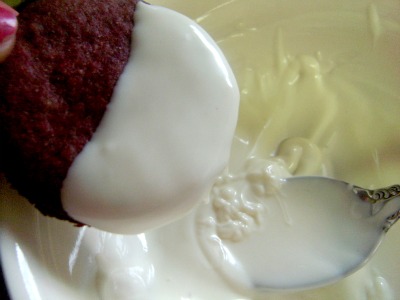
As the cookies were cooling on a wire rack, I melted the white chocolate in a ceramic bowl set in a pan of hot water. Then I coated half the cookie, and put it on a piece of parchment paper on a tray. If they got a shot of sprinkles, they got it here before they were popped in the freezer till the chocolate had set so I could put them in freezer containers.
 

Even though I had never made biscotti before, making four different kinds of it to give away at Christmas is on my list of things to do this week. I’d show you my list but I don’t want to frighten you. 😉
 

Peanut Butter Brownie Bsicotti – from Christmas Cookies ’09 (a Better Homes & Gardens magazine)

1/2 cup creamy peanut butter
1/4 cup butter, softened
2/3 cup sugar
1/3 cup unsweetened cocoa powder
1 1/2 teaspoons baking powder
2 eggs
1 teaspoon vanilla
1 3/4 cups flour
1 cup chopped semi-sweet chocolate (about 6 ounces)

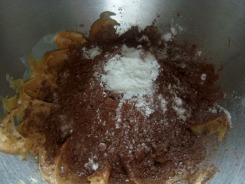
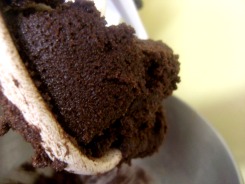
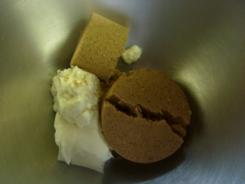
Preheat to 375. Cream the peanut butter and the butter, beat for 30 seconds and add the sugar, cocoa powder, baking powder. Scrap down the sides of the bowl, beat in the eggs and vanilla until well mixed, now beat in the flour and once it’s all combined, stir in the chocolate chunks with a spoon.
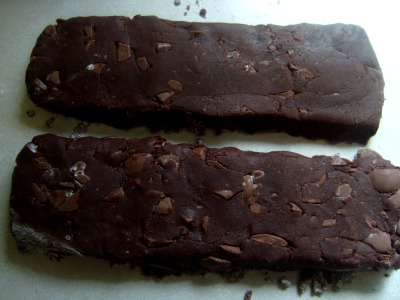
Knead the dough on your floured countertop and form it into a 9″ x 2″ roll. Usually, when recipes tell me to do something like that, I can never get it to be the right shape but this recipe actually works and 9″ x 2″ is totally doable. Bake this loaf on a parchment paper lined baking sheet for 20 minutes (according to the recipe, my crazy oven had both rolls fully cooked in half the time).

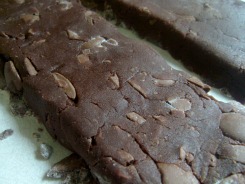
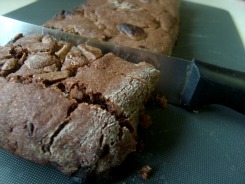
Once they’re out, you can turn off your oven – for now. Let them sit for an hour, then cut them into 16 pieces each and bake them again, for another 10 minutes (5 for me), then flip them over and bake for another 10 (or 5 lol).
 

This month is full of Christmas baking and knitting and serious prep for my sister’s 22nd birthday party in 2 weeks. I’m so excited I want to post all about it, but I don’t want to unleash any surprises in case she’s reading. Hi Nikki!
1 Comment

Making Your Home a Haven, Part #5

Churchy, Domestic, Healthy, Kids, Marriage

In this post, I am participating in Making Your Home a Haven, and Marriage Mondays.

I am so excited to get to this week’s challenge I want to breeze through last week, but I wont. 😛

So last week was about tenderness, and the suggestion was a serious pillow fight in the living room. We had a pillow fight, but in the interest of not breaking our TV, we had the pillow fight in the girls’ room – home to many pillow fights already! I gave back rubs to everyone and they all got into it and they were all giving back rubs to each other! Wee one #3 is in the ‘mimicking everything everyone does’ stage and was really, really into it. It was both heart warming and hilarious. I said last week that I don’t know how long the tenderness will last with the kids as they grow up, especially my son! You never know what the future holds, so for now I’ll take as many snuggled as he’ll give me!
This week’s challenge is to cook things that smell good. As anyone who has ever read my blog knows – I’ve got this locked down. I have considered cooking and baking to be art since I was a kid and first decorated cakes with my Mother and sugar cookies with my Granny. I cook every meal from scratch with the exception of lunch for the kids when they want something ‘fast and boring’. Even breakfast is pancakes or french toast or oatmeal (you know, the kind you actually cook in a pot and not the instant ‘just add boiling water’ kind).

Sometimes I fall in love with a recipe that uses store bought pre-made stuff, I’ll take it a step further (most of the time) and make as much of it from scratch as I can. It sounds a little crazy but I swear it’s never as much work as you think and the house smells so so so good!

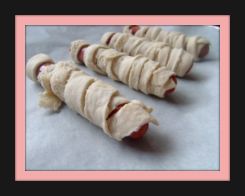
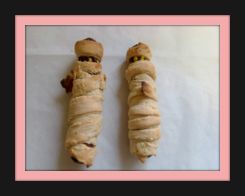
These mummie hot dogs are a great example! The recipe I first saw used refrigerated crescent roll dough and hot dogs. While I am not above making my own sausages I do use regular hot dogs, but never pre-fab dough! So I took an extra 10 minutes (literally) and made some pizza dough to wrap around our hot dogs! 10-15 minutes in the oven at 350 and they were done. Even if you do use the pre made dough, the whole house will smell a lot yummier than it would if you just cook up some hot dogs and pop them in buns.


My kids are 10, 4 and 20 months and already I know they all associate me with the kitchen and yummy smells. I even started sneaking veggies into their treats a couple of years ago and no one noticed the chick peas in the chocolate chip cookies or the black beans in the brownies (thanks Gilly!!)

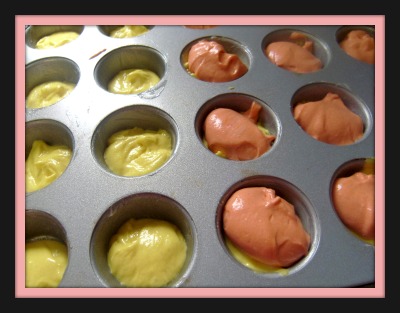
These candy corn cupcakes were made with apple sauce instead of oil and no one even notices!

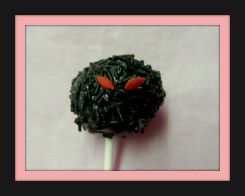
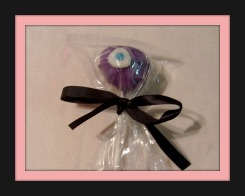
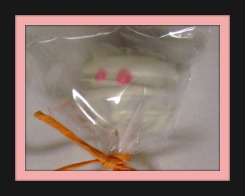
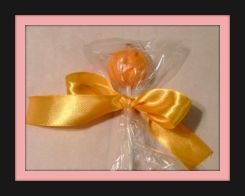
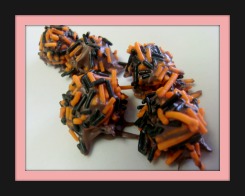
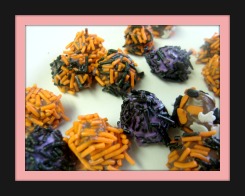
I made these cakeballs as Halloween treats for the kids classmates and they are made using mashed bananas instead of oil. The orange pumpkin though, he’s 100% orange candy melt, no nutrition there. 😉


Of course there is a spiritual side to this too. The whole point of this challenge series is to make our homes more welcoming and inviting and full of love for our families. This only happens in the kitchen if you’re focusing on your family and your positive intentions while you’re in the cooking and baking. Have you ever seen an overstressed woman preparing a serious supper? It smells wonderful, but the moment a little one tries to cross the threshold into the kitchen, mama freaks out and wants the kids out of her way. It’s not about that, it’s not just the smell. It’s about the feeling of togetherness and warmth we’re creating, and coming from someone who is literally in the kitchen most of the day, I can say with certainty that sometimes it is a little stressful. But just like with everything else in life, when it gets too much for me, I give it up to God and feel a lot calmer. A kitchen that smells amazing is spoiled by a grouchy cook!

I am thankful that today’s post is food-focused so I can post about some of the fun treats I made and didn’t have a chance to post on Thursday and Friday. I’ll sneak in two more pics for this post! Chocolate coated and candy covered mini marshmallows!


There will be a handful of Halloween treats left that I’ll save for another foodie post tomorrow. 🙂

3 Comments

Last Day of School Treats!

Domestic, Kids

Yes, this happened two weeks ago, but it was a great day and the treats were really fun to make and turned out exactly as I had hoped. There are other fun creative domestic adventures that have happened even before the last day of school, but I really wanted to share these photos first.

I plunked down with the wee ones and the laptop and they picked what they wanted to bring to their last day of school parties. Wee one #1 picked Barerella’s Oreo Truffles and Wee One #2 picked Bakerella’s Candy Apple Pops. I love that they both picked from the same site, even with all their other options!

Oreo Truffles – from Bakerella.com

1 package Oreo cookies (divided, but use the creamy filling too)
1 8oz. package softened cream cheese
white chocolate (or whatever you like)
Oreo crumbs (optional)

1. Crush about 7 cookies and keep them for topping the truffles, or use a box of Oreo crumbs.

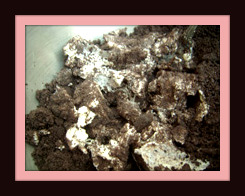
2. Crush the rest of the cookies and mash the cookies and cream cheese together. Bakerella suggested using the back of a spoon for the mashing, and it was a great help – so use the back of a spoon!

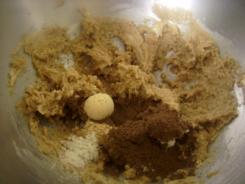
Oreo Truffles in progress Oreo Truffles in progress

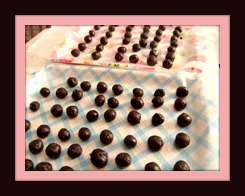
3. Roll the mix into 1″ balls and line up on wax paper covered cookie sheets.

4. Pop them in the fridge as you melt the chocolate to make it a little easier on yourself. Coat in chocolate, sprinkle some of the crushed cookies crumbs on top and transfer back to wax paper. Sprinkle with the cookie crumbs and let them dry. Pop them back in the fridge for a few to set up – don’t eat them yet!!

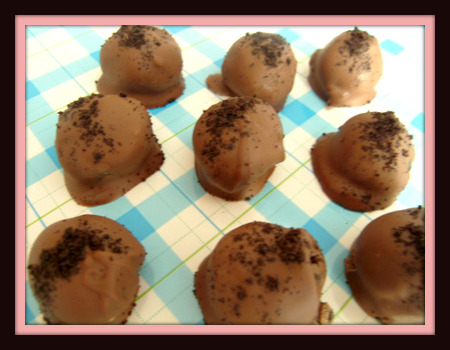
Oreo Truffles

The recipe used white chocolate, and the look that gives is way more visually appealing than milk chocolate. It just looks more Oreoy, you know? However, wee one #1 and his friends are not fond of white chocolate, and they were the ones eating them, so milk chocolate it was.

Once the chocolate has set up and hardened in the fridge, they are amazing. They’re amazing even before they go in the fridge, but if you wait till they’ve been in the fridge for a few hours, they have a perfect little crackle when you bite into the hardened chocolate. Mmmm.

Apparently, these went very fast at his school party and all of his friends asked him to bring them to school parties next year! A few of them even asked

Candy Apple Pops – from Bakerella.com

1 batch of cake pops
Red candy melts
Pretzel sticks
Green candies (I used green apple licorice)

My husband does all of the grocery shopping and errand running around here – which I am eternally grateful for – and this list was no exception. He knows that school treats are a big deal around here and rightly assumed that meant that last day of school treats would be a very big deal. He must have called me 10 times during that shopping trip with thoughtful questions!

Regular pretzels or pretzel sticks?
Is a pound of candy melts enough?
What kind of green candy? I’ll get green apple flavour for the apples!
Do you need packaging for them?
Can I eat one?

green apple licorice melted red candy melts

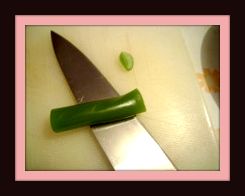
So first, make your cake pops. Either while the cake is baking or cooling, gather your leaves and stems. I cut up the green licorice leaves and I broke up the pretzel sticks. Set up a little assembly line to make putting them together go faster and smoother.

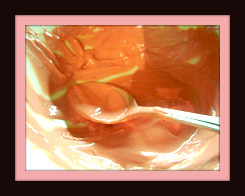
Once they’ve chilled and are ready to be coated in chocolate, melt down the red candy melts. I prefer the double boiler method, but you can just as easily use the microwave if you’d rather that or don’t have a double boiler. I always dip my cake pop stick in the melted chocolate/candy first so it sticks to the inside of the pop better. Then I use a soup spoon to coat it evenly and set it on it’s head to dry. In retrospect, I should have let them dry standing, in the contraption I fashioned to assemble them (I poked holes in a small cake board and balanced it over two tall glasses).

Candy Apple Pops

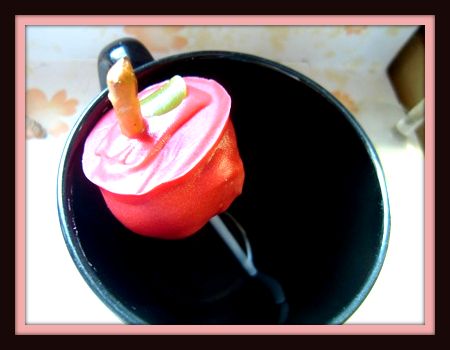
Poke the pretzel stem into the top of the apple pop, if you’ve let them dry first just dip the bottom of the pretzel in a little melted candy and poke it in. Same goes for the green candy leaves. They go from being a red cake pop to an apple cake pop in no time!

These were a serious hit at school, all of the kids loved them and almost all of the parents who saw them commented on them. They were very, very fun to make. My husband came into the kitchen and helped out with assembling them all and it was hilarious. He is very detail oriented and wanted to place each leaf just so.

Chocolate Covered Pretzel Sticks

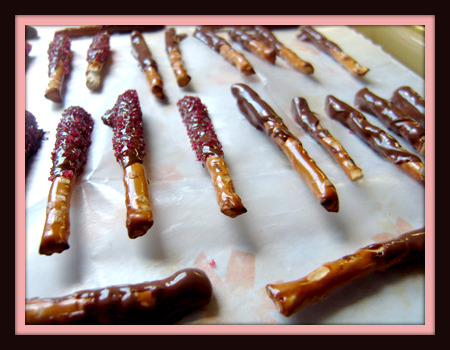
After school, we had a little ‘Yay Summer’ picnic on the porch and this is one of the wee treats I made for them. We had so many pretzel sticks left over, and I always have about a ton of chocolate in the pantry, so I made some chocolate covered pretzel sticks. I also saved some Oreo Truffles and Candy Apple Pops for them to share with the kids on our street. I’ve got big plans for a Yay Summer party next year now!

2 Comments

Eat Your Fruits and Veggies (and Check Your Oil)

Domestic, Healthy

When I was a kid, I wouldn’t eat anything green – unless it was some form of candy or ice cream. This horrified my then strictly vegan father, a hippie powerhouse of health, which very likely amused my mother, who was a Kraft Dinner loving, late night ice cream eating kinda gal (I say ‘was’ because she had a heart attack 5 years ago and now eats like my dad). He was huge on smoothies, but not just the delicious fruity ones, he’d also do the veggie shakes – who does that?! He made his own breads and chocolate cakes and cookies and all kinds of amazing treats as well as wonderful stir fry’s, casserole-type dishes, and soups. I’d eat some of the treats, but mostly I’d turn my nose up at them and eat some disgusting sugary and/or marshmallowly concoction. I didn’t know it then, but most of these creations were hiding a veggie or two. I do it too now, some recipes are from him, some I’ve found online or in cookbooks and others still are from my friends. Gill makes the most amazing black bean brownies, Jessica Seinfield has a chocolate chip cookie recipe with chick peas – it works!

Now? I’m on the phone with him constantly asking for ideas and tricks for substituting healthy options for the more horrible ingredients in my favorite recipes. The easiest change to make was using mashed bananas or applesauce instead of oil in cakes and muffins. Mashed bananas work best with chocolate or oatmeal items and applesauce is a good pick for pretty much everything else because you can’t taste it as much. Usually people don’t notice there is applesauce in it unless I say something, or people comment that it’s moist. Sometimes, if the main taste of the cake is a fruit anyway, I’ll just add more of it’s liquid in place of the oil called for, like in the chocolate-cherry cake I made for our Miss America party (I swear, I will post about this little gathering soon).

My favourite combo is chocolate and banana, there’s just something about it that tastes ‘right’, you know? Here is the recipe I use the most – this was the decoy cake I made for our dear friend Andrew’s 29th last year. It was the decoy for a hilarious cake Gill had done for him at Dairy Queen, where they used an image of Burt Reynolds body on a bear skin rug – with Andrew’s head! Anyhoo….

Chocolate Banana Cake
2 cups white sugar
1 -3/4 cups whole wheat flour
3/4 cup cocoa
1-1/2 tsp baking powder
1-1/2 tsp baking soda
1/2 tsp salt
2 large eggs
1-1/2 cups mashed bananas
1 cup warm water
1/2 cup milk
1-1/2 tsp vanilla extract
Preheat to 350. Whisk your sugar, flour, cocoa powder, baking powder, baking soda and salt.


Then mix the eggs, bananas, water, milk, oil and vanilla extract. Add the wet to dry, as usual, till well mixed. Note that this batter looks really runny but bakes up just fine.Pour into your cake pan (10″ round or maybe a medium rectangle) or cupcake liners, and bake for about half an hour. Adjust time for the size of your cake/s or cupcakes.

Other more obvious tips were to use low fat or no fat vanilla soy milk instead of 2% milk, whole wheat flour over white flour in pretty much every recipe (I drew the line at pie crust for lemon meringue, it just wasn’t right), and to use parchment paper or a non stick pan instead of greasing. That’s all fine and the flavour of most of my regulars haven’t changed much.

There have been a few silly attempts at making fundamentally unhealthy food healthy. Like when I tried to make onion rings with crushed Fibre 1 cereal as the coating. Not only was that a bad idea (I guess it wasn’t *that* bad, but it wasn’t exactly a substitute for the taste, or even the texture, of an actual onion ring. The real secret to making decent-for-you onion rings is in the oil! Using french fries as a classic example here, if you fried them in vegetable oil (as most people do), you’re looking at a top temperature of about 300 degrees. The issue with that is most foods (yes potatoes included) don’t have a low insta-cook temp, so they have to sit around in the vegetable oil for a few minutes to cook and while they do that, they of course soak up awful amounts of oil that no amount of paper towel patting will remove. Now, enter higher temperature oils, like canola, saffron and sunflower. These oils have temperature ranges much higher, closer to about 450+, which is perfect for your fries and little shrimp pops and yes, even your deep fried chocolate bars (even I think that’s gross and I looooove Snickers muffins). Most foods will cook within about 30 seconds in oil that’s 450 or 500 degrees. I’m not saying that your canola oil onion rings are going to be totally free from any oil at all, but I am saying that the amount absorbed is negligible and that’s before you’re patted them down with a paper towel! Sidebar, don’t mess around with weird and likely dangerous ways to guess your oil’s temperature. Just use a candy thermometer and know for sure! Second sidebar, make sure you’ve got a fire extinguisher when you’re cooking with oil. I know we’ve all used oil hundreds of times with no issue, but a grease fire is unpredictably dangerous and not something to mess around with at all. Also, from experience, keep the fire extinguisher just outside of the range of fire from the stove and not right beside it. ‘Quick, jump through the flames to get to the fire extinguisher!’

I’m still not especially fond of most green foods, but I know better and actually eat them now.

4 Comments

Classic Tiramisu and A Purple Birthday Cake

Domestic

Last year, during my self-inflicted bake-a-pie-a-week challenge, I vowed to bake a cake a week in 2010. As soon as I did my friend Gill said she wanted to make Tiramisu! I loooooove Tiramisu, but I’ve never tried to make it before. She held out until March, then came over with all the ingredients and this recipe.

Cake #13 – Classic Tiramisu
6 eggs
1-1/4 cups white sugar
1-1/4 cups mascarpone cheese
1-3/4 cups heavy whipping cream
2 (12 oz) packages ladyfingers
1/3 cup coffee flavored liqueur


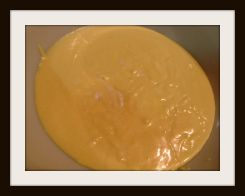
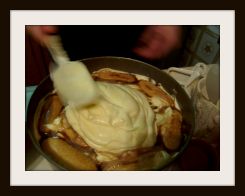
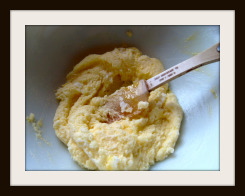
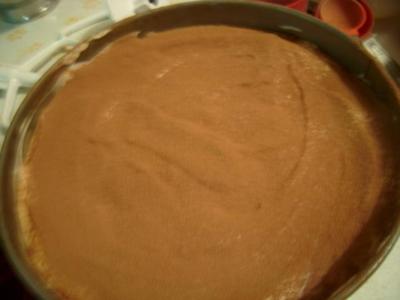
Gill broke up ladyfingers to lay in the bottom and coated them in Kahlua while I mixed the egg yolks and sugar over a double boiler (10 minutes or so). Then I whipped them till they were yellowy and thick. The mascarpone gets added to the whipped yolks and separately, Mr Kitchen Aid whipped the cream till it was perfect and that was very carefully folded into the mascarpone/whipped yolk mix.


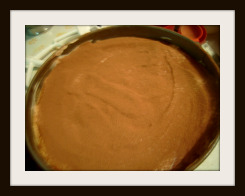
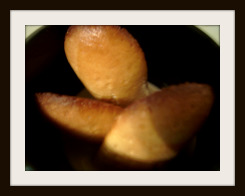
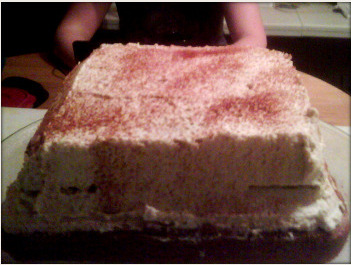
Then, we put it all together. Half the cream filling goes on top of the layer of Kahula-soaked ladyfingers, then more ladyfingers are broken and laid on top and also soaked in Kahula. Then the rest of the filling of course. We were going to cover the top of it in chocolate curls but all that cream seemed a little scary calorie-wise, so we just sprinkled some cocoa over it instead. We put it in the fridge, for much less time than we should have I’m sure, and it was amazing. It didn’t hold it’s shape as much as I would have liked but it was so good it didn’t matter. Also pictured is a mug with four ladyfingers soaking in milk, to be crunched up and eaten ‘once they’re soft enough’. Even just writing that is grossing me out, thoughts? Do you put things in milk till they’re all mushy?


As you can imagine, with three wee ones under 10 I have read a whole lot of bedtime stories. Usually, there are a few that stick and have to be read over and over and over (and over) again. Elliot Bakes a Cake (An Elliot Moose Story) is one of them. The recipe that Elliot uses in this book is included at the end. Naturally, I’ve been asked to make it for ages, so when I needed a simple cake for wee one #3’s first birthday party I thought of it.


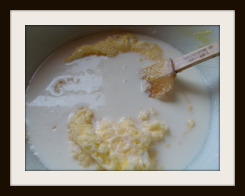
It was a great recipe for the kids to make themselves. They started out with a ceramic bowl and a wooden spoon (as they had in the story) but once it was time to blend in the milk they turned to the trusty Kitchen Aid, which is usually hands off.


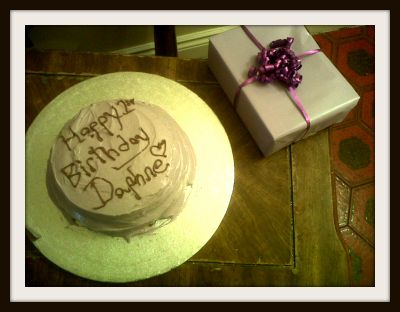
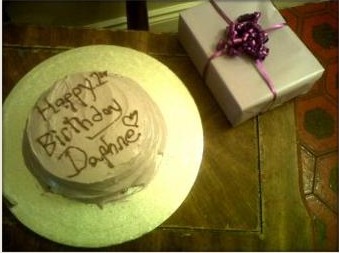
As expected, it mixed until smooth and the layers came out beautifully. We whipped up some purple frosting for it, too! We took it to my Grandmother’s for Sunday supper and birthday presents. It was plain enough for a one year old, but it held it’s own with coffee. I made this again and again after as bases for cakes where the topping was key. Officially, it’s called A Very Special Cake in the book, and it was Cake #13 in Cake Year!

2 Comments

Cakes of 2010

Domestic

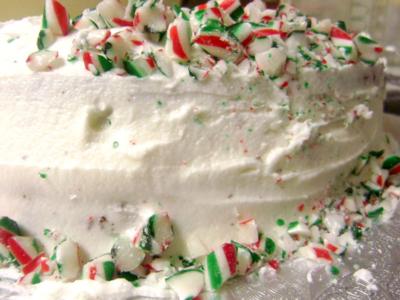
45. December 16 – Candy Cane Cake

44. November 27 – Blueberry-Filled Chocolate Cake

42. November 27 – Raspberry-Filled Vanilla Cake

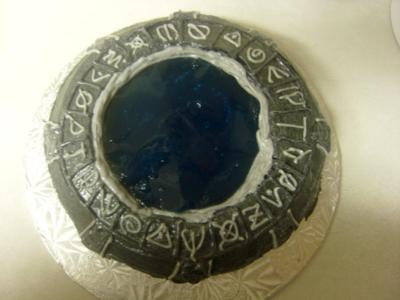
41. November 25 – Stargate Cake

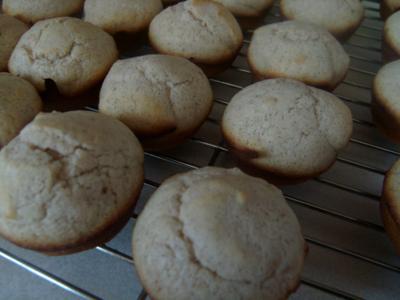
40. November 13 – Snickerdoodle Cupcakes

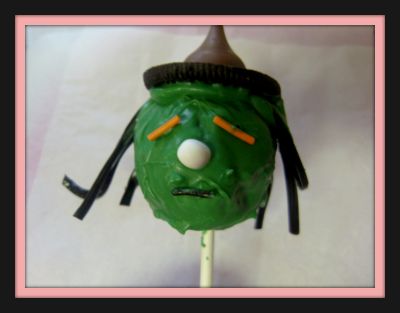
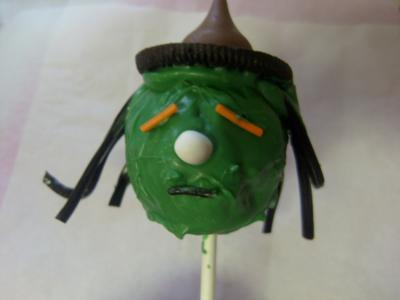
39. October 28 – Halloween Cake Pops – Witch

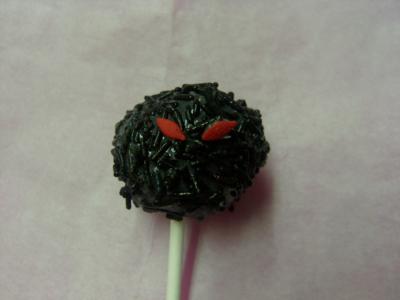
39. October 28 – Halloween Cake Pops – Spider

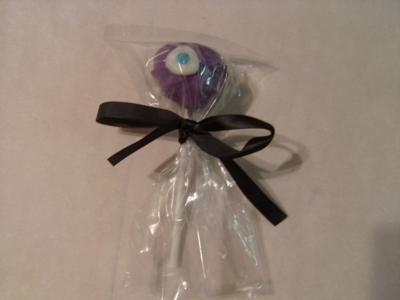
39. October 28 – Halloween Cake Pops – Mummie

39. October 28 – Halloween Cake Pops – Monster

38. October 28 – Candy Corn Cupcakes

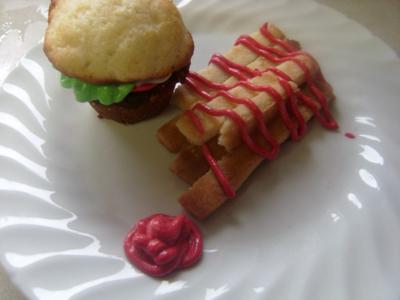
37. October 22 – Vanilla Cupcake Buns with Brownie Burgers and Sugar Cookie Fries

36. October 15 – Double Chocolate Candy Coated Cupcake Pops

35. October 15 – Chocolate Elegance Cake

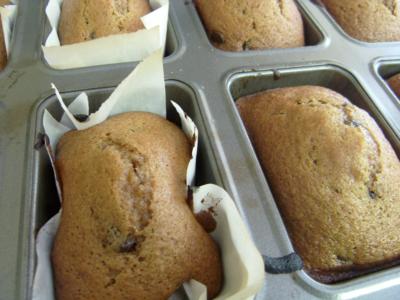
34. October 9 – Chocolate Chip Pumpkin Mini Loaves

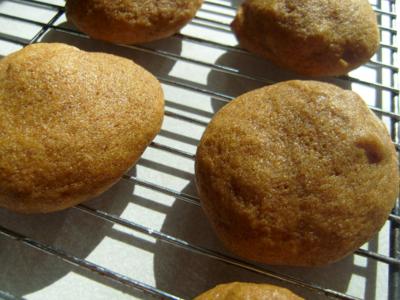
33. October 9 – Pumpkin Whoopie Pies

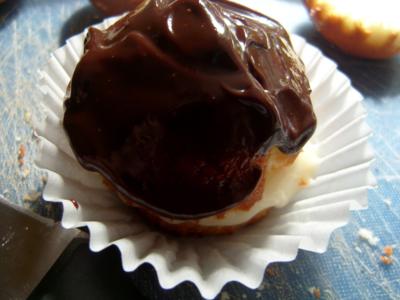
32. September 19 – Boston Cream Pie Cupcakes

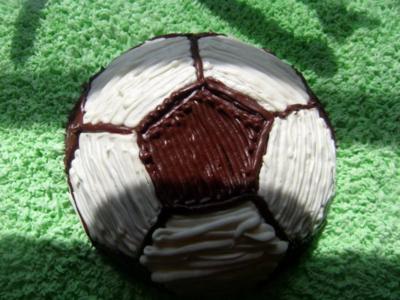
31. August 13 – Marble Soccer Cake

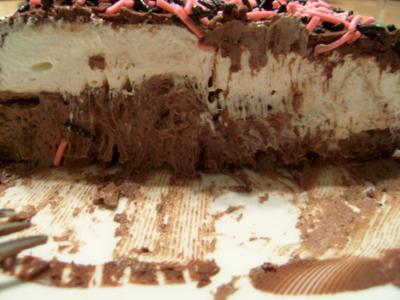
30. July 30 – Swiss Swirl Chocolate Ice Cream Cake

29. July 19 – Love Cakes

28. July 9 – Apple Crisp

27. July 2 – Ontario Apple Cranberry Crumble

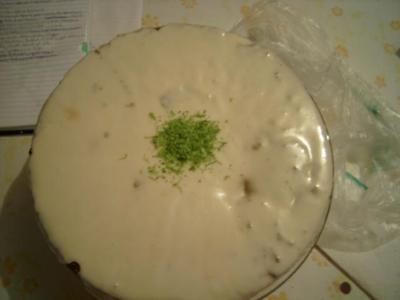
26. June 19 – Key Lime Cake

25. June 5 – Chocolate Snowball Cake

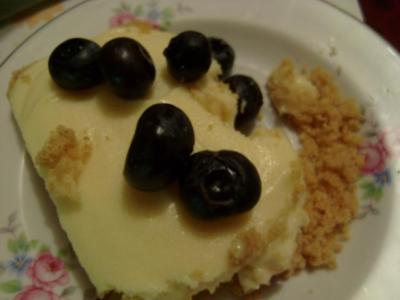
24. May 30 – Mini Blueberry Cheesecakes

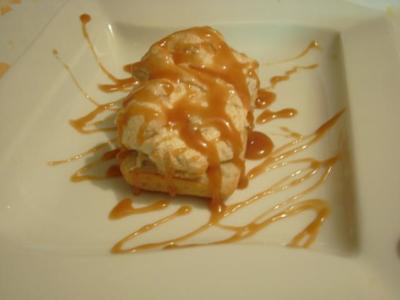
23. May 8 – Almond Meringue Cakes

22. April 24 – Chocolate Banana Cake

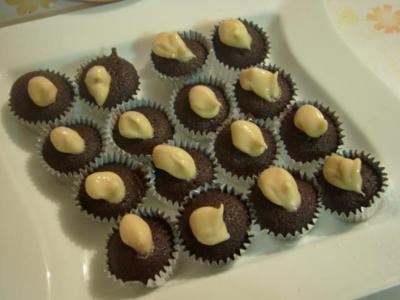
21. April 10 – Chocolate Minis with Peanut Butter Frosting

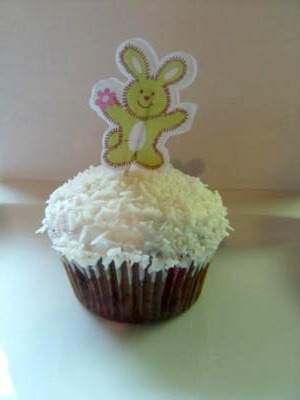
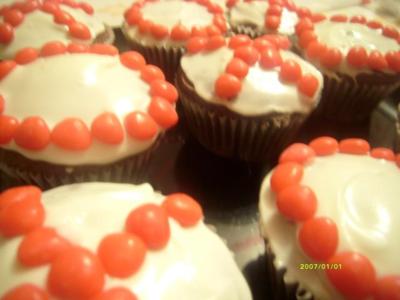
20. April 7 – Cocoa Cupcakes with Coconut Icing

19. April 1 – Cadbury Cream Egg Cupcakes

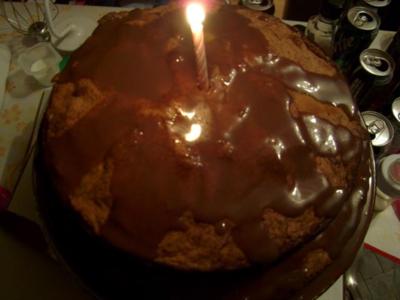
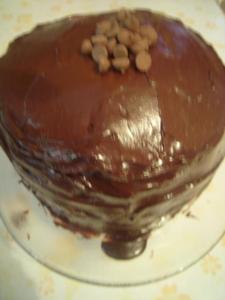
18. March 27 – Chocolate Butterscoch Cake

17. March 21 – Butterscotch Ganache Cake

16. March 17 – Guiness Chocolate Cake with Bailey’s Cream Cheese Frosting

15. March 12 – Mini Super Apple Cakes

14. March 7 – ‘Very Special’ Vanilla Cake

13. March 5 – Classic Tiramisu

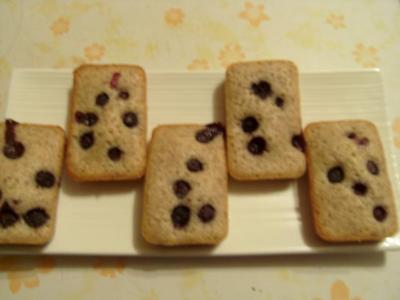
12. February 26 – Blueberry Friands

11. February 19 – Tres Letches Cake

10. February 14 – Chocolate Peanut Butter Cake

09. February 14 – Chocolate Strawberry Shortcake

08. February 11 – Cinnamon Hearts Hugs & Kisses Cupcakes

07. February 5 – 10 Layer Smell You Later Cake

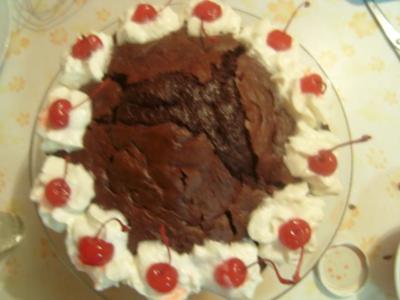
06. January 30 – Black Forest Cake

05. January 30 – Chocolate Coconut Cake

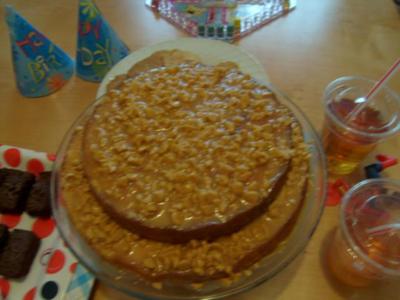
04. January 23 – Brown Sugar Cake

03. January 16 – Double Lemon Cake

02. January 9 – Chocolate Topped Almond Cake

01. January 2 – Red Velvet Cake with Cream Cheese Frosting

No Comments
Newer Posts »