Last year I fell head over heels for vegan food blogs, and one of my hands down faves is The Domestic Vegan, and though she hasn’t posted anything new since September, it’s a kick ass blog and is FULL of great recipes! Plus, I have at more than one point, gone months and months without blogging only to resurface so you never know if she’ll pop back up again!
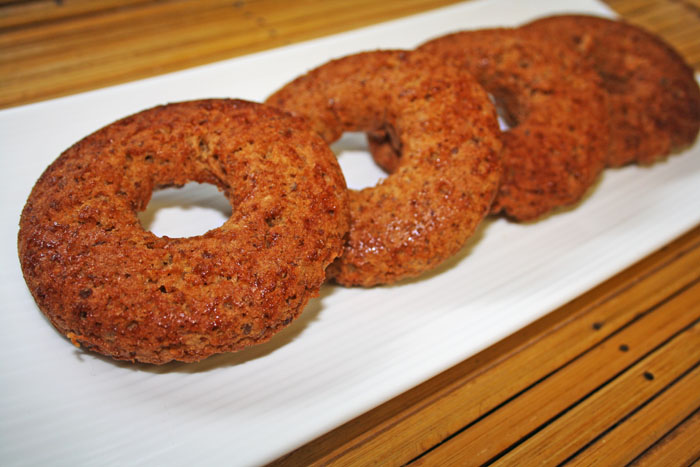
Usually in baking, I’ll use 1 tablespoon of ground flax with 2 or even 3 tablespoons of water to replace an egg. This is part of vegan baking 101, you generally grind up the flax seed and let it sit with the water for a few minutes so it can ‘set’, or you know, so it can get sort of goopy and be able to hold things together like the egg impostor we need it to be. In this recipe though, it all goes in together. I think it’s because it’s heated. Not totally sure why but look at the finished donuts! They look amazing! They puffed up as if they were made with eggs!
Not so surprisingly, since my kids seem to love things baked with almond milk, these donuts are now their most asked for after school treat! Even more than the deep fried donuts and donut holes I made for them last year that they loved! I swear it’s the nutmeg, nutmeg makes everything magic!

Vegan Donuts via The Domestic Vegan
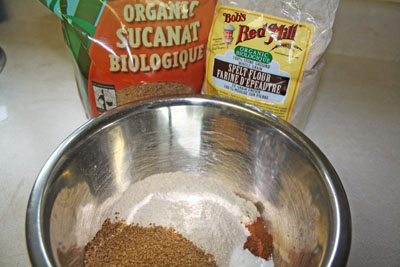
| 1 cup spelt flour 1/2 cup unrefined sugar 1 1/2 teaspoons baking powder 1/4 teaspoon nutmeg 1/4 teaspoon sea salt dash cinnamon |
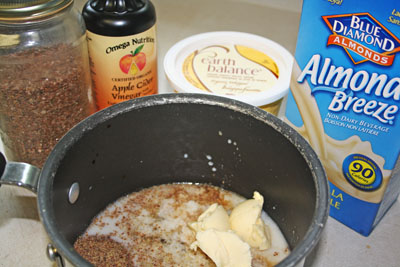
1/2 cup almond milk 1 teaspoon apple cider vinegar 1/2 teaspoon vanilla extract 1/4 teaspoon maple extract (optional) 3 tablespoons Earth Balance nondairy butter 1 tablespoon ground flaxseed + 2 tablespoons water |
 |
 |
|
Preheat to 350F. This recipe is wonderfully simple. Mix all your dry ingredients in a bowl (spelt flour, unrefined sugar, baking powder, nutmeg, sea salt and cinnamon). Then mix all your wet ingredients in a saucepan (almond milk, apple cider vinegar, vanilla, maple, nondairy butter, ground flax and water). Set aside the bowl of dry ingredients and warm up the wet ingredients until the nondairy butter melts. Don’t let it get hot, you’re not trying to cook it!
|
|
 |
 |
|
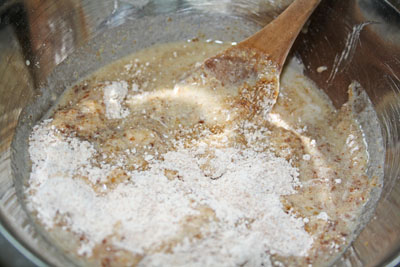
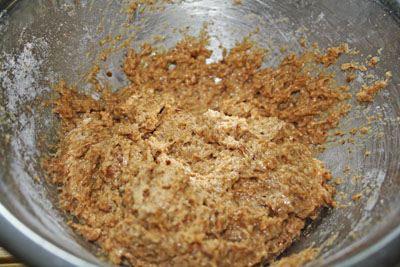
Now pour the warm wet ingredients over the dry ingredients and mix it all up. It’ll be really soft, but not runny.
|
|
 |
|
|
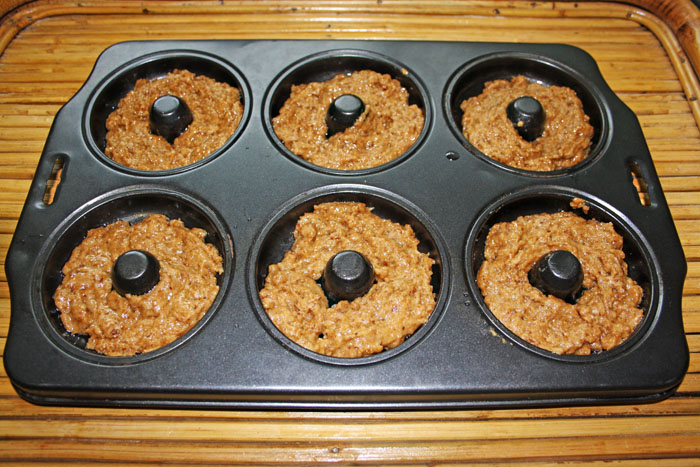
Spread the mixture into your (greased) donut pans. Cook for about 15 minutes. The originally recipe said 16-18 minutes but mine were done at 15 minutes.
|
|
 |
|
|
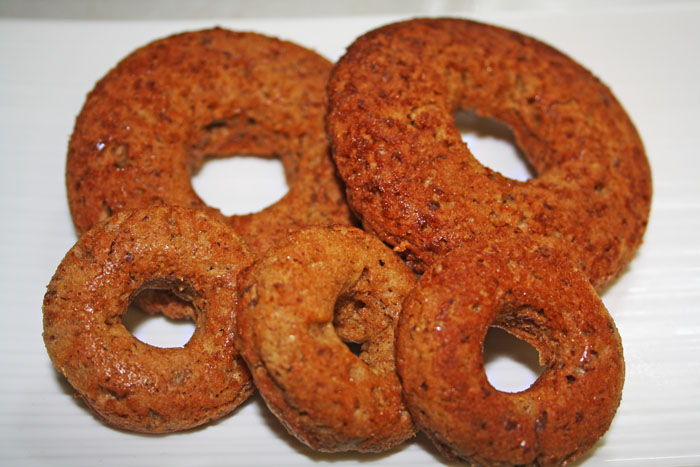
Voila!!
|
|
 |
|
This is one of those recipes that’s hardly even a recipe. If you use chocolate chips instead of making your own chocolate sauce, it’s even less of a recipe! Like most kids, mine will eat ice cream anytime – when it’s snowing, in the middle of a heat wave, when it’s raining, whenever. So this after school treat in March in Canada should not be surprising.
The reason I went with making my own syrup instead of using chocolate was only because I wanted to try out some vegan chocolate recipes – and this one was amazing.

| Vegan Chocolate Sauce via Happy Herbivore 1/4 cup unsweetened cocoa 1/4 cup water 2 tbsp agave nectar 1 tbsp water 1 tbsp cornstarch |
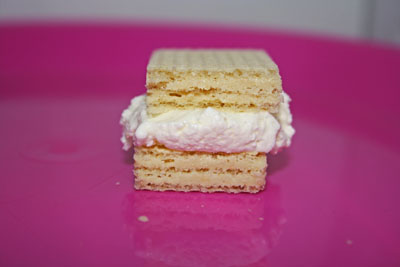
Ice Cream Bites via This Chick Cooks ice cream vanilla wafers chocolate for melted (or chocolate syrup) |
 |
 |
|
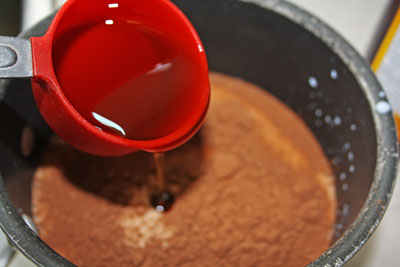
To make the syrup all you do is mix the cornstarch with 2 tbsp of water and set it aside. Then whisk the cocoa and the water together, stir in the agave and the cornstarch mixture. Bring it to a boil and keep stirring till it’s thick enough to set up but thin enough to coat the ice cream sandwiches (OR you can just melt about a cup of chocolate chips and add a teeny bit of oil). Then assemble your little sandwiches! I cut each vanilla wafter in 3 pieces and used about a tablespoon or so of ice cream.
|
|
 |
|
|
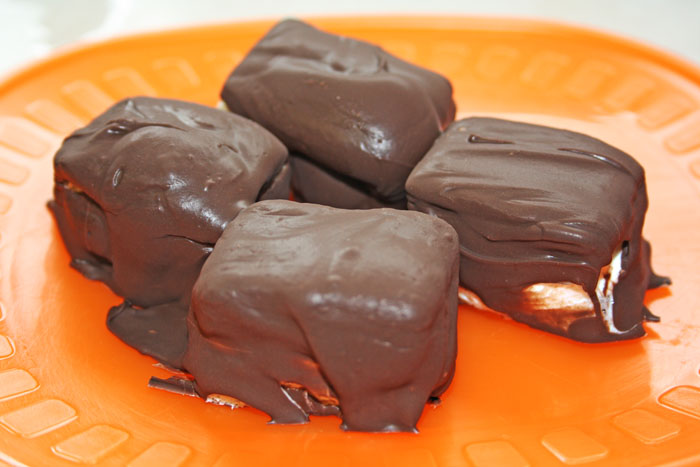
Now coat the little sandwiches with the chocolate syrup and pop in the fridge for a few hours till it’s set up. So so so good and such a fun surprise for the kids after school.
|
|
I confess, I made these at Christmas for my annual cookie tin. Yes, I know it’s March – that doesn’t make them any less delicious! I’d be more apt to call these little treats Hidden Kisses or Surprise Kisses or something like that, but Forgotten Kiss is the name of the original recipe so we’ll go with Forgotten Kisses, since you know, many kisses are better than just one, yes? Or, I guess, oui?
This is one in a series of cookies I made last year with random things baked into them! First I made Rolo Stuffed Cookies, then came Peanut Butter Stuffed Double Chocolate Chip Cookies and somewhere in there I also whipped up some Brownie Stuffed Chocolate Chip Cookies. Phew. The kids have been happy!

Forgotten Kisses Cookies via Tasty Kitchen
1 cup butter, softened
1/3 cup sugar
1/3 cup packed light brown sugar
1 teaspoon vanilla
2 cups flour
1 cup mini chocolate chips
1 9oz. bag hershey kisses
 |
 |
|
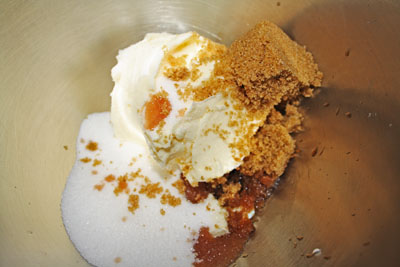
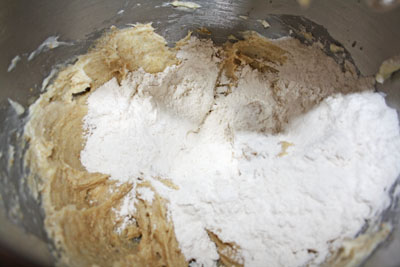
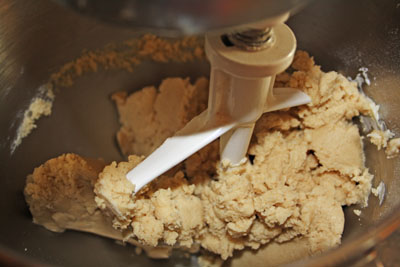
Preheat your oven to 375F, then cream the butter with the sugars ad add the vanilla. Then add the flour.
|
|
 |
 |
|
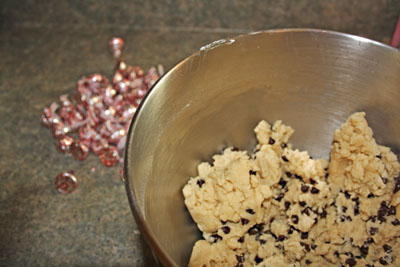
Keep mixing till it’s creamy! Now go ahead and add the chocolate chips. The original recipe suggests you can use mini M&Ms instead of chocolate chips.
|
|
 |
|
|
Unwrap all of your Christmasy kisses! Or whatever kind of kisses you’re using. I made these at Christmas for the first time so I used peppermint kisses.
|
|
 |
 |
|
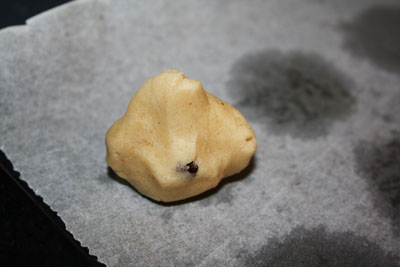
Roll the dough into a ball and flatten it a little. Put the kiss in the middle and form the ball of dough around the chocolate.
|
|
 |
 |
|
Then do it again and again and again! Bake for about 10 minutes or so and voila!
|
|
 |
|
|
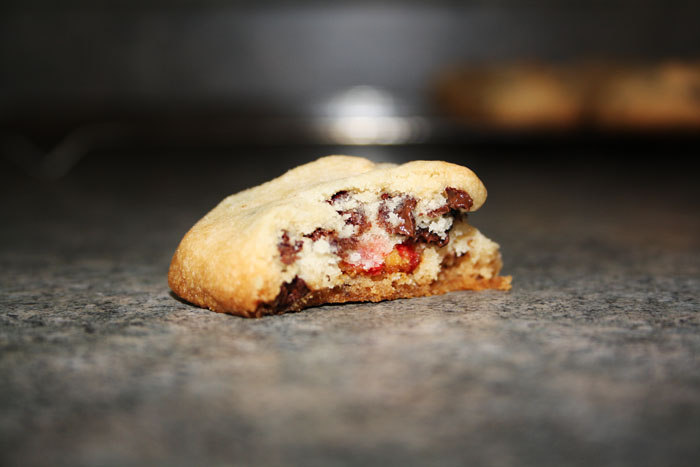
They look like innocent chocolate chip cookies!
|
|
 |
|
|
But they’re way tastier than that!!
|
|
Today, I’m participating in Tasty Tuesday at 33 Shades of Green.
I know technically these little bundles of deliciousness are called Beggar’s Purses but I made them for my mother’s Pixie-themed 60th birthday party (my mother loves fairies and anything to do with fairies), so Pixie Purses they are! Bacon + goat cheese? OMG. I’ve recently given up the bacon but I’d probably still snarffle down a few of these little babies. They were a hit with everyone that tried them and the only treat I made for my mother’s party that didn’t have any leftovers!
You could make these suit your needs however you like! You could fill them with fake cheese and tempah or with mozza and chicken or or or…endless combinations really. They also look really snazzy but don’t require too much effort.

Pixie Purses (aka Beggar’s Purses, aka Goat Cheese Phyllo Purses) via Confessions of a Foodie Bride
5 oz goat cheese, softened
2 tablespoons chives, chopped
I also added a few tablespoons of fresh chopped parsley
4 slices of bacon, cooked to a crisp
black pepper
6 sheets of phyllo dough
6-8 tablespoons of melted butter
Chives or strips of the tops of green onions for tying
 |
 |
|
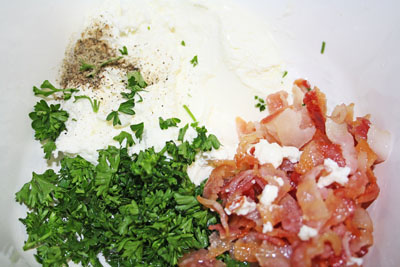
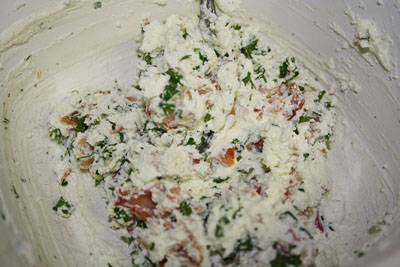
Preheat your oven to 400 F and mash together your goat cheese, chives, parsley (if you’re using it) crumbled bacon, and black pepper.
|
|
 |
 |
|
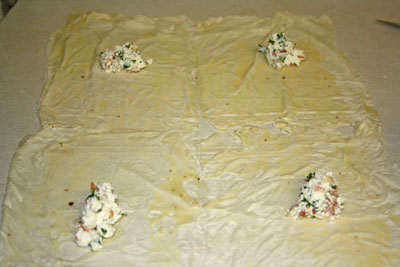
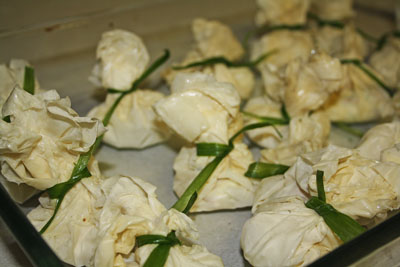
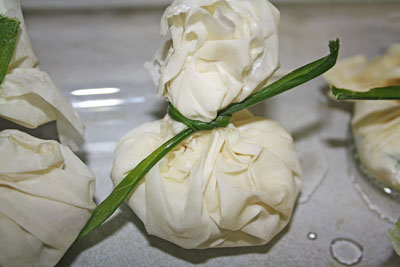
The thing about phyllo is it pretty much always starts out the same. Lay a single piece on your counter, use a pastry brush to paint melted butter all over it, then add a second sheet and attack that with melted butter and again with a third piece. Then cut it into four equal pieces and put about 1 1/2 to maybe 2 tablespoons of the mixture into the middle of each square. Then gather the phyllo around it like a little package and tie with your chive or strip of green onion.
|
|
 |
 |
|
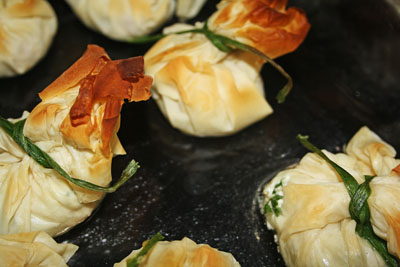
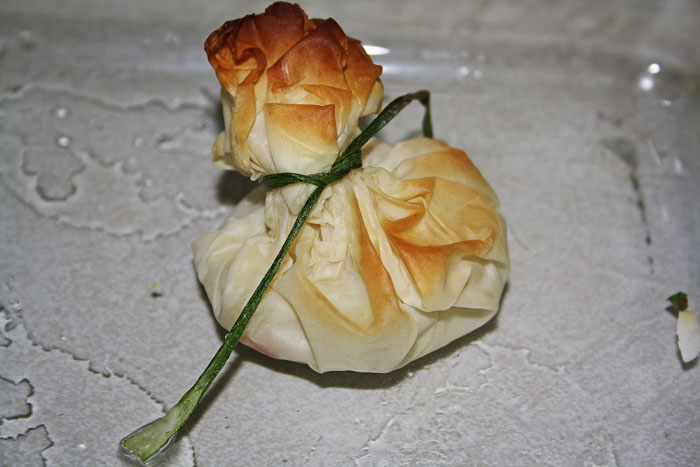
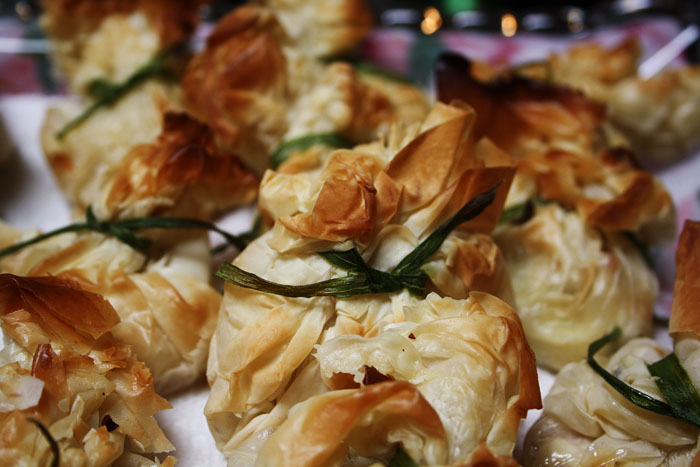
So cute!!! It’s looking pretty pale on the left! I brushed the tops of each one with a little butter and made a bunch more. I put all of them in a shallow dish and baked them for about 8 minutes. Check on them though!! If your oven runs hot they’ll be incinerated in a heartbeat! Let them cool for a bit so you don’t burn yourself with 400 degree goat cheese!
|
|
 |
|
 |
|
Today I’m participating in Social Sunday at The Bewitchin’ Kitchen, Sharing Time Sunday at Raising Memories, and Social Sunday at Quick Tattletails.
As I write this there is about a foot of snow in my backyard and maybe 3 feet or so in the drifts on the side of the house. Ice Pops are not necessarily on the minds of my neighbors, I know but I? Am always thinking of summer. Don’t get me wrong, I’m a stellar Canadian and I love the snow and all the ridic things that we as a culture do in the snow, aside from the average fare like snowmen and forts and snowball fights we as a family are big on riding the quad through the snow, going even further north to my husband’s parent’s house to go sledding and snowshoeing and abuse their snow machines. Way fun. Almost 18 months ago, we moved to the ‘snow belt’ of Ontario and holy shitballs living in snow valley can really make playing in the snow get old pretty fast. So I will make ice pops and think of the beach, thankyouverymuch.
There are so many different ice pops recipes and then almost endless variations on those recipes, they can really be whatever you want them to be. Martha has a good basic recipe to use as a jumping point like I did with these babies. This recipe is heavy on the yogurt and light on the fruit which is the opposite of how I made mine, but again you can just adjust for your own taste.
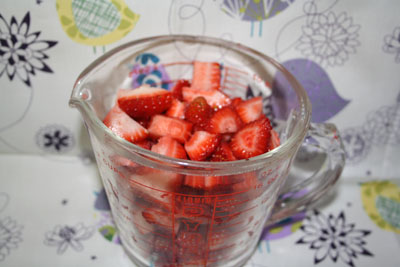
The two I made here are mango and strawberry. Both times, I used about 2 cups of chopped fruit, 1/2 cup of sugar and 1 cup of yogurt. The sugar isn’t for taste, you need it to help with the freezing. If you leave out the sugar your ice pops will harden like, well, like ice. Not so fun to eat. If you add the sugar, the ice pops stay softish and turn out way better! This is especially good when you’re serving them to kids because you don’t want them to bite into a rock hard ice pop, plus they’re full of fresh fruit and yogurt so that’s a healthy win!

2 cups chopped fruit
1/2 cup sugar
1 cup yogurt
 |
 |
|
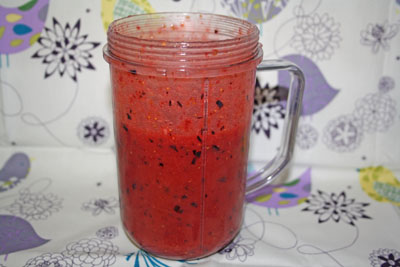
Blend the fruit in a food processor until it’s as smooth as possible. Not pictured, whisk the sugar and the yogurt together.
|
|
 |
|
|
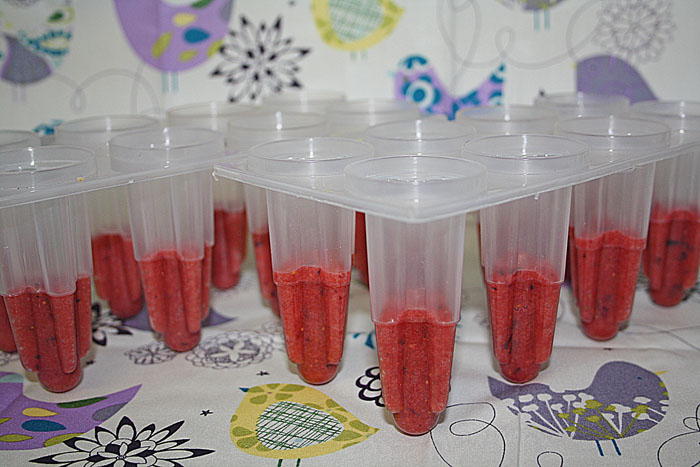
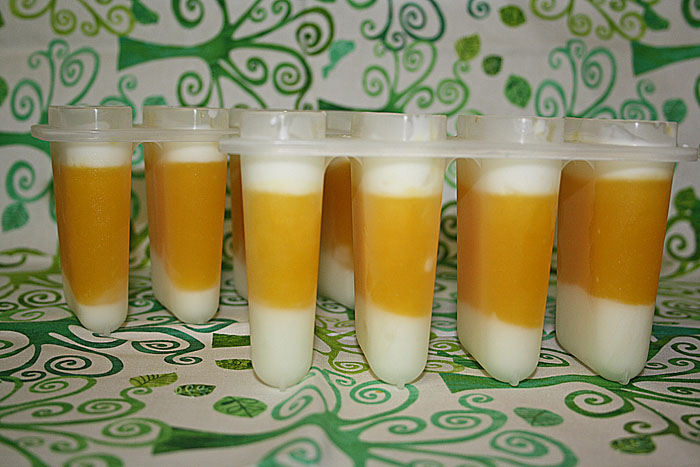
Fill your ice pop mold about 1/3 of the way (or however you want the ice pop to look).
|
|
 |
|
|
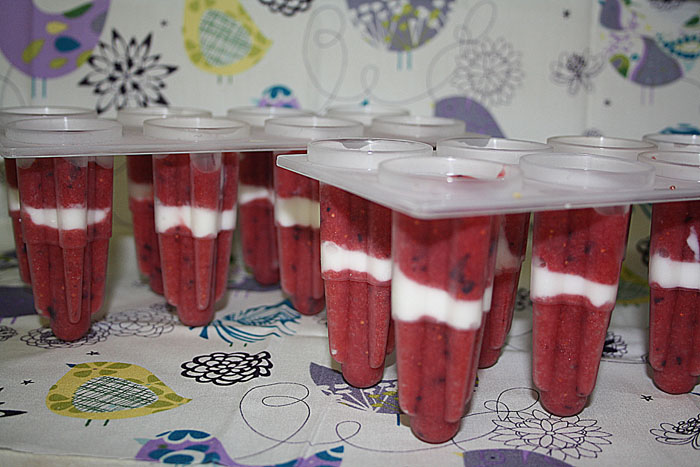
Then add a layer of the sugar/yogurt.
|
|
 |
|
|
Mango Ice Pops!
|
|
This palette is so fun, you can literally play around with all of the shades in the same color family and come of it looking cute. I used the 120 Color Palette 1st Edition. I used the three darkest purples on my lid, the next three lightest purples blended in the crease and the very lightest purple mixed with white on the brow bone. Love!
My new daily lashes are Quo #807, but these babies went with the eyes I thought! They’re also from BH Cosmetics, the China Doll lashes. I’m not even going to lie, I totally love it when my lashes are so big they cast a shadow. Lipstick is BH Cosmetics lip liner in Blossom, with a little Urban Decay lipstick in Wicked (they don’t make Wicked anymore but Sellout is very very close). I honestly can’t remember the brow pencil I used, it was likely my tried and true Wet n Wild in basic brown!


|
|

|

|

|
|
This week, I’m participating in a few blog hops! Party #1 at Jillify It, Tasty Thursdays at The How To Mommy, Thursday Blog Hop at Bassgiraffe and What’s Cooking Thursday at Feeding Four.
Oh hummus. Oh flatbread. Two mostly healthy things I wont stuff my face with – separately. If they are served together, I cannot be held responsible for how much of this stuff I put away. Om nom nom. I mean, I’ll dip a few carrot sticks in a bowl of hummus, sure. And yeah, I’ll wrap up some kind of tofu and veg and fake cheese situation in a warm flatbread and munch away. But I will not return to the buffet for either of those treats. So, as you’ll note from my creative background choice in one recipe and then, well, not in the other – I made these on separate occasions. Also, I’ll level with you, as healthy as this flatbread is, it’s not so great after it’s cooled off. I As I already mentioned when I talked about the Crack Wrap from Peas and Thank You, you’re going to want to buy the book and make Mama Pea’s flatbread – aka La Hacienda de Peas Tortillas.
Moving along.
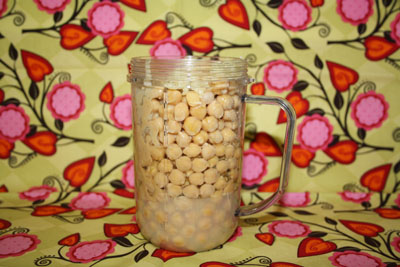
Before I discovered Crap Wraps I used these recipes for Hummus and Flatbread.

| Hummus: – from Everyday Food, June 2007 2 cans (15.5 ounces each) chickpeas 1/3 cup fresh lemon juice 1/4 cup tahini 2 cloves garlic, chopped 1/8 teaspoon cayenne pepper 1 1/4 teaspoons coarse salt |
Tortillas: – from Jazibes Recipes 1 kg Flour (all purpose) + 1 cup for rolling surface 1 1/2 cup vegetable oil 1 tbsp. Baking powder 2 tbsp. Salt 1 1/2 cup warm water |
 |
 |
|
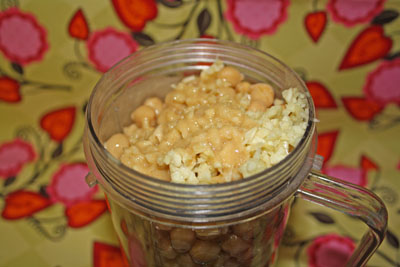
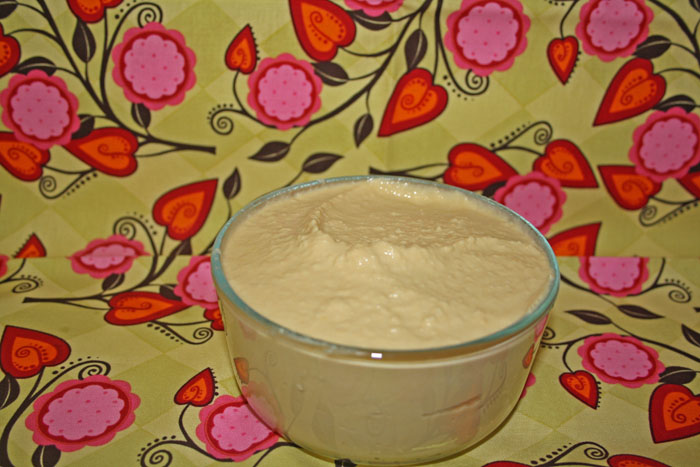
The hummus comes together as expected, you just mash everything together in the food processor (or two batches in the Magic Bullet)
|
|
 |
|
 |
|
|
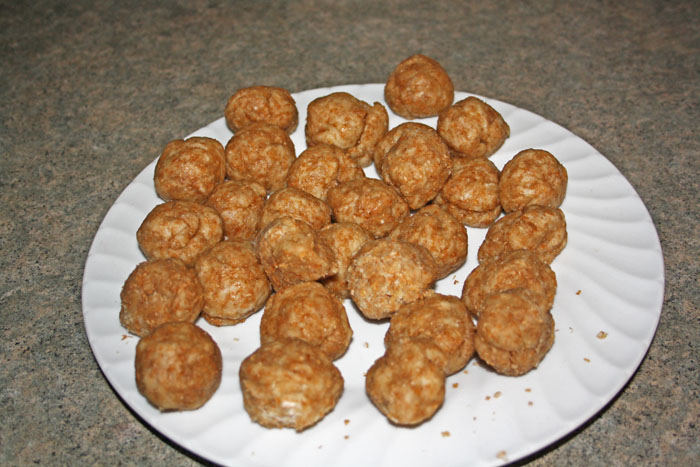
Mix all the dry ingredients and make a well in the middle, add the oil and the water and knead away! When the dough holds together, break off small amounts and roll into balls.
|
|
 |
 |
|
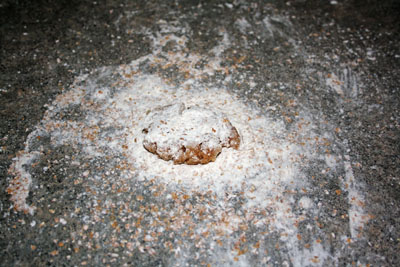
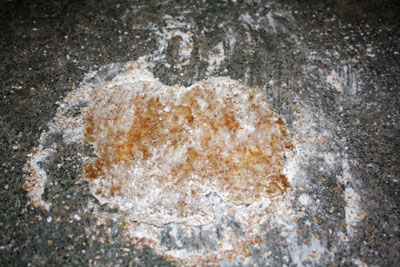
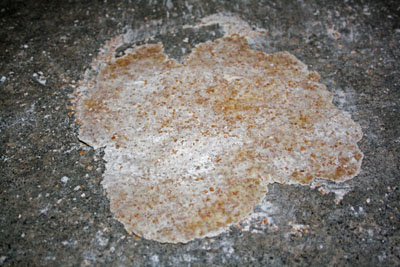
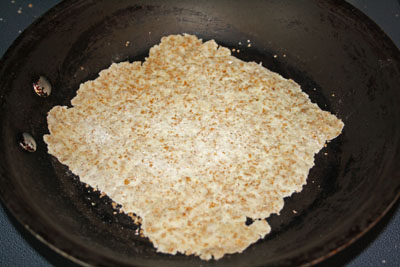
Flour your counter (or whatever) and roll out each ball to about 6″, once they’re all done you just toss them one by one on a grill or a hot pan and watch them puff up a little and become tortillas!
|
|
 |
 |
|
I found that when these were warm, I could stuff them with whatever I wanted to and they rolled up or wrapped up beautifully, but once they cooled off they were brittle and
|
|
My husband’s grandmother has always been super nice to me, and has always been helpful when it came to teaching me something new that I really wanted to learn. This past Christmas, she came to my rescue when I brought a kit for a homemade guitar strap that I had bought from Jen Stephens on Etsy along with a bag of skully fabric I bought specifically for the project and a really muddled look on my face. I had tried to make it happen on my own – I really wanted to make it happen on my own but I just couldn’t do it. The directions weren’t the problem I don’t think, it was my reading of them. Once Nanny took control of the situation, the project moved along pretty quickly and about half an hour later, we had a really snazzy guitar strap for one of our dear cousins on my husband’s side. I hope he loved it as much as I loved making it – I may even be able to make one myself next time!!

 |
 |
|
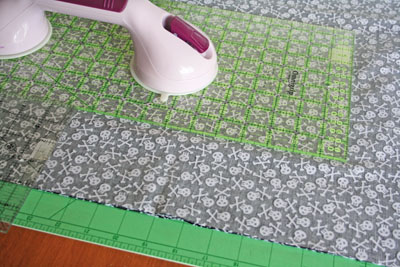
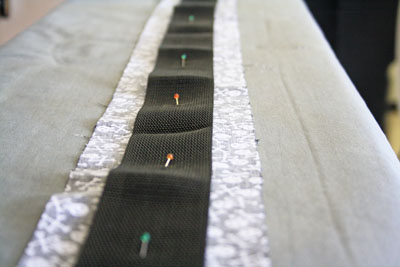
The cutting and the pinning were for sure the easiest parts. The directions were really clear and it came together no problem.
|
|
 |
|
|
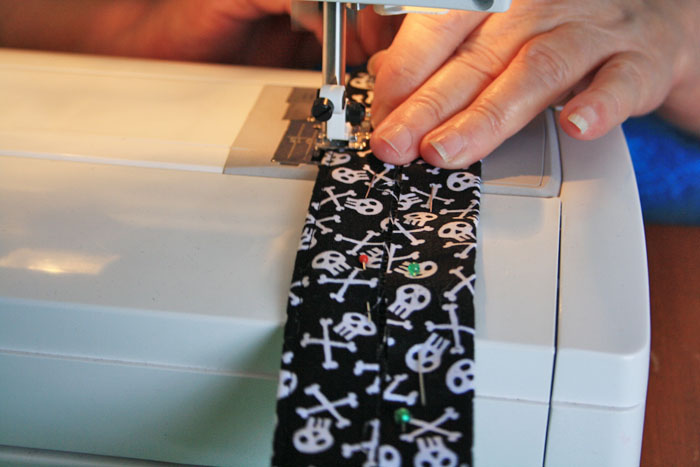
Sewing the fabric to the webbing was also not an issue, thankfully.
|
|
 |
|
|
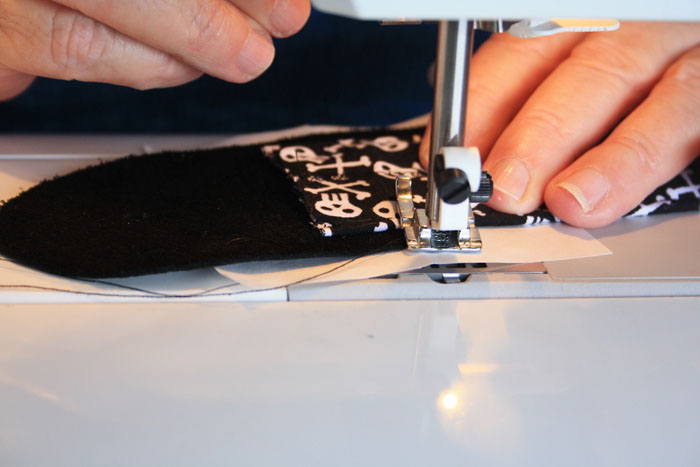
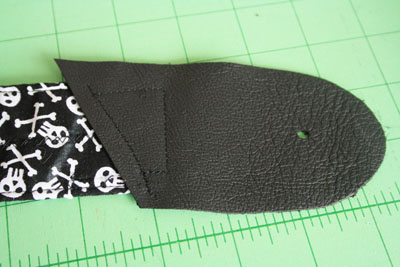
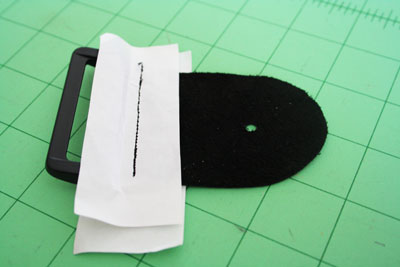
This is where I started to get a little confused, when it was time to sew the leather to the strap.
|
|
 |
 |
|
With Nanny’s help though this worked out with just two tries!
|
|
 |
|
|
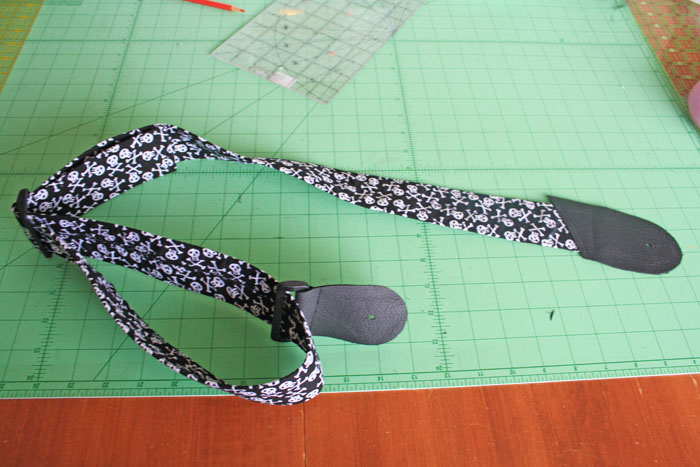
Voila!! Totally adjustable guitar strap!! It’s a really cool project because you could make it form Hello Kitty or Spiderman fabric depending on who you’re making it for!
|
|
I’m participating in Menu Monday at Organizing Junkie and Life as a Lofthouse
I didn’t blog last week because honestly I have been extremely distracted. It’s all been pretty fun distractions though!! Since Christmas we thought we were going to be planning a long distance short-term work-related move. We were extremely excited because it was to a place we’ve always wanted to go. Then last weekend we thought that it wasn’t going to happen after all, only to find out a few days later that it’s going to happen, just not as soon as we thought. For a planner this was at first, extremely painful. However, after a while I have come to appreciate that it can be fun to just live my life as I live it (playing in the kitchen while making sock puppets and cocktails) and let surprises unfold on their own – and in their own time. I asked my husband not to keep me in the loop about this work move. Only to tell me when it’s a sure thing and it’s time to start packing. Which honestly takes a load off. So now I’m focusing on Wee One #3’s teeny weeny Hello Kitty birthday party next weekend. It’s teeny weeny because she only really has one friend, I mean she is just turning three after all!
I mentioned a couple of weeks ago that my oven died, thankfully my stove stop still works perfectly so I’ve been cooking quite a bit, and working through my ‘no bake’ recipes but I haven’t been doing any baking at all. Le sigh. I love baking. At first we looked into having it fixed, but it’s not much of a savings compared to getting a new one and then we have a new warranty. Anyhoo, it’s Menu Monday so while we pick a new stove here’s yet another stove top menu!
This Week’s Menu (Feb 27 – March 5)
*I mentioned last week, I make two separate dinners most nights because I’ve made some dietary changes and I’m not pushing it on my family. They tend to join in with a healthy May-style breakfast and lunch and I make their faves for dinner. Wee One #2 has started eating ‘dinner like mommy’ though, so that’s something!
Monday – Chicken with Rice for the fam, Falafels with Rice for me
Tuesday – Tacos for the fam, Butternut Squash Soup for me
Wednesday – Chicken Slovakia for the fam, Vegan Quesadilla for me
Thursday – Beef Romanoff for the fam, ‘Creamy’ Leek Soup for me
Friday – Homemade Chicken Fingers and Wedges for the fam, Tofu Nuggets and Salad for me
Saturday – Stew and Salad for the fam, Black-Eyed Bean and Tomato Broth with homemade crackers for me
Sunday – Hamburgers and French Fries for the fam, Chick Pea Burgers and Sweet Potato Fries for me
This week, I will photograph these meals as I make them so I can blog about them and link back to those posts when I mention them in a future Menu Monday, which you know I probably will!
Today though, since I have no oven and you probably do, I will hit you with this recipe for Tater Tot Casserole so you can make it for me! It’s the ultimate in trashy food (I have a weakness for such things, remember?) I’m not even going to lie to you (though it would save face if I said something like ‘I don’t remember where I came across this recipe‘), this is totally a Duggar Family recipe. Don’t look at me like that! Don’t act like you don’t love that show too! Johanna is my fave little one and I think Jessa is fierce. <3

| Casserole: from The Duggar’s Favorite Recipes *I cut it in half and it’s still enough to feed an army, though it’s so good you might not have any leftovers! 1 lb ground turkey cooked, seasoned, drained 3lb tater tots* 1 can cream of mushroom soup 1 can evaporated milk 1 can cream of chicken soup |
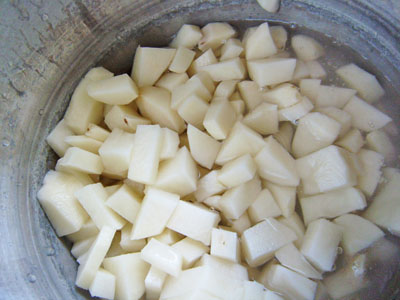
Tater Tots: from Macheesmo 4 Russet potatoes, peeled and chopped 1 egg 1/2 Cup milk 3 Tablespoons unsalted butter 1 Cup all-purpose flour Salt Pepper |
 |
 |
|
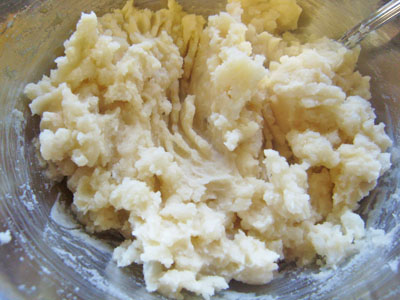
First, make mashed potatoes however you usually do that. I toss mine in the pressure cooker and then mash them up with some garlic and butter.
|
|
 |
 |
|
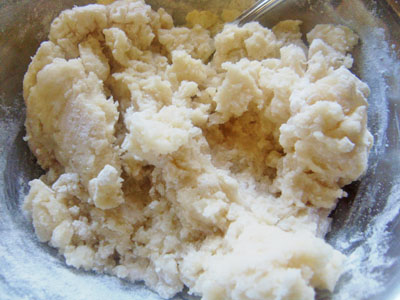
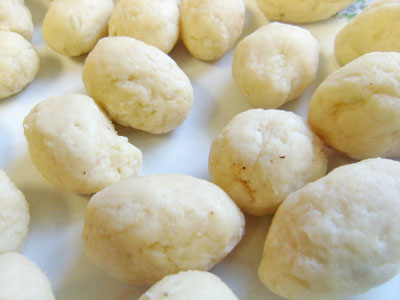
Now add the egg, milk and flour or else they will just be mush in the oil. MUSH. The original tater tot recipe coats them in breadcrumbs and I didn’t. I totally will next time though! This is when you heat a pot of oil and toss these babies in. They only need to be in the oil for like 30 seconds. I had my first few in for about 2 minutes and look what happened!!
|
|
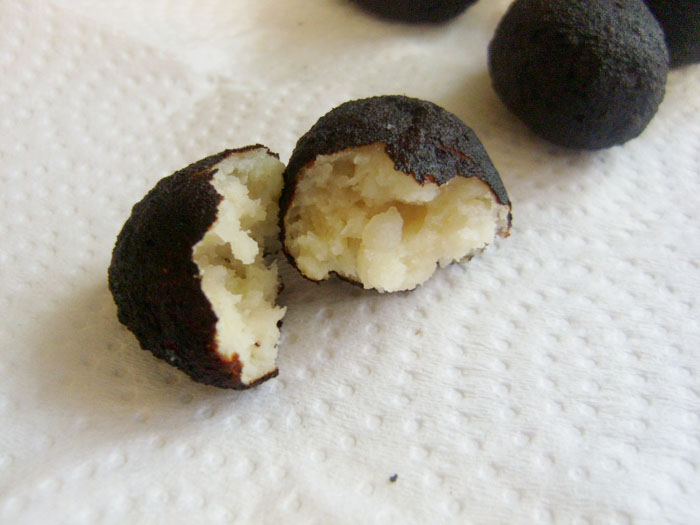 They were perfect on the inside, burnt to a blackened crisp on the outside. Whoops! |
|
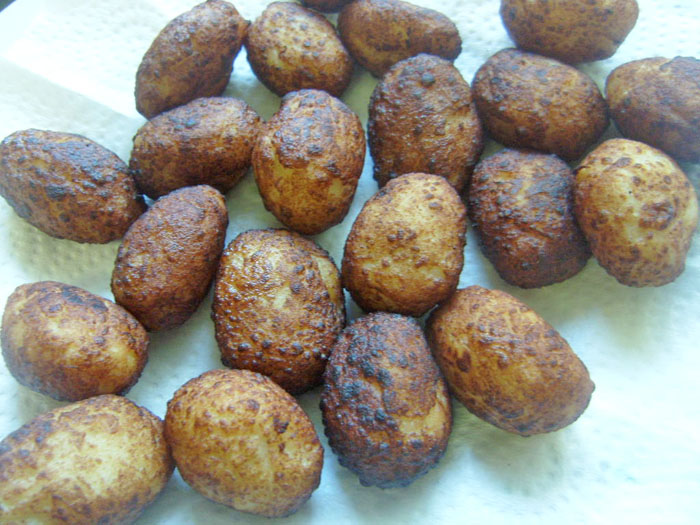 |
|
|
I had the next batch in for about 45 seconds and that’s all they needed!
|
|
 |
 |
|
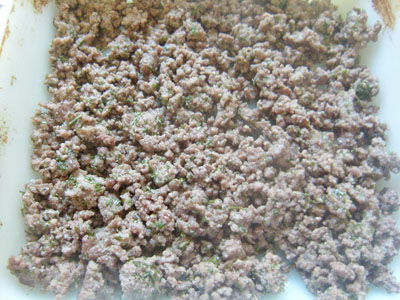
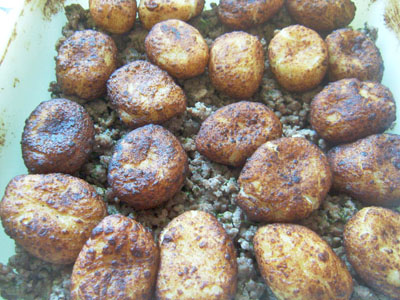
Now for the actual casserole part. I just browned the ground turkey (you could use chicken or pork or beef or fake tofu-ish stuff) with a little parsley, garlic and onion though none of those three are technically called for in the recipe, and spread it over the bottom of a casserole dish. Then I put the tater tots on top!
|
|
 |
 |
|
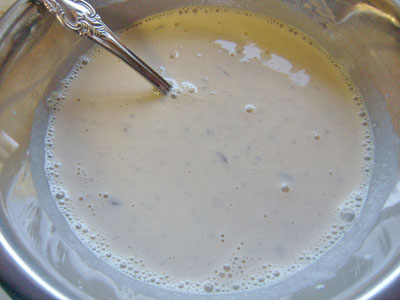
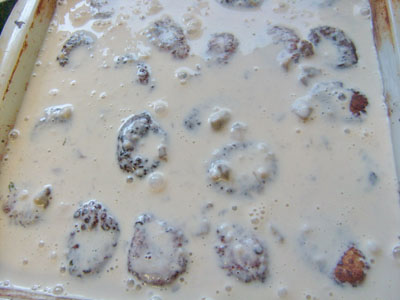
Then in another bowl, I mixed the evaporated milk with the cream soups and poured it over meat and tater tots in the casserole dish.
|
|
 |
|
 |
|
|
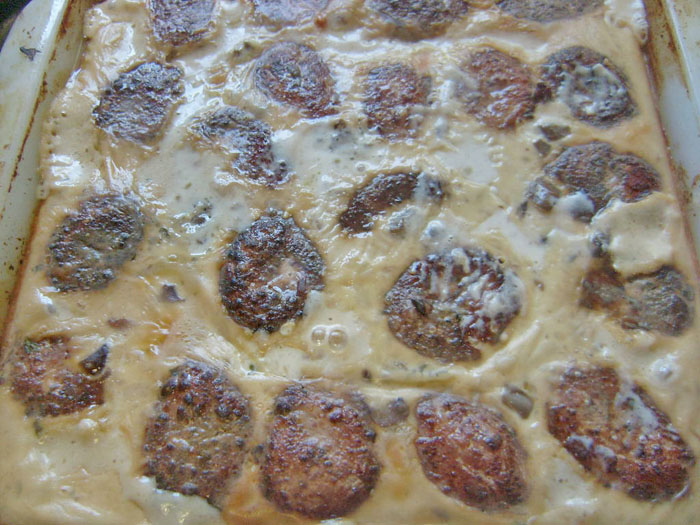
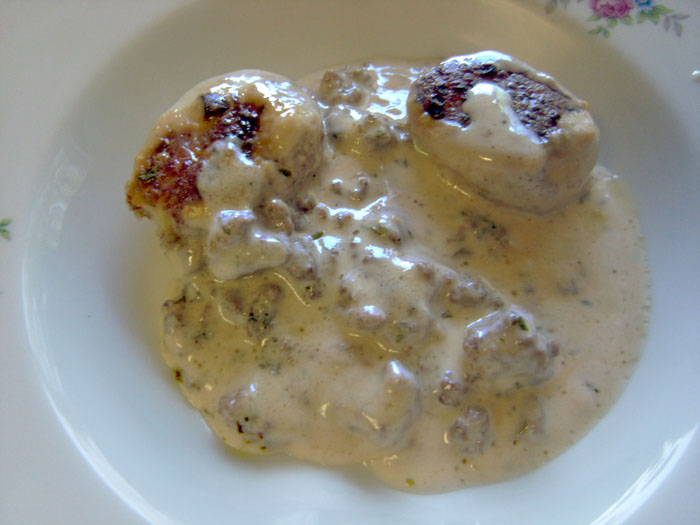
Bake at 350F for about an hour and OH MY shit this is amazingly good.
|
|
If my new oven isn’t chosen and delivered by Friday, I’m going to have to bake a Hello Kitty cake at my neighbor’s house. Oh small town living, you come in handy sometimes.
We make a lot of Rice Krispie treats around here. I don’t mean like, a few times a month a lot, or ever once a week a lot. I mean, like, a lot of Rice Krispie treats. My husband snarffles down a handful as a midnight snack, my oldest requests them in his lunch nearly everyday and the girls are all over them. Sometimes I add things like wheat germ or ground flax seeds to them and no one is ever the wiser, in this case however, I added more sugar to them via the addition of sugar cookie mix. I know, I know. A treat comprised mostly of marshmallows and I added more sugar? Blame Jaclyn over at Cooking Classy for this one. Aren’t her pictures so cute?! Don’t they make you want to run to your kitchen and whip up a batch? You’re a dirty liar, I know they do.
Ahem.
I had to run to the grocery store to pick up some cookie mix because DUH I don’t keep that shit in my house on the regular. Theeen, I ran to my kitchen and whipped up a batch – with my husband because he was intrigued. I was messing with one of his favorite snacks, so he wanted to know what was up.
After we made them, (sorta) let them cool and iced them, they were good but not so much better than regular Rice Krispie treats for me to add the cookie mix to them all the time. It did get me thinking though, if adding sugar cookie mix made them taste sort of like a sugar cookie, what about adding chocolate cookie mix? Is that even a thing? It must be. Or maybe the same amount of brownie mix? I will have to experiment!

As I mentioned above, the recipe was originally posted at Cooking Classy.
|
Rice Krispies: 1/3 cup butter 1/8 teaspoon salt 5 cups miniature marshmallows 1/2 cup sugar cookie mix 6 cups Rice Krispies Cereal |
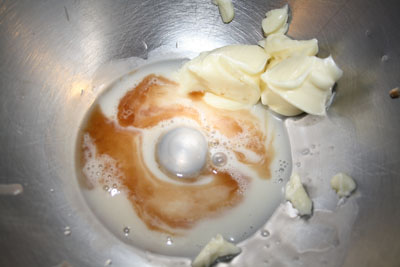
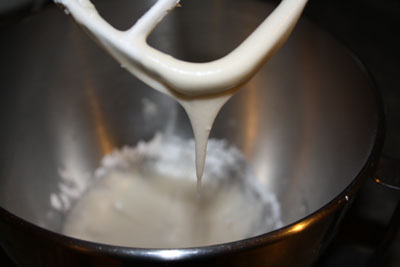
Frosting: 1/4 cup butter, softened 2 tablespoons milk 1/2 teaspoon vanilla pinch salt 2 cups icing sugar |
I trust that you know how to make Rice Krispie treats, but here’s the blow by blow anyway.
 |
 |
|
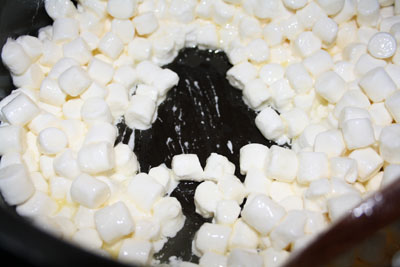
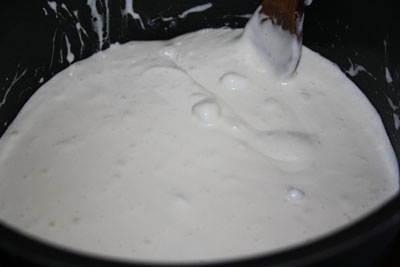
Melt the butter and the marshmallows together till it’s soupy.
|
|
 |
 |
|
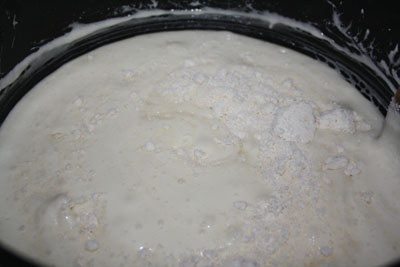
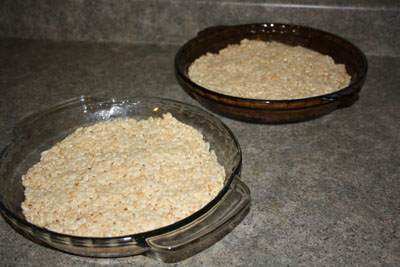
Now add the sugar cookie mix and mix till it’s dissolved. Then add the Rice Krispies and stir until they are all coated with marshmallowy goodness. Press them into your pan/s and let them cool off a bit.
|
|
 |
 |
|
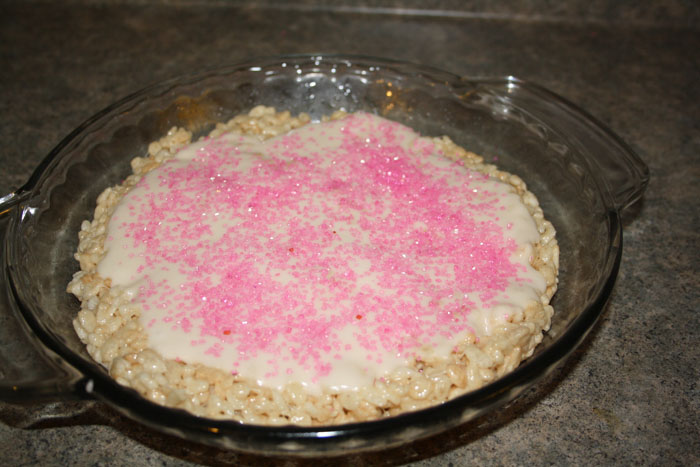
For the frosting, beat the butter, milk, vanilla, salt and icing sugar till it’s the consistency you’re going for. If you want thicker frosting, add more icing sugar. Spread it over the top of your cooled Rice Krispie treats and you’re done. Well, add some sprinkles or something to make them festive!
|
|
 |
|