Mar 24, 2012
Don’t forget about our giveaway with Keeley Behling Studios! Like the Keeley Behling Studios Facebook page and leave a comment there about something in her Etsy shop to enter. It wouldn’t hurt if you liked the So Very Domestic Facebook page too. 😉
Today, I’m linking up with Six Sisters’ Stuff, Mom’s Bookshelf and Beauty Brite
I’m not the only one that makes random fancy meals for my kids, am I? I mean, I make random fancy meals to enjoy with my husband after the kids are in bed, but I suspect that’s less weird than cracking open the new issue of Food & Drink Magazine for inspiration for my kids’ dinner. I know at least one other mommy who perfects fancy food on her little one before serving it to her husband. Oh Sammie, how I adore you so.
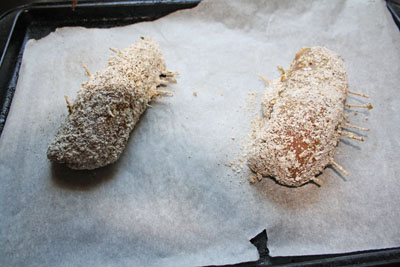
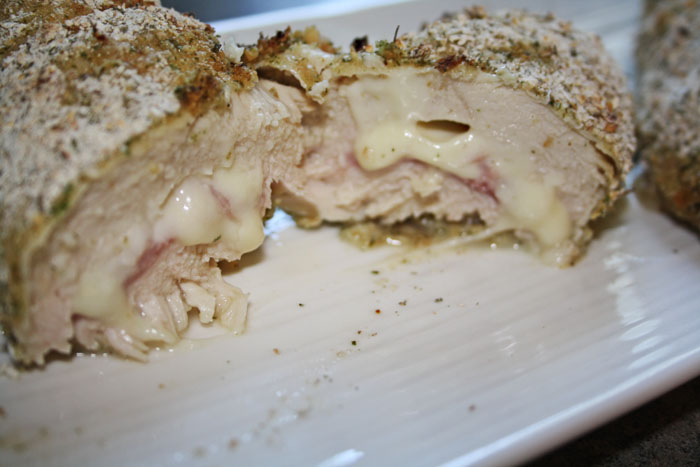
This is yet another one of those recipes that only appear like a lot of work but look really impressive. The only concern with this dish is the cheese leaking out of the chicken. As long as you secure the chicken breast closed with a few toothpicks and bake it seam side down, it’s not going to leak.
As with a lot of recipes that only have a few ingredients, you really have to use the best quality you can find – for each of them. In my case, the mozzarella at my local grocery was better than the swiss. If the swiss had looked better I would have gone with that – some people would prefer the swiss over mozzarella either way! You could also go with prosciutto instead of ham. The Wee Ones are not big on prosciutto or I would have used that.

Corden Bleu
2 boneless, skinless chicken breasts
2-4 ounces mozzarella cheese
2 slices ham
1 egg
1 cup breadcrumbs
2 tablespoons parsley
toothpicks
|
|
|
|
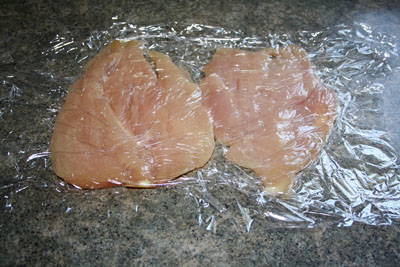
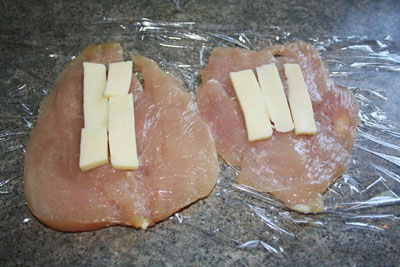
Butterfly the chicken breasts and pound them out nice and flat between two pieces of plastic wrap. Slice the cheese into strips and place them in the middle of the breast.
|
|
|
|
|
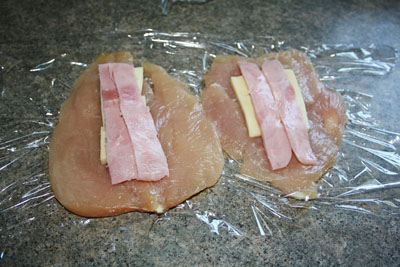
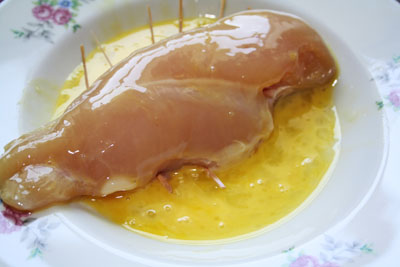
Layer the ham over the cheese and fold the chicken over so it’s almost a roll. You will probably have to use toothpicks to secure the chicken shut. Now beat the egg in a shallow bowl and coat the chicken with it.
|
|
|
|
|
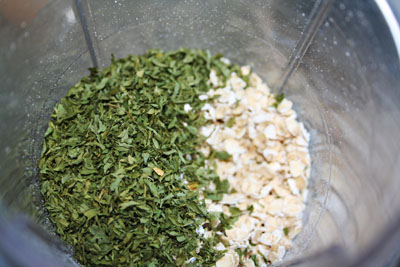
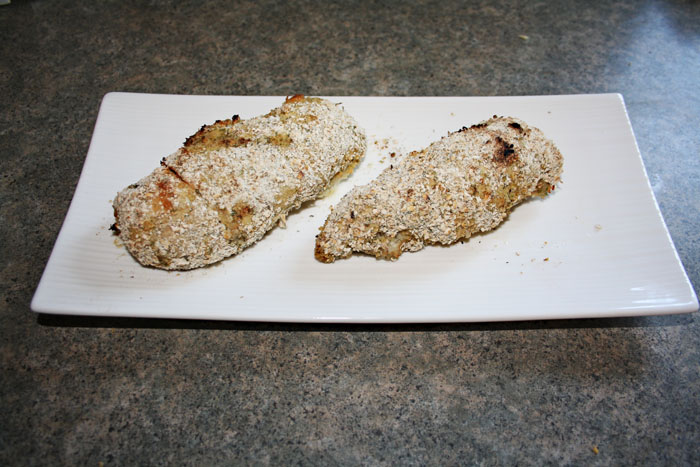
Mix the breadcrumbs and parsley and toss the chicken breasts in it. Bake for about 25 minutes at 350F – with the seam side down on your parchment paper lined baking sheet.
|
|
|
|
|

Mar 24, 2012
Don’t forget about our giveaway with Keeley Behling Studios! Like the Keeley Behling Studios Facebook page and leave a comment there about something in her Etsy shop to enter. It wouldn’t hurt if you liked the So Very Domestic Facebook page too. 😉
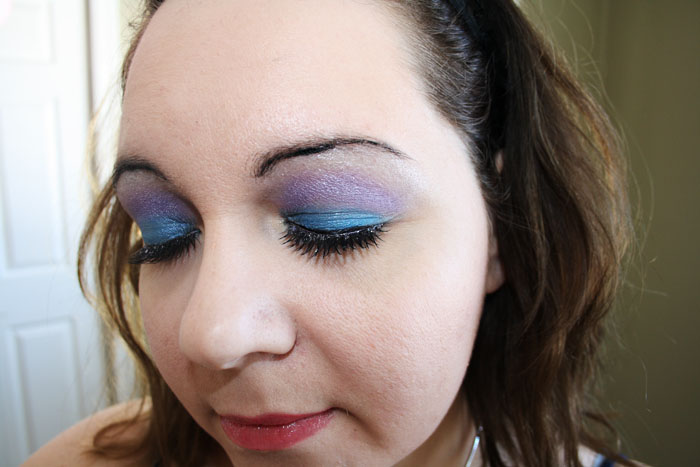
In our very first apartment together, my husband and one of our roommates painted the walls purple and the baseboards and trim green. Most of my friends said it reminded them of a carnival ride. I have always loved the playfulness of mixing these two colors, though I know it doesn’t always work (like say in pretty much any print) but they are cute together for a first apartment and for eye makeup.
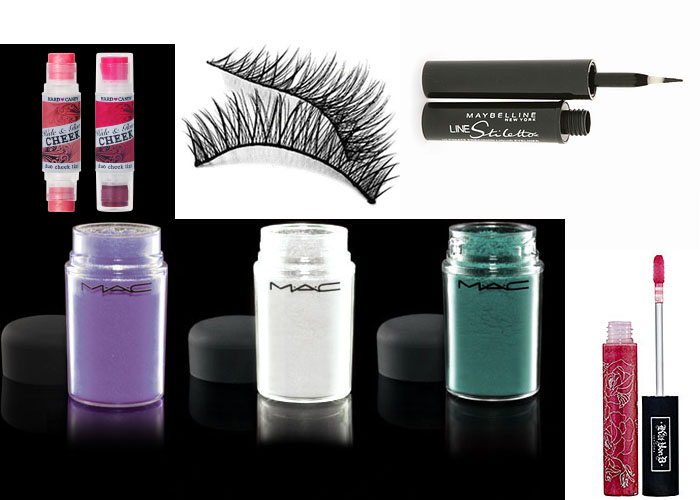
As you’ve no doubt noticed by now, I’m a huge fan of MAC’s pigments and use them as much as I can. I finish off most of my looks with a little dusting of Frozen White. In this case though they took center stage as the only color I used! The lid and bottom liner are MAC pigment in Teal, the crease and halfway up is Violet and the brow bone is Frozen White. I used Maybelline Stiletto liner on my eyes and my brows, Hard Candy Hide and Glow Cheek Tint cream blush and my favorite part – Kat Von D Painted Love Lipgloss in Rosary. It’s got a really nice shine to it without being sticky!
I’m also wearing Sally Hansen Hard as Nails Xtreme Wear polish in Blue Me Away with a coat of Nail Inc Special Effects Crackle in Camden Black Crackle.


Mar 23, 2012
Don’t forget about our giveaway with Keeley Behling Studios! Like the Keeley Behling Studios Facebook page and leave a comment there about something in her Etsy shop to enter. It wouldn’t hurt if you liked the So Very Domestic Facebook page too. 😉
I started adding chia seeds to my smoothies about a year ago, and when I started making pudding with almond milk and the kids complained it wasn’t ‘pudding-y enough’, I started crushing the chia seeds and blending them into the pudding because they have a weird ‘pudding-y’ quality about them and since then the kids happily eat the almond milk-based pudding. I honestly thought their usefulness ended there. I know, I know. They’re an ancient superfood May!, you say. I hear you, I know it. I’m not a fan of little seed sin my salad or on my oatmeal or where ever else you’re going to tell me to put them.
(I walked right into that, didn’t I?)
However, when I saw this recipe I had a huge DUH moment. Of course they’d work in cookies! For suspicious kids (and husbands and friends), they look pretty normal alongside chocolate chips! You know the chocolate dust at the bottom of the bag of chocolate chips? When they’re baked, they look just like that. There’s no rule that says I have to openly advertise all the ingredients in my kitchen, right? Right.
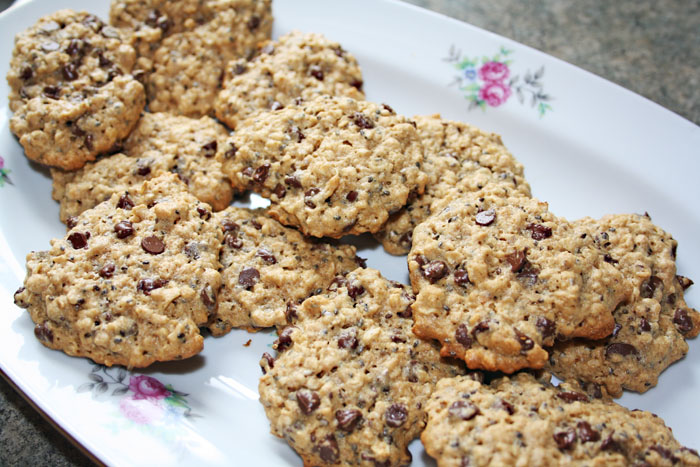
The original recipe yields a dozen big cookies. I made mine more like regular size cookies and got about two dozen. It was hard to tell with how fast the wee ones (and then later my girlfriends) ate them! They hardly hit the plate, it was pretty amazing. When I finally made some coffee and had one I was glad there were not many left because I easily could have polished off the tray myself. Easily.

Chia Seed Peanut Butter Cookies via Yummy Mummy Kitchen
1 1/2 cups rolled oats
1 teaspoon baking powder
1/2 cup flour
1 1/2 tablespoons chia seeds
1/4 cup butter, room temperature
1/2 cup brown sugar
3/4 cup peanut butter
2 eggs
1 teaspoon vanilla
1/2 cup chocolate chips
|
|
|
|
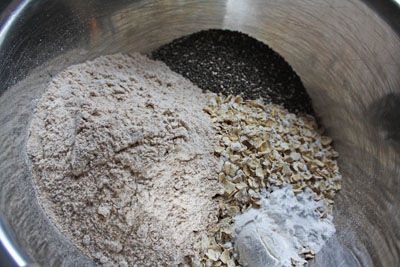
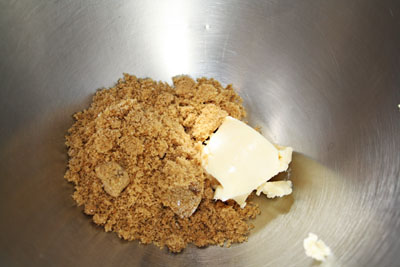
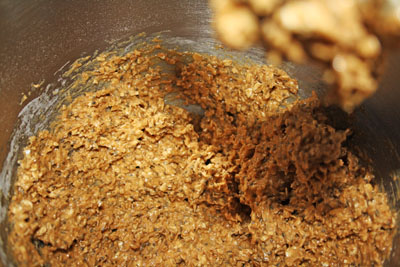
In a medium bowl, mix the oats, baking powder, flour, chia seeds. Then with your electric mixer, cream the butter and sugar together.
|
|
|
|
|
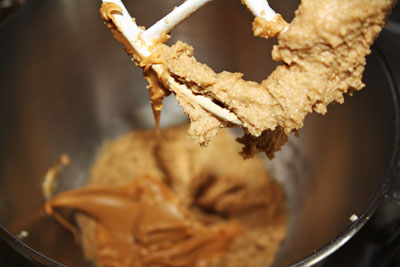
Now add to the butter mixture, the peanut butter, eggs and vanilla. Bit by bit add the oat mixture and mix till combined.
|
|
|
|
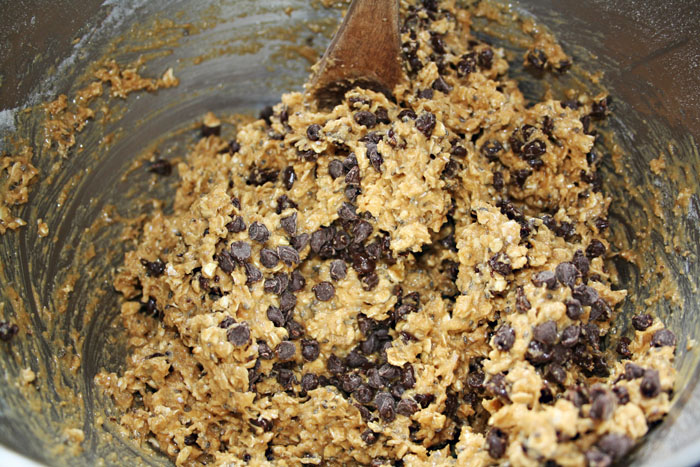
Fold in the chocolate chips, and bake at 350F for about 12 minutes.
|
|
|

Mar 23, 2012
Today, I’m linking up with Dandelion House, Sippy Cup Chronicles, Happy Go Lucky, Life with Twins & a Drama Queen and Chubby Cheeks Thinks!
Don’t forget about our giveaway with Keeley Behling Studios! Like the Keeley Behling Studios Facebook page and leave a comment there about something in her Etsy shop to enter. It wouldn’t hurt if you liked the So Very Domestic Facebook page too. 😉
I am a little in love ok, I’m a little totally obsessed with Zuzana Bodyrock in general. My friend Gill got me into the site and between the two of them (Gill & the site) I’m in much better shape than I maybe ever have been. These workouts and this site in general are not for the faint of heart – I mean that both literally and figuratively. The workouts are intense and they’re HARD, most importantly there are different workouts up all the time, so your body never gets a chance to get used to what you’re doing. And the videos? They’re so hot they’re borderline porn. I mean that in the best possible way. Go ahead, go watch one. I’ll wait for you here.
Intense, right?
Anyhoo, so along with the videos, there are a lot of fun and healthy recipes on the site and I had to try this one because of this line – Once you let someone taste your balls, you will never be forgotten. I promise.
Each ball comes in somewhere around 100 calories, depending of course on how big you make them and what kind of nuts you use.

Zuzana’s Power Balls (aka Bodyrock Balls) via Bodyrock
1 cup oats, ground to oat flour
2 cups almond meal
3 teaspoons baking powder
4 tablespoons honey
4 tablespoons coconut oil
1 cup carrot puree
1/2 cup chopped nuts (recipe calls for either almonds or pecans, I used hazelnuts)
|
|
|
|
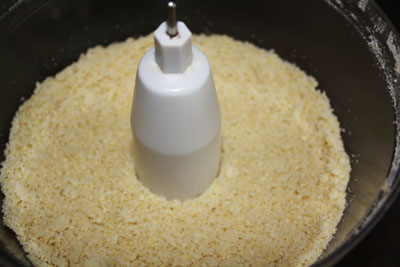
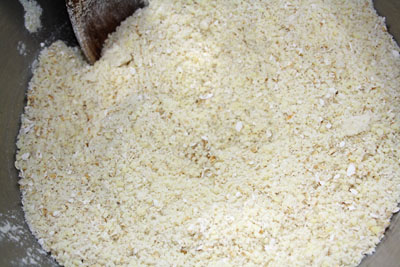
So first I ground up my oats, and then added the almond meal and baking powder.
|
|
|
|
|
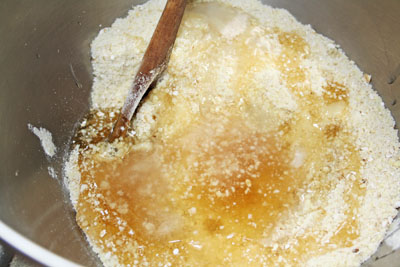
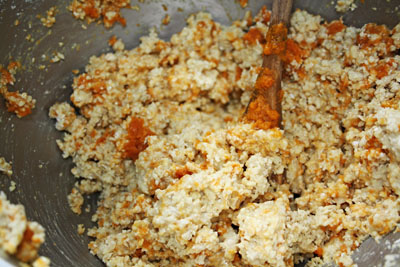
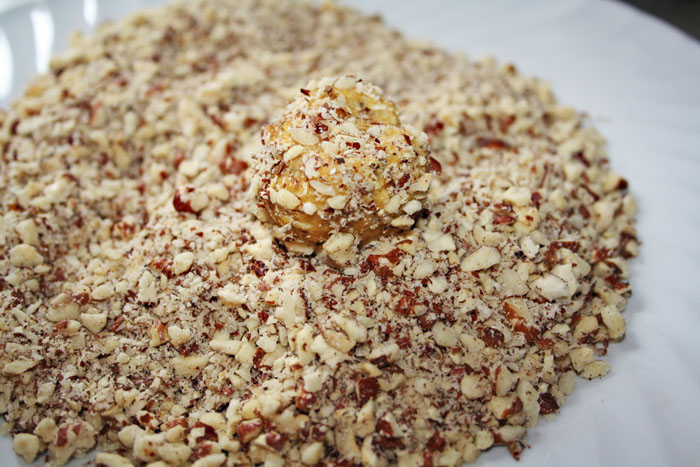
Next I added the honey and coconut oil. I keep pureed veggies in the freezer to sneak into random food so I had the carrot puree on hand, it doesn’t take long to make it though. Just steam and then smash 1 cup of carrots. Now you can roll out the balls, I think I made 30 smallish ones, Zuzana got 28 when she made them. Then CHOP YOUR NUTS AND ROLL YOUR BALLS IN THEM. Oh, I’m sorry. Was I shouting? Ahem.
|
|
|
|
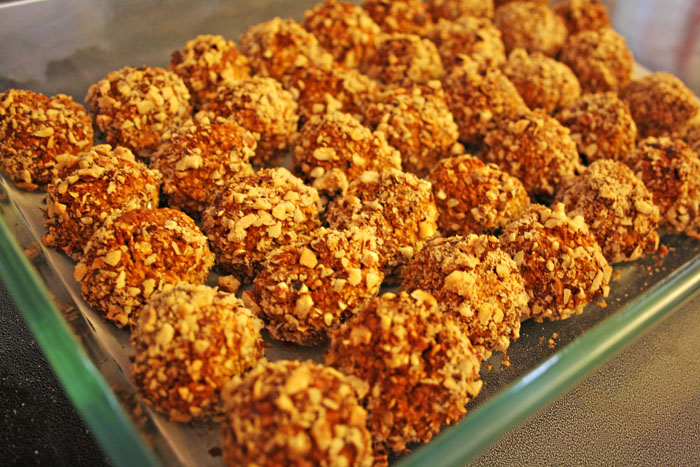
Bake these babies for about 25 minutes at 350F.
|
|
|

Mar 23, 2012
Don’t forget about our giveaway with Keeley Behling Studios! Like the Keeley Behling Studios Facebook page and leave a comment there about something in her Etsy shop to enter. It wouldn’t hurt if you liked the So Very Domestic Facebook page too. 😉
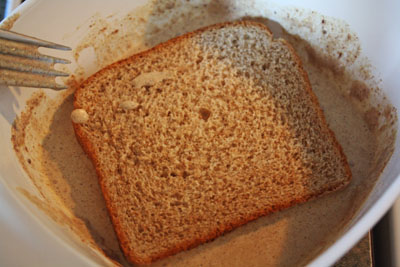
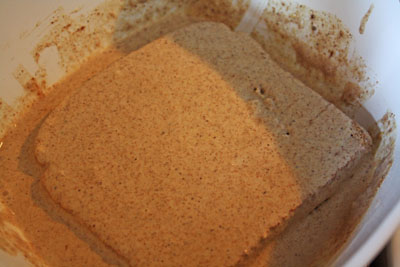
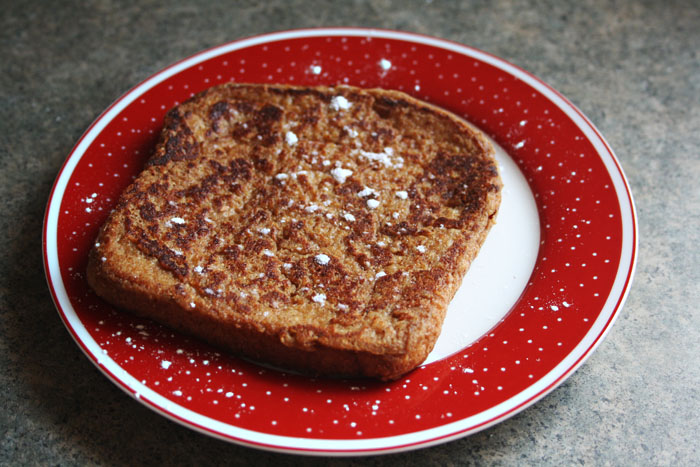
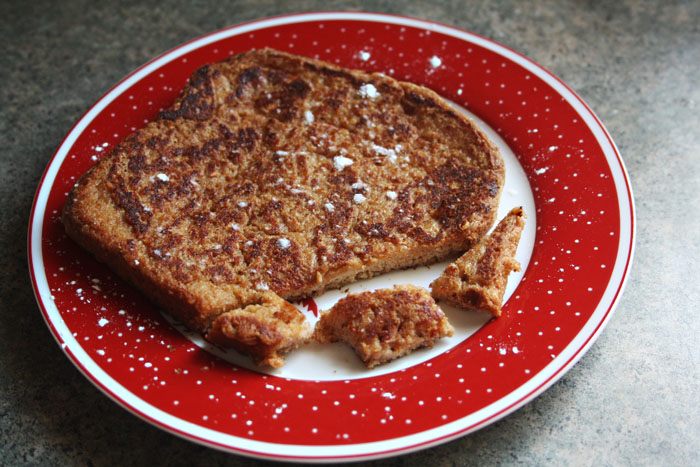
This is the 8th recipe from Peas and Thank You and again, so far so good. This recipe, like seven others before it, came together easily! The directions are simple, the ingredients rad (as usual) and the taste was great. There are short stories about life in the Pea household before each recipe and this one totally resembled my feelings on french toast before this recipe. Maybe yours too? You know how there is almost always a piece of cooked egg hanging off the side of your french toast? Ugh. Not possible in this vegan version! Ha!
I ate my piece, 2/3 of the children ate theirs and my husband passed, but to be fair, he very rarely east breakfast and always passes on french toast. Maybe this will make him a convert the next time I do ‘breakfast for dinner’.
I will remind you again, no recipe for you this time around but I will be making a few recipeas (har har) that are available for free so I’ll post those here! I honestly think this is a cookbook worth buying.

|
|
|
|
|
|
If you use anything at all, let it be actual maple syrup!
|
|
|
|
|

Mar 22, 2012
Don’t forget about our giveaway with Keeley Behling Studios! Like the Keeley Behling Studios Facebook page and leave a comment there about something in her Etsy shop to enter. It wouldn’t hurt if you liked the So Very Domestic Facebook page too. 😉
When we bought our house last summer, imagine my overwhelming glee, yes, glee when I discovered we moved next door to a professional chef. I mean, what are the odds that a food blogger is going to move in next door to a pro chef? It’s a major bummer for me to report that he ended up moving a couple of months ago BUT we’re still friends so it’s all good in the hood. In the months that we lived next door to each other, though? So fun! He’d eat (and generally approve of) everything kitchen creation I brought over! His kids loved to tear it up in the kitchen with us (we have 3 kid each) and they were all really good sports about eating whatever I made. So sweet!
Anyhooooo, that little story brings us to these decadently fried chicken strips how, exactly? Well, as a professional chef, he has a heap ton of cook books from culinary school. Picture me standing there hearing about this for the first time. Cook books, yes, but cook books that are essentially text books for the kitchen?!?! OMG This book, The Cook’s Book, is huge. It has chapters on everything from sauces to Latin American cooking, from pasta & dumplings to Middle Eastern cooking and each chapter is written by a different well versed pro chef. This recipe is from the poultry & game birds chapter, written by Shaun Hill.

Fried Chicken with Bacon via Cooks Book
2 skinless, boneless chicken breast halves
2 skinless, boneless chicken thighs
1 tablespoon Dijon mustard
1 teaspoon salt
1 teaspoon freshly ground black pepper
pinch cayenne pepper
2/3 cup buttermilk
4 thick-cut slices lean bacon
3 cups fresh white bread crumbs
sunflower oil for frying
|
|
|
|
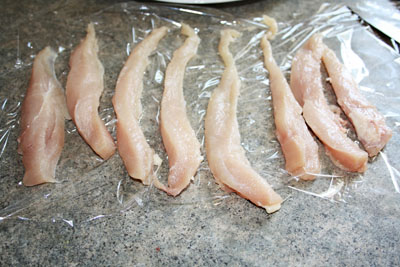
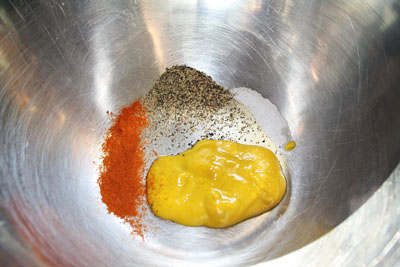
First, slice your chicken into strips and then pound out between pieces of plastic wrap. Then mix the mustard with the salt, pepper and cayenne.
|
|
|
|
|
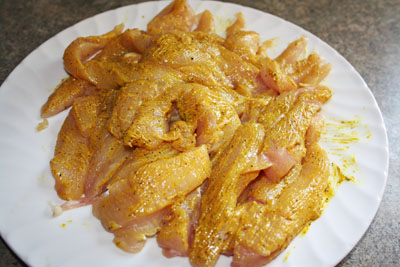
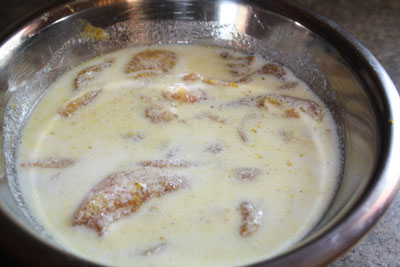
Brush the spicy mustard on each strip and place them in a bowl. Pour the buttermilk over them. Take care that all the pieces are coated.
|
|
|
|
|
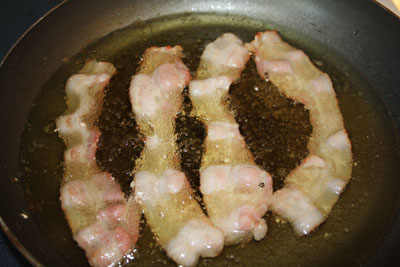
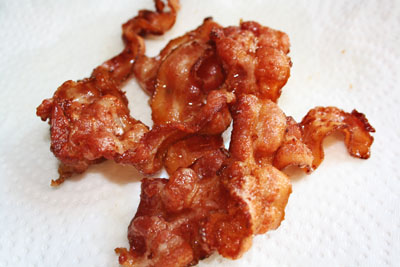
Pour about 1/2″ of oil into a heavy frying pan and fry the bacon in it till crispy. Dry off the bacon with paper towels.
|
|
|
|
|
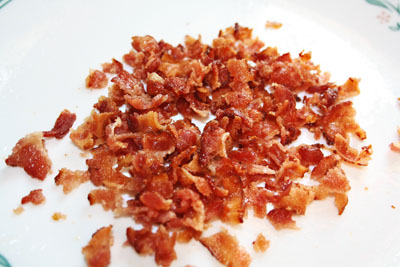
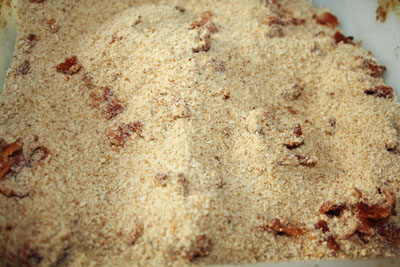
Crumble the bacon and toss it with the bread crumbs.
|
|
|
|
|
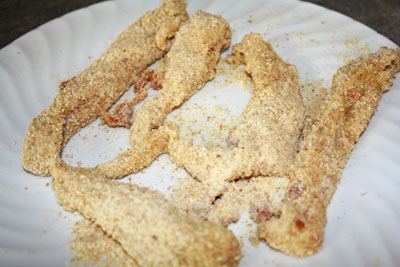
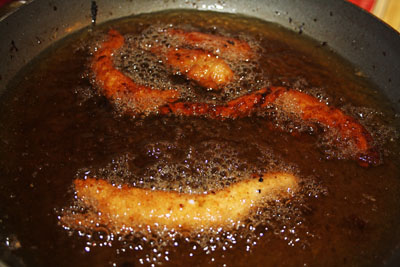
Coat each piece of buttermilk-soaked chicken in the bacon and bread crumb mixture and fry in more sunflower oil. If you need to, keep adding oil to have about 1/2″ in the pan all the time. They should take about 10 minutes per batch and depending on the size of your pan you’ll need a few batches.
|
|
|
|
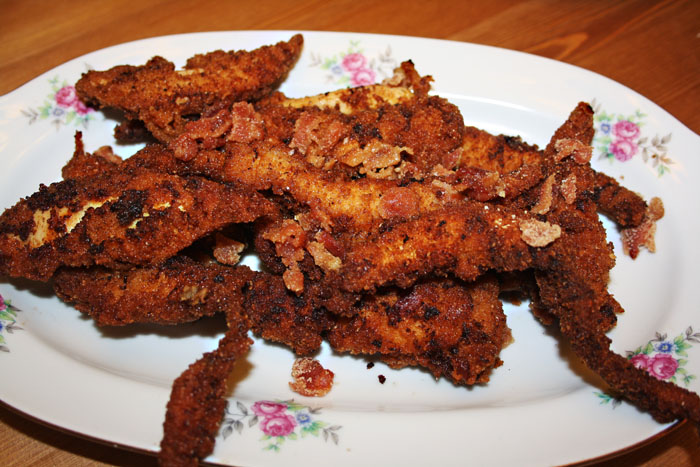
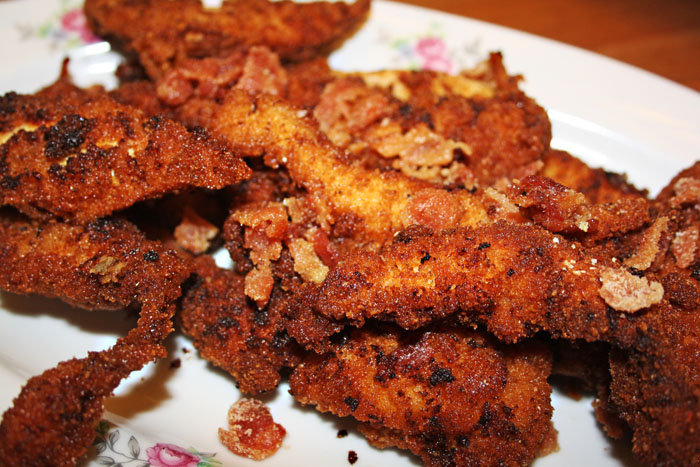
It looks so amazing with the bits of bacon poking out from the breading! Serve as a main to a meal or with a dip and a salad as lunch!
|
|
|

Mar 22, 2012
Don’t forget about our giveaway with Keeley Behling Studios! Like the Keeley Behling Studios Facebook page and leave a comment there about something in her Etsy shop to enter. It wouldn’t hurt if you liked the So Very Domestic Facebook page too. 😉
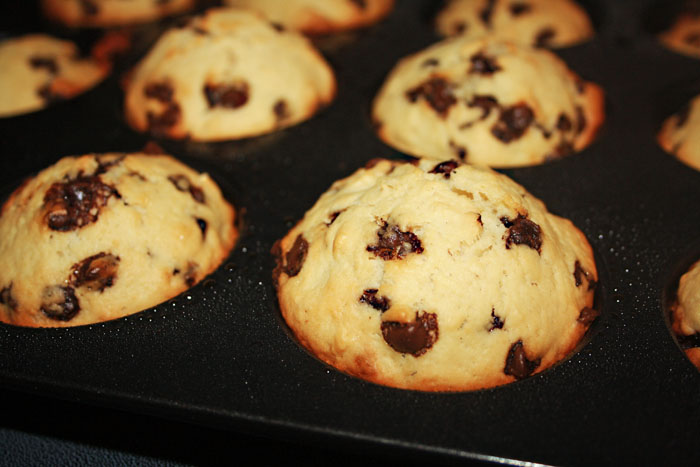
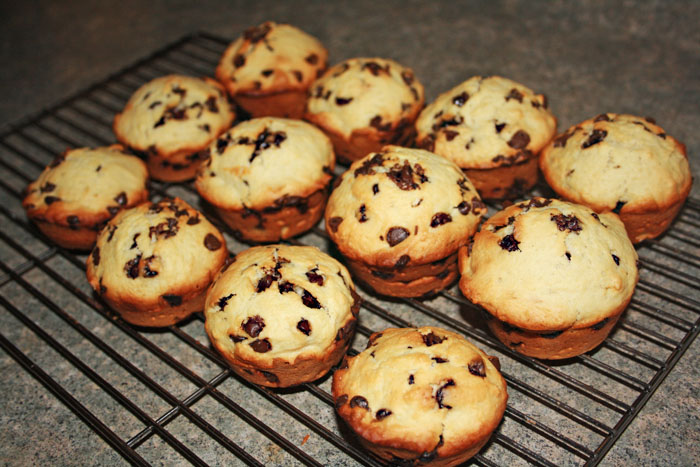
These muffins are a lunch box staple around here, (they are also a middle of the night snack and a running out the door breakfast). So I make these a lot. So much that it seems like the fam should be sick of them by now, but somehow they’re not. Somehow, I still hear requests for them almost daily. Truthfully, I can make them without looking at the recipe and even Wee One #2 gets in on the action now, being able to make these mostly herself!
They clock in at about 230 calories, so I encourage my children to have at them because they are built like supermodels. No lie. I, however, try not to eat quite as many as they do…

Chocolate Chip Muffins via The All New Good Housekeeping Cook Book
2 1/2 cups flour
1/2 cup sugar
1 tablespoon baking powder
1/2 teaspoon salt
1 cup milk
1/2 cup butter, melted
1 large egg
1 teaspoon vanilla extract
1 cup chocolate chips
|
|
|
|
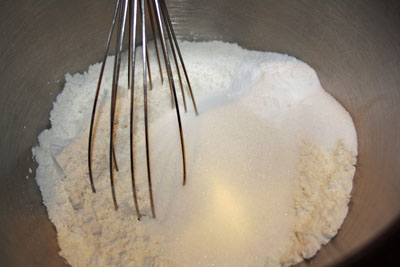
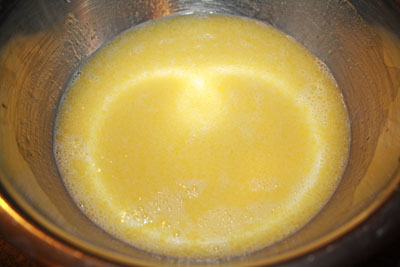
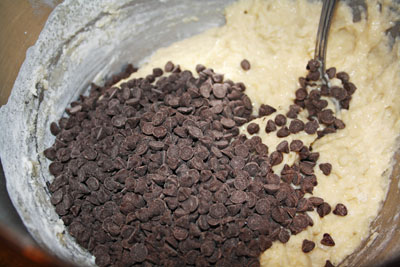
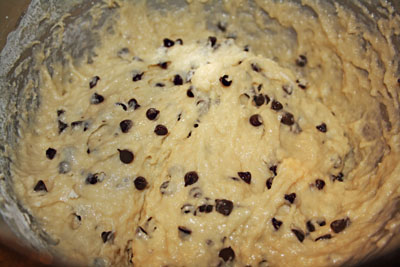
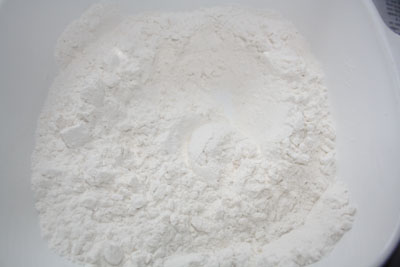
Whisk the flour, baking powder and salt in a bowl. In a smaller bowl, with a fork, beat the milk, melted butter, egg and vanilla until totally blended.
|
|
|
|
|
|
|
|
|
|

Mar 22, 2012
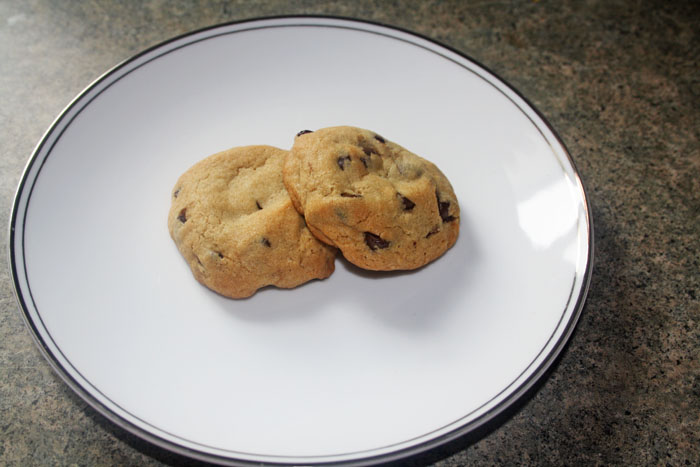
I was inspired recently by (what else) Pinterest to make Snickers Stuffed Chocolate Chip Cookies. I tried a version with Snickers bits mixed in with the cookie batter, but they turned out all leaky and weird when I baked them. The children happily ate my mistake, naturally. Stuffing the cookies with a hunk of Snickers was the only way to do it right. The only reason I put them in the batter along with the chocolate chips in the first place was because the Snickers and Peanut Butter Muffins I make from my Nigella Lawson Domestic Goddess cookbook are uber good. Note to self (and to you, obvy): That shit does not translate to cookies.
Moving along.
I picked my Granny’s standard chocolate chip cookie recipe. It’ll be two years this July since she passed and some days it’s still hard to believe she’s gone. She is very, very much alive in my kitchen though. I try to bake as much of her staples as possible and these cookies are defo one of her staples. I do ‘bastardize’ her recipes (as my mother would say) on the regular, but my Granny was always cool with that. They are very simple chocolate chip cookies, I’ve been making them since I was about 5 or 6 and could push my stool over to the counter to reach the bowls!

Snickers Cookies
1 1/4 cups flour
1/2 teaspoon baking soda
1/2 teaspoon salt
1/2 cup butter
1/2 cup brown sugar, packed
1/4 cup granulated sugar
1 large egg
1 teaspoon vanilla extract
1 cup chocolate chips
|
|
|
|
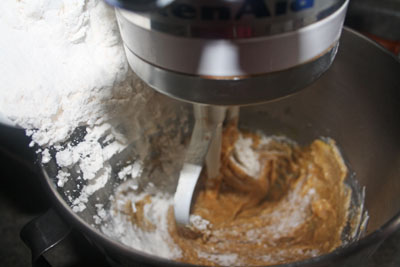
You know the drill, sift the flour, baking soda and salt in a bowl and set aside. Then in the mixer bowl, cream the butter and both sugars together.
|
|
|
|
|
Add the egg and vanilla, then slowly add the flour mixture.
|
|
|
|
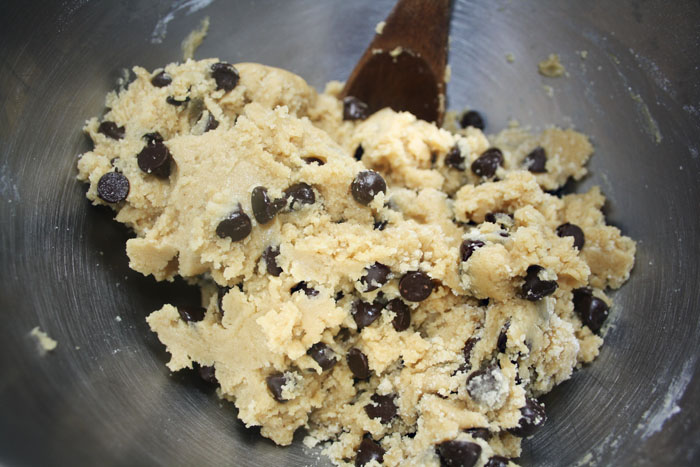
Stir in the chocolate chips with a wooden spoon. Voila!
|
|
|
|
|
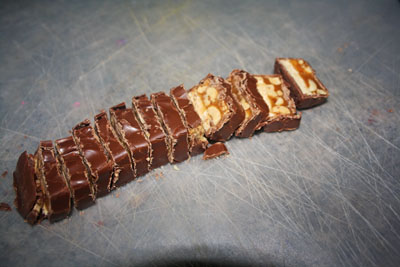
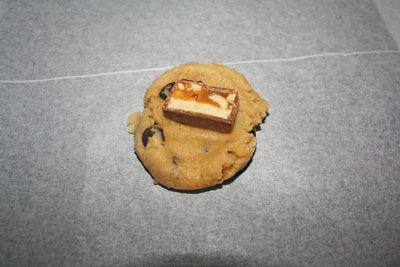
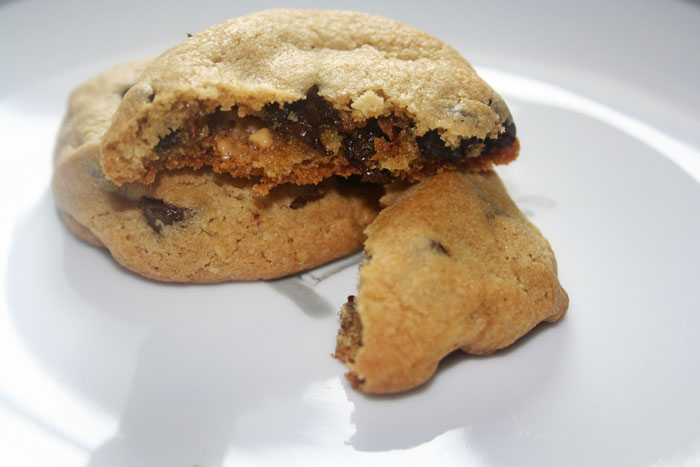
Chop up your Snickers bars and pop one in the middle of a ball of dough. Probably about 2 tablespoons worth. Make sure you mold the dough all the way around the Snickers piece.
|
|
|
|
|
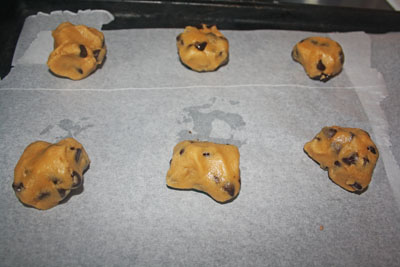
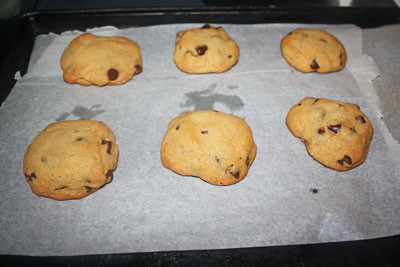
Then bake at 375F for about 15 minutes.
|
|
|
|
|
|
These are especially fun if you don’t tell anyone there’s a surprise inside!
|

Mar 21, 2012
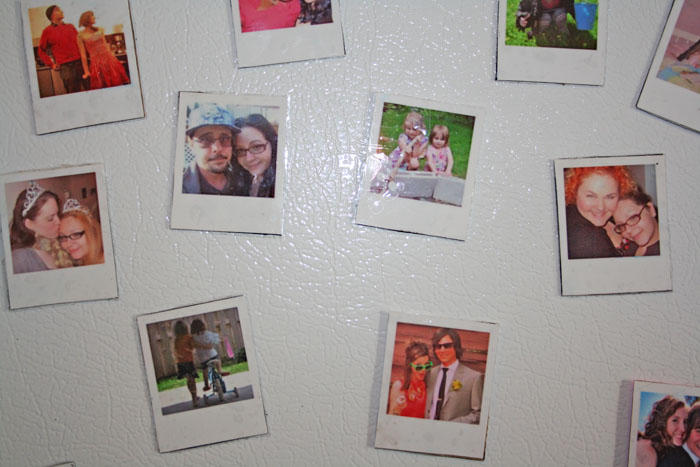
I absolutely love taking photos and when I dump my camera, I love to sort through them and edit them. I send a handful to the people in the photos, I upload some to Facebook (duh), and I put the rest on our private family photo site. But there are so so so soooo many photos I adore that I want to share with other people, outside of an email, you know? I’m working on putting together printed photobooks of every year we’ve been a family (12 years now), they can run about $100+ if they have a heap of pages, so some years will be far more expensive than others to make a book out of, but I’m really excited about it. In the meantime, since I’m not a scrapbooker, I do what I can to turn photos into gifts that wont just sit on a shelf and collect dust. These little photos gifts will defo not be left laying around. They’ll be used and seen everyday and the friends and family that use an image of me hugging them to hold up bills on their fridge will hopefully think of us when they reach for juice in the morning. <3

You’ll need…
-smallish polaroid-framed photos
-magnet sheets
-cardstock/something the same weight (I used the cover of a Care Bears coloring book)
-glue stick
-clear tape
|
|
|
|
|
|
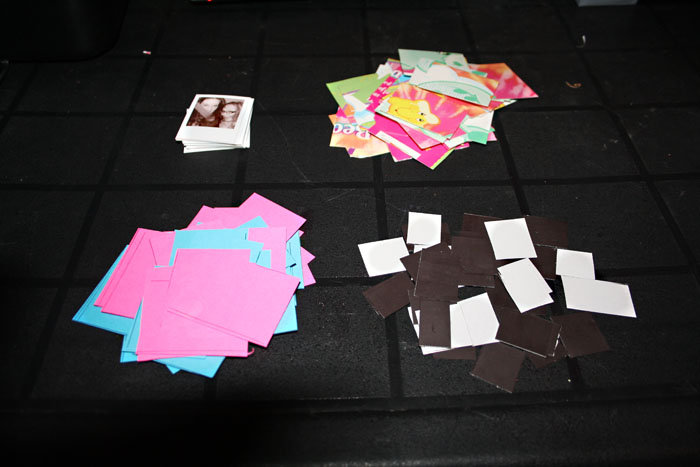
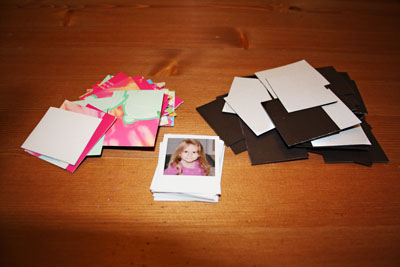
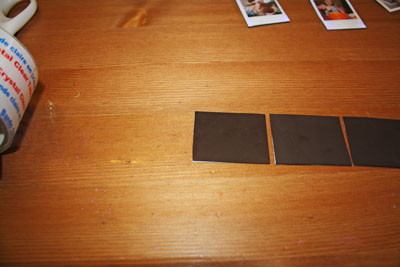
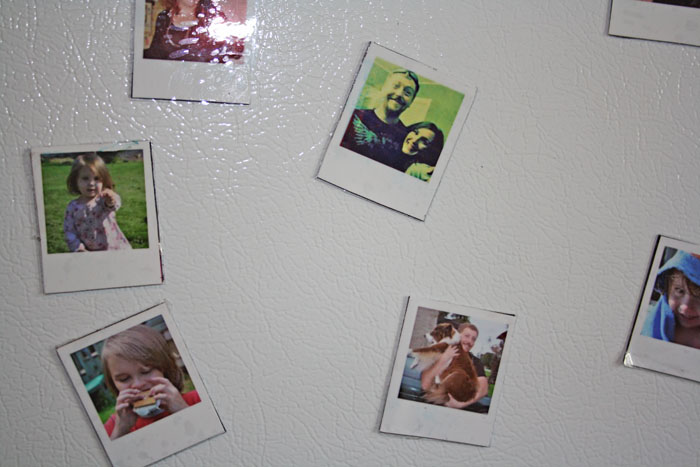
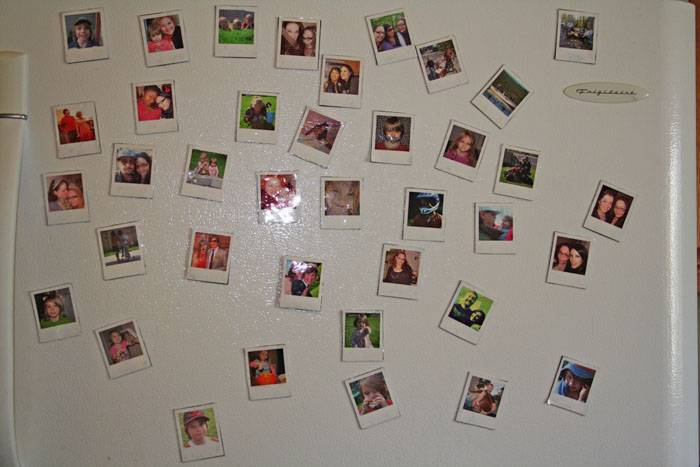
Gather all your supplies, mount each photo to a piece of cardstock, and then mount that on a piece of magnetic sheet cut to the same size. Then smooth a piece of wide, clear packing tape over the front of the photo to protect it. Trim up all the edges and you’re done! Crazy simple. Honestly, the bulk of the work with these is editing the photos to have a polaroid frame around them and then cutting the magnet sheets. Either (or both) of those jobs can be done ahead of time so when it’s time to sit down and make these, you’re finished in no time. They’re fun to display on your fridge and have your friends randomly notice themselves holding up notes, and everyone we have given a set to has looooved them! So sweet!
|
|
|
|
|
|
|
|
Man, we have a lot of good looking friends and family, don’t you think?!
|

Mar 21, 2012
Don’t forget about our giveaway with Keeley Behling Studios! Like the Keeley Behling Studios Facebook page and leave a comment there about something in her Etsy shop to enter. It wouldn’t hurt if you liked the So Very Domestic Facebook page too. 😉
Aside from the obvious deliciousness I’ve been posting on the blog, I have also added a few treats to the site without a blog post. Yummy things I really wanted to add to the site, but didn’t warrant a post.
|

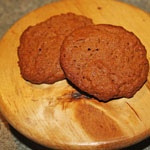
The whole house smells like ginger and cinnamon! (read).
|
|

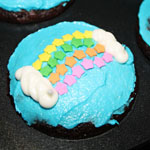
When I am feeling irritated about living in the woods, you know like when I want a Starbucks or feel like grabbing sushi with my girlfriends or maybe even just want to be able to WALK ANYWHERE, I can quickly remind myself how much I love living out here when I have to make something for the kids’ school. Wee One #2 requested I make treats for her class on her birthday. In their old school in Toronto, that would have meant baking and decorating at least 30 cupcakes. I did make treats for the school in Toronto, but they were not as detailed because there were just too many to make. This year she has 11 kids in her class. Yup, 11. Making a dozen cupcakes means there’s one left for the baker. (read).
|
|

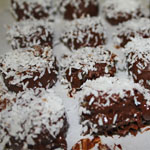
I was inspired by a recipe found on Oh She Glows, but I just HAD TO add peanut butter and switch it up a bit. Instead of making coconut butter, I used peanut butter and rolled the freshly coated banana pieces in coconut. So so so good on the back deck in the summer!!( read).
|

Nutella Marsacapone Cups
9-12 sheets phyllo
1 cup Homemade Nutella
1/4 cup homemade marsacapone cheese (1 liter cream, 1 1/2 teaspoons lemon juice)
|
|
|
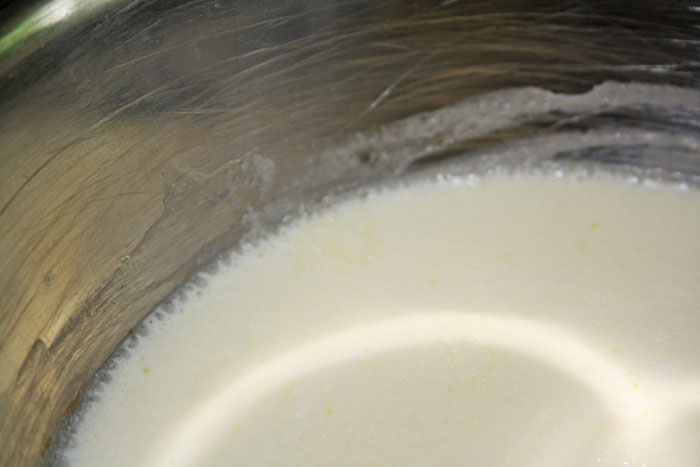
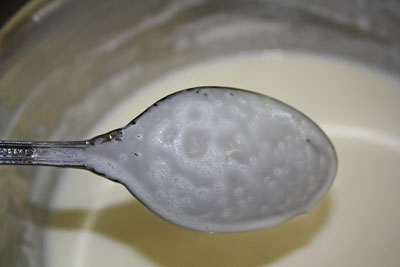
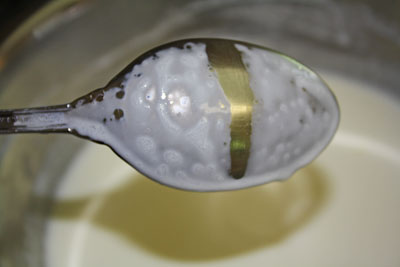
The only slightly complicated thing about this treat is making your own marsacapone cheese and if you can’t be bothered, just pick up a tun from the grocery store and you’re already ahead of the game! It is pretty easy though. Heat the cream over a double boiler to 190F, add lemon juice. It’ll curdle, that’s ok. Stir till it starts to thicken (till it coats the back of a spoon like the pictures below) then let it cool down a bit on the counter.
|
|
|
|
|
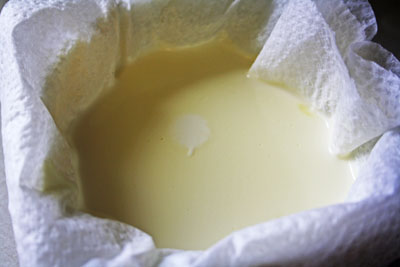
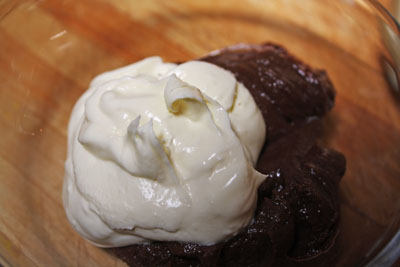
Now transfer it to a bowl lined with cheesecloth and wrap it up. Leave it alone, in the fridge, till it stops dripping. It took almost two days here. What you’re left with is a very smooth, marsacapone-like cheese. Mix about 1/4 cup of it with 1 cup of softened homemade nutella.
|
|
|
|
|
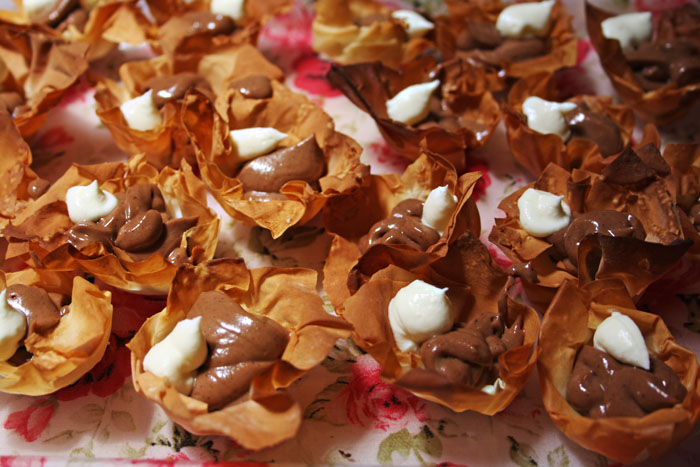
Lay out 3 sheets of phyllo and cut it into 12 squares. Squish these little squares into a muffin tin or mini cupcake tin and bake at 350F for about 5 minutes (till golden). Then scoop in about a tablespoon or so of the creamy nutella and add a smaller dollop of marsacapone on top of that! I don’t think it’s physically possible to eat just one. They look super fancy but they’re way simple and while people will be impressed you made your own marsacapone, it’s totally not a big deal – you can do it!
|
|
|

