Mar 29, 2012
This is yet another recipe from the culinary school cook book I borrowed from my neighbor. 2011 was The Year of the Cookie and I’m still posting cookies I made. Let’s also ignore that 2012 is officially The Year of Soup and I’ve yet to show you any of the soups I’ve made thus far. Ahem.
Much like the other recipes I’ve tried in this book, I felt like a more accomplished domestic goddess as I baked these cookies. There is just something about this book that makes me feel fancy. Julia Child fancy, almost. Almost. I put on my sassy cherry apron while making them to balance out the fancy with ridic to keep the grown-upness in my kitchen to a healthy minimum.
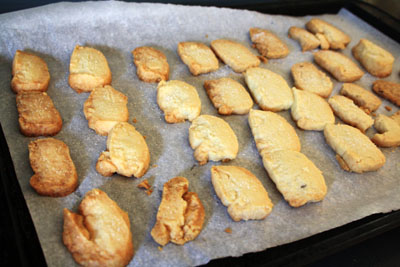
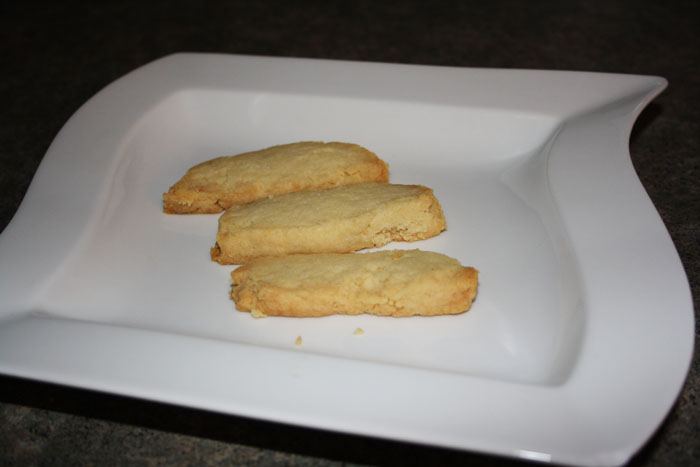
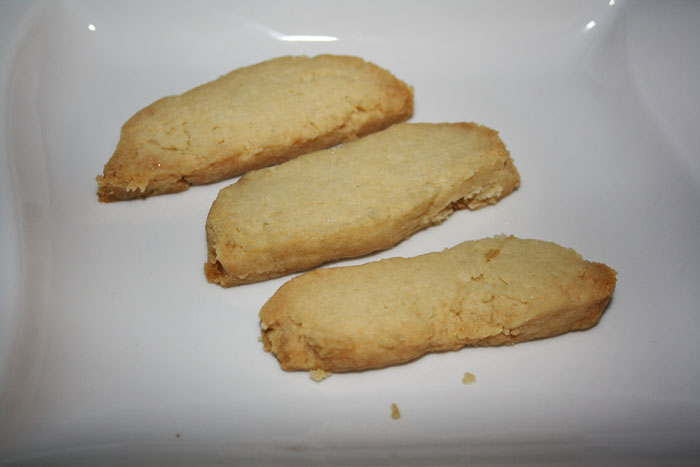
These cookies are so smooth and buttery, as Julia would say ‘it stops your heart just to look at them’.

Sables Diamant Vanille via The Cook’s Book
1 cup unsalted butter, room temp, cut in pieces
1/2 cup sugar
1/2 teaspoon vanilla extract
1/4 teaspoon salt
2 1/2 cups pastry flour
sanding sugar or sugar crystals
|
|
|
|
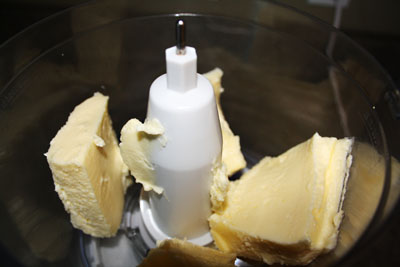
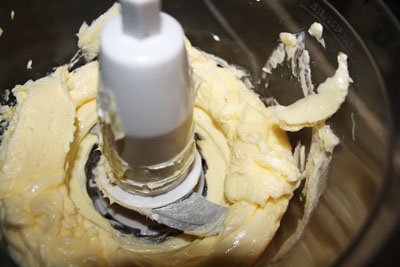
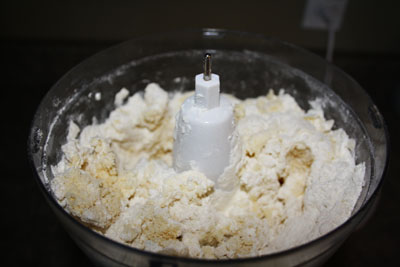
Place pieces of butter in your food processor and process until creamy.
|
|
|
|
|
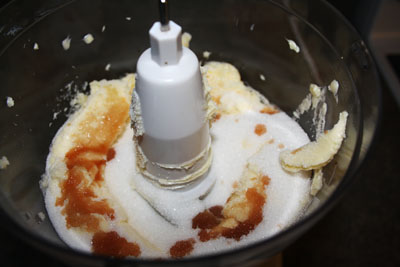
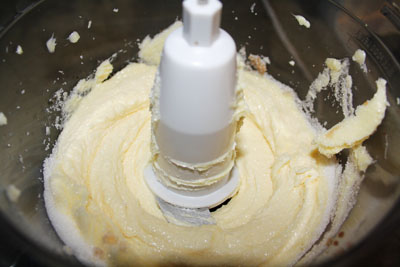
Then add the sugar, vanilla and salt and process to blend it together.
|
|
|
|
|
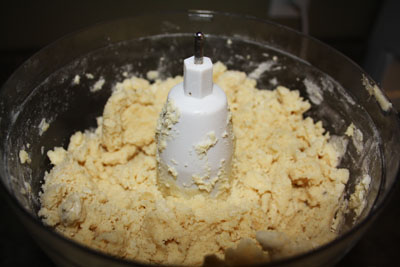
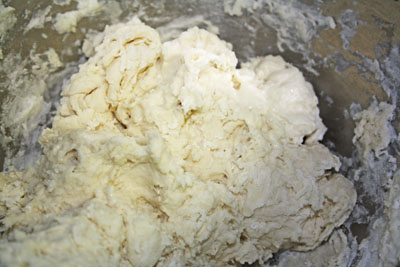
Finally, add the flour and process to a smooth dough.
|
|
|
|
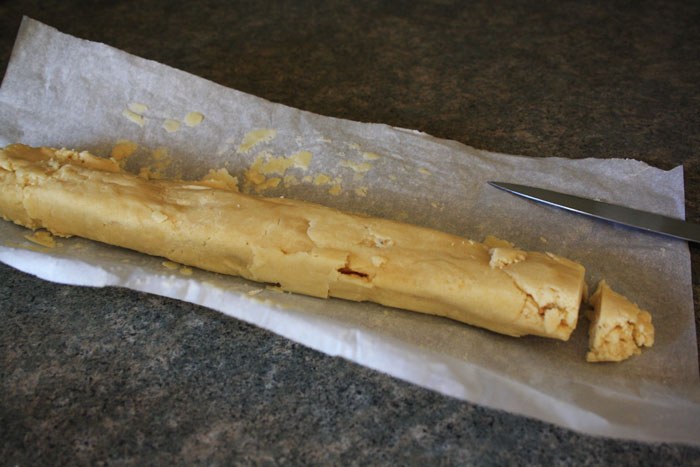
Shape it into a ball and divide that in three. Roll each ball of dough into a 2″ wide log. You may need to pop the dough in the fridge if it gets too soft (nobody likes it when the log goes soft on you). Ahem. Slice cookies from log.
|
|
|
|
|
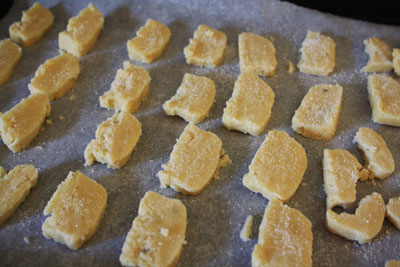
Lay cookies on a parchment paper lined cookie sheet and sprinkle with sanding sugar. Bake at 350F for about 20-25 minutes.
|
|
|
Voila! Look at you all fancy and French and shit. Go watch Marie Antoinette and eat them with wine. |
|
|

Mar 29, 2012
Today, I’m linking up with Kate Says Stuff, The How To Mommy and Obviously Marvelous
There are those recipes for 11 layer cakes that wow a room full of friends or a seriously huge batch of stuffing with all the random stuff in it that makes your entire extended family reach for seconds on Thanksgiving, and those recipes are wonderful and certainty have a time and a place (you know, like a going away party or, um, Thanksgiving). But what about like, Wednesday night dinner?
Enter this recipe. This not only always pleases my crowd (all of them at once even!) but if you’re feeling lazy short on time, you can make the filling over a bed of rice for a no hassle, no dough involved meal and make them just as happy. Wee One #1 loves this so much he requests it for lunch on the regular, and I always have to make a separate ‘lunch batch’ because there are never any leftovers. Never.

Chicken Hot Pockets
1 batch pizza dough (or something similar) original recipe used a can of Grands biscuits
2 cups cup cooked chicken, chopped
2 cups condensed cream of chicken soup
1 tablespoon milk
1 teaspoon dried onion, minced
1/2 teaspoon thyme
1/2 teaspoon rosemary
1/4 teaspoon black pepper
1/4 teaspoon poultry seasoning
|
|
|
|
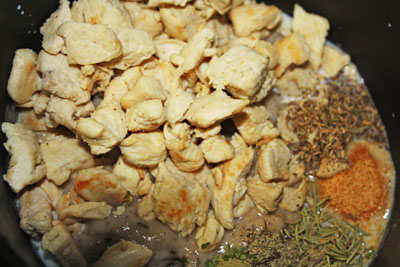
First, deal with the dough, however you choose to do that. Then heat your soup and add all the other ingredients to the pot.
|
|
|
|
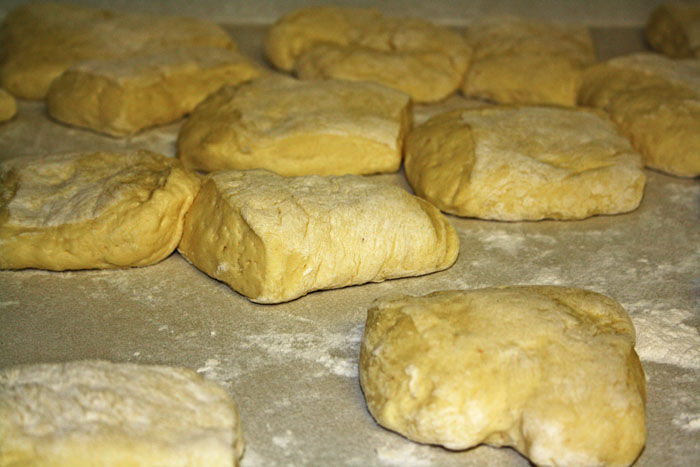
However you make the dough, you’ll need to divide it up into individual amounts.
|
|
|
|
|
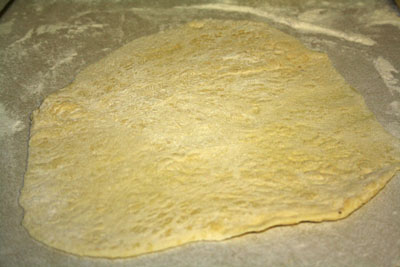
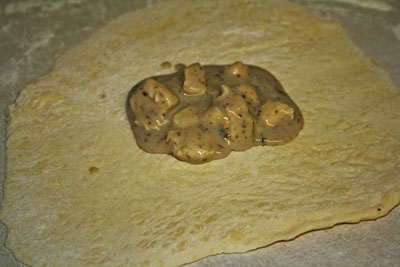
Then with a little flour (or parchment paper), roll out each pocket and fill with about 1/4 cup of filling.
|
|
|
|
|
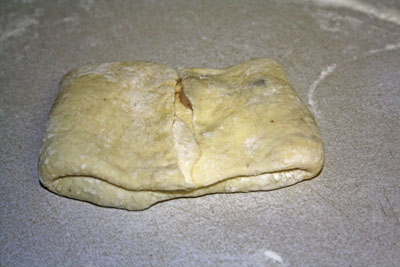
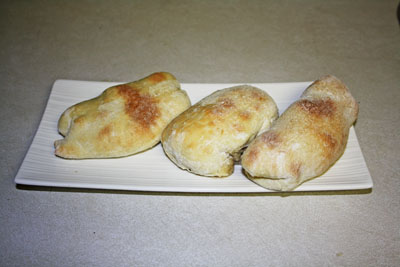
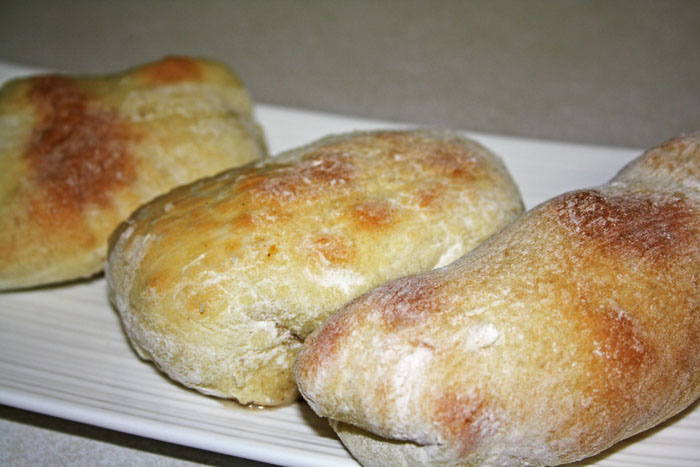
Fold it up as carefully as you can and bake them seam side down for about 30 minutes at 375F.
|
|
|
|
Super simple, serious taste punch. I swear it’s the poultry seasoning + thyme combo combo, but really the overall combo of all the spices together with the chicken is a real winner.
|

Mar 29, 2012
After we made Skittles vodka when we first moved out to the woods, I decided to toss as many different kinds of candy in vodka as possible. Not all at once, mind you, but over time. Skittles vodka was a serious hit, likely because it was hella sugary. Gummie bear vodka was also a hit, also likely because it was hella sugary. I figured since I had made it work twice already that bubblegum vodka would be a homerun – it was defo hella sugary.
However.
It seems the common theme between Skittles and gummie bears wasn’t their sugar content. It’s that my girlfriends and I really like Skittles and gummy bears. I’m the only one out of the five of us that likes bubblegum. Whoops, sorry ladies. Bubblegum vodka shots did not go over well. So after we each had a shot and no one liked it we went back to wine, strained out the bubblegum chunks and left it in the mason jar in the back of the pantry. For like, 2 months. Then one night when a few other girlfriends were visiting, one of them wandered into the back of the pantry and found the very bright pink mason jar – and she polished it off. Which means that someone finally liked it!

Bubblegum Vodka
All you need is a mickey of vodka and about 20-30 pieces of bubblegum. Use Bazooka gum to feel 8 years old again.
|
|
|
|
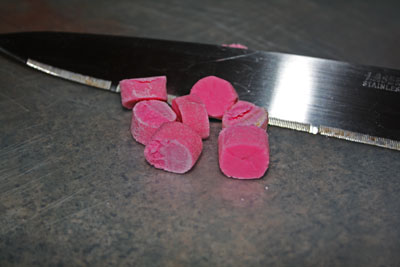
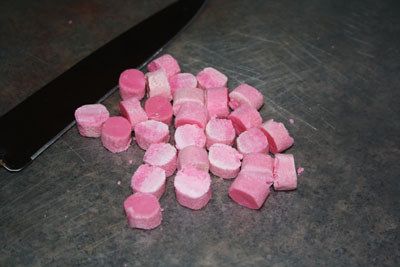
Chop all your bubblegum into smallish pieces.
|
|
|
|
|
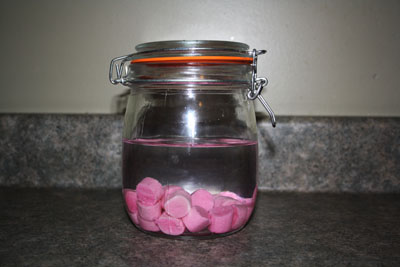
Plunk the gum in a jar full of vodka and wait a few days! Then get loaded with your girlfriends!
|

Mar 28, 2012
This is one of those ridiculous after school snacks I have made for the kids that they absolutely loved, and I felt especially silly making! The kids next door were here when I made them and they thought they were hilarious and amazing. Both snacks are super easy to make and are a really cute and filling snack for wee ones (and maybe some grown ups too). 😉

Hot Dog Noodles and Chicken Fingers
Hot Dog Noodles
hot dogs
thin spaghetti, uncooked |
Chicken Fingers
2 chicken breasts
1/2 cup whole wheat flour
2 tablespoons wheat germ
1 egg
1 cup seasoned bread crumbs
|
|
|
|
|
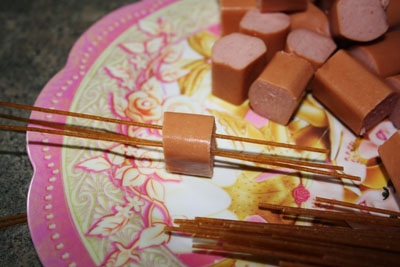
Just poke the uncooked spaghetti through sliced raw hot dogs and pop them in a pot of boiling water.
|
|
|
|
|
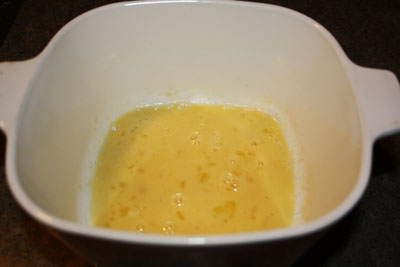
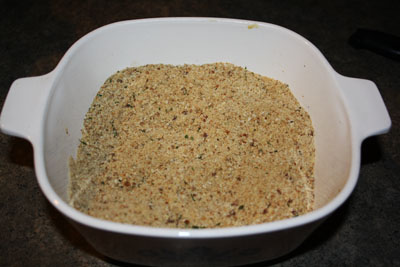
Whisk up your egg and place your breadcrumbs in a shallow bowl.
|
|
|
|
|
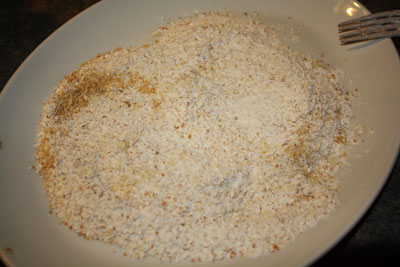
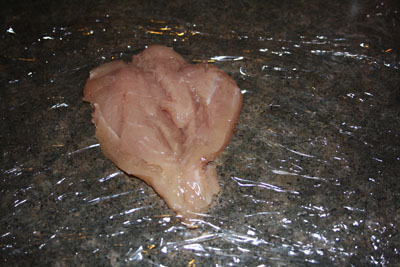
Mix the flour with the wheat germ and place in a shallow bowl. Pound out your chicken breast between two pieces of plastic wrap, slice them into ‘fingers’.
|
|
|
|
|
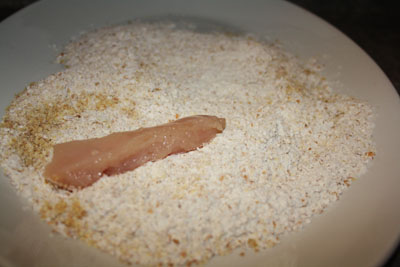
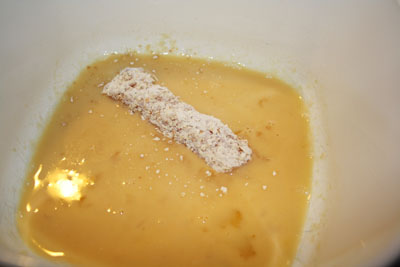
Roll each piece in the flour/wheat germ mixture, then in the egg.
|
|
|
|
|
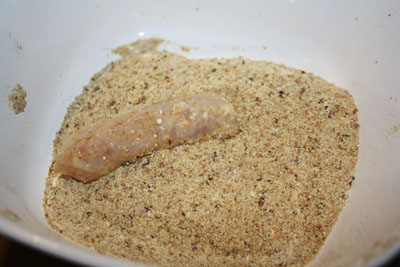
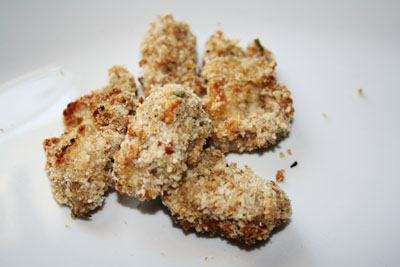
Coat in the seasoned breadcrumbs, then bake for about 20 minutes at 375F.
|

Mar 27, 2012
I’m linking up with Flock Together Blog Hop and Inspiration Linky Party.
Don’t forget about our giveaway with Keeley Behling Studios! Like the Keeley Behling Studios Facebook page and leave a comment there about something in her Etsy shop to enter. It wouldn’t hurt if you liked the So Very Domestic Facebook page too. 😉
I have made chili from maybe half a dozen recipes over the years, but I had never made cornbread before. These recipes made a heap ton of chili and cornbread. All five of us ate our fill and then the family of five next door ate their fill and there was still some left over!
It’s a liiiiiiiittle spicy, but not too spicy for the kids. A couple of the grown ups said it wasn’t spicy enough, but it’s always easier to add than to take away.
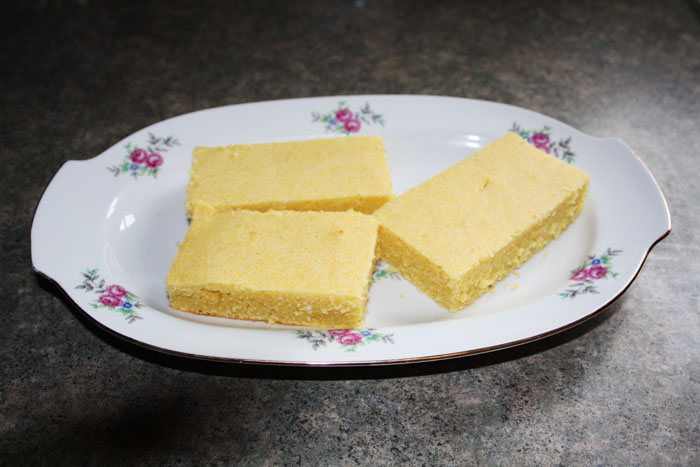
The cornbread is moist and perfect for dipping. It doesn’t fall apart in the chili but it does absorb just enough of the sauce.

Cornbread
1 1/2 cups cornmeal
2 1/2 cups milk
2 cups all-purpose flour
1 tablespoon baking powder
1 teaspoon salt
2/3 cup white sugar
2 eggs
1/2 cup vegetable oil
|
Chili
14.5 ounce can of diced tomatoes with garlic and onion
15 ounce can of chili beans – mild
15 ounce can of black beans
8 ounce can of tomato sauce
15 ounce can of kidney beans
1.5 pounds hamburger
1 onion diced
Pureed spinach
Chili seasoning
Garlic
Salt/pepper |
|
|
|
|
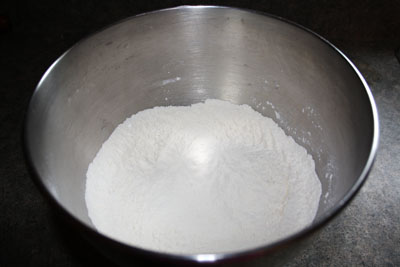
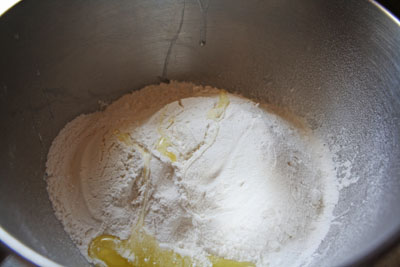
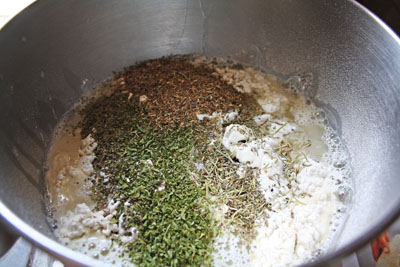
Combine the cornmeal and milk, set aside for 5 minutes. Grease a 9 x 13″ baking dish and whisk together flour, baking powder, salt and sugar.
|
|
|
|
|
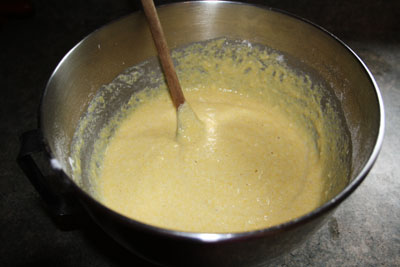
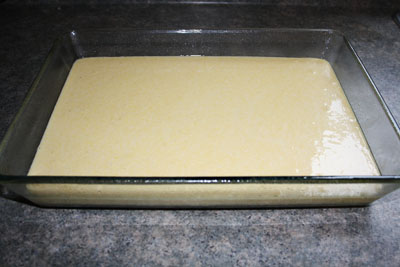
Mix in the cornmeal mixture, eggs and oil until smooth. Now pour the batter into the baking dish.
|
|
|
|
Bake for 35 minutes at 400F…and onto the chili!
|
|
|
|
|
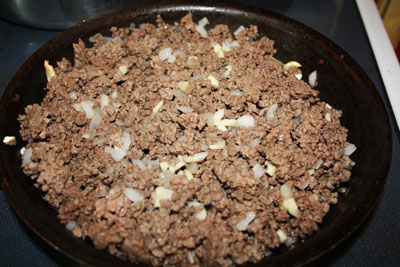
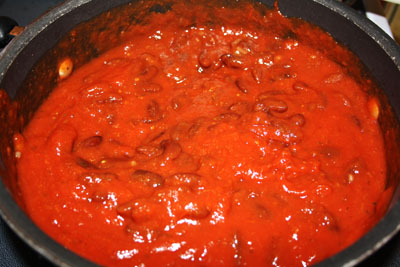
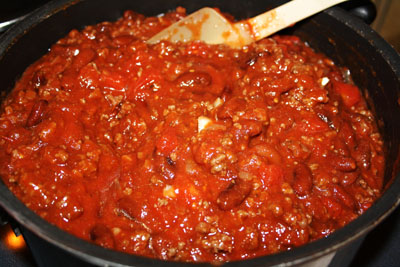
Brown the hamburger with the onion and maybe a little garlic. Add the tomato sauce, chili beans, black beans, and kidney beans.
|
|
|
|
|
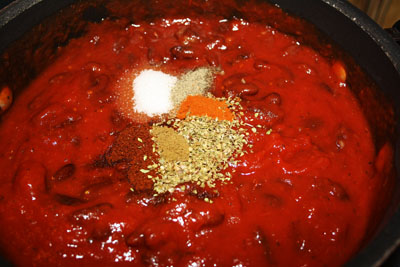
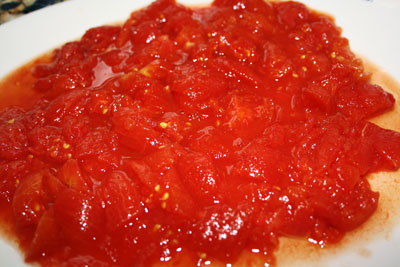
Add the tomatoes and spices.
|
|
|
|
|
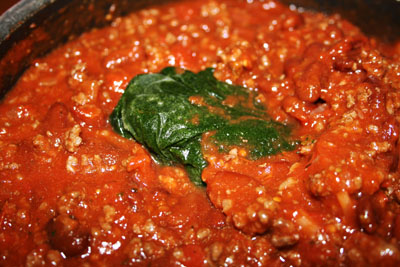
Let it simmer for about 30 minutes and then add the spinach puree. Slow cook it for another hour or so and amaze your neighbors.
|

Mar 26, 2012
Today, I’m linking up with KD Buggie Boutique, Mom Blog Monday and Tough Cookie Mommy for Mingle Monday.
Don’t forget about our giveaway with Keeley Behling Studios! Like the Keeley Behling Studios Facebook page and leave a comment there about something in her Etsy shop to enter. It wouldn’t hurt if you liked the So Very Domestic Facebook page too. 😉
I mentioned a few days ago that I borrowed one of my neighbor’s pro cook books and that I was overcome with joy at the concept of baking and cooking my way through a book he used in culinary school?! Insert dramatic gasping here.
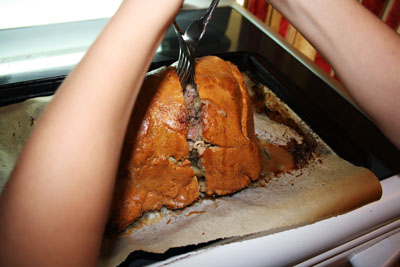
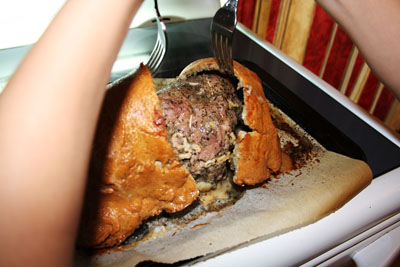
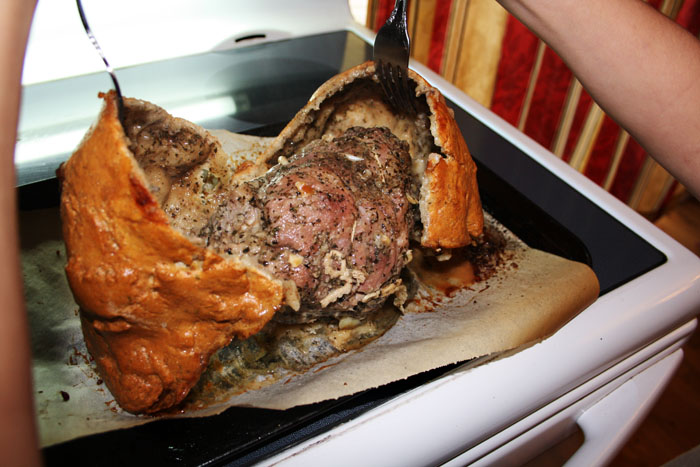
This recipe is from that book and it’s one of those recipes that was so weird I had to try it. I mean, I’ve been around a few kitchens in my day (omg who says that?!) and I’ve never seen this or even heard of it. It was super weird to wrap a roast in a big, heavy (but still pliable) sheet of pastry, but it turned out really well! It was extremely moist and juice. Easy to carve and the kids ate it up and asked for more – always a win in our house!

Salt Dough-Wrapped Roast via The Cook’s Book
1 cup fine table salt
3 cups coarse sea salt
7 cups flour
2 egg whites
2 1/2 cups lukewarm water
large handful of mixed thyme, rosemary, lavender flowers, and sage, chopped
cut of meat, your choice
+ egg wash (2 eggs + about 3 tablespoons water)
|
|
|
|
Mix all but the spices and water in a large bowl. Then stir in the spices.
|
|
|
|
|
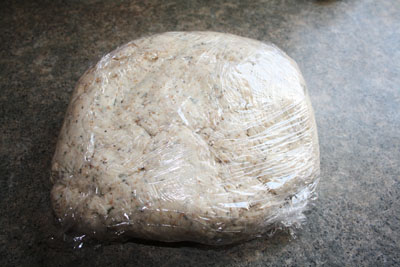
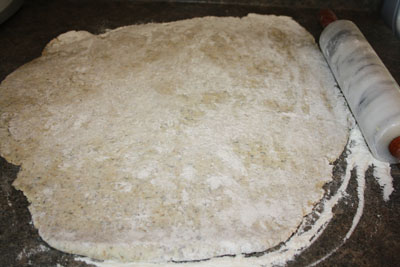
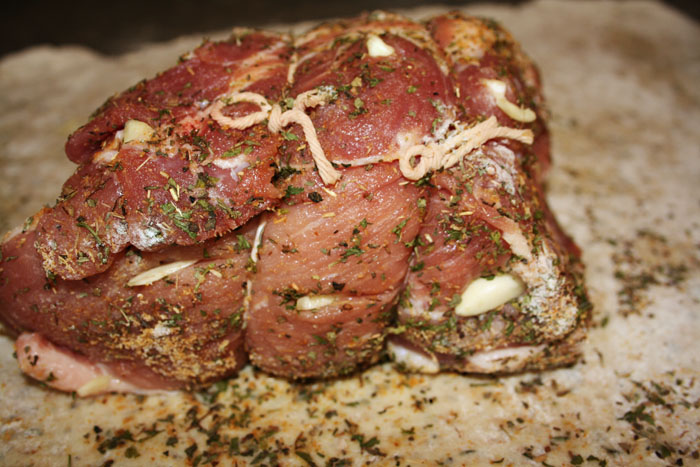
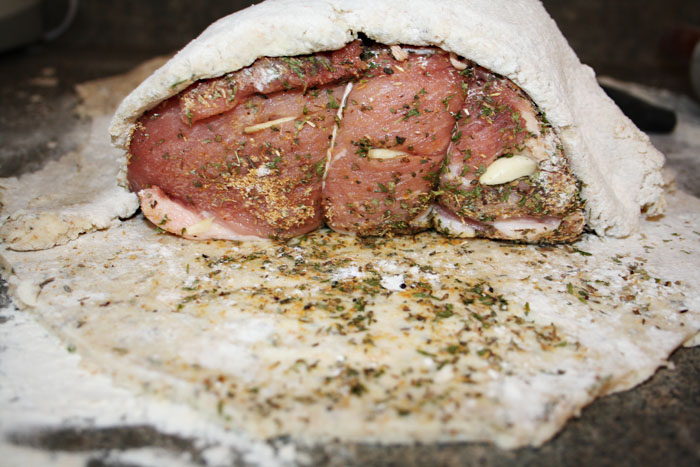
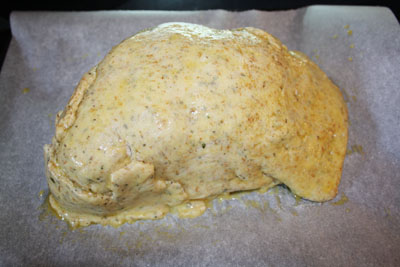
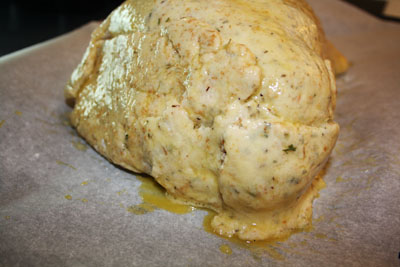
Work the dough on a floured surface for a few minutes until it’s smooth. Then wrap it in plastic wrap and let it rest at least 2 hours before rolling it out to wrap your roast in. Season your roast as you normally would, I cut slits in it and poke small pieces of garlic inside. Once your roast is spiced up, wrap the salt dough around it.
|
|
|
|
|
|
|
|
|
Use an egg wash to secure the salt dough around the roast.
|
|
|
|
|
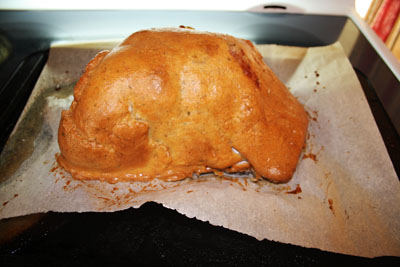
Bake at 400F for about an hour. Let it rest for about 20 minutes after coming out of the oven to it can finish cooking.
|
|
|
|
|
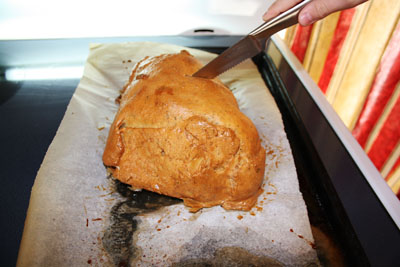
Then crack it open and toss out the crust.
|
|
|

Mar 25, 2012
Don’t forget about our giveaway with Keeley Behling Studios! Like the Keeley Behling Studios Facebook page and leave a comment there about something in her Etsy shop to enter. It wouldn’t hurt if you liked the So Very Domestic Facebook page too. 😉
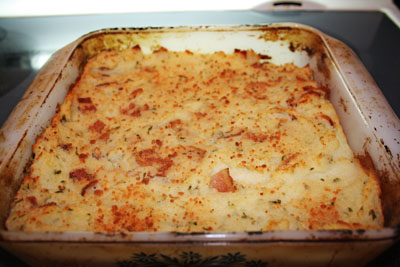
Everything is better with bacon. Right?! The addition of bacon to pretty much anything I can add bacon to has been mounting. Perogies, check. Breakfast pie, check. Cookies, check. I will post about all these bad boys eventually. The bacon wrapped tater tots are a personal favorite, and have won me over in the hearts of both strangers, neighbors and randos everywhere. This? Is the ‘impress my family’ version, and it totally works.

Bacon Mashed Potatoes
4 baking potatoes
1/4 cup butter
6 strips bacon
1/4 cup Parmesan cheese
|
|
|
|
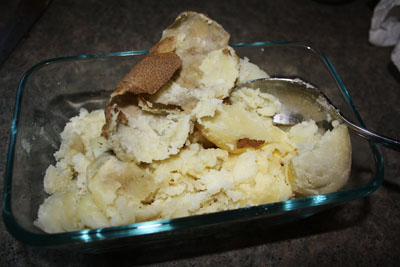
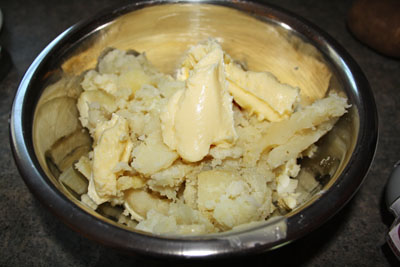
Bake your potatoes however you like, (I took a shortcut and stuck them in the microwave), then mash them with butter.
|
|
|
|
|
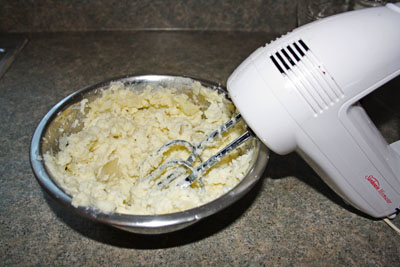
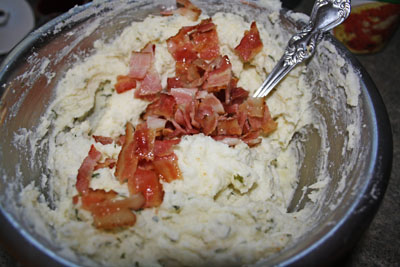
I used my hand blender to make sure there were no chunks and then I added in the bacon.
|
|
|
|
|
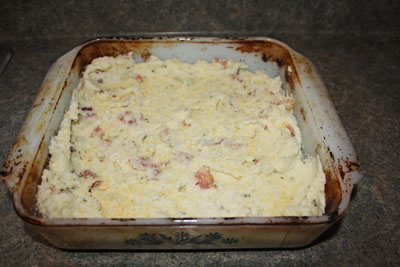
Spread the mashed potatoes in a casserole dish and sprinkle the cheese over top. Bake at 375F for about 20 minutes.
|

Mar 25, 2012
Don’t forget about our giveaway with Keeley Behling Studios! Like the Keeley Behling Studios Facebook page and leave a comment there about something in her Etsy shop to enter. It wouldn’t hurt if you liked the So Very Domestic Facebook page too. 😉
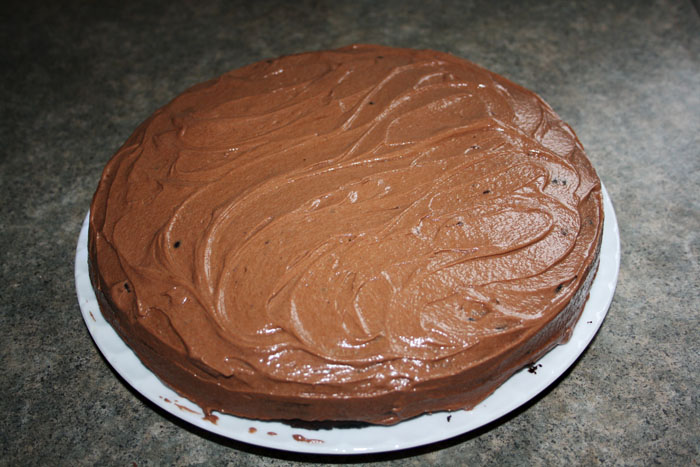
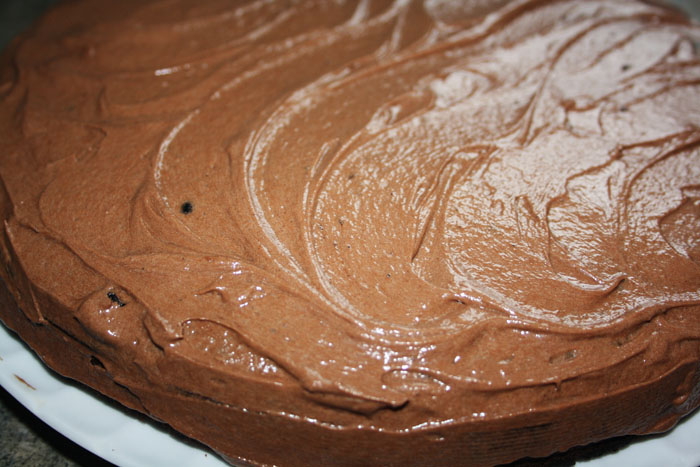
This is the cake to make for people who generally tell you that chocolate cake is ‘too rich’ or ‘too heavy’. It’s also the cake to make for people who complain of cakes being too dry. The buttermilk here makes this cake seriously moist without being too fudgey or puddingy. It’s another winner from one of the first cookbooks my husband ever bought me, yes I’m still working through the Good Housekeeping cookbook – it’s that good.
I have made this cake so many times now that I haven’t been making the Stir and Bake Chocolate Cake that I used to make on the regular. This one is just as easy but even better, I swear.

Chocolate Buttermilk Cake via The All New Good Housekeeping Cook Book
2 1/4 cups flour
3/4 cups unsweetened cocoa
1 3/4 sugar
2 teaspoons baking soda
1 1/4 teaspoons salt
1 1/2 cups buttermilk
1 cup vegetable oil
3 large eggs
1 1/2 teaspoons vanilla extract
|
|
|
|
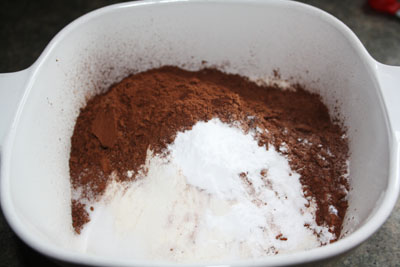
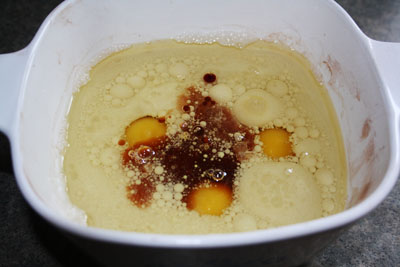
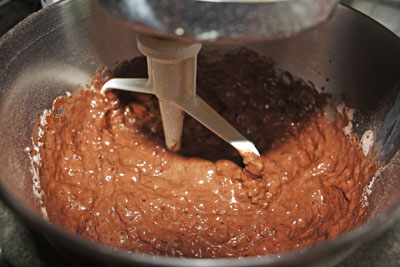
Mix the flour, cocoa, sugar, baking soda and salt. In a separate bowl, mix the buttermilk, vegetable oil, eggs and vanilla extract.
|
|
|
|
|
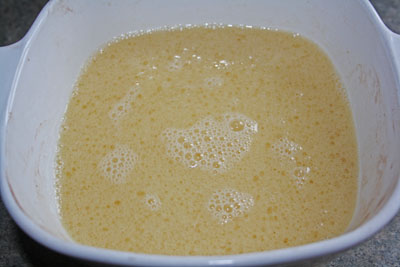
Mix till well combined, then add the flour mixture to it and beat. Bake at 350F for about 30 minutes.
|
|
|
|
|

Mar 24, 2012
Don’t forget about our giveaway with Keeley Behling Studios! Like the Keeley Behling Studios Facebook page and leave a comment there about something in her Etsy shop to enter. It wouldn’t hurt if you liked the So Very Domestic Facebook page too. 😉
I have a bookcase full of cookbooks, binders full of recipes pulled from foodie magazines and an alarming number of pins and bookmarks of recipes to try. And yet? The very best pizza dough recipe I’ve ever made / eaten came from a grocery store flier! I know right?! Way to go Foodland!
Obviously, my kids see me in then kitchen everyday. Sometimes, I’m messing around and making something utterly ridic and other times I’m making something painfully run of the mill like stew or chicken alfredo or something. No matter what I’m up to though, at least one of them wants to be a part of the action. Usually, I can find some task to delegate to them, so they are helping without helping so much I have a serious mess on my hands. But then there are times when they want to do something that screams let them make a serious mess in the kitchen, and so I do.
When we make pizza, they are hands on the whole way. They help knead the dough, they roll out their own pizzas and they choose, chop and put on their own toppings. They even help each other, it’s the cutest thing. It is a disaster too though, like, I can’t even understand how they make such a mess. But. They are so happy while they do it and when it’s time to eat their creations, they’re all so proud of themselves!

Chicken Pizza with Caramelized Onions via Foodland Flier
Dough:
1 cup very warm water (120F-130F)
1/2 teaspoon salt
2 1/4 teaspoons instant yeast
3 1/4 – 3 1/2 cups flour
1/2 teaspoon olive oil |
Pizza:
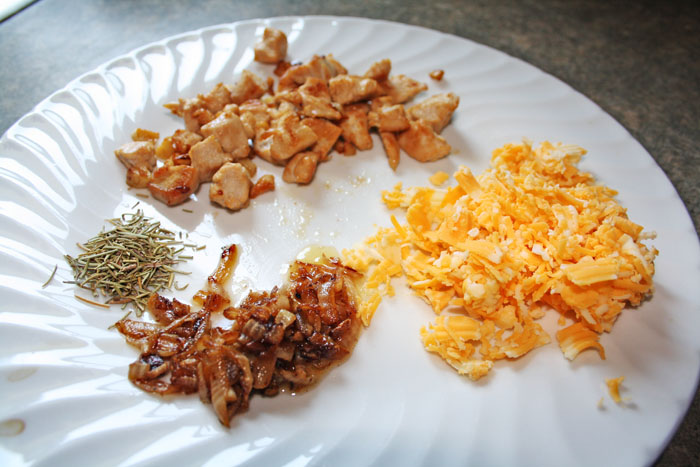
1 cup shredded cheese (your choice)
1 chicken breast, cooked and cubed
1 onion, chopped and caramelized
1 teaspoon rosemary |
|
|
|
|
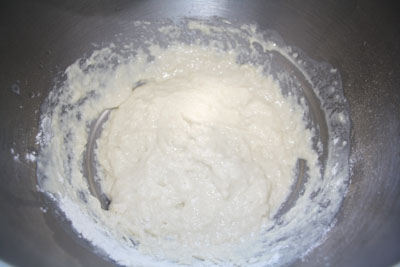
Combine the water, salt and yeast. Add 1 cup of flour and mix with a wooden spoon until you have a loose batter.
|
|
|
|
|
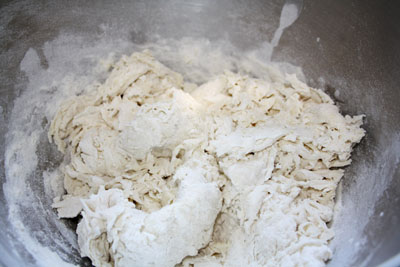
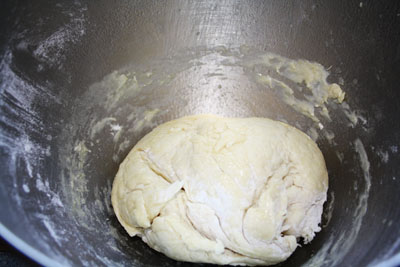
Add another two cups of flour and mix a few minutes more until it looks a little ragged. If it feels too stuff add a little water (up to about 1/3 cup). Now attack it with your electric mixer and dough hook attachment. Let it sit for a bit while you gather toppings.
|
|
|
|
|
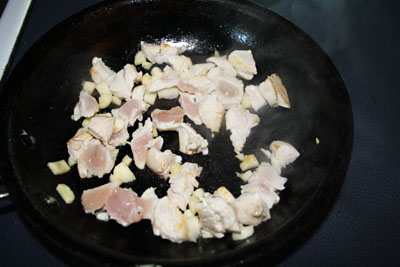
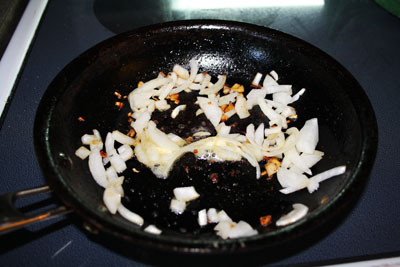
The only real tip worth sharing when it comes to caramelizing onions is that you can’t possibly rush it. It’s all about bringing out the natural flavor of the onion, so you’re going to have to cook them for about 30 minutes in a little olive oil. If your burner is too hot, you will have to add a little water to keep them from drying out. Now having said that, if you like your onions sweet, you can always add a pinch of sugar to help that along.
|
|
|
|
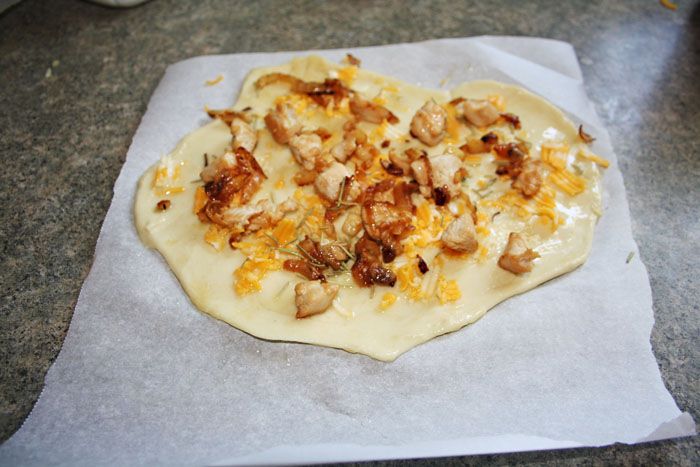
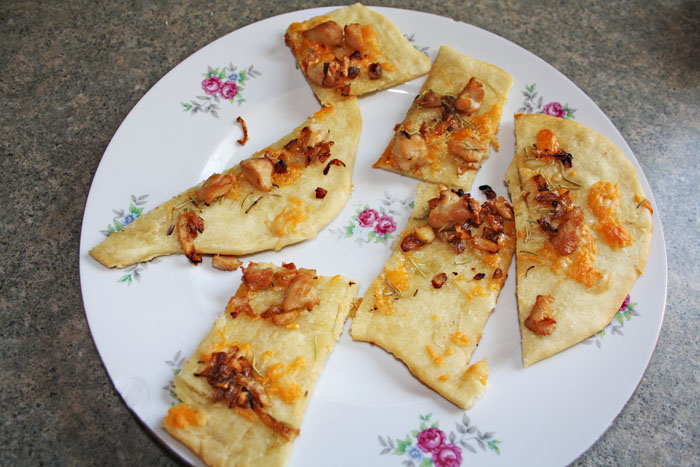
Roll out your dough to whatever size you’d like, either on a lightly floured counter or between sheets of parchment paper. We all made little individual pizzas. We baked them for about 20 minutes at 375F and they turned out great! I love, love, love this dough recipe.
|
|
|
|
|

Mar 24, 2012
Don’t forget about our giveaway with Keeley Behling Studios! Like the Keeley Behling Studios Facebook page and leave a comment there about something in her Etsy shop to enter. It wouldn’t hurt if you liked the So Very Domestic Facebook page too. 😉
Today, I’m linking up with Six Sisters’ Stuff, Mom’s Bookshelf and Beauty Brite
I’m not the only one that makes random fancy meals for my kids, am I? I mean, I make random fancy meals to enjoy with my husband after the kids are in bed, but I suspect that’s less weird than cracking open the new issue of Food & Drink Magazine for inspiration for my kids’ dinner. I know at least one other mommy who perfects fancy food on her little one before serving it to her husband. Oh Sammie, how I adore you so.
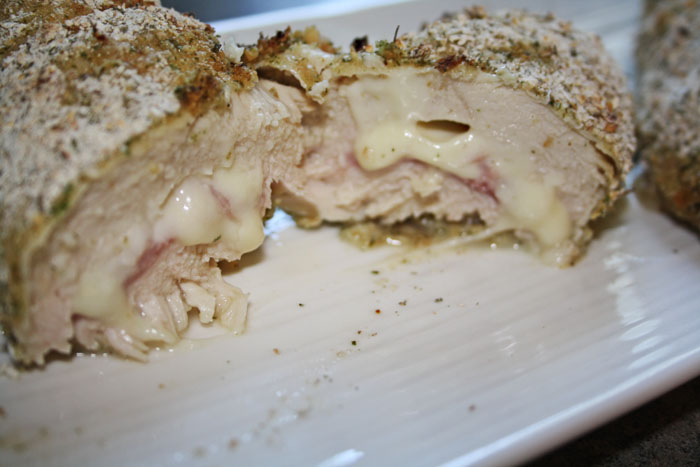
This is yet another one of those recipes that only appear like a lot of work but look really impressive. The only concern with this dish is the cheese leaking out of the chicken. As long as you secure the chicken breast closed with a few toothpicks and bake it seam side down, it’s not going to leak.
As with a lot of recipes that only have a few ingredients, you really have to use the best quality you can find – for each of them. In my case, the mozzarella at my local grocery was better than the swiss. If the swiss had looked better I would have gone with that – some people would prefer the swiss over mozzarella either way! You could also go with prosciutto instead of ham. The Wee Ones are not big on prosciutto or I would have used that.

Corden Bleu
2 boneless, skinless chicken breasts
2-4 ounces mozzarella cheese
2 slices ham
1 egg
1 cup breadcrumbs
2 tablespoons parsley
toothpicks
|
|
|
|
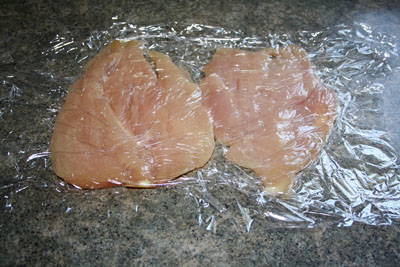
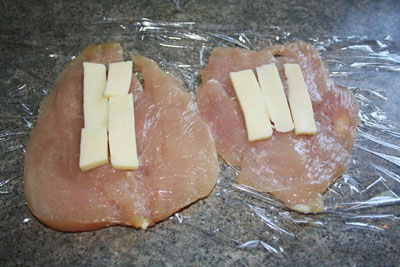
Butterfly the chicken breasts and pound them out nice and flat between two pieces of plastic wrap. Slice the cheese into strips and place them in the middle of the breast.
|
|
|
|
|
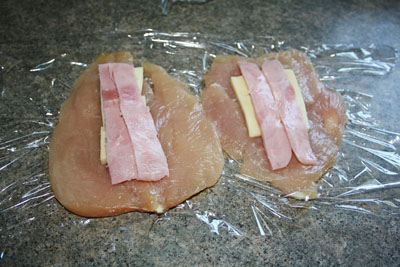
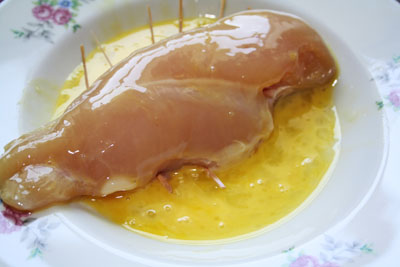
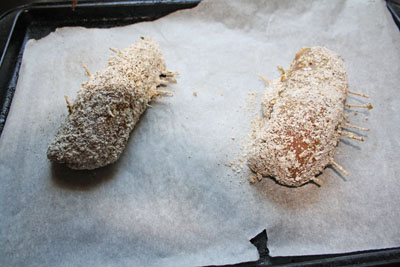
Layer the ham over the cheese and fold the chicken over so it’s almost a roll. You will probably have to use toothpicks to secure the chicken shut. Now beat the egg in a shallow bowl and coat the chicken with it.
|
|
|
|
|
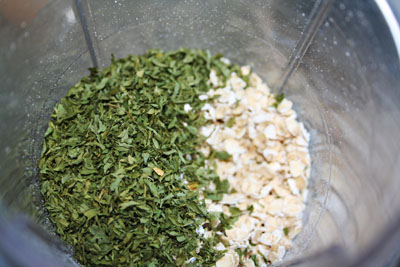
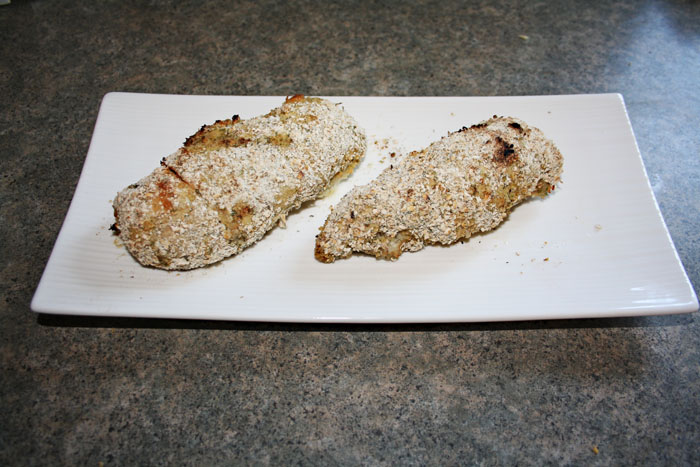
Mix the breadcrumbs and parsley and toss the chicken breasts in it. Bake for about 25 minutes at 350F – with the seam side down on your parchment paper lined baking sheet.
|
|
|
|
|

