Browsing the archives for the daring bakers tag.

Biscuit Joconde Imprime/Entremet – Daring Bakers Jan 2011

Domestic, Kids, Pretty

In this post, I’m participating in The Daring Kitchen!

The January 2011 Daring Bakers’ challenge was hosted by Astheroshe of the blog accro. She chose to challenge everyone to make a Biscuit Joconde Imprime to wrap around an Entremets dessert.

Here we go, another French dish from the Daring Kitchen. However, unlike the Cassoulet I made a few weeks ago that didn’t look too complicated once served but actually took 3 days to make, this little treat looks like I slaved over it forever but really it came together super quick. I did hit a totally unrelated-to-the-hard-part snag when I ran out of chocolate pudding ingredients. I just could not bare to use plain instant pudding in this lovely creation, and chocolate pudding is what the wee ones requested inside it. Anyhoo, it’s done now. Two days late.

So the challenge was to make what I think is best described as a cake-like wrap for a mousse or pudding or something like that. I know I’m dumbing it down horribly, but that’s essentially what it is. The fancy part, and of course there is a fancy part this is a Daring Kitchen challenge after all, is that there is a layer of decorations baked right into the cake. I have seen them in bakeries, but I have never tried one. Turns out, it is very similar to the jelly-roll type cake we used last summer when the Daring Bakers made swirly ice cream cake. Oh. My. Goodness. I went to find the link for you to see what I was talking about and I didn’t post it!! In my defense this challenge came on the heels of my Granny’s passing and I didn’t really do much of anything but bake and eat and bake and bake and cry and eat. Ahem.

Moving on. First you need to make the batter for the ‘sponge’, as the recipe calls it.

Joconde Sponge – via Daring Kitchen

3/4 cup almond meal
1/2 cup plus 2 tablespoons icing sugar
1/4 cup cake flour
3 large eggs
3 large egg whites
2 1/2 teaspoons sugar
2 tbsp butter, melted

So first you whip your egg whites and sugar until they’re meringuey, set aside.
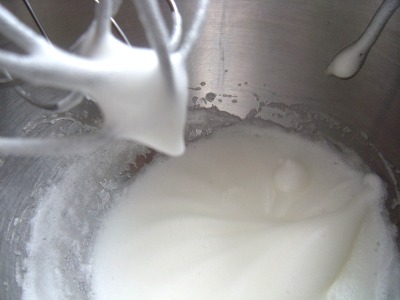
Now sift the almond meal, icing sugar and cake flour (original recipe notes that you can do this in your dirty meringue bowl, so I did). With the mixer on medium, add the eggs individually, then mix until smooth. Fold in a third of the meringuey mixture, then fold in the rest. Finally, fold in the melted butter.
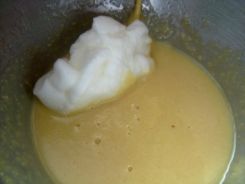
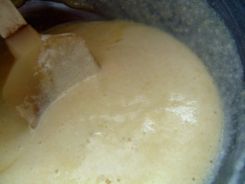
 

Done! Set this aside. You’ll need it soon enough!

Now, you need to make the decorative part.

Patterned Joconde-Décor Paste – via Daring Kitchen

14 tbsp butter, softened
1 1/2 cups plus 1 1/2 tablespoons icing sugar
7 large egg whites
1 3/4 cake flour
Food coloring gel, paste or liquid

Oh boy. That’s right people! 14 tablespoons of butter (of course I used Becel, but still) and 7 egg whites! 7. Sigh. You know I only went through with this to make Julia Child proud. Duh.

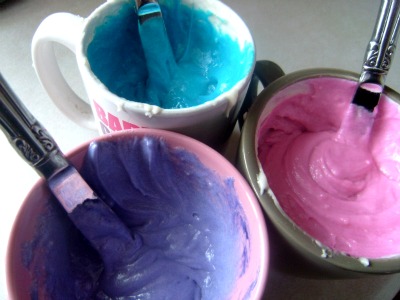
Ok, so first cream the butter and the sugar till nice and fluffy. Then add your gigantic pile of egg whites. Mix. Fold in the flour and voila. You’re ready to tint it. I went with three colours. I asked Wee One #2 for her opinion on colours and just as I expected, she suggested Pink, Purple and Blue. Away we go!
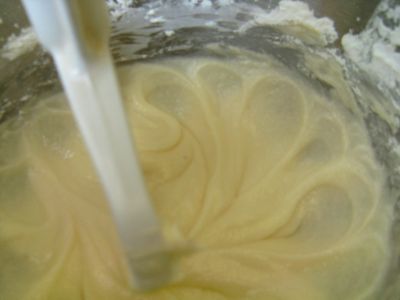
So I divided the paste into three cups, tinted them and filled my pastry bags (I used 2 #2 tips and 1 #3). Line a baking sheet with parchment paper and pipe on decorations to your heart’s content.
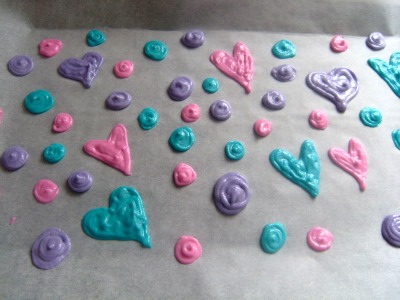
Then, pop the baking sheet in the freezer for about 20 minutes. I’m not entirely sure why the recipe has us making the joconde sponge batter first when it could easily be done at this point in the game – but I did as I was told!
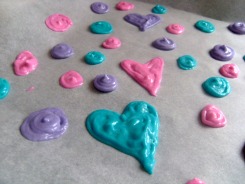
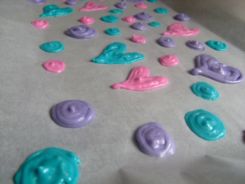
 

Once your piped decorations are frozen, pour the sponge on top of it! I know, it’s weird. Just do it.
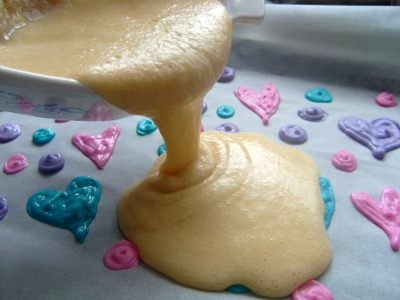
Bake at 475. Yup. 475 for 15 minutes. Or a little less. My edges burnt horribly!
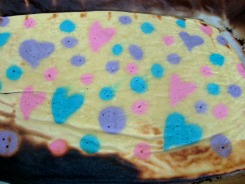
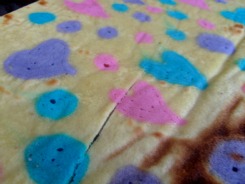
 

So now, you’ve got this spongey cake with beautiful decorations baked right into it – now what?
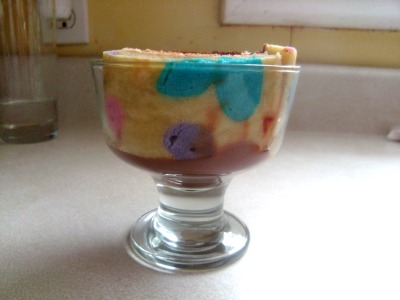
This is where I strayed from the instructions because there was talk of using a PVC pipe (really, there was) or a springform pan with the base removed. So what did I do? I used clear glass dessert dishes! That way I could show off my adorable little hearts and polka dots while holding the chocolate pudding I intended to put inside!
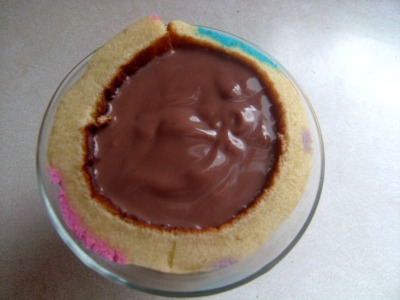
I didn’t even get to taste one because the wee ones gobbled them up – which totally works for me!

2 Comments

Doughnuts from Scratch – Daring Bakers Challenge Oct 2010

Domestic

In this post, I’m participating in The Daring Kitchen, Tempt My Tummy Tuesday, Tuesday Night Supper Club, Hearth ‘n Soul, Tuesdays at the Table and Delicious Dishes at It’s a Blog Party

The October 2010 Daring Bakers challenge was hosted by Lori of Butter Me Up. Lori chose to challenge DBers to make doughnuts. She used several sources for her recipes including Alton Brown, Nancy Silverton, Kate Neumann and Epicurious.

This challenge was so fun I don’t even know where to begin. Think about entering a coffee shop, and the row upon rows upon rows of doughnut behind the counter. With the recipes from this month’s challenge, you can literally make all of them! I may be 300lbs the next time anyone sees me!

These doughnuts are the final birthday party item I didn’t post about yesterday! Surprise!

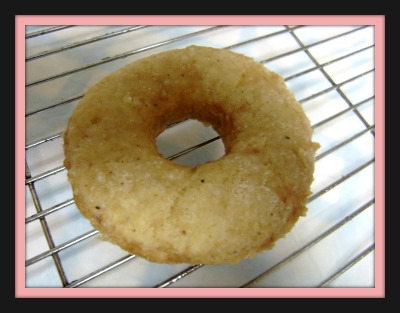
There yeast doughnuts, old fashioned buttermilk cake doughnuts, bomboloni (German style with a fruity filling) and pumpkin. I went with the old fashioned buttermilk cake doughnuts and no lie, they taste exactly like the Tiny Tom carnival doughnuts!

So first, here’s the recipe I used!

Old-Fashioned Buttermilk Cake Doughnuts:
Sour Cream 1/4 cup
All Purpose Flour 3 1/4 cup
White Granulated Sugar 3/4 cup
Baking Soda 1/2 teaspoon
Baking Powder 1 teaspoon
Kosher (Flaked) Salt 1 teaspoon (If using table salt, only use 1/2 teaspoon)
Nutmeg, grated 1 1/2 teaspoon
Active Dry Yeast 1 1/8 teaspoon
Buttermilk 3/4 cup + 2 Tablespoon
Egg, 1 large
Egg Yolk 2 large
Pure Vanilla Extract 1 Tablespoon
Powdered (Icing) Sugar 1/4 cup (used for decorating and is optional)


First heat the sour cream in a stainless steel bowl set over a pot of simmering water. Then turn your oil on. 😉

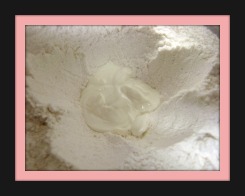
Over a large mixing bowl, sift together the flour, sugar, baking soda, baking powder, salt, nutmeg; make a large well in the center. Place the yeast in the well; pour the sour cream over it. Allow it to soften (if using packed fresh yeast), about 1 minute.

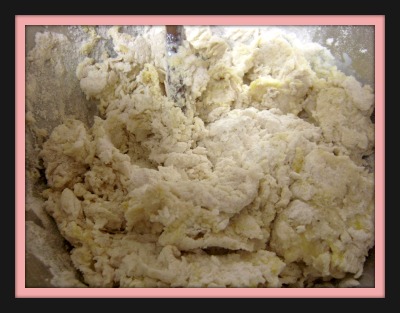
Pour the buttermilk, whole egg, egg yolks, and vanilla extract into the well. Using one hand, gradually draw in the dry ingredients. The mixture should be fairly smooth before you draw in more flour. Mix until it is completely incorporated. The dough will be very sticky. Wash and dry your hands and dust them with flour.

If I’m honest here, I’d admit that I love mixing food by hand. Loooove it.

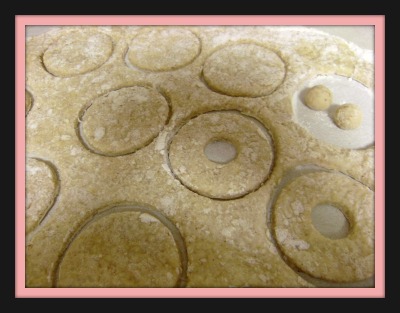
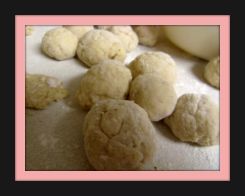
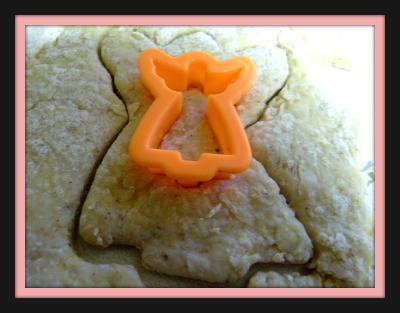
Now comes the really fun part!! Shaping them! For the traditionally shaped doughnuts, I used a drinking glass and a very teeny shot glass, though I am aware there are actual doughnut cutters out there! Now that I know how to make them, I have those cutters on my wish list.

Be sure to seriously flour up your counter and work fast!


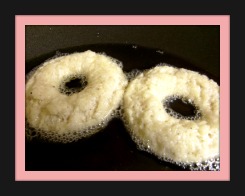
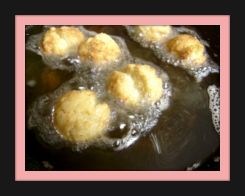
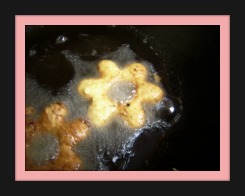
They really don’t take long at all, maybe 30 seconds a side, and really the second side is a little less. They’re super fun to make and, as usual, I was in the kitchen, dancing around and listening to my music louder than I probably should when all the kids are in bed and I was almost done the whole batch before I knew it.


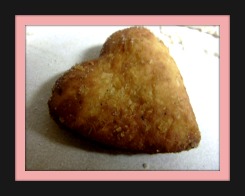
Once my husband came in the room and saw what I was doing, he raided the cookie cutter cabinet (yes I have a cabinet full of cookie cutters), and cut out angel and heart shaped doughnuts. He is hilarious. We ended up making another batch and made all silly shapes! The kids loved them the next day – I wonder if it’s weird that their parents stayed up and made funny doughnuts while they were sleeping? Ha!


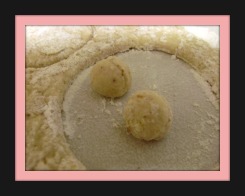
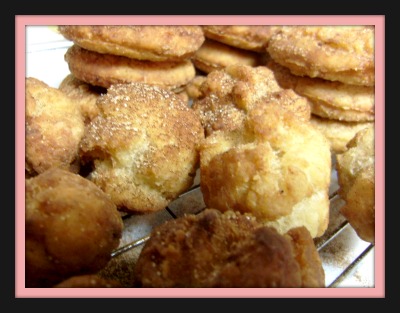
Ok, back to our regular doughnuts. Since they were really hot and we were working fast (because the recipe told us to!) we hadn’t tried them yet. So as soon as the doughnut holes were ready we had one. Oh. My. Goodness. When we realized that they tasted exactly like the Tiny Tom mini doughnuts, we immediately bathed them in cinnamon and sugar and nom nom nomed half a tray of them.

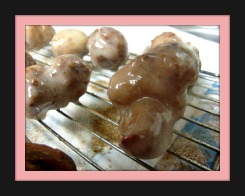
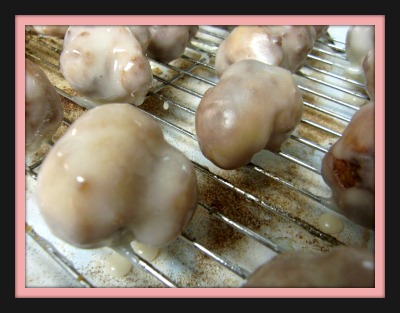
Eventually, we restrained ourselves long enough to whip up a sour cream glaze (!!) for the remaining doughnut holes. Man, they were good!

Sour Cream Glaze – found on an index card in my kitchen
3/4 cup icing sugar
2 tablespoons sour cream
1/4 teaspoon vanilla extract
1/2 teaspoon water


Just stir the sugar and sour cream in a small pot over low heat till it’s melted and almost smooth. Remove from heat and stir in the vanilla an water. Voila!

The glaze is really shiny and almost see through on the first coat. Once it’s a little dry and duller, you can dip it a second time – or more if you prefer. I found that two coats gave it that perfect coffee shop shell, you know? Watch out for cavities!

I can hardly wait for next month’s Daring Baker challenge!! Stay tuned!

17 Comments

Snazzy Sugar Cookies – Daring Baker Challenge Sept 2010

Domestic, Kids, Small Town

In this post, I’m participating in The Daring Kitchen, Tempt My Tummy Tuesday, and Tuesdays at the Table

The September 2010 Daring Bakers’ challenge was hosted by Mandy of “What the Fruitcake?!” Mandy challenged everyone to make Decorated Sugar Cookies based on recipes from Peggy Porschen and The Joy of Baking.

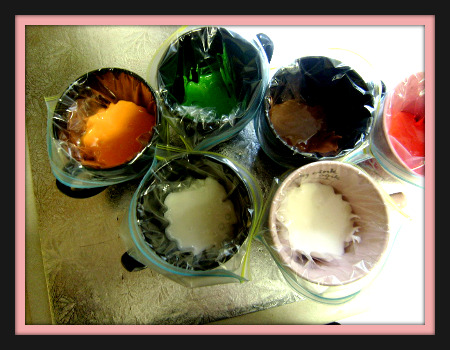
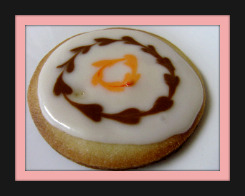
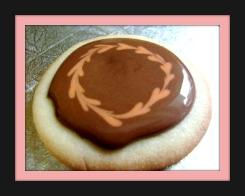
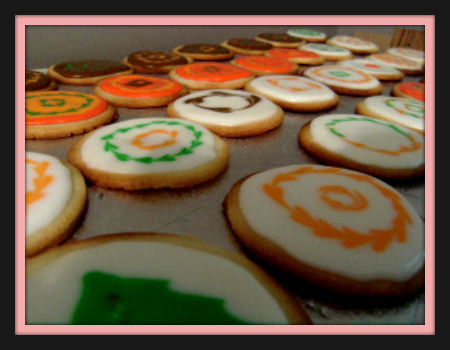
This was my first official Daring Baker challenge and I was so excited to do it, and now I am so excited to show it off!! The theme for this challenge was ‘September’, it was pretty easy for me to figure out which way to go with that when I am surrounded by these beautiful September colours! The first photo was taken in my backyard (it’s part of the view from my kitchen window), the second photo was taken in my front yard. With these colours as daily inspiration, I used brown, green, orange and red on my cookies.

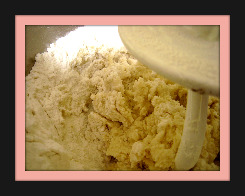
I’m jumping ahead here, I actually baked them on Sunday afternoon and spent wee one #3’s nap on Monday decorating them. I prepared them exactly as Mandy instructed. Sugar cookies are pretty basic, but it’s the most basic recipes that are the easiest to mess up. In this case, whatever you do, DO NOT overmix! As soon as you’re combined, stop.


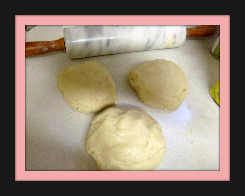
This recipe was a total winner and was explained so well, I can’t wait to make more. And more and more and more. Amazing. Kneading the dough into three balls and then rolling between parchment paper to reduce both chilling time, and the necessity to re-roll was genius. I have made a zillion sugar cookies, and these are by far the best.

Also, this is just the second time I’ve used my Granny’s rolling pin. It’s so weird and sometimes feels so wrong that I reference her so much more since she’s passed than I did when she was alive. It makes me feel both like a terrible granddaughter, and somehow really connected to her. Ever since we traded city for country I’ve been thinking of her a lot – she was certainty an old fashioned country girl making the city work for her. Anyhoo, her rolling pin is very, very heavy – it’s marble with wooden handles and I love, love, love it. In this case specifically, where I’m rolling out soft dough on parchment paper, it makes the job come together in a snap.


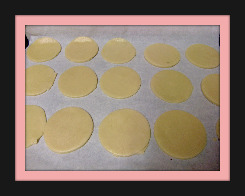
I really think the rolling, chilling, cutting, chilling, baking procedure makes the cookies hold their shape so well and make them so easy to handle. Which doesn’t matter much if you’re just going to eat them plain. However, if you’re, oh I don’t know, about to attack them with a kilo of royal icing, it would be so nice if they were sturdy cookies that didn’t fall apart when handling!

Ahem. Excuse my baggies, I need new piping bags desperately. My birthday is less than a month away and pretty much everyone knows I’d love a refresh of my baking gear. 😉

Decorating these cookies was so much fun! Wee one #1 was at school, wee one #2 was home from school with a cold (as much as she wanted to go the poor thing) so she was in the other room playing Mario Kart and wee one #3 was blissfully napping. A quiet, (mostly) uninterrupted stretch of time?? Really? I took it! LOL


I had intended to also pipe out our initials (we planned when we named everyone to not repeat any initials!) but I got so wrapped up in the magic of dragging a toothpick through the icing, I had attacked all three dozen! Next time I make these, that’s the plan, but in brighter colours I think.

These cookies are destined to be in our neighbour’s tummies tomorrow afternoon. As I mentioned earlier, I have been here for 3 weeks and have only met two neighbours, so I will rectify that situation after wee one #1 gets home from school. Hmm. Maybe we should give some to the school bus driver as well!

4 Comments