Browsing the blog archives for May, 2012.

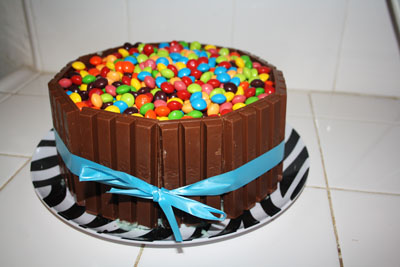
Chocolate Kit Kat Skittles Cake (aka The Willy Wonka Cake)

California, Domestic

This is what you make when you want to usher something out of the kitchen that is as hilarious and exciting to serve as it is to eat. Cutting and serving this cake was no joke but since everyone that ate it fell in love with it, I’m filing it as a win. It’s the prefect cake for someone who loves candy and of course works especially well for someone who has a house full of people who also love candy!

Scroll down for pics of the cutting and serving!!

Chocolate Kit Kat Skittles Cake (aka The Willy Wonka Cake)

Chocolate Kit Kat Skittles Cake – via The Kitchen Magpie

3 ounces semi-sweet chocolate, chopped
1 1/2 cups hot brewed coffee
3 cups sugar
2 1/2 cups flour
1 1/2 cups cocoa powder
2 teaspoons baking soda
3/4 teaspoons baking powder
1 1/4 teaspoons salt
3 large eggs
3/4 cup vegetable oil
1 1/2 cups buttermilk, shaken
3/4 tsp vanilla
Chocolate Kit Kat Skittles Cake (aka The Willy Wonka Cake)
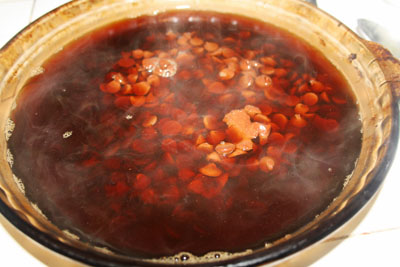
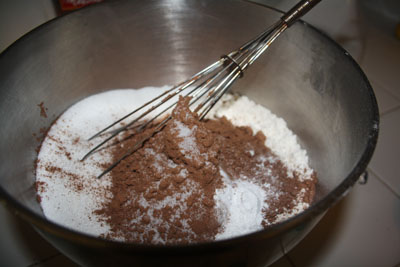
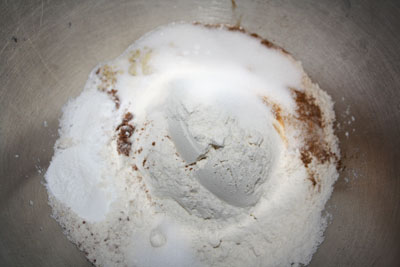
First, preheat your oven to 300 and melt the chopped chocolate in the hot coffee. Just pour the coffee over the chocolate, and in a separate bowl whisk together sugar, flour, cocoa powder, baking soda, baking powder, and salt.
Chocolate Kit Kat Skittles Cake (aka The Willy Wonka Cake)
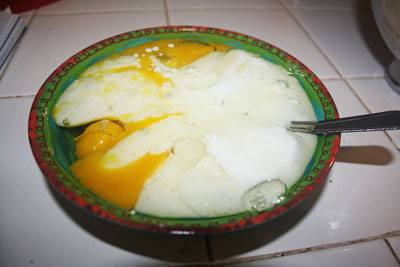
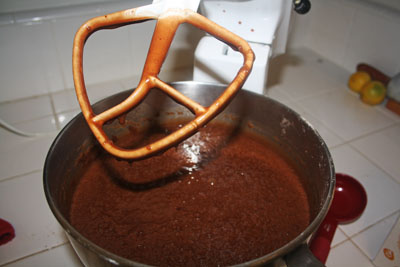
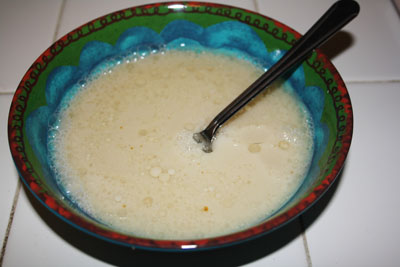
Theeeeeeen in a smaller bowl (though you’ll probably want to use a bigger bowl than the one I did…), whip the eggs till they’re thick and then combine them with the oil, buttermilk and vanilla. Once that’s mixed well, add it and the melted chocolate to the dry ingredients.
Chocolate Kit Kat Skittles Cake (aka The Willy Wonka Cake)
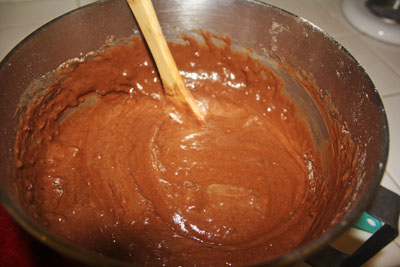
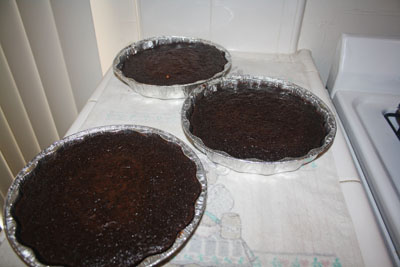
The batter was runnier than I had expected, but just roll with it – it’s perfect! I poured it into 3 greased 9″ cake pans and baked for almost an hour.
Chocolate Kit Kat Skittles Cake (aka The Willy Wonka Cake)
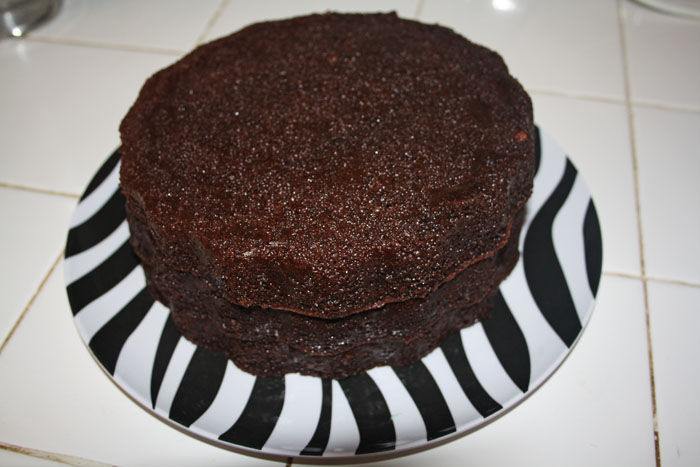
Then I made the frosting and dyed it blue – use your favorite frosting recipe, or even *shudder* a can if you must. I used a little between each later, mostly just as glue and for the same reason I slathered it all over the outside so the Kit Kats would stick.
Chocolate Kit Kat Skittles Cake (aka The Willy Wonka Cake)
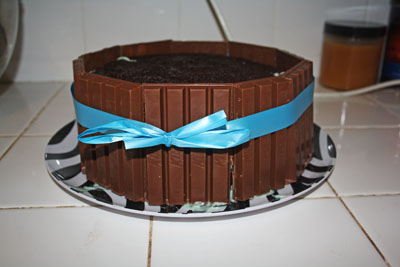
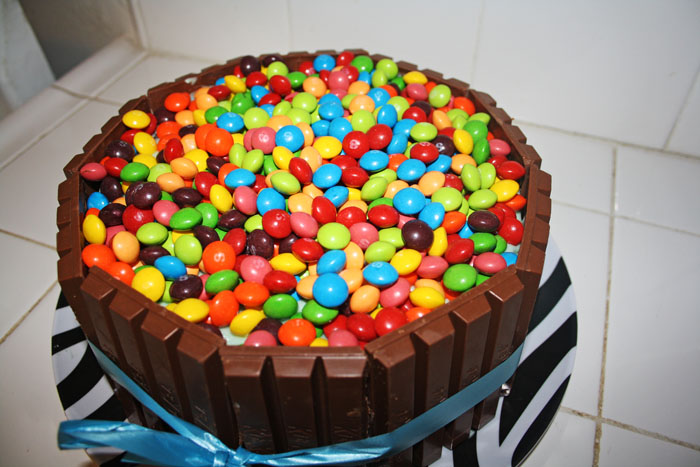
Line up the Kit Kats around the side of the cake and use the ribbon to pull them tight to the cake, but don’t pull so hard you break them! Make a cute bow at the front and voila! Super cute! Then I covered the top with more frosting and dumped two big bags of Skittles on top!
Chocolate Kit Kat Skittles Cake (aka The Willy Wonka Cake)
The cake looked so not like a cake that someone stuck their hand in it, thinking it was an elaborate bowl of candy!
Chocolate Kit Kat Skittles Cake (aka The Willy Wonka Cake)
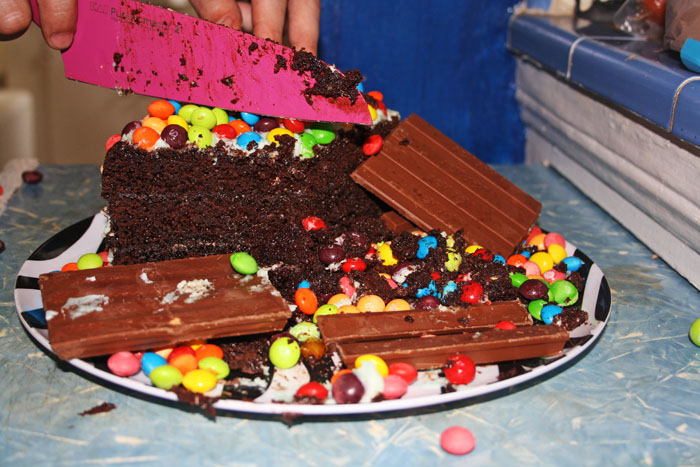
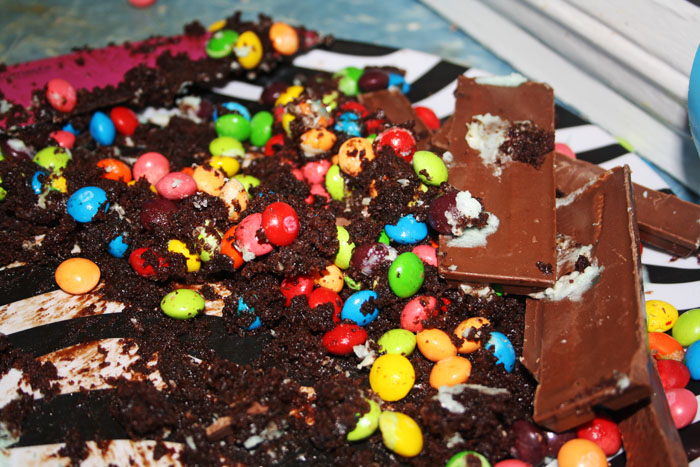
The blog I first saw this on made no mention of the hilarity that ensues when the cake is eventually cut. The platter I put it on is made of pretty light plastic, so as the Skittles fell from the top of each piece to the platter they made the same plinking noise as the Skittles that hit the floor in the commercials! So so funny. It was messy, but thankfully the hosts are lighthearted and it was all good.
Chocolate Kit Kat Skittles Cake (aka The Willy Wonka Cake)
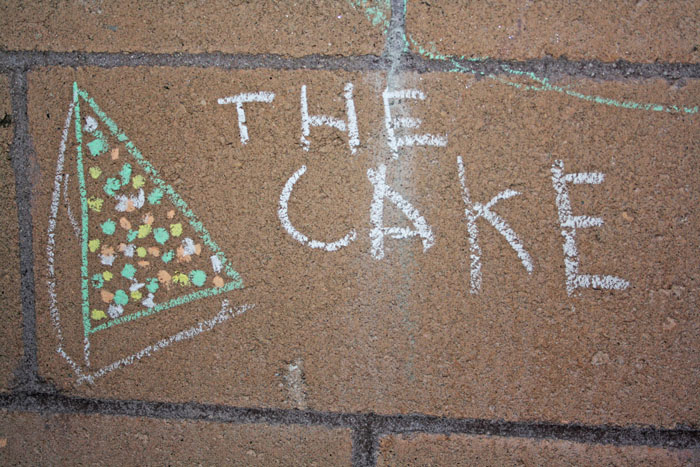
So obviously this cake looked amazing, but how did it taste? Well, I made this for our new friend Steve’s birthday. I didn’t know anyone at the party other than him and his (amazing & delightful) girlfriend Vanessa. When each guest left and said their goodbyes it went like this ‘Thanks for the invite Vanessa we had fun, happy birthday Steve have a great night, I loved the cake May!’ So ridic, I love it. Someone even loved it enough to draw it’s likeness in chalk on the brick wall in the backyard.
3 Comments

Adventures in Venice Beach – Part 1

California

Adventures in Venice Beach - Part 1

Venice is definitely one of my new favorite places in LA. It’s weird and crazy and full of tattoo shops and street vendors and smoke shops and about eleventy billion different tshirt spots and rando trinkety places. Beyond that though, you’ll see clean cut tourists posing in front of beautiful graffiti, and seriously buff locals doing chin ups on street poles (there is a small muscle beach-syle outdoor gym there too but it’s full 90% of the time) – and of course there’s the beach!

Adventures in Venice Beach - Part 1

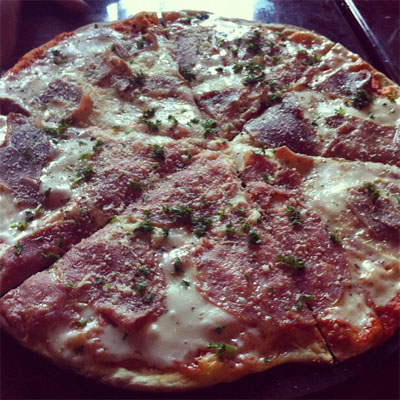
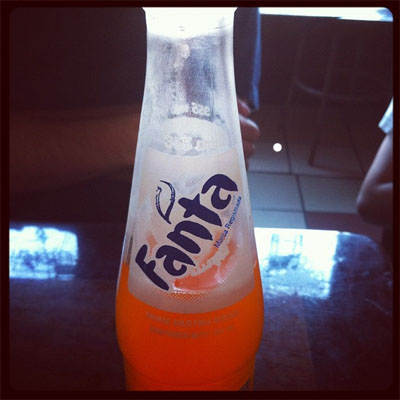
We stopped at Santino’s Panineria for lunch and had pizzas with prosciutto – and Fanta oooof course. All 7 of us liked the pizza and the restaurant itself was pretty cool. It’s small and eccentric (much like Venice itself). I will be going back to this place again for sure. Next time though, I’d like to try the Sangria everyone raves about at this joint.

Adventures in Venice Beach - Part 1 Adventures in Venice Beach - Part 1

Even when it’s windy I can’t resist dipping my feet in the ocean. We’ve been here for almost 2 months now and I absolutely love it. So after lunch we went back to the beach again for a little running around before we rinsed off and headed home. Yes, I’m purple now…

Adventures in Venice Beach - Part 1
No Comments

Homemade Goldfish Crackers

Domestic, Kids

They don’t look like fishies, but they taste pretty bang on!! I was going to follow the little homemade goldfish cookie cutter tutorial on the post with the recipe, but I just moved about a million miles and don’t have kitchen scissors yet! I know, I know, it’s total insanity. It really is, I’m forever saying ‘why didn’t I bring that?!?.

The recipe itself is very simple and as long as you have a food processor you’re totally set. You have to pop the dough in the fridge for a while so it’s easier to work with, and then of course you’re rolling it out and cutting it, but it’s absolutely worth it. Any time you make a snack from scratch yourself it’s worth it because you know what’s in it!

Homemade Goldfish Crackers

Homemade ‘Goldfish’ Crackers – via Miss Anthropist’s Kitchen

1 cup all-purpose flour
4 tablespoon cold unsalted butter
8 ounces grated cheddar cheese
3/4 teaspoons salt
1/8 teaspoon onion powder
1/2 teaspoon fresh-ground pepper
1 teaspoon baking powder

Homemade Goldfish Crackers
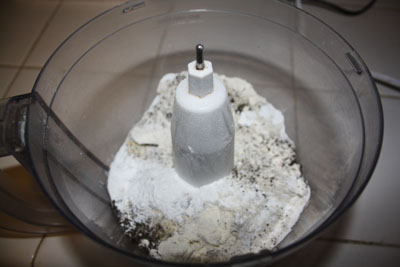
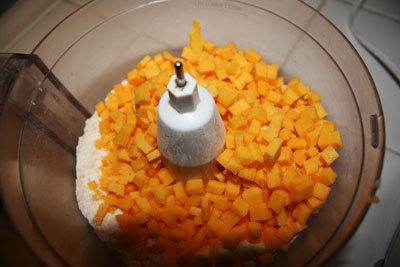
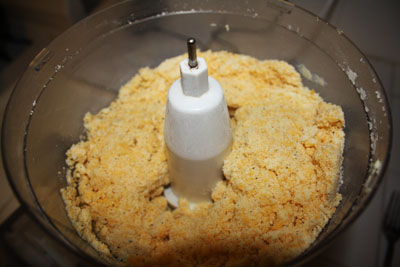
So simple – first process the flour,onion powder, salt, pepper, and baking powder. Then add the butter and cheese.
Homemade Goldfish Crackers
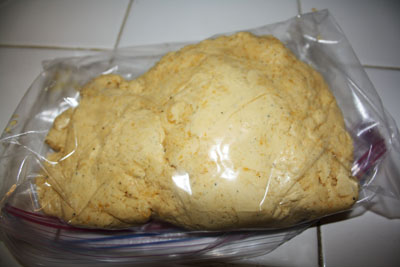
It’ll look doughy and hold together. Now wrap it and chill it for a while.
Homemade Goldfish Crackers
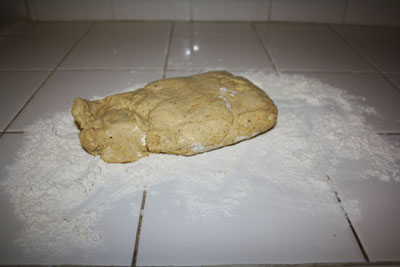
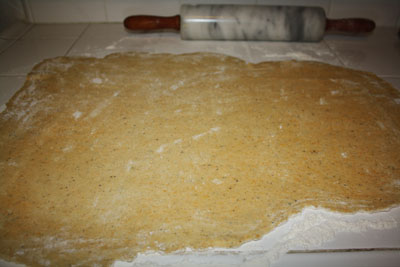
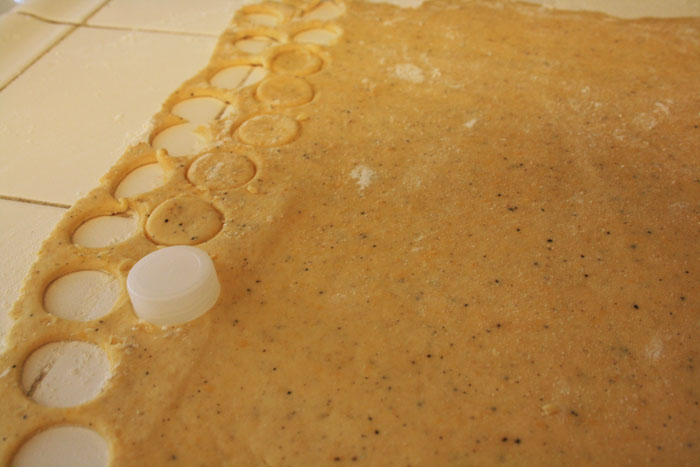
Flour your surface and roll it out! Cut whatever shapes you want, just make them small and mostly uniform so they bake the same.
Homemade Goldfish Crackers
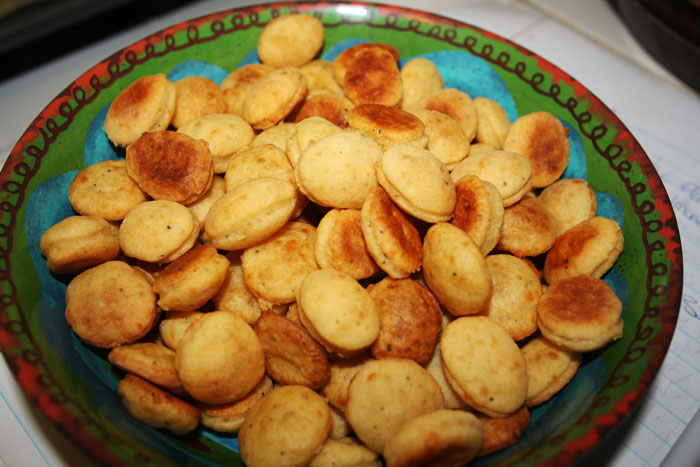
Yes, I used a water bottle lid. Ahem. 10 minutes at 350 did the trick for me! So good!
Homemade Goldfish Crackers
2 Comments

Window Shopping Wednesday – Octopurse

Pretty, Window Shopping

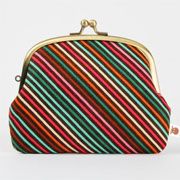
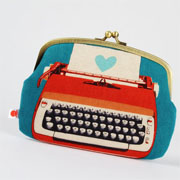
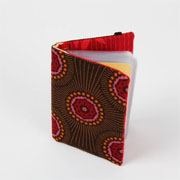
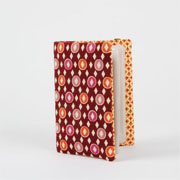
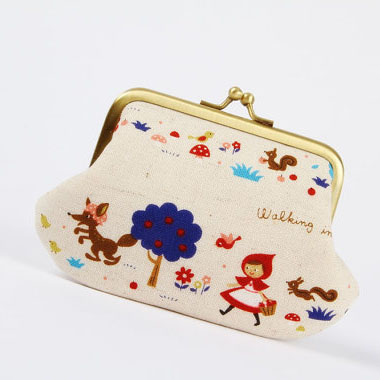
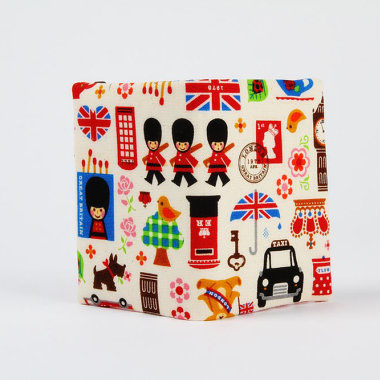
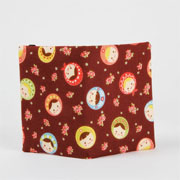
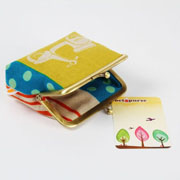
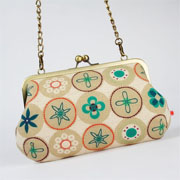
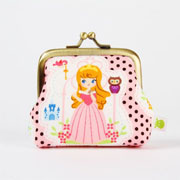
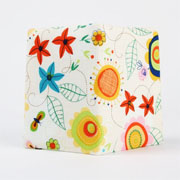
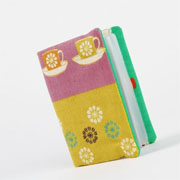
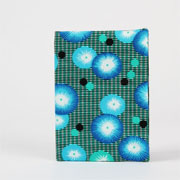
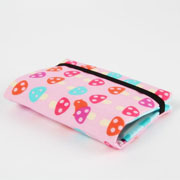
Just LOOK!! I love, love, love every single item in this shop. Octopurse is based in Belgium and kicks out adorable purses, pouches, card holders and paperback book covers. Everything is so cute! I am especially in love with these little purses and card holders, but there are pages and pages of cuteness in this shop.

I love the Little Red Riding Hood purse and London card holder more than everything on my wish list right now (Sleeping Beauty is pretty amazing too). Ah. Door. A. Bull.

Window Shopping Wednesday - Octopurse

Work in Progress Wesnesday #10

Crafty

Today I’m linking up with the WIP Wednesday at Freshly Pieced.

As if I haven’t posted a WIP Wednesday since I got to LA! The last one was in early March and those socks are finished!

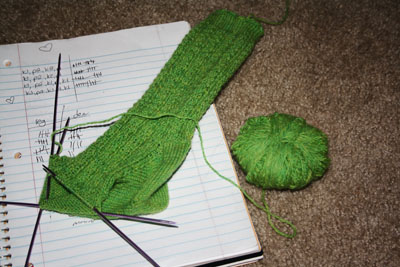
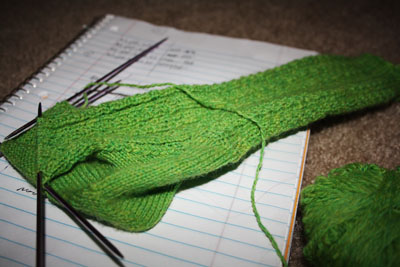
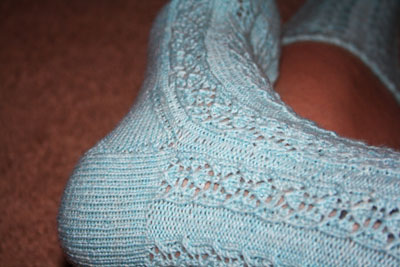
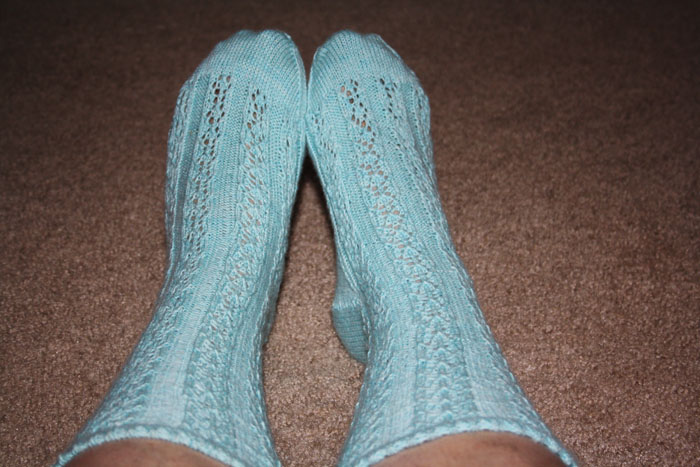
I casted on for these babies, Hedgerow Socks almost a month ago! I had a serious issue lining up the pattern after I broke off for the heel. Ugh. I knitted and knitted and then ripped back daaaaays of knitting and then? Then?! I did it again. This time it has lined up and I’m keeping my fingers crossed the second sock lines up too!

Pattern syncing issue notwithstanding, these socks are a quick and painless knit. The pattern is a four row repeat, but really it’s just two rows repeated twice it’s even easier!

The effect is a pretty but not too fancy sock that hopefully my husband’s Grandmother will love (and wear).

Hedgerow Socks Hedgerow Socks

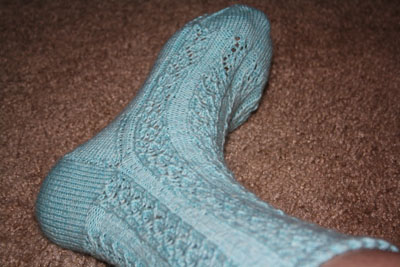
I’ll also show off the finished sock from March’s WIP, the lovely Bintje. These are pretty special socks because while just like a lot of the socks I’ve made in the last two years, they were cast on in the woods of Central Ontario, but theeeeen they were knitted on across the United States. I knitted on these socks in ten different states (Michigan, Indiana, Illinois, Missouri, Kansas, Colorado, Utah, Arizona, Nevada and California – for the curious). The recipient of these socks will absolutely love that little trivia about them so she’s the right person to have them for sure!

Bintje Socks Bintje Socks
Bintje Socks
No Comments

Peas & Thank You’s Whole Wheat Ginger Pear Waffles

Healthy

I know I have been singing serious praises for this cookbook all year but it really is everything I’m hyping it up to be and no one is even asking me to do it!

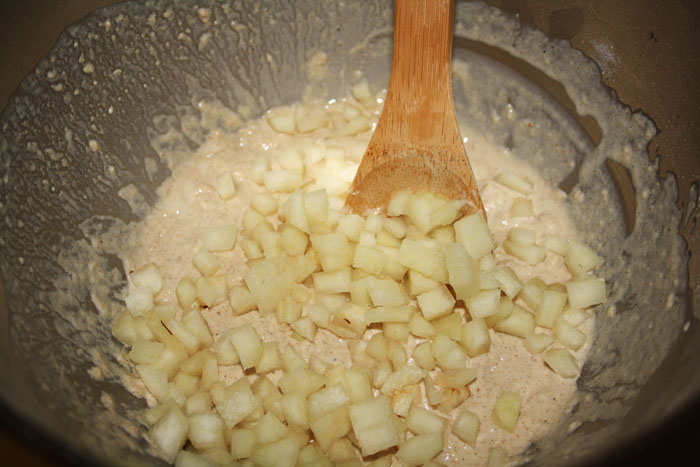
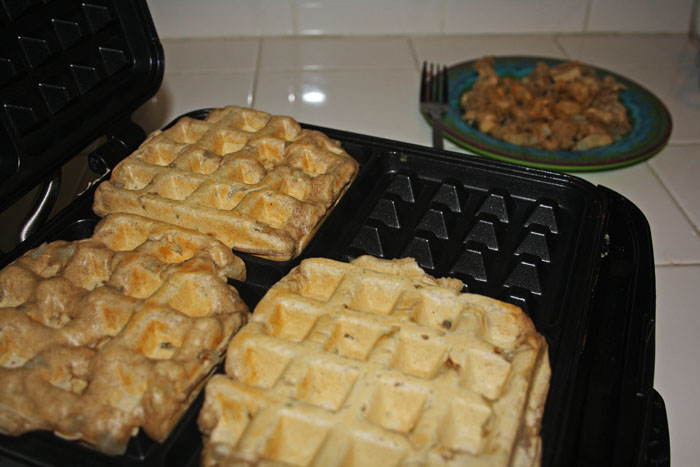
Another winner from this book, this time a breakfast treat. Even one of me wee ones that isn’t really into pears was down with this. You probably have everything you need for these already and if you don’t own a waffle maker (aside from this recipe being a good excuse to buy yourself one), I’m betting you could easily make pancakes from this batter as well.

So what’s so great about pears? Well, let’s get into it. They’re high in vitamin c and copper, which are both antioxidant nutrients. Aside from that, vitamin c is mega important for general immune function, it’s the boss guy that gets your white blood cells ready to fight infections and kills off bacteria and viruses. That’s pretty serious! It also helps to regenerate vitamin e (an antioxidant for fat-soluable areas, as opposed to vitamin c being an antioxidant for water-soluable parts of the body). Pears also pack a good fiber punch, and fiber has been shown to lower high cholesterol levels. It also binds to cancer-causing chemicals in the colon, preventing them from damaging colon cells. There are also studies that suggest that fruit fiber as a whole helps prevent post-menopausal breast cancer and macular degeneration (aka, your eyes). So eat up!!

Peas & Thank You's Whole Wheat Ginger Pear Waffles

Peas & Thank You's Whole Wheat Ginger Pear Waffles
No Comments

Homemade Soap – Part 1

California, Crafty

Today I’m linking up with Giggles Glitz and Glam, A Bowl Full of Lemons, My Uncommon Slice of Suburbia, Mommy by Day, Crafter by Night, The Kurtz Corner, and Reasons to Skip the Housework. There is so much inspiration packed into those links it makes my head spin.

There are about eleventy billion ways to make soap yourself. You can go the super simple route and buy a melt and pour kit, or you can use one of several recipes for hot process or cold process soap. We decided to do cold process, and the four of us (my husband, his friend and his friend’s girlfriend) took on this hilarious project. We were in charge of ingredients and they were in charge of gear. It worked out pretty well I think considering we ended up with everything we needed! We actually ended up with unmatched amounts of what we needed (tooootally my fault whoops), but the guys are both good at math so we were ok! A little recipe altering and away we went!

Most cold process soap recipes I’ve seen stop where this post stops, but this is only stage one for us. We are going to shave down and melt these bars of soap and add to them. Oatmeal perhaps? Poppyseeds maybe? Oils, for sure!

Homemade Soap - Part 1

The recipe we used was from an old book our friend found at a second hand store and that we quickly became a little obsessed with. I will leave you to find a soap book or website with a recipe on it because there was a lot of changing of things going on in my kitchen when we did this so I don’t want to lead anyone down the wrong path!

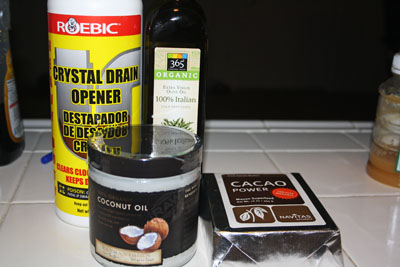
Also, we opted for a vegan soap instead of a traditional soap and that changes the recipe as well. Having said that, we used:

Olive Oil
Coconut Oil
Cocoa Butter
and of course, Lye

You’ll also need safety goggles, gloves, a plastic container to heat the lye in, two tall pots, wooden spoons, a scale to measure it all out on and two candy thermometers.

Homemade Soap - Part 1
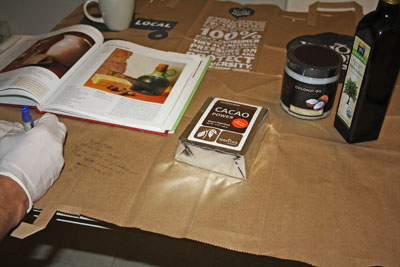
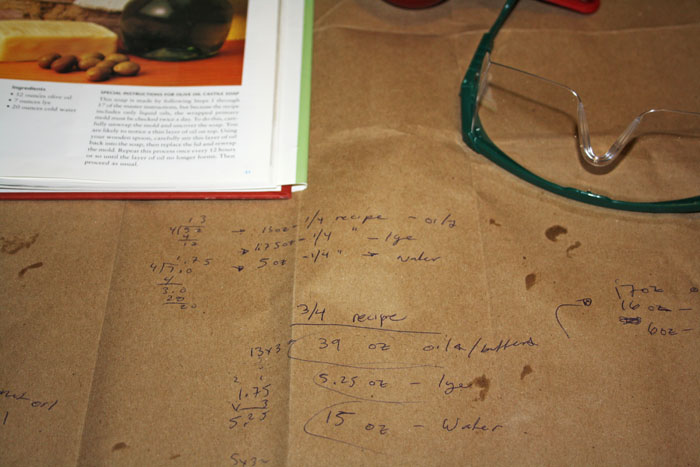
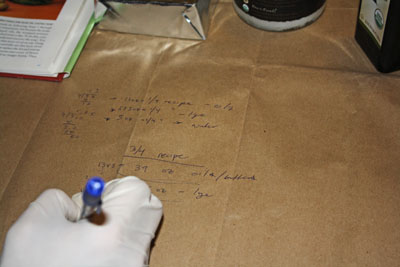
Gather your ingredients and gear, cover your table and then do any recipe math you need on your table covers!
Homemade Soap - Part 1
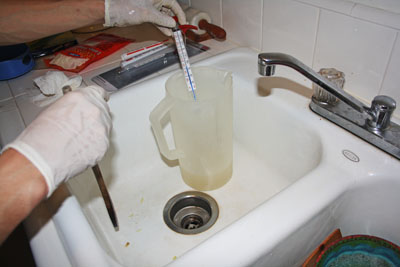
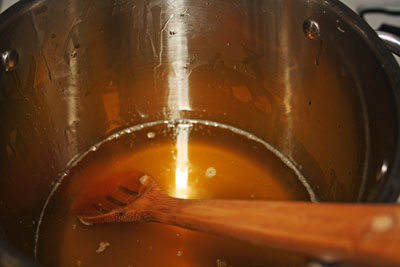
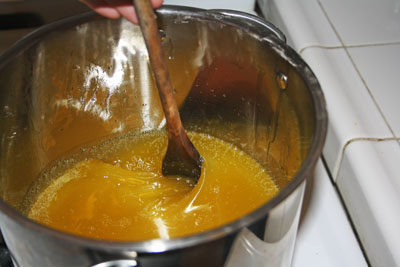
Now following the directions on the lye packaging, add water slowly, pop in the candy thermometer and wait for it to heat up (it’ll do it on it’s own – like magic).
Homemade Soap - Part 1
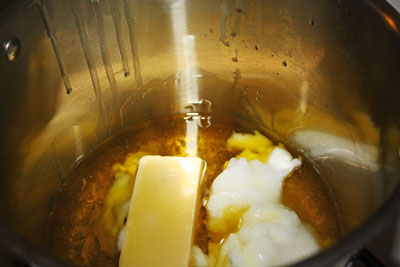
Now pour the oilve oil and coconut oil into a tall pot and add your cocoa butter, poke at it here and there until it’s all melted and then mix it a bit but you don’t have to really get into it yet.
Homemade Soap - Part 1
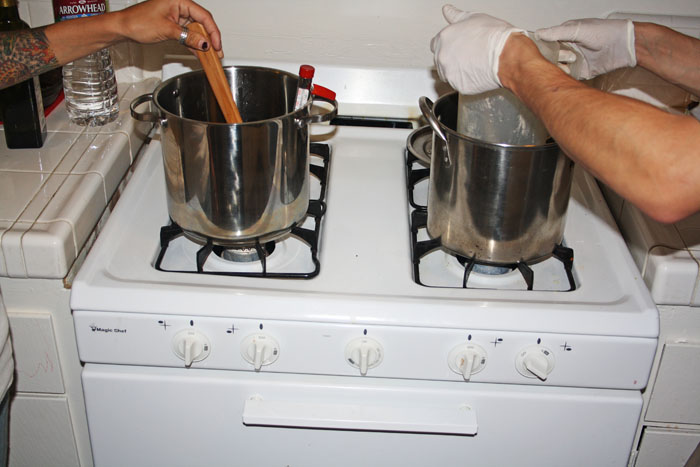
Fill a second tall pot about halfway with water and once it gets hot, set the plastic container of warm lye and water in it. You’ll need one candy thermometer with each pot. One IN the soap mixture, touching the melted oils and cocoa butter and one IN the lye and water container (not in the pot it’s sitting in). The necessary temps are different depending on the recipe, so check yours to be sure!
Homemade Soap - Part 1
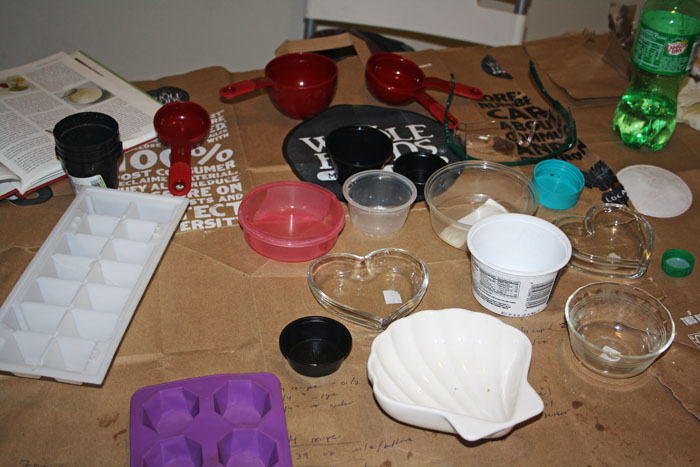
While we waited for our concoctions to reach their desired temperatures, we gathered and set out all of our soap containers. Remember that we’ll be popping the soaps from these containers and then grating them down and remelting them so we can add to them. Our final containers will be much prettier!
Homemade Soap - Part 1
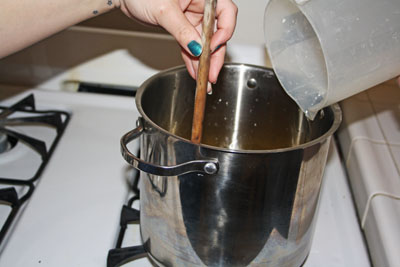
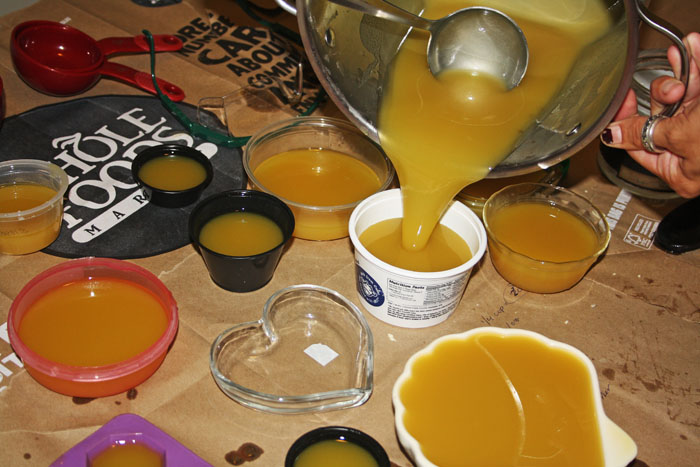
Once both mixtures reached the right temperatures, we poured the lye into the soapy mixture and mix, mix, mixed! It starts to thicken up a bit but is still runny, and that’s how it’s supposed to look so we’re all relieved!
Homemade Soap - Part 1
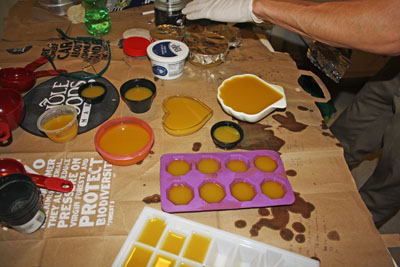
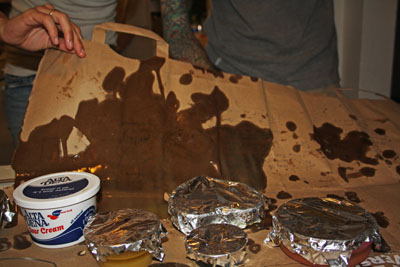
It’s a slightly messy process but that’s why we covered the table before we started, right?! We filled almost every container we pulled out for this project and then covered each one with tinfoil and set them on top of our kitchen cabinets to dry for a week! Stay tuned!!
Homemade Soap - Part 1
2 Comments

Bacon Wrapped Tater Tots

Domestic

Today I’m linking up with Organizing Junkie and The How To Mommy.

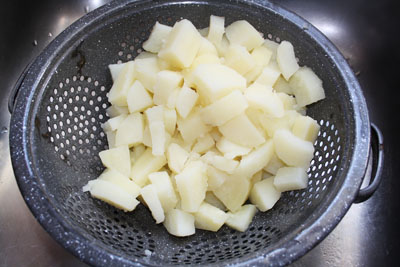
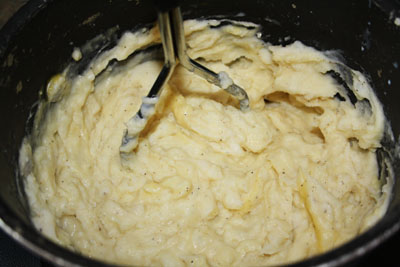
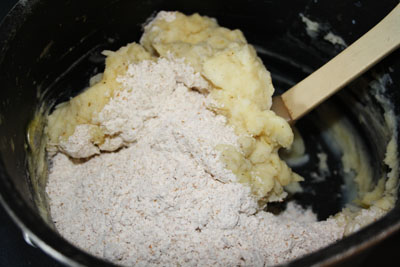
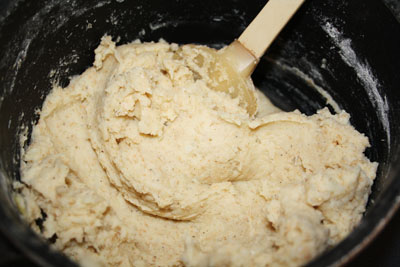
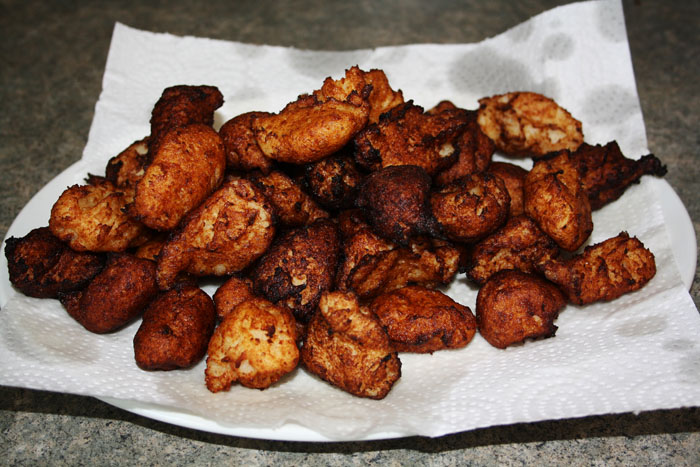
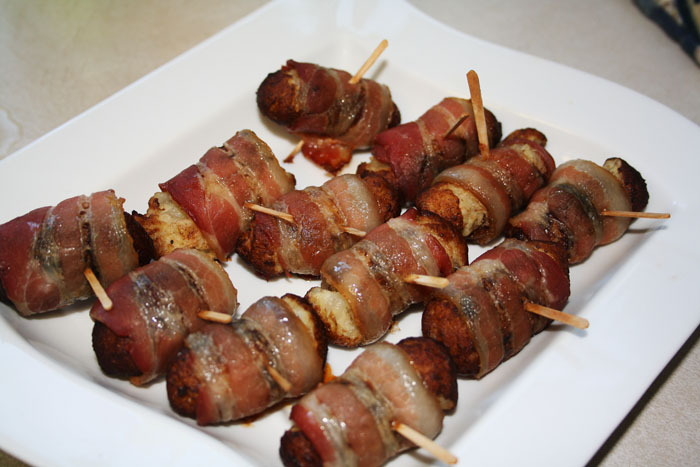
Tater tots are really just rolled up mashed potatoes and everyone knows mashed potatoes go with pretty much anything! Whatever they don’t work with french fries or scalloped potatoes can totally stand in for them. It’s potato madness. So once I discovered how to make tater tots myself, a whole world of weird culinary (I use the word extremely loosely) adventure opens up. Tater tots IN a casserole? sure, why not? Wrapped in bacon? What isn’t there to love?! I have also recently stumbled onto, but haven’t tried, Tater Tot Pie, Cheeseburger Tater Tots and some kind of insanity called Tater Tot Hot Dog Casserole?! What?!

I’ll stick to wrapping or stuffing mine, thanks.

This Week’s Menu:

Monday – Lasagna with Pretzel Bites for the fam, Crack Wrap for me and Vegan Blondies for dessert

Tuesday – Scratch Chicken Nuggets and Fries for the fam, Lentil Soup and Whole Wheat Crackers for me and Zee Bars for dessert

Wednesday – Sweet and Sour Chicken with Rice and Veggies for the fam, Tempeh Bacon Reuben for me and Chocolate Chip Cookies for dessert

Thursday – Breaded Chicken Breasts with Bacon Mashed Potatoes for the fam, Tofu Nuggets for me and Homemade Granola Bars for dessert

Friday – Chicken and Bacon Wraps with Garden Salad for the fam, Homemade Falafels and Rice for me and I’m letting the kids pick dessert 🙂

Saturday & Sunday – Cooking with Visitors! We’ll let them pick!

The tater tot recipe I used in this recipe is the same one I used when I made The Duggar’s Tater Tot Casserole last year.

Bacon Wrapped Tater Tots

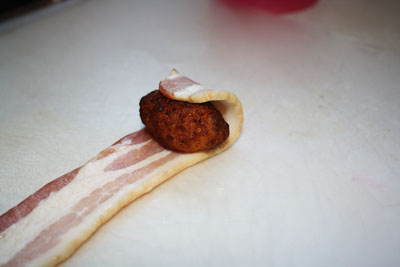
Bacon Wrapped Tater Tots
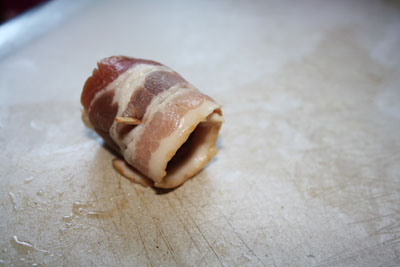
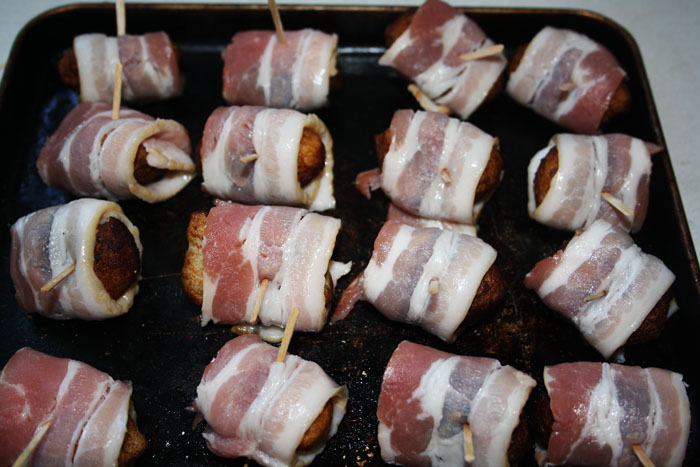
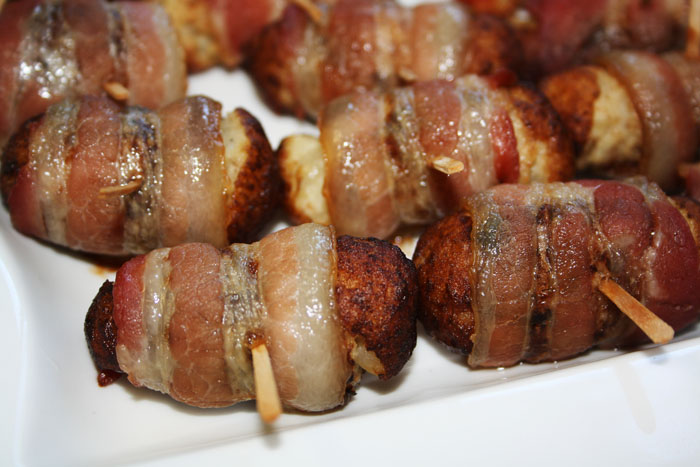
From here, it’s painfully simple. Just roll each tater tot in a single strip of bacon and secure with a toothpick. Cook at 375 for about 30 minutes, give or take (check on it). Make these for a crowd, take some to your neighbors, whatever you do – share them!
Bacon Wrapped Tater Tots
No Comments

Homemade Snickers Bars – yes really!

Domestic

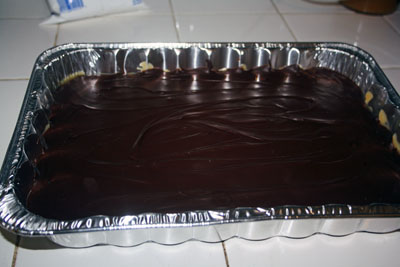
I’m not going to lie to you here, these are going to take the better part of your afternoon to make – but not all at once. There’s a lot of chilling and rechilling and setting and chilling again. So make sure you make this for someone who will really appreciate it, or someone you’re really down with – or both! I made these for our friend Steve’s birthday this weekend. He’s got a bit of a serious sweet tooth. His cake was even more epic than these – more on that later this week. I’m happy to report he loved them, his girlfriend loved them and their guests loved them too! Winning all over the place.

So, they are labor intensive because they’re made in four separate steps and they need to completely set up and cool off before you pour the next layer on top or you’ll totally wreck it. No pressure though haha. Also, I should note that even if they set up properly, they’re a pain in the ass to cut free from the pan and this whole production might have gone a lot smoother (and prettier) if I had made them in chocolate bar molds. When I made Twix Bites a few months ago, I made a mess and then I used molds. I’m about 4200km (or 2609 miles) from all my cool kitchen gear so I had to make due, however I’m totally ordering chocolate bar molds like, right now.

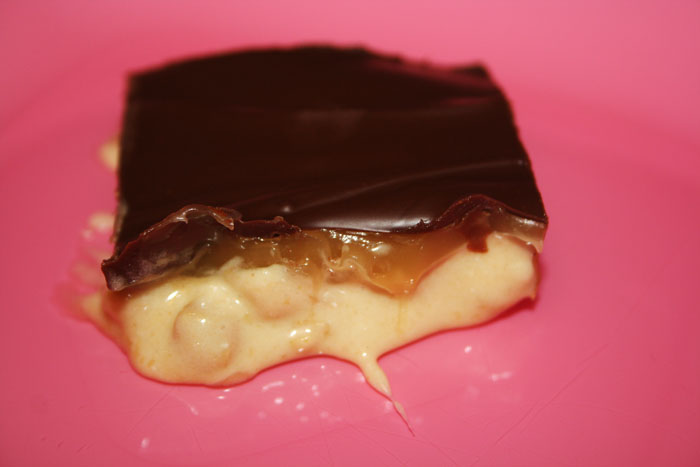
First you’ve got the base chocolate layer, then the nougat, then caramel (I reeeeally recommend you make this from scratch) and then of course the top layer of chocolate. So let’s get to it!

Homemade Snickers Bars

Homemade Snickers Bars – via How Sweet it Is
1 1/4 cups chocolate chips
1/4 cup peanut butter
             *
1/4 cup unsalted butter
1 cup granulated sugar
1/4 cup evaporated milk
1 1/2 cups marshmallow fluff
1/4 cup peanut butter
1 1/2 cup salted peanuts chopped
1 tsp vanilla extract
             *
Homemade caramel (or 1 14-ounce bag of caramels & 1/4 cup whipping cream)
             *
1 1/4 cups milk chocolate chips
1/4 cup peanut butter

Homemade Snickers Bars
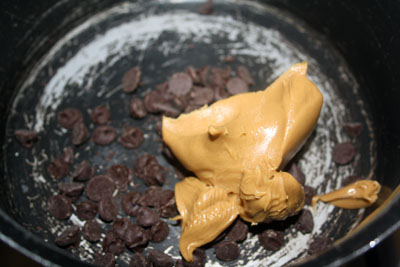
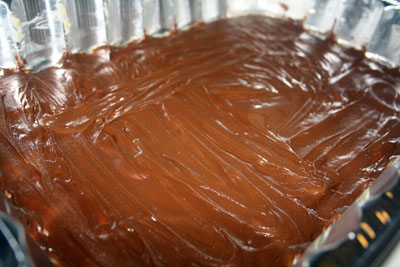
So first, melt 1 1/4 cups chocolate chips with 1/4 cup peanut butter over medium low heat until creamy and then pour/spread into the bottom of a well greased 9 x 13 pan. You can use a smaller pan, up to about 9 x 9 (each layer will be thicker but there will be fewer pieces overall and it will take longer for each layer to set). Let this cool and then totally set in the fridge. Now, onto the nougat.
Homemade Snickers Bars
Melt the butter and the sugar in a medium saucepan over medium-low heat and stir in the evaporated milk.
Homemade Snickers Bars
Add the marshmallow fluff (sadly it has to be the crap from the store or it wont set right) and once that’s incorporated, the peanut butter.
Homemade Snickers Bars
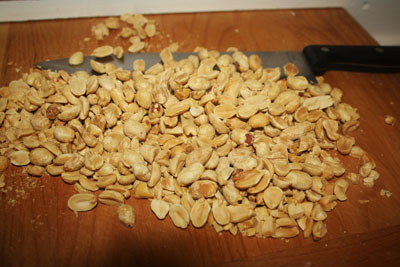
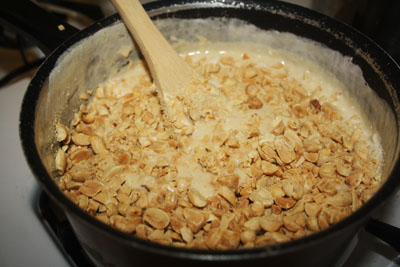
Chop up the peanuts roughly so there are still some big chunks in there! Stir that into the saucepan.
Homemade Snickers Bars
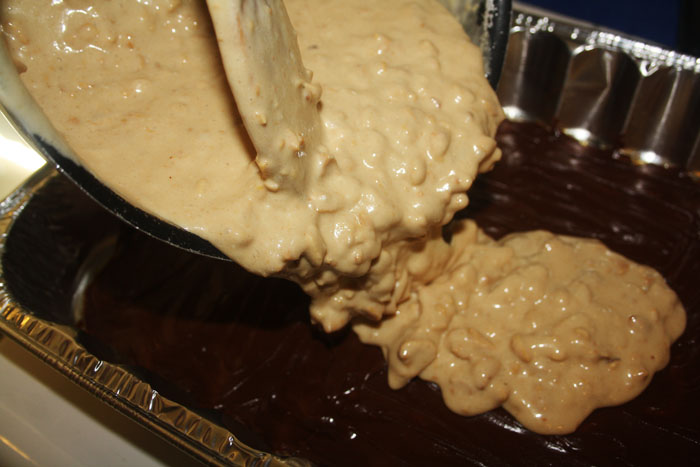
Let this cool off a bit before you pour it over the bottom layer! The bottom layer will be cold and set in the fridge by now, but if you pour crazy hot nougat over it, you’ll melt it! I let it cool for about 10 minutes or so before I poured it over the chocolate. Pop this back in the fridge and set your sights on caramel!
Homemade Snickers Bars
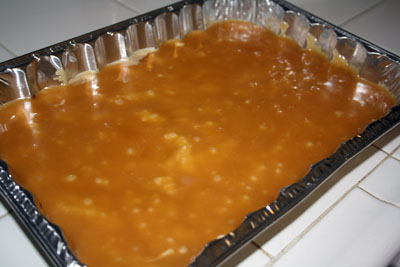
I made Amish Caramel (the only real difference I found between Amish Caramel and the Microwave Caramel I made in February for the Twix Bites is that Amish Caramel takes longer and is a bit of a pain in the ass). I will explain Amish Caramel in a different post, so in the meantime, either use about 1 3/4 cups of the Microwave Caramel or melt a 14oz bag of caramels with 1/4 cup of whipping cream. Either way, let it cool off some before you pour it over the nougat! Put it back in the fridge while you prep the top layer of this ridiculously amazing treat. The top is the same as the bottom, so again melt 1 1/4 cups of chocolate chips with 1/4 cup of peanut butter in a saucepan and pour it over the caramel layer.
Homemade Snickers Bars
Let these babies set up overnight in the fridge and they’re ready to be attacked the next day! You can probably get away with just a couple of hours in the fridge but they’re worth the wait! We dug into the tray while I was at their house, and hours after I left I was getting texts that they were still being devoured and loved. Best compliment ever.
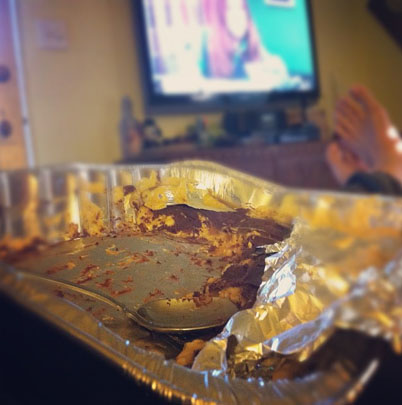
Homemade Snickers Bars
This pic was taken the next day as they sat down with the tray – and a spoon. Love!!
1 Comment

Peas & Thank You’s ‘Cheesecake’ Dip

Healthy

Vegans, or I guess I specifically mean vegan cookbook writers (or vegan recipe thinker uppers in general) are pretty magical. How can a diet that is free of cheese hand you cheesecake, or even ‘cheesecake’? Even low fat cheesecake that’s made from actual cream cheese tastes like crap most of the time, so how does cheesecake that’s extremely low in fat that’s not even made from actual cream cheese taste so amazing?! I’m not really looking for an answer, because Mama Pea has this dip on deck, so it’s all good in the hood. Or wherever, you know.

Ahem.

What I love about this dip is it works just as well as a base for an oatmeal parfait concoction – which we have used the second half for every time I’ve made it so far. Wee One #3 basically eats it like pudding, not so patiently dealing with the bits of oatmeal and flax and berries in her way. It’s a rough life, right?

Again, no recipe for you, just buy the book, it’s totally worth it I swear.

Peas & Thank You's Cheesecake Dip

Peas & Thank You's Cheesecake Dip
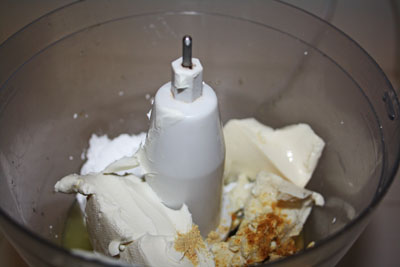
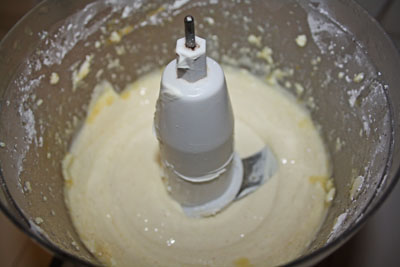
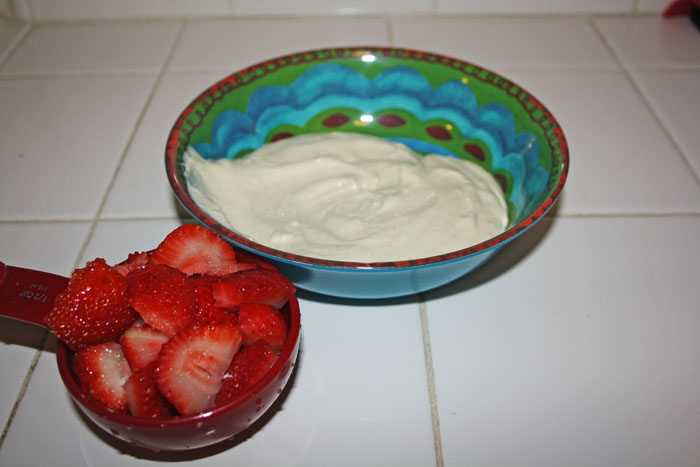
First, put a buncha stuff in your food processor! Then dip berries in it!
Peas & Thank You's Cheesecake Dip
No Comments