Jul 31, 2012
This is going to be a quick post because I really need to attack my chore list early today so I can get going on my Ravelympics project. It’s day 5, which is a little late for a 17 day event, but I’m all over it. I don’t know which site to link to to talk about this so I will make tomorrow’s Work In Progress Wednesday post all about it. Very quick history though is that in 2006 a popular knitting blogger who also really liked to watch the winter Olympics had this idea that for the time period of the official Olympics, we should all knit something extremely challenging. ‘We’ being all of us who read her blog. It was fun, I made Wee One #2 (who was just a few months old at the time) a sweater. Then the next time the Olympics rolled around we did it again, but this time her blog was bigger so there were more knitters joining in. Eventually, Ravelry was born (sort of like Facebook for knitters) and every Olympic year since the tradition has kept going.
I promise to write a detailed post tomorrow because I’d love to have all the links in one place for myself and other knitters, but a lot of non-knitters are curious. There are so many different ‘teams’ on Ravelry, ranging from type of finished project to geographic location to just fun and silly things. The official ‘group’ on Ravelry also has knitting ‘events’ much like the actual Olympics. There is little organization to it, so there are often multiple groups for the same things. I am joining a local one to the South Bay of Los Angeles and probably whichever modular group (for my puff blanket) my sister is in. Eeeee! So fun!!
Extremely simple caramel recipe!! I initially made this to use in the Snickers Bars I recently made, but since then I’ve used it as an ice cream topping, dip for apple slices and berry skewers. The only thing that can throw you off here is allowing the caramel to stop boiling when you add the cream – so don’t!

2 cups sugar
2 cups heavy cream
1 3/4 cups corn syrup
1 cup butter
1 teaspoon vanilla
|
|
|
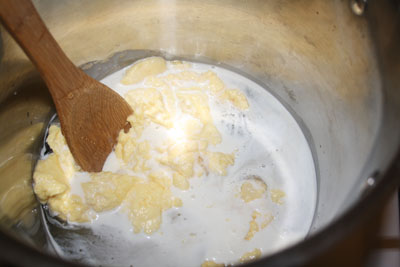
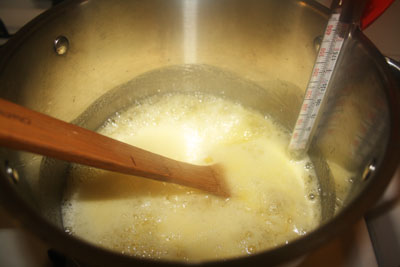
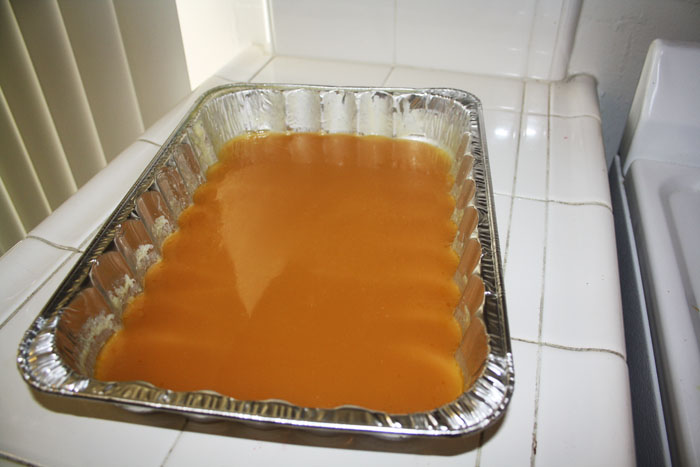
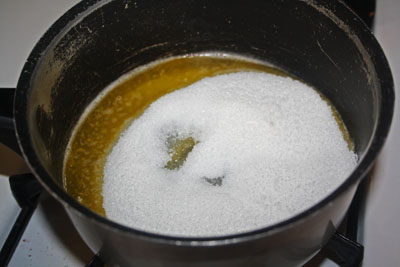
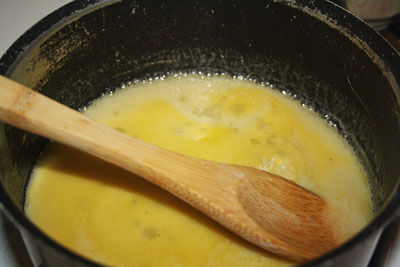
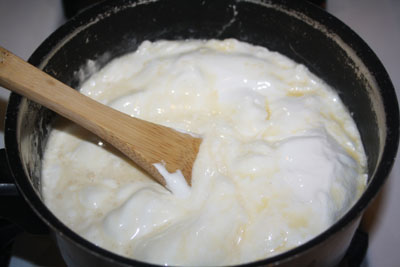
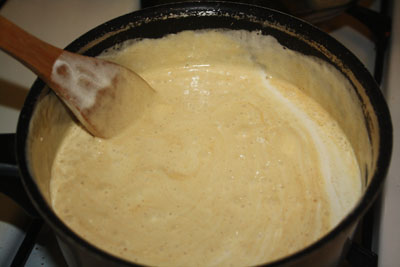
| Start off with the sugar, corn syrup, butter and a small amount of the heavy cream. Bring to a boil and add the rest of the cream s-l-o-o-o-o-o-w-l-y. Don’t let it stop boiling (and it will if you add too much cold cream too fast). Continue boiling until it reaches 240 degrees. Then pour it into a greased pan or a jar. If you plan to make candies with this, you can roll it into logs and wrap them in wax paper. Or you can use it in recipes! I used this caramel in the Snickers Bars I made a few months ago! |
|
|

Jun 26, 2012
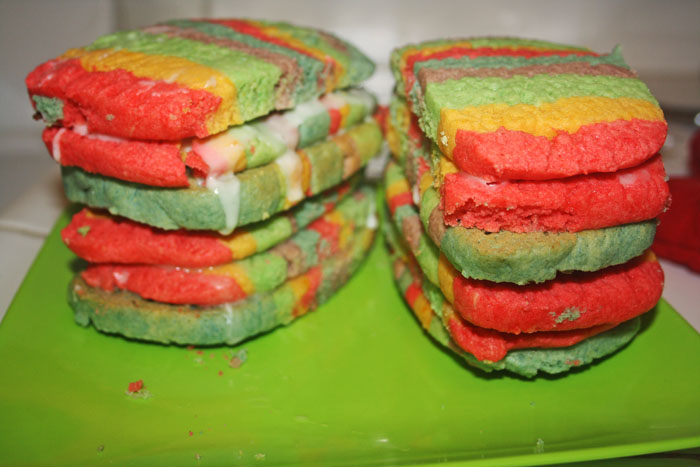
Putting these cookies together was no joke! The dough itself was super simple and I will absolutely be making rainbow cookies (ooh maybe rainbow swirl cookies) in the immediate future, the tricky part was in stuffing these cookies. The original recipe used super cute horse cookie cutters to look like actual piñatas. The mood to make these little creations struck me as I was making the Chocolate Kit Kat Cake and all my cute cookie cutters are in Canada. I made due and just sliced them into rectangles and followed the rest of the directions. It’ll work for whatever shape you use really.

1 cup sugar
1 cup powdered sugar
1 cup butter
1 cup vegetable oil
2 eggs
1 teaspoon cream of tartar
1 teaspoon salt |
1 teaspoon almond extract
1 teaspoon baking soda
5 cups flour
1 tablespoon vanilla
Mini M&M candies
1/2 cup powdered sugar (frosting)
2 teaspoons milk (frosting) |
|
|
|
|
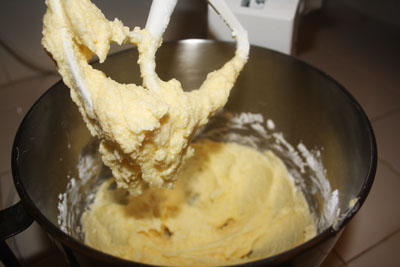
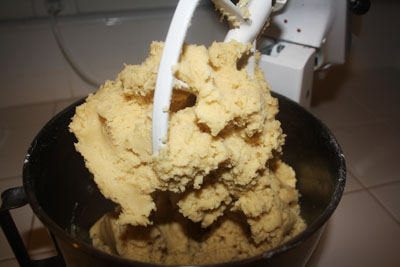
Nothing out of the ordinary here, cream the butters and the sugar, then add the eggs and oil. Mix the cream of tartar, salt, baking soda and flour. Then add the dry to the wet and blend in the vanilla and almond.
|
|
|
|
|
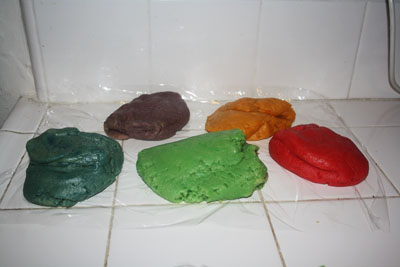
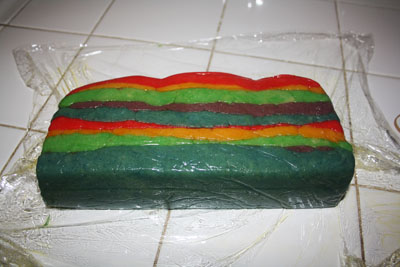
This is where the fun starts! Divide the dough into 5 balls and mix food coloring into each ball until you’ve got the color you’re looking for. If you’re doing this properly you’ll need a very small ball of black dough as well for the feet.
|
|
|
|
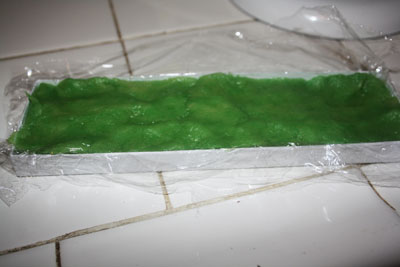
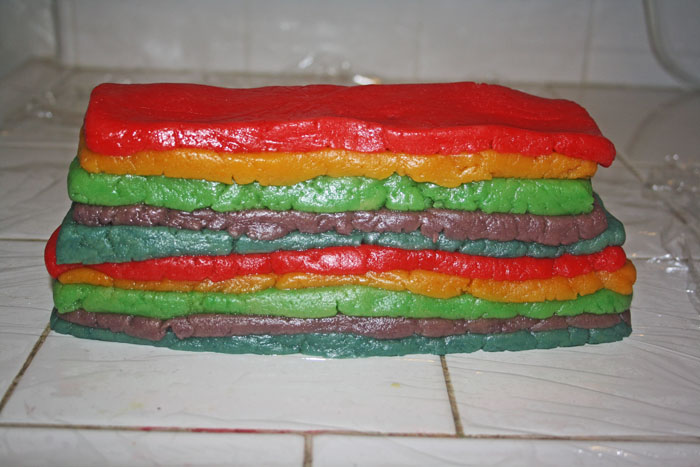
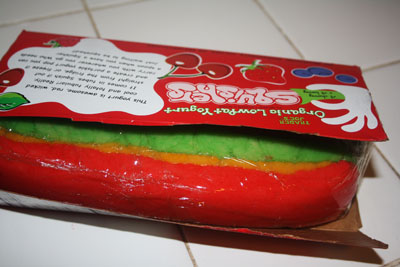
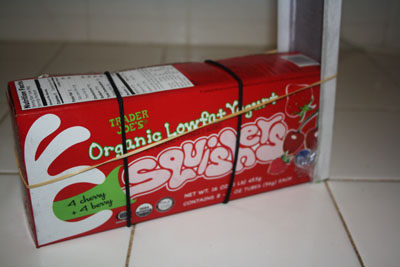
There is a reason there is a container used in the original instructions! The dough is buttery and so of course spready and slippery. Mashing it into a container in layers ensures it’ll hold it’s shape. I? Shaped each layer in a box lid and then crammed the whole thing in a yogurt tube box. Sigh. Next time, proper container.
|
|
|
|
|
Freeze this bad boy overnight of possible or at least 4 hours.
|
|
|
|
|
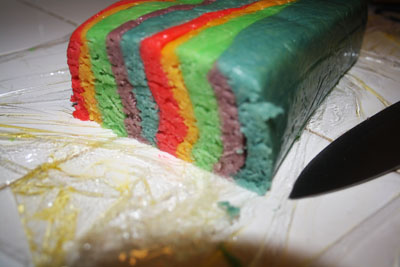
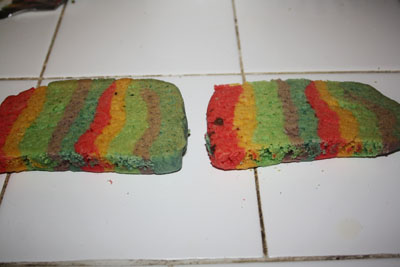
Slice the slab into rectangles and bake at 350 for about 12 minutes. Now if you’re using slices you’re done this part, if you’re using a cookie cutter, have at it but make sure you reverse one in three cookies (so when you lay them out you can put the darker sides together and only the pretty sides show). Work quickly while the cookies are still warm.
|
|
|
|
|
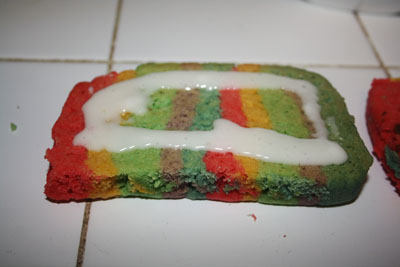
Mix your frosting ‘glue’ of milk and icing sugar together and then lay two cookies out darker sides up. Spread a little icing glue along the edge of one of the cookies.
|
|
|
|
|
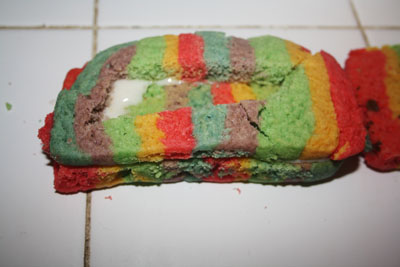
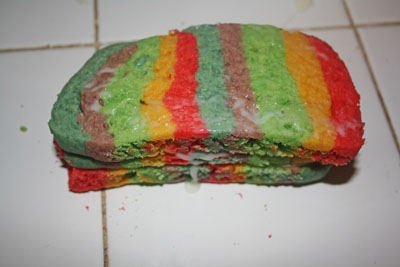
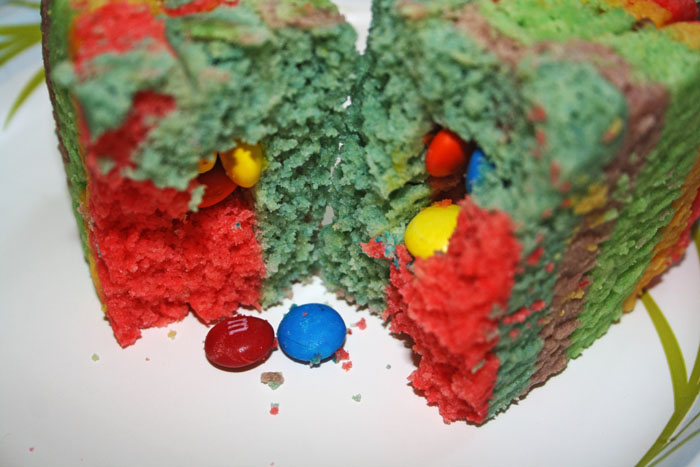
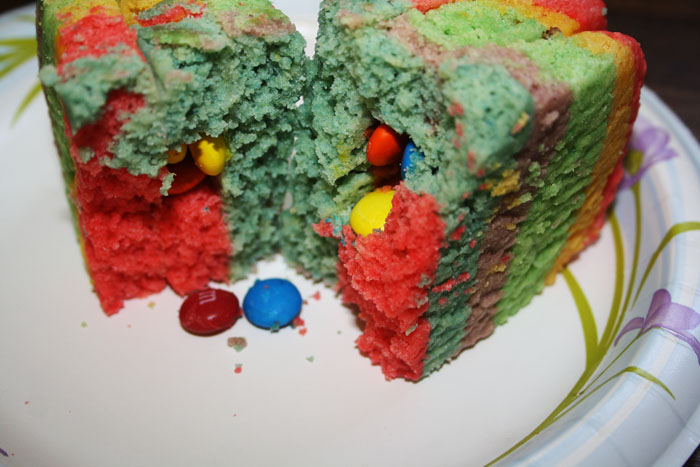
Take a third cookie, cut a hole in the middle and place on top of the first cookie with the glue, then fill with mini M&Ms and put more glue along the edge of that cookie and top with the second cookie.
|
|
|
|
These things are pretty epic, def not for one person!
|
|
|
|
|

May 31, 2012
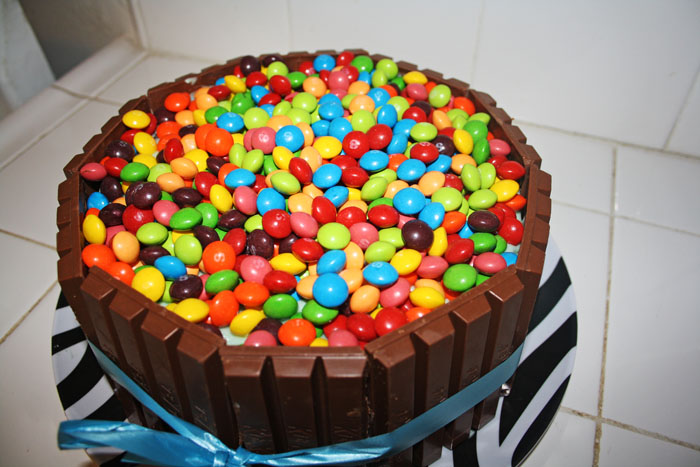
This is what you make when you want to usher something out of the kitchen that is as hilarious and exciting to serve as it is to eat. Cutting and serving this cake was no joke but since everyone that ate it fell in love with it, I’m filing it as a win. It’s the prefect cake for someone who loves candy and of course works especially well for someone who has a house full of people who also love candy!
Scroll down for pics of the cutting and serving!!

Chocolate Kit Kat Skittles Cake – via The Kitchen Magpie
3 ounces semi-sweet chocolate, chopped
1 1/2 cups hot brewed coffee
3 cups sugar
2 1/2 cups flour
1 1/2 cups cocoa powder
2 teaspoons baking soda |
3/4 teaspoons baking powder
1 1/4 teaspoons salt
3 large eggs
3/4 cup vegetable oil
1 1/2 cups buttermilk, shaken
3/4 tsp vanilla |
|
|
|
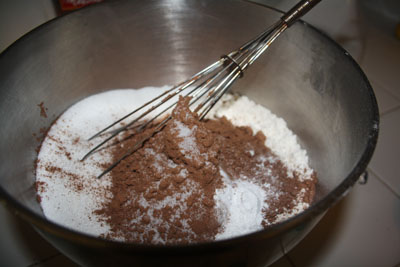
| First, preheat your oven to 300 and melt the chopped chocolate in the hot coffee. Just pour the coffee over the chocolate, and in a separate bowl whisk together sugar, flour, cocoa powder, baking soda, baking powder, and salt. |
|
|
|
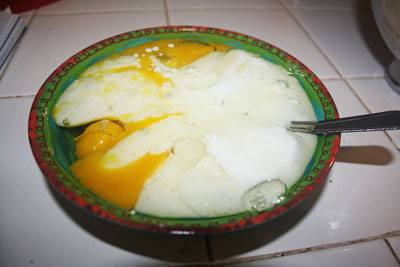
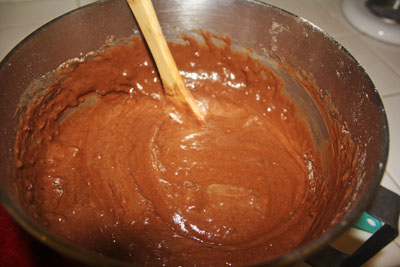
| Theeeeeeen in a smaller bowl (though you’ll probably want to use a bigger bowl than the one I did…), whip the eggs till they’re thick and then combine them with the oil, buttermilk and vanilla. Once that’s mixed well, add it and the melted chocolate to the dry ingredients. |
|
|
|
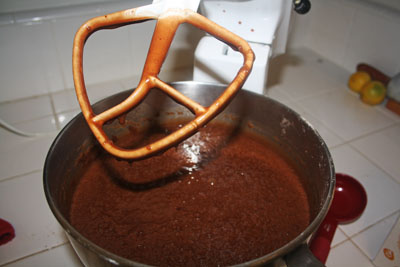
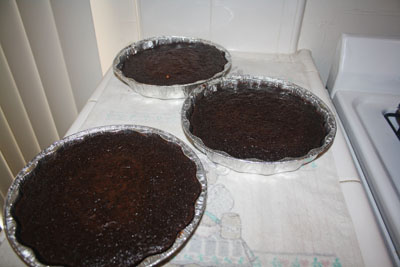
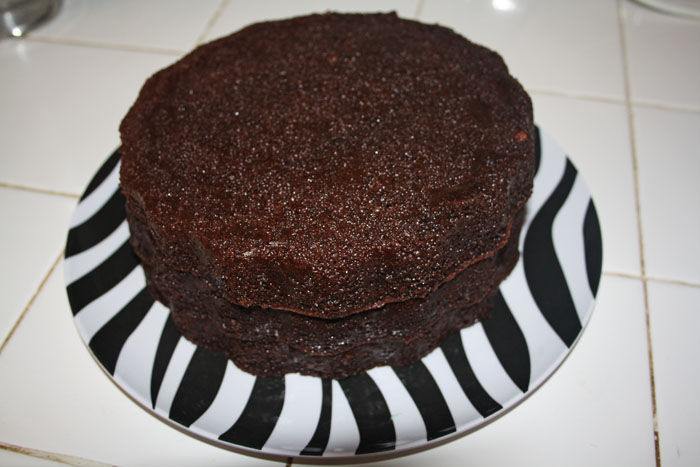
| The batter was runnier than I had expected, but just roll with it – it’s perfect! I poured it into 3 greased 9″ cake pans and baked for almost an hour. |
|
|
| Then I made the frosting and dyed it blue – use your favorite frosting recipe, or even *shudder* a can if you must. I used a little between each later, mostly just as glue and for the same reason I slathered it all over the outside so the Kit Kats would stick. |
|
|
|
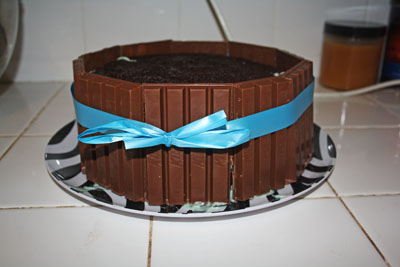
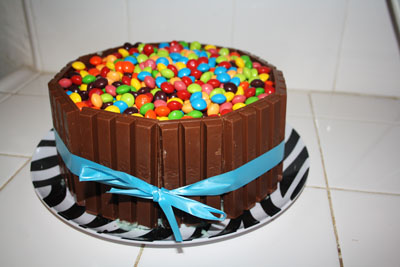
| Line up the Kit Kats around the side of the cake and use the ribbon to pull them tight to the cake, but don’t pull so hard you break them! Make a cute bow at the front and voila! Super cute! Then I covered the top with more frosting and dumped two big bags of Skittles on top! |
|
|
| The cake looked so not like a cake that someone stuck their hand in it, thinking it was an elaborate bowl of candy! |
|
|
|
|
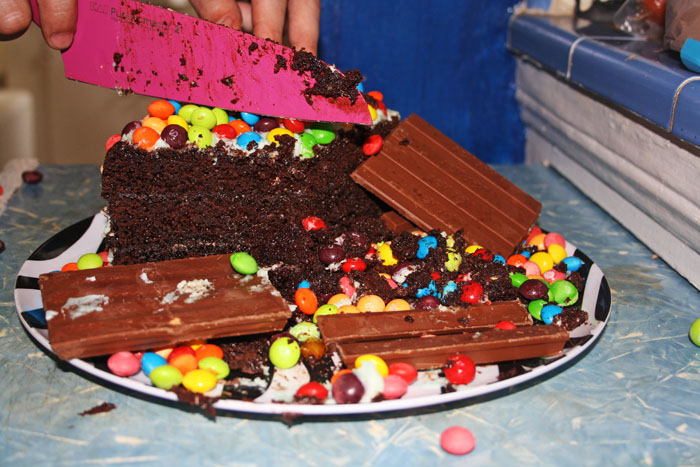
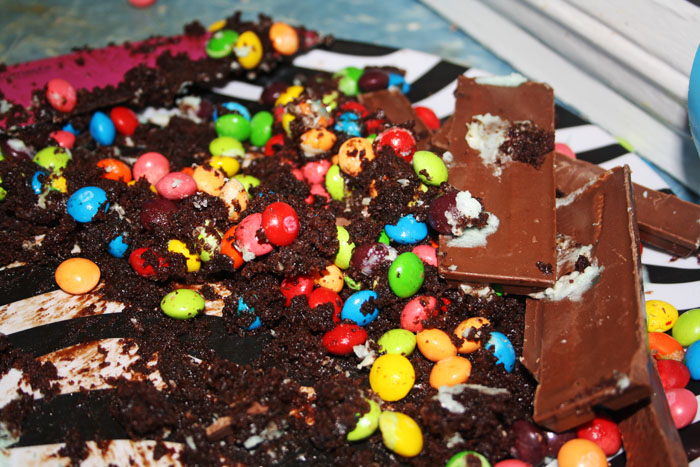
| The blog I first saw this on made no mention of the hilarity that ensues when the cake is eventually cut. The platter I put it on is made of pretty light plastic, so as the Skittles fell from the top of each piece to the platter they made the same plinking noise as the Skittles that hit the floor in the commercials! So so funny. It was messy, but thankfully the hosts are lighthearted and it was all good. |
|
|
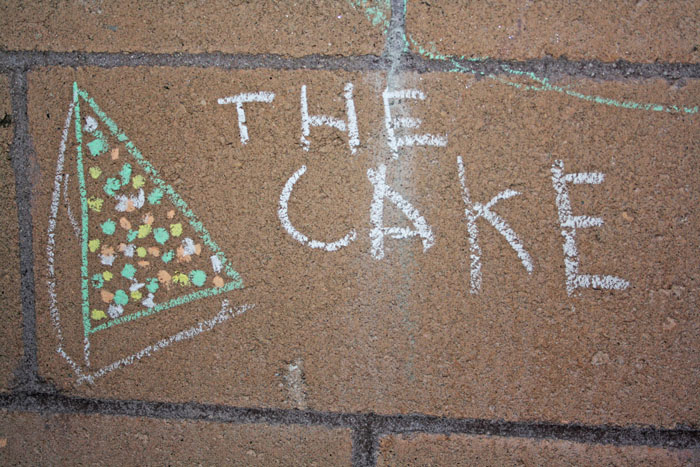
| So obviously this cake looked amazing, but how did it taste? Well, I made this for our new friend Steve’s birthday. I didn’t know anyone at the party other than him and his (amazing & delightful) girlfriend Vanessa. When each guest left and said their goodbyes it went like this ‘Thanks for the invite Vanessa we had fun, happy birthday Steve have a great night, I loved the cake May!’ So ridic, I love it. Someone even loved it enough to draw it’s likeness in chalk on the brick wall in the backyard. |

May 21, 2012
I’m not going to lie to you here, these are going to take the better part of your afternoon to make – but not all at once. There’s a lot of chilling and rechilling and setting and chilling again. So make sure you make this for someone who will really appreciate it, or someone you’re really down with – or both! I made these for our friend Steve’s birthday this weekend. He’s got a bit of a serious sweet tooth. His cake was even more epic than these – more on that later this week. I’m happy to report he loved them, his girlfriend loved them and their guests loved them too! Winning all over the place.
So, they are labor intensive because they’re made in four separate steps and they need to completely set up and cool off before you pour the next layer on top or you’ll totally wreck it. No pressure though haha. Also, I should note that even if they set up properly, they’re a pain in the ass to cut free from the pan and this whole production might have gone a lot smoother (and prettier) if I had made them in chocolate bar molds. When I made Twix Bites a few months ago, I made a mess and then I used molds. I’m about 4200km (or 2609 miles) from all my cool kitchen gear so I had to make due, however I’m totally ordering chocolate bar molds like, right now.
First you’ve got the base chocolate layer, then the nougat, then caramel (I reeeeally recommend you make this from scratch) and then of course the top layer of chocolate. So let’s get to it!

Homemade Snickers Bars – via How Sweet it Is
1 1/4 cups chocolate chips
1/4 cup peanut butter
*
1/4 cup unsalted butter
1 cup granulated sugar
1/4 cup evaporated milk
1 1/2 cups marshmallow fluff
1/4 cup peanut butter
1 1/2 cup salted peanuts chopped
1 tsp vanilla extract
*
Homemade caramel (or 1 14-ounce bag of caramels & 1/4 cup whipping cream)
*
1 1/4 cups milk chocolate chips
1/4 cup peanut butter
|
|
|
|
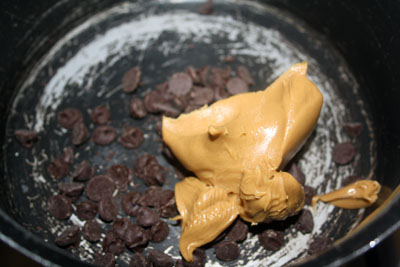
So first, melt 1 1/4 cups chocolate chips with 1/4 cup peanut butter over medium low heat until creamy and then pour/spread into the bottom of a well greased 9 x 13 pan. You can use a smaller pan, up to about 9 x 9 (each layer will be thicker but there will be fewer pieces overall and it will take longer for each layer to set). Let this cool and then totally set in the fridge. Now, onto the nougat.
|
|
|
|
|
Melt the butter and the sugar in a medium saucepan over medium-low heat and stir in the evaporated milk.
|
|
|
|
|
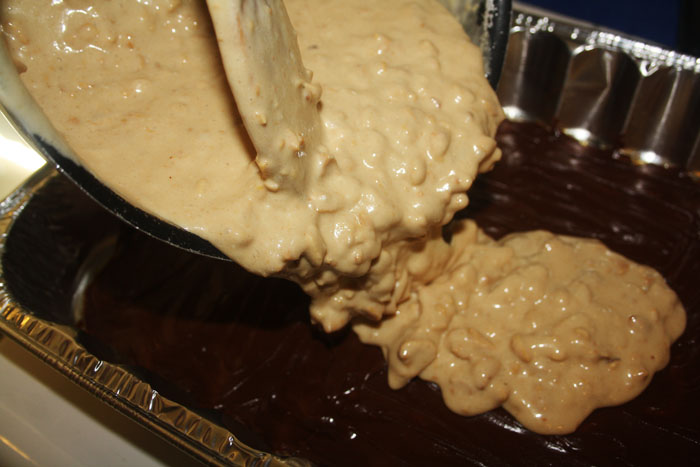
Add the marshmallow fluff (sadly it has to be the crap from the store or it wont set right) and once that’s incorporated, the peanut butter.
|
|
|
|
|
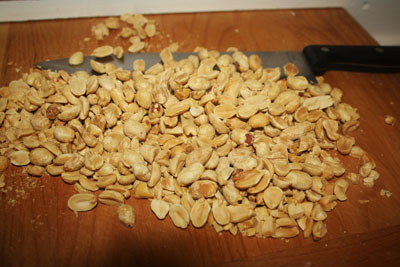
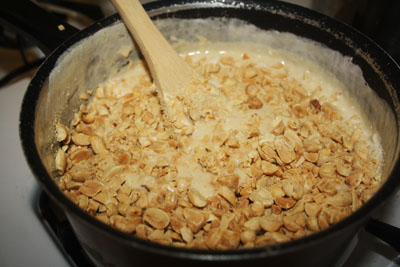
Chop up the peanuts roughly so there are still some big chunks in there! Stir that into the saucepan.
|
|
|
|
Let this cool off a bit before you pour it over the bottom layer! The bottom layer will be cold and set in the fridge by now, but if you pour crazy hot nougat over it, you’ll melt it! I let it cool for about 10 minutes or so before I poured it over the chocolate. Pop this back in the fridge and set your sights on caramel!
|
|
|
|
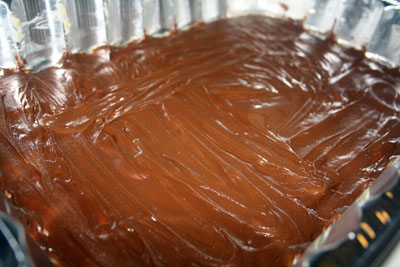
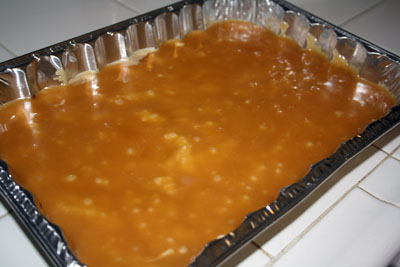
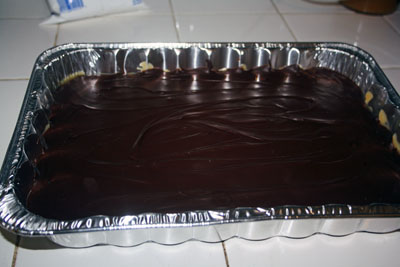
I made Amish Caramel (the only real difference I found between Amish Caramel and the Microwave Caramel I made in February for the Twix Bites is that Amish Caramel takes longer and is a bit of a pain in the ass). I will explain Amish Caramel in a different post, so in the meantime, either use about 1 3/4 cups of the Microwave Caramel or melt a 14oz bag of caramels with 1/4 cup of whipping cream. Either way, let it cool off some before you pour it over the nougat! Put it back in the fridge while you prep the top layer of this ridiculously amazing treat. The top is the same as the bottom, so again melt 1 1/4 cups of chocolate chips with 1/4 cup of peanut butter in a saucepan and pour it over the caramel layer. |
|
|
|
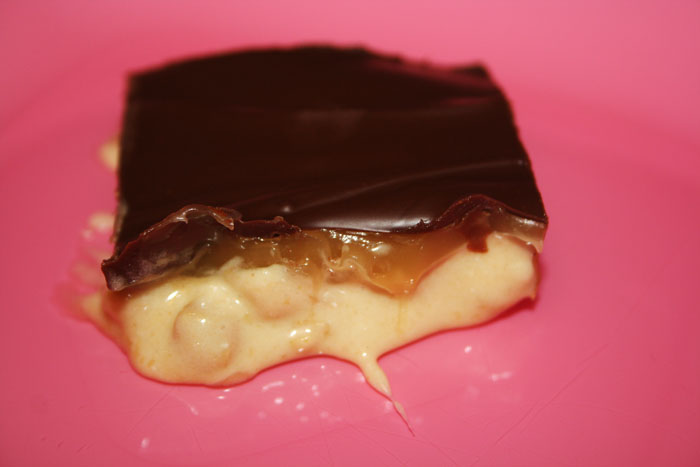
Let these babies set up overnight in the fridge and they’re ready to be attacked the next day! You can probably get away with just a couple of hours in the fridge but they’re worth the wait! We dug into the tray while I was at their house, and hours after I left I was getting texts that they were still being devoured and loved. Best compliment ever.
|
|
|
|
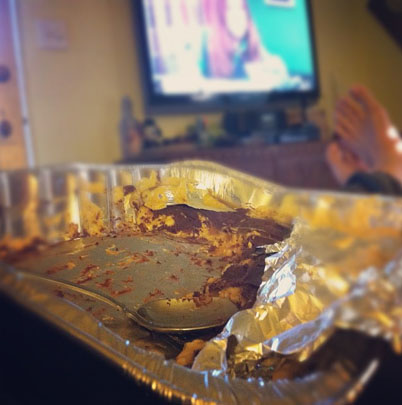
This pic was taken the next day as they sat down with the tray – and a spoon. Love!!
|

