Browsing the archives for the Pretty category.

BH Cosmetics

Pretty

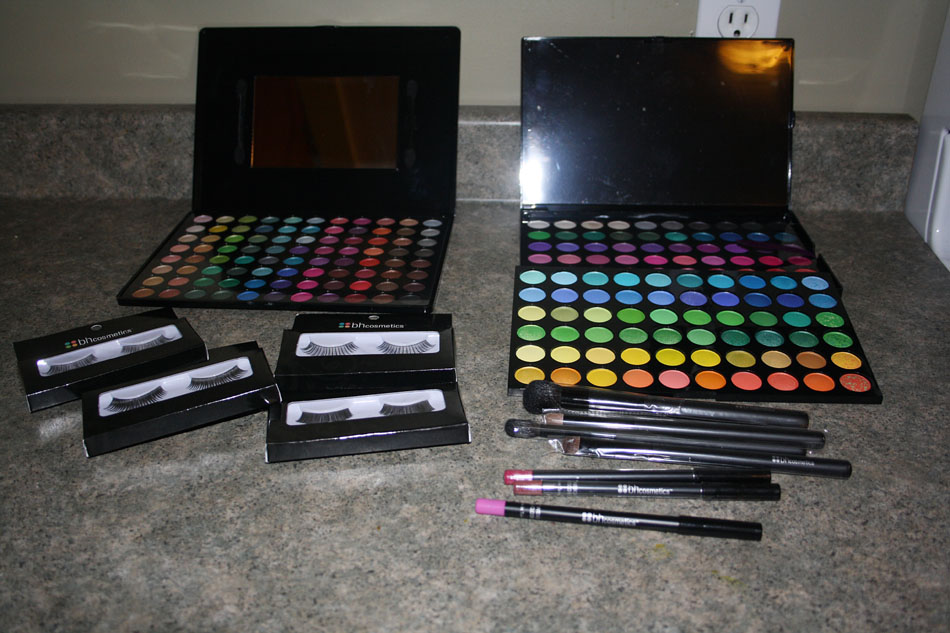
I’ve been a big fan of BH Cosmetics for about two years. I have big love for pops of color and even bigger love for serious lashes, so those are two qualities BH has in spades, but I also don’t want to drop $300 every time I need to refresh my makeup kit or pay $7-$16 for a pair of lashes (especially considering I wear them often). I’m not against splurging, and in the interest of full disclosure I do love me some Sephora and have a mild obsession with my pink Tarina Tarintino glitter. Having said that, I don’t shop Sephora to stock up and I don’t wear pink glitter everyday (sigh, but in a perfect world…).

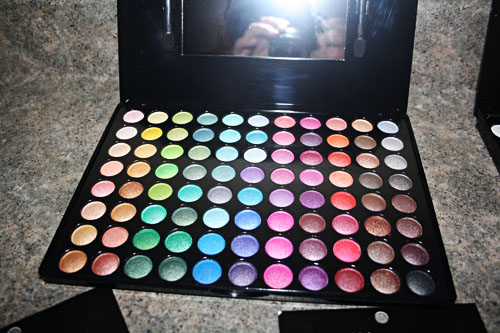
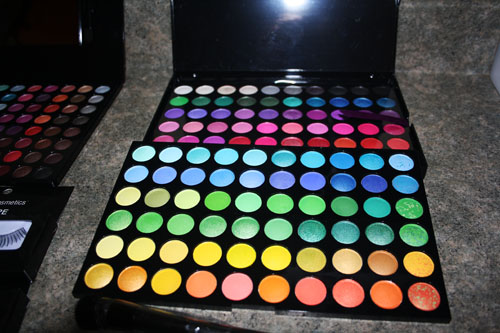
So enter BH. Not only will you get way more for your dollar here than anywhere else I’ve looked, the quality is far better than the price implies. The eyeshadow pigments are long wearing and really bright! The 120 Color Palettes are usually between $30-35 but there is always some promotion or another. Right now they are actually 40% off and that’s not all that strange. I’ve never paid full price on this site and never been disappointed.

The 120 Color Palettes come in 5 editions with variations in each. I have the 1st edition and I love it. Bright, lasting colors. The shimmer palette comes in cool and tropical, I have the cool. It is very blendable and also very long lasting. I have the Earth, Blossom and Candy lip liners. I find them all to be very smooth and blendable and they are all very easy to sharpen which is a serious plus!

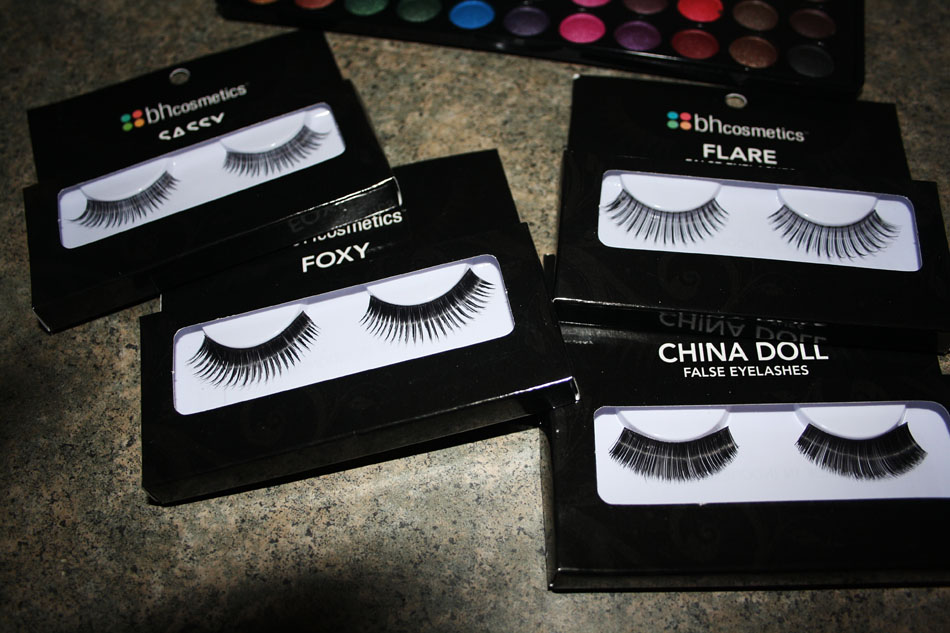
I will say that the $15/pair Urban Decay lashes are nicer than these $5/pair lashes from BH, but they are not 3 x nicer! I like the Come Hither lashes from Urban Decay for something a little snazzier than everyday, but not crazy fancy. I have found that BH’s China Doll lashes are very similar. I’d also compare Urban Decay’s Instaflare, Darlin’ and Babydoll to BH’s Foxy, Flare and Sassy – in that order. Using BH is a little safer for daily wear in case you get glitter on them that wont come off or you’re not as gentle as you think you are and bend them. Or you know, when you have a late night and fall asleep with your full face on. Whoops!

No Comments

This Week (aka Happy Sunday)

California, Crafty, Domestic, Kids, Pretty

So so so much is going on this week and so much fun happened last week! I made a lot of Halloweeny treats in the last couple of weeks and they were all hits with the kids! Wee One #1 is dressing as a warrior skeleton type guy (he’s been picking pretty much the same costume every year in a bigger size for 3 or 4 years now), Wee One #2 is going as Hello Kitty and out littlest is going as ‘The Tooth Fairy’, she is very specific about what kind of fairy she is exactly. Much running around Los Angeles in costumes!

Sparkly gold shoes, ridiculous wedges with an equally ridiculous bow, a really cute necklace and dress combo and some Halloweeny cocktails rounded out my week. We made normal screwdrivers but we used black vodka and then we made Bloodtinis, which were just as delish without any booze in them at all. I really just wanted an excuse to use the shaker. 😉

Oh, and my piggie spatula, which is probably my most prized kitchen possession at the moment. You love it right? Of course you do!

Back in the morning with Menu Monday!!

1 Comment

Homemade Facial Cleansers

Healthy, Pretty

Last year I started experimenting with making my own mineral makeup, lip glosses and bath fizzies and a few months ago we made soap with new friends! Since all of these experiments went so well and I was not only able to use everything I made, but it all turned out really nice and in some cases even better than I expected, I started experimenting with face masks! There are a zillion recipes online for masks and cleansers and potions, but some of them have either hard to find ingredients or unnecessarily expensive ingredients. So after wading through about 100 recipes, I read up on the most common ingredients and what properties they have that are so good for skin and of course I tried out a bunch of these myself!

Watermelon
Watermelon is one of the ingredients that comes up again and again in facial mask recipes. Mostly because just like when you eat it, applying it to your face really hydrates your skin, regardless of whatever else you add to it, so when you add it to anything else that hydrates on contact (like cucumbers) you can quickly and safely moisturize a dry face. Win! The Watermelon and cucumber combo also has skin lightening and soothing properties, so the next time you’re nursing a sunburn, mash half a cup each of watermelon pulp and cucumber and spread over where ever you are red!

So, why? Well, I mentioned that watermelon pulp hydrates your skin like crazy and it’s also an amazing anti-inflammatory. It’s also full of vitamins C, A, potassium, and magnesium, which I generally only think of in terms of eating it but there’s a lot of research swirling around that since your skin is your biggest organ you’re absorbing (and therefore ingesting) whatever you use topically.

Watermelon Yogurt Mask
1 teaspoon watermelon juice
1 teaspoon plain Greek yogurt

Yogurt & Oatmeal
There are a lot of yogurt based masks out there. After reading about all of yogurt’s superpowers for skin, I get why. It it chock full of lactic acid, which apparently is beyond department store creams in refining pores, scrubbing out the dead skin cells and get this, stimulating collagen production. Any bottle that says that in a spa will instantly be twice as expensive as anything around it, so getting that for next to nothing from yogurt? Sign me up!

Another reason yogurt seems to dominate the recipes for DIY facial masks is it’s consistency is perfect for making a paste out of so many other ingredients that are good for your skin (like oatmeal and honey).

Oatmeal is extremely beneficial to your skin and since we have already covered what yogurt can do, I’d happily rate yogurt/oatmeal combos as serious winners! Apparently, humans have been using oatmeal on their skin since 2000 BC (don’t ask me how ‘they’ know that, but they do)! Oatmeal contains polysaccharides and these little babies get all gooey in the water and leave a (good) film on your skin that protects against flaking! It does a good job of moisturizing as well since oats are full of good fats, and natural cleansers that pull out dirt and oil from pores!

Yogurt & Oatmeal Moisturizing Mask
2 tablespoons plain (full fat) yogurt
1 tablespoon honey
1-2 tablespoons cooked & cooled oatmeal
Yogurt & Honey Cleansing Scrub
1 tablespoon honey
1 teaspoon plain yogurt
2 tablespoons finely ground almonds
1/2 teaspoon lemon juice
Calming Mask
1/2 cup of plain yogurt
2 tablespoons Aloe Vera gel or juice
1 tablespoon honey
1/2 peeled cucumber
3 drops of chamomile oil
Old School Oat & Honey Mask
2 tablespoons old-fashioned oats
2 tablespoons hot water
1/2 tablespoon honey
Smoothing Apricot Mask
2 pitted apricots
2 teaspoons greek yogurt
Olive oil

My Favorites

Baking Soda Scrub
I have been using a 3:1 mixture of baking soda and water for about 5 months, every other day on my face, elbows and knees because I have read in various cheesy magazines *cough*Seventeen*cough that using a baking soda paste safely brightens your skin, or at least takes the dull film off the top! I have noticed an honest improvement in the brightness of my skin and there has not been any irritation. There is a version of this that uses orange juice instead of water (here)and it is supposedly crazy amazing at getting rid of oil and blackheads. I’ll test this out and report back!

Cucumber Slices
Ever since I first started skipping sleep about 12 years ago, I’ve been using cucumber slices on my eyes when I wake up looking like I need another 3 or 4 hours in bed! While I know that everyone already knows this one, I’m crediting my mom because she was the first one to magically make me not look like a zombie at 6:30am after being up with a baby all night. (Thanks Mom!)

Egg White Masks
My aunt got me into egg white face masks even before I needed the cucumbers. She and my mom and I would spend nights putting egg white masks on each other’s faces and hands. Why hands? Both my mom and my aunt always rocked manicures so I guess it’s no surprise they made sure their hands were soft and smooth! These masks were fun for me as a kid because, aside from the gross fun of spreading egg whites with a pastry brush, there is the strange sensation of the eggs drying on your face and your feeling the pull. You can rinse it off in the sink or shower, but peeling it off was always more fun. I had forgotten about these masks until I thought about writing this post so I did one just to see how my skin felt immediately after and woah. Way, way smoother than pre-mask! All it takes is one egg white. I’ve read a lot of people use the yolk in their hair to make it shinier, but I have not tried that one myself yet!

In all the reading I did about DIY face masks I found so many amazing recipes I want to try out! Here are a few more!

Green Tea Face Mask
green tea (just enough to make a paste)
1 tablespoon sugar
1/2 tablespoon lemon juice
Banana Face Mask
1 banana
1 teaspoon honey
Blueberry Lemon Mask
4 tablespoons mashed blueberries
3 teaspoons ground oats
1 teaspoon finely ground almonds
2 teaspoons distilled water
1 teaspoon lemon juice
1 drop lemon essential oil
Papaya Mask
2 tablespoons mashed papaya
1/2 teaspoon pineapple juice
1 teaspoon powdered green algae
Pumpkin Facial
2 teaspoon pumpkin puree
1/2 teaspoon honey
1/2 teaspoon milk
1/4 teaspoon cinnamon
Nutmeg Honey Cinnamon Facial
2 tablespoons honey
1 teaspoon nutmeg
1 teaspoon cinnamon
No Comments

Make Your Own Bath Fizzies

Crafty, Pretty

Today is a fun link up day! All these link ups are full of beautiful and inspirational projects – check some of them out! A Bowl Full of Lemons, Sugar Bee Crafts, My Uncommon Slice of Suburbia, Funky Polkadot Giraffe, Today’s Creative Blog, The Blackberry Vine, Adventures of a DIY Mom, Our Delightful Home, Carolyn’s Homework, Vintage Wanna Bee, The Little Giggler, Crafty Confessions and The Kurtz Corner.

Making your own bath bombs seems a little crazy and to me anyway, it sounds like a lot of work. It’s surprisingly easy though! I made a batch a little while ago to give as gifts and I kept a few for myself, they turned out so well. Now that I have done this once, I know I can make them look a lot prettier!

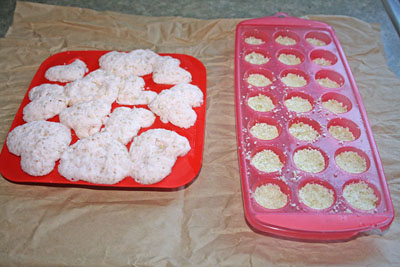
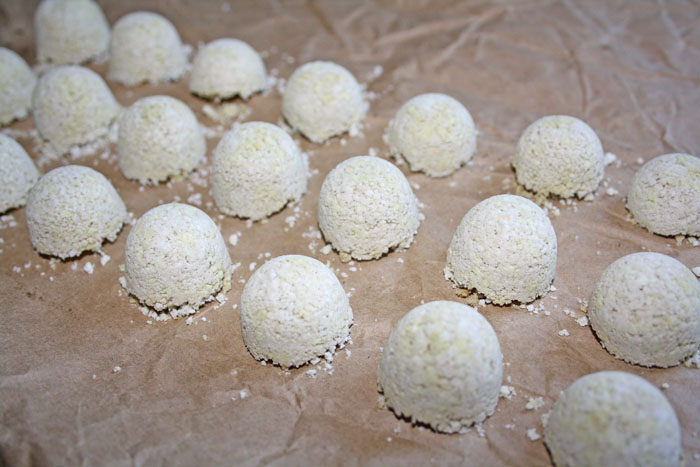
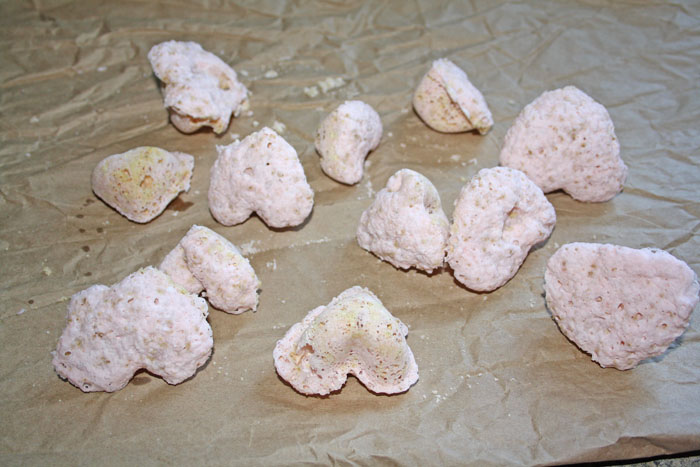
I made two kinds. One is more dense than the other. The dense batch dissolved pretty unnoticeably in the tub and made my skin crazy, amazingly soft. The puffier kind gave more of a show when they dissolved and also made my skin crazy, amazingly soft. I think the puffy version is better though because part of the fun of bath bombs is the fact that they explode, right?

There are heaps of recipes and tutorials online, but so far I think this one from Martha herself is the best one.

bath fizzies

Bath Fizzies via Martha Stewart

1/2 cup citric acid
1 cup baking soda
3/4 cup cornstarch
1/4 cup organic cane sugar
food coloring
essential oil(s)
travel-size spray bottle
silicone ice-cube tray
storage jars

bath fizzies
bath fizzies
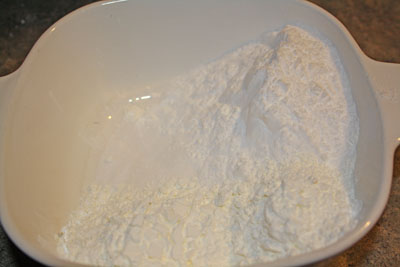
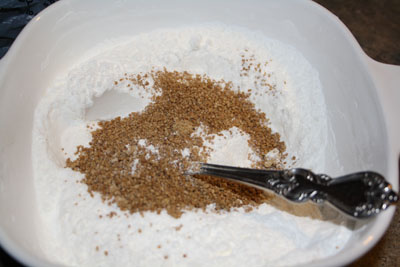
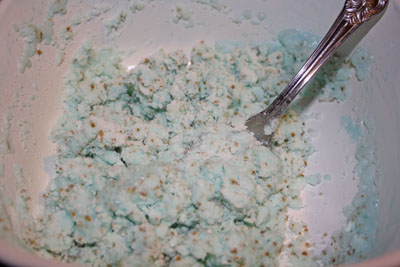
First, mix the citric acid, baking soda and cornstarch in an oven proof bowl. Sift it to get the clumps out of the cornstarch. Now stir in the sugar.
bath fizzies
bath fizzies
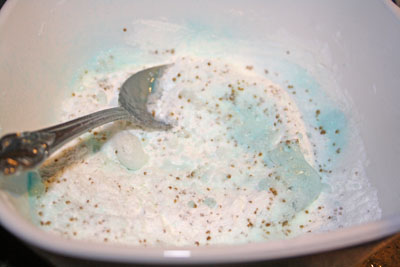
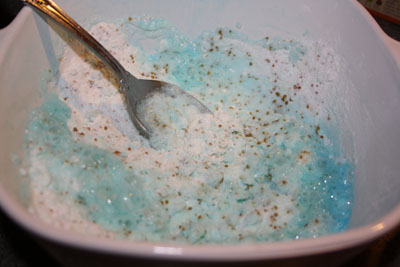
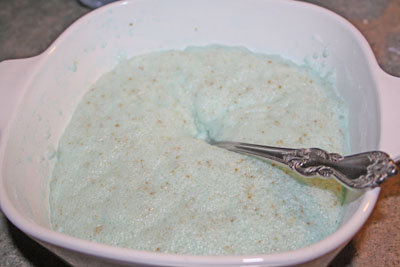
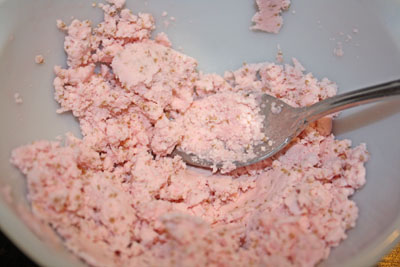
This part is so cool! Fill a spray bottle with water and food coloring. Of course the more food coloring you use, the more vibrant the color will be. I had two batches going here, one was a light blue and one was a light pink.
bath fizzies
bath fizzies
bath fizzies
bath fizzies
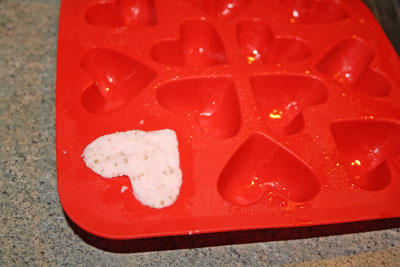
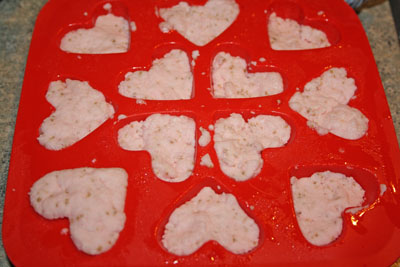
Spritz the water into the powder mixture until you can form it with your hands, then press it onto whatever molds you choose! So fun!
bath fizzies
bath fizzies
These trays took overnight to dry on the counter, the denser ones were sprayed less than the puffy ones, and the puffy ones grew overnight! Store them in pretty jars or wrap them up in pretty chello bags to give away!
bath fizzies
bath fizzies
6 Comments

Super Cute Saturday

Pretty

Super Cute Saturday, Urban Decay, Hard Candy, MAC

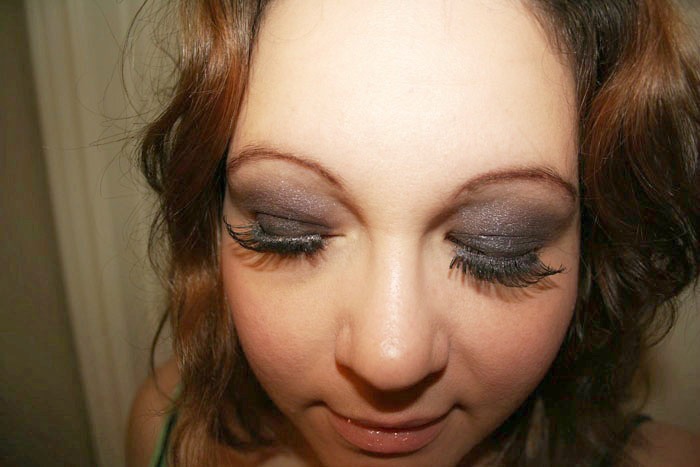
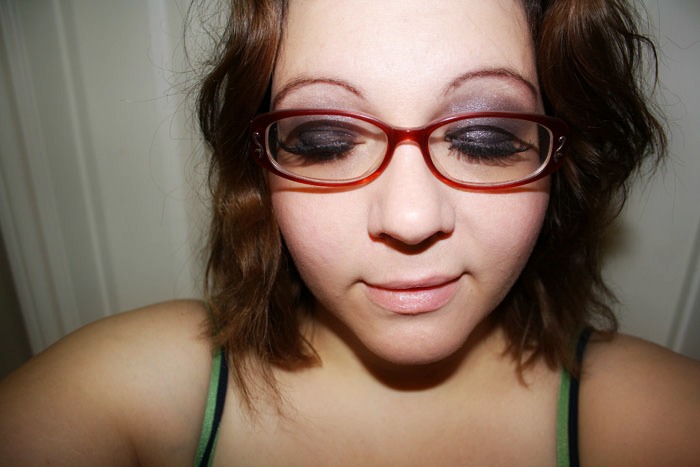
This is a fun look that I wore most of the time when we lived in the woods and we had errands at school or in town. Writing this from LA, it’s hard to believe that I had to ‘drive into town’ to run errands. Amazing the difference a few months makes. Anyhoo…this was super simple to do!

Super Cute Saturday, Urban Decay, Hard Candy, MAC

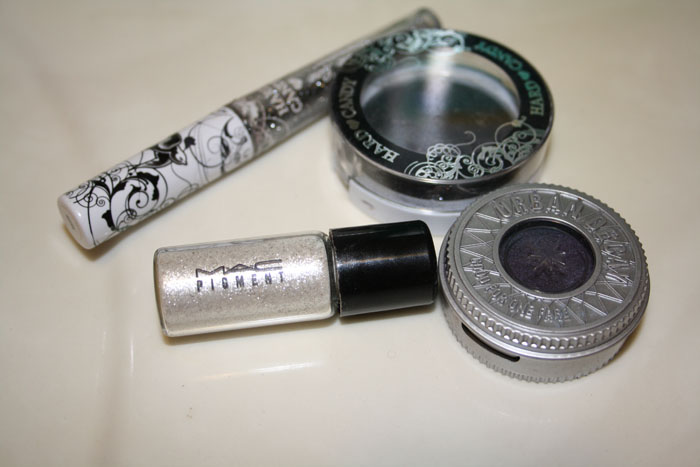
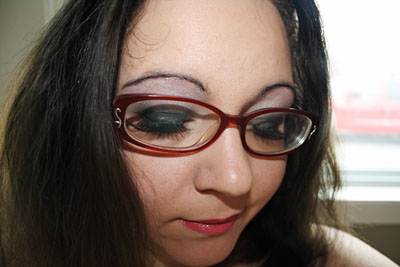
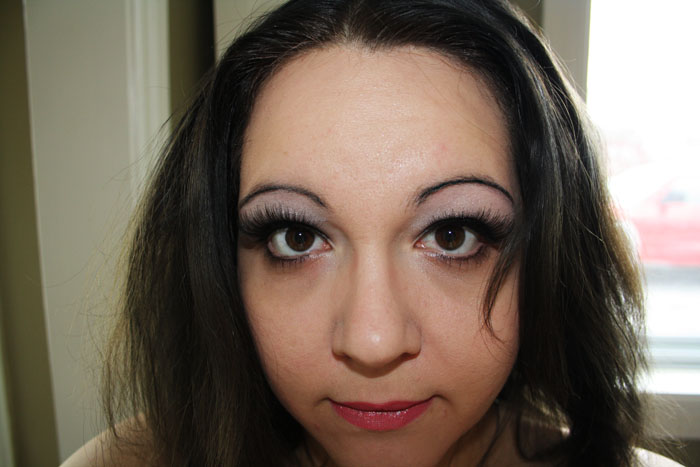
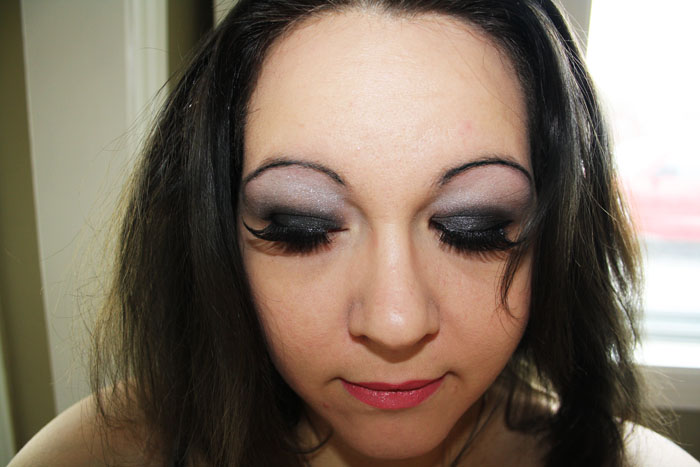
First I swept Hard Candy Baked Meteor Eyeshadow in Black Hole over the entire lid, blending up. Then I added Urban Decay’s Vintage Eyeshadow in Purple Haze over the lid and blending that up as well. I mixed MAC’s Pigment in Frozen White with a little water to make a paste and used that from the crease up to the brow. I also smudged a little over my lids as well. I lined with Hard Candy’s Walk The Line Liquid Eyeliner in Lace and finished with BH Cosmetics’ China Doll Lashes. I think the gloss is just my Giant Watermelon Lip Smackers! Not pictured is whatever random brown brow pencil I used, best guess is Wet n Wild.

Super Cute Saturday, Urban Decay, Hard Candy, MAC
No Comments

Window Shopping Wednesday – Octopurse

Pretty, Window Shopping

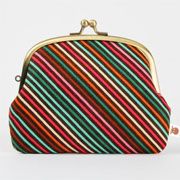
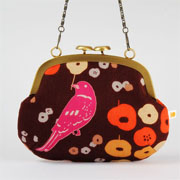
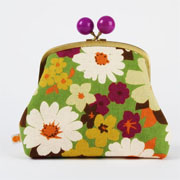
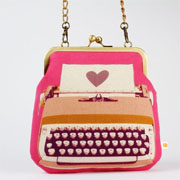
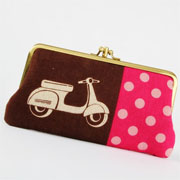
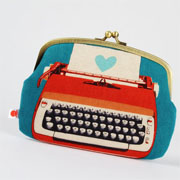
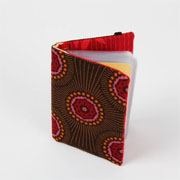
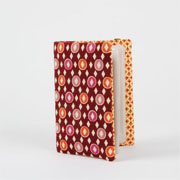
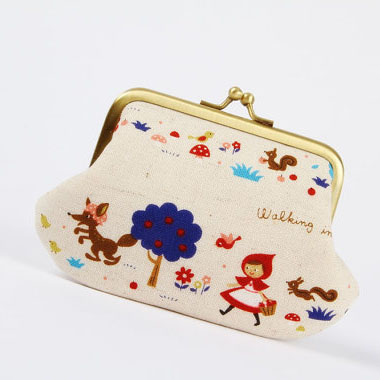
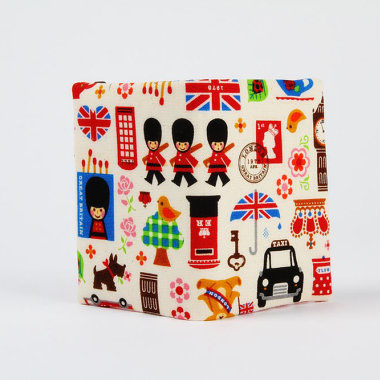
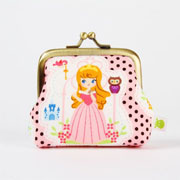
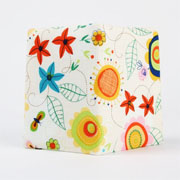
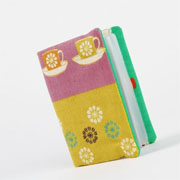
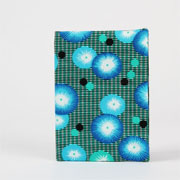
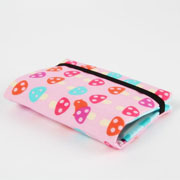
Just LOOK!! I love, love, love every single item in this shop. Octopurse is based in Belgium and kicks out adorable purses, pouches, card holders and paperback book covers. Everything is so cute! I am especially in love with these little purses and card holders, but there are pages and pages of cuteness in this shop.

I love the Little Red Riding Hood purse and London card holder more than everything on my wish list right now (Sleeping Beauty is pretty amazing too). Ah. Door. A. Bull.

Window Shopping Wednesday - Octopurse

Hard Candy / Urban Decay Grey Eyes

Pretty

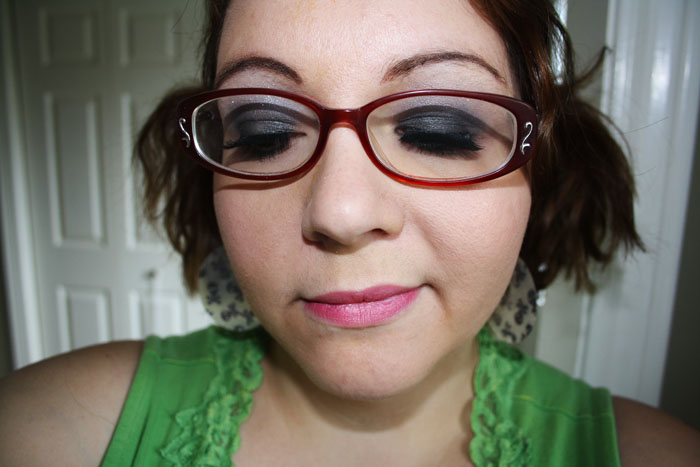
I’m a real sucker for black eyeshadow and pink lips and this video only made it worse. Any combo of blacks and greys on the eyes with any kind of light to almost berry lips is a winner for me. So smitten with how cute this is! This is a look I wear far too often – almost always with bright pink nails.

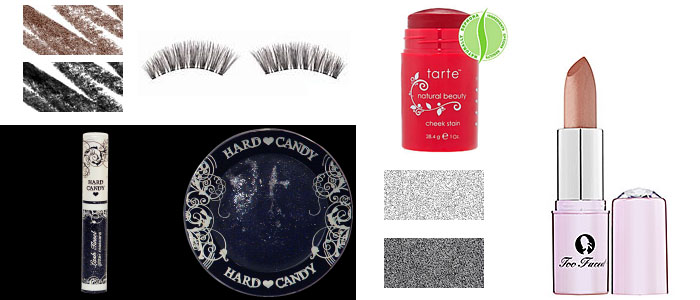
Eyes are a blend of three shadows. I used Hard Candy’s Baked Meteor Eyeshadow in Black Hole on the lid, Urban Decay’s Eyeshadow in Gunmetal in the crease and Strip up the brow bone. Eyes are lined with Urban Decay’s 24/7 Glide on Eye Pencil in Zero and finished with Hard Candy’s Lash Tinsel Glitter Mascara (under my Quo 808 lashes of course) in Spellbound and brows are filled in with Urban Decay’s 24/7 Glide on Eye Pencil in Underground.

Cheeks have just a little Tarte’s Natural Beauty Cheek Stain in Sheer Berry Rose and lips are Too Faced’s Lip of Luxury in Cupcake.

Hard Candy / Urban Decay Grey Eyes

Hard Candy / Urban Decay Grey Eyes
No Comments

Window Shopping Wednesday – Green Ribbon Gems

Crafty, Pretty

Today marks the official end to our giveaway with Keeley Behling Studios!

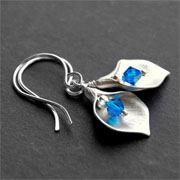
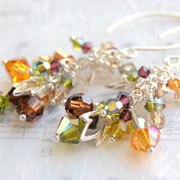
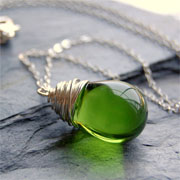
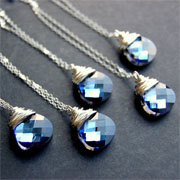
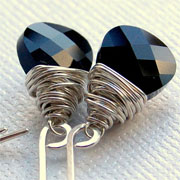
I love doing Window Shopping Wednesday posts. Window shopping in general is not really my thing. I have a hard time with the gimmies to be honest with you. My biggest issue is pretty much anything that sparkles, which made for a serious issue when I discovered Green Ribbon Gems on Etsy a little while ago.

There isn’t a single item in this shop I wouldn’t wear or gift to a friend. Every piece is so beautiful!!

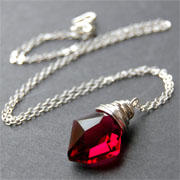
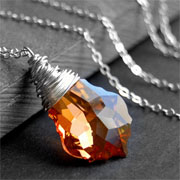
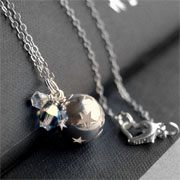
Window Shopping Wednesday - Green Ribbon Gems

Purple and Green Eyes with Kat Von D Gloss

Pretty

Don’t forget about our giveaway with Keeley Behling Studios! Like the Keeley Behling Studios Facebook page and leave a comment there about something in her Etsy shop to enter. It wouldn’t hurt if you liked the So Very Domestic Facebook page too. 😉

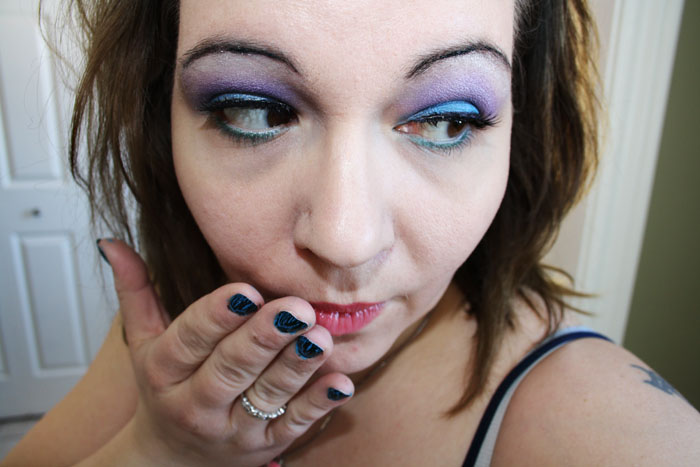
In our very first apartment together, my husband and one of our roommates painted the walls purple and the baseboards and trim green. Most of my friends said it reminded them of a carnival ride. I have always loved the playfulness of mixing these two colors, though I know it doesn’t always work (like say in pretty much any print) but they are cute together for a first apartment and for eye makeup.

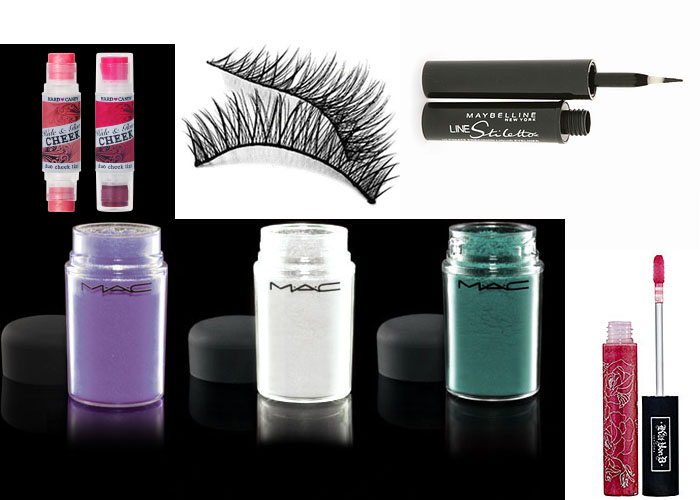
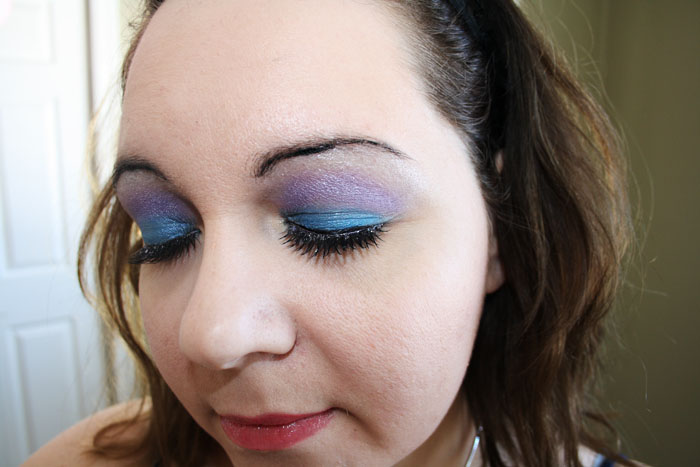
As you’ve no doubt noticed by now, I’m a huge fan of MAC’s pigments and use them as much as I can. I finish off most of my looks with a little dusting of Frozen White. In this case though they took center stage as the only color I used! The lid and bottom liner are MAC pigment in Teal, the crease and halfway up is Violet and the brow bone is Frozen White. I used Maybelline Stiletto liner on my eyes and my brows, Hard Candy Hide and Glow Cheek Tint cream blush and my favorite part – Kat Von D Painted Love Lipgloss in Rosary. It’s got a really nice shine to it without being sticky!

I’m also wearing Sally Hansen Hard as Nails Xtreme Wear polish in Blue Me Away with a coat of Nail Inc Special Effects Crackle in Camden Black Crackle.

Purple and Green Eyes with Kat Von D Gloss

Purple and Green Eyes with Kat Von D Gloss
No Comments

Hard Candy Black Shadow

Pretty

Being a teenager in the 90s meant that I was hopelessly obsessed with Hard Candy. Hopelessly. It wasn’t widely available in Canada, so we had to either hunt for it, or wait for friends and family to come back from American shopping adventures. Seventeen magazine totally fueled my obsession. Truthfully Seventeen magazine still fuels a lot of my obsessions but now I can get pretty much whatever I want via the internet. Hooray for technology, making it easier for me to procure very specific sparkly eyeshadow – that gets all over everything, but I love it anyway!

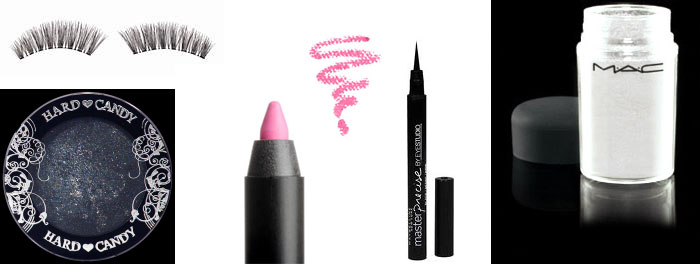
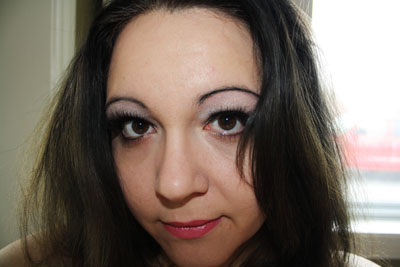
As you may have noticed, black and pink are my absolutely favorite colors, especially together. This look is def one of my most worn. I apply a serious base of the Hard Candy Baked Meteor Eyeshadow in Outerspace all over the lid and in the crease. Then I use a blending brush to pull it up closer to my brows, leaving plenty of room for the silvery MAC Pigment in Frozen White. I’m not going to lie, blending this is kind of a bitch, but totally worth it. Don’t pull the black too far up, adding more is a whole lot easier than taking it away. Pull down the pigment as far as you want because you’ll still see the black shadow through it. I also tend it pull the pigment up to my brows.

On my brows and as a liner (both top and bottom), I used the Maybelline Eye Studio Master Precise Ink Pen Eyeliner in black. That’s a mouthful of a name but it honestly feels like a fine marker. If you’ve ever been leery of liquid liners, this pen will give you the look you want without the fumbling. I use my everyday lashes with this look, the Quo 808 lashes and I use whatever mascara is on hand (could be Maybelline Lash Blast or Too Faced Pinpoint or whatever). Lips with this look is always BH Cosmetics Lip Liner in Candy with a sheer gloss on top.

If I didn’t feel the need to switch up my colors all the time, I’d rock this look every damn day!

Hard Candy Black Shadow

Hard Candy Black Shadow
No Comments