Jun 30, 2012

This is a fun look that I wore most of the time when we lived in the woods and we had errands at school or in town. Writing this from LA, it’s hard to believe that I had to ‘drive into town’ to run errands. Amazing the difference a few months makes. Anyhoo…this was super simple to do!
First I swept Hard Candy Baked Meteor Eyeshadow in Black Hole over the entire lid, blending up. Then I added Urban Decay’s Vintage Eyeshadow in Purple Haze over the lid and blending that up as well. I mixed MAC’s Pigment in Frozen White with a little water to make a paste and used that from the crease up to the brow. I also smudged a little over my lids as well. I lined with Hard Candy’s Walk The Line Liquid Eyeliner in Lace and finished with BH Cosmetics’ China Doll Lashes. I think the gloss is just my Giant Watermelon Lip Smackers! Not pictured is whatever random brown brow pencil I used, best guess is Wet n Wild.
Jun 29, 2012
I’ve never posted a ‘Flashback Friday’, but I’ve been loving them on a few blogs I adore so here goes!
This was taken at a Christmas party in Sudbury, Ontario in December of 2000. We had been married for 7 months. This night feels both like it just happened and like it was a zillion years ago.
Happy long weekend!!
Jun 28, 2012
Mandy of What The Fruitcake?! came to our rescue last minute to present us with the Battenberg Cake challenge! She highlighted Mary Berry’s techniques and recipes to allow us to create this unique little cake with ease.
This was my first month doing a Daring Baker challenge after moving and it was so fun! I can’t believe I stopped doing them for a while! I’m back at it people – though I am a day late for posting! Eep!!
I have seen Battenberg cakes before but I had never made one until yesterday! It’s always fun and rewarding to make something difficult and come out on top! I took it one step further (because duh, of course I would) and I made the fondant myself too! Recipes like this make me miss Toronto, because my mother would have loved to see! I sent her a picture, but it’s not the same as seeing my masterpiece in person! When I first read this recipe I was a little scared to be honest and now I’m bummed out that I didn’t make several versions of this over the month to make a lovely epic post about all the different ways we Battenberg’ed it up in June. Next month, that’s the plan.
I used the recipe Mandy supplied, an altered version of Mary Berry’s Battenberg recipe. It was super, super easy to make and really good! It sprang up exactly as it should and that always makes me happy. I want to make vanilla/chocolate versions, strawberry/chocolate versions, mint/chocolate verions and and and I’d like to use ganache as the glue instead of the apricot jam (or use strawberry jam in a strawberry version). The possibilities are pretty much endless!

Cake:
3/4 cup butter, softened & cut in cubes
3/4 cup caster sugar
1 1/4 cups self-raising flour
3 large eggs, room temp
1/2 cup ground almond
3/4 teaspoon baking powder
1/2 teaspoon vanilla extract
1/4 teaspoon almond extract
red food coloring, paste, liquid or gel |
Finishing:
1/3 cup apricot jam
1 cup fondant
1lb mini marshmallows
2lbs icing sugar
little bit of water
butter for greasing hands and working area
|
|
|
|
| First, make a tin foil wall for your pan so you have that rectangle shape. Super simple, then start on the batter. I was reading that the ‘drop it all in one bowl’ technique worked really well here, so that’s what I did. |
|
|
|
| After I put half of the batter in half of the pan, I added a few drops of red food coloring to the rest. Then I started on the fondant! The fondant was super simple. You need 1lb of mini marshmallows, a few drops of water, 2lbs of icing sugar and something to grease your hands with (I used butter). |
|
|
|
| Melt the marshmallows with a little water in a double boiler and then drop the mass of melted goo onto a seriously greased up counter top or cookie sheet or whatever. Then dump the icing sugar on top of the goo and knead it the way you’d knead bread! |
|
|
|
| Kneading the fondant takes a while so by the time I was done the cakes were ready. Let them cool in the pan for a bit, then let them cool completely. I stacked them to cut them into their four long squares. |
|
|
|
Heat the jam in a double boiler and then press through a sieve or small strainer to get all the bits out.
|
|
|
|
|
Then glue your cake pieces together with the jam and roll out your fondant!
|
|
|
|
|
|
| Place the cake (with jam glue on the bottom) on the fondant, then brush more jam on the cake and wrap the fondant around it! This is kinda tricky. |
|
|
|
| Then I used the back of a knife to make the traditional scores on the top of the cake! |
|
|
Jun 26, 2012
Putting these cookies together was no joke! The dough itself was super simple and I will absolutely be making rainbow cookies (ooh maybe rainbow swirl cookies) in the immediate future, the tricky part was in stuffing these cookies. The original recipe used super cute horse cookie cutters to look like actual piñatas. The mood to make these little creations struck me as I was making the Chocolate Kit Kat Cake and all my cute cookie cutters are in Canada. I made due and just sliced them into rectangles and followed the rest of the directions. It’ll work for whatever shape you use really.

1 cup sugar
1 cup powdered sugar
1 cup butter
1 cup vegetable oil
2 eggs
1 teaspoon cream of tartar
1 teaspoon salt |
1 teaspoon almond extract
1 teaspoon baking soda
5 cups flour
1 tablespoon vanilla
Mini M&M candies
1/2 cup powdered sugar (frosting)
2 teaspoons milk (frosting) |
|
|
|
|
Nothing out of the ordinary here, cream the butters and the sugar, then add the eggs and oil. Mix the cream of tartar, salt, baking soda and flour. Then add the dry to the wet and blend in the vanilla and almond.
|
|
|
|
|
This is where the fun starts! Divide the dough into 5 balls and mix food coloring into each ball until you’ve got the color you’re looking for. If you’re doing this properly you’ll need a very small ball of black dough as well for the feet.
|
|
|
|
There is a reason there is a container used in the original instructions! The dough is buttery and so of course spready and slippery. Mashing it into a container in layers ensures it’ll hold it’s shape. I? Shaped each layer in a box lid and then crammed the whole thing in a yogurt tube box. Sigh. Next time, proper container.
|
|
|
|
|
Freeze this bad boy overnight of possible or at least 4 hours.
|
|
|
|
|
Slice the slab into rectangles and bake at 350 for about 12 minutes. Now if you’re using slices you’re done this part, if you’re using a cookie cutter, have at it but make sure you reverse one in three cookies (so when you lay them out you can put the darker sides together and only the pretty sides show). Work quickly while the cookies are still warm.
|
|
|
|
|
Mix your frosting ‘glue’ of milk and icing sugar together and then lay two cookies out darker sides up. Spread a little icing glue along the edge of one of the cookies.
|
|
|
|
|
Take a third cookie, cut a hole in the middle and place on top of the first cookie with the glue, then fill with mini M&Ms and put more glue along the edge of that cookie and top with the second cookie.
|
|
|
|
These things are pretty epic, def not for one person!
|
|
|
|
|
Jun 25, 2012
It’s that time again! Last week I held pretty true to the list I made for my week, this week I’m going to try to make recipes I haven’t posted before and hopefully photograph them as I make them so I can add them to the list!
This Week’s Menu (June 25 – July 1)
Monday – Old School Chicken Pot Pie and Caramel Frappuccino Cupcakes for dessert
Tuesday – Coconut Chicken with Potato Rings and Battenburg Cake for dessert
Wednesday – Mini Shepherd’s Pies and Lazy Cake Cookies for dessert
Thursday – Codren Bleu with Roasted Potatoes and Cinnamon Baked Donuts for dessert
Friday – Calzoes with Cheese Bites and Pull Apart Garlic Bread and Cookie Dough Brownies for dessert
Saturday – Throwback Burritos and Snickerdoodle Cake for dessert
Sunday – This is Canada Day so we’re going all out
Breakfast – Pancakes with real maple syrup for the kids, Cream of Wheat for us and pemeal bacon for everyone!
Lunch – Poutine!!
Dinner – Pemeal Bacon on a Kaiser* and Ice Salad, Nanaimo Bars and Butter Tarts for dessert
*this is crazy regional to Toronto and specifically St Lawrence Market but that’s Canada to me
A few weeks ago, I made mini chicken pot pies and ever since then the kids have been encouraging me to make mini versions of other dinners they love! So far I’ve made mini chicken hot pockets and these mini pizza bites. I served these with pizza sauce to pour over top or, as Wee One #3 chose to do, dunk in. Next time I will add some sauce to the mini bites before I cook them and see how that works out. This week I’m making Mini Shepherd’s Pies!

Your homemade pancake batter (or the batter prepared from a box or Bisquick or whatever)
24 slices pepperoni (or more depending on how much you love pepperoni)
1 cup shredded Mozzarella cheese
1-2 cups pizza sauce
|
|
|
|
Spoon about 2 tablespoons of the batter into each (lightly greased) muffin cup, and top with cheese, pepperoni and more cheese.
|
|
|
|
|
Pour about 1 tablespoon of the batter over the pizza bites (adding more or less depending on how doughy you like your pizza). Bake for about 20 minutes at 350 and serve with dipping bowls of pizza sauce!
|
|
|
Jun 24, 2012
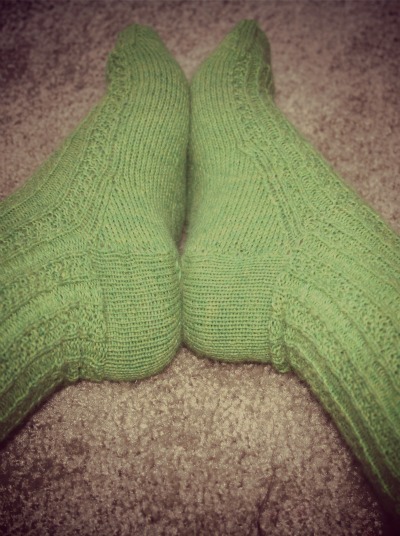
This week brought us the completion of my fourth pair of socks for the year! Happy Birthday Nanny! Her birthday was in April, but she’s sweet enough to totally gloss over that when these cuties arrive in the mail next week. 🙂 This week was also full of fun homeschooling lessons, I think we all genuinely enjoyed each day! Ok, that’s a dirty lie. Wee One #2 isn’t so keen on French (or cursive writing actually…), and while I’m aware that we are not currently in Canada, I am including it because even though we will be here longer than we originally planned, we’re not going to be here forever and they’ll need to know French eventually.
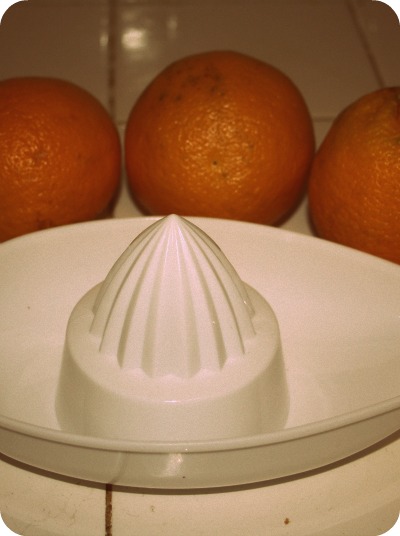
After whining about having to buy jugs of juice instead of squeezing my own, I found a little hand juicer! It’s perfect for making us each a glass in the morning to go with breakfast. This is probably what I am most hyped about in my kitchen right now.
Our little patio garden is doing well! I was pretty confident the seeds would sprout, but you never know until they do, so the kids were pretty excited when they saw the first little pieces of green poling through the dirt!
Hope you had a great weekend!!
|
Sunday = pair of socks #4 for 2012 DONE!
|
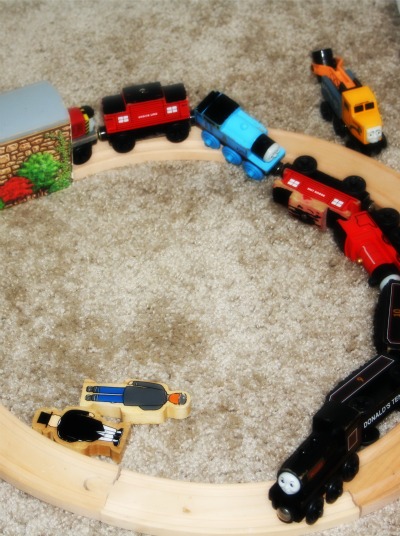
Monday = train wreck!
|
|
|
|
|
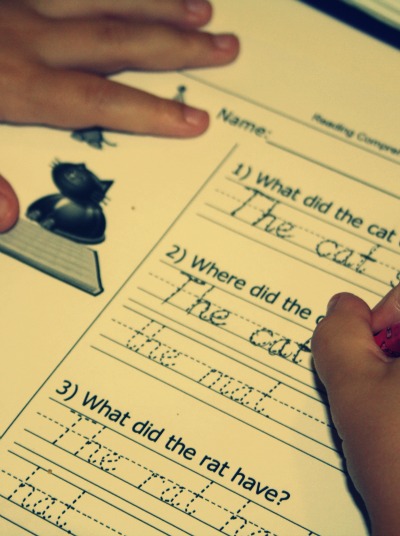
Tuesday = cursive writing practice for Wee One #2
|
Tuesday = juicer and fresh oranges!
|
|
|
|
|
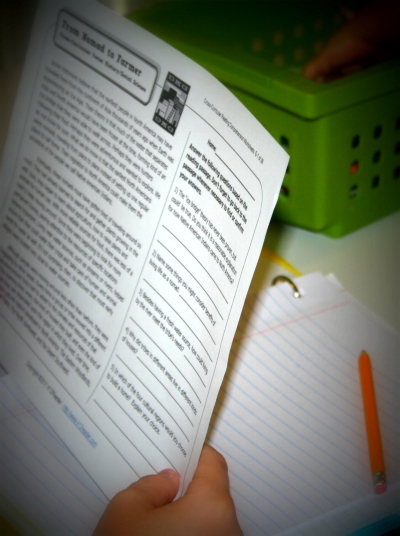
Wednesday = Wee One #1 reading about nomads
|
Thursday = butterflies and fuchsia crayons
|
|
|
|
|
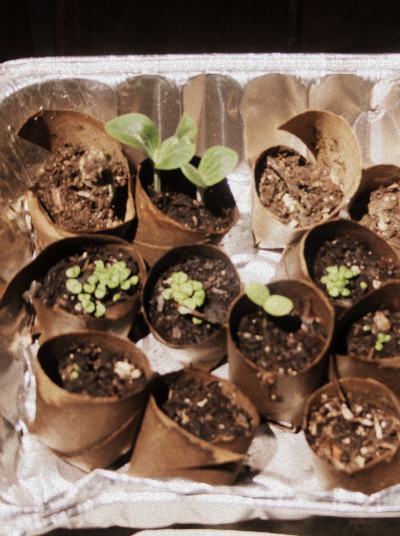
Friday = our seedlings in TP tubes are doing well!
|
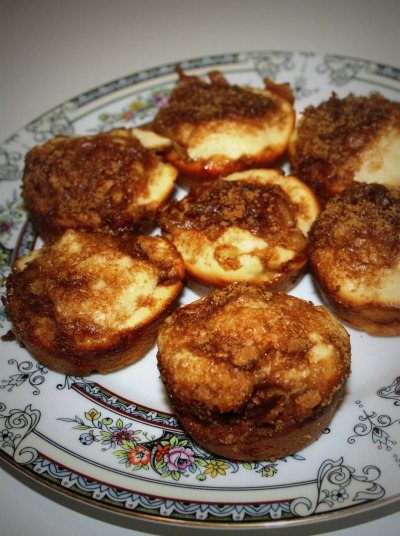
Saturday = cinnamon brown sugar muffins
|
|
|
|
Jun 23, 2012
Our days are so different since moving to Los Angeles, which I guess is a redundant thing to say because duh but it’s more than just the geographic differences. The two huge differences to life before and after moving here are school and work because my husband has gone from telecommuting from home to working at the office and my kids went from being at school all day to being homeschooled all day! So, 3 months into this adventure we have found a new normal and it’s not what I would have ever expected, but it’s pretty sweet. My husband has telecommuted from home for years, so while him being at work 5 days a week is totally weird, he likes his job and it gives the kids and I a chance to loudly play board games and bake up a storm. Plus how sweet is it to come home from work and your wife is in a cute little apron finishing dinner?! The kids have really gotten into the swing of homeschooling, faster than I did for sure! If a lesson isn’t working for them, there’s always a way to tailor it a bit so it does work for them. Science should be amazing, reading should be inspiring, gym should take place in the pool whenever possible and art should always be messy.
Anyhooooo, one thing that has remained the same is everyone’s love of the weekend. Sometimes there is still some school or work to do over the weekend, but I celebrate every day that I don’t have to set an alarm before I go to bed at night. <3 I try to bake up something fun on Fridays, especially now that Friday has become homemade pizza day it's fun to have something a little epic to go with it. These were a big hit. I'm going to try out a bunch of different cake/frosting combos!

1 cup (2 sticks) unsalted butter, room temp
2 1/2 cups all-purpose flour
1/2 teaspoon baking powder
1/2 teaspoon baking soda
1 teaspoon salt
1 1/2 cups sugar
2 large eggs
3 large egg yolks
2 teaspoons pure vanilla extract
1 cup low-fat buttermilk
All I did was whip up a batch of Martha’s Vanilla Cake (recipe originally posted here) and spoon the batter into ice cream cones! I baked them for about 20 minutes at 350 and voila!
The recipe is pretty simple. Just whisk the flour, baking powder, baking soda and salt in one bowl and beat the butter and sugar in another bowl with a paddle mixer till it’s smooth. Slowly add the eggs and yolks with the mixer on low and then beat in the vanilla. Then add a little of the flour mixture and mix, then a little buttermilk and mix and continue until both are all mixed in.
Jun 19, 2012
I first saw this recipe on my girl Sammie’s blog, The LaMay Bakery, and it looked amazing. We are total kitchen soul mates and our families tend to like the same meals so I went with it and it was as big of a hit here as it was at her house! The not too cheesy, just crunchy enough combo did it for my husband, the butter was a serious win for Wee One #1 and the other two are head over heels for pretty much any variation on breaded chicken.
It’s very similar to the chicken strips I make, except this is cooked in butter and there is shredded cheese in the bread crumbs. It’s arguably much easier and faster than the strips because with this recipe you’re working with half a chicken breast per person in a single piece instead of about the same amount of chicken, pounded out and sliced into eleventy billion smaller pieces. Both are now requested on the regular, so similarities aside, it’s always nice to add another meal to the list of things everyone around here loves.

Cheddar Baked Chicken – via Allrecipes
1/4 cup melted butter
1/2 cup flour
1 teaspoon salt
1 teaspoon ground black pepper
1 teaspoon garlic powder
1 egg
1 tablespoon milk
1 cup shredded cheddar cheese
1/2 cup Italian seasoned bread crumbs
1 cup crispy rice cereal
3 skinless, boneless chicken breast halves – cut in half
2 tablespoons melted butter
|
|
|
| First prep your bowls, you’ll need three. In the first one mix the flour, salt, pepper, and garlic powder. In the second one, beat the egg and milk together and in the last one combine the bread crumbs cheese and cereal. I totally spaced on the cereal so I made mine without it! |
Coat your baking dish with the 1/4 cup of melted butter and dredge (aka plunk) each chicken piece first in the flour mixture… |
|
|
|
|
…then in the egg mixture and finally in the bread crumb mixture before moving each piece to the baking dish.
|
|
|
|
Bake for 35 minutes or so at 350! So so so good!
|
Jun 18, 2012
As I sit here, listening to The Andrew Sisters (yes, really) and planning out the menu this week, I’m already thinking of the banana bread I’m going to make this afternoon. The rant about it is after this week’s menu plan and no, I didn’t post the recipe. I swear the book is worth the mere $10 for the eBook. This week, for whatever reason I’m not sure, I’m feeling especially like a domestic goddess. Maybe my weekend soap making adventures with my friends working out pumped me up? Maybe it was reinstating Sunday dinner that did it? I’m not sure, but I want to scrub the patio and wash the windows and cook and bake everyone’s favorite everything! This week’s menu is a little of everyone’s favorite everything.
This Week’s Menu!
Monday – Chicken Pot Pies with Cocoa Brownies for dessert
Tuesday – Chicken Alfredo and Caramel Frappuccino Cupcakes for dessert
Wednesday – Beef Stew with Homemade Buns and Eclairs for dessert
Thursday – Chicken Ceaser Wraps and Chocolate-Coconut Bars for dessert
Friday – Homemade Calzones/Pizzas and Blueberry Pie for dessert
Saturday – Breaded Cod with Skinny Fries and Corn with Rocky Road Bars for dessert
Sunday – Lasagna with Homemade Rolls and Blueberry Pie for dessert
In her book, Peas and Thank You, Sarah Matheny boasts that this recipe will make you actually want to make banana bread – that it will no longer be a necessary way to deal with spotted bananas on the counter. I read that and thought, dude, it’s banana bread, we all like it but no one makes it on purpose. Well, it’s true. I now purposely put some bananas in a paper bag (speeds up ripening) the same day I bring them home from the grocery store. I love this banana bread and so does everyone I’ve served it to!

Jun 17, 2012
I hope everyone is off to have an amazing and memorable Father’s Day! If you are lucky enough to be able to hang out with your Dad today – go hang out with him! My husband and I will have to settle for Skype convos with our Dads tonight, but that’s after we spend the day celebrating here with the wee ones!
For now though, here’s a quick look at our week!
|
Sunday = my personal cheerleader
|
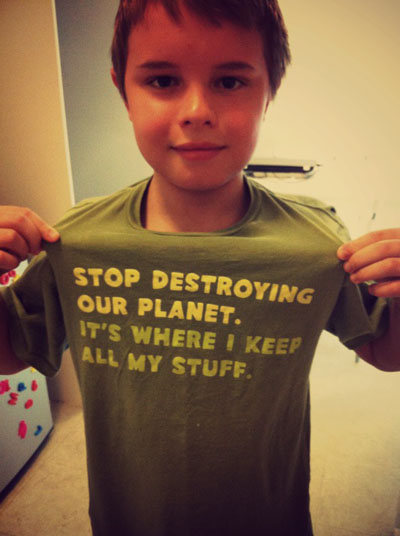
Monday = rad new shirt
|
|
|
|
|
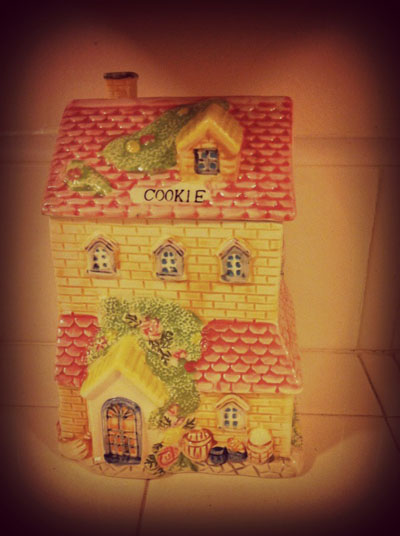
Tuesday = so ugly it’s cute cookie jar
|
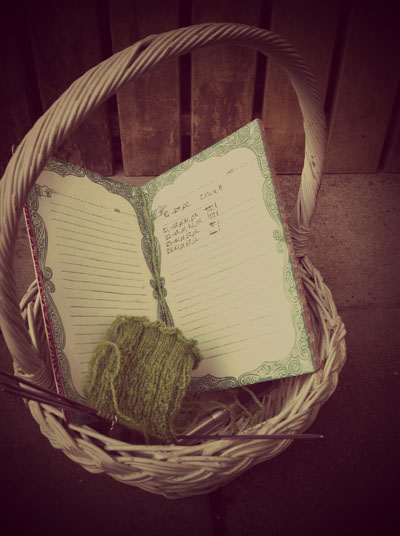
Wednesday = knitting on the patio
|
|
|
|
|
Thursday Morning = these animal crackers are not for sharing
|
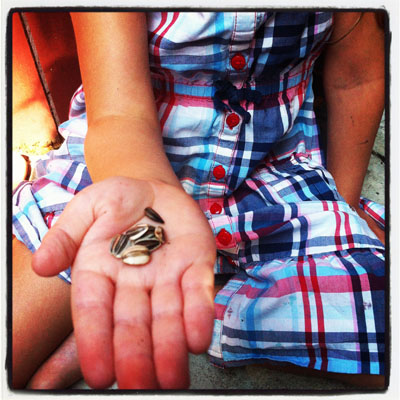
Thursday Afternoon = time to plant some patio garden seedlings
|
|
|
|
|
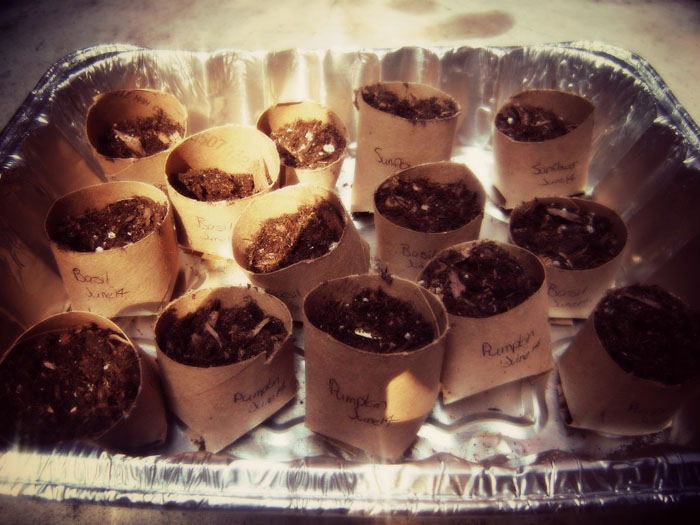
Thursday Afternoon = patio seedlings started off in repurposed toilet paper tubes
|
|
|
|
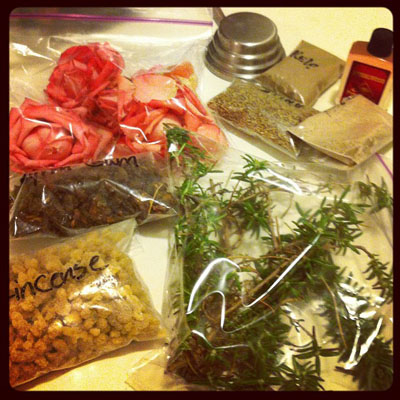
Friday = the possibilities in soap making combos are pretty much endless – so exciting
|
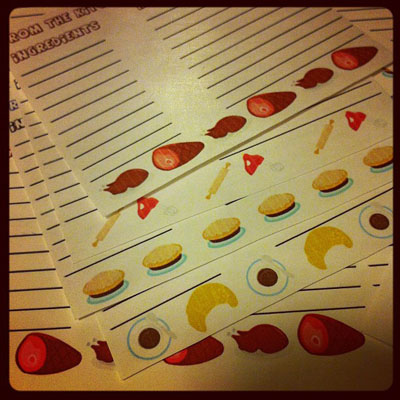
Saturday = making personalized recipe cards
|
|
|
|