Browsing the blog archives for November, 2012.

Red Velvet Cupcakes

Domestic

We spent Christmas and New Years 2009 with my husband’s family in Sudbury and had a blast. At the time, we were living in Toronto and my girlfriends were over every single Saturday night without fail to knit and eat whatever ridic treat I forced on them and you know, maaaaaybe hit the wine. 😉 So, those two weeks caused some withdrawal for all of us and we were all anxious to hang out again. My dear friend Gill called me when we were driving home and asked how far out I was. I told her we were about an hour away and she said she wanted to kick off ‘Cake Year – 2010’ with a red velvet and she wanted to do it right now, which is one of the many reasons I adore her so. So she kidnapped my sister to buy a head scratcher and ingredients for the red velvet at a mall by our house and met us there (yeah, I dunno, she just really wanted one – I will post pics of us playing with it after the recipe). It is still hilarious to me that I was baking the first cake of January less than half an hour after rolling into our garage. I am loving Los Angeles, but man I miss those nights. <3 So, the point of my long winded story is that when Gill's birthday rolled around this year I knew I wasn't going to get to see her and celebrate with her but I really wanted to show some love (no worries though, she and her kick ass bro Will and cousin Al came to visit about a month later and we got to have some fun). Sooooo, I baked her a batch of red velvet cupcakes and ate them in her honor. The kids ate a few and I shared them with our neighbors too! The thing with red velvet cake of course is getting the color right. If you dump a bottle of red food coloring in, you'll get the red you're after but you risk it tasting funny and then needing to add more sugar. The solution is beets! But not beet juice, because it tends to make the batter too runny and then it doesn't want to hold together while baking. You need to roast your beets for as long as possible (at least an hour) and then puree them to death. There are a lot of different recipes worth trying, but this one worked for me!

Red Velvet Cupcakes

3/4 cup beet puree
1 tablespoon lemon juice
1 1/2 teaspoons vinegar
1 cup sugar
1/2 cup butter
3/4 teaspoon vanilla
3/4 teaspoon salt
3/4 teaspoon baking powder
1 1/4 cups flour
2 eggs
1/2 cup buttermilk
1 tablespoon cocoa powder
Red Velvet Cupcakes
Red Velvet Cupcakes
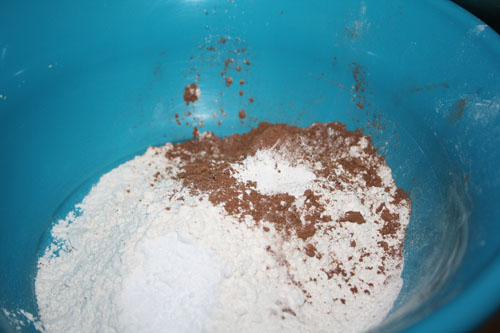
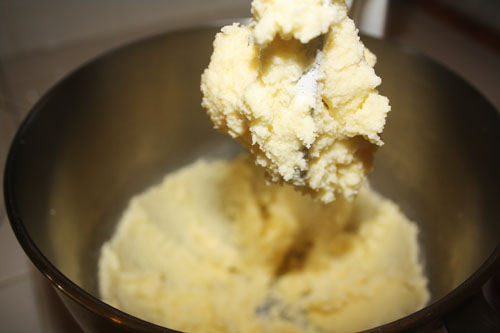
So first, preheat to 350 and pop cupcake liners in your muffin tin. Cream together the butter and sugar, then add the eggs and mix again and add the vanilla and give it another stir. In a separate bowl, whisk together the flour, salt and baking powder.
Red Velvet Cupcakes
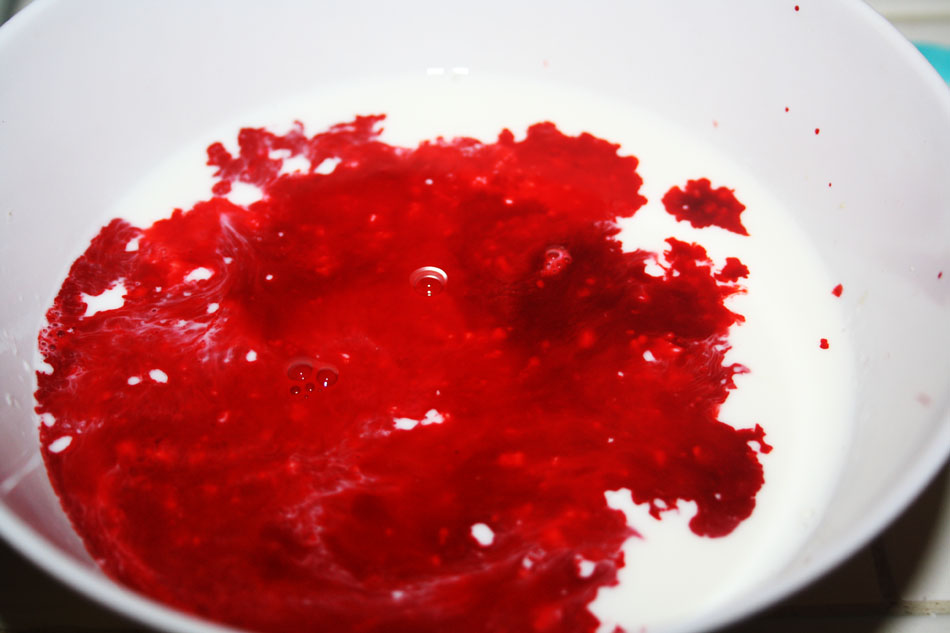
This is the crucial part. You have to mix the buttermilk with the beet puree, vinegar and lemon juice in a small bowl before you add it to the rest of the wet ingredients. It will be an epic time wasting fail if you just dump it all in. Boo! Also, I always just add vinegar to make my own buttermilk but in this case I chose to err on the side of caution and actually buy a small carton of it because I really, really didn’t want to muck it up. 😉
Red Velvet Cupcakes
Red Velvet Cupcakes
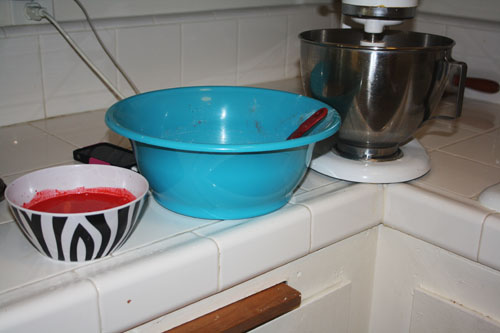
So there are my three bowls, from left to right; beets puree mixture, cocoa/flour mixture and sugar/butter/eggs mixture. I added the cocoa/flour mixture to the sugar/butter bowl with the mixer on low and then slowly poured in the beet mixture. The flash made this picture a bit brighter than it was in person but it was really bright! Also, word of advice, beets don’t mess around, they’ll dye your fingers pink no problem! Now put them in the oven for about 20 minutes (maybe a little more or less, check them at 15 minutes or so to be safe) and whip up some chocolate buttercream while you’re waiting for them to cool off.
Red Velvet Cupcakes
Red Velvet Cupcakes
I thought the little red Gobstoppers gave them just the right touch, no? Love you Gill!
Now, about that head scratcher. My sister knows that my knees are incredibly ticklish. I mean, incredibly. Hysterical laughter and pathetic screams. So naturally, she attacked my knees with it….but she? Looks way cute.
Red Velvet Cupcakes
Red Velvet Cupcakes
No Comments

Mini Chicken Pot Pies

Domestic

Chicken Pot Pie is one of those meals that pretty much all of us are happy with, though Wee One #2 still picks out the corn. What’s with that? Corn is the hardly-even-a-vegetable vegetable that kids actually eat! Anyhoo, so she ‘hates corn’ but otherwise is happy with this and the rest of us eat it up. I try to make more than one at a time and stick one in the freezer so I can come to my own rescue a couple of hours before dinner and I’m not finished with the kid’s school for the day and my husband is on his way home – insert your own dinner time stress here.

However, I have sometimes used that extra chicken pot pie and am left with the ingredients and no time to make the actual pie. So, enter Bisquick. I will post a proper recipe for homemade Bisquick but essentially it’s just flour, baking powder, salt and either butter or shortening. Also, as far as I’ve read (will need to experiment before I actually post about it) the recipes that include powered milk are the best. So, if you have some Bisquick on hand or the ingredients for homemade Bisquick on hand this recipe is crazy easy. The only painful part (and it’s only painful if you’re dealing with a time crunch) is the rolling out of the pie crust. With this recipe, you mix up the batter, make the filler and then layer it all into a muffin pan. Genius, right? I know! After about 15 minutes or so of prep and then 20 minutes (ish) of baking while I clean up the kitchen, and dinner is done! Which is great because it takes about 35 minutes from the moment my husband signs out of Skype to when he arrives at the front door. So win-win!

You’re welcome.

Mini Chicken Pot Pies

2 chicken breasts, cooked and chopped
1/2 – 1 cup corn (depending on how much you love or hate corn)
2 teaspoons black pepper
2 teaspoons rosemary (I chop mine a little so they’re not so ‘pokey’ as Wee One #3 would say)
2 – 3 potatoes, chopped and boiled
1/4 cup chicken stock
2 cups chicken gravy

Mini Chicken Pot Pies
It’s so simple it’s silly to even call it a recipe. Mix the chicken, corn, pepper, rosemary, potatoes and chicken stock in a bowl. Prepare the Bisquick batter (usually just Bisquick and water). Fill each muffin cup about 1/4 full with batter and add filling. Not so little that they’re diet pies, but not so much that they explode in the oven. Then top with the rest of the batter. Voila!
Mini Chicken Pot Pies
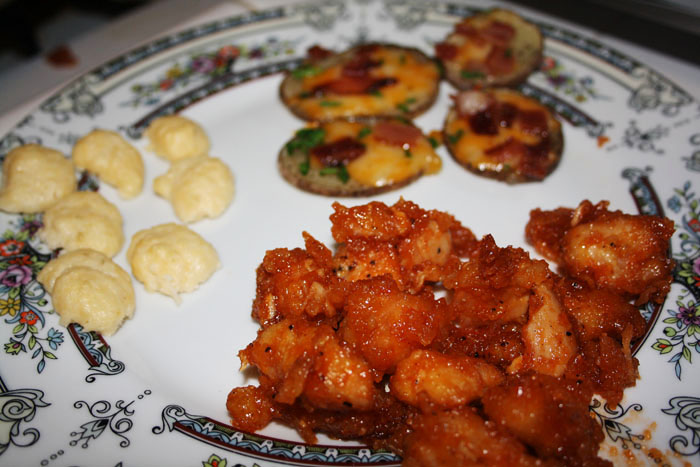
Bake them at 350 for about 20 minutes and clean your kitchen! Kidding. Well, you probably should but I’m not going to bully you into cleaning. At the very least make a simple (cheater) side to go with it – and heat up your gravy! We usually break them open at the table and pour gravy over them. This is pretty obvy one of the kid’s plates and yes, it was attacked by some kind of gravy monster!
Mini Chicken Pot Pies
1 Comment

Popovers (& Williams Sonoma / Sur la Table Giveaway Winner)

Domestic, Kids

This week I’m linking up with Organizing Junkie!

First thing on my mind this morning was hitting up random.org to choose a winner for the Williams Sonoma / Sur la Table giveaway, sponsored by Country Crock. We had 5 entries, I numbered each person 1-5 and the random number generator picked…..


Congratulations Julie! Email me back and Country Crock will get your prizes out to you!

So most of you know we are going to Vegas for Thanksgiving this year to celebrate with a dear friend and her children. A dear friend who just happens to be a real, live, Southern Belle! Please note the capitalization. She’s from the south, y’all so our very first American Thanksgiving is going to be a down home American Thanksgiving. We will be spending the whole day cooking and cleaning and then cooking and cleaning and cooking and baking and cleaning – all with 7 children underfoot. I will do some prep here since I’m not sure it’s physically possible to do the entire menu in a single day at her house. We are, both of us painfully, overachievers. Expect epicness next Thursday.

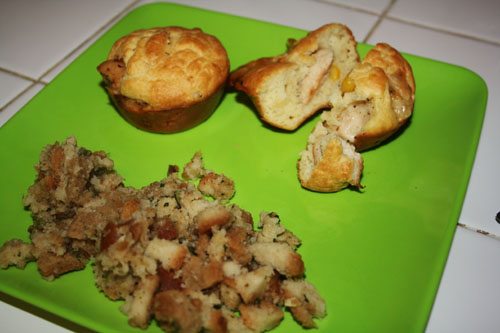
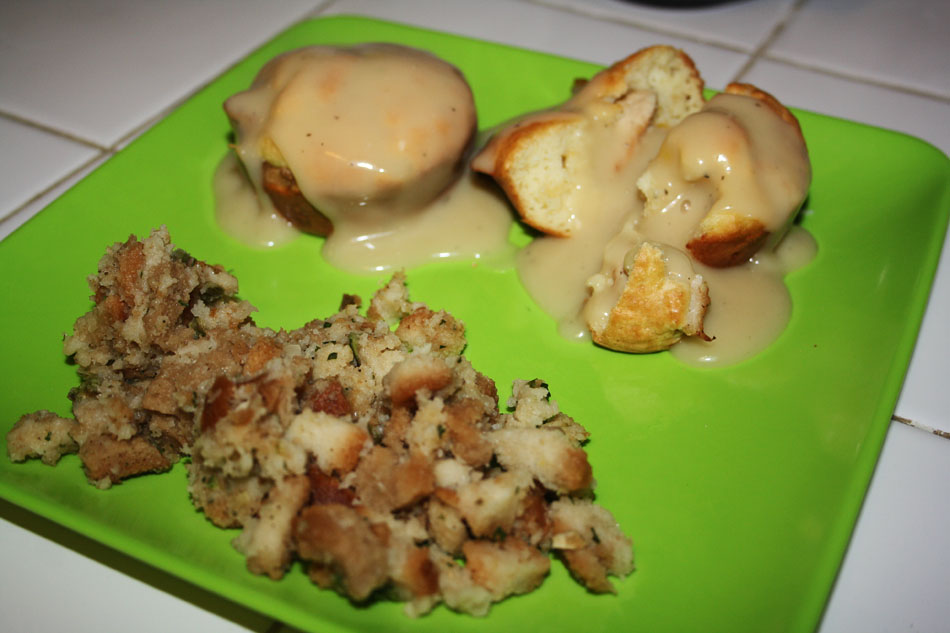
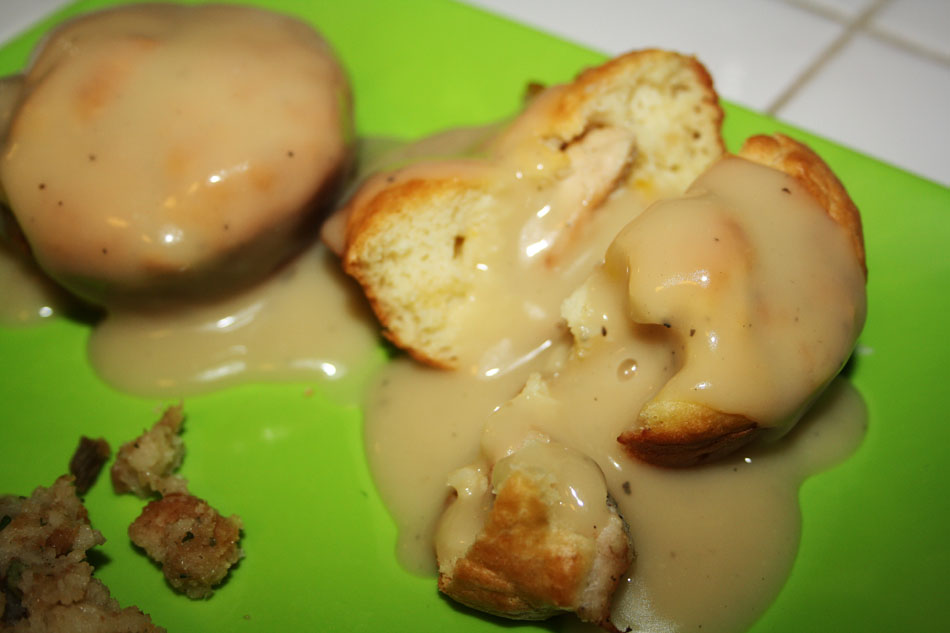
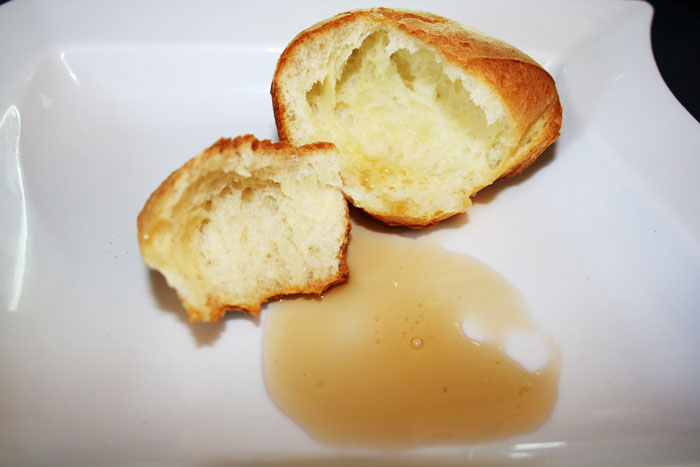
Anyhoo, so since we have so many kids between the two of us and since arts and crafts will only distract them for so long, I’d love for them to jump into the kitchen for a kid-friendly recipe! This comes from Linda Collister’s Baking with Kids (the best kid’s cookbook we’ve ever used). My kids have made this recipe so many times I’ve lost count. Not So Wee One #1 likes these with a little butter, Wee One #2 likes them with jam and Wee One #3 likes them with maple syrup – and they all like them still warm! They’re a hit with grown ups too, especially good with gravy – you know, like with a serious turkey dinner!

Baking with Kids Popovers

Popovers – via Baking with Kids

1 cup whole or half fat milk
1 cup all purpose flour
1/4 teaspoon salt
1 tablespoon wheatgerm or oat bran
3 extra large eggs
2 tablespoons melted butter

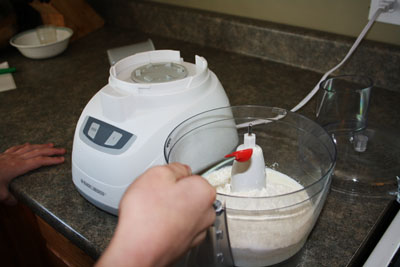
Baking with Kids Popovers
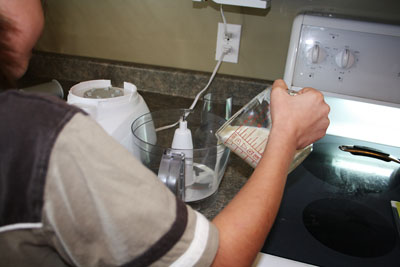
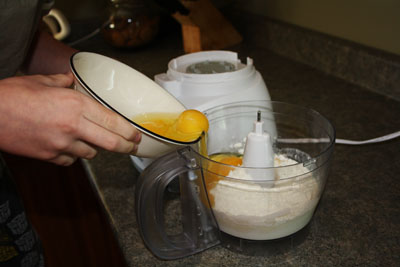
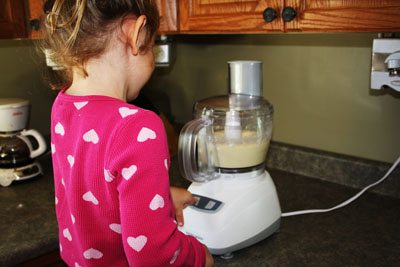
Preheat your oven to 425 and add the milk, flour, salt and wheatgerm (or oat bran) to a food processor or blender and process just to mix them.
Baking with Kids Popovers
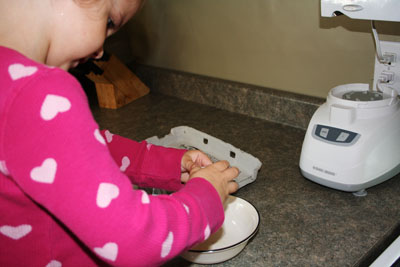
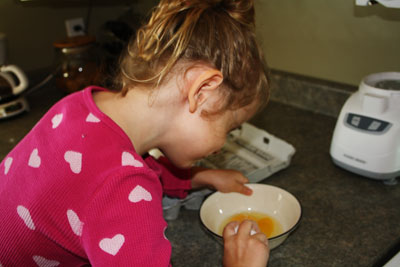
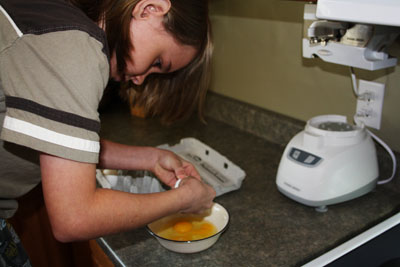
Now it’s egg breaking time and they’re really serious about it.
Baking with Kids Popovers
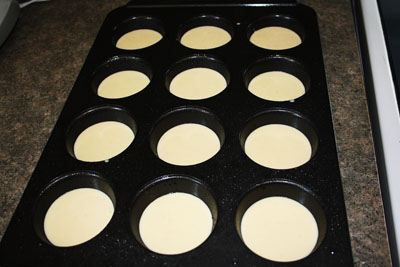
Melt the butter and add it and the eggs to the processor and pulse again until it’s well blended together. If your food processor has a spout (or you used a blender), you’re set. Otherwise, pour the batter into a pitcher to make it easier for the kids to pour it into the (lightly greased) muffin cups. Each muffin cup should be about half full.
Baking with Kids Popovers
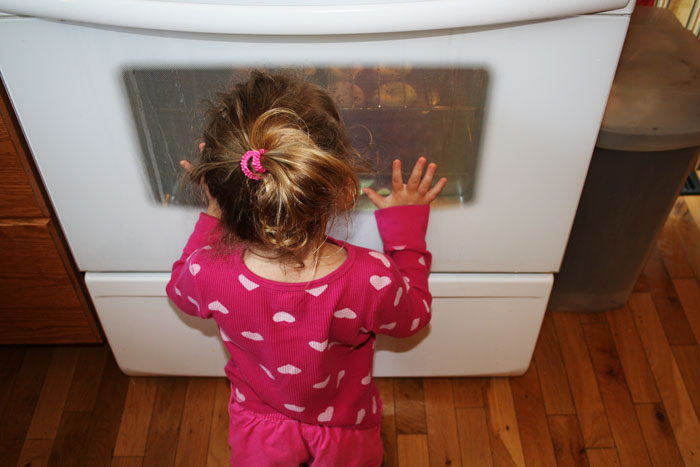
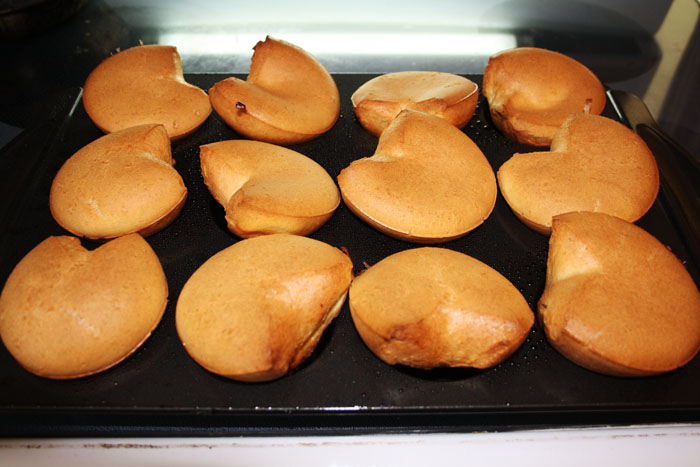
Now carefully watch them puff up. 🙂 Bake for 25 minutes and then without opening the door turn the oven down to 350 and bake for another 15 minutes.
Baking with Kids Popovers
They are best just a few minutes out of the oven, which is perfect for impatient wee ones, but they are still good later the same day!

Now, since it’s menu Monday after all, here’s what’s up this week around here!

This Week’s Menu (Nov 12 – Nov 18)

Monday – Beef Stew with Cheesy Pull Apart Bread and Boston Cream Whoopie Pies for dessert

Tuesday – Chicken Alfredo with Ceaser Salad and Fudgey Oreo Brownies for dessert

Wednesday – Toasted Ravioli with Parmesan Knots and Sugar Cookie Bars for dessert

Thursday – Chicken Crescent Rolls with Hush Puppies and Triple Chocolate Pound Cake for dessert

Friday – Chicken Florentine Bowtie Pasta with Garlic Cheddar Biscuits and Rolo Cupcakes for dessert

Saturday – Old Fashioned Chili with Bacon Cornbread and Cookie Dough Brownies for dessert

Sunday – Chicken Parmigiana with Scalloped Potato Stacks and Nutmeg Donuts with Berry Icing for dessert

3 Comments

Bacon-Cheddar Potato Rounds (and a serious Williams Sonoma giveaway)

Domestic

It’s no secret that I’m big on full-out meal planning, so of course I have been trying to map out a wonderful Thanksgiving celebration – especially since this year it involves a longish road trip and a long time, long distance friend. It’s also no secret that I adore pretty kitchen gear and ever since I started collecting treasures in our new place in California, I have been absolutely smitten, so I am hunting for the perfect dishes and bakeware to bring with us on our Thanksgiving visit. This amazing giveaway is so timely and right up my alley I am so excited to present it to you guys!

Just three simple steps will get you entered in this giveaway for A set of 4 Harvest Pumpkin Tiny Taper Holders from Williams Sonoma, 10″ x 6″ Scalloped Italian Bakers from Sur la Table and the matching Wire Baker Racks.

1. Check out The Country Crock Chronicle and leave a comment on an article there.

2. Like So Very Domestic on Facebook.

3. Leave a comment here to let me know you did!

A winner will be chosen by a random draw and posted on the blog on Monday, November 12 (the winner will also be contacted via email). The winner must reply with their mailing address within 24 hours or a new winner will be chosen by a second random drawing. Good luck!!

This year we are spending Thanksgiving with a dear friend of mine and her four children, and I have been trying out different side dish ideas to help make it a really special holiday. This was one of my favorites so far (you can find loads more inspiration over at Country Crock and here on the blog in the next couple of weeks).

In trying out and coming up with different recipes for Thanksgiving of course the emphasis leans towards bigger is better and this time of year especially the menus often tend to be a lot richer. We don’t need to give up the richness completely, but it is a smart to make adjustments to recipes to make them healthier for ourselves and our families. Years ago I would have made this recipe with butter, traditional bacon and full fat cheddar cheese. However, with a few small changes I was able to make this recipe much healthier! Country Crock has 0g trans fat, no-nitrate bacon is always a better choice than a bacon (either pork or turkey) made with nitrates and low fat cheese is a no brainer switcheroo.

Bacon-Cheddar Potato Rounds

4 potatoes, sliced about 1/2″ thick
1/4 cup melted Country Crock
black pepper, to taste
8 slices of no-nitrate, turkey bacon, cooked and chopped
8 ounces low-fat shredded sharp cheddar cheese
1/2 cup chopped green onion or chives

Bacon-Cheddar Potato Rounds
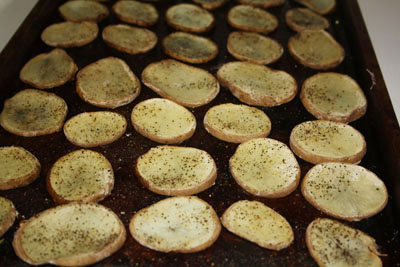
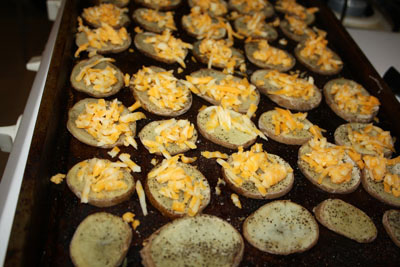
Preheat oven to 400 degrees Using a pastry brush, cover both sides of each potato slice with Country Crock and put them on an ungreased baking sheet. Sprinkle with black pepper and cook for about 45 minutes, until potatoes are cooked through.
Bacon-Cheddar Potato Rounds
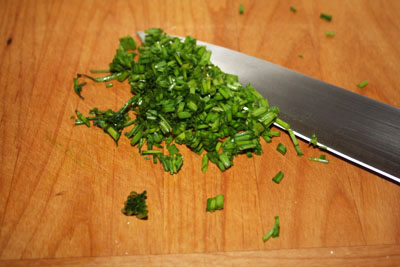
Once the potatoes are cooked, sprinkle with the cheddar cheese, the bacon and then top with the chives or green onions (or use a mix of the two). Cook for another 10 minutes or so until the cheese is melty and serve alongside your main! I had intended them to be cut up and eaten but more than one person picked them up and ate them as finger food!
Bacon-Cheddar Potato Rounds

Thank you to Country Crock for being a sponsor. I was selected for this opportunity as a member of Clever Girls Collective. All opinions expressed here are my own.

6 Comments