Browsing the blog archives for October, 2013.

The Fierce Fund

California

Have a story of a time you were Fierce? Want to help Clever Girls Collective support women and girls to be Fierce? Visit www.clevergirlscollective.com/fiercefund to learn more about this girl-power project and vote for the Fierce Fund Grant Winner!

I’m adding another little break to the Halloween countdown going on the blog today to talk about something a little different. Being fierce! The Fierce Fund was created after Clever Girls Co-Founder Sheila Bernus Dowd, was diagnosed with Stage 2 breast cancer. Not only did Shelia kick cancer’s butt, she did it while still working at Clever Girls, and carrying on with the rest of her busy life! This week, some of us ‘Clever Girls’ are posting about a time when we were fierce to bring awareness to our Traveling Blue Wig project! Search #fiercefund on Twitter to find more stories about being fierce!

When I was selected to blog about a time I was fierce, I wasn’t sure what I had to bring to the table, especially since this whole project began because of a woman dealing with breast cancer. I mean, that’s pretty heavy, right? I almost wrote about putting our lives on pause and moving to California for a few months (that has turned into 18 months and counting), because I had to give up the idea of planning and knowing what was happening next and just embrace what life was handing me each day. I scrapped that because people move to a new country all the time and then I almost wrote about homeschooling because I hadn’t intended to homeschool and then this move happened and I started with a child in 1st grade and a child in 6th grade and one about to start pre-K and now we’re almost two years into it. But guys? You know all about that stuff already and I can give you more than that. I like to keep it light and fun around here so I don’t bring it up, but here goes.

After I had Wee One #3 I slowly started developing postpartum anxiety, the lesser known, (and lesser supported) sister of postpartum depression. Everyone knows about PPD, our doctors all ask us endless questions at the 6 week checkup to make sure we’re doing well, but no one talks about the anxiety. I have always been a very, very chill person. I mean, I know I go about a zillion miles a minute and I’m always busy and you know, probably a little intense with all the coffee and multitasking, but when it comes to freaking out, or worrying (about anything), I just didn’t. So when I started panicking about every. little. thing. I knew something was up, but honestly it didn’t hit me right away.

Our first day home from the hospital, I felt really excited. Christmas Eve excited, even. My husband was hyped too, so I didn’t think it was weird. A week later, I was still roller coaster pumped and while he was obviously happy to have a new baby he wasn’t jumping the couch about it. My excitement slowly turned into worry and I would get really freaked out about stuff that I knew to be non issues. We had a hearing test at 1 month, and from the time she was a week old until the morning of her appointment, I was filled with dread about her having a hearing problem. Dread. My baseline is way, way calmer than that normally. The year before she was born, our oldest had a growth hormone deficiency test and I was moderately concerned. No dread then. That feeling you get when you lose sight of your child for a second? The way the pit of your stomach drops? I was feeling that every day! Shortly after the hearing test, I started having random physical symptoms and went to my doctor 3 times for various (imaginary) ailments before my doctor suggested that I might have an anxiety problem. My bestie, Talea, had some history with this so I texted here when I was having an anxiety attack and she totally relieved me, she came over and we talked, I felt less crazy (but still pretty crazy) and this whole time she’s been there and made me feel less crazy. The physical symptoms were weird like tingly hands and feet, or I’d feel light headed or like I couldn’t get a deep breath. She helped me either ignore or otherwise take the fear out of some symptoms, which made my life so much easier to live and then my doctor did a complete physical and I was fine. Perfectly healthy, nothing to fret about, all the physical things going on that I thought were unrelated issues are all just anxiety. I decided not to take anything for it, because even though it was so, so weird I felt it was manageable. My bestie was amazing at dealing with the random-hour texts about a tingly foot or tight chest or insomnia or whatever, and having someone I could count on that also totally understood what I was going through made it even more manageable.

The anxiety lasted about a year at the same level of intensity and it. sucked. It was manageable because I knew I was fine and that kept me from running back to my doctor all the time. I didn’t want to wait this out at home, hiding even though some days I really wanted to. I still ran around Toronto and took them to all the fairs and dinosaur exhibits and library activities and karate and gymnastics and the Y and and and….I put one foot in front of the other and just did it. At the time I was just doing what I had to do, and because I didn’t want to just ‘get through’ it, I tried to slow down and really step into the moment. I never thought in the middle of that, that I was being ‘fierce’. I had a wonderful support network of friends and family that all were there for me in different ways and I have no doubt that I needed every single encouraging person in my life to rally and they totally did. Thanks guys. 🙂

Then it got a whole lot better, I kept declaring myself ‘70% better’ and after a little under a year of that, I felt even better and that’s where I was until we moved here. The adventure to get down here from Central Ontario was pretty high strung, I think that’s to be expected on a trip like that, and once we found a place and got settled, I felt totally and completely chill. I have been fluctuating between feeling better and aaaalmost feeling better since we have settled into a full life and busy routine here. When I look back to that first year, I’d happily take almost feeling better forever than ever feeling the days-long dread again. I see now that while living under the great Piglet Cloud of Anxiety, making school lunches, running around Toronto with three kids under 8, making adventures for the kids on the regular and keeping up with chores were all fierce, even if (maybe especially since) I didn’t know it at the time.
No Comments

Happy Canadian Thanksgiving

Domestic

I need to interrupt my little Halloween countdown for Canadian Thanksgiving, but it’s still a fairly Halloweeny recipe – pumpkin pie. And not pumpkin pie from a can, actual pumpkin pie. If you don’t want to gut small pumpkins and puree that, you can use a can of pumpkin, but not the pumpkin pie mix. Since the pumpkin pie mix is so simple, people use it instead of actual pumpkin assuming that making it form scratch is so much harder. The thing most people don’t realize is that it’s the same thing as making your own pancakes vs pancake mix. Not hard, I swear! You need a can of evaporated milk either way and you probably have everything else you need already.

Also, just for the record, there are 17 sleeps till Halloween. 😉

Pumpkin Pie

1/2 cup packed light brown sugar
1/2 teaspoon salt
1 1/2 cups cooked and drained pumpkin
1 5oz can evaporated milk
1 9″ unbaked pastry pie crust shell
1/2 cup sugar
5 teaspoons pumpkin pie spice
3/4 cup whole milk
3 extra large eggs, beaten
whipped cream (topping)

Preheat your oven to 400, then combine both sugars, salt, and the pumpkin pie spice (if you don’t have any and don’t want to buy any, cinnamon will work just fine). Now add the pumpkin, stir and stir and stir until it’s blended. Recipes like this make me even more thankful for my standing mixer than usual. Next add the whole milk, evaporated milk, and eggs. Stir this until it’s totally smooth.

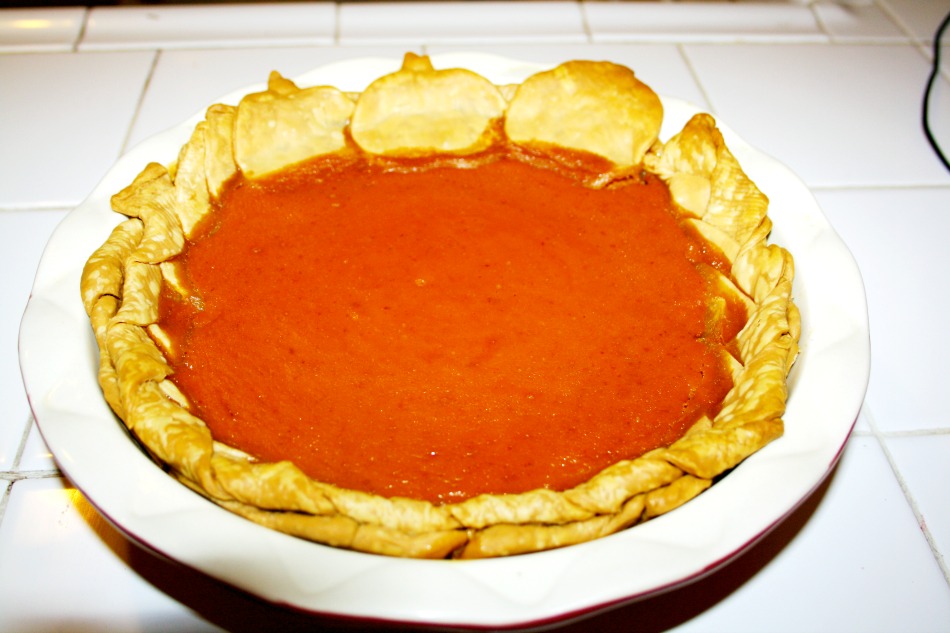
Lay your pie crust in the pie plate and pour the pumpkin mixture into it. Use any leftover pie crust dough to make a braid to go around the end of the pie and maybe a few little pumpkins if you have a pumpkin cookie cutter.

Baking it is a little like making popovers in that you change the temperature of the oven without removing the pie. So when you first put it in, your oven should be at 400, then after 15 minutes turn the oven down to 350 and keep baking for another 45 minutes. Depending on your oven, you may need to leave it in even longer, just keep checking the center with a toothpick every 10 minutes or so until the toothpick comes out clean.

Once it cools off, spoon some whipped cream over top with a little sprinkle of cinnamon and voila! Perfect ending to Thanksgiving – or any fall meal!

Pumpkin Pie
 Pumpkin Pie
No Comments

Frankenstein Cereal Treats with 19 Sleeps Left!

Domestic

With over two weeks to go until Halloween still, the kids are finishing up their costumes with accessories and makeup ideas. I would have loved to sew their costumes, but my sewing machine is in Canada. I know, I probably say ‘my (insert precious thing I should have brought with me) is in Canada’ at least once a week. That’s ok. I’ll either get it back soon or I’ll get another one. 🙂 So this year they are rocking store bought costumes, but they’re jazzing them up so they are not so pedestrian. This weekend is a pretty big deal at our house. First, tomorrow is the season premier of Walking Dead and my husband and I are impossibly hooked on it. I will make something to celebrate it, and since it’s pretty Halloweeny on it’s own that wont really interfere with the countdown. However, Monday is Canadian Thanksgiving and even though we plan to do up American Thanksgiving in a serious way, we’ll be celebrating Canadian Thanksgiving too.

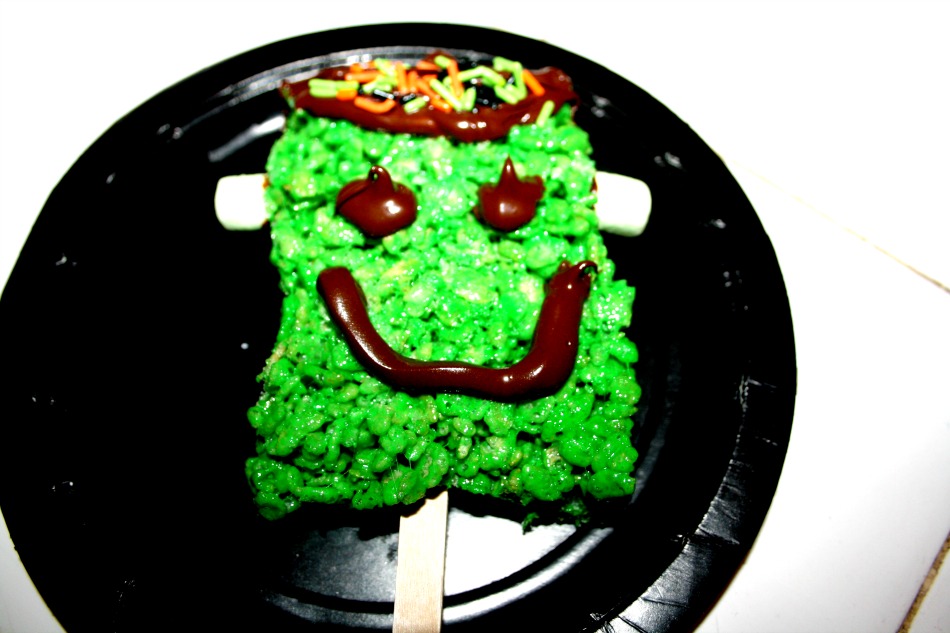
These little treats are so simple, they’re just cereal squares, but with a little twist to make them Halloweeny! Just a few extra ingredients and a little extra time and you’ve got cute little Frankenstein treats! My littles used them as puppets before they devoured them.

Frankenstein Cereal Treats

3 tablespoons butter
1 teaspoon vanilla
4 cups mini marshmallows
6 cups rice cereal
green food coloring
Halloweeny sprinkles
green mini marshmallows
candy sticks
1/4 cup chocolate chips

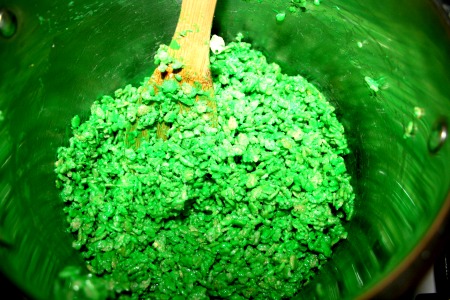
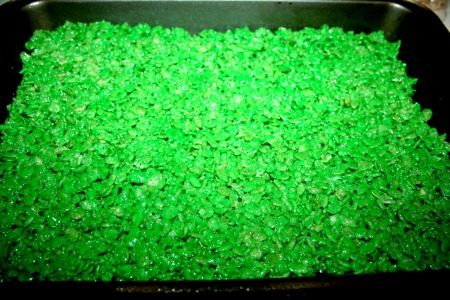
Make the cereal treats as you normally would. If you don’t normally, I swear it’s super simple. Just melt the butter in a big pot and add the marshmallows, stir over low heat until the marshmallows are melted. Add the vanilla and the green food coloring. Once the melted marshmallows are completely green, go ahead and add the cereal. Make sure you mix it until it’s all green with no extra goopy marshmallow hiding anywhere. Then flatten it into a 9″ x 13″ pan, it works best if you either wet your hands and use them or spay the back of a wooden spoon with cooking spray and use that to flatten.

Frankenstein Cereal Treats Frankenstein Cereal Treats

Now you’ve just made green cereal squares. Make them Frankenstein by cutting out rectangles, poking a stick in the bottom and dipping the top of melted chocolate chips and then sprinkling Halloweeny sprinkles on for hair! Put the rest of the melted chocolate into a small pastry bag (or a small zipbag with a tiny hole snipped in the corner), and pipe on eyes and a mouth. Don’t forget the little knobby things! Put a small drop of melted chocolate on two green mini marshmallows and stick them on the sides of his head.

Frankenstein Cereal Treats
No Comments

Clothespin Bats, Balloon Spiders and 20 More Sleeps

Domestic

We have been decorating our home this week. There are Scooby Doo Halloween decals on windows, silly banners in the kitchen, and even purple and orange lights strung up here and there. Too cute! My littles wanted to also make some Halloween decorations, they are still in the midst of gluing and painting and getting sticky with more ideas, but here are a couple we did this week.

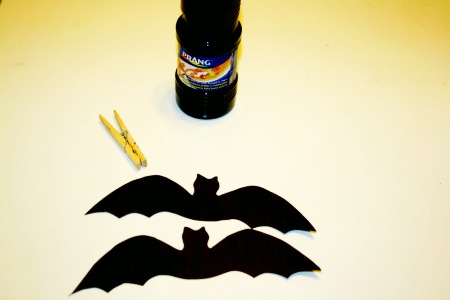
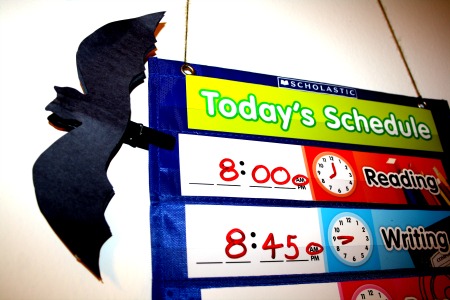
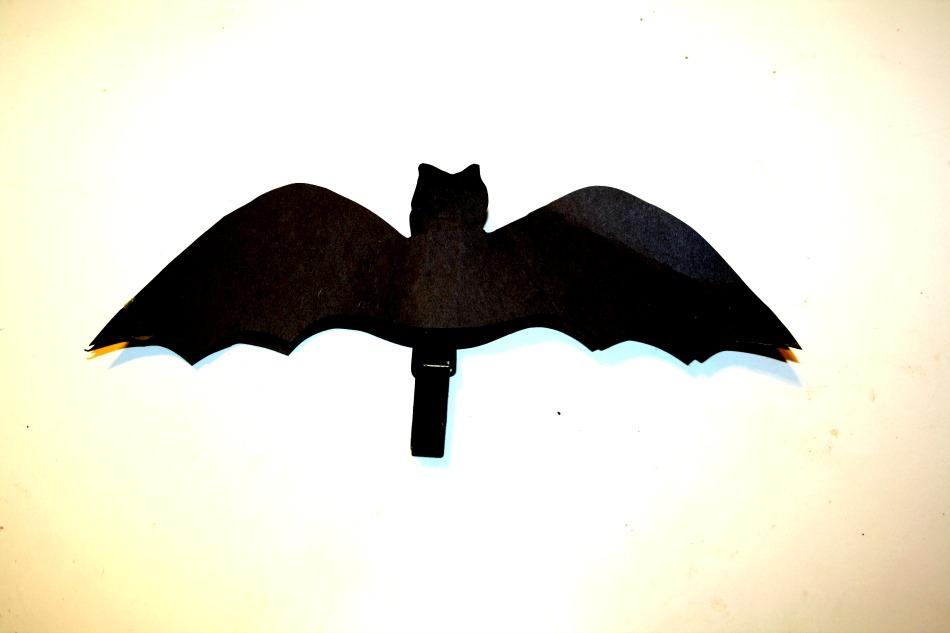
The clothespin bats were our inspiration for our bats. We didn’t follow all the directions, because one of my children is 4 is just wants to attack everything with glue. 😉

All you have to do is paint a wooden clothespin black, cut out two bats from black construction paper (using this template) and glue the bats to the clothespin! Super easy and so cute. My two littlest ones made these themselves! Secure the bats to the clothespin by gluing down the middle of the clothespin, and once bats have been glued to both sides, glue the tips of their wings together. Voila! Done!

clothespin bats clothespin bats
clothespin bats

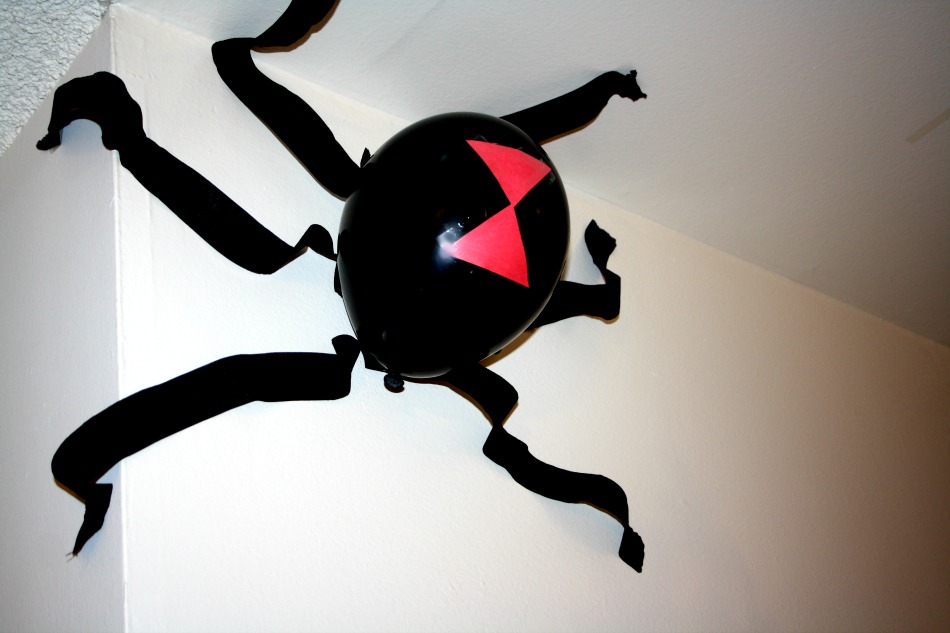
This black widow balloon took literally 5 minutes, maybe less. You need a black balloon, black streamers and red construction paper. I found that this looked best in a corner, but you could really put it anywhere. I taped the streamer ‘legs’ directly to the balloon, and to the wall in two places to mimic their little knees. Are they knees?! You know what I mean. 😉 My very literal 7 year old pointed out that it didn’t really look like a black widow because there were no markings on it….so we fixed it. When we lived in the woods, we had about a zillion spiders in our lives and man am I ever happy to be away from them all.

clothespin bats

No Comments

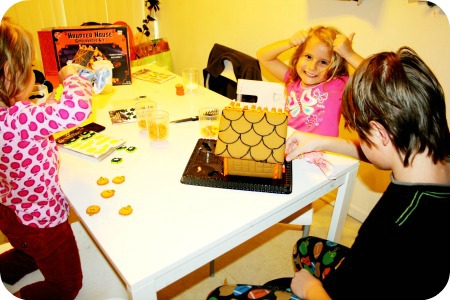
Make a Haunted Gingerbread House with 21 Sleeps Left!

Domestic

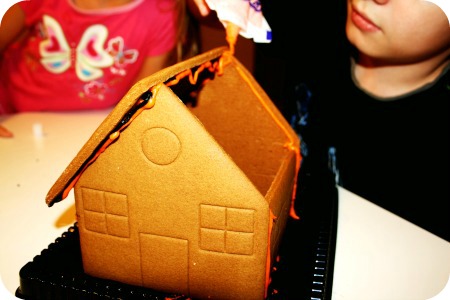
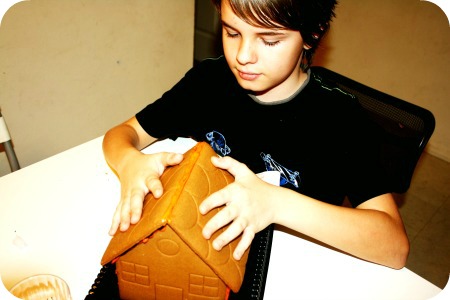
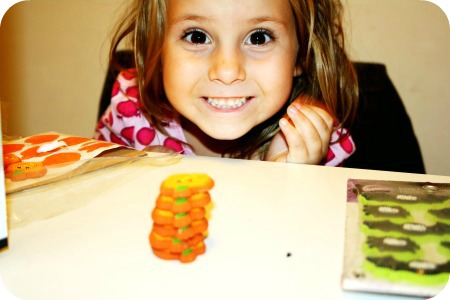
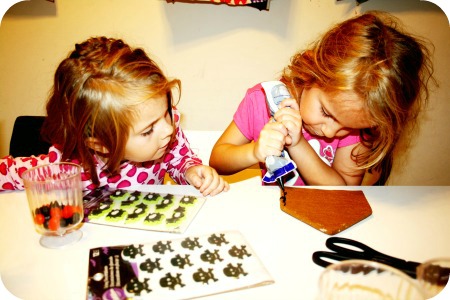
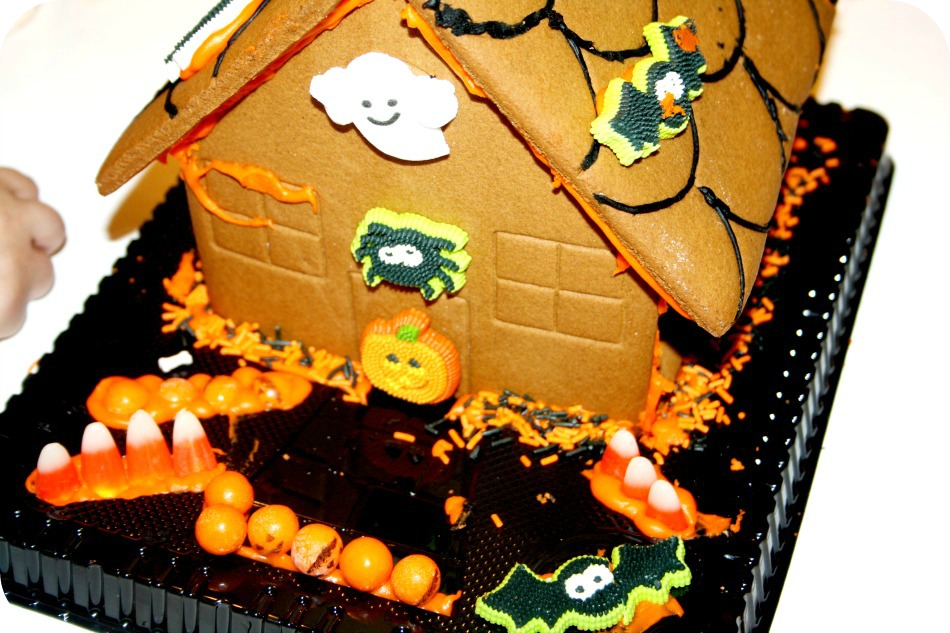
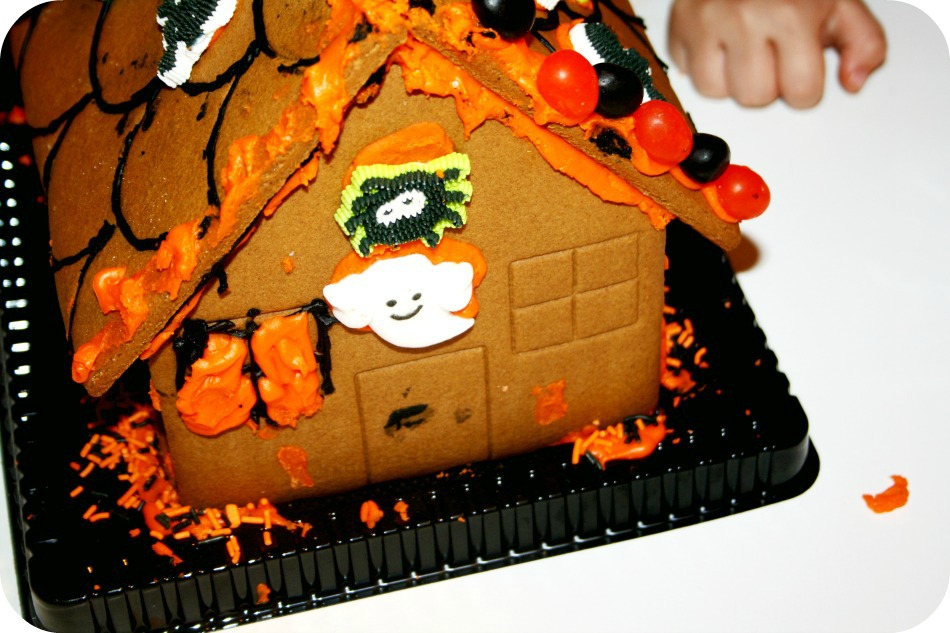
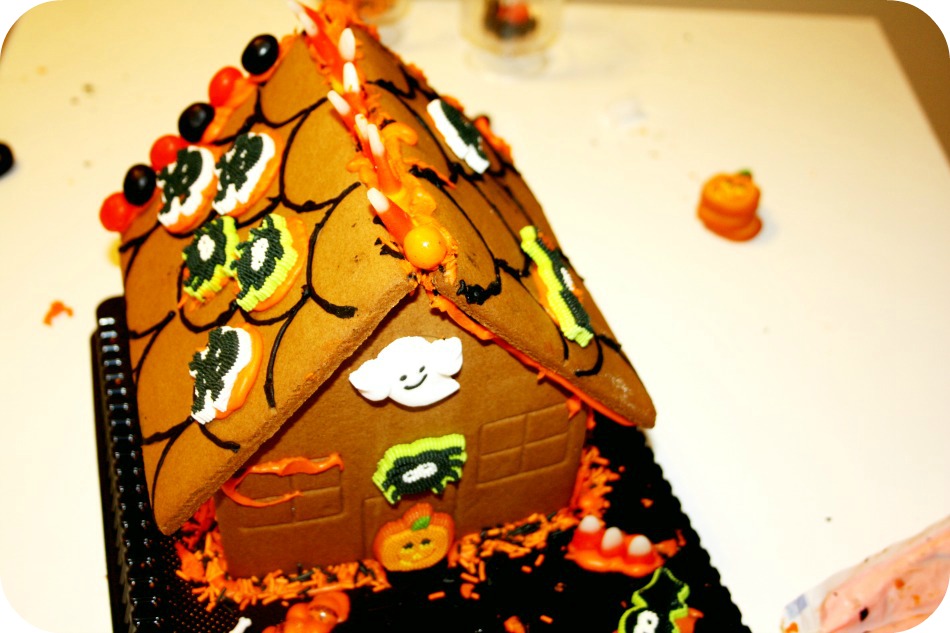
Whenever we count down to something that is a month or more away, the kids never have a hard time being excited. It might be harder for me to muster enthusiasm if theirs was not so infectious. They are legit hyped about every holiday we celebrate and every birthday between them all, I love it. So with 21 sleeps to go until Halloween, you’d think they’d be fizzling out for a bit but no, not even close. Especially when I busted out the gear for a haunted gingerbread house. You can get a kit like this Wilton one or of course you can make your own. Usually at Christmas I make one big one from scratch but when they really want to whip one up, I’ll bring home a ready to go kit. With this, we used a kit for the house and I added a bunch of sugar embellishments that I bought for cakes.

There are a few silly ideas I’d like to try out this month that are usually reserved for Christmas, but after watching The Nightmare Before Christmas yet again, it really makes me want to do Halloweeny versions of Christmas fun. Which I guess is exactly like when I have the urge to Halloween-up Christmas stuff in December!

This afternoon we’re working on decorating and some kid’s crafts. They saw all the orange, black and purple gear and got really excited!

Make a Haunted Gingerbread House Make a Haunted Gingerbread House
Make a Haunted Gingerbread House

No Comments

Celebrating 22 Sleeps with Halloween Rainbow Cupcakes

Domestic

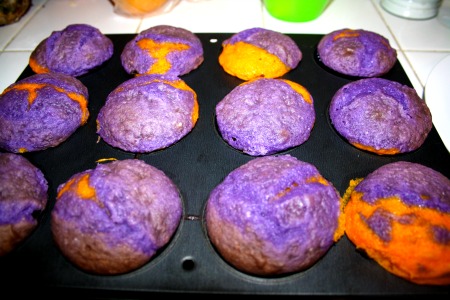
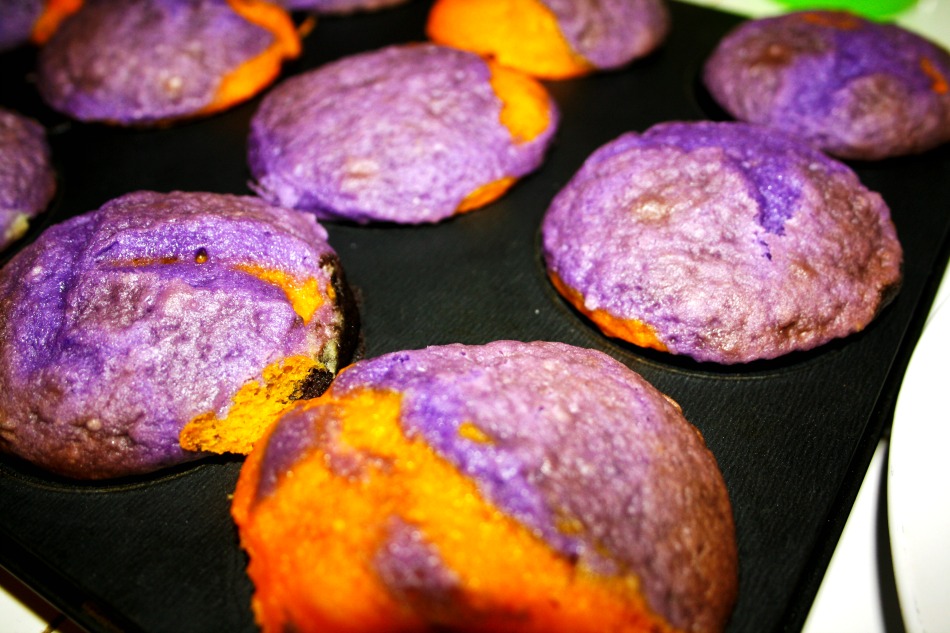
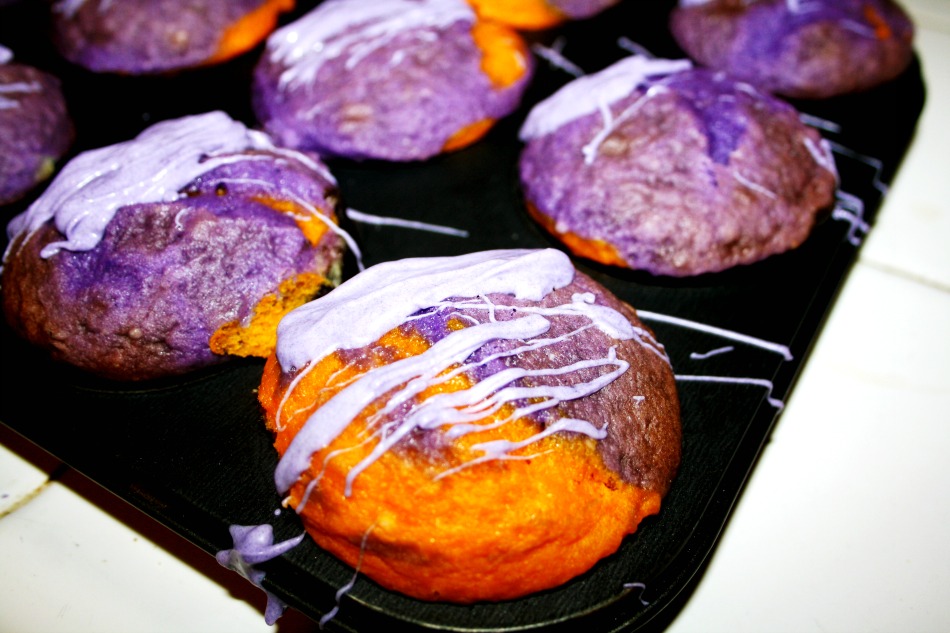
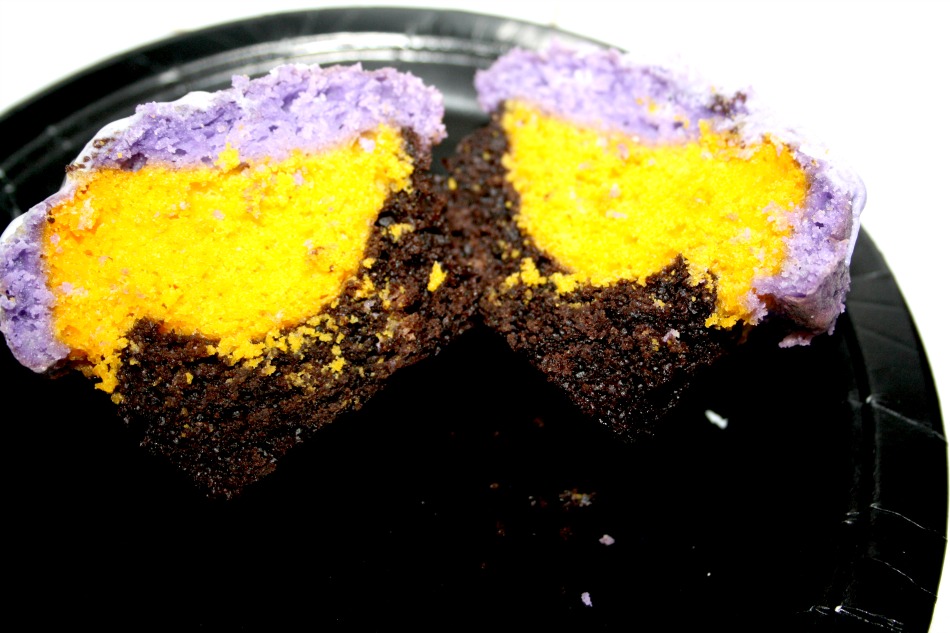
Rainbow cupcakes are so fun to do and you can make them fit any occasion. The first time I made them I used primary colors for Wee One #3’s kindergarten classmates. This time around, I used black, purple and orange. Since black mixed with white or an off white is usually gray and not actually black, we used chocolate cake for that part and vanilla cake for the purple and orange. It worked perfectly!

If you have your own favorite vanilla and chocolate recipe feel free to use those. It really doesn’t matter. I’m pretty partial to these though, and I’ve been using them both for a long time. If you are going to use cake mixes, please don’t tell me about it. 😉
I used my stir and bake chocolate cake for the black portions and the vanilla cake recipe from The Red Hen.

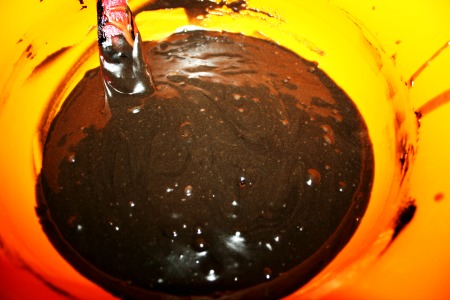
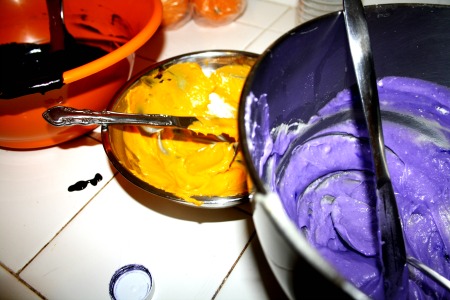
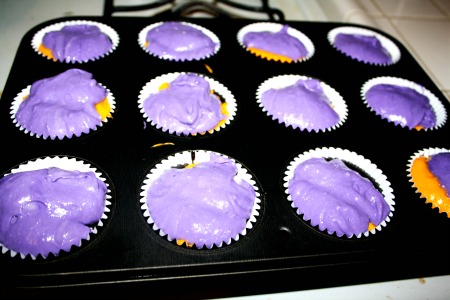
Whip up your cake batters, whichever ones you choose. Then add black food coloring to the chocolate batter, and divide the vanilla batter in two. Add purple to one and orange to the other. Then layer the colors however you like, I went with black, orange and purple. Following the baking time and temp for your recipe. Once they’re cool, melt some candy melts or tint some white chocolate to drizzle over top!
 
 
No Comments

A Really Gross Snack and 24 Sleeps To Go!

Domestic

I know, I know. This is gnarly. Not even just gross, but gnarly. Fun too though, right? Especially for the littles. I think the very first time I saw this was on Noble Pig, and since then I’ve seen it all over the place. My kids thought they were equal parts gross and amazing.

There is so much Halloween insanity going on around here. Pumpkins galore, like whoa we have a lot of pumpkins to carve. Big ones, small ones, medium ones, white ones – even those neat bumpy ones (they’re called knuckleheads, for the record). There’s also a lot of costume preparation, though again, the littles want something specific they have seen and considering I left my sewing machine in Canada, I’m not really arguing with them about it. When I get my hands on a sewing machine though, watch out!

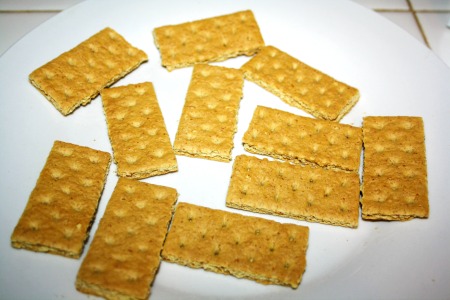
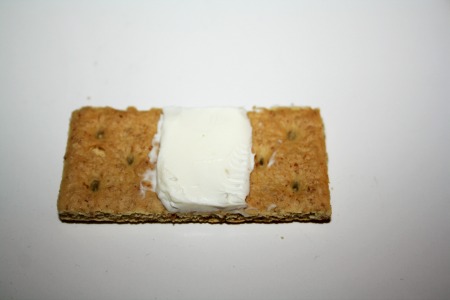
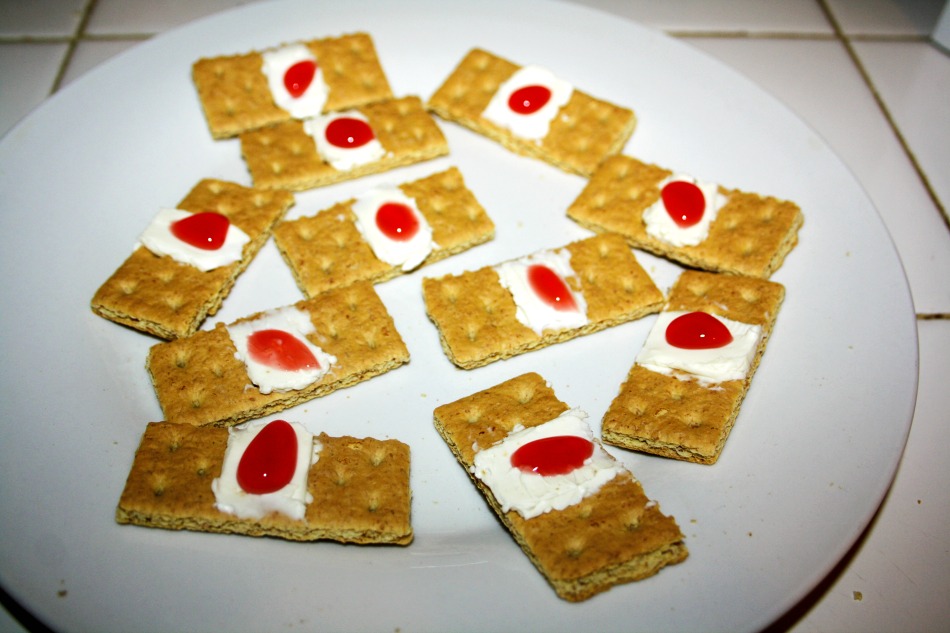
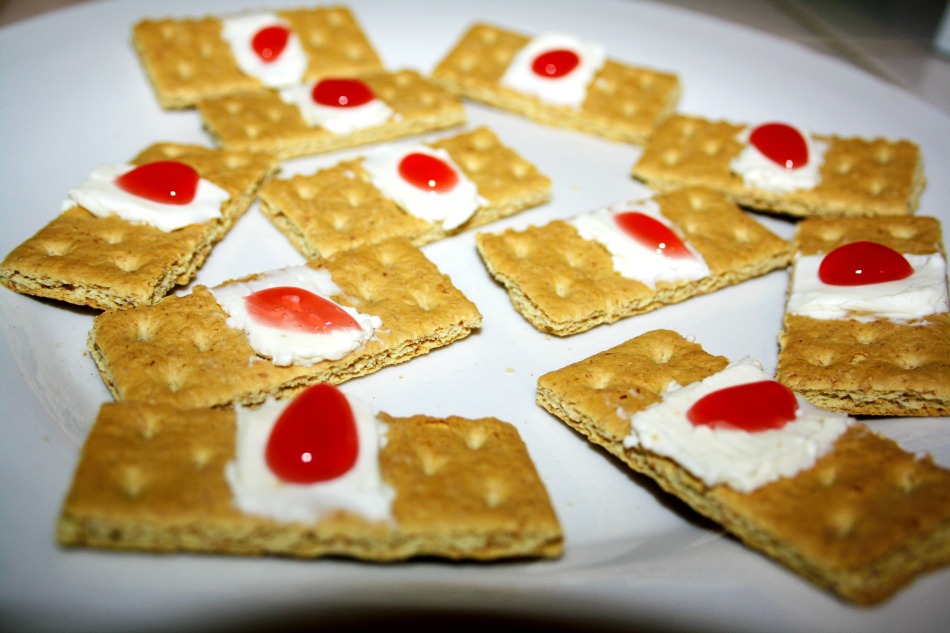
In the meantime, I’m all about the festive food. This is not really a recipe, all you’re doing is dressing a graham cracker up like a band aid and you know, finishing it off with a little smear of blood. No biggie.

Graham Cracker Band Aids

-graham crackers
-cream cheese (or icing)
-seedless strawberry jam (or red decorator’s gel)


Just break the graham crackers along their ‘perforated edges’ (though really, do they ever break clean?!), use a knife to clean them up a bit. Then spread on a little cream cheese (or frosting) just in the middle. Try to level it out into nice little rectangles.

Now just add your little dollops of blood. I had seedless strawberry jam on hand and it’s yummy with cream cheese. The recipes that call for the decorator gel will work just as well though!

1 Comment

25 Sleeps and Halloweeny Donut Holes

Domestic

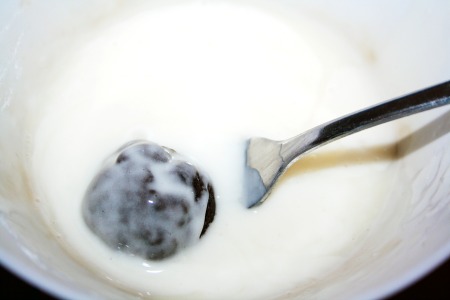
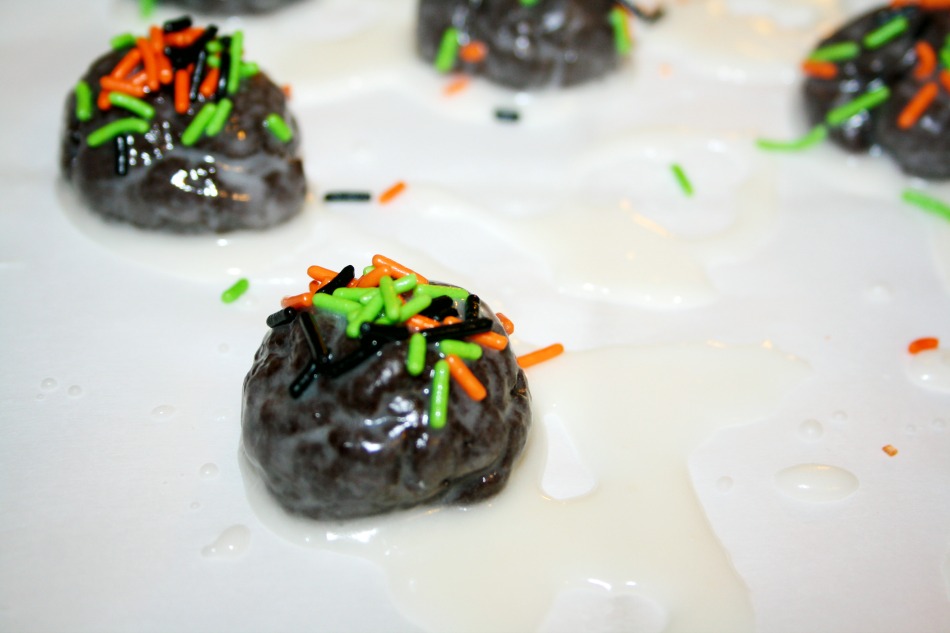
What to make when you’re meeting up with some mommy friends mid-morning and your littles are busy doing cursive and Lit? You whip up some donut holes, of course! The prep time was maybe 10 minutes and total baking time was 15. I pointed a fan at the kitchen counter and they only took a few minutes to cool. Then I mixed the glaze and used a fork to cover and lift out each donut hole, immediately covered them in festive sprinkles and put them back on the counter in front of the fan. They dried super fast and everyone who had one really liked them. I had two left on our way home when we ran into a neighbor and gave them to her to share with her little.

Fast. Easy. Yummy.

Halloweeny Donut Holes

3 cups all-purpose flour
1/2 cup cocoa
1 teaspoon freshly ground nutmeg
1-1/2 teaspoons baking powder
1/2 teaspoon salt
1 cup (2 sticks) unsalted butter, softened
1 cup sugar, divided
2 large eggs, room temperature
2 teaspoons vanilla extract
various festive sprinkles

Glaze:
1 cup confectioner’s sugar
2-3 tablespoons milk

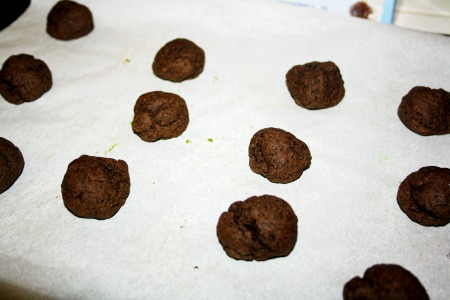
Very straightforward. Mix all the dry, then cream the butter and the sugar and add the wet ingredients. Once it’s all combined, slowly mix in the dry ingredients and voila! Roll into balls, and bake.

While they’re cooling, mix the confectioner’s sugar and milk for the glaze.

 
1 Comment

Zombie Eyeballs and 26 Sleeps till Halloween

Domestic

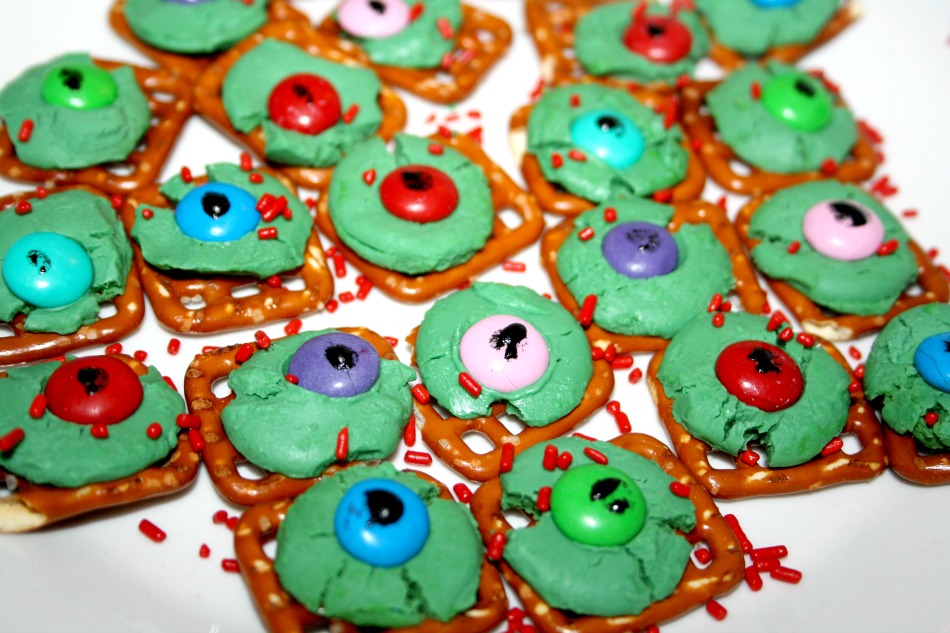
This is not really a recipe, it’s just an idea and comes together with 5 ingredients. You don’t even have to turn on the oven, the microwave will work for this too! Totally perfect for a last minute addition to a Halloween party or potluck.

Zombie Eyeballs

-square pretzels
-green candy melts
-black icing
-assorted M&Ms
-red sprinkles

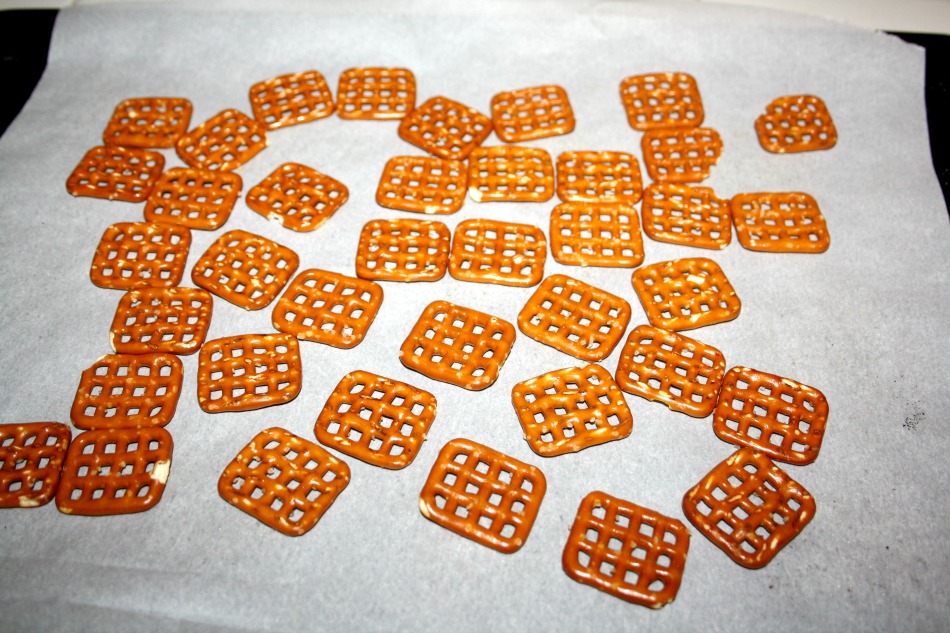
Arrange the pretzels on a baking sheet (or a plate), then place one green candy melt on each pretzel square. Either pop the tray in the oven for about 10 minutes at 300 or microwave the plate for 5 minutes. Whichever method you choose, make sure to check on the candy melts so they are just melty and not burny. 🙂

Zombie Eyeballs

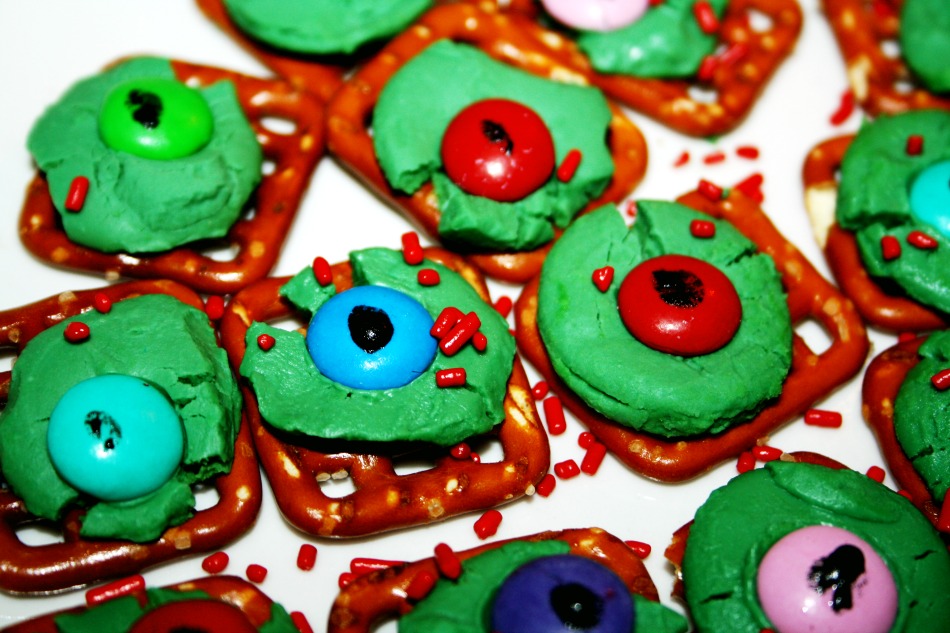
Once they’ve melted and you’ve taken them out of the oven, push one M&M (‘m’ side down) onto each candy melt and then dot each M&M with a tiny bit of black icing. Now sprinkle the red jimmies over all of them and voila! Creepy zombie eyes!

Zombie Eyeballs
Zombie Eyeballs

1 Comment

28 Sleeps till Halloween with Halloweeny Chocolate Chip Cookies

Domestic

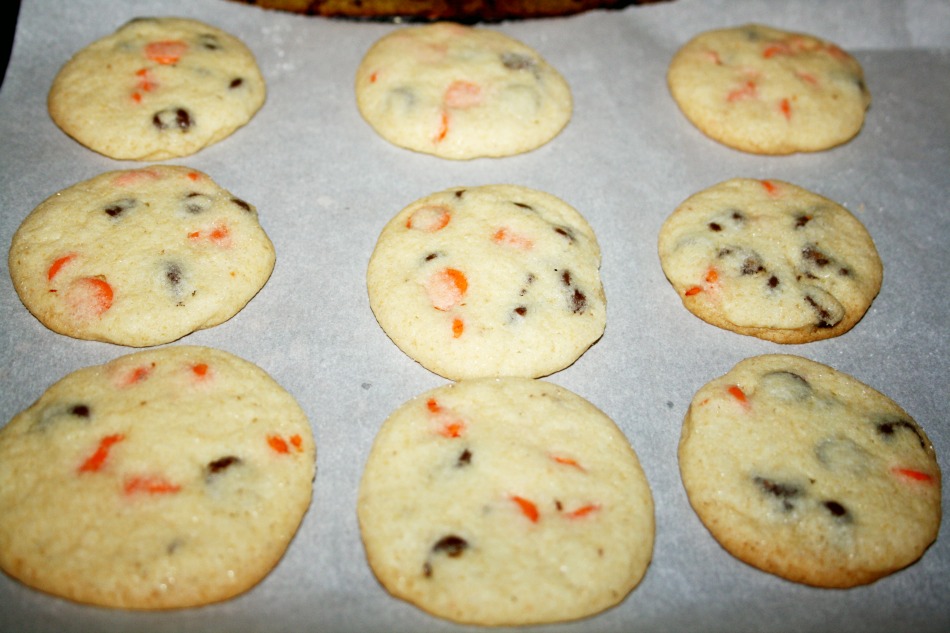
Truthfully, when my littlest tossed the orange and dark chocolate chocolate chips in the cart last week I had no idea what I was going to do with them. I did know however, that there can never be enough orange and black around this month. I’m trying to avoid random baking this month since I want to do up as many Halloweeny treats as possible, and when I saw that one of my favorite Canadian chefs, Michael Smith posted what he claimed to be the best chocolate chip recipe ever, I was tempted to just go off course and bake them because I wanted to see if they really were the best ever (so far each of his ‘best ever’ claims that I’ve tested have absolutely been the best). Then, I remembered those seasonal chocolate chips and started making them pretty much right away because now that they could be deemed Halloweeny, there was no reason not to make them! Right?! I know!

As I was making them I realized I had used the last of the brown sugar on some butter tarts and though I swear there is an extra bag (there is always an extra bag) I couldn’t find it anywhere and ended up using granulated sugar instead. Guess what? They’re amazing. I’m going to do them again with brown sugar and I have no doubt they’ll be even better.

Best (Halloweeny) Chocolate Chip Cookies Ever

1 1/2 cups all purpose flour
1 teaspoon baking powder
1/4 teaspoon salt
1/2 cup butter, softened
1 cup brown sugar
1 tablespoon corn syrup
1 egg
1 teaspoon pure vanilla extract
1 cup chocolate chips

Fairly simple. Preheat to 375 and whisk the flour, baking powder and salt.

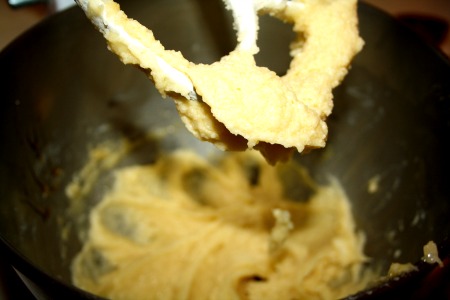
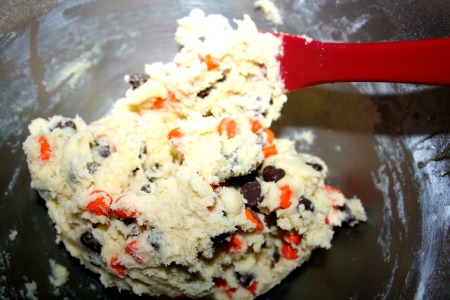
With a mixer or food processor cream the butter and sugar until smooth. Then add the corn syrup, egg and vanilla. Scrape down the bowl before slowly adding the flour mixture. Now stir in your chocolate chips and you’re ready to go!

Halloweeny Chocolate Chip Cookies  Halloweeny Chocolate Chip Cookies

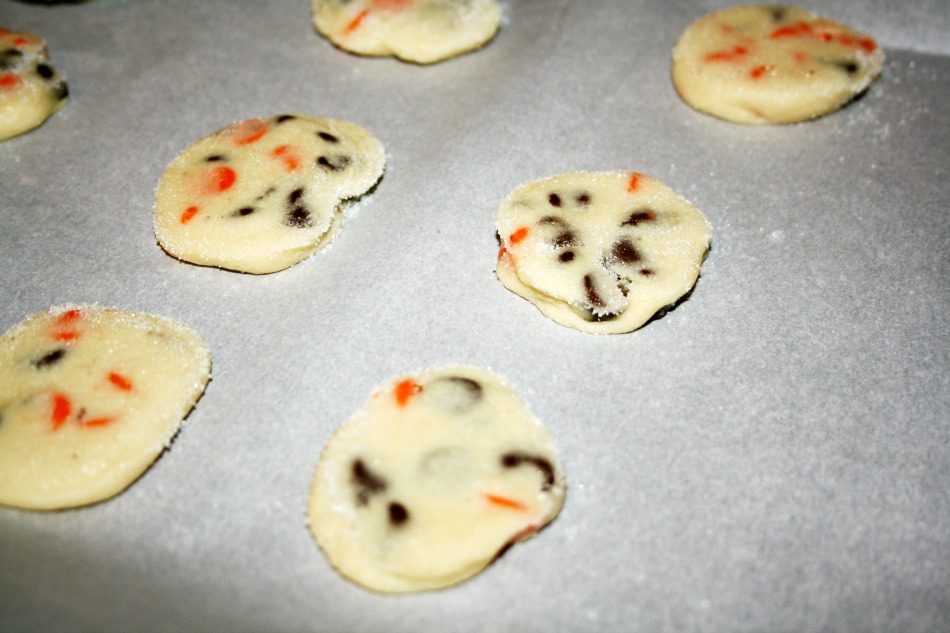
I scooped out the dough with a 1/2 tablespoon and overpacked it a little. I rolled it into a ball and then flattened it out with the bottom of a glass dipped in sugar for a little sparkle and crunch on the top of the cookie. I baked for exactly 13 minutes and my kids have nearly eaten the whole batch already. That’s a win!

Halloweeny Chocolate Chip Cookies
No Comments
« Older Posts