Browsing the archives for the chocolate tag.

Warm Chocolate Pudding

Domestic, Kids

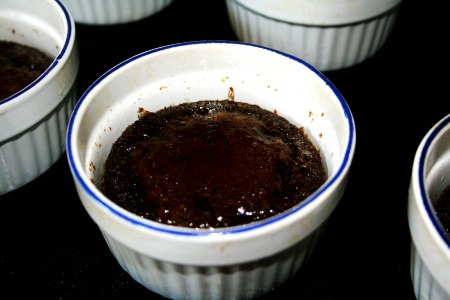
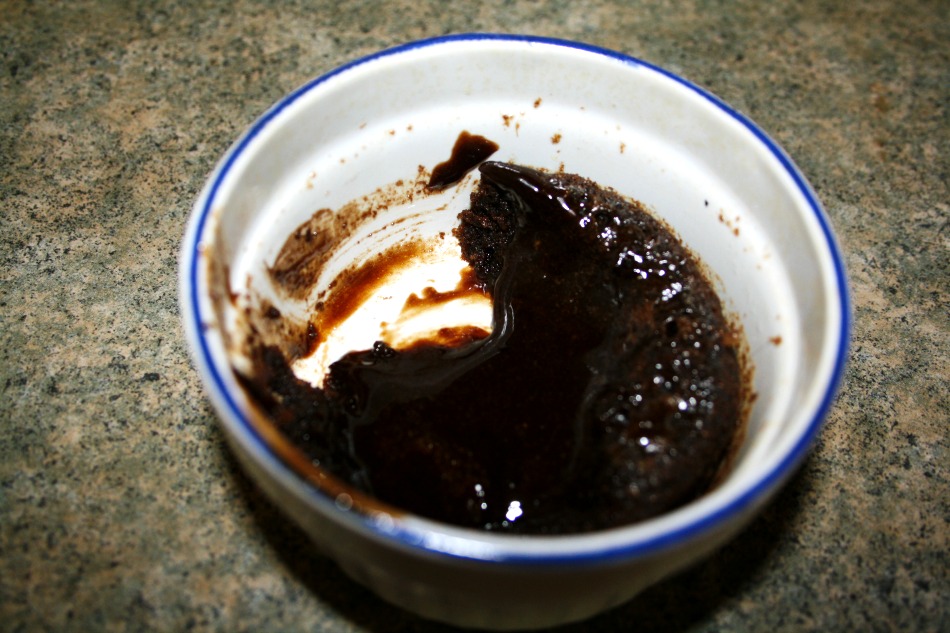
I know that pumpkin and brown sugar generally take center stage in Thanksgiving desserts, maaaaaaybe something with apples too. None of our littles like pumpkin all that much, as far as I remember I didn’t like it much when I was a kid either. My granny always did Thanksgiving dinner and she always, always made sure there was something chocolaty for my sister and I to have for dessert. This chocolate pudding is served warm but instead of having a typical pudding skin on it, it bakes on top so you have a wonderful little layer of cake and then the warm pudding under it. So good – especially nice when it’s cold outside.

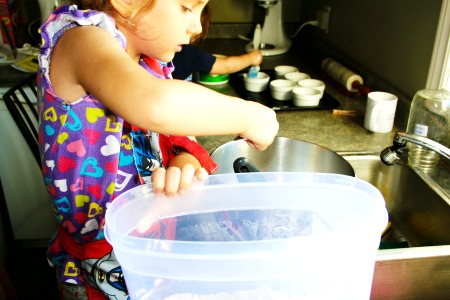
This recipe is another from Baking with Kids. All of the recipes in this book are well written and simple enough for small children to do with assistance either from an adult or an older child. Between our three, they can make these recipes by themselves and they love to be able to say they didn’t need any help. So sweet! It’s especially fun to have the littles involved in Thanksgiving dessert since the day is supposed to be about coming together as a family and celebrating what we are all thankful for – and most of the time, kids are shooed out of the kitchen!

Warm Chocolate Pudding

6 ramekins
5 1/2 oz bittersweet chocolate
7 tablespoons unsalted butter
2 extra large eggs, at room temperature
2 egg yolks, at room temperature
5 tablespoons sugar
2 tablespoons sliced almonds, ground

Warm Chocolate Pudding Warm Chocolate Pudding

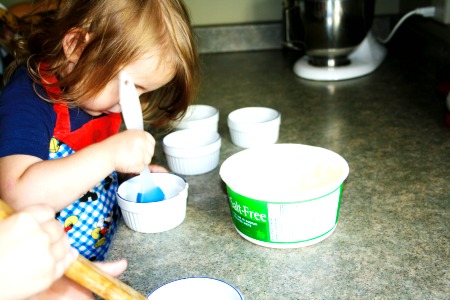
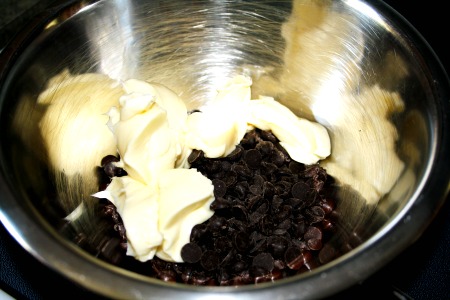
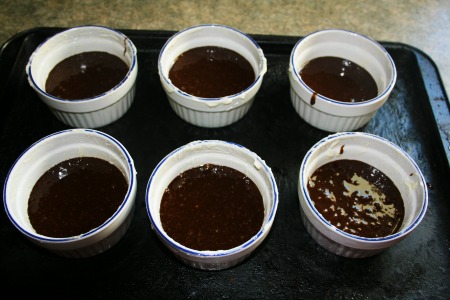
First preheat your oven to 425, get a small helper to butter your ramekins, and then put your chocolate and butter in a heat proof bowl. Set it over a pan of simmering water until it melts.

Warm Chocolate Pudding Warm Chocolate Pudding

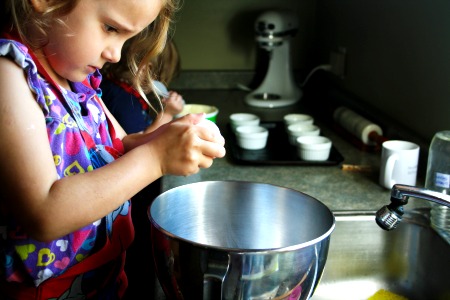
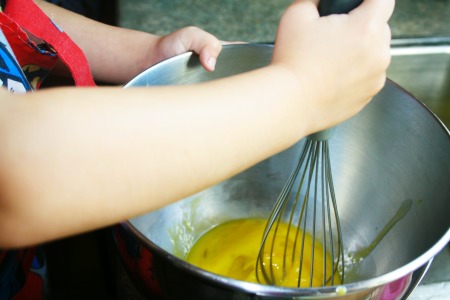
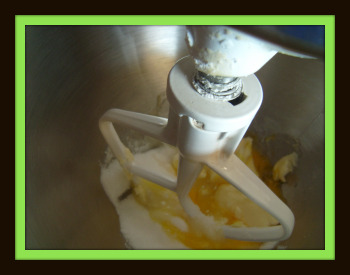
Then have a small helper crack open the eggs into a mixing bowl and add the additional 2 egg yolks and sugar. The kids love using the kitchen power tools so this is the perfect time to let them use the mixer. Beat it until very light and foamy. Now add the ground almonds and whisk.

Warm Chocolate Pudding Warm Chocolate Pudding

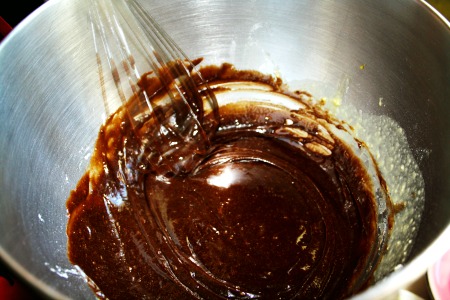
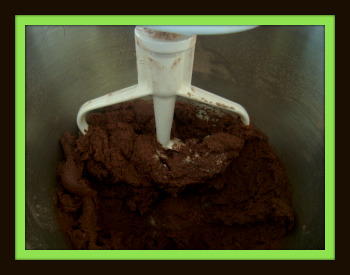
With a slightly older helper, stir the melted chocolate mixture until smooth and pour the chocolate mixture into the egg mixture. Be sure to scrape the bowl and then whisk the mixture again, for about two minutes.

Warm Chocolate Pudding Warm Chocolate Pudding

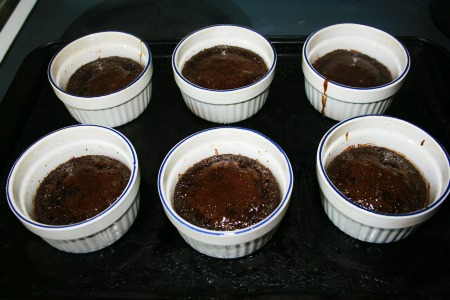
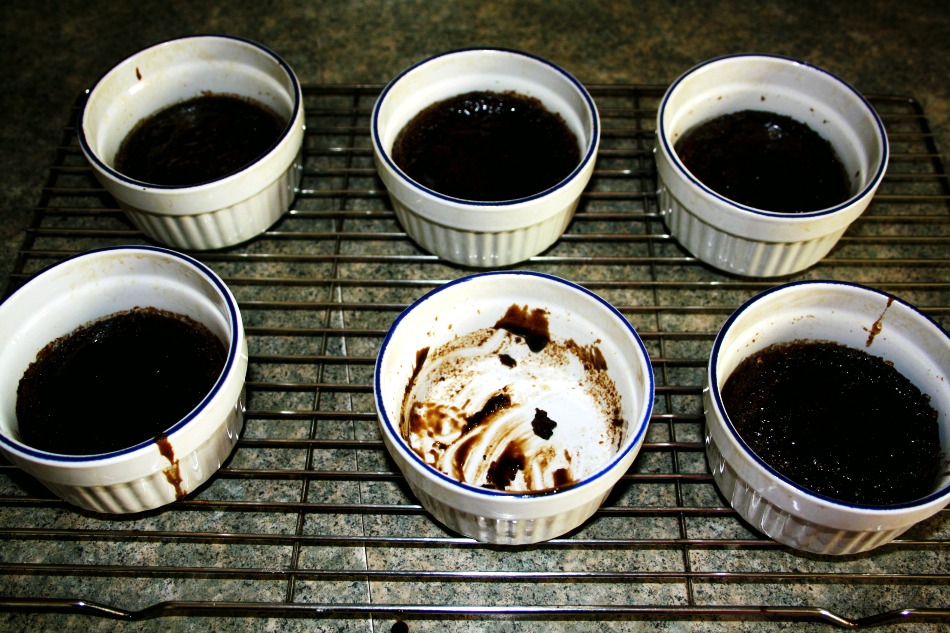
Bake for about 10 minutes. You just want them to be a little puffed and still soft in the middle. They are so good warm from the oven (let the ramekins cool off first, duh), but they are also really good once they have cooled off.

Warm Chocolate Pudding

No Comments

Homemade Snickers Bars – yes really!

Domestic

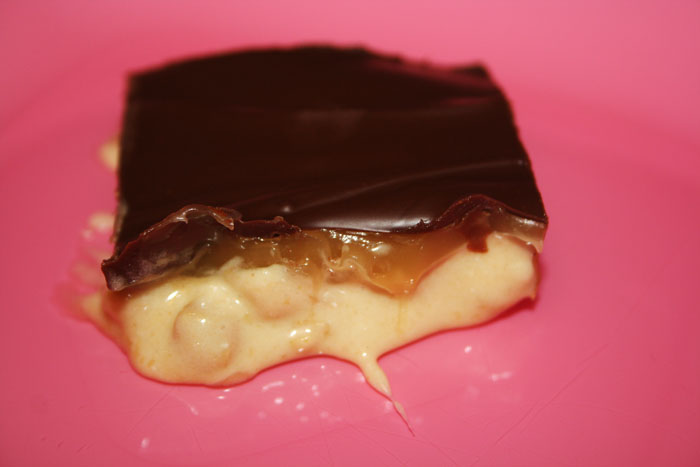
I’m not going to lie to you here, these are going to take the better part of your afternoon to make – but not all at once. There’s a lot of chilling and rechilling and setting and chilling again. So make sure you make this for someone who will really appreciate it, or someone you’re really down with – or both! I made these for our friend Steve’s birthday this weekend. He’s got a bit of a serious sweet tooth. His cake was even more epic than these – more on that later this week. I’m happy to report he loved them, his girlfriend loved them and their guests loved them too! Winning all over the place.

So, they are labor intensive because they’re made in four separate steps and they need to completely set up and cool off before you pour the next layer on top or you’ll totally wreck it. No pressure though haha. Also, I should note that even if they set up properly, they’re a pain in the ass to cut free from the pan and this whole production might have gone a lot smoother (and prettier) if I had made them in chocolate bar molds. When I made Twix Bites a few months ago, I made a mess and then I used molds. I’m about 4200km (or 2609 miles) from all my cool kitchen gear so I had to make due, however I’m totally ordering chocolate bar molds like, right now.

First you’ve got the base chocolate layer, then the nougat, then caramel (I reeeeally recommend you make this from scratch) and then of course the top layer of chocolate. So let’s get to it!

Homemade Snickers Bars

Homemade Snickers Bars – via How Sweet it Is
1 1/4 cups chocolate chips
1/4 cup peanut butter
             *
1/4 cup unsalted butter
1 cup granulated sugar
1/4 cup evaporated milk
1 1/2 cups marshmallow fluff
1/4 cup peanut butter
1 1/2 cup salted peanuts chopped
1 tsp vanilla extract
             *
Homemade caramel (or 1 14-ounce bag of caramels & 1/4 cup whipping cream)
             *
1 1/4 cups milk chocolate chips
1/4 cup peanut butter

Homemade Snickers Bars
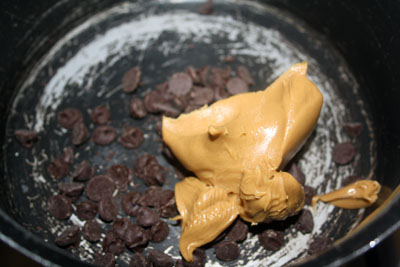
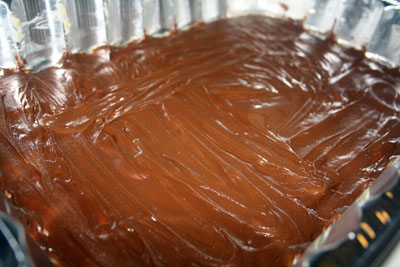
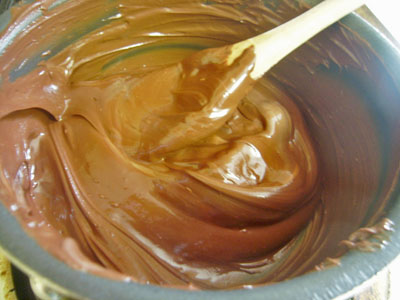
So first, melt 1 1/4 cups chocolate chips with 1/4 cup peanut butter over medium low heat until creamy and then pour/spread into the bottom of a well greased 9 x 13 pan. You can use a smaller pan, up to about 9 x 9 (each layer will be thicker but there will be fewer pieces overall and it will take longer for each layer to set). Let this cool and then totally set in the fridge. Now, onto the nougat.
Homemade Snickers Bars
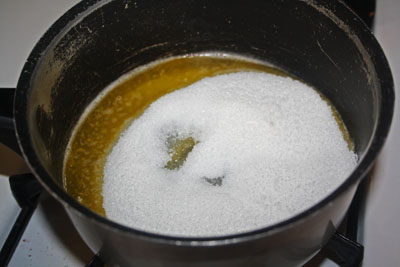
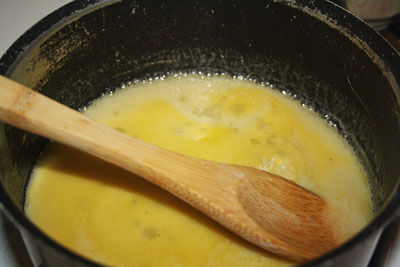
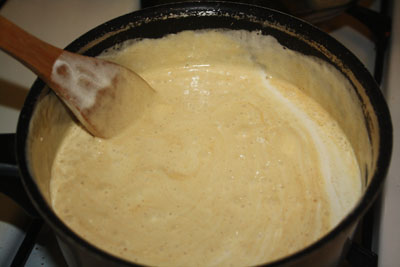
Melt the butter and the sugar in a medium saucepan over medium-low heat and stir in the evaporated milk.
Homemade Snickers Bars
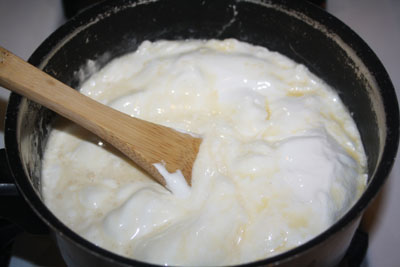
Add the marshmallow fluff (sadly it has to be the crap from the store or it wont set right) and once that’s incorporated, the peanut butter.
Homemade Snickers Bars
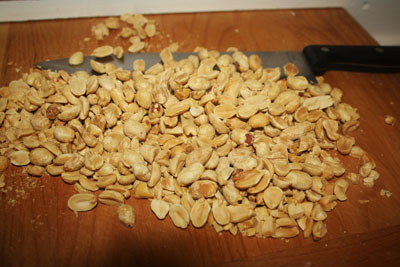
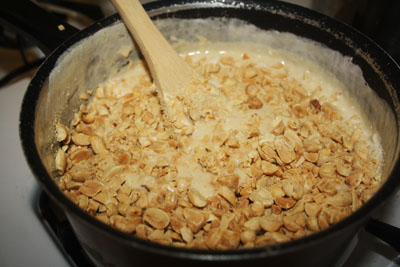
Chop up the peanuts roughly so there are still some big chunks in there! Stir that into the saucepan.
Homemade Snickers Bars
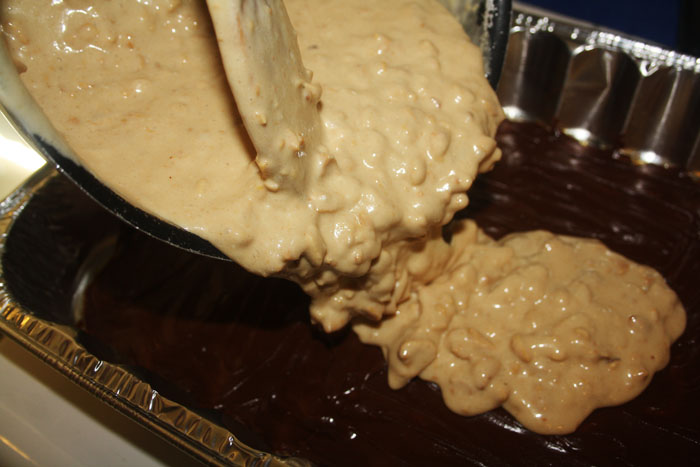
Let this cool off a bit before you pour it over the bottom layer! The bottom layer will be cold and set in the fridge by now, but if you pour crazy hot nougat over it, you’ll melt it! I let it cool for about 10 minutes or so before I poured it over the chocolate. Pop this back in the fridge and set your sights on caramel!
Homemade Snickers Bars
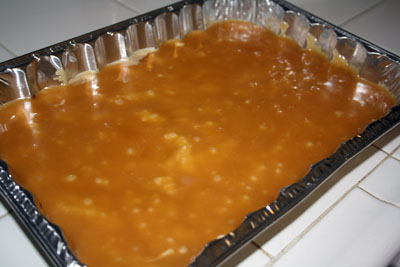
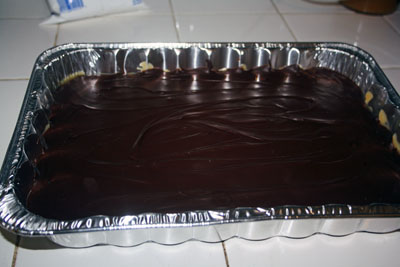
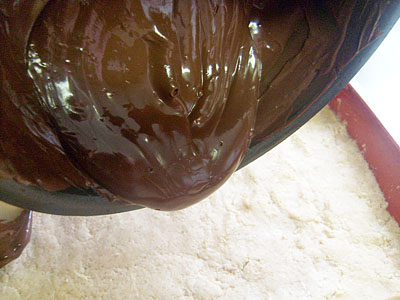
I made Amish Caramel (the only real difference I found between Amish Caramel and the Microwave Caramel I made in February for the Twix Bites is that Amish Caramel takes longer and is a bit of a pain in the ass). I will explain Amish Caramel in a different post, so in the meantime, either use about 1 3/4 cups of the Microwave Caramel or melt a 14oz bag of caramels with 1/4 cup of whipping cream. Either way, let it cool off some before you pour it over the nougat! Put it back in the fridge while you prep the top layer of this ridiculously amazing treat. The top is the same as the bottom, so again melt 1 1/4 cups of chocolate chips with 1/4 cup of peanut butter in a saucepan and pour it over the caramel layer.
Homemade Snickers Bars
Let these babies set up overnight in the fridge and they’re ready to be attacked the next day! You can probably get away with just a couple of hours in the fridge but they’re worth the wait! We dug into the tray while I was at their house, and hours after I left I was getting texts that they were still being devoured and loved. Best compliment ever.
Homemade Snickers Bars
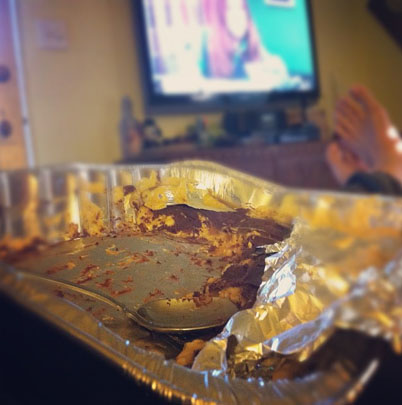
This pic was taken the next day as they sat down with the tray – and a spoon. Love!!
1 Comment

Chocolate Shortbread Cookies

Domestic

Shortbread cookies, of any variation have a very distinct texture and really nothing else will do when you’re craving shortbread. I’ve tried too many types of shortbread to remember but only baked a few. I’ve made a few different recipes of traditional shortbread recipes, and a few with dried fruits in them (cranberries and cherries, natch) and of course these – Chocolate Shortbread. I have to admit I really, really love shortbread that has very finely chopped nuts in them but even against those, I think this is my favorite bastardization of shortbread.

Chocolate Shortbread Cookies

Chocolate Shortbread Cookies via Great Cookies: Secrets to Sensational Sweets

1 1/4 cups flour
1/2 cup rice flour
1/2 cup strained Dutch process cocoa
1/4 teaspoon salt
1 cup butter
2/3 cup superfine sugar
1 teaspoon vanilla extract
1 tablespoon sanding sugar
4 ounces bittersweet chocolate
1 teaspoon canola oil

Chocolate Shortbread Cookies
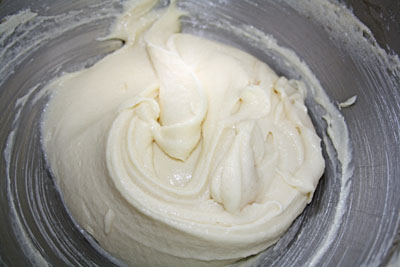
To prep, preheat your oven to 350F and line a baking dish with aluminum foil. Then sift togetherthe flours, cocoa and salt. In a separate bowl, cream the butter and the sugar, then add the vanilla and mix again.
Chocolate Shortbread Cookies
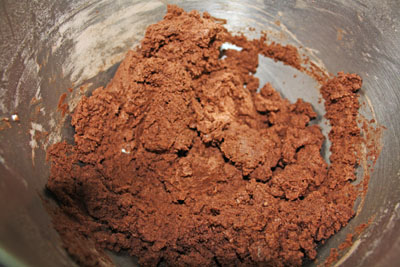
This next step is a lot easier if you use a big bowl. Add half the dry ingredients to the butter mixture and combine, then add the rest. Don’t overmix it!
Chocolate Shortbread Cookies
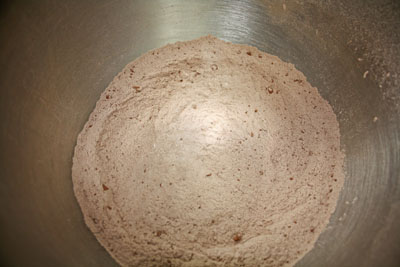
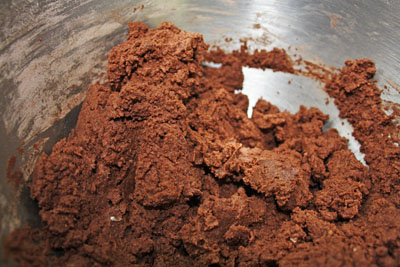
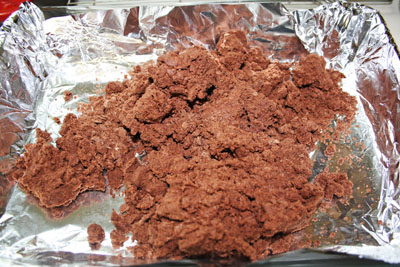
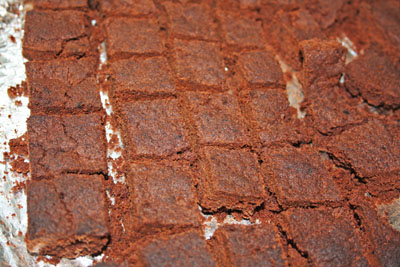
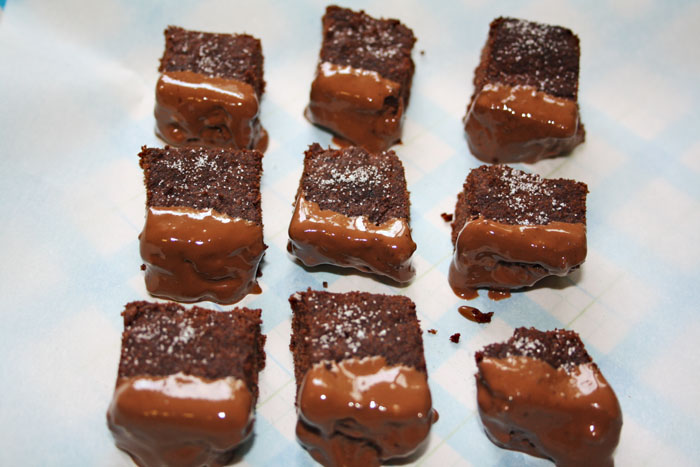
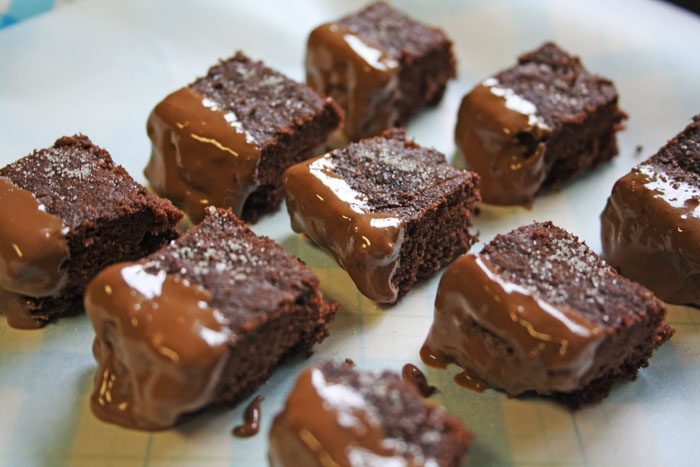
Now dump the mixture out onto your foil-lined dish and press it into it. Try to make it as even all the way around the pan as possible. Bake it for about 45 minutes, turning it twice during baking. Once it’s cooled off a bit, (but not totally cool), cut into bite sized squares. Then melt your chocolate and mix in your oil. Dip the cookie pieces into the chocolate and let dry on parchment paper. Sprinkle with sanding sugar and voila! Cute, yes?
Chocolate Shortbread Cookies
No Comments

Raw Vegan Chocolate Cake

Healthy

Yes, yes. I know. Another raw vegan recipe. Yes people, it is another raw vegan recipe and it is amazing! Getting into raw vegan cooking doesn’t mean I’m only going to ever eat raw or even that I’m only ever going to eat vegan, but I’m looking at it the same way a lot of people look at quitting smoking. Every cigarette a person doesn’t smoke is better for them, right? So I really think that every vegan or raw vegan meal I eat is better for me. Plus with raw vegan desserts like this, it’s pretty hard to go wrong!

This was yet another vegan treat that was happily devoured by a room of non vegans.

Raw Vegan Chocolate Cake

Raw Vegan Chocolate Cake via Mama in the Kitchen
1/4 teaspoon sea salt
1/2 cup raw cocoa or carob powder
1 1/2 cups dates, pitted
2 cups soaked oat groats (or oatmeal grinded into oat flour)
6 tablespoons raw local honey

Raw Vegan Chocolate Cake
First, process your sea salt, raw cocoa or carob and dates. It’s sticky! Then add in the honey!
Raw Vegan Chocolate Cake
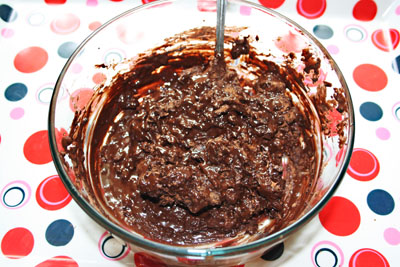
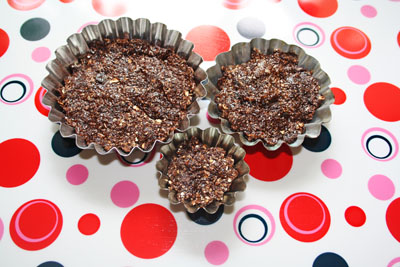
After that was mixed as well as I could get it, I mixed in the oat flour (or soaked oat groats). Now grease whatever tins or pans you’re using with coconut oil and press the batter into them. They don’t take very long to set, then you just pop them out and add whatever vegan frosting you like! I used the Deceptively Delicious chocolate pudding recipe I first tried last year. To make it vegan, I used non-dairy margarine instead of Becel.
Raw Vegan Chocolate Cake
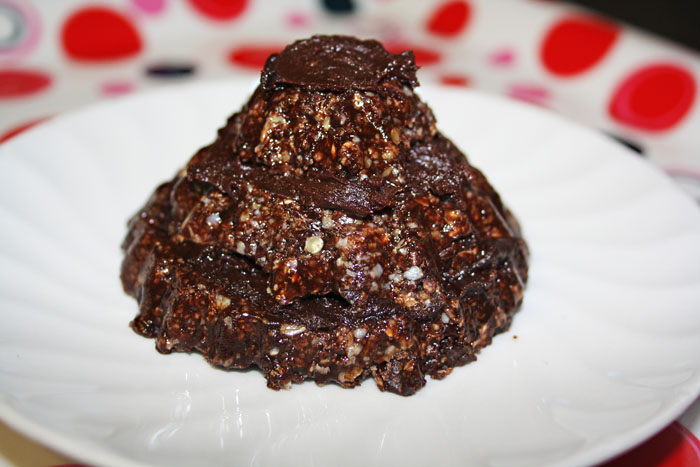
This recipe is pretty dense, I could only eat one layer of this little cake at a time!
No Comments

Nigella Lawson’s Peanut Butter Squares

Domestic

These are so good it’s alarming. Yeah I know, it’s not a huge surprise that something Miss Nigella cooked up would turn out so good, but man these are so close to a peanut butter cup – without actually being a peanut butter cup, you know? I’ve been trying to find recipes for all our most loved treats so I can whip them up without a zillion added chemicals in them and this is defiantly a favorite we can all agree on. So good with coffee or hot chocolate – or really, whatever.

I used regular brown sugar instead of the muscovado because I honestly didn’t think it would make much of a difference. I’ve read since then that using muscovado sugar can make a huge difference – so clearly, I have no idea. I will make them again with the muscovado and report! Also, I didn’t convert measurements to cups because it could totally be argued that it’s not exactly the same.


nigella lawson peanut butter squares

Peanut-Butter Squares – from How to Be a Domestic Goddess p. 223

Base:
50g dark muscovado sugar
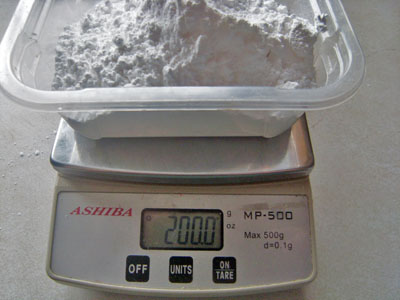
200g icing suger
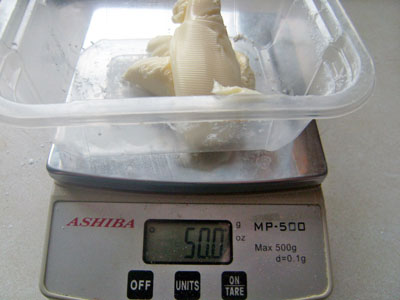
50g unsalted butter
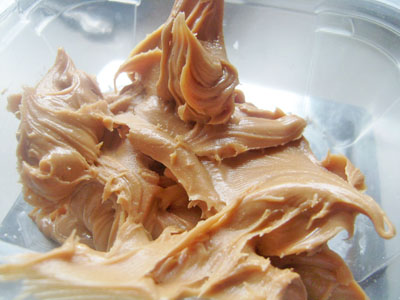
200g smooth peanut butter
Topping:
200g milk chocolate
100g plain chocolate
1 tablespoon unsalted butter
nigella lawson peanut butter squares

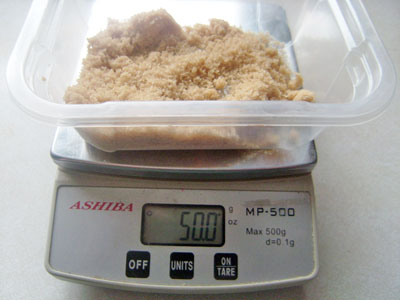
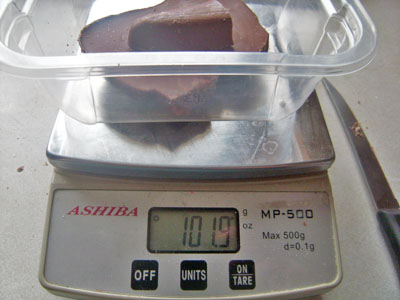
I’m always so pleased with myself when I weight out all my ingredients without having to play around to balance it out! Lucky!

nigella lawson peanut butter squares
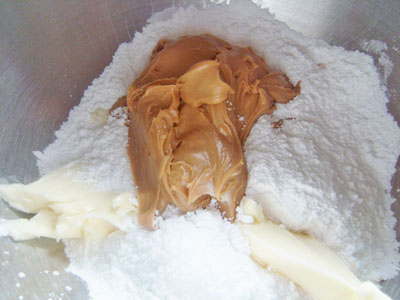
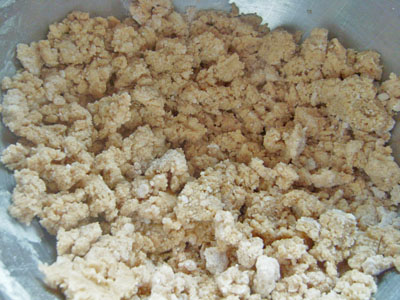
Mix all of the base ingredients until well combined.
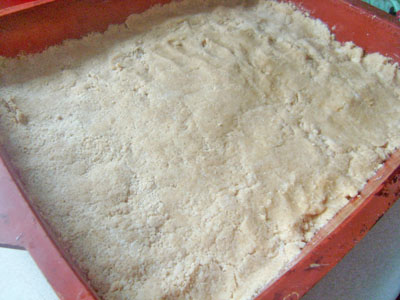
It’ll be a little crumbly, just press it into a 8 x 8 (or whatever, really) pan.
nigella lawson peanut butter squares
Weigh out your chocolate!
Now melt it, along with the butter till it’s all creamy and lovely.

nigella lawson peanut butter squares
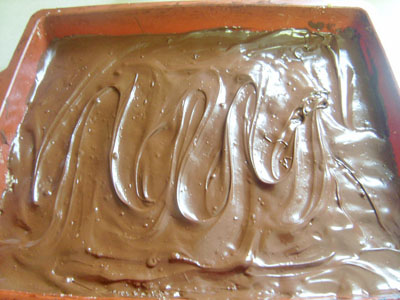
Pour the melted chocolate over the peanut butter base. Smooth it out, or make little swirlys or whatever you like with the chocolate layer.
nigella lawson peanut butter squares
Let the chocolate set up in the fridge for a while before you take it out and cut it into pieces. I suggest 48 pieces because, as Nigella warns in the book ‘more-ish as it undeniably is, it is also very rich’. So amazing. If you are fortunate enough to be able to bring peanut-stuff to your work or school (or your kids’ school), bring these. Everyone loves them and they disappear fast!
No Comments

Homemade Nutella

Domestic, Kids

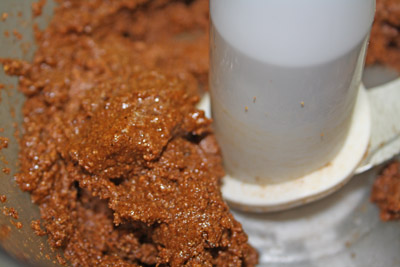
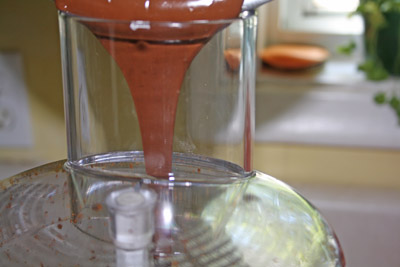
I almost posted about homemade bacon wrapped tater tots, but I realized I didn’t take photos of the actual tater tot process, just the bacon wrapping bit. So I will fix that and get those up this week. Instead, I went with Nutella. My girl Sammie made a batch too! Her post on that is here, and she did a great job!! She really is my kitchen soul mate. She used this recipe from Su Good Sweets and I used an adapted version of the recipe she wasn’t crazy about. Both of our batches turned out well and our husbands and children (and maybe us too) ate enough to prove they were both delicious!

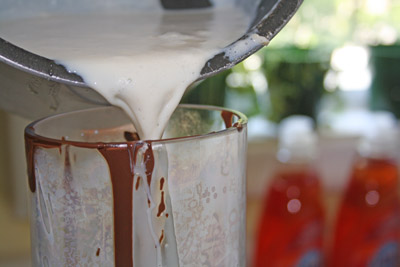
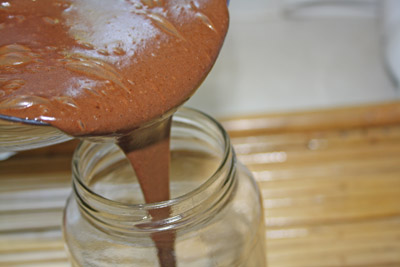
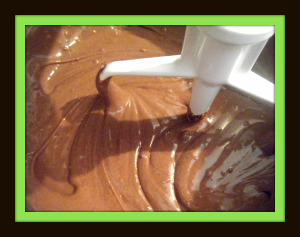
Here are a few pictures of the process:


More baking and cooking and crazy fun to be had around here this afternoon. I’m working on a slow cooking pork shoulder for pulled pork sandwiches later. I wanted to try the Pioneer Woman’s Spicy Dr Pepper Shredded Pork but my husband isn’t a big fan of anything too ‘unusual’ in the kitchen lol.

1 Comment

Happy Birthday to Me!

Domestic, Marriage, Small Town

Last weekend, four of my dearest friends made the two hour journey (one of them had a 5 hour journey) to my house in the woods to help me celebrate my birthday.

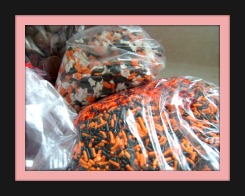
Backing up a bit, when I was preparing for my ladies (and Andrew) to come up for the weekend, I naturally went on a baking spree, and so I needed birthday items, like sprinkles and candy melts. I literally asked for a handful of 3 colours of candy melts, 3 colours of sprinkles and about 1/2 lb of milk chocolate. My husband drove into town to get the gear I needed and came back with what can only be described as an avalanche of sprinkles and candy melts and other amazing things I didn’t even ask for. That’s love people, that’s love.
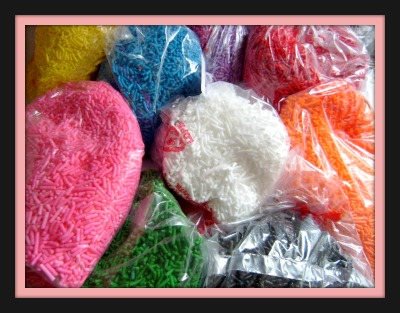
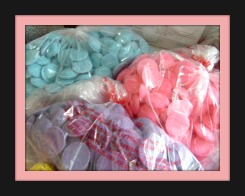
 

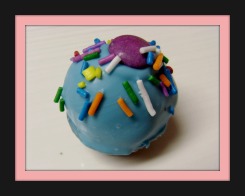
I had asked for the candy melts and sprinkles to make cupcake pops. I’ve made cake balls many, many times before but these are so much more festive! I used the Bakerella Cupcake Bites Made Easy post as my guide. They really are so easy, all you need is some chocolate, a candy cup mold (like the bottom of a Reese’s Peanut Butter cup), candy melts in different colours, some sprinkles in different colours and Smarties. Ready?

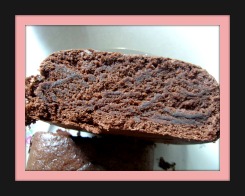
First, of course, make your cake. I used the Stir and Bake Chocolate Cake I posted a couple of weeks ago. While the cake is baking, make your chocolate cups. Just melt the chocolate over a double boiler (a lot of people use the microwave with great success), and pour it into the mold. Be sure to coat the sides well!

Once the cake has baked and cooled, cut off any crispy edges so you’re just left with the soft cakey part and then smush it up!

Leave the chocolate to dry on the counter for a bit, and once it’s lost it’s shiny gloss, pop it in the fridge for a few hours.

Now add a few dollops of buttercream or cream cheese icing and mix it up. The ratio is different depending on what recipes you use for the cake and for the icing. We’ve been over the whole store bought things before. I know it’s so much easier to use a boxed cake mix and a tub of frosting but my Granny has drilled in to me that I should just do it from scratch. I swear it doesn’t take that much longer at all!
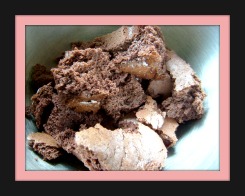
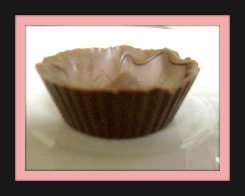
 

Once you’ve got the right consistency, roll your mixture into cake balls and put those in the fridge as well. Make sure you roll them big enough (or small enough depending on your mold) to sit comfortably in your chocolate cups!

When your chocolate cups are ready, and you’ve popped them out of their molds, melt some of your candy melts down to use as glue to hold the cake balls in the chocolate cups.
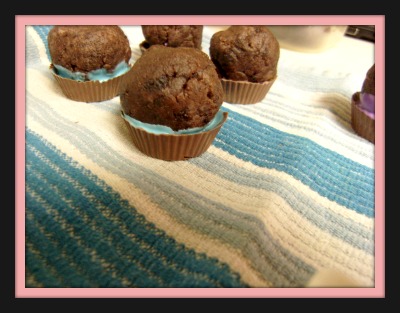
Bakerella squished the cake balls right into the melted chocolate in the mold before it even went in the fridge. Which is genius. I, however, did not do that so I had to glue them in. Next time, I will do that.

Now holding the cupcake pop by the chocolate cup, dip it in the candy melts and add your sprinkles and Smartie to it while it’s still wet! These are a lot of fun to make because you can literally use whatever sort of toppings you want depending on the occasion!
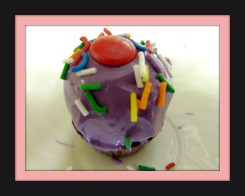
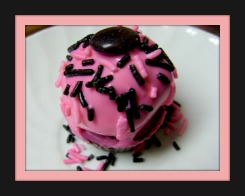
 

The purple ones are a replica of the ones in Bakerella’s tutorial, the blue ones just also felt really festive. The pink ones were a little birthday treat to me because my favourite colour combo is black and pink (obviously). These are hands down the best birthday treat I’ve made.

I made extras and let the kids decorate a bunch on their own. They were really creative with it and made a wonderful mess in the kitchen!

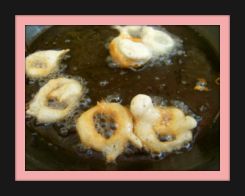
Keeping with the theme of treats I love that look a lot harder to make than they really are, I also made Leek Rings. They really should be eaten fresh, so I made them as I knew everyone was coming over. I went with leeks instead of onions because we all prefer them, and they’re just a little different than what you’d expect. So people were arriving as I was making these, and no lie, they were eating them right out of the collinder! Very few of the leek rings even made it to a plate.
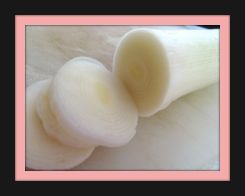
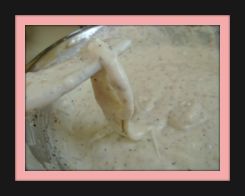
 

Very simple to make!! You can cut your leeks (or onions) thin and have a lot or cut them thicker to make a bigger snack out of them. If you cut them as thin as I did, you can just pop them in your mouth in one or two bites. Which may not be a good thing!

Leek Rings
1 cup cornstarch
1 cup flour
2 1/2 teaspoons baking powder
1 teaspoon salt
1 egg
1 cup cold water
2 tablespoons oil
2 teaspoons steak seasoning (!!)

Heat up a wok (or frying pan or whatever) 1/2 full of canola oil, use a fork to dip the

leek/onion in the batter, shake it off a bit and pluink it in the oil. Let it cook for just a few seconds if you want it a golden brown, then flip it, cook it for another few seconds and move it to a paper towel-lined collinder. If you like them crispier, just leave them in longer – but not too long, these babies cook fast!
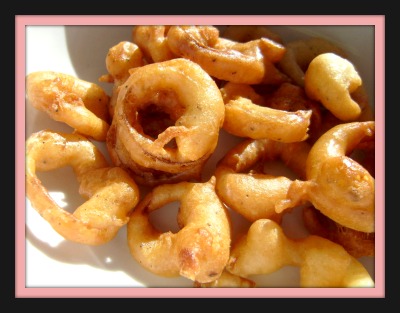
I could eat and eat and eat these. They were so good it’s a little alarming. I would gain so much weight if I made these all the time, but boy do I ever want to make these all the time! I will save them as treats for when I have visitors (which isn’t that often out here in the woods)!

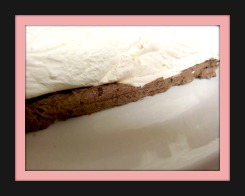
One more treat and I’ll let you get on with your day. This was my birthday cake. I was having some serious oven issues and my sister looooves cheesecake, so I whipped up this Chocolate Elegance Cake from Kraft. Amazing, and again, so simple!!
 

Chocolate Elegance Cake – from Kraft

1 1/2 packages cream cheese, softened
1/2 cup sugar
2 1/2 cups Cool Whip
6 ounces chocolate chips
1 package jello chocolate instant pudding (4 servings)
1/2 cup milk

This cake is made upside down in a loaf pan, set in the fridge, covered in chocolate and set in the fridge again. Then your friends come over and eat it all!

Beat the cream cheese and the sugar till blended, then stir in 1 1/2 cups of the Cool Whip. Spread 2 cups of this mixture onto the bottom of a 8 x 4 loaf pan lined with plastic wrap.

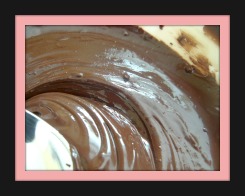
Melt 3 ounces of the chocolate chips, and add to the rest of the cream cheese mixture along with the pudding mix and milk. Beat till blended and spread over the first layer in the pan. Pop this in the fridge for about 4 hours.

Once the cake as set, melt the rest of the chocolate (3 ounces) and Cool Whip (1 cup) together, let it cool a bit. Now invert your cake onto the platter you’re using and take off the plastic wrap. Spread the glaze you just made over the cake and immediately top with either sprinkles or nuts or whatever you like. Put it back in the fridge for another half hour or so, till the glaze is set.

This cake was amazing, and I later thought about tinting the first layer to a bright colour, or making several layers like that one and tinting them all different colours!
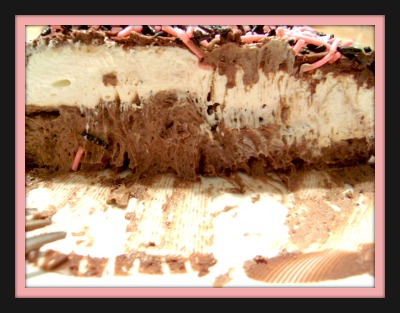
I made one more treat for my birthday party, but I can’t tell you about it yet because it’s a Daring Baker’s challenge and we’re not unleashing it until tomorrow. Trust me though, it’s good! Once you read how to do it, you’ll be wondering why you don’t make it yourself all the time!!

3 Comments

Eat Your Fruits and Veggies (and Check Your Oil)

Domestic, Healthy

When I was a kid, I wouldn’t eat anything green – unless it was some form of candy or ice cream. This horrified my then strictly vegan father, a hippie powerhouse of health, which very likely amused my mother, who was a Kraft Dinner loving, late night ice cream eating kinda gal (I say ‘was’ because she had a heart attack 5 years ago and now eats like my dad). He was huge on smoothies, but not just the delicious fruity ones, he’d also do the veggie shakes – who does that?! He made his own breads and chocolate cakes and cookies and all kinds of amazing treats as well as wonderful stir fry’s, casserole-type dishes, and soups. I’d eat some of the treats, but mostly I’d turn my nose up at them and eat some disgusting sugary and/or marshmallowly concoction. I didn’t know it then, but most of these creations were hiding a veggie or two. I do it too now, some recipes are from him, some I’ve found online or in cookbooks and others still are from my friends. Gill makes the most amazing black bean brownies, Jessica Seinfield has a chocolate chip cookie recipe with chick peas – it works!

Now? I’m on the phone with him constantly asking for ideas and tricks for substituting healthy options for the more horrible ingredients in my favorite recipes. The easiest change to make was using mashed bananas or applesauce instead of oil in cakes and muffins. Mashed bananas work best with chocolate or oatmeal items and applesauce is a good pick for pretty much everything else because you can’t taste it as much. Usually people don’t notice there is applesauce in it unless I say something, or people comment that it’s moist. Sometimes, if the main taste of the cake is a fruit anyway, I’ll just add more of it’s liquid in place of the oil called for, like in the chocolate-cherry cake I made for our Miss America party (I swear, I will post about this little gathering soon).

My favourite combo is chocolate and banana, there’s just something about it that tastes ‘right’, you know? Here is the recipe I use the most – this was the decoy cake I made for our dear friend Andrew’s 29th last year. It was the decoy for a hilarious cake Gill had done for him at Dairy Queen, where they used an image of Burt Reynolds body on a bear skin rug – with Andrew’s head! Anyhoo….

Chocolate Banana Cake
2 cups white sugar
1 -3/4 cups whole wheat flour
3/4 cup cocoa
1-1/2 tsp baking powder
1-1/2 tsp baking soda
1/2 tsp salt
2 large eggs
1-1/2 cups mashed bananas
1 cup warm water
1/2 cup milk
1-1/2 tsp vanilla extract
Preheat to 350. Whisk your sugar, flour, cocoa powder, baking powder, baking soda and salt.


Then mix the eggs, bananas, water, milk, oil and vanilla extract. Add the wet to dry, as usual, till well mixed. Note that this batter looks really runny but bakes up just fine.Pour into your cake pan (10″ round or maybe a medium rectangle) or cupcake liners, and bake for about half an hour. Adjust time for the size of your cake/s or cupcakes.

Other more obvious tips were to use low fat or no fat vanilla soy milk instead of 2% milk, whole wheat flour over white flour in pretty much every recipe (I drew the line at pie crust for lemon meringue, it just wasn’t right), and to use parchment paper or a non stick pan instead of greasing. That’s all fine and the flavour of most of my regulars haven’t changed much.

There have been a few silly attempts at making fundamentally unhealthy food healthy. Like when I tried to make onion rings with crushed Fibre 1 cereal as the coating. Not only was that a bad idea (I guess it wasn’t *that* bad, but it wasn’t exactly a substitute for the taste, or even the texture, of an actual onion ring. The real secret to making decent-for-you onion rings is in the oil! Using french fries as a classic example here, if you fried them in vegetable oil (as most people do), you’re looking at a top temperature of about 300 degrees. The issue with that is most foods (yes potatoes included) don’t have a low insta-cook temp, so they have to sit around in the vegetable oil for a few minutes to cook and while they do that, they of course soak up awful amounts of oil that no amount of paper towel patting will remove. Now, enter higher temperature oils, like canola, saffron and sunflower. These oils have temperature ranges much higher, closer to about 450+, which is perfect for your fries and little shrimp pops and yes, even your deep fried chocolate bars (even I think that’s gross and I looooove Snickers muffins). Most foods will cook within about 30 seconds in oil that’s 450 or 500 degrees. I’m not saying that your canola oil onion rings are going to be totally free from any oil at all, but I am saying that the amount absorbed is negligible and that’s before you’re patted them down with a paper towel! Sidebar, don’t mess around with weird and likely dangerous ways to guess your oil’s temperature. Just use a candy thermometer and know for sure! Second sidebar, make sure you’ve got a fire extinguisher when you’re cooking with oil. I know we’ve all used oil hundreds of times with no issue, but a grease fire is unpredictably dangerous and not something to mess around with at all. Also, from experience, keep the fire extinguisher just outside of the range of fire from the stove and not right beside it. ‘Quick, jump through the flames to get to the fire extinguisher!’

I’m still not especially fond of most green foods, but I know better and actually eat them now.

4 Comments

Chocolate Minis with Peanut Butter Frosting

Domestic

In my efforts to be healthier in general and make better snack choices, I have been skipping cake days occasionally and the domestic goddess in me is outraged. But the slimmer and overall healthier-feeling goddess emerging is totally cool with it. I’m sure there will be enough potlucks and school fetes by year’s end to have at least 52 different cakes or cupcakes. As of tomorrow, we’re at week 24 and cake #24! I’ve also been having too much fun to blog lately so I’m behind with my posts, but I have a lot of photo-heavy posts coming up as a result.

Unlike my Reese’s Peanut Butter Cup Cake, these little gems are straight up cocoa cupcakes with peanut butter frosting. The Cocoa Cake recipe came from Now…you’re cooking, and it was super simple and good!

Cake #21 – Cocoa Cupcakes with Peanut Butter Mini Cupcakes

Cake:
1/3 cup butter
3/4 cup sugar
1 egg
1 cup flour
1/3 cup cocoa


1/2 tsp baking soda
1/8 tsp baking powder
1/2 tsp salt
2/3 cup water
1/2 tsp vanilla
Frosting:
1/2 cup butter, softened
1 cup creamy peanut butter
3 tablespoons milk
2 cups confectioners’ sugar


You know the drill, beat the butter, sugar and eggs till ‘light and fluffy’, then in a separate bowl mix flour, cocoa, baking soda, baking powder and salt. Mix water and vanilla, add. Gradually whisk the flour mixture into the egg mixture and you’re ready to pour.

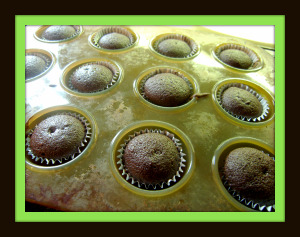
This recipe will make an 8″ cake, 12 generous cupcakes or 24 mini cupcakes. Bake any of these at 350, 30 minutes for a cake, just slightly less for the cupcakes and 15 or so for the mini cupcakes. Check early and often! I used my silver tin mini liners for the first time and I am madly in love with them.
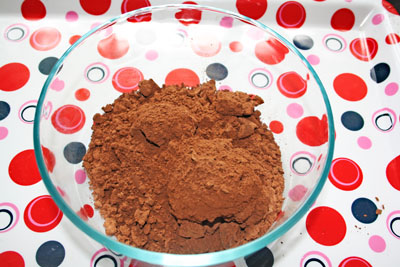
 

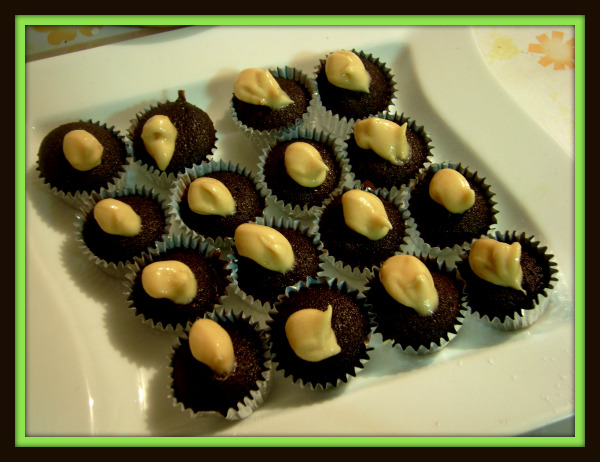
For the peanut butter frosting, cream the butter and the peanut butter together, gradually add the sugar and once it’s thick add the milk, a little at a time till you’ve reached the consistency you’re after. Voila! I had ‘just a taste’ of this frosting and wanted to mainline my icing bag. It is pretty sweet though, so a little dollop on these minis is slightly more than enough.
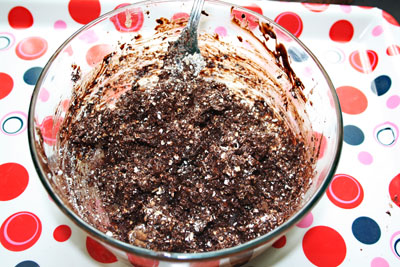
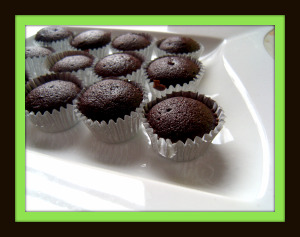
Overall, these wee creations were a hit except my sister pointed out, and then didn’t want to let me live down, how wasteful the liners are. Especially since we ate them here, it’s not like they had to be transported anywhere. I think in the future, I’ll save all liners for bake sales, school fetes and gifts.

There is so much going on this summer in the way of theme parties and road trips and baking with friends and so many fun things to blog about. I am most looking forward to the Barbie party (the idea for this was based on a shockingly pink nail polish) where we all dress as different kinds of Barbies like say Homeless Barbie or Soccer Mom Barbie. Right?! There will also be a Bind girl night, where all drinks are ‘shaken, not stirred’ and a ghetto/club dress night. That one needs to happen this summer because my friends can’t be getting on the streetcar in micro minis in November.

Here’s hoping there will be enough time between each adventure to stop and write about them.

2 Comments

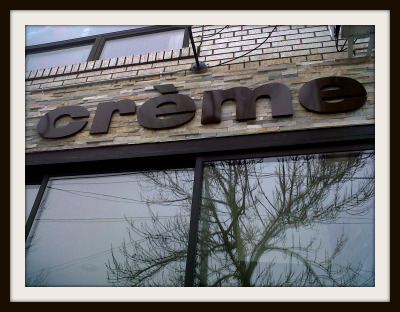
Creme on College

Domestic, Reviews, Toronto

This is the first in another weekly series for this blog, Thursday will be a review day for local spots! With all the places we check out around the city, especially foodie and crafty spots, this weekly was bound to happen eventually. First up is Creme, a new gelato spot on College in Little Italy.

Creme – 703 College St – www.cremebuzz.com

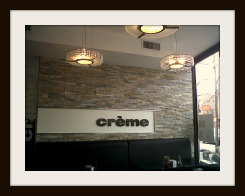
I hadn’t read anything about Creme before I went in for the first time, so I had no real expectation. I immediately loved the design of the cafe. There is a row of bench seating with tables and accompanying chairs by the front window. There is a lot of nice light in the afternoon and it would be a good spot to get some work done (WiFi coming soon, I’ve been told) while still enjoying the day.

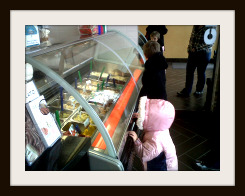
Our trip to Creme started with my wee ones asking politely for gelato. Our out of town guests thought the concept of polite children was so crazy they decided we must all go for gelato. Choosing flavours was as hard for the adults as it was for the kids and when it came to truffles, it was even harder for the adults! We ended up with three different kinds; chocolate, green mint and ‘vanilla’ (it wasn’t technically called vanilla and had wee chocolate flecks in it). All three kinds were devoured immediately, except for one wee one, who managed to hold on to her unfinished cone all the way to Lillian Smith library! This gelato was much creamier than others I’ve tried recently, and the flavours were also much stronger (in the best possible way).


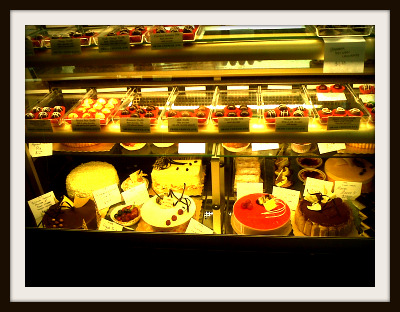
The presentation of their cakes and truffles reminded me of the Sweet Gallery in Bloor West Village, but the prices at Creme are so much better! The selection of the chocolates was nice for a cafe, and the small portion size goes along very well with a small coffee or espresso.

No Comments
« Older Posts