Browsing the archives for the peanut butter tag.

Reeces Pieces Peanut Butter Cookies

Domestic

Reeces Pieces are one of those things I cannot possibly just have one handful of. I can usually restrain myself if they are in the room, but if I cave and have one, I will likely just keep noming on them until they are totally gone. I know people who are not so into the combining of peanut butter with other already delicious things (like chocolate), and I’ve decided they are totally insane. Peanut butter and chocolate? How does that pose a problem!?

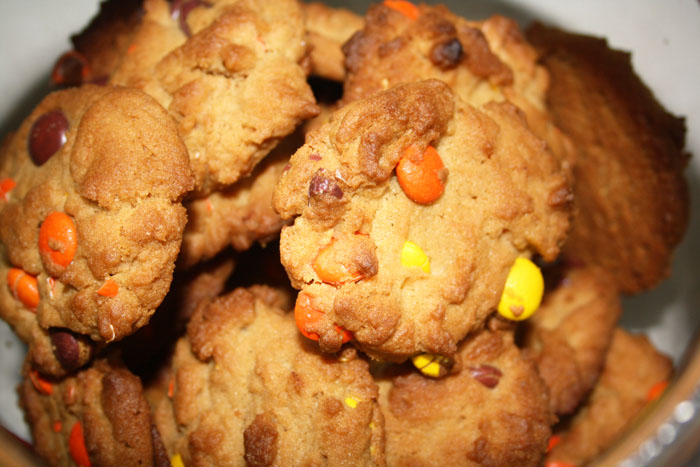
Anyhoo, moving along. I made these a few months ago – actually a little longer ago than that even, but the recipe is good and the pictures make me want to whip up another batch and go hide in the laundry room to eat them. Ahem.

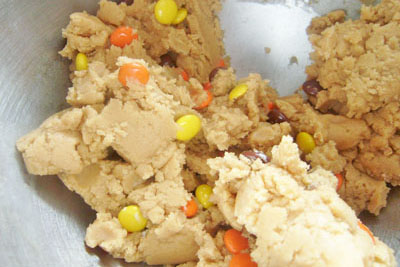
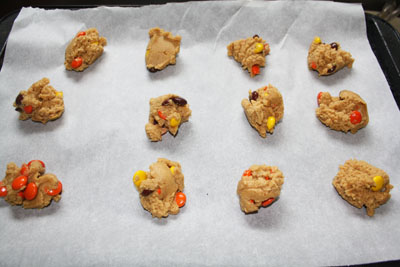
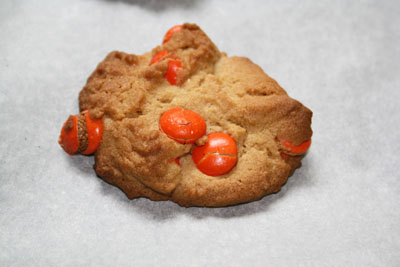
The peanut butter cookie recipe is straight from the much loved (and much falling apart and really super sad looking) Good Housekeeping cookbook I’ve had since just after I got married. For those of you playing along at home, that was approximately eleventy billion years ago. When you’d normally toss in a cup of chocolate chips at the end of the recipe, I tossed in a cup of Reeces Pieces instead. Mmmmm.

Oddly, I was texting with my cousin Jenn while I made them and she had made these cookies the day before, that’s a little weird, yes? Or just proof that we are connected on some weird culinary level? You know because Reeces Pieces chocolate chip cookies are such culinarily advanced treats, dontcha know?!

Reeces Pieces Peanut Butter Cookies

Via Good Housekeeping Cook Book

1 1/14 cups flour
1 teaspoon baking soda
1/4 teaspoon salt
1 cup creamy peanut butter
1/2 cup butter
1/2 cup packed brown sugar
1/4 cup sugar
1 large egg
1/2 teaspoon vanilla extract
1 cup Reeces Pieces

Reeces Pieces Peanut Butter Cookies
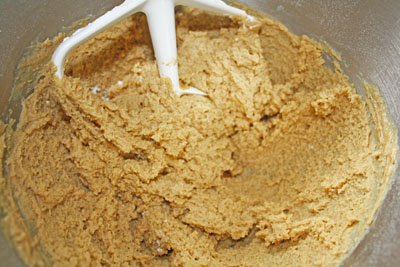
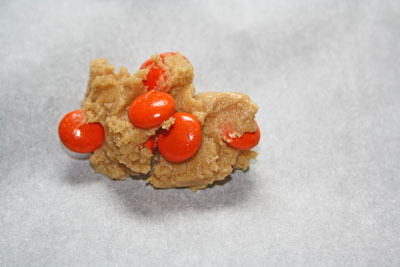
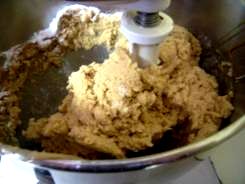
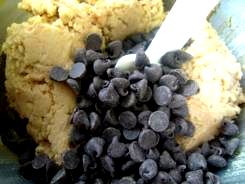
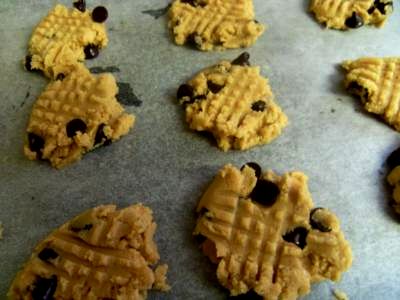
It’s the simplest thing in the world. Well, very close to it anyway. Mix sugars with butter, add the egg and vanilla. Mix the rest in a separate bowl and then tip that bowl into the wet ingredients. Voila! When it’s all mixed up and you have peanut butter cookie dough, fold in the Reeces Pieces with a wooden spoon (your mixer paddle may crush them) and spoon them onto a parchment paper lined cookie sheet. About a tablespoon each.
Reeces Pieces Peanut Butter Cookies
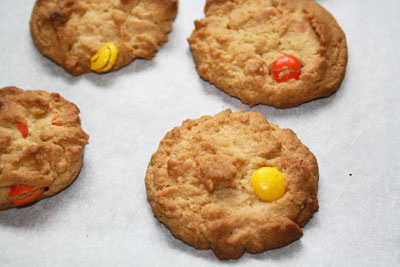
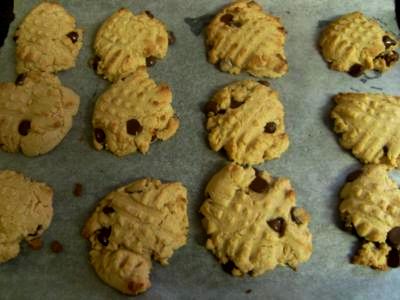
Bake them for 15-20 minutes at 350F.

Reeces Pieces Peanut Butter Cookies

No Comments

Peanut Butter Rice Krispie Balls

Domestic

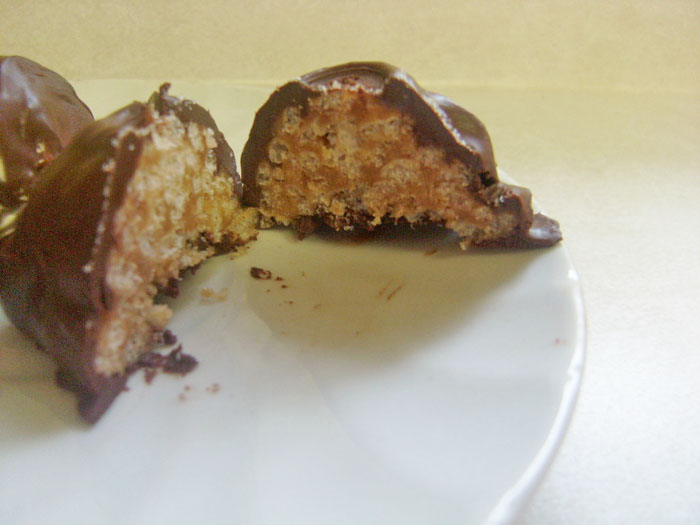
There are times when you want to come out of the kitchen with a decadent several-layer cake to a room full of friends. Or when you want to serve homemade ice cream on the back deck to your family after a barbecue. Then there are times when you want to make something so simple and yet addicting and amazing that it borderlines on ‘trashy’. I mean, maybe any recipe that includes mini marshmallows can be classified as trashy. I’m not smack talking, I’m a serious fan of trashy food. Dips for fruit that include marshmallows? Yes please. Ice Salad (aka Jello set with ice cream)? Um, totally. Tater Tot Casserole, the king of all trashy food? Give it here! So when I call this trashy, that’s not a bad thing – just honest. More honesty for you? You’ll eat as many as the kids will (if not more) and then you’ll make another batch.

3 tablespoons cup butter
4 cups mini marshmallows
1/2 cup peanut butter
1 tablespoon cinnamon
1 tablespoon honey
6 cups Rice Krispies
chocolate or candy melts to coat (if you want)
peanut butter rice krispie balls
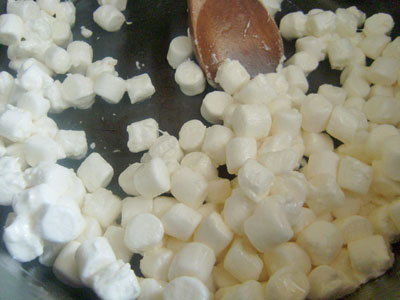
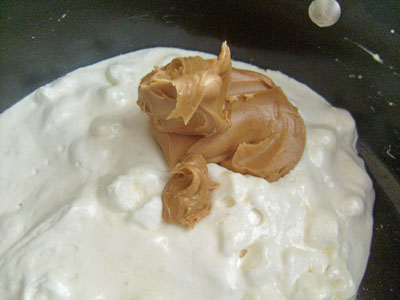
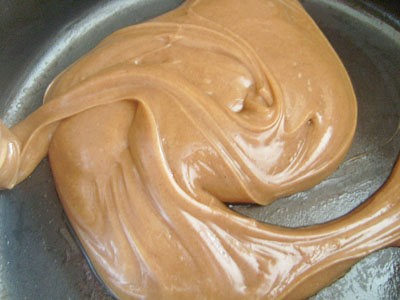
So, just as you would do for usual Rice Krispie squares, melt the butter and marshmallows together. Once the marshmallow is pretty much melted, add the peanut butter.
peanut butter rice krispie ballsl
peanut butter rice krispie balls
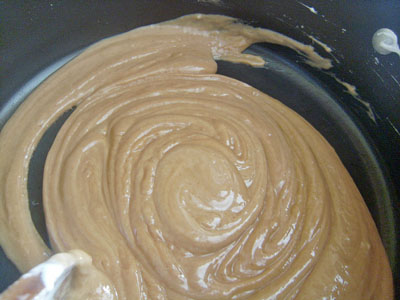
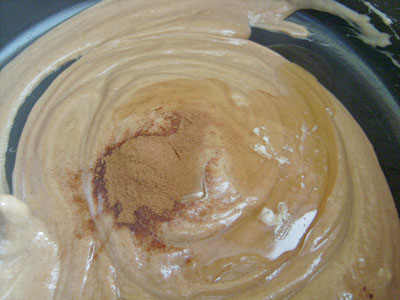
Mix! Mix! Mix! Now add the cinnamon and honey, use less if you don’t want them so ‘cinnamony’.
peanut butter rice krispie ballsl
peanut butter rice krispie balls
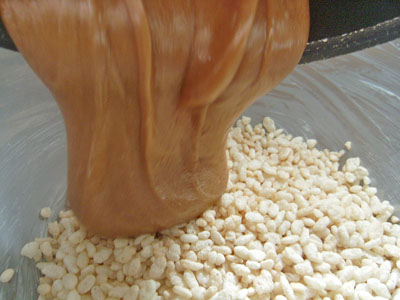
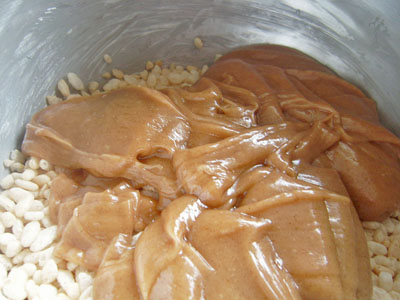
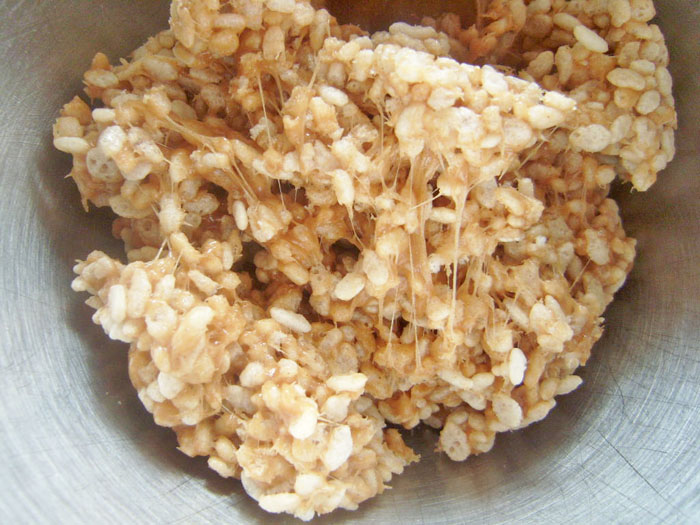
Now you have a magnificent peanut butter marshmallow mound of goo. Pour that goo over your Rice Krispies!
peanut butter rice krispie ballsl
peanut butter rice krispie balls
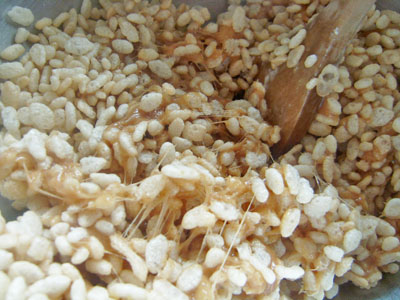
Mmmmm, peanut buttery goooooo. Mix it quickly!
peanut butter rice krispie balls
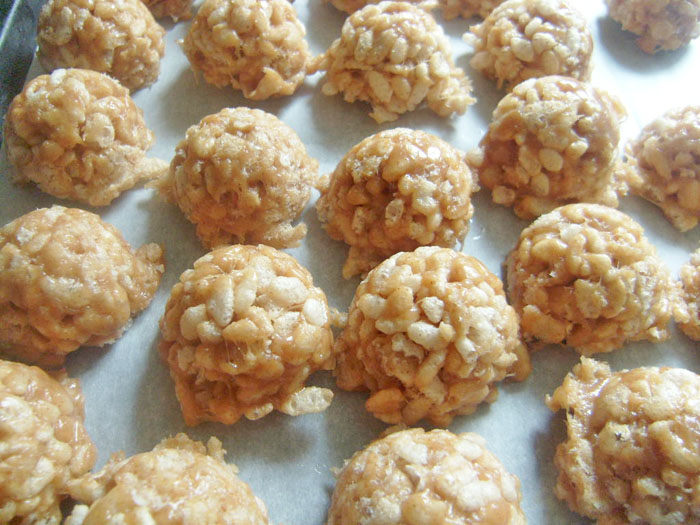
I used my tablespoon to shape these balls. If you have a mini ice cream scoop it works even better. Whatever you use, you’re going for a uniform shape.
peanut butter rice krispie ballsl
peanut butter rice krispie balls
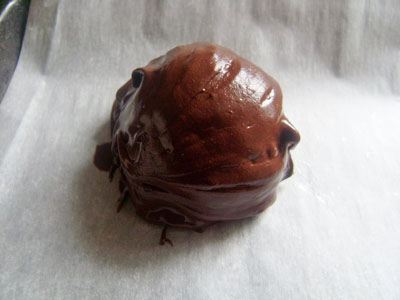
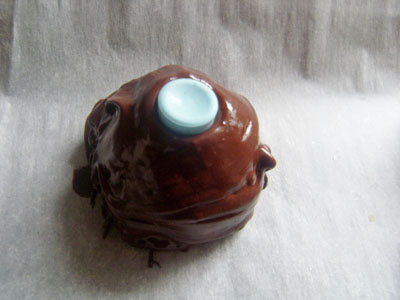
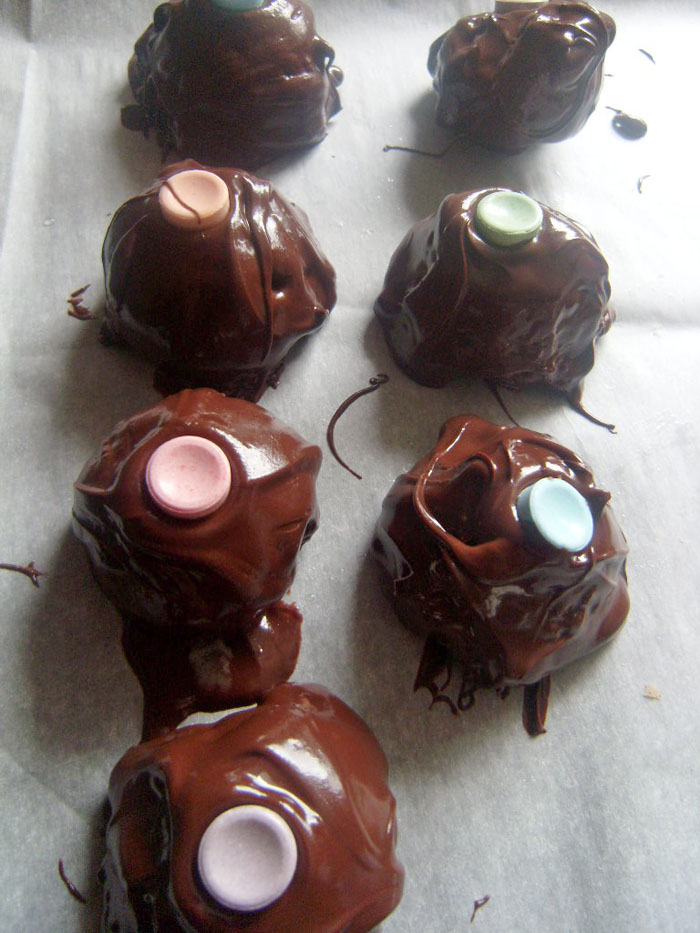
You could stop there – but no. Melt about a cup of semi sweet chocolate (either in the microwave or over a double boiler) with a little vegetable oil and dip the balls in it. If you have small children in the kitchen, they will likely suggest you add candy to the tops.
peanut butter rice krispie balls
peanut butter rice krispie ballsl
peanut butter rice krispie balls
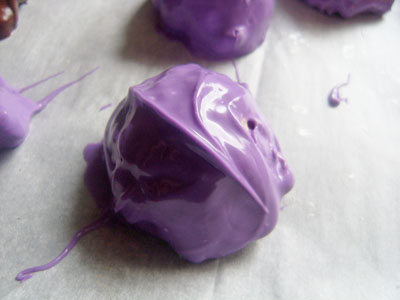
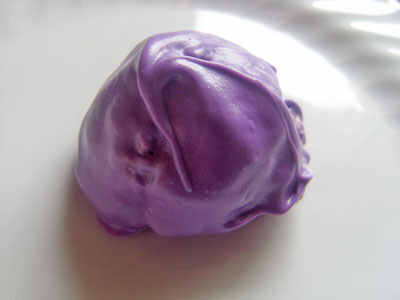
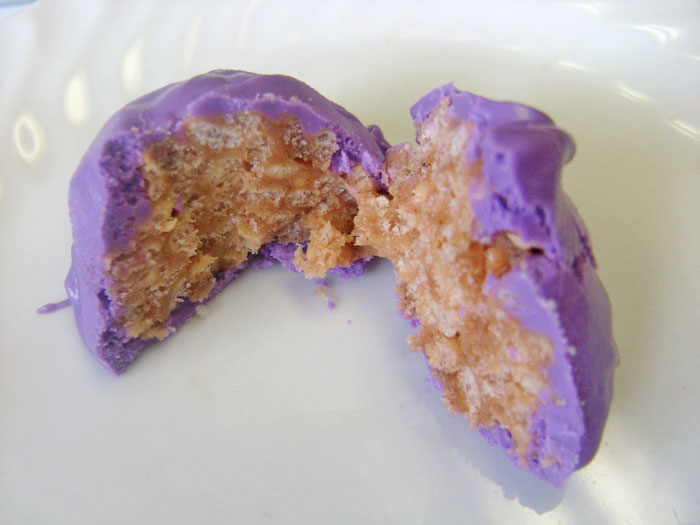
If you’re really feeling it, use candy melts instead of chocolate! You can use whatever color or combo of colors you want! Purple is sort of a big deal around here.
peanut butter rice krispie balls
1 Comment

Nigella Lawson’s Peanut Butter Squares

Domestic

These are so good it’s alarming. Yeah I know, it’s not a huge surprise that something Miss Nigella cooked up would turn out so good, but man these are so close to a peanut butter cup – without actually being a peanut butter cup, you know? I’ve been trying to find recipes for all our most loved treats so I can whip them up without a zillion added chemicals in them and this is defiantly a favorite we can all agree on. So good with coffee or hot chocolate – or really, whatever.

I used regular brown sugar instead of the muscovado because I honestly didn’t think it would make much of a difference. I’ve read since then that using muscovado sugar can make a huge difference – so clearly, I have no idea. I will make them again with the muscovado and report! Also, I didn’t convert measurements to cups because it could totally be argued that it’s not exactly the same.


nigella lawson peanut butter squares

Peanut-Butter Squares – from How to Be a Domestic Goddess p. 223

Base:
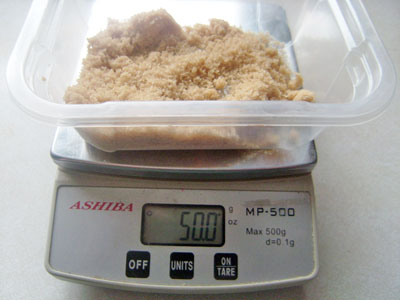
50g dark muscovado sugar
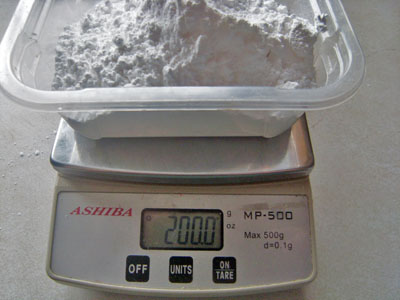
200g icing suger
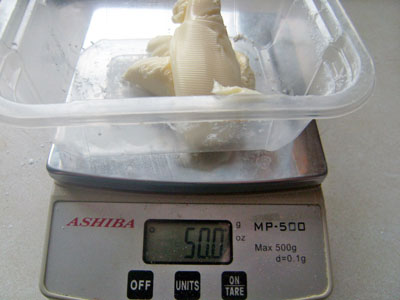
50g unsalted butter
200g smooth peanut butter
Topping:
200g milk chocolate
100g plain chocolate
1 tablespoon unsalted butter
nigella lawson peanut butter squares

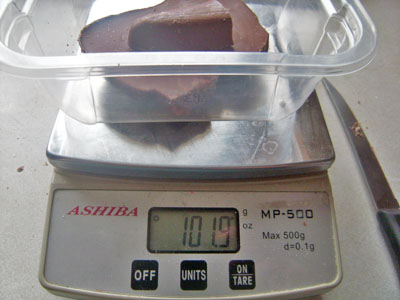
I’m always so pleased with myself when I weight out all my ingredients without having to play around to balance it out! Lucky!

nigella lawson peanut butter squares
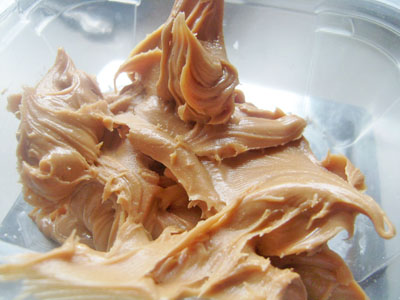
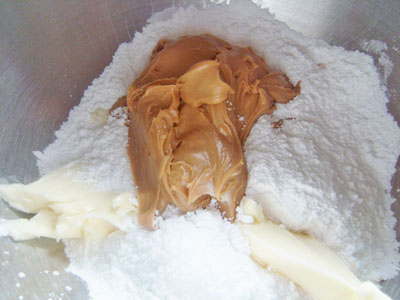
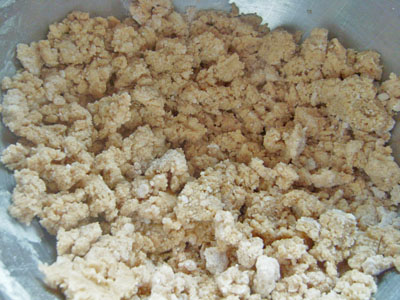
Mix all of the base ingredients until well combined.
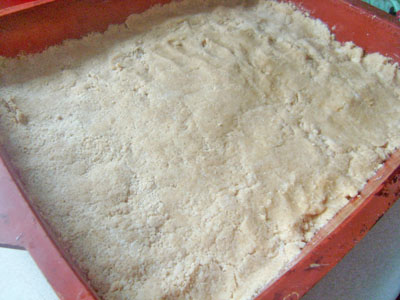
It’ll be a little crumbly, just press it into a 8 x 8 (or whatever, really) pan.
nigella lawson peanut butter squares
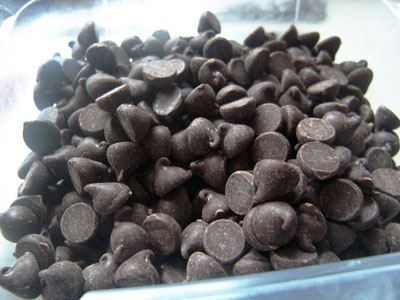
Weigh out your chocolate!
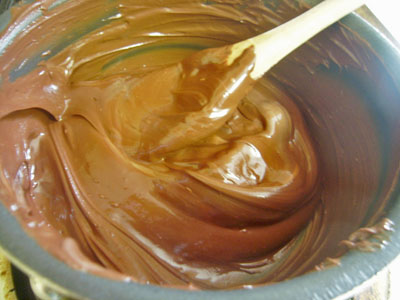
Now melt it, along with the butter till it’s all creamy and lovely.

nigella lawson peanut butter squares
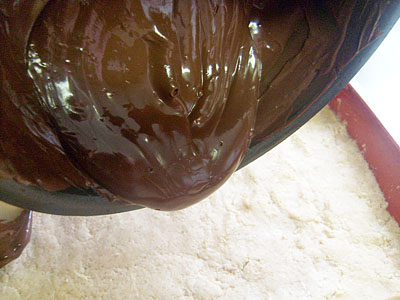
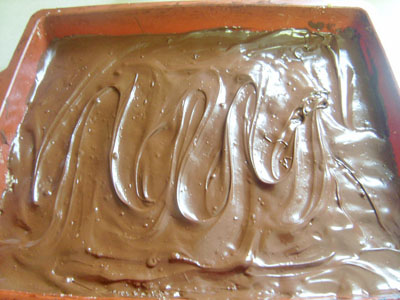
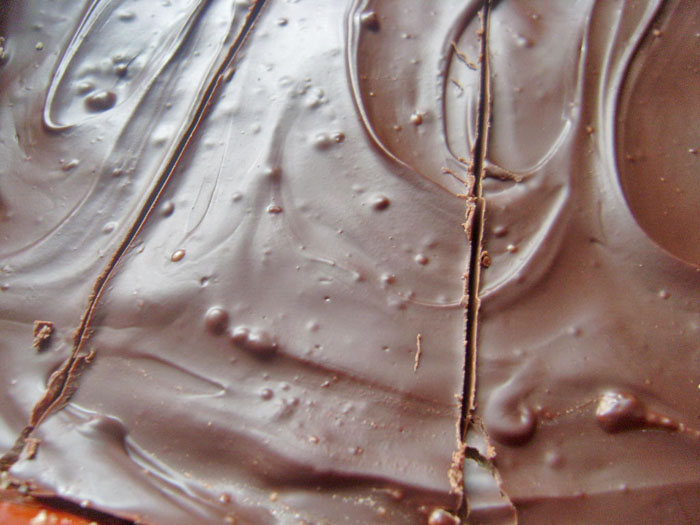
Pour the melted chocolate over the peanut butter base. Smooth it out, or make little swirlys or whatever you like with the chocolate layer.
nigella lawson peanut butter squares
Let the chocolate set up in the fridge for a while before you take it out and cut it into pieces. I suggest 48 pieces because, as Nigella warns in the book ‘more-ish as it undeniably is, it is also very rich’. So amazing. If you are fortunate enough to be able to bring peanut-stuff to your work or school (or your kids’ school), bring these. Everyone loves them and they disappear fast!
No Comments

Peanut Butter Chocolate Chip Cookies – Cookie #2

Domestic, Kids

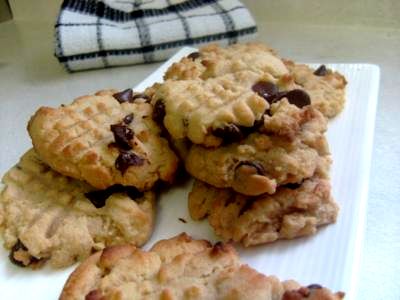
Introducing the second cookie of the year – Peanut Butter Chocolate Chip. I bet your Granny made these, or makes if you’re lucky. My Granny made them, and then I made them with her. This isn’t her recipe exactly, unfortunately. I got a bunch of her kitchen gear and two cookbooks after she passed, but I don’t have her scribbled down recipes on messy and stained index cards – yet. That’s what I really want.

So, anyhoo. These cookies are very close to the one she used to make, I adapted the recipe just a teeny bit by swapping chocolate chips for whole peanuts from the excellent cookbook, Great Cookies. I have used this book over and over, and I’m sure I’ll be turning to it a lot during this Year of the Cookie.

Peanut Butter Chocolate Chip Cookies – adapted from the Peanut Jumbles in Great Cookies

2 1/2 cups sifted cake flour
1/2 teaspoon baking powder
1/2 teaspoon salt
1/4 teaspoon baking soda
3/4 cup butter
3/4 cup smooth peanut butter
1 cup lightly packed brown sugar
1/2 cup granulated sugar
2 large eggs
2 teaspoons vanilla
2 cups chocolate chips

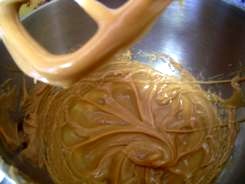
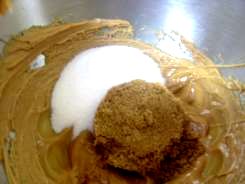
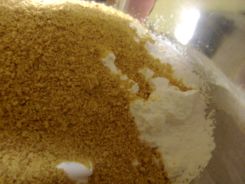
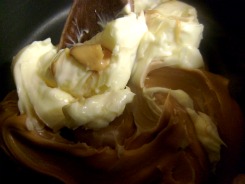
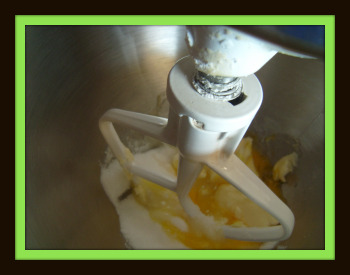
First up, of course, you sift together the flour, baking powder, salt, and baking soda, and set that aside. Then, using a stand up mixer if you have one, cream the butter till smooth and add the peanut butter. I love the way it looks, so silky! Next add the brown sugar and granulated sugar.


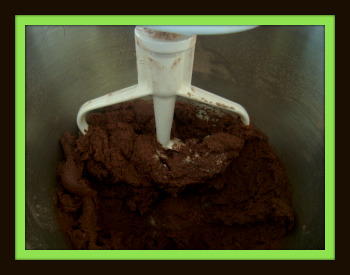
Plunk in your eggs, one at a time while mixing, then the vanilla. Now put your mixer on the lowest speed, and add your dry ingredient mix very slowly so it all gets combined properly, but don’t over mix! The take it off your stand mixer and fold in the chocolate chips with a wooden spoon.


I have always, always, always put the cross hatch marks on top of peanut butter cookies with a fork. I don’t know if that’s a thing or if it’s just a thing my family did, but I’ve always done it. The addition of chocolate chips didn’t deter me from doing it here too. 😉

8 minutes at 375 and they were perfect. I made great time on these treats too because as soon as I was done pulling the last batch from the oven….

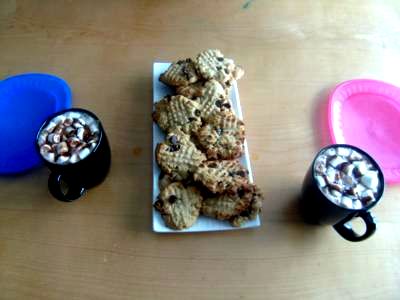
…it was time to set the table for the kids’ after school snack!

Yes, I set a little tea party for my kids every day after school. Trust me, they’re amazing and totally deserve it

1 Comment

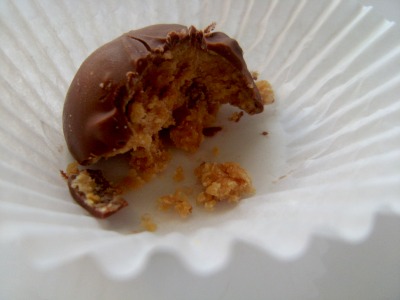
Peanut Butter Bon Bons

Domestic, Marriage

I recently mentioned that this year for my Christmas baking, I am only going to use recipes from all the cookbooks and food magazines I’ve collected over the years. All foodies have stacks of Martha Stewart Living books and magazines, piles of Gourmet magazine, Everyday Food, maybe even Bon Appetit, Better Homes and Gardens and Family Circle (and if you live in Ontario you’ve got a collection of Food & Drink magazines as well!)

This recipe is no different, and comes from one of my all time favorite cookbooks – Betty Crocker’s Best Christmas Cookbook, this one is an oldie but goodie. It came out in 1999 and was one of the first gifts my husband gave me. I knew he ‘got’ me when he gave it to me, I have used it all year long for 11 years now, but there are some extra Christmasy recipes in it that I tend to use just at Christmas.

Peanut Butter Bon Bons – from Betty Crocker’s Best Christmas Cookbook (p.262)

1 1/2 cups icing sugar
1 cup graham cracker crumbs
1/2 cup butter
1/2 cup peanut butter
1 cup semisweet chocolate chips

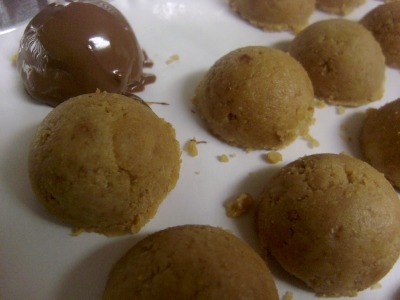
Mix the icing sugar and the graham cracker crumbs together. Then in a small pot, melt the butter with the peanut butter – and pour that onto the crumb mixture!

Rolling them into balls requires wet hands and a little time. I have three kids and a stack of Christmas knitting taller than my third child. Soooooo, I used a deep tablespoon and scooped out perfect little balls without any mess or issue – I saved a whole lot of time too I’d imagine.

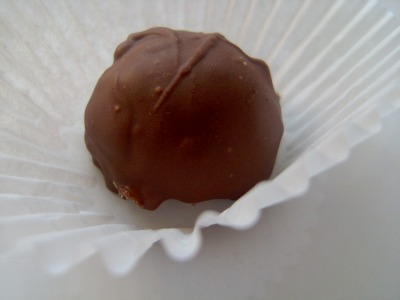
Next, naturally, you melt down some chocolate and dip! Easiest and neatest way to do this also makes them look as pro as possible. Put your peanut butter ball on a fork, hold it over your bowl of melted chocolate and use a big spoon to pour the chocolate over it. Give it a second to drip off, slide the excess off the bottom of your fork with a butter knife and then slide the bon bon off the fork.

Then, eat eleventy billion of them because ps, they’re only about 95 calories each!

No Comments

Chocolate Minis with Peanut Butter Frosting

Domestic

In my efforts to be healthier in general and make better snack choices, I have been skipping cake days occasionally and the domestic goddess in me is outraged. But the slimmer and overall healthier-feeling goddess emerging is totally cool with it. I’m sure there will be enough potlucks and school fetes by year’s end to have at least 52 different cakes or cupcakes. As of tomorrow, we’re at week 24 and cake #24! I’ve also been having too much fun to blog lately so I’m behind with my posts, but I have a lot of photo-heavy posts coming up as a result.

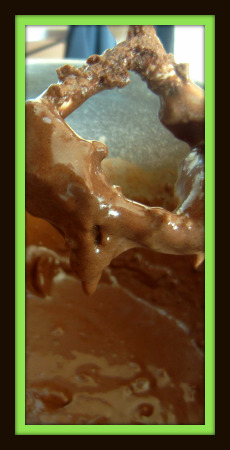
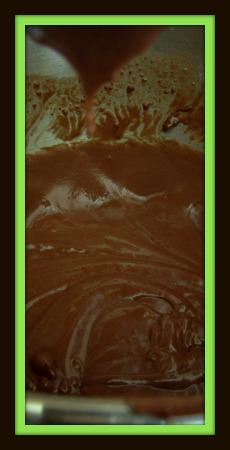
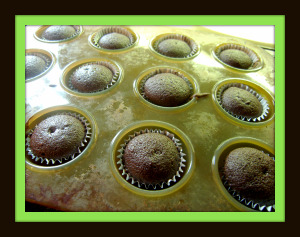
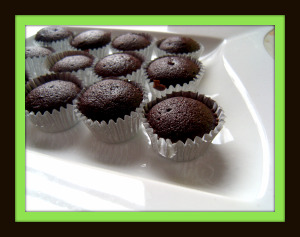
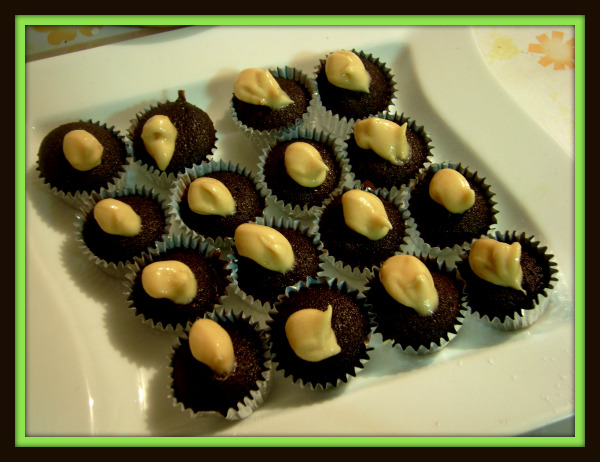
Unlike my Reese’s Peanut Butter Cup Cake, these little gems are straight up cocoa cupcakes with peanut butter frosting. The Cocoa Cake recipe came from Now…you’re cooking, and it was super simple and good!

Cake #21 – Cocoa Cupcakes with Peanut Butter Mini Cupcakes

Cake:
1/3 cup butter
3/4 cup sugar
1 egg
1 cup flour
1/3 cup cocoa


1/2 tsp baking soda
1/8 tsp baking powder
1/2 tsp salt
2/3 cup water
1/2 tsp vanilla
Frosting:
1/2 cup butter, softened
1 cup creamy peanut butter
3 tablespoons milk
2 cups confectioners’ sugar


You know the drill, beat the butter, sugar and eggs till ‘light and fluffy’, then in a separate bowl mix flour, cocoa, baking soda, baking powder and salt. Mix water and vanilla, add. Gradually whisk the flour mixture into the egg mixture and you’re ready to pour.

This recipe will make an 8″ cake, 12 generous cupcakes or 24 mini cupcakes. Bake any of these at 350, 30 minutes for a cake, just slightly less for the cupcakes and 15 or so for the mini cupcakes. Check early and often! I used my silver tin mini liners for the first time and I am madly in love with them.


For the peanut butter frosting, cream the butter and the peanut butter together, gradually add the sugar and once it’s thick add the milk, a little at a time till you’ve reached the consistency you’re after. Voila! I had ‘just a taste’ of this frosting and wanted to mainline my icing bag. It is pretty sweet though, so a little dollop on these minis is slightly more than enough.

Overall, these wee creations were a hit except my sister pointed out, and then didn’t want to let me live down, how wasteful the liners are. Especially since we ate them here, it’s not like they had to be transported anywhere. I think in the future, I’ll save all liners for bake sales, school fetes and gifts.

There is so much going on this summer in the way of theme parties and road trips and baking with friends and so many fun things to blog about. I am most looking forward to the Barbie party (the idea for this was based on a shockingly pink nail polish) where we all dress as different kinds of Barbies like say Homeless Barbie or Soccer Mom Barbie. Right?! There will also be a Bind girl night, where all drinks are ‘shaken, not stirred’ and a ghetto/club dress night. That one needs to happen this summer because my friends can’t be getting on the streetcar in micro minis in November.

Here’s hoping there will be enough time between each adventure to stop and write about them.

2 Comments

Fall Baking Round Up (Halloween and Birthdays)

Domestic

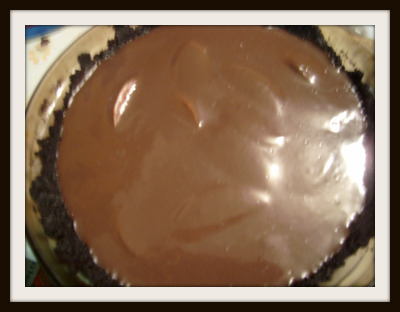
Making a different pie every week all year has lead to some pretty funny pies. I strive to rival Martha, and some days I do (hello Valentine’s Day, 2009!), but other days I end up making a chocolate crumb crust, lining the bottom with sliced apples and pouring chocolate pudding on top. Yup. Meet pie #47, Apple Chocolate Pudding Pie. It was delicious, for the record, but the description above is 100% true. My 9 year old could have made this, actually I bet my 4 year old could have made it too (she likes to make instant pudding in the Kitchen Aid)!
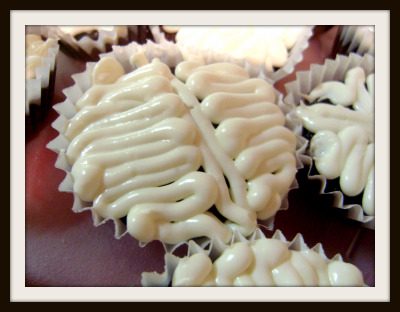
Moving along to treats I am more proud of, brain cupcakes made for wee one #1’s school Halloween party! One of my dearest friends, Talea, gave me an icing pen for my birthday this year, because 2010 is the Year of Cakes and Cupcakes! I used it for the first time to make these brains. I was so happy while making them because the pen, though a little fiddly to fill, works like a dream and made the cupcakes look all brainy! Of course, once they were all packaged up and ready to roll the night before the party I started to get self-conscious about them. Did they look brainy enough? Maybe I should have tinted the icing to be pinkish? Maybe I should have added blood? No.
I made these Chocolate Witch Hats from a Martha Stewart recipe. In her recipe is says to paint the cones with chocolate, but the image it conjured of the messy hands killed it for me. All you need; a box of sugar waffle ice cream cones, a tray of chocolate wafer cookies (I made mine from scratch thankyouverymuch), a bowl of broken Kit Kats, and a bowl of melted chocolate.
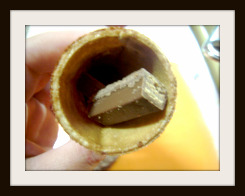
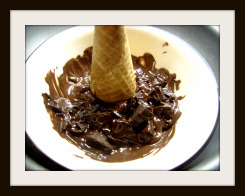
 

Dunk the ice cream cone into the melted chocolate, put a few broken Kit Kat pieces inside, and top it with the cookie (using the flat bottom of the cookie as the underside of the lid so it holds to the cone better), you may have to brush the seal with melted chocolate too. Just as many children ate these as adults once we got them into the school. Most of the office staff had one!
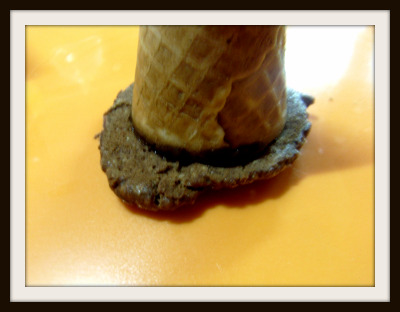
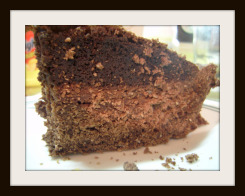
Shortly after all this Halloweening it up in the kitchen, I came across this post on Cake Spy from May on a Cookie Cake Pie, which naturally, got me very excited! I still had some of the cocoa cookie dough in the fridge from the Chocolate Witch Hats I had made, so I went with a chocolate version. I’m not sure what I did wrong. I think I will try this again when I visit with my friend Heather when we go on our Christmas trip. I didn’t do the idea justice, it was ok, but a little dry and not half as exciting as the original idea.

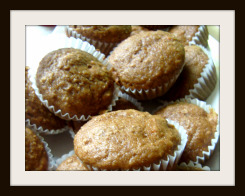
I immediately redeemed myself with these Pumpkin Carrot Muffins, though, so it’s ok. 😉
 

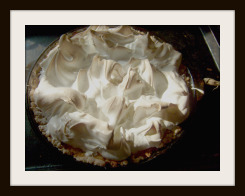
Standard Lemon Meringue was pie #51, with the standard coffee ring (chopped up to fit on the platter, naturally), and (drum roll please) pretzels.
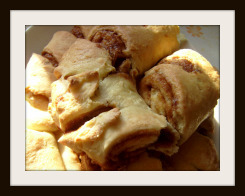
 

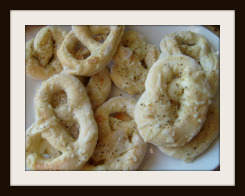
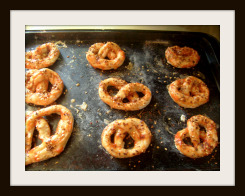
I made pretzels from scratch! The recipe was alright, but the instructions were sub par so I will try this again and share a how to once I’m better at it!
 

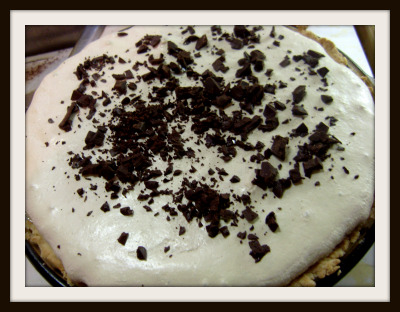
This was exciting for me. Meet pie #52, Mint Chocolate Chip! It was delicious, but it was also so pretty and the sound the meringue made when I cut it was that perfectly crunchy but not hard shell cracking sound. Mmmm. I was impressed with myself, for sure.

I made a standard white flour pie crust (we’ve established that whole wheat flour and chocolate only work nicely in brownies), baked it, then made chocolate pudding with some mint extract, filled the pie crust and popped it back in the oven for another 30 minutes or so. Then I whipped the meringue and added green food coloring, I topped the pie off with that and then put it back in the oven again for another 10 minutes. I added the chopped chocolate once I took it out.
I maybe should have called this the Elvis Pie, since it’s pretty much equal parts banana and peanut butter, I learned when making this pie that while a smashed banana is delicious and invisible in baked goods, the same is not true for actual pieces of banana. They are still delicious, but they’re not pretty.
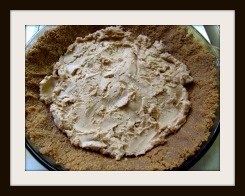
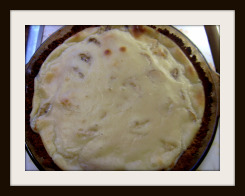
 

Finally, this cake is my most favorite recent accomplishment. One of my wee ones has a thing for Dora, as many wee ones do and asked me to make her a cake. So far, on the baking front, I’ve been getting pretty good at making very pretty cakes, but they are decorated differently. My mother was always baking and frosting cakes. By the time I was half way through elementary school, she was making cakes and chocolates from home as a small business. Her style of decorating was piping the entire cake from the Wilton decorating tips and it was so so so nice. I have yet to get that good at piping, so I smooth out the cake and pipe what I think I will do the least damage with. I used the same decorating pen from Talea for the sun and cloud. She loved it, and so did her wee friends!
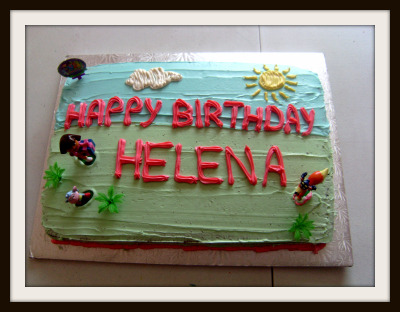
    Next up is some serious holiday baking!

4 Comments