I thought checking in once a week would be a helpful way to stay on top of my resolutions. Or maybe make me feel like an epic failure. Only time will tell – stay tuned!
1. stay at least one week ahead of our homeschool schedule
School in our district technically doesn’t start until Monday, but I started the littles this past Monday, so goal #1 of being one week ahead of our homeschooling plan is in full effect! Maybe I can get even further ahead at some point so we can take longer breaks? I’m sure they’d love that!
2. celebrate everyone’s birthday (local and long distance) with a card in the mail and a little letter
There are six birthdays in our lives in January. On Monday, I got out cards for the first two – my dad and my good friend Melissa. Yay!
3. keep our family photo site updated (in the 10 years we’ve had that site, we’ve always been about 3-5 months behind)
Ok so when I made this resolution last week, I didn’t realize just how far behind I was with it. The photo section is updated to Jan of last year, the video section is updated to May of last year, the house tours page is updated to 3 houses ago. The mobile galleries and blog pages are totally bare. This week I fixed some code that was making it take longer to make new additions so hopefully I can make some progress next week.
4. start a ‘what we did today’ journal (index card version is cute)
I just got 365 index cards and a date stamper. I’m hunting for the perfect box to put them in still. I was using The Happiness Project but I need a little room to ramble. 😉
5. quit social media that’s not blog related (this is part of a bigger move to be more present in all of my relationships)
I am officially only using social media for the blog. Though to be honest, I am still chatty on Instagram and Twitter with some friends and family, the main objective was to get away from Facebook as the world’s biggest time suck and I accomplished that! It was pretty tricky actually. Facebook doesn’t allow a page (like the one for this blog) to exist without a Facebook user as an admin. I read a lot of blogs explaining different ways to go about doing this, so naturally I thought I knew what I was doing. I converted my personal profile into a ‘page’, and the instructions I was following said that after I did this, I’d be able to merge this page with my existing blog page. Buuuut, I had no such option and was the proud owner of my So Very Domestic’s FB page, and also a page that looked similar but had my name instead. Ugh. I poked around the settings on my personal ‘page’ and changed it’s status to unpublished. This way, I am not on Facebook as a person, but my blog can still be there.
6. blog 3-5 times a week
Today makes 2! This was our first week back doing school and dance and jiu jitsu. Hopefully, I’ll find a groove!
7. make a lightbox and get better at food photography
I have been reading about lightboxes and I love the idea of getting tiles to use for backgrounds and all kinds of fun stuff I want to put into play. I’m still researching and learning.
8. a portrait of my children, once a week, every week, in 2014
Every Saturday morning, I’m going to post the best picture of each kid from that week.
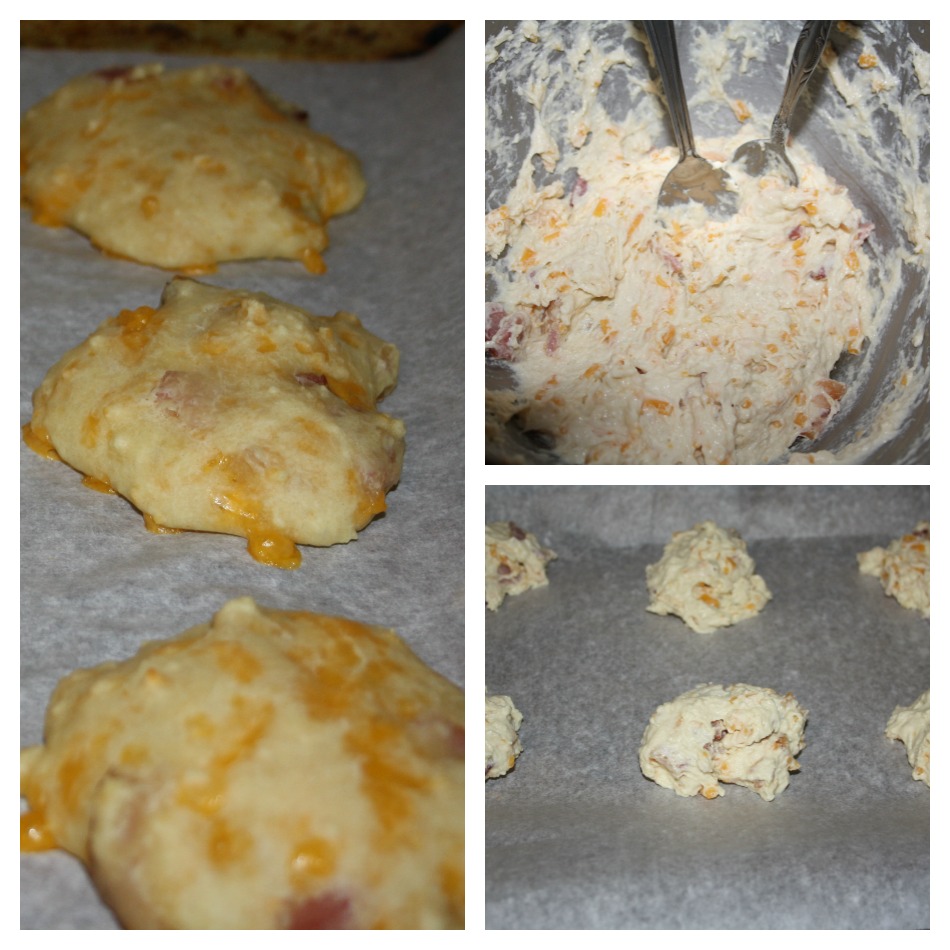
9. bake a cake every weekend
Week 1 – Nutella Icebox Cake
10. participate in sockdown 2014
Sockdown is, essentially, a knitting challenge within the Sock Knitters Anonymous on Ravelry (which is sort of like Facebook for knitters). Each month there are different sock knitting techniques, sock pattern designers and every other month there is a mystery sock (it’s a mystery because you’re given the pattern but no pictures). For example, this month the techniques are lace and intarsia and the designers are Stephanie van der Linden and Heatherly Walker. I am casting on this afternoon a lacey sock. I think probably this one or maybe this one. Hopefully this will get Work in Progress Wednesday happening again. 😉
11. finally finish my knitted beekeeper quilt
My beekeeper quilt is sitting in a bag, in about 360 pieces. I am not going to like writing that every Friday until I put it together. This weekend, I am going to lay out all the hexipuffs I have knitted and see what it looks like. I don’t think I need more puffs but I will make sure, and if I do I will estimate how many I have to knit and start knitting them. If I don’t need to make more, I will work on piecing it together. So exciting! I started knitting this before we left Canada!
The two other things I’m working on are replacing alcohol with coffee and working on my vitamin levels and cholesterol and 10 days in, I’ve been successful with the coffee over alcohol! Though really, I haven’t had any alcohol since a Christmas party in mid-December. As far as my vitamins and cholesterol levels, I had my bloodwork done on the 2nd and yesterday I saw my doctor about it! Only my D is low, everything else is good so maybe this is a short lived goal haha. I guess it’s about keeping my levels good, my cholesterol is actually higher than it was! I think I got kind of cocky when I first had it checked in July and when it came back good I thought, hey look eating just ok is perfectly healthy for me, and then I started eating even less than just ok. Ahem. I am having my bloodwork done again in April, so I will compare numbers then.
So far, so good I think. I’m off to a decent start. Now, to edit that pesky photo site!