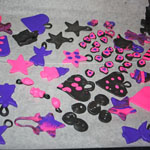
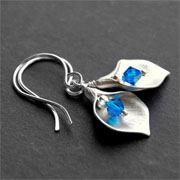
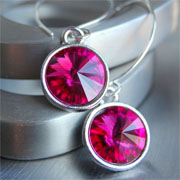
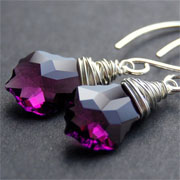
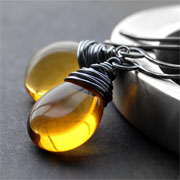
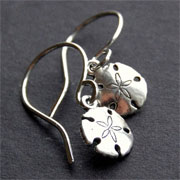
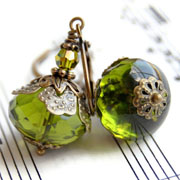
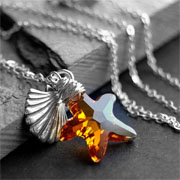
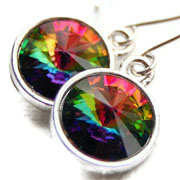
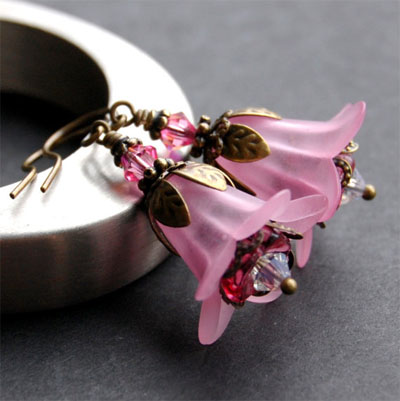
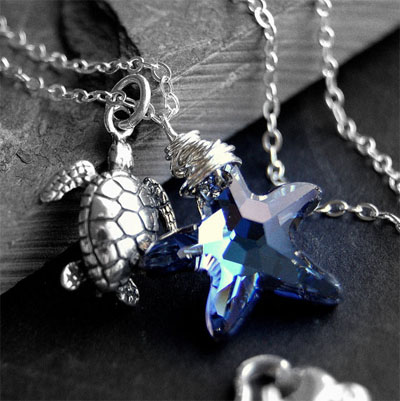
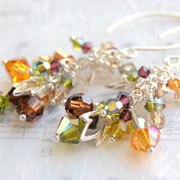
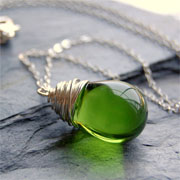
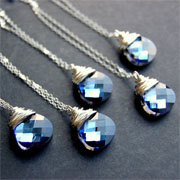
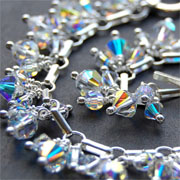
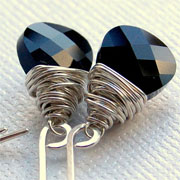
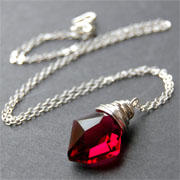
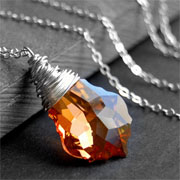
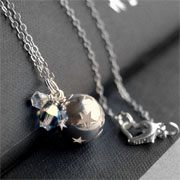
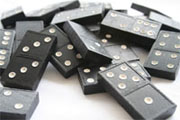
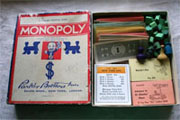
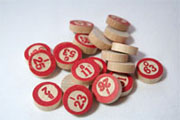
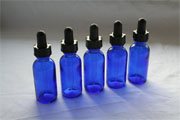
I love doing Window Shopping Wednesday posts. Window shopping in general is not really my thing. I have a hard time with the gimmies to be honest with you. My biggest issue is pretty much anything that sparkles, which made for a serious issue when I discovered Green Ribbon Gems on Etsy a little while ago.
There isn’t a single item in this shop I wouldn’t wear or gift to a friend. Every piece is so beautiful!!

Mar 27, 2012
I’m linking up with The Tuesday Glam Party, One Project at a Time, Take a Look Tuesday, Tuesday’s Treasures, Ta-Da Tuesday, Tuesday Time Out and Tuesday Tutorial Link Party. Check out some of the amazing projects in these link ups!
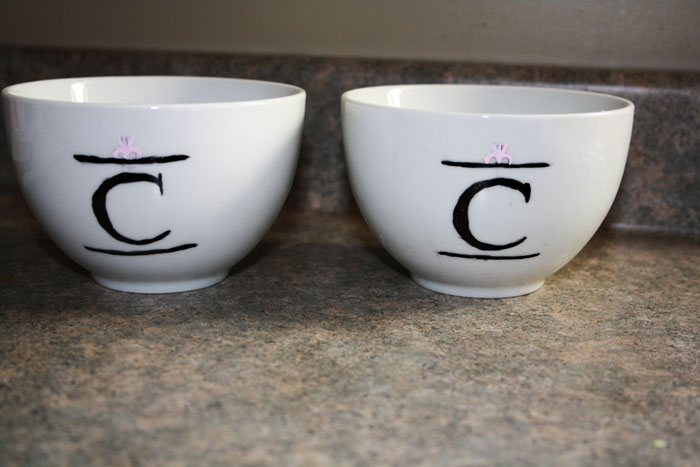
Making something cute and meaningful can be tricky when your recipients aren’t as into DIY as you are, or when you’re giving to a couple and don’t have time to knit an afghan. These cups though? They’re adorable and useful too! Even people who aren’t down with crafts are down with useful!
A few months after we gifted these, we surprised them for coffee and holla these cups were in use! If you’re hoping the cups get used on the regular, make sure you choose nice, big coffee mugs (unless of course you know they are more into tiny little capp cups, in which case, get some of those instead).

Monogrammed Cups via Design Mom
Plain white mugs
Graphite paper
Dishwasher-safe paint
Scissors
Tape
Pen
|
|
|
|
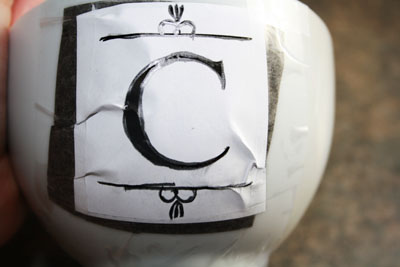
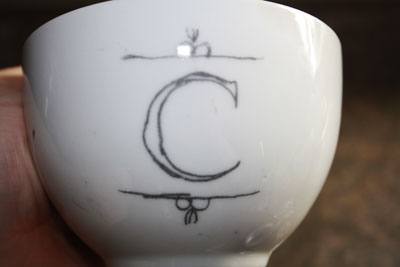
Cut out the design and tape it, over top of the graphite paper to the cup and write over top of it with a pen or pencil.
|
|
|
|
|
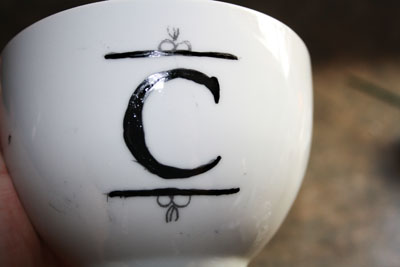
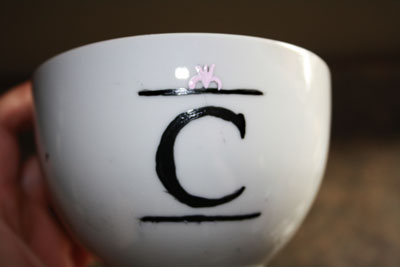
Take the paper off and using a fine tip paint brush, paint over the image you traced. Then bake them for 30 minutes at 300F.
|
|
|
|
Aren’t they cute?!? They’re dishwasher (and wear and tear) safe!
|

Mar 26, 2012
This week, I’m linking up with Polly Want a Crafter, Motivate Me Monday, Made By You Monday, Make It Monday, More the Merrier Monday, Masterpiece Monday, Craftomaniac Monday, Make It Monday, Metamorphosis Monday, Making the World Cuter, Make It Yourself Monday, and Bedazzle Me Monday! Check out the projects in these links, so creative and so fun!
Don’t forget about our giveaway with Keeley Behling Studios! Like the Keeley Behling Studios Facebook page and leave a comment there about something in her Etsy shop to enter. It wouldn’t hurt if you liked the So Very Domestic Facebook page too. 😉
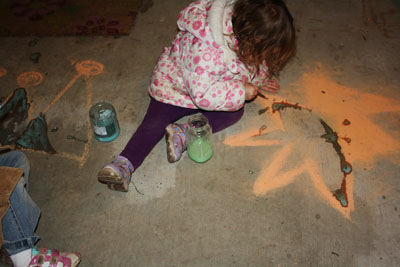
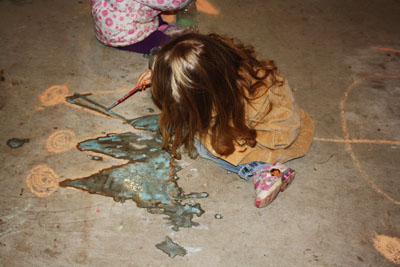
Sidewalk chalk is amazing and fun for little kids, and even my girlfriend and I have been known to scribble some masterpieces on the sidewalk outside our old house in Toronto. Out here in the woods though, it’s 99.9% gravel driveways and seriously lush grassy yards. Pretty, yes. Sidewalk chalk friendly, not so much. One of the selling points for this house (to the kids anyway) was the concrete patio in the backyard. The girls immediately realized they could make chalk drawings out there. Sidewalk chalk was, no lie, one of the very first things they went hunting for to unpack when we first moved in. Hilarious. So when I came across this quick project, I was aaaaall over it.

Chalk Paint adapted from Infarrantly Creative
1 teaspoon washable paint
1 cup hot water
1/2 cup cornstarch
squirt dishwashing liquid
1 squirt bottle
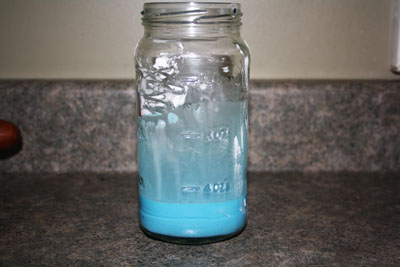
This little project is crazy easy and fun for the wee ones. Add the cornstarch to the hot water and mix till there are no clumps, then add the paint and soap and voila! Chalk paint!
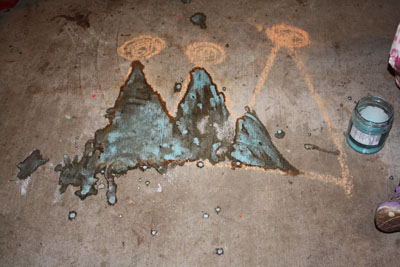
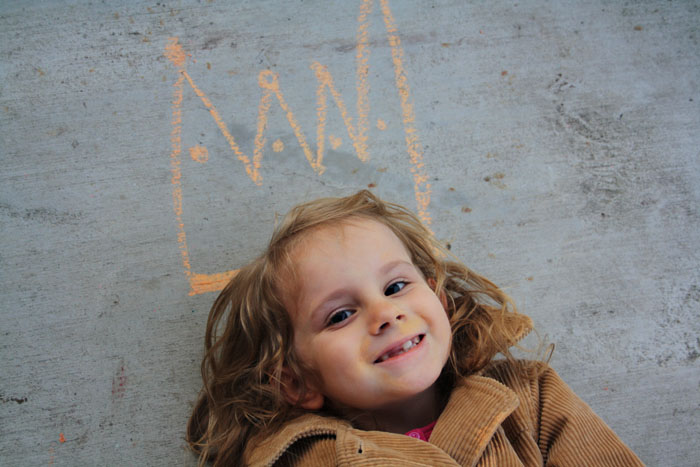
I drew outlines of a crown and some stars on the back patio for the girls to fill in and they were out there painting till it got chilly and I had to turn the lights on and get their coats!

Mar 21, 2012
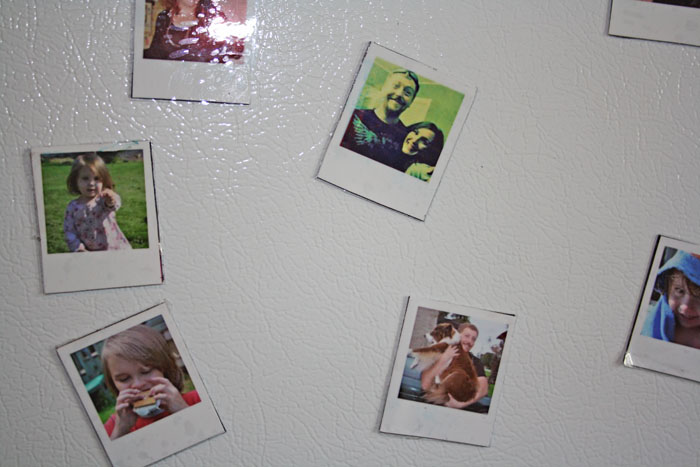
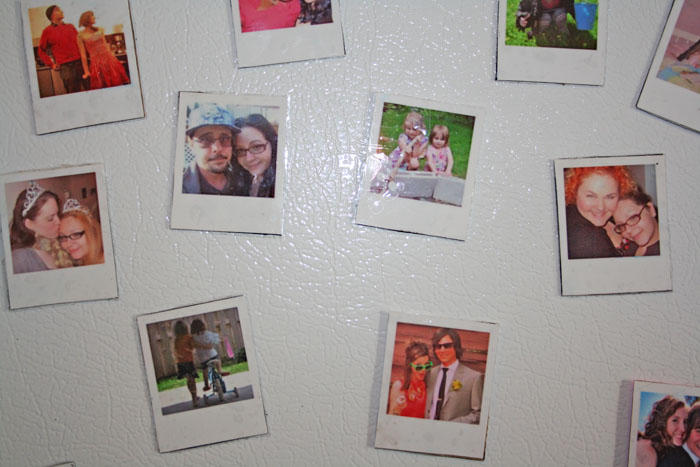
I absolutely love taking photos and when I dump my camera, I love to sort through them and edit them. I send a handful to the people in the photos, I upload some to Facebook (duh), and I put the rest on our private family photo site. But there are so so so soooo many photos I adore that I want to share with other people, outside of an email, you know? I’m working on putting together printed photobooks of every year we’ve been a family (12 years now), they can run about $100+ if they have a heap of pages, so some years will be far more expensive than others to make a book out of, but I’m really excited about it. In the meantime, since I’m not a scrapbooker, I do what I can to turn photos into gifts that wont just sit on a shelf and collect dust. These little photos gifts will defo not be left laying around. They’ll be used and seen everyday and the friends and family that use an image of me hugging them to hold up bills on their fridge will hopefully think of us when they reach for juice in the morning. <3

You’ll need…
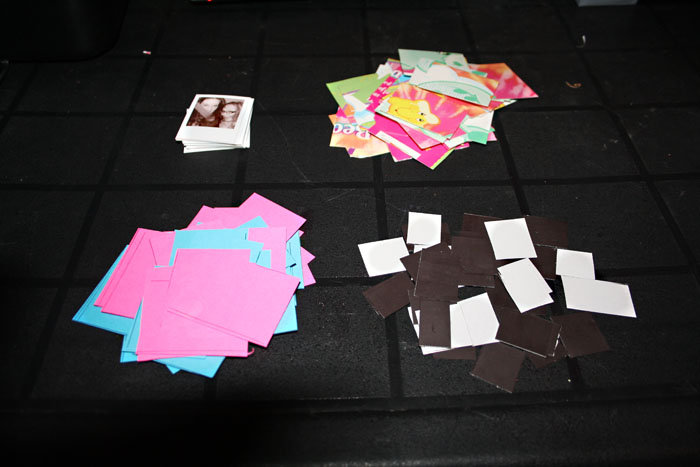
-smallish polaroid-framed photos
-magnet sheets
-cardstock/something the same weight (I used the cover of a Care Bears coloring book)
-glue stick
-clear tape
|
|
|
|
|
|
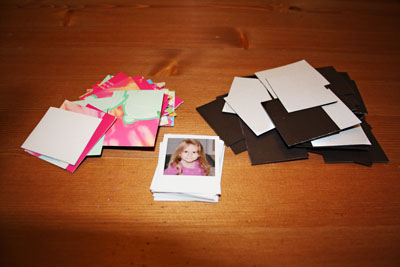
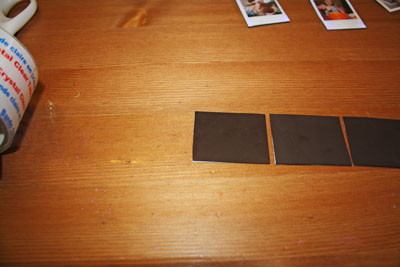
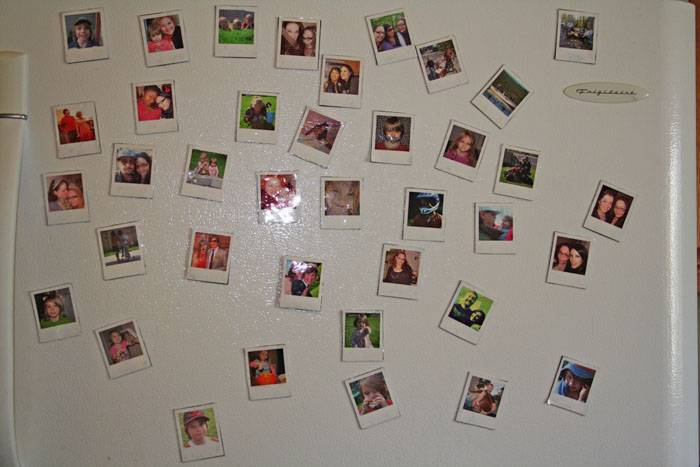
Gather all your supplies, mount each photo to a piece of cardstock, and then mount that on a piece of magnetic sheet cut to the same size. Then smooth a piece of wide, clear packing tape over the front of the photo to protect it. Trim up all the edges and you’re done! Crazy simple. Honestly, the bulk of the work with these is editing the photos to have a polaroid frame around them and then cutting the magnet sheets. Either (or both) of those jobs can be done ahead of time so when it’s time to sit down and make these, you’re finished in no time. They’re fun to display on your fridge and have your friends randomly notice themselves holding up notes, and everyone we have given a set to has looooved them! So sweet!
|
|
|
|
|
|
|
|
Man, we have a lot of good looking friends and family, don’t you think?!
|

Mar 15, 2012
Wee One #2 is a serious Barbie kid and loves all things pink, so naturally for her 6th birthday we went all out. She’s really turning into a mini May and it’s totally happening just by watching me. When she decided she wanted a Barbie party she did three things that struck me as so very … me. First, she went to Google for inspiration. Next, she made a board on Pinterest (right here if you’re interested) and pinned things she found and wanted to incorporate into her party. These two steps alone only really prove that she was born after 2000, right? I mean most kids (especially kids with computer geeky parents) would think to do this, right? The third thing though, totally me. She passed over all the glossy post-1980 Barbies and was only interested in the vintage style black and pink old school Barbies. Love!!!
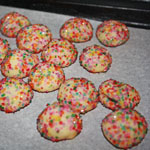
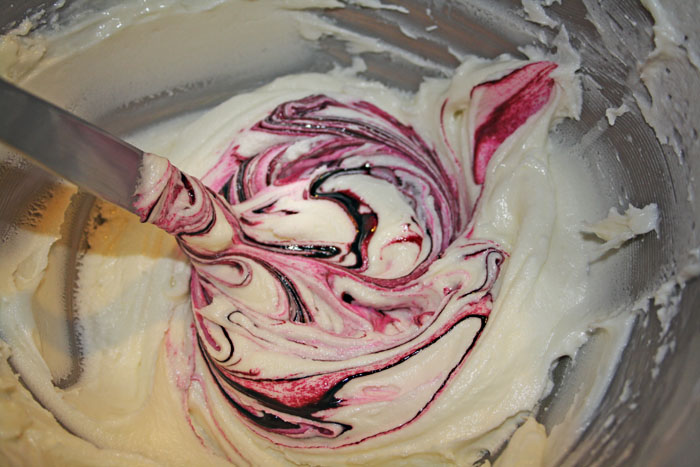
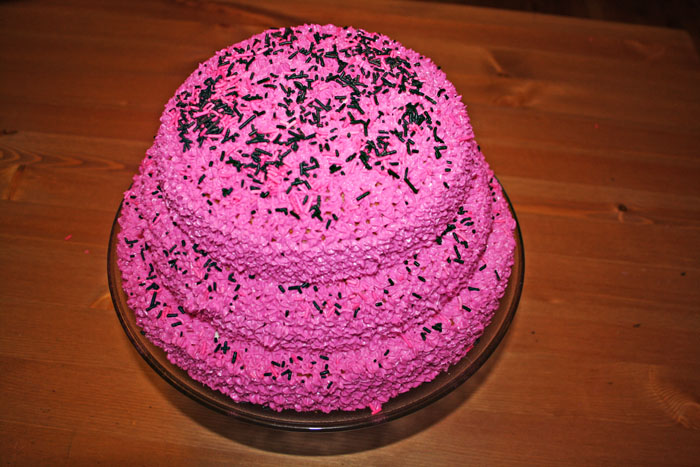
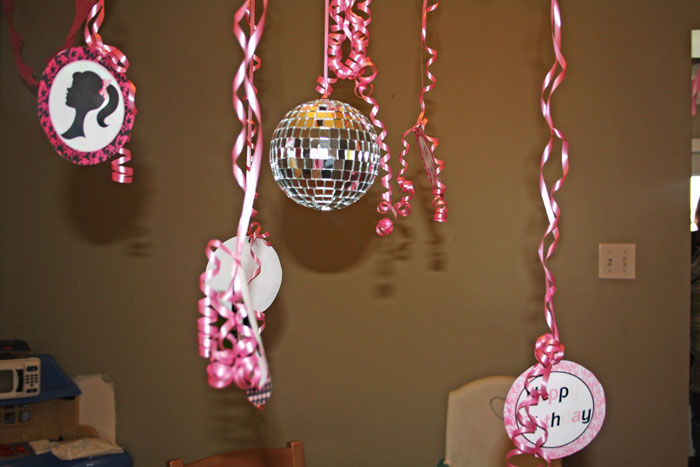
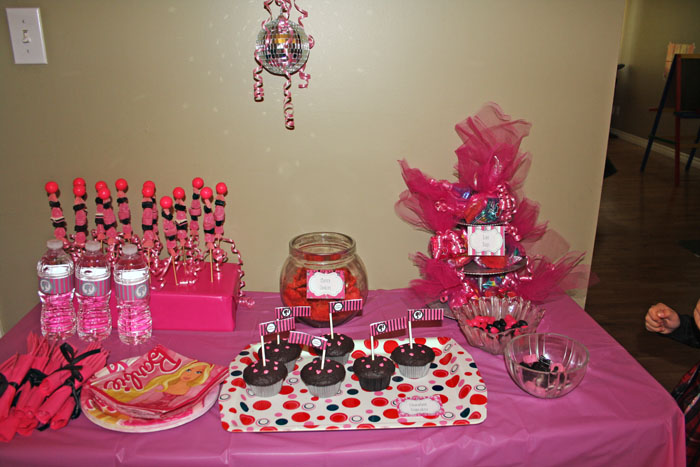
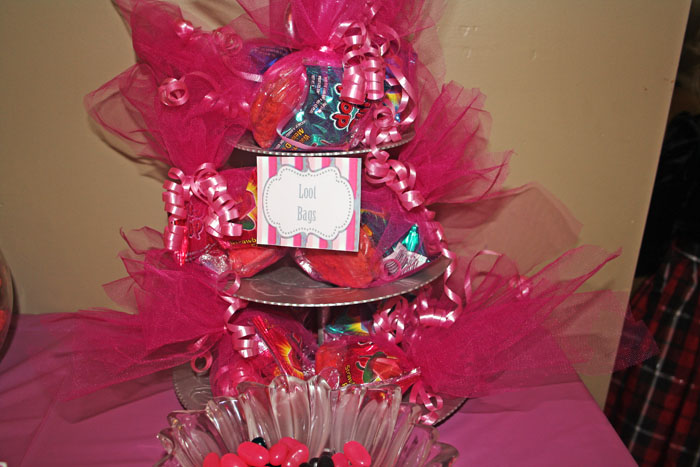
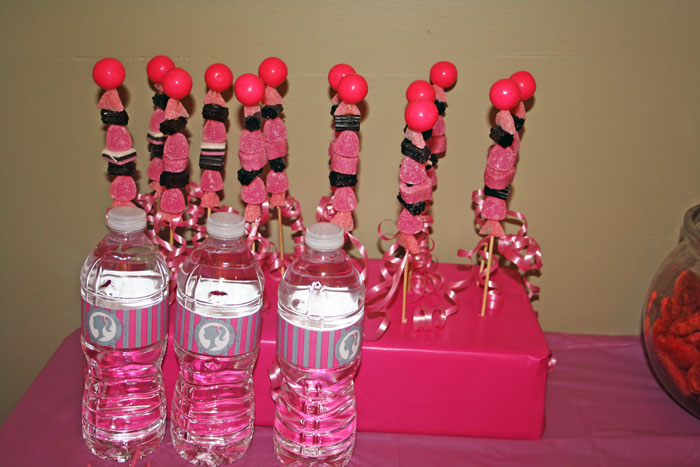
I whipped up some fuchsia buttercream for her three tiered cake, strung vintage Barbie printables and small disco balls from pink curling ribbon from our kitchen chandelier, and set up a cute pink table with treats, loot bags, cutlery, and candy kabobs – as per her instructions! The pink cookies I had made before and liked, but I didn’t loooove them. She however, did. So she insisted they be included in her party and all her wee little girlfriends really, really liked them. I thought the bright pink and black candy kabobs would have stolen the show, or that the crazy sugar coma inducing cake with buttercream would do it, but no. It was the pink jello cookies.

The Chocolate Cake was the same chocolate cake I usually make, with Classic Wilton Buttercream.
|
|
|
|
|
|
|
|
|
|
|
|
Pink Jello Cookies via Kraft Recipes
3 1/2 cups flour
1 teaspoon baking powder
1 1/2 cups butter or margarine, softened
1 cup sugar
2 pkg. (3 oz. each) Jello Cherry Flavor Gelatin, divided
1 egg
1 teaspoon vanilla
|
|
|
|
|
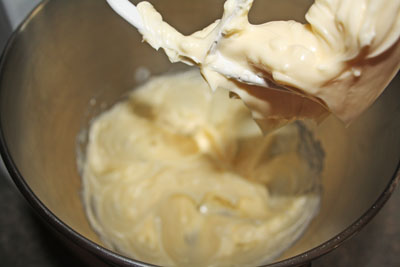
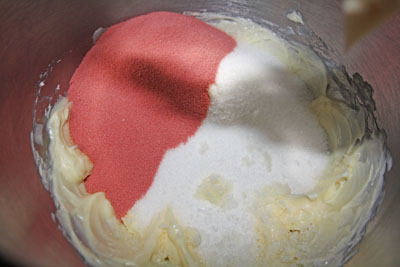
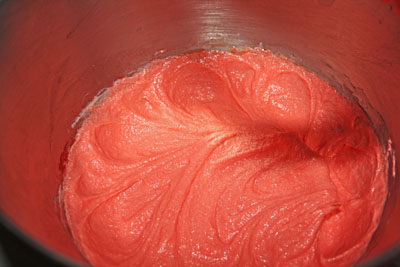
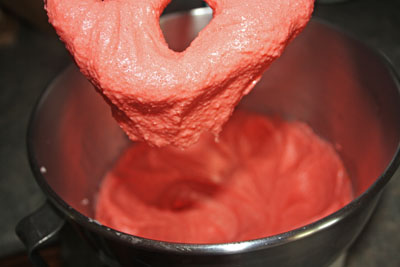
Cream the butter till smooth (don’t skip this), then add the sugar and one of the jello packages. Beat till totally smooth.
|
|
|
|
|
Now add the egg and vanilla.
|
|
|
|
|
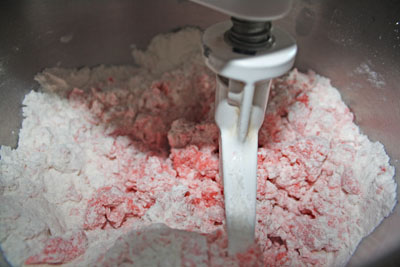
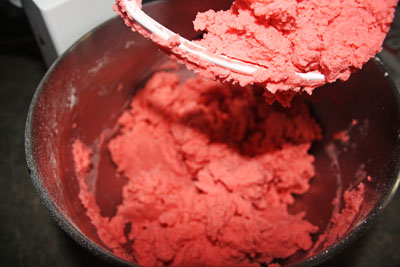
Slooooowly add in the flour and stop once it’s all combined and pink.
|
|
|
|
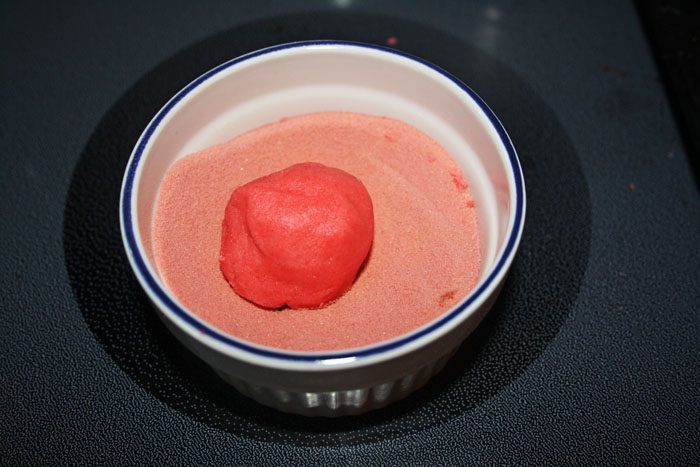
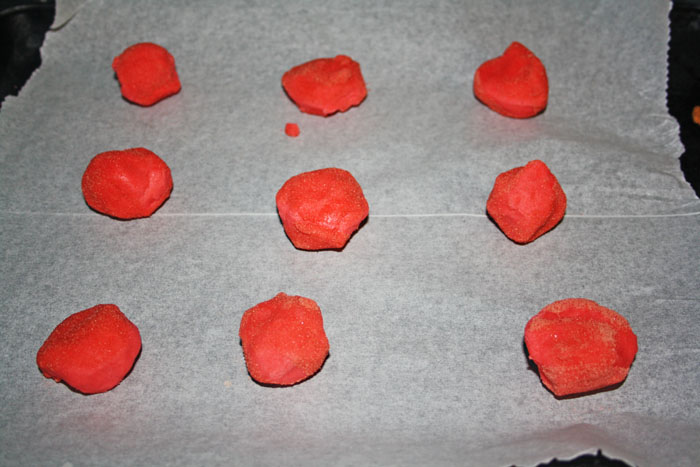
Empty the other jello package in a small bowl, and roll up all of the dough into smallish balls. I got almost 5 dozen. Drop each ball hehe into the jello powder to coat it.
|
|
|
|
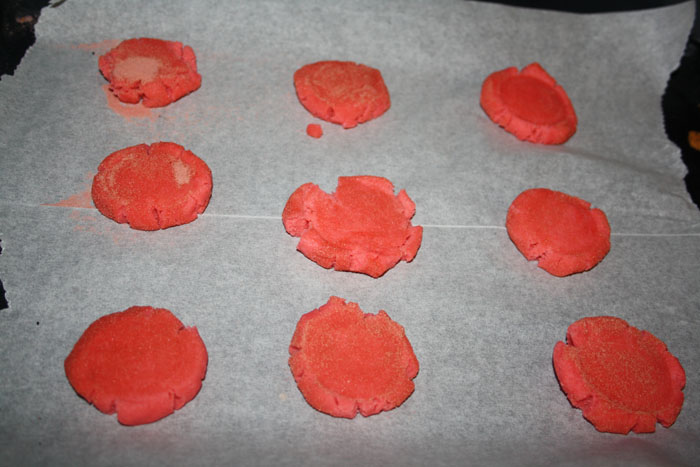
Flatten each ball with the back of a glass and bake at 400F for 8 minutes.
|
|
|

Mar 14, 2012
Today I’m linking up with Work in Progress Wednesday, Whatever Goes Wednesday, and Welcome Wednesday

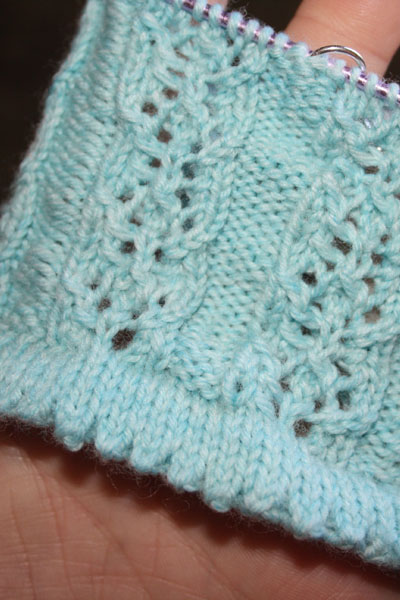
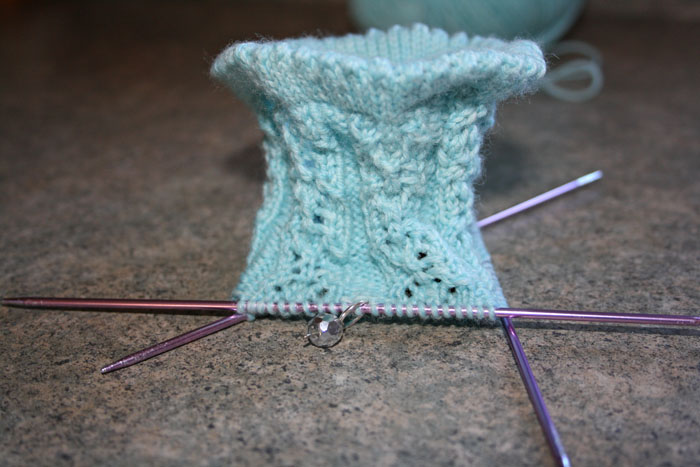
This week I casted on for Sock #3 of 2012 – Bintje. Super super pretty. They’re meant to be knee socks, but we’ll see what happens. Ha!
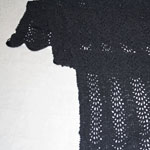
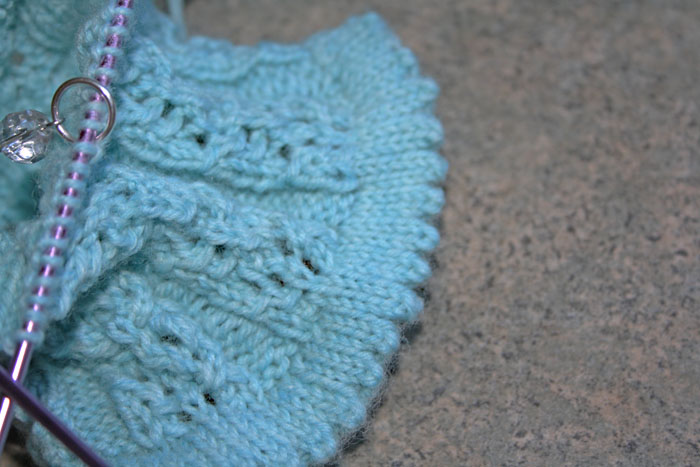
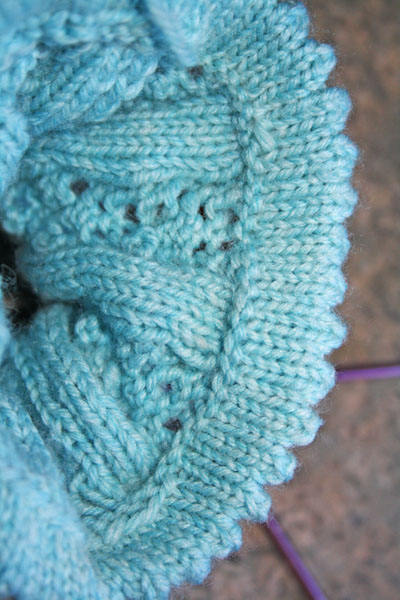
The cuff on these socks is so neat!! I had seen it in other patterns before, but truthfully I had thought it was more complicated than it actually is and I had skipped it every time I saw it and knitted a normal cuff. I know, super lameo. This year however, along with my resolution to knit a pair of socks every month (I’m on my third pair right now, so far so good), I’m going to follow the patterns I picked out last year and actually knit up this year’s socks as the patterns tell me to. I’m glad I did, look how cute!!!
Essentially, you knit 6 rows, then you knit a row of k2tog, yo – giving you a row of holes, then you knit another 6 rows. I’ll take pic of that on the second sock. Then you fold it over so the holes are the middle and the yarn overs between the holes form the little ridges you see. You can either sew down the top of the cuff or do it the way the pattern says, which I did thankyouverymuch. You pick up stitches at the very beginning and knit them to the last row of the cuff, of course you have to do this when you’re actually on the last row of the cuff, but it was fairly simple. All sock knitters can pick up stitches because we have to when we do the gusset anyway, right? In the third picture you can see the inside seam where I did this. Maybe when I get to the second sock I’ll make a video.
I also chose to use slightly thicker sock yarn (Stroll Fingering hehe fingering instead of Stroll Sock) on 2.5mm needles instead of 2mm needles so the sock would be a little denser than other socks. They’re for someone in a wettish coldish area who reads my blog so that’s all I’m going to say, though that’s probably all I needed for say for her to know they’re for her. Sigh.
There is a lot going on around here in the next couple of weeks and then we depart for a serious adventure that I have no doubt I will fill you in on in horribly painful detail once it begins. I hope to have at least the second sock started by this time next week!

Mar 14, 2012
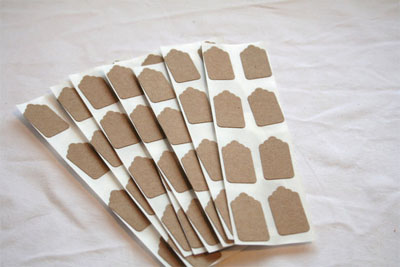
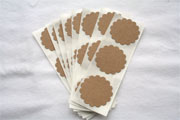
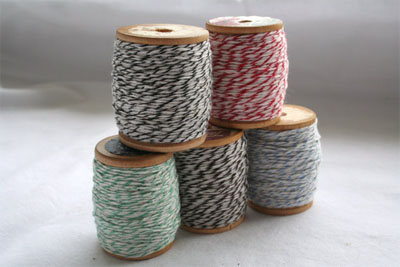
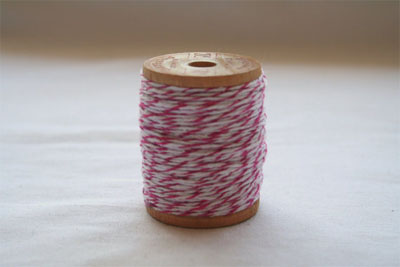
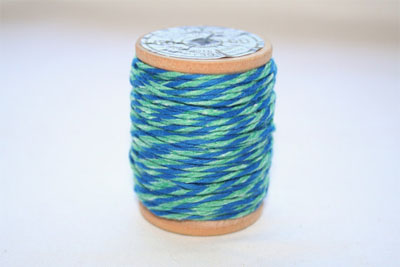
This week’s Window Shopping Wednesday is a special one!! I love this shop and have bought Scrabble tiles and trays for crafts and baker’s twine for wrapping up kitchen creations here. Keeley, of Keeley Behling Studios not only agreed to do an interview with me about her shop and crafting in general, but she’s going to give one of you a present! I know right?! You’re so lucky!

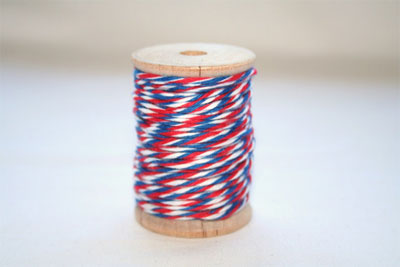
As you know, I have a serious weakness for baker’s twine and Scrabble tiles. What item do you find you sell the most of?
Twine, twine, twine! There are so many color options and so many things you can make with it! I think it is also one of the things I use most in making other items. It’s great for card making, gift wrap, embellishment, and so much more. It’s the first thing I grab when I am in a rut when making something.
Do you ever buy stuff for your shop and love it so much you can’t part with it?
All the time! That’s actually how I started my little shop. I would go treasure hunting (thrifting) for vintage items and craft supplies, bring all the wonderful treasures home and have them sit around and never be used or enjoyed. One of several reasons for starting my shop was to sell some of those items to others who truly had the time/ space to enjoy them. It’s gotten easier over the years to let things go but occasionally I will find something and hang on to it.
|
|
|
|
What is your favorite item in the shop right now?
I would have to say my favorite item in my shop right now is the really small cobalt blue jars. I love the deep blue glass and there are always so many uses for them. Right now I have some that I am using to make my own essential oils.
What do you find yourself crafting when you have the time?
I really enjoy crocheting. I am one of those people who can’t just sit and watch TV, I have to do something too. I constantly need to keep my hands busy so my mom taught me to crochet when I was really young and I have not stopped since.
|
|
|
Starting your own business can be challenging under the best circumstances, what spurred you to get started?
I had wanted to start my own business for several years but didn’t know really what I wanted to do or how to go about all the details. I was asked to do a show at a friends house and found that all the things I was worried about were not as difficult as I had originally thought. Within six months I had my etsy shop up and running. There was very little focus in the beginning for me. After all, it started out more as a hobby and something that I just enjoyed doing. It took me a year to discover where I really fit and how I wanted my shop/ business to become, a place where others could find unique, quirky, and unusual items. |
|
|
|
How do you keep personal crafting / life separate from the shop?
Well my personal crafting and the shop have to share a room like siblings. It can get a little chaotic at times but it all works out in the end. Usually my personal crafting becomes a gift, something I put in my shop or take to a show. As far as my life and my shop that’s a bit more difficult. Because I run my own business it’s up to me to keep everything afloat. There are never enough hours in the day to do everything I would “like” to do, but in the end the have to’s get done and the rest can wait til tomorrow. |
|
|
|
|
What is your favorite dish to cook or bake?
I have a bit of a sweet tooth so when we go to large gatherings I love to make this yummy chocolate fudge brownie trifle.
What are you reading right now (or what was the last book you read)?
Well I’m not much of an avid reader. I enjoy perusing design books and cook books for inspiration. My husband and I recently purchased our first house so I am always looking for ideas, how to fix something or the grand idea, “I could make that…”. I started receiving a subscription to Better Homes and Garden’s this year and have thoroughly enjoyed reading the latest issues. Pinterest also takes me to some amazing blogs and articles that help in my inspiration process
|
|
|
|
|
|
|

Mar 13, 2012
I’m linking up with The Tuesday Glam Party, One Project at a Time, Take a Look Tuesday, Tuesday’s Treasures, Ta-Da Tuesday, Tuesday Time Out and Tuesday Tutorial Link Party. Check out some of the amazing projects in these link ups!
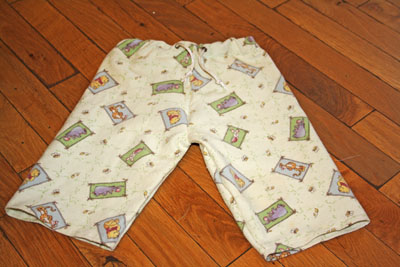
I am always looking for sewing practice, and as I’ve mentioned before and will mention again, I’m not amazing with a sewing machine. I mean, I earn the domestic in my title with my oven and my knitting needles, but yeah, sewing is something I’m still figuring out. So, I try to do it as much as possible and hopefully sometimes the things I practice with are wearable or usable! In this case, it is!
Prudent Baby has a serious archive of quick and useful crafty projects and I love to comb though it for ideas, inspiration and a lot of the time, instructions!

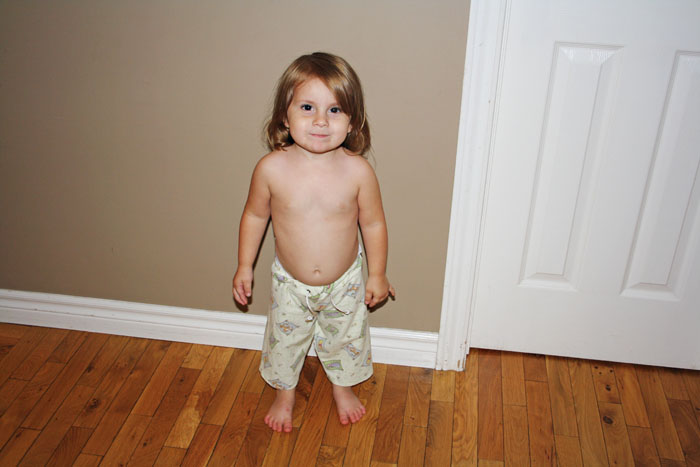
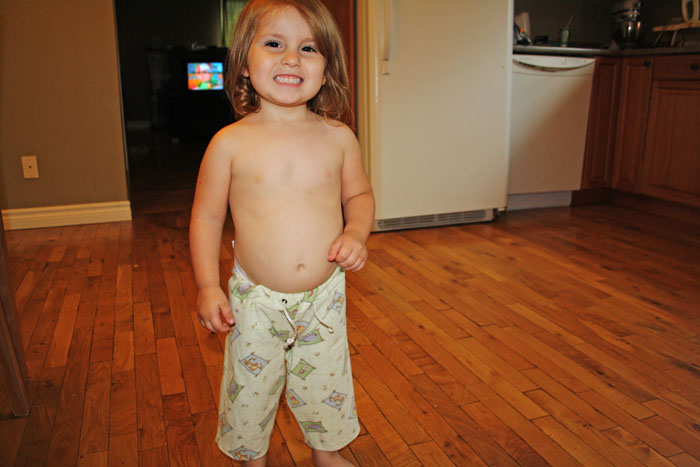
Drawstring Toddler Pants via Prudent Baby
Pair of elastic or drawstring pants that fit your wee one
2+ yards of cute fabric (how much depends on the size of your wee one)
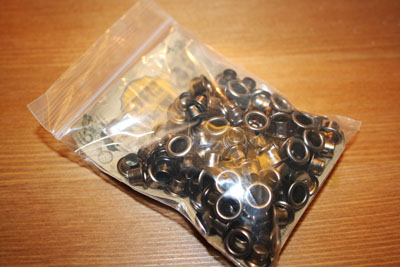
Grommets
Drawstring
Pins, sewing machine, stuff like that…
|
|
|
|
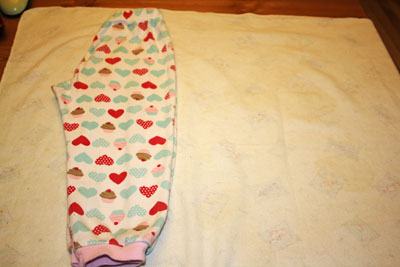
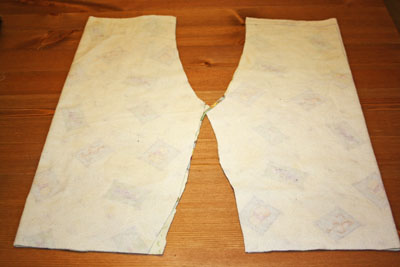
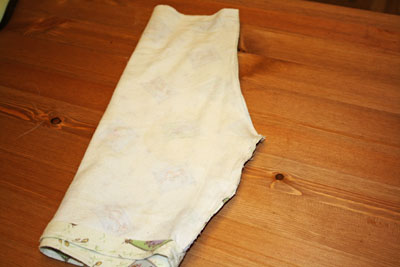
First, fold the pair of pants that fit your wee one in half and lay them over the fabric. Trace around, adding about 1/2″ for the seam all the way around. Now do it again. Lay them right side facing and pin together.
|
|
|
|
|
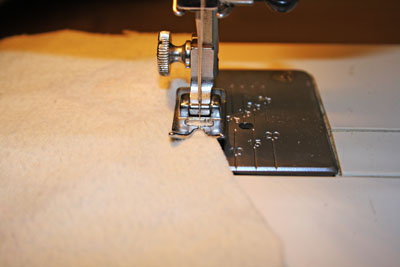
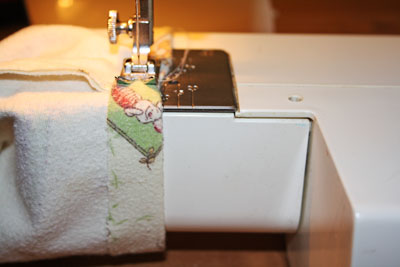
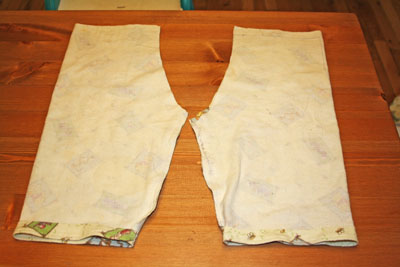
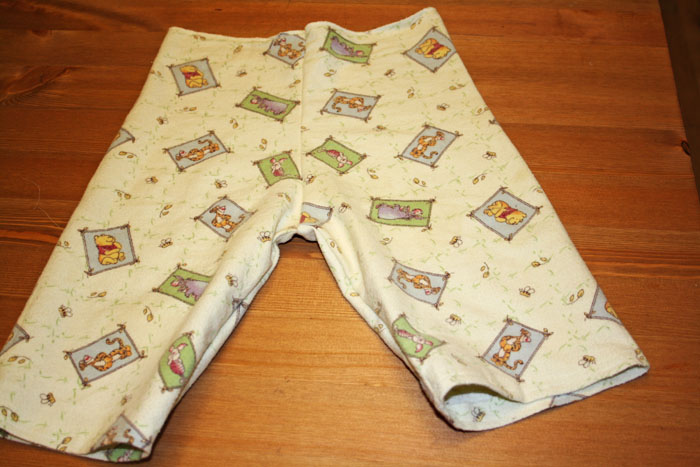
Sew the curves first, down the sides and hem the bottoms.
|
|
|
|
|
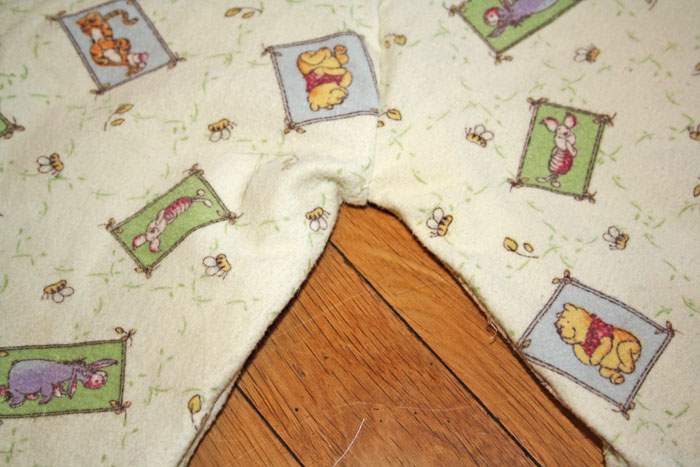
This is the part that gave me trouble, I had to keep checking and double checking that I wasn’t about to sew the front of the pants to the butt, you know? I did it! If I can do it, you can defo do this.
|
|
|
|
Tah-daaaaah!!!
|
|
|
|
|
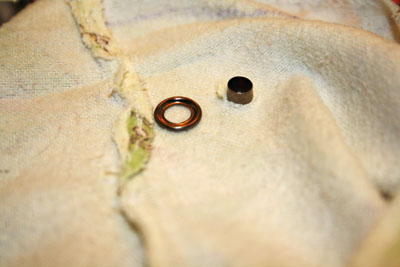
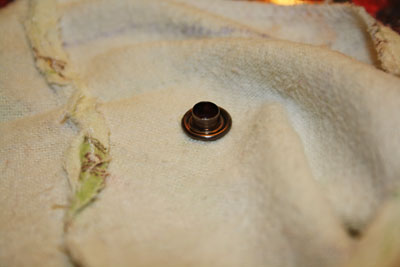
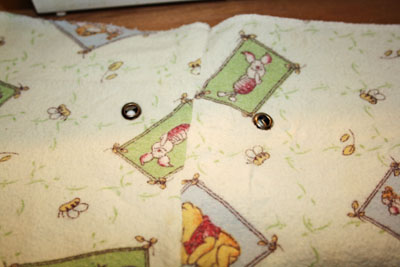
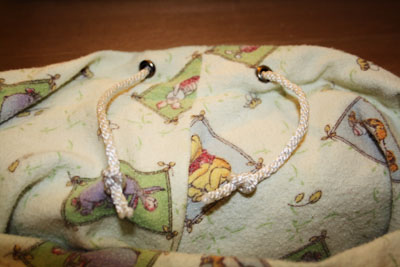
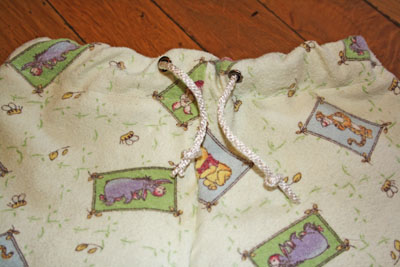
Now for the grommets! You can make an actual drawstring waist or a fake faux drawstring like I did. Snip a wee hole to pop one side of the grommet through.
|
|
|
|
|
Then punch the other side through with a hammer. So neat!
|
|
|
|
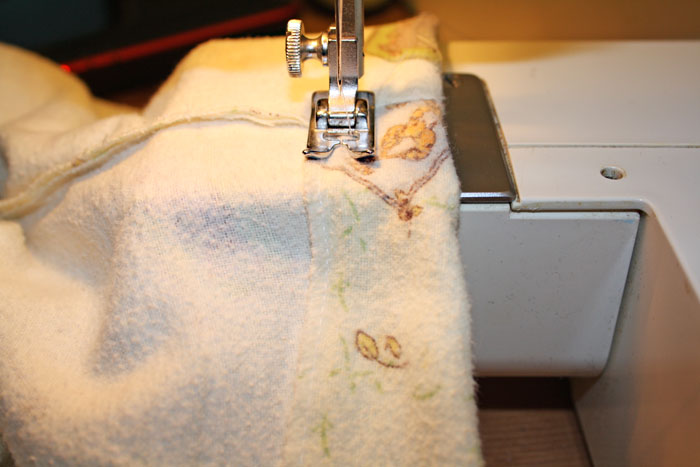
This is when I slipped in the elastic and sewed up the waistband, just shy of the grommets.
|
|
|
|
|
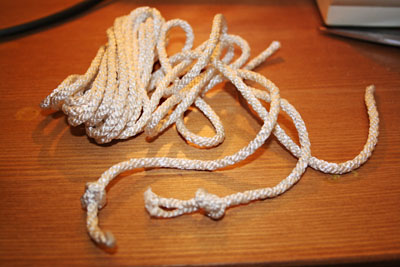
I cut two shortish lengths of nylon cord and knotted one end of each. I pushed them through the grommets and knotted them again. Then I finished off the waistband and I was done!! When I note in the sidebar that I’m struggling with sewing, that’s no exaggeration. I’ve never been very good at it even though in my head (and only in my head) I’m a brilliant seamstress. So this was great news for the future brilliant seamstress I will become. Ha!
|
|
|
|
|
|
|
|
|
|
|
|
|
|
|
|
|
I think my eager little model likes them! This is Wee One #3 with her creepy Joker smile.
|

