Browsing the archives for the scrapbooking paper tag.

Fancy Hairband Display

Crafty, Kids

Today, I’m linking up with Keeping it Simple, Skip to My Lou, Boogieboard Cottage, Craft-o-Matic, Making the World Cuter, Sumo’s Sweet Stuff, and C.R.A.F.T. There are so many amazing projects in these links ups!

My girls love to get fancy, and this is no surprise to anyone who reads this blog, but in the last year or so, they’ve been reading a lot of Fancy Nancy books. A lot. If you’re not familiar, Fancy Nancy is a sweet character in a series of books (there’s over 50 of them) revolving around her life. She’s a young girl who loves to dress up, she takes ballet, loves butterflies, French words and all things fancy! The illustrations in the books are so full of whimsy, with random feather plumes sticking out of vases and lace trim on almost everything and glitter and cute buttons and and and….all the details are so wonderful.

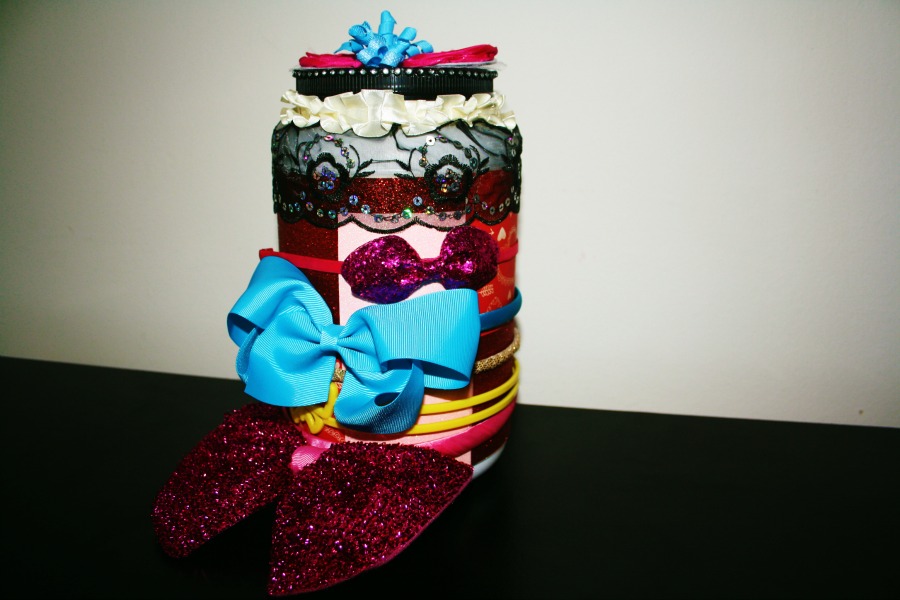
So now two of my littles are bent on having an uber fancy room with a zillion fancy details. Since their hairbands were living in a cute little basket on a dresser I decided to start there. I was initially just going to spice up the basket they were already using, but we can use baskets for so many other fancy things, right?! I think the best way to go about creating a fancy room is to display as many of their fancy objects (like their crazy cute hairbands) as possible while still storing them in an organized way. I think this nailed it, it’s copied from all the tween shops we have bought these girlie accessories in. So cute!

Fancy Hairband Display

You’ll need…

a cannister large enough so the hairbands don’t slip down, but small enough that you’re not stretching out the bands!
glue gun
decorative paper
sparkly things
whatever cute glittery things you want to add!

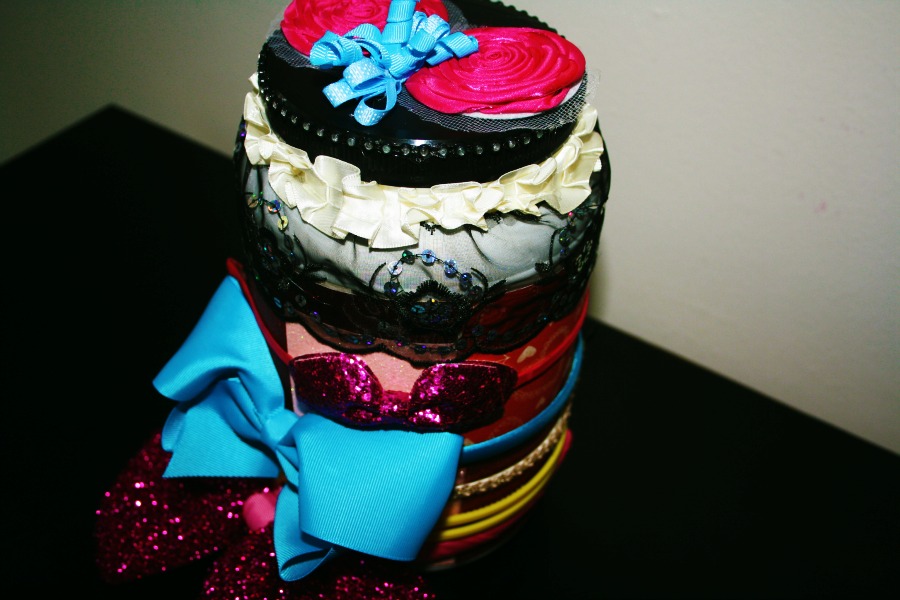
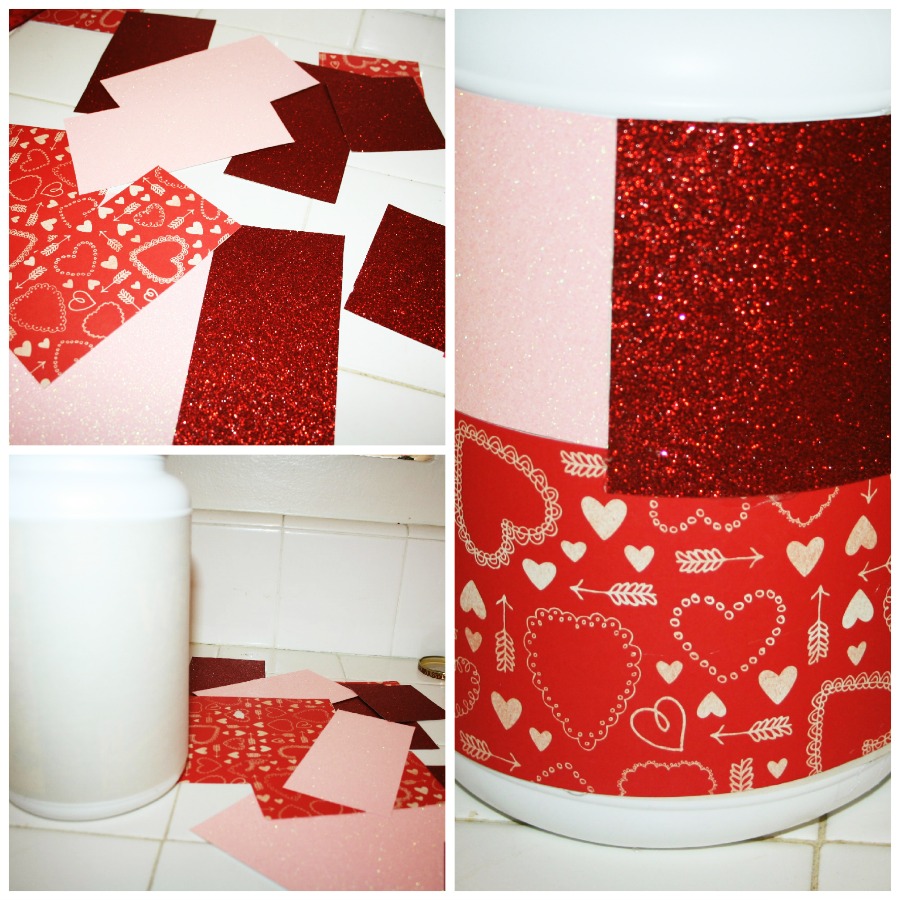
First I covered my cannister with plain construction paper to make a plain background to work from. I cut some glittery scrapbooking paper into medium and smallish pieces and hot glued them all over it like a patchwork quilt. Cute!!
Fancy Hairband Display

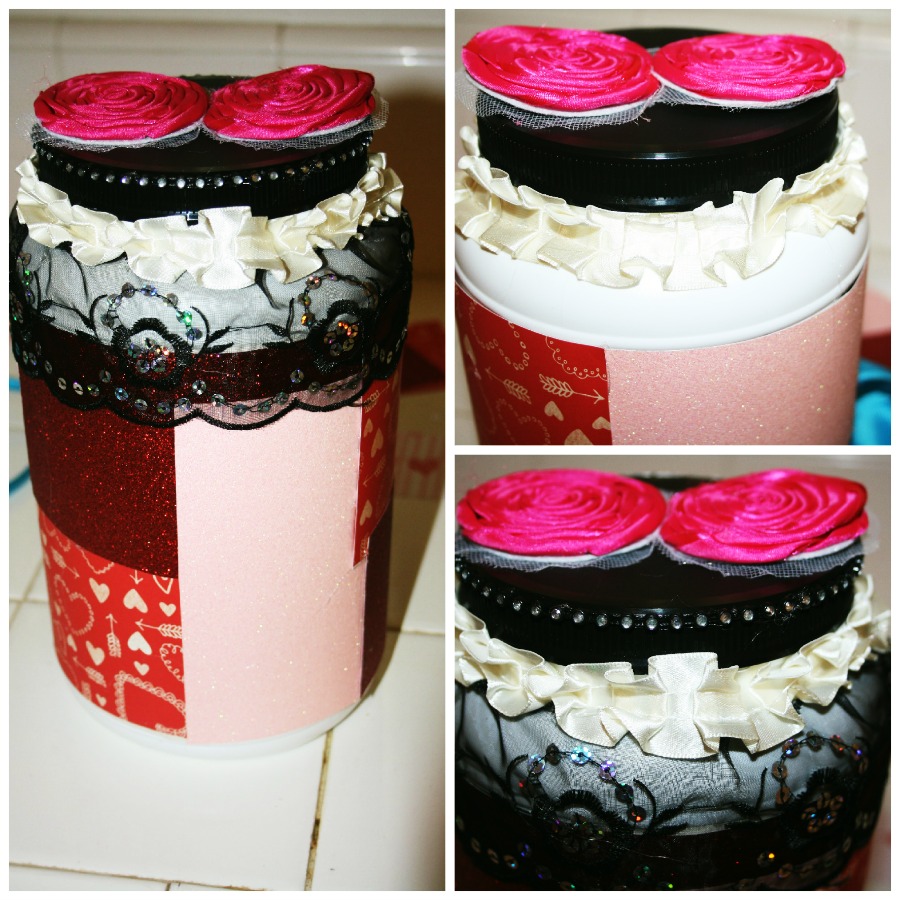
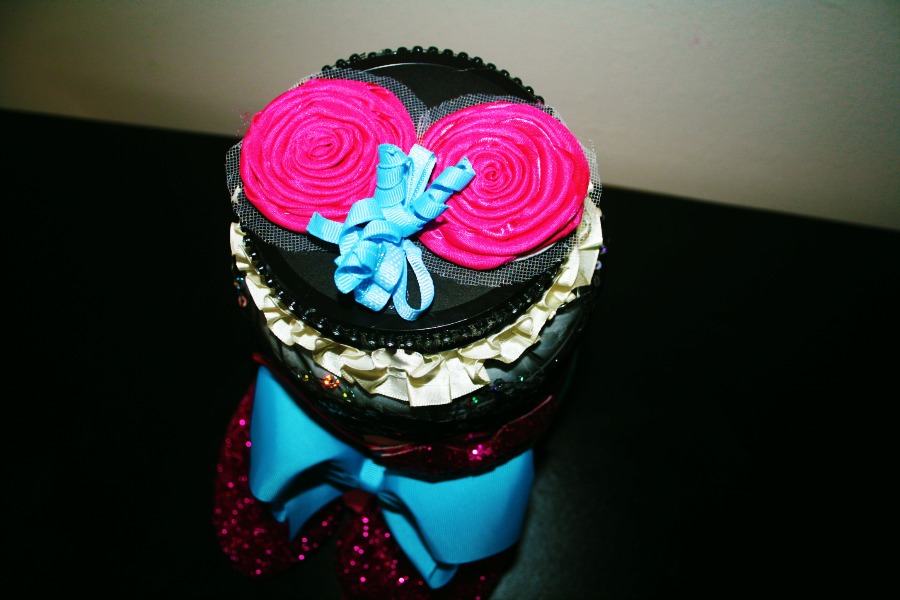
Then I dug through my crafty box for some lace and flowers and sparkly things and attacked it with the glue gun. I had Wee One #3 coaching me the whole time on how much of what I should be attaching where. It was hilarious how specific she was!
Fancy Hairband Display

Here is the finished project with some of their hairband collection on display! So sweet and now when someone needs a giant blue bow to go with their outfit we’ll know exactly where it is!
Fancy Hairband Display
No Comments

Halloween Countdown Calendar

Crafty

Today, I’m linking up with Sugar Bee Crafts, A Bowl Full of Lemons, My Uncommon Slice of Suburbia, Today’s Creative Blog, Tip Junkie, Our Thrifty Ideas and Cherished Bliss

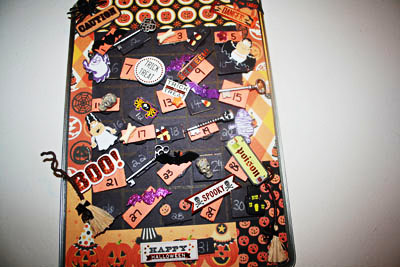
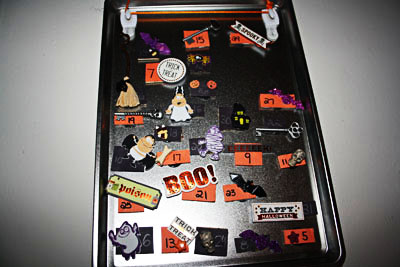
This is easily one of my favorite projects I’ve made. I adore Halloween and I adore countdown calendars so pairing the two makes me happier than it probably should. The original inspiration for this project came from Make it, Give it. I followed the basic guidelines but since, you know, I’m me, I had to make them a little more. Haha. I love how they turned out and I made a little tutorial in case you want to make one too.

Halloween Countdown Calendar

You will need:
-glue gun and refills
-magnet dots
-orange and black construction paper
-wooden pieces (something to act as a backing for each piece)
-a small baking sheet
-Halloweeny paper
-eleventy billion trinkety things (or you know, 31)
-scissors, ruler, white colored pencil, black marker, orange or white crayon

Halloween Countdown Calendar
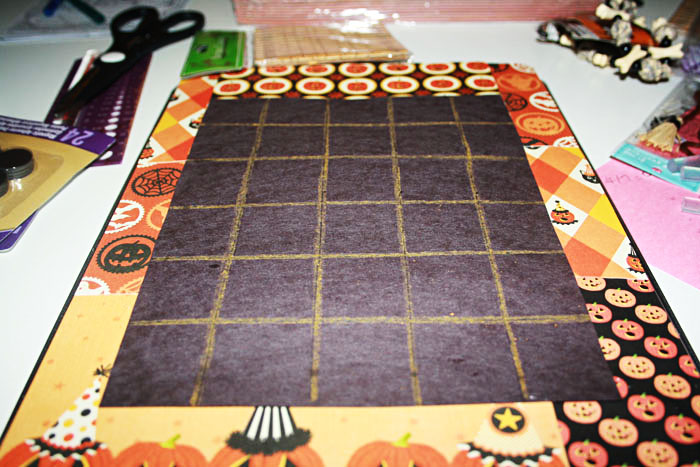
First decorate the cookie sheet however you see fit. You could paint the whole thing black and then add stickers and other embellishments. I glued some cute Martha Halloweeny paper to my cookie sheet, and a rectangle of black construction paper to act as my calendar background. You can’t see but I didn’t stack the papers behind it, they are arranged in a frame around it with the construction paper overlapping just a little. Otherwise, there would likely be a magnet issue!

You’ll notice there are only 30 squares on my calendar, I did that to make #31 a bigger piece under them all but you can make your calendar however many days you like. If you only want to count down two weeks before, make it just 14 squares.

Halloween Countdown Calendar
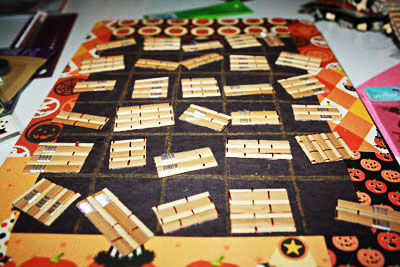
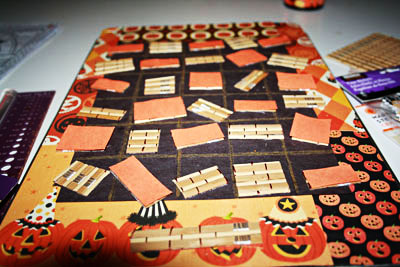
Then I went through some of the trinkety things I picked up and decided where I wanted to use some of them and I cut down a few bamboo coasters to be the backings for my pieces.
Halloween Countdown Calendar
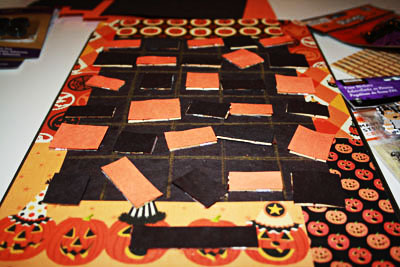
Next I glued orange construction paper to every other piece and black to the leftover pieces.
Halloween Countdown Calendar
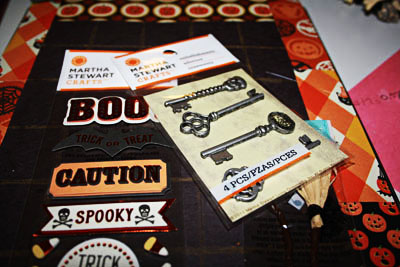
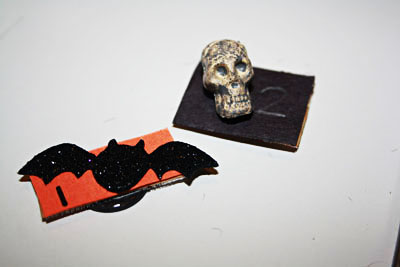
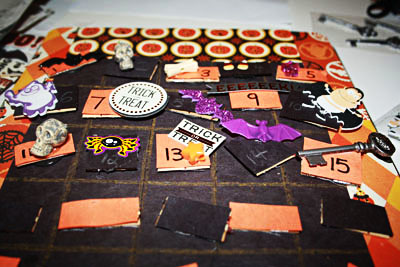
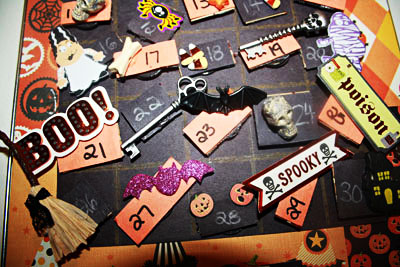
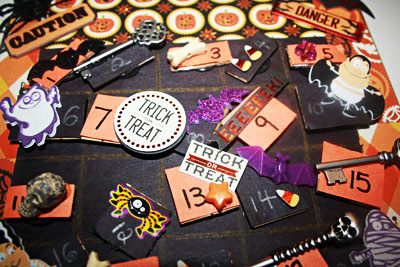
This is where it really gets fun! The only guidelines here are that each piece needs some kind of embellishment, a number and a magnet dot on the back. The details are up to you. My first two were a sparkly bat sticker and a skull from a seriously ugly bracelet. I used plain stickers, raised stickers, and beads. The purple bat was cut off the front of a plastic ring and the key is from a Martha scrapbooking set.
Halloween Countdown Calendar
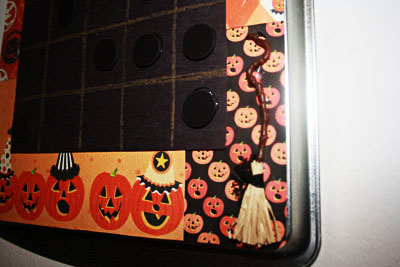
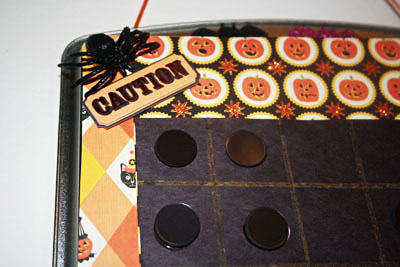
Once I had finished making pieces for each day, I embellished the cookie sheet itself a bit more. I added a witch broom to one corner and a big ugly spider to another. I also added magnets to some squares on the calendar that had especially heavy pieces to make sure they wouldn’t fall off.
Halloween Countdown Calendar
I have seen some versions of this with holes drilled in the cookie sheet to allow a ribbon to be weaved through for it to hang from. I had to recharge my Dremel and decided to try out the 3M Command Hooks I just picked up and they worked really well! Two hooks on the back of the cookie sheet and one hook on the wall.
Halloween Countdown Calendar
The kids are taking turns putting one up each day, and all of the magnets are stored on the back! Happy Halloween!!
No Comments

I’m a Sucker for Apothica (plus Banana Bread, Rolo Cookies and Scrapbooking Paper)

Crafty, Domestic, Healthy, Pretty

I was pretty proud of myself with today’s updates for you. I added some really amazing Rolo Stuffed Chocolate Chip Cookies to the Domestic section, then wee little Post It Packages from scrapbooking paper (which are really, really cute, I have to say) in the Crafty section and I even managed to get my Deceptively Delicious Banana Bread post up in the Healthy section – all long before my self inflicted deadline. Then I got to the Pretty section, and there are a couple of hair tutorials I was going to post, but I’m not too happy with the photographs so I decided to do a Window Shopping post on Apothica instead. Oh boy. I got sucked in. I adore makeup and shiny things and girly colors (and even matte things and dark colors) and before I knew it, I was almost late to post this!! Ack! Way to be distracted by shiny things, May.

Moving on.

These cookies are a lot easier to pull together than they seem but so so so much yummier than photos can possibly get across to you. Imagine. It’s a chocolate chip cookie, which is already pretty great and then BAM, you’re hit with a mouthful of caramel. Right?!
This is the post that assisted in making me late today. Apothica is now accepting PayPal and for me, that’s cause to celebrate! Lipglosses that are so shiny they rival MAC’s Lipglass and shimmering face powders so pretty they’re right up there with Too Faced’s Candlelight Powder. Color me in love.
This banana bread tastes just like banana bread! So what? So it’s made with pureed cauliflower! Hello serious vitamin boost with no questions asked!
This was an end of school year gift for the hard working secretary at my kids’ school. All elementary school secretaries work hard, I have on doubt, but they so often are overlooked when all the teachers get well wishes and mugs!

I would love to get some photos up of my new kitchen, but every time I think to do it there is something more pressing that needs to be done. The whole fridge to sink to oven kitchen work triangle is great in this house – for sure the best and easiest I’ve ever had. My husband has serious issues with clutter so I try to hide most of my kitchen power tools and this kitchen has decently deep cabinets so my blender, food processor, bullet, slow cooker, etc are all tucked away. At first I thought it would be a pain to pull stuff out when I wanted to use it, but as long as all the cabinets are kept tidy (so far, so good) I just grab the gadget I need when I need it. It also frees up space for rolling out dough or cooling things on racks. I’ll put it on my to do to get pictures of the kitchen today so I can have them up tomorrow.

I promised Wee One #2 that today would be a crafty day. At the end of the school year, her report card was as perfect as a report card can be without your child being an alien. So we told her she could choose her ‘passing gift’ (who came up with that phenomenon anyway?!) and she chose a book on learning sewing crafts, Made By MeChildren's Crafts & Hobbies Books), a sewing basket with the essentials and fabric. She picked out some from Fabric Closet and tulle in 3 different colors from Fabricland. Her favorite thing so far has been embroidering and today she wants to attack a tshirt for the first time, so far we’ve stuck to plain squares of fabric to practice on. Wish us luck with this little project!

No Comments