Today, I’m linking up with Sugar Bee Crafts, A Bowl Full of Lemons, My Uncommon Slice of Suburbia, Today’s Creative Blog, Tip Junkie, Our Thrifty Ideas and Cherished Bliss
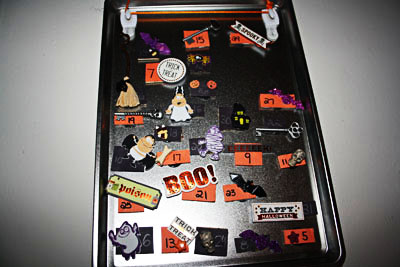
This is easily one of my favorite projects I’ve made. I adore Halloween and I adore countdown calendars so pairing the two makes me happier than it probably should. The original inspiration for this project came from Make it, Give it. I followed the basic guidelines but since, you know, I’m me, I had to make them a little more. Haha. I love how they turned out and I made a little tutorial in case you want to make one too.

You will need:
-glue gun and refills
-magnet dots
-orange and black construction paper
-wooden pieces (something to act as a backing for each piece)
-a small baking sheet
-Halloweeny paper
-eleventy billion trinkety things (or you know, 31)
-scissors, ruler, white colored pencil, black marker, orange or white crayon
 |
|
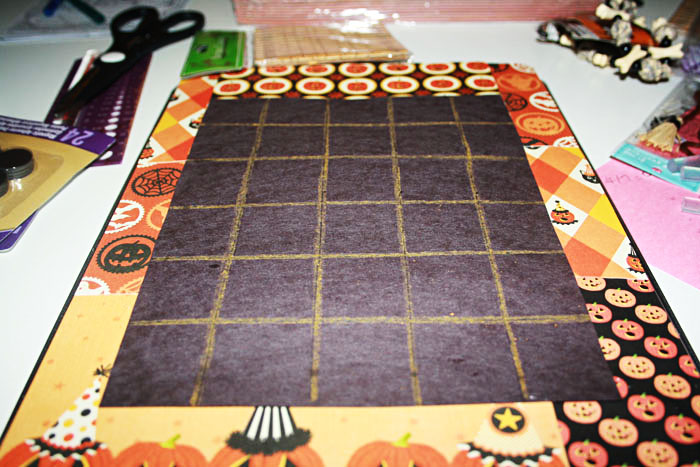
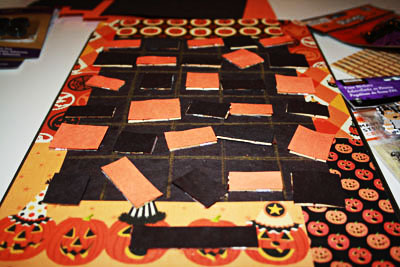
| First decorate the cookie sheet however you see fit. You could paint the whole thing black and then add stickers and other embellishments. I glued some cute Martha Halloweeny paper to my cookie sheet, and a rectangle of black construction paper to act as my calendar background. You can’t see but I didn’t stack the papers behind it, they are arranged in a frame around it with the construction paper overlapping just a little. Otherwise, there would likely be a magnet issue!
You’ll notice there are only 30 squares on my calendar, I did that to make #31 a bigger piece under them all but you can make your calendar however many days you like. If you only want to count down two weeks before, make it just 14 squares. |
|
 |
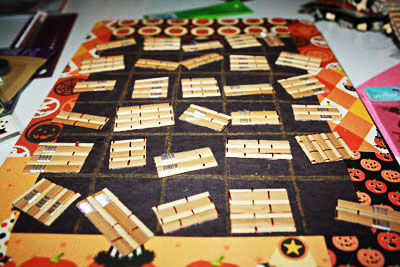 |
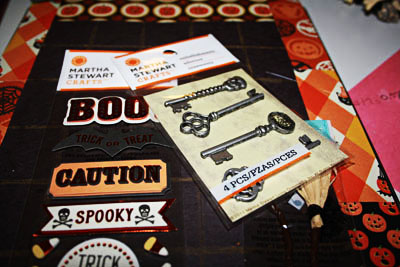
| Then I went through some of the trinkety things I picked up and decided where I wanted to use some of them and I cut down a few bamboo coasters to be the backings for my pieces. | |
 |
 |
|
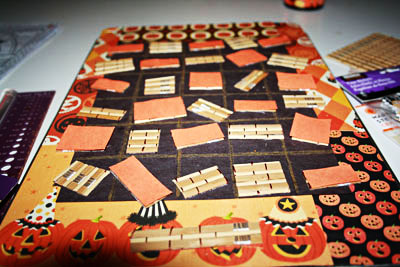
Next I glued orange construction paper to every other piece and black to the leftover pieces.
|
|
 |
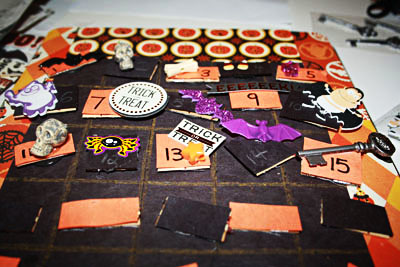 |
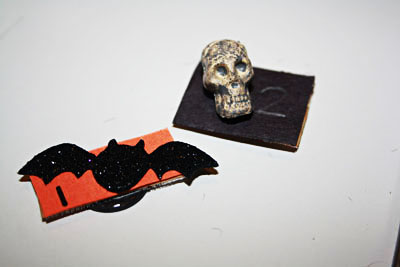
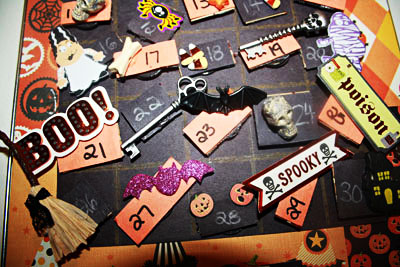
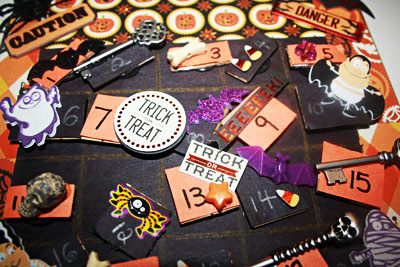
| This is where it really gets fun! The only guidelines here are that each piece needs some kind of embellishment, a number and a magnet dot on the back. The details are up to you. My first two were a sparkly bat sticker and a skull from a seriously ugly bracelet. I used plain stickers, raised stickers, and beads. The purple bat was cut off the front of a plastic ring and the key is from a Martha scrapbooking set. | |
 |
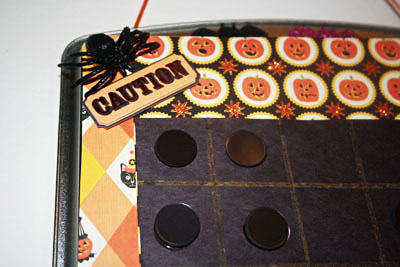 |
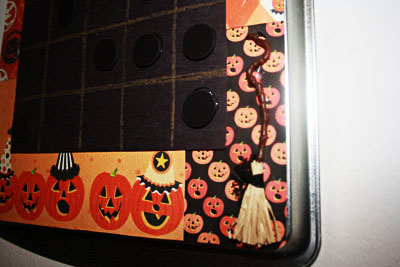
| Once I had finished making pieces for each day, I embellished the cookie sheet itself a bit more. I added a witch broom to one corner and a big ugly spider to another. I also added magnets to some squares on the calendar that had especially heavy pieces to make sure they wouldn’t fall off. | |
 |
 |
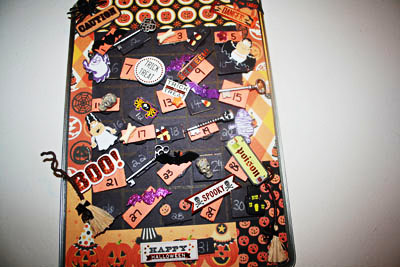
| I have seen some versions of this with holes drilled in the cookie sheet to allow a ribbon to be weaved through for it to hang from. I had to recharge my Dremel and decided to try out the 3M Command Hooks |
|
 |
 |
|
The kids are taking turns putting one up each day, and all of the magnets are stored on the back! Happy Halloween!!
|
|