Browsing the archives for the Crafty category.

Magnetic Fabric Bookmarks

Crafty

Today, I’m linking up with Petals to Picots, Sippy Cup Chronicles, Happy Go Lucky, and Chubby Cheeks Thinks.

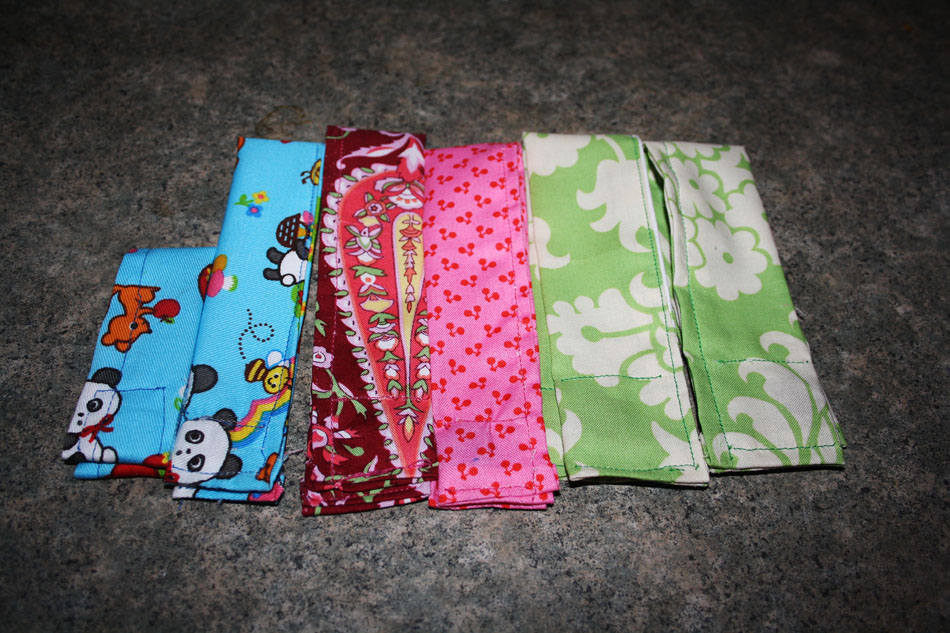
I had seen a few different tutorials online for magnetic bookmarks, first over at Flipflops & Applesauce and then on Split Coast Stampers but ultimately, it was the beauties from The Southern Institute that inspired me enough to actually do it. Louise from I’m Feelin’ Crafty made an excellent tutorial for The Southern Institute that I deviated from a bit to make my own. I still struggle with my sewing, and it’s no one’s fault but my own – I just need to do it more so I can get better! They came out pretty cute though, I really like them. I will try again after more practice and we’ll see how they look then!

These were super fun to make and a great way to use up pretty and cute scraps. I know pretty much everyone reads on some kind of eReader, but I also know that pretty much every reader has a weakness for the handful of actual books they still have kicking around. A lot of my friends, plus my sister and my dad, have a serious love for used book stores. We also all have a serious love for the library. So these bookmarks were a practical project for us and I hope they are used in place of random subway transfers and bits of paper.

Magnetic Fabric Bookmarks
-scrap fabric
-little magnets
-scissors
-thread
Magnetic Fabric Bookmarks
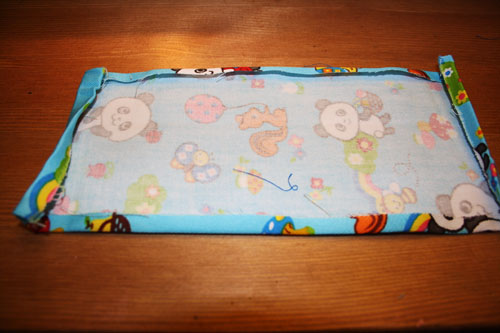
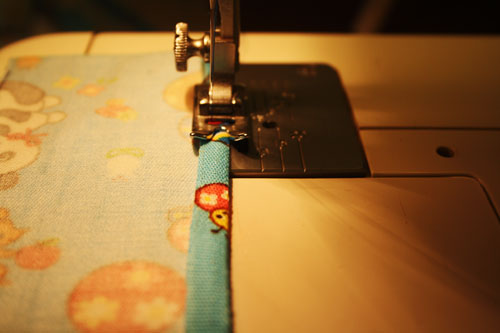
First I ironed down the edges of a 2″ x 6″ piece of fabric and hemmed all around.
Magnetic Fabric Bookmarks
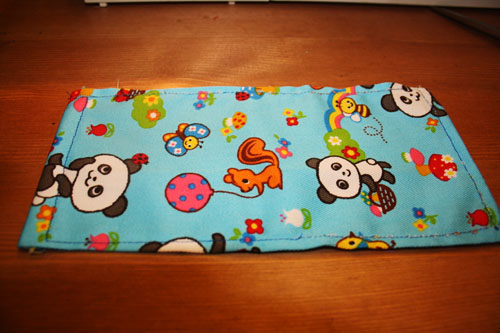
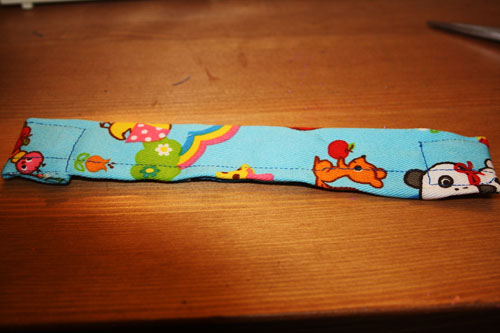
Then I folded and ironed in half, and sewed that side down.
Magnetic Fabric Bookmarks
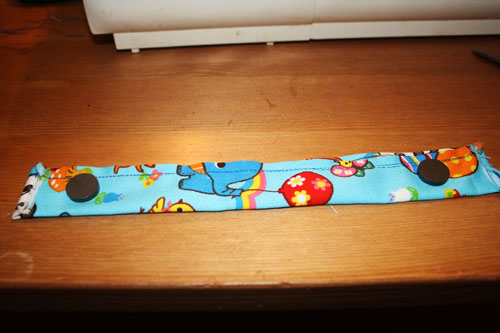
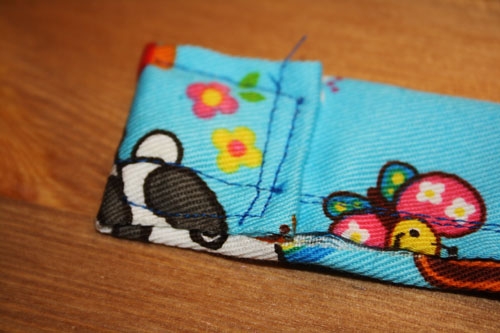
Next I placed a magnet circle (attracting ends up!!) on each edge, folded the fabric over and sewed it in place.
Magnetic Fabric Bookmarks
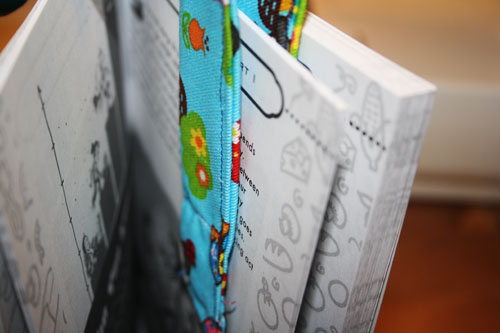
That’s it!! Then I tried it out in a couple recipe books and did it all over again five more times!
Magnetic Fabric Bookmarks
2 Comments

Work in Progress Wednesday #18

Crafty

I may have lost count, but I’m pretty sure this is my 18th WIP, I think my last one was in October!

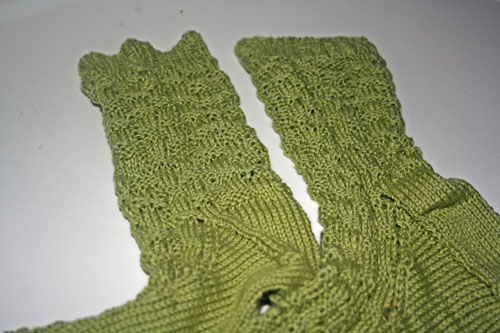
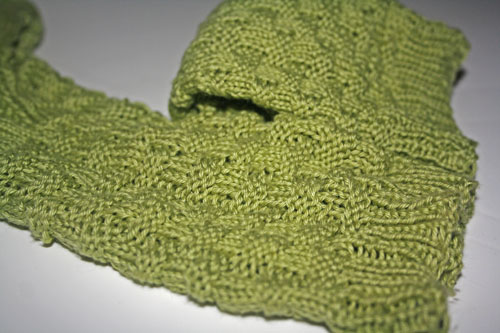
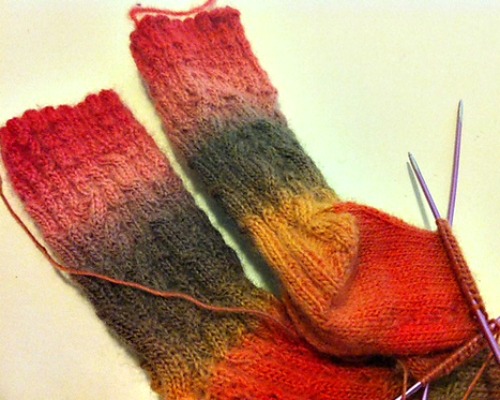
These socks were knit for Sockdown, month 4. They’re called Basket Case Socks and they were a pretty quick knit. I kept getting distracted by Christmas prep for the kids – first Christmas in a new country with all our stuff back home meant I needed to round up a lot of the traditional comforts for them and to be honest, that wasn’t easy. Most of November was eaten up with planning and then of course December was full of doing! I just casted on for Aramis Socks last night, so there’s not much to report on that front other than to say I’m making a dent on my first day out of the gate!

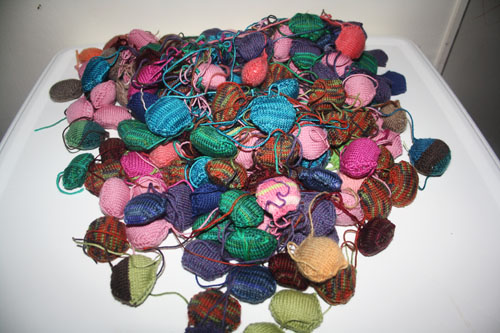
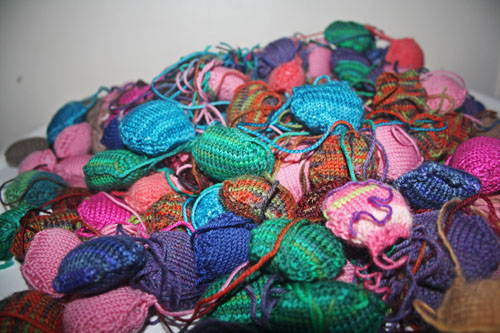
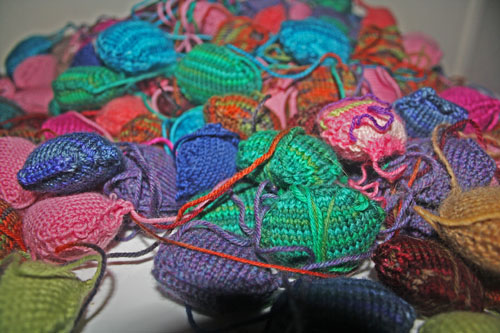
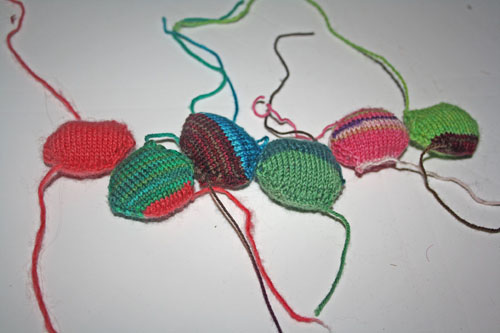
Between socks, I’m still working on my Beekeeper Quilt. I have a list of projects I really want to work on this year, but I think I will make a rule for myself that everything has to be made with sock weight yarn so I can use all my scraps for the quilt. I’m looking forward to finishing my quilt this year but I do love the look of all my hexi puffs on the table like this. When I come to the end of a scrap ball, I start up with the next in line and I love those puffs the most! Here are my favorites out of the 200+ that I have so far.

I’m nervous to admit that I want to take on another knitting challenge this year, in addition to the 12 pairs of socks for Sockdown 6 and the finishing the beautiful quilt from all these puffs – I want to do Tiny Owl Knits 13 in 2013. The Beekeeper’s Quilt is a Tiny Owl Knits project and all her (Stephanie Dosen) projects are equally adorable and full of whimsy. Dare I try it?! Someone encourage me!!

1 Comment

Glass Etching

Crafty

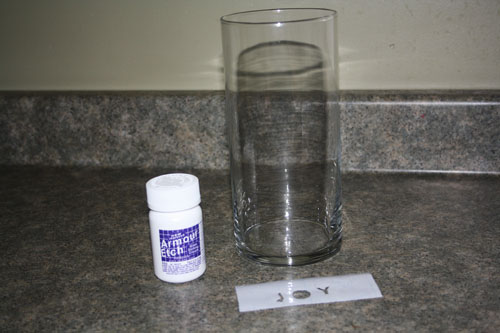
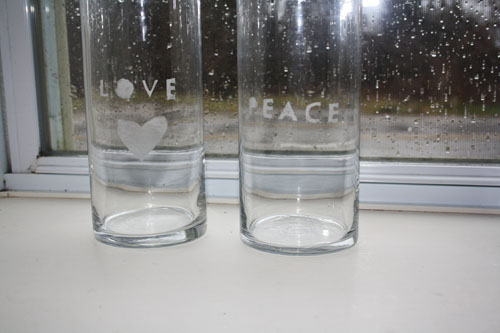
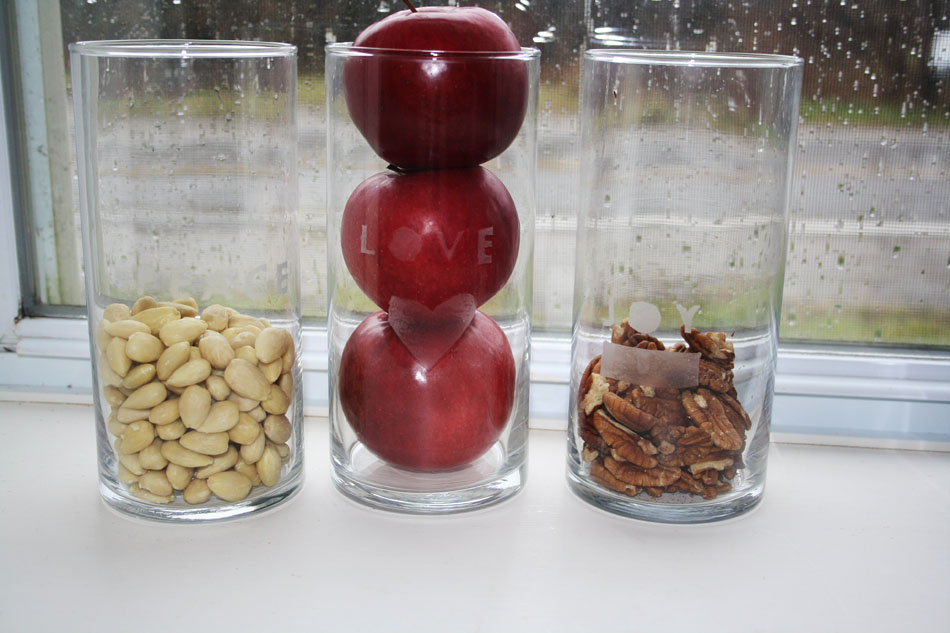
I had been pinning etched glass projects for months on Pinterest before I finally picked up some etching cream and glass vases and tried it out. Now, I want to do this to ALL THE THINGS!

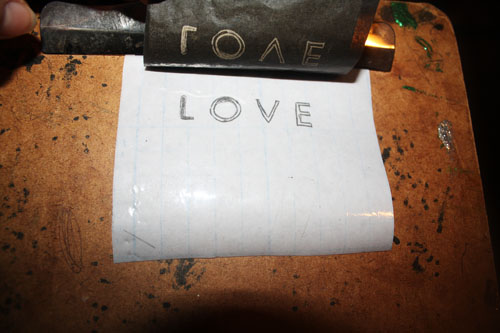
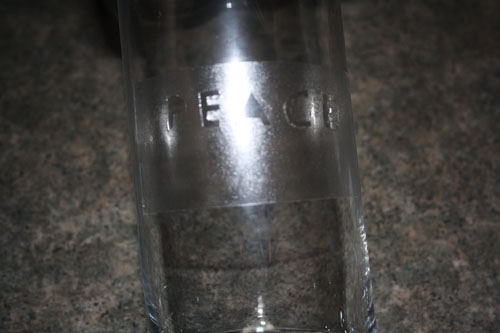
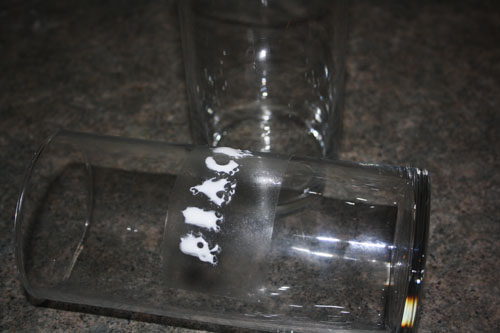
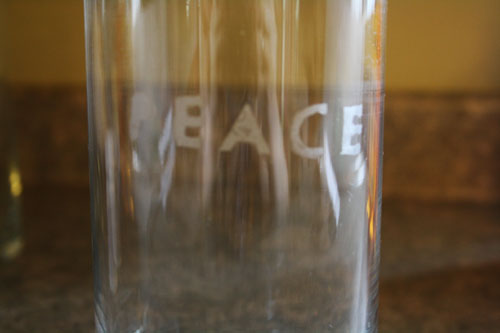
Glass etching is one of those things that seems a lot harder than it really is. The etching cream scratches the glass, so all you really need is a template and some glass. I printed out ‘LOVE’, ‘JOY’ and ‘PEACE’ and then used transfer paper to copy them onto contact paper. I used an x-acto knife to cut out the pieces and then stuck the contact paper onto the glass. It only took a few minutes for the cream to do it’s thing and then I wiped it off, removed the contact paper and voila! So lovely!

Of course, you can use any simple image you want! Anything you can easily cut onto contact paper would look sweet!

Just be mindful when you are applying the cream to the contact paper so it doesn’t drip! A little drip can ruin a whole project!

Glass Etching

Glass Etching
Glass Etching
Glass Etching
Glass Etching
Glass Etching
Glass Etching
Glass Etching
Glass Etching
No Comments

Halloweeny Greetings

Crafty, Kids

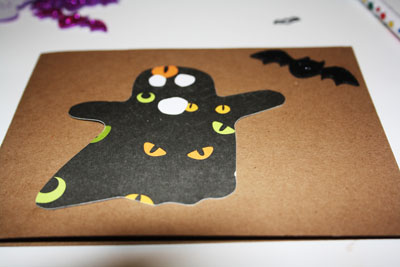
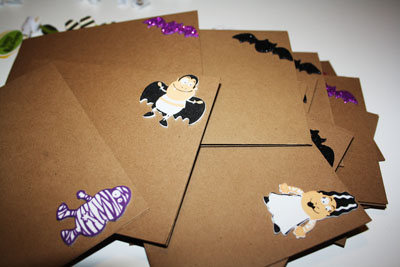
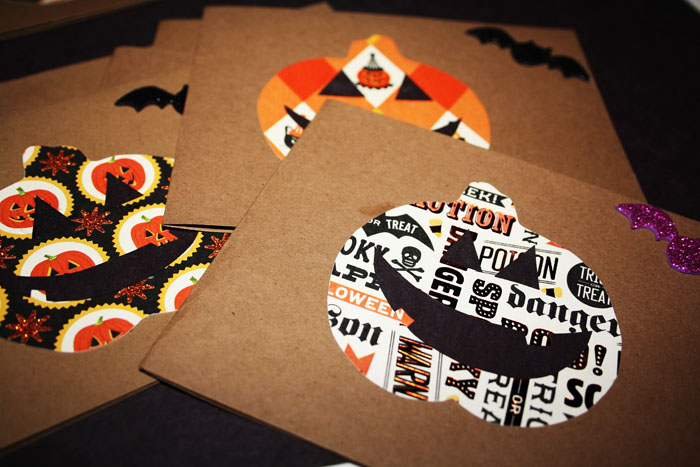
These cards were a fun afternoon with the kids, a way to show our far flung family and friends some Halloweeny love. I mean of course we try to send postal love as much as we can anyway, but festive love is the best kind of love, oui? Le duh is the appropriate response.

Halloweeny Greetings

-card stock
-heap tons of Halloweeny scrapbooking paper
-Halloweeny cookie cutters
-Halloweeny stickers
-construction paper
-silly festive jokes
-glue sticks
-loads more construction paper to make envelopes
-tape (to seal the envelopes)

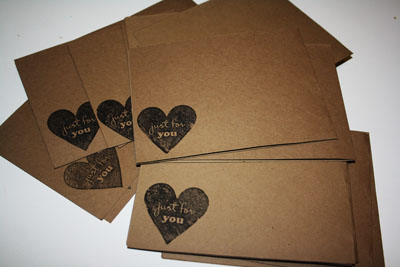
*I also used a ‘just for you’ stamp that I fell in love with at Michaels and want to stamp on everything I make

Halloweeny Greetings
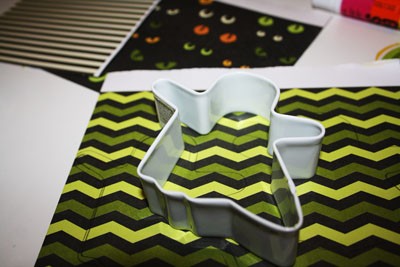
First, I cut each 8 x 10 piece of thick card stock in half and then folded it in half (using my Knit Picks guage ruler doodle but you could use a bone folder if you want to be proper about it). Then I stamped the back of each card with my cute stamp and started tracing the cookie cutters over scrapbooking paper.
Halloweeny Greetings
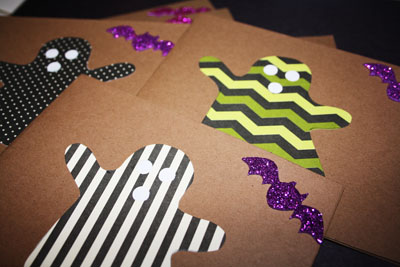
I put an unreasonable amount of thought into which shapes should be cut from which paper. Totally unreasonable, I especially love the ghosts with the green chevron and the eyes. The eyes and mouth of the ghosts came straight from my hole puncher – that’s some really effective recycling right there.
Halloweeny Greetings
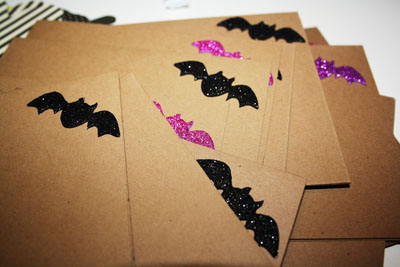
I also stuck a Halloweeny sticker in the corner of each card – and cut out a zillion more ghosts and pumpkins. With the pumpkins, I also cut out Jack o’lantern faces and glued them on. Then I added one of 5 silly jokes inside each card and a cute note to our folks, our aunts and uncles and our long distance friends and then we all signed them. Well, I signed for Wee One #3, but otherwise, we all signed them. Theeen I took apart a cute envelope that fit the cards and made a stack of envelopes, addressed all the envelopes, taped them shut and away they went! Hopefully everyone adores receiving them as much as we loved sending them.
Halloweeny Greetings
1 Comment

This Week (aka Happy Sunday)

California, Crafty, Domestic, Kids, Pretty

So so so much is going on this week and so much fun happened last week! I made a lot of Halloweeny treats in the last couple of weeks and they were all hits with the kids! Wee One #1 is dressing as a warrior skeleton type guy (he’s been picking pretty much the same costume every year in a bigger size for 3 or 4 years now), Wee One #2 is going as Hello Kitty and out littlest is going as ‘The Tooth Fairy’, she is very specific about what kind of fairy she is exactly. Much running around Los Angeles in costumes!

Sparkly gold shoes, ridiculous wedges with an equally ridiculous bow, a really cute necklace and dress combo and some Halloweeny cocktails rounded out my week. We made normal screwdrivers but we used black vodka and then we made Bloodtinis, which were just as delish without any booze in them at all. I really just wanted an excuse to use the shaker. 😉

Oh, and my piggie spatula, which is probably my most prized kitchen possession at the moment. You love it right? Of course you do!

Back in the morning with Menu Monday!!

1 Comment

Work in Progress Wednesday #17

Crafty

Today I am linking up with Freshly Pieced

I can hardly believe it, but Sockdown 6 has totally lit a fire under me for finishing socks within a respectable time frame!

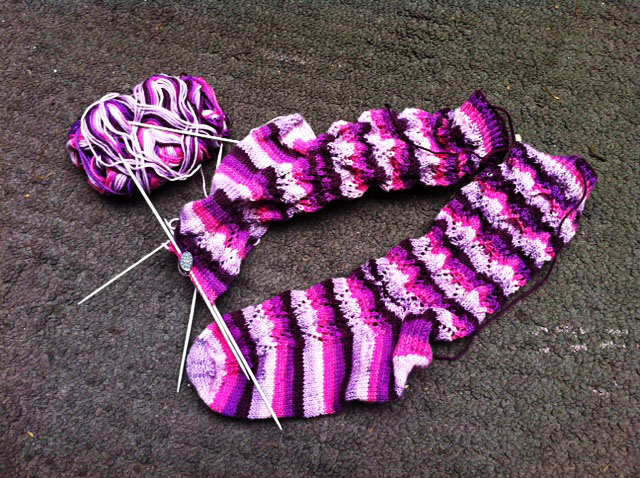
I cast on for this pair on October 3 and I am about 10 minutes from finished – and that’s with two days of not knitting because I was doing homeschool prep one night and Halloweeny stuff with the kids the other night. Which means I managed a pair of socks in 5 days! What?! I’m going to cast on for another pair tonight! Officially that’s two pairs of socks in September and so far one in October.

The pattern is called Summer Lovin and I used Knit Picks’ Felici Fingering Self Striping Sock Yarn in ‘Mixed Berries’. I made them as a birthday gift for one of the kids’ godmothers (which totally gives it away since only one has an autumn birthday and her favorite color is purple, however she almost never reads my blog anyway 😛). Anyhoo….these will be finished up today and popped in the mail this week!

summer lovin socks

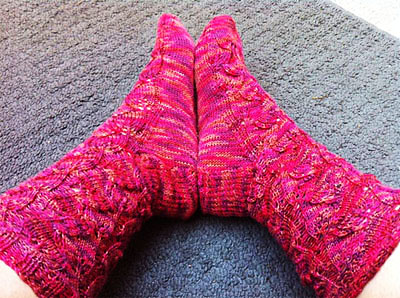
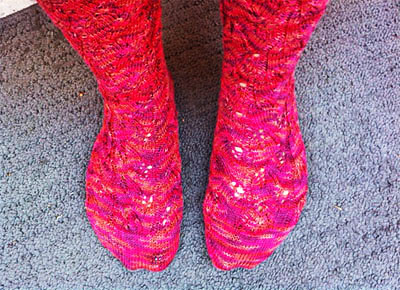
These are the beauties I finished up last week, the pattern is called Maidenhair Fern and it was a fun knit. I am totally in love with this yarn, Nova Sock that I picked up in the woods before we moved. It’s pretty and soft without being so soft it slips off the needles. My only issue with this yarn, and yes it is an issue, is that the colors are always just numbers. Pfft. Part of the love of yarn are skeins with names like Whitewater or Black Purl or Greenling, and even names that don’t sound like colors at all like Juice Box and Tree Fort and Hayride. Not numbers. Ugh.

These little beauties are going in the mail today as a treat for an unsuspecting friend – an unsuspecting friend that reads my blog! Just you wait! Haha. 🙂

Maidenhair Fern socks

Maidenhair Fern socks
2 Comments

Halloween Countdown Calendar

Crafty

Today, I’m linking up with Sugar Bee Crafts, A Bowl Full of Lemons, My Uncommon Slice of Suburbia, Today’s Creative Blog, Tip Junkie, Our Thrifty Ideas and Cherished Bliss

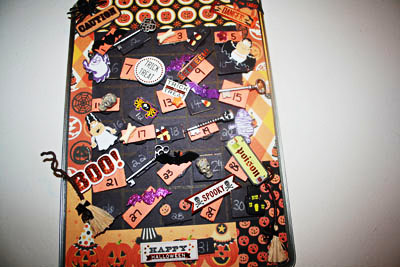
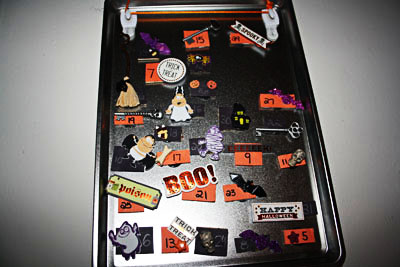
This is easily one of my favorite projects I’ve made. I adore Halloween and I adore countdown calendars so pairing the two makes me happier than it probably should. The original inspiration for this project came from Make it, Give it. I followed the basic guidelines but since, you know, I’m me, I had to make them a little more. Haha. I love how they turned out and I made a little tutorial in case you want to make one too.

Halloween Countdown Calendar

You will need:
-glue gun and refills
-magnet dots
-orange and black construction paper
-wooden pieces (something to act as a backing for each piece)
-a small baking sheet
-Halloweeny paper
-eleventy billion trinkety things (or you know, 31)
-scissors, ruler, white colored pencil, black marker, orange or white crayon

Halloween Countdown Calendar
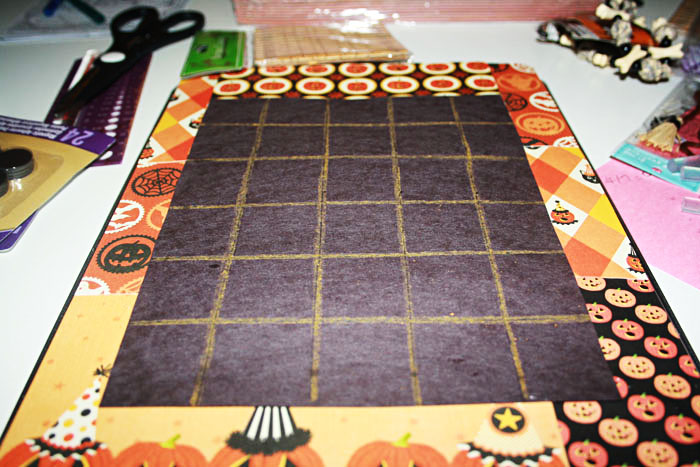
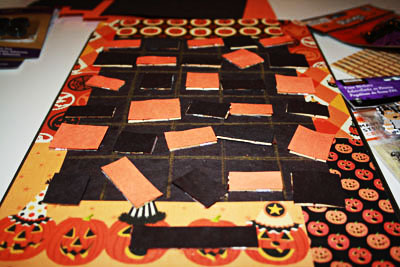
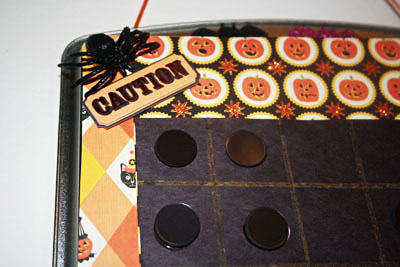
First decorate the cookie sheet however you see fit. You could paint the whole thing black and then add stickers and other embellishments. I glued some cute Martha Halloweeny paper to my cookie sheet, and a rectangle of black construction paper to act as my calendar background. You can’t see but I didn’t stack the papers behind it, they are arranged in a frame around it with the construction paper overlapping just a little. Otherwise, there would likely be a magnet issue!

You’ll notice there are only 30 squares on my calendar, I did that to make #31 a bigger piece under them all but you can make your calendar however many days you like. If you only want to count down two weeks before, make it just 14 squares.

Halloween Countdown Calendar
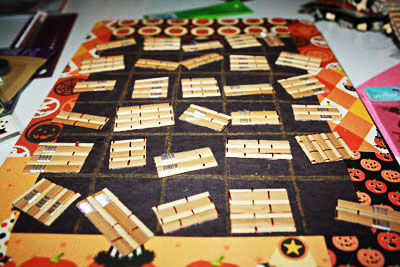
Then I went through some of the trinkety things I picked up and decided where I wanted to use some of them and I cut down a few bamboo coasters to be the backings for my pieces.
Halloween Countdown Calendar
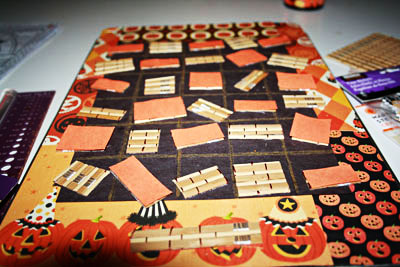
Next I glued orange construction paper to every other piece and black to the leftover pieces.
Halloween Countdown Calendar
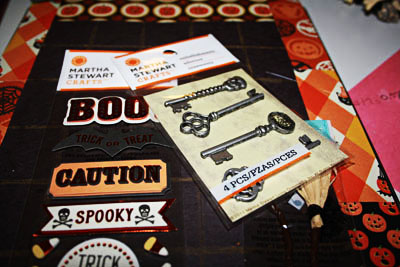
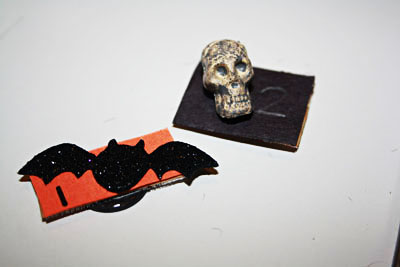
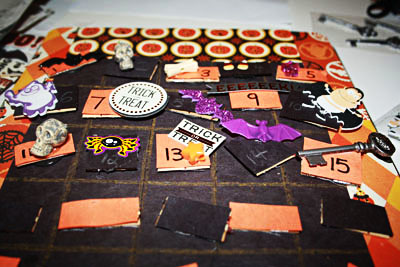
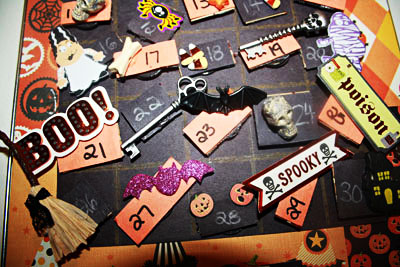
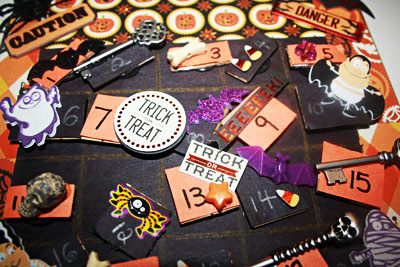
This is where it really gets fun! The only guidelines here are that each piece needs some kind of embellishment, a number and a magnet dot on the back. The details are up to you. My first two were a sparkly bat sticker and a skull from a seriously ugly bracelet. I used plain stickers, raised stickers, and beads. The purple bat was cut off the front of a plastic ring and the key is from a Martha scrapbooking set.
Halloween Countdown Calendar
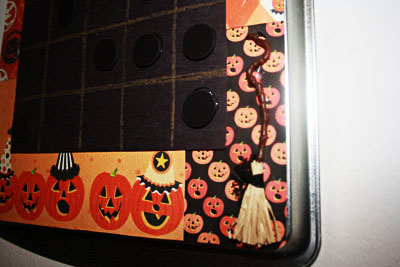
Once I had finished making pieces for each day, I embellished the cookie sheet itself a bit more. I added a witch broom to one corner and a big ugly spider to another. I also added magnets to some squares on the calendar that had especially heavy pieces to make sure they wouldn’t fall off.
Halloween Countdown Calendar
I have seen some versions of this with holes drilled in the cookie sheet to allow a ribbon to be weaved through for it to hang from. I had to recharge my Dremel and decided to try out the 3M Command Hooks I just picked up and they worked really well! Two hooks on the back of the cookie sheet and one hook on the wall.
Halloween Countdown Calendar
The kids are taking turns putting one up each day, and all of the magnets are stored on the back! Happy Halloween!!
No Comments

Work in Progress Wednesday #16

Crafty

Today, I’m linking up with Freshly Pieced, Yours Truly, 3 Four and Under, Free Pretty Things for You, The Trendy Treehouse, Ginger Snap Crafts, Rae Gun Ramblings, My Girlish Whims, Southern Lovely, Clean and Scentsible, Milk and Cuddles, JAQS Studio, Family, Home & Life, The Life of Jennifer Dawn, Uncommon Designs, and Polka Dots on Parade

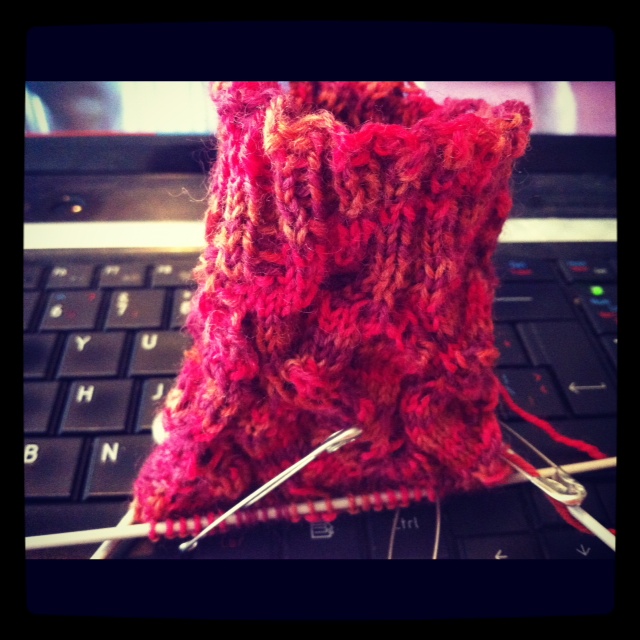
I finally casted on my second pair of socks for Sockdown September! I just started them last night and I’m making decent progress. I think with this weekend’s little road trip (more on that when we get back) I will finish these babies off. I’m making them as a surprise for a old friend who reads my blog so I’m not telling, other than to say I hope to get these on her feet by the first week of October.

The way Sockdown works is pretty simple really. First of all, if you’re asking WTF, Sockdown is a knit-a-long (KAL) within the Sock Knitters Anonymous group on Ravelry. Essentially, every month a bunch of us try to knit as many pairs of socks that fit under the same guidelines as possible. We post cast on and bind off information and of course all the stuff in between. Every month the guidelines are 1) a set ‘technique’ (though it’s not always technically a technique) like for example socks designed for men or a specific color or cables or something like that. 2) there are a couple of featured designers each month, whose patterns you can knit and NOT follow the technique rule (obviously it’s more fun if you try to find a pattern by the featured designer that uses that month’s technique) aaaaand 3) every other month there is a mystery sock pattern, the mystery being that only one part of the pattern is released at a time as a ‘clue’ and no one really knows what it looks like!

One other rule that I really like is that you actually have two months to finish each months’ socks – as long as they were cast on in the proper month. So for example, as long as I cast on all of my September socks before September 30, I have until October 31 to finish them! At first I thought this might get me trapped in always being a month behind and then never getting a chance to catch up but Sockdowns go from September to September and August is considered a vacation month, you can finish July’s project in time.

Why? Well, other than the fun of a KAL and the public pressure to actually finish my socks in a timely manner, there are prizes! They are drawn for the day after the deadline (so September’s prize will be drawn for on November 1). So fun! Of course the more pairs of socks you finish by each deadline, the more times you are entered in the draw!

The Sockdown challenge for September is just to knit in red. This yarn is Nova Sock Print in 411, I bought it from a cute hobby shop in the woods in Ontario before we left.

maidenhair fern socks

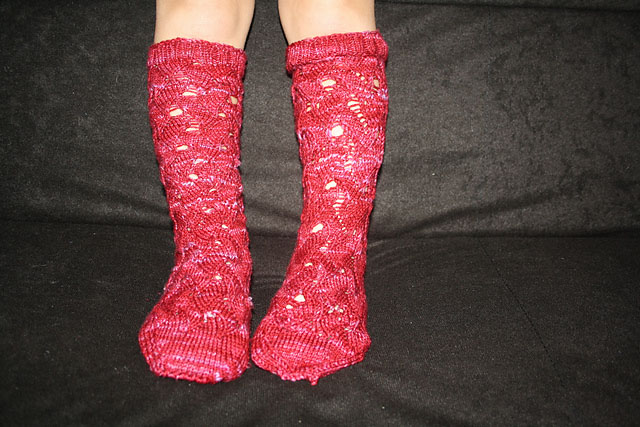
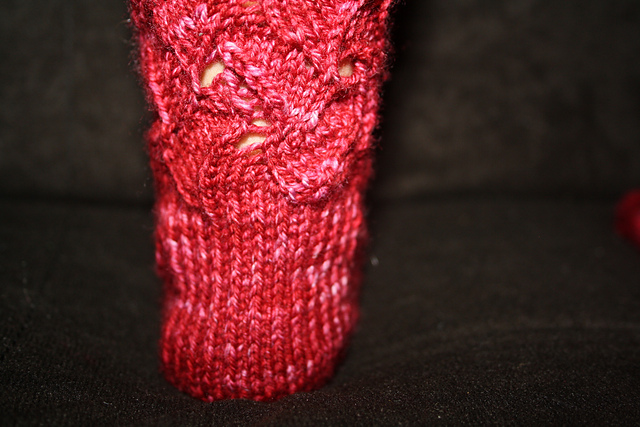
Now! Onto my finished socks! These babies, my Zephyr socks, were my first ever Sockdown socks. Knit in a beautiful yarn by Alisha Goes Around, called Panoply of Peacocks Fingering in ‘Parted’. I ordered it from The Loopy Ewe and I seriously recommend them to anyone. They are a wonderful shop! Physically, they are in Fort Collins in Colorado. The next time we are in Colorado I’d love to take a drive up there!

These socks were knitted for my littlest little! I have enough yarn left for plenty of puffs for my blanket too!

zephyr socks

zephyr socks

zephyr socks

3 Comments

Make Your Own Bath Fizzies

Crafty, Pretty

Today is a fun link up day! All these link ups are full of beautiful and inspirational projects – check some of them out! A Bowl Full of Lemons, Sugar Bee Crafts, My Uncommon Slice of Suburbia, Funky Polkadot Giraffe, Today’s Creative Blog, The Blackberry Vine, Adventures of a DIY Mom, Our Delightful Home, Carolyn’s Homework, Vintage Wanna Bee, The Little Giggler, Crafty Confessions and The Kurtz Corner.

Making your own bath bombs seems a little crazy and to me anyway, it sounds like a lot of work. It’s surprisingly easy though! I made a batch a little while ago to give as gifts and I kept a few for myself, they turned out so well. Now that I have done this once, I know I can make them look a lot prettier!

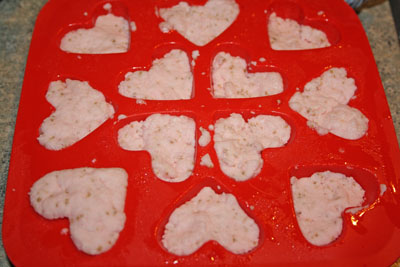
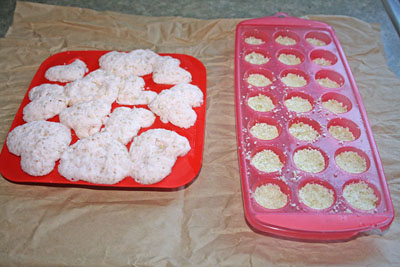
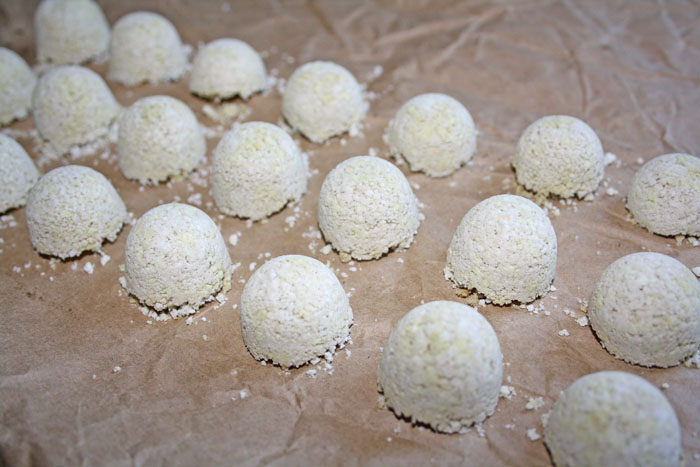
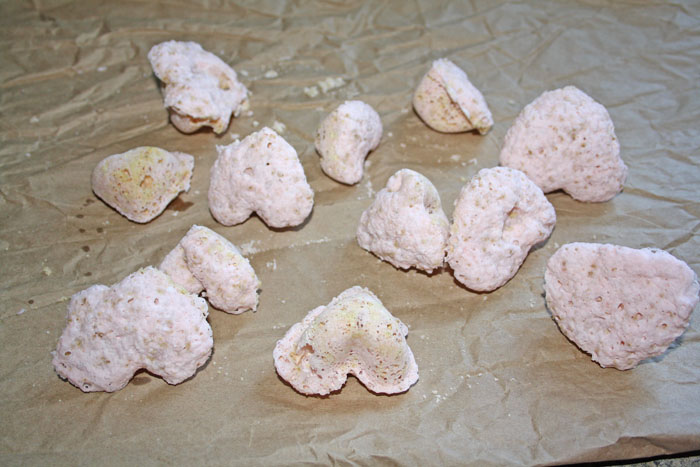
I made two kinds. One is more dense than the other. The dense batch dissolved pretty unnoticeably in the tub and made my skin crazy, amazingly soft. The puffier kind gave more of a show when they dissolved and also made my skin crazy, amazingly soft. I think the puffy version is better though because part of the fun of bath bombs is the fact that they explode, right?

There are heaps of recipes and tutorials online, but so far I think this one from Martha herself is the best one.

bath fizzies

Bath Fizzies via Martha Stewart

1/2 cup citric acid
1 cup baking soda
3/4 cup cornstarch
1/4 cup organic cane sugar
food coloring
essential oil(s)
travel-size spray bottle
silicone ice-cube tray
storage jars

bath fizzies
bath fizzies
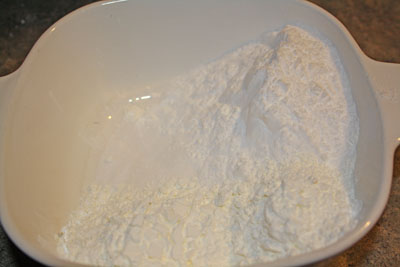
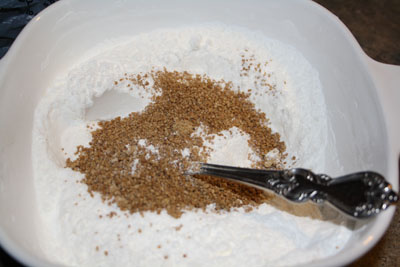
First, mix the citric acid, baking soda and cornstarch in an oven proof bowl. Sift it to get the clumps out of the cornstarch. Now stir in the sugar.
bath fizzies
bath fizzies
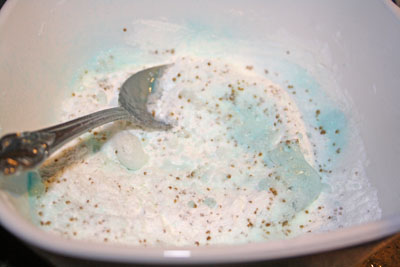
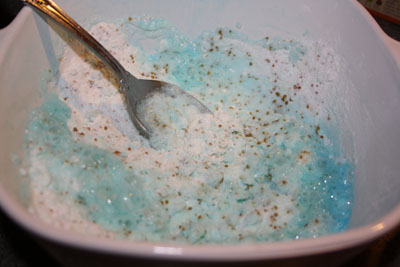
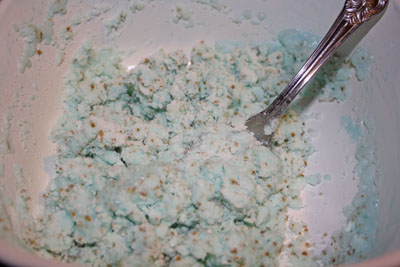
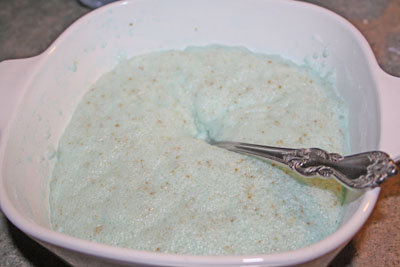
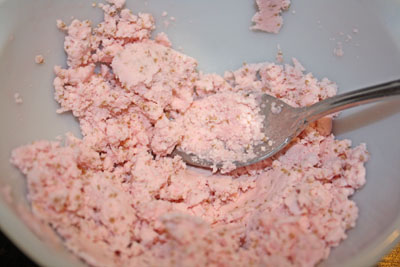
This part is so cool! Fill a spray bottle with water and food coloring. Of course the more food coloring you use, the more vibrant the color will be. I had two batches going here, one was a light blue and one was a light pink.
bath fizzies
bath fizzies
bath fizzies
bath fizzies
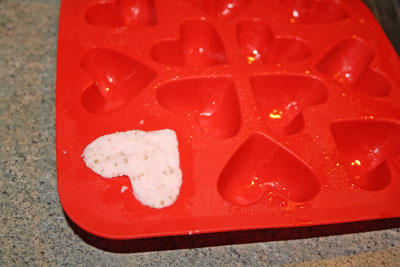
Spritz the water into the powder mixture until you can form it with your hands, then press it onto whatever molds you choose! So fun!
bath fizzies
bath fizzies
These trays took overnight to dry on the counter, the denser ones were sprayed less than the puffy ones, and the puffy ones grew overnight! Store them in pretty jars or wrap them up in pretty chello bags to give away!
bath fizzies
bath fizzies
6 Comments

Work in Progress Wednesday #15

Crafty, Kids

I did it!! Look! My sister won like 14, but whatever, I got one!

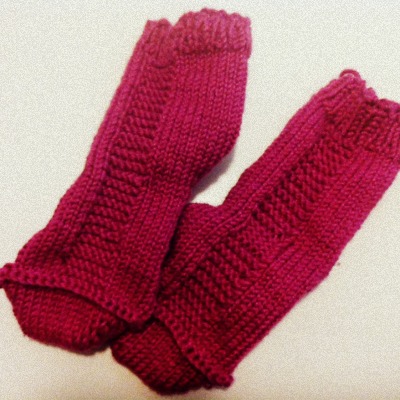
So with the Ravellenic Games behind me for another two years, the desire to knit my face off is still in full force. Thankfully my life is actually pretty conductive to that, so away I went casting on and finishing a pair of cute baby socks for my girl Sammie. Well, they’re for her baby duh, but that baby isn’t finished cooking yet. That gives me more time to knit other cute things for her!

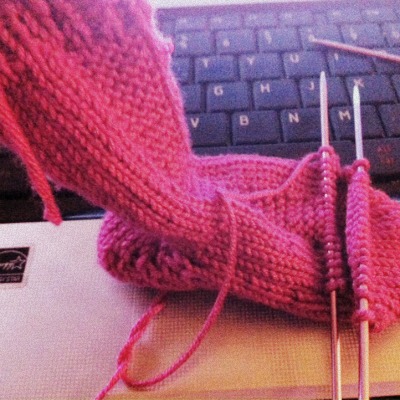
But those socks are finished, May, where’s your work in progress?! These lovies were cast on shortly before the Games started and I set them aside to work on my puffs. The puffs are habit forming!! After I finished the pink baby socks, I immediately used the rest of the yarn to make puffs (I only got two out of what was left) and these socks are not even done yet and I’m already thinking about the puffs I will make with the leftover yarn. Here are Miss Wee One #3’s almost finished wee socks!

No lie, she is currently wearing the finished one. She wanted to wear the one that’s still on the needles, but eventually decided the one without the pokey things would be just fine for today. Don’t you eat cereal while watching My Little Pony on Netflix with one woolly sock on – in California in August?!

Sidebar: Our cousin’s girlfriend showed me Coursera a little while ago! Have you seen this?

We are a social entrepreneurship company that partners with the top universities in the world to offer courses online for anyone to take, for free. We envision a future where the top universities are educating not only thousands of students, but millions. Our technology enables the best professors to teach tens or hundreds of thousands of students.

I will be taking Networked Life, Model Thinking and Greek and Roman Mythology this term (they are all 10 weeks long) and then Nutrition for Health Promotion (6 weeks) in January. I’m excited that each of the courses I picked all award a certificate of completion if done well!

No Comments
« Older Posts
Newer Posts »