Browsing the archives for the Crafty category.

Fancy Hairband Display

Crafty, Kids

Today, I’m linking up with Keeping it Simple, Skip to My Lou, Boogieboard Cottage, Craft-o-Matic, Making the World Cuter, Sumo’s Sweet Stuff, and C.R.A.F.T. There are so many amazing projects in these links ups!

My girls love to get fancy, and this is no surprise to anyone who reads this blog, but in the last year or so, they’ve been reading a lot of Fancy Nancy books. A lot. If you’re not familiar, Fancy Nancy is a sweet character in a series of books (there’s over 50 of them) revolving around her life. She’s a young girl who loves to dress up, she takes ballet, loves butterflies, French words and all things fancy! The illustrations in the books are so full of whimsy, with random feather plumes sticking out of vases and lace trim on almost everything and glitter and cute buttons and and and….all the details are so wonderful.

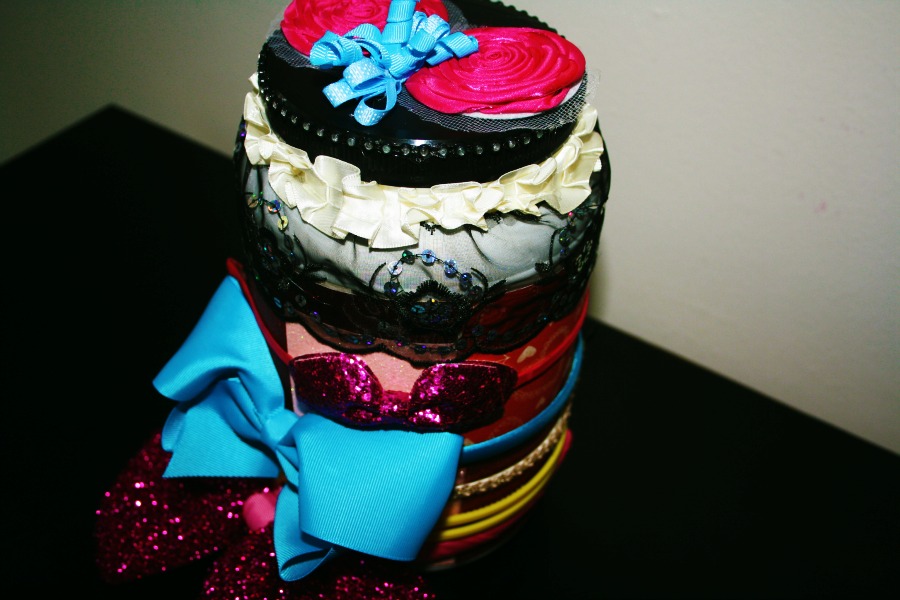
So now two of my littles are bent on having an uber fancy room with a zillion fancy details. Since their hairbands were living in a cute little basket on a dresser I decided to start there. I was initially just going to spice up the basket they were already using, but we can use baskets for so many other fancy things, right?! I think the best way to go about creating a fancy room is to display as many of their fancy objects (like their crazy cute hairbands) as possible while still storing them in an organized way. I think this nailed it, it’s copied from all the tween shops we have bought these girlie accessories in. So cute!

Fancy Hairband Display

You’ll need…

a cannister large enough so the hairbands don’t slip down, but small enough that you’re not stretching out the bands!
glue gun
decorative paper
sparkly things
whatever cute glittery things you want to add!

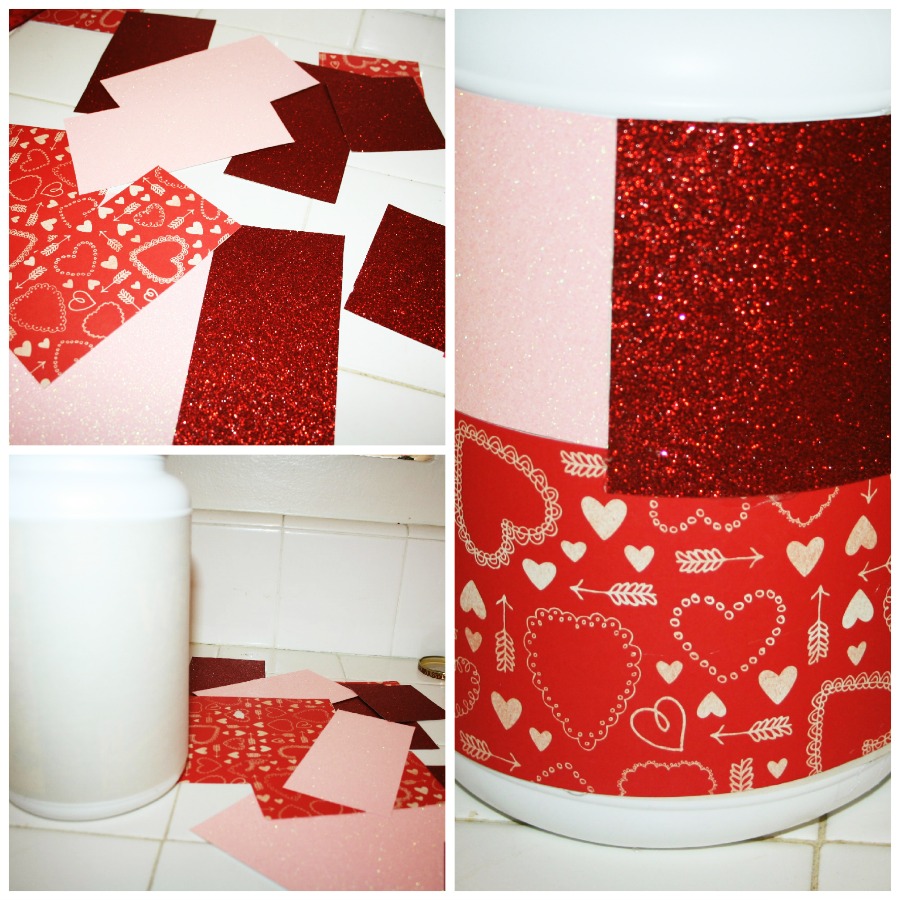
First I covered my cannister with plain construction paper to make a plain background to work from. I cut some glittery scrapbooking paper into medium and smallish pieces and hot glued them all over it like a patchwork quilt. Cute!!
Fancy Hairband Display

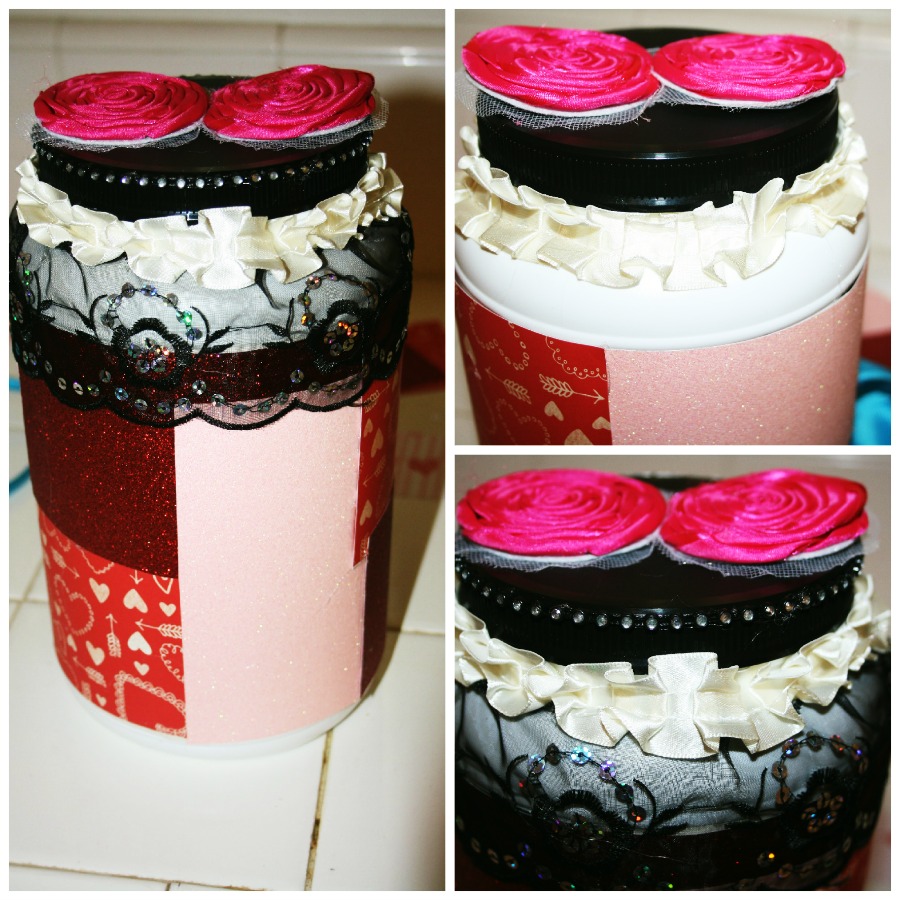
Then I dug through my crafty box for some lace and flowers and sparkly things and attacked it with the glue gun. I had Wee One #3 coaching me the whole time on how much of what I should be attaching where. It was hilarious how specific she was!
Fancy Hairband Display

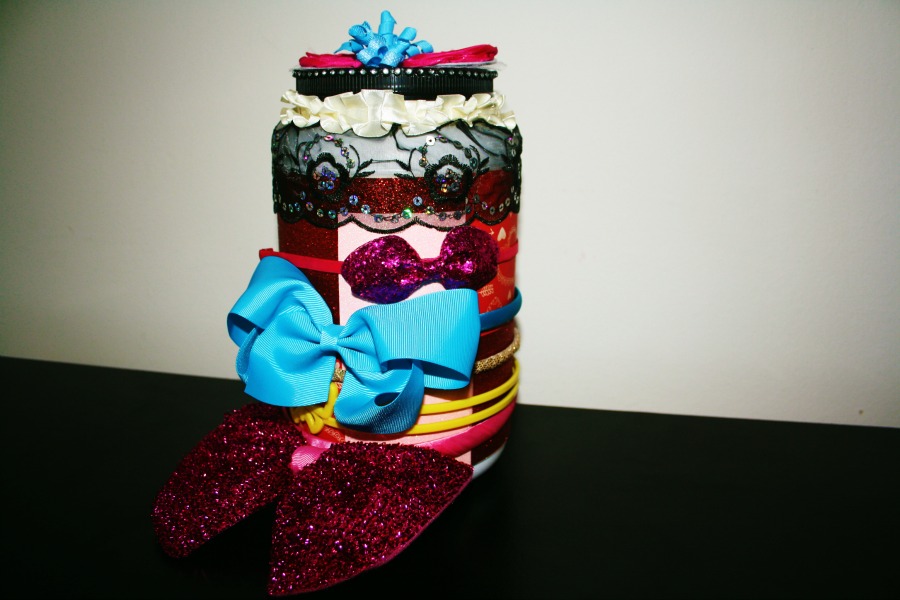
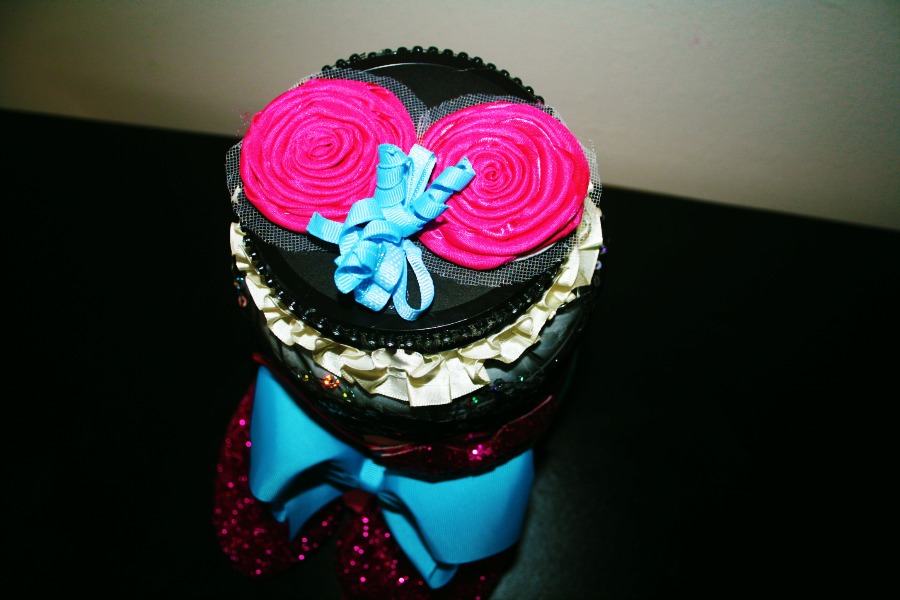
Here is the finished project with some of their hairband collection on display! So sweet and now when someone needs a giant blue bow to go with their outfit we’ll know exactly where it is!
Fancy Hairband Display
No Comments

Paper Plate Chicks

Crafty, Kids

This is a quick and fun activity for the littles in the days before Easter that doesn’t require too much prep for them to do it all themselves. When Wee One #3 does something entirely on her own, she’s the happiest kid in. the. world.

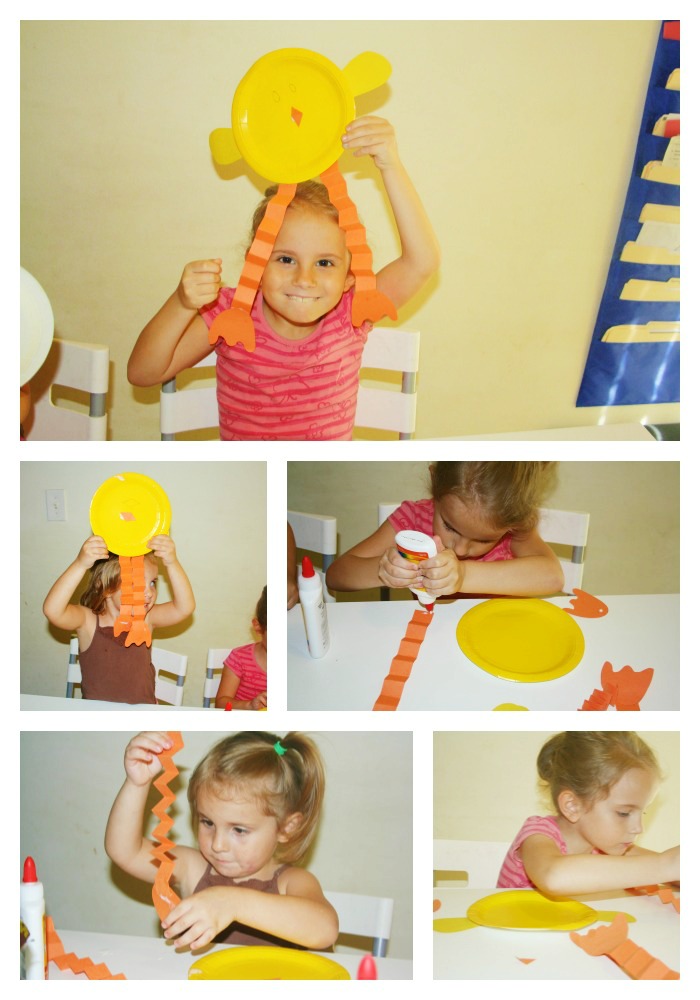
The prep took me maybe half an hour the night before and it entertained both girls for way longer than it should have – almost an hour. That’s like, daaaaays in preschooler time! Of course they got glue all over the table and a little on themselves, but they also made 5 of these little Easter chicks each and they’re currently hanging in the living room window to decorate our patio! Cute!

Paper Plate Crafts

You’ll need:

yellow paper plates
yellow wings (either teardrop shapes cut from construction paper or craft feathers)
orange construction paper legs (accordion long strips of paper)
orange construction paper feet
small orange diamonds for beaks
glue (most fun for littles is a fresh bottle of white glue)
googley eyes (or you can lose them the night before like I did, and suggest they use markers)

I made one myself after I had prepped all the pieces so they’d have a finished product to go by, but I told them if they wanted the accordion legs to be arms, that’s their call. They ended up making them as I had because they decided that was ‘the cutest way’.

I’m sure you can figure it out, but they found it helpful to glue the feet to the legs and then glue the legs to the body.

Paper Plate Crafts
No Comments

Mega Watt Easter Eggs

Crafty, Kids

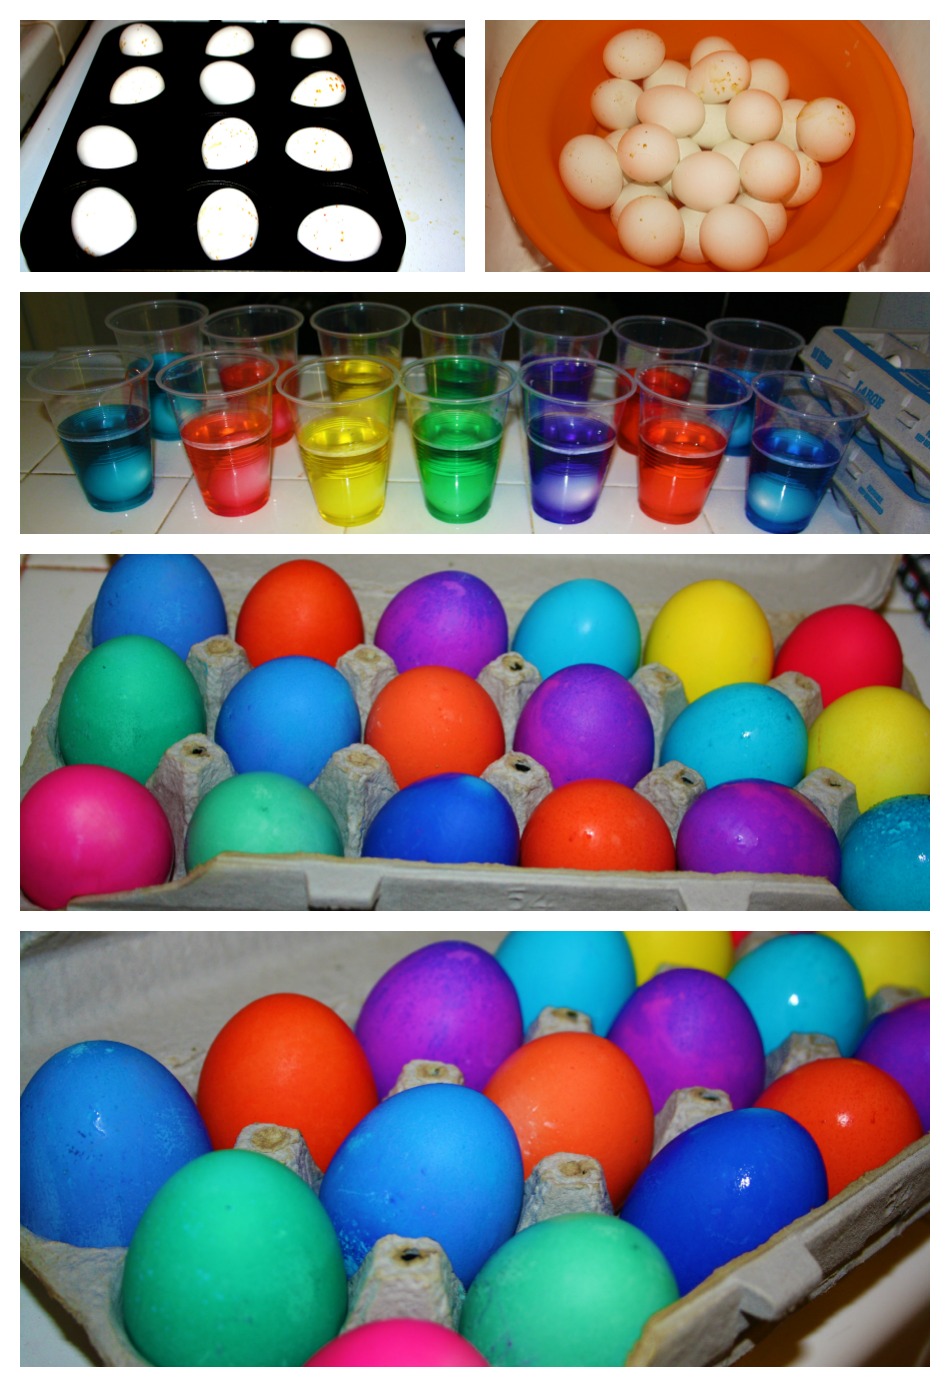
I know that traditionally, Easter is very pastely, but I’m not a huge fan of pastels when it comes to Easter eggs (or anything really). A general rule for dying eggs is to just use water and your food coloring of choice if you want light eggs, add a little lemon juice for slightly brighter eggs and add a bit of vinegar for bright eggs. I knew I was going to go the vinegar route and I had a whole lotta food coloring. Still, those tiny food coloring jars from the grocery store are only going to get the eggs so bright, you need to amp up the food coloring to get them really, really, bright. So I used Wilton Food Coloring. Normally this gel food coloring is reserved for fondant and buttercream but you know, mega watt Easter eggs were top priority for me lol.

Mega Watt Easter Eggs
You’ll need:
hard boiled eggs (le duh)
Wilton food coloring
cups
3/4 cup hot water (per egg)
1 tablespoon white vinegar (per egg)

When I cooked these eggs, the oven was still hot from baking, so I just filled a couple of muffin tins with eggs and cooked them at 350 for about 15-20 minutes. Then I left them in there for a while longer after I turned the oven off. Then I let them soak in a big bowl of cold water for another 30 minutes before I started dying them.

The hands on part of the process is pretty minimal, and the longer you leave the eggs dying, the brighter they’ll be!

Once your eggs are cooked and cooled, pour 3/4 cup of hot water in each cup. Use a toothpick (because a little bit is really all you need with this stuff) to dissolve the food coloring paste in the water. Now add the 1 tablespoon of white vinegar to each cup and mix. Now plunk your eggs in – one to a cup! I made 2 dozen so the counter was littered with cups and I left them there for a day and a night! The littles insisted on checking on them every time they walked by, and it was neat to see the colors get deeper. These eggs were made for the potluck last weekend and since there were so many babies and small toddlers there I didn’t embellish them any further, but when I make these again this weekend for my littles, I’ll dress them up a lot more.

Whatever you do with them, the crazy bright colors feel festive and are a great canvas for further decorating.

Mega Watt Easter Eggs
No Comments

Decoupaged Easter Eggs

Crafty, Kids

Decoupaged Easter Eggs

This is a pretty neat idea I bookmarked a couple of years ago on Say Yes to Hoboken. It’s very simple but very cute and can be used in Easter hunts, baskets or the as the original site suggested, as place settings! I made them for an Easter potluck my mommy group put on. I’ll post pictures of all of that insanity fun tonight!
Decoupaged Easter Eggs
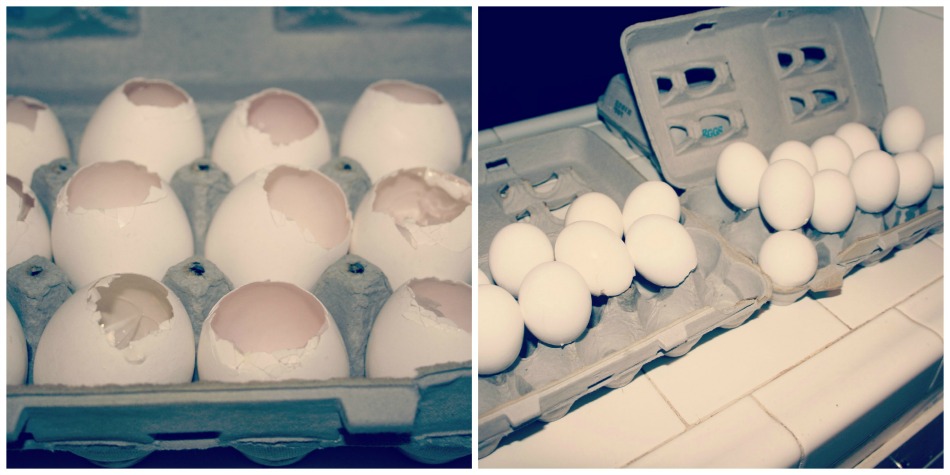
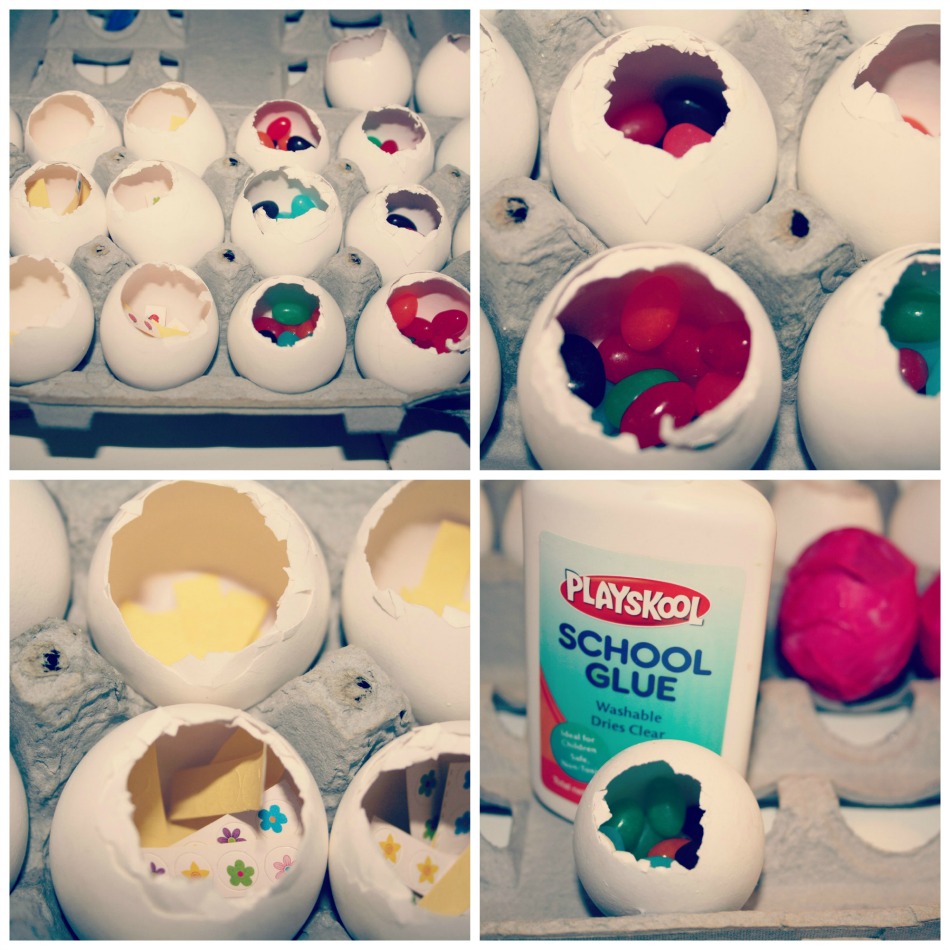
First tap the top off your eggs and empty them, (refrigerate for baking or scrambling later). Then rinse them and let dry overnight (or longer).
Decoupaged Easter Eggs
Once they’re dry, fill them with whatever treats you want! I filled half with jellybeans for the kids and half with stickers for the toddlers.
Decoupaged Easter Eggs
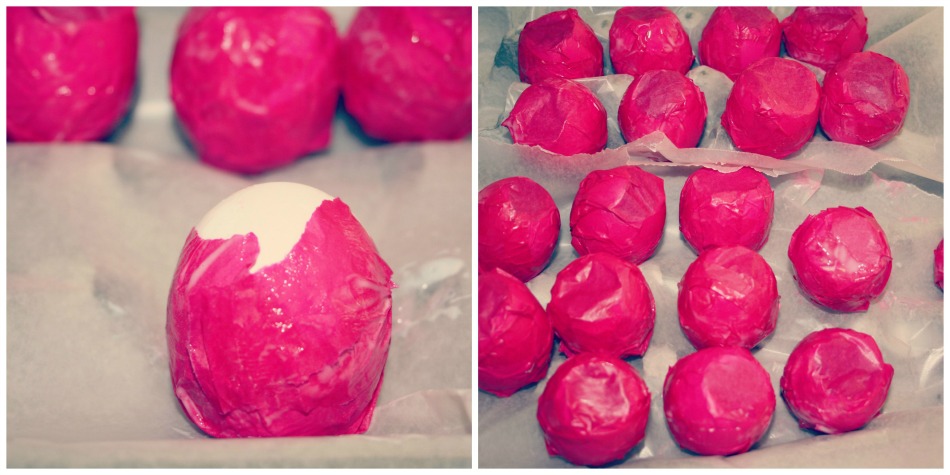
Using a paintbrush, tissue paper and a whole lotta glue, attack these little guys until they are covered. Then let them dry for about a day! Voila!
2 Comments

Knitted Bunnies

Crafty, Kids

Knitted Bunnies

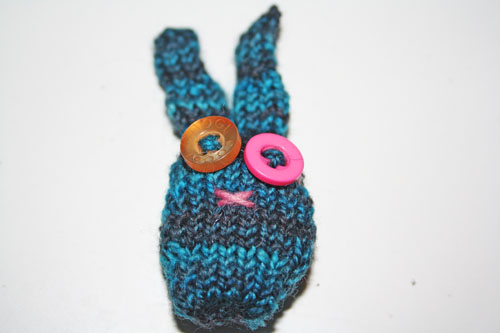
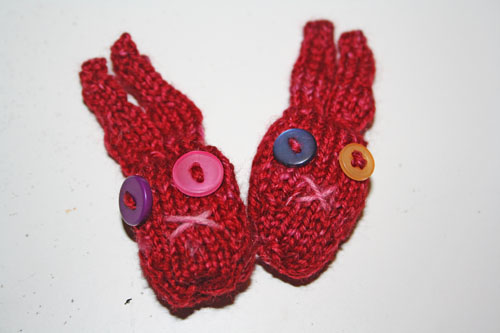
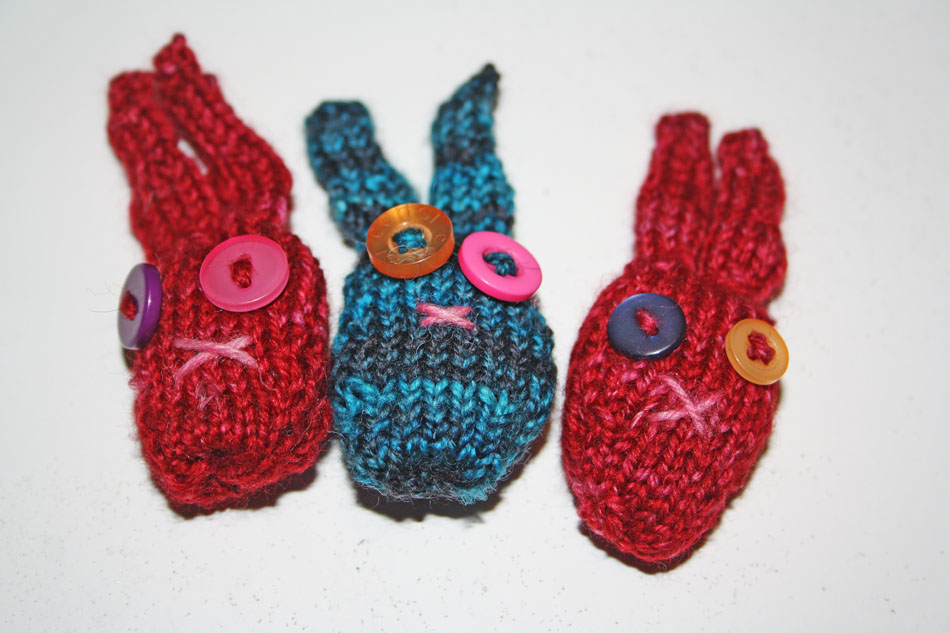
I found these little cuties over at Mollie Makes and I’m set on making one for each wee person coming to our Easter potluck! The bigger kids will get bunnies with button eyes and the babies will get bunnies with embroidered eyes. I’m still working on them and some other little treats for the baskets, I’ll post the finished product when it’s ready but I had to share this pattern! Even if you don’t feel that you knit very well you can pull these little guys together.

Their construction is pretty simple. You knit one ear and place it on a safety pin to keep the stitches live. Then knit the second ear and just knit the first ear onto the same needle as the second. Then the base of the bunny is knitted after that so it’s all one piece, no seaming! Hooray, I totally hate seaming (and you probably do too)!

These bunnies are deliciously wonky and I adore them this way. There are so many patterns for less wonky creatures but I think there’s something about the silliness of this pattern that makes me happier than it probably should.

Knitted Bunnies
Knitted Bunnies
Knitted Bunnies
No Comments

Peep Tree

Crafty, Kids

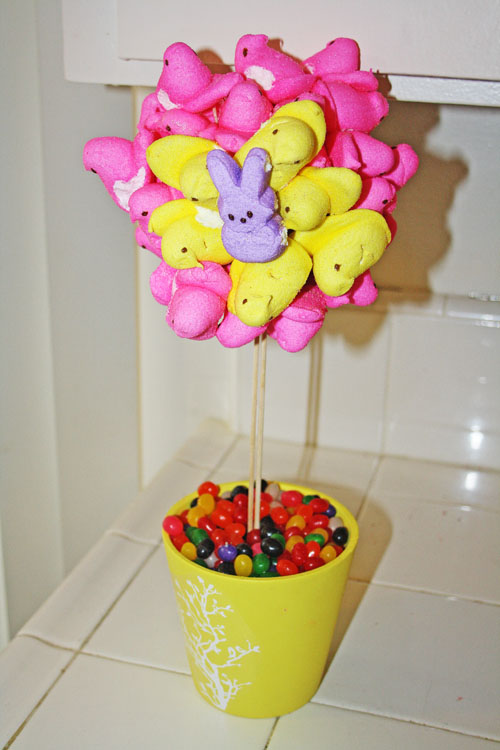
This is for sure one of the more random holiday crafts I’ve tried my hand at, but when I saw one I knew I had to see it for myself. I decided to try it now because Peeps were on sale at Big Lots and this is not an edible craft once it’s been put together!

I have seen so many different versions of this project online I think we all gather our supplies, sit down with a tutorial and then we each attack it differently! That’s what happened at our house anyway and it worked out pretty well I think.

Peep Tree

Peep Tree
-lots and lots and lots of peeps in different colors (chicks or bunnies, your choice)
-small flower pot
-styrofoam ball
-florist’s brick
-dowels
-eleventy billion toothpicks
-at least one bag of jellybeans
-spray adhesive helped me a whole lot

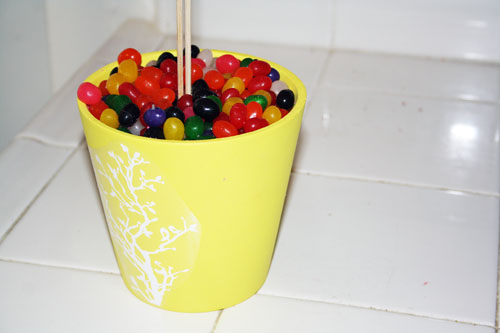
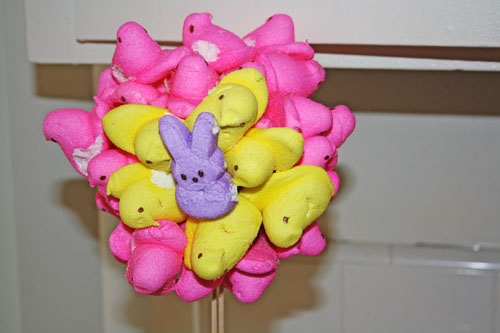
The only rules to follow really are to cut your florists’ block to fit your flower pot, poke your dowels in there and poke the styrofoam ball on top. Fill the flower pot with jellybeans to cover the florists’ block and away you go with the peeps! I found it helpful to spray a little spray adhesive on the back of each peep and on the toothpick so the toothpick would stick to the peep and the peep would stick to the styrofoam ball (and later to other peeps). I know the marshmallow holds on to the toothpicks anyway, but after a while gravity takes hold and really pulls those suckers down.

This tree is not really the kind of deco that kicks around from year to year. Since the jellybeans are loose it’s not really storage friendly, and since it takes some serious black magic for this thing to stay together without glue on it, it’s not like you can eat it when Easter hits.

I do however have a fun Easter morning deco that is edible but you’ll have to wait till we are a whole lot closer to Easter for that little gem. 😉

Peep Tree
Peep Tree
Peep Tree
1 Comment

Knitting, knitting, knitting….

Crafty

Three of the goals on my 2013 list are knitting related, (knitting 12 pairs of socks in a year, finishing this blanket, and knitting 13 Tiny Owl Knits patters for those of you following along at home). It doesn’t matter that I totally suck at knitting sweaters or that my guage is so often painfully much too big or much too small. When I started reading knitting blogs I was sure I’d be a brilliant knitter as soon as I could knit complicated socks. By that logic, I’m extremely brilliant because all I knit are complicated socks. Socks with colorwork, socks with lace, socks with cables, all if it! Attaching arms on a sweater, not so much, but complicated socks I can do.

I finished one pair of socks for Wee One #1, one pair of socks for my girl Sammie, one for Wee One #2’s godmother and a pair of baby socks for my friend’s new baby that I didn’t post about. Onward!

These are the ones I made for Wee One #1. The pattern is called Winter Lace Socks by Barb Brown Designs. I made them in Knit Picks Comfy Fingering in Jalapeño. He loves them and wears them to bed!

I’m most excited about these babies, they’re going in the mail tomorrow to my kitchen soul mate and sister from another mister, Sammie. <3 The pattern is called Socks of Kindness (so fitting for her). I’ve made them once before in a bright blue for Wee One #2’s senior kindergarten teacher. So so pretty. It was her birthday last week and so far this year I’ve bene negative two weeks on getting things in the post on time. At least they get there, right? These ones were knit up from Knit Picks Felici Sport self-striping in Marsh.

These are a Christmas gift that has still yet to leave the house. Terrible, right? I know, I know. In my defense the recipient has not sent ours down either haha. Hilariously, I made these as one of the first Christmas knitting projects! They are for Wee One #2’s godmother, the pattern is called Basket Case Socks and these were knit in Knit Picks Comfy Fingering in Peapod.

These little cuties are sooooo adorable, they’re painful to look at. I made a pair in pink for Sammie’s baby girl in the fall and they look just as cute in blue! The pattern is called Garter Stripe Baby Socks and I made them from very pretty yarn my sister sent me for my birthday. Nikkiiiii, what yarn is this?!

Yesterday I started a dishcloth on size 6 needles after only making socks and working on my puffs (for this) on very small needles and I felt like a vampire slayer. Not that size 6s are at all big, but most of my sock needles are toothpick-like so regular needles see huge.

I’ve been doing a pretty good job of knitting up my hexi-puffs from the leftover sock yarn at the end of each pair. I’m up to 234 now! I have listed in the sidebar and on my project page on Ravelry that I need 400 but it might be a whole lot more than that. Once I hit 400, I’ll lay them out and see if that’s even close. It’s going to look so sweet when it’s done I don’t even care how long it takes. Just look at this one!

Now…which pattern to choose next?!

P to the S – Valentiney insanity kicks off this weekend!

1 Comment

Corner Bookmarks

Crafty

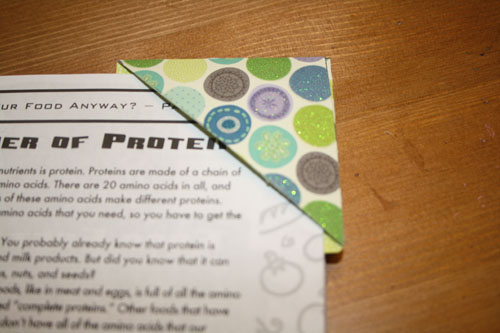
I had seen these around all over and just love, love, loved them! They perfectly combine my love of paper crafts and reading! I am not at all a fan of scrapbooking, but I love me some scrapbooking paper. I hope to be bit by the scrapbooking bug eventually, because I do really like the finished product – either of the wee ones or our friends. However, at the moment I’d rather knit. That’s pretty accurate of almost anything ha!

The two best tutorials I have found for these cuties are over at Midwestern Moms and Tally’s Treasures. My photos are pretty much the same as theirs but I’m posting them anyway – Tally’s Treasures added teeth and big eyes to hers and they look so so cute for little ones. I think I will show my littles how to make these and see what they come up with!

Corner Bookmarks

double sided scrapbooking paper
sharp pencil
ruler
scissors
glue stick

Corner Bookmarks
Corner Bookmarks
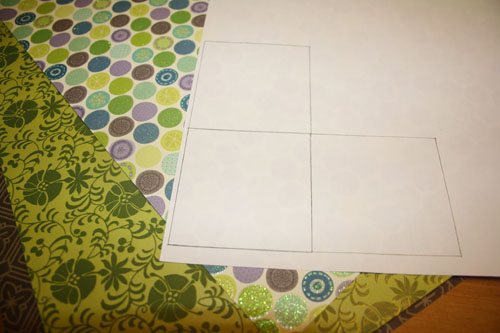
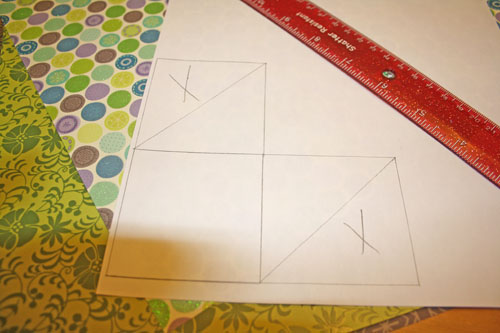
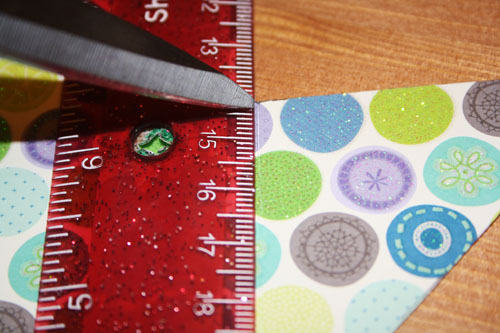
First, measure out three 2.5″ squares on cardstock or cardboard, as in the photie up there ^ on the left. Draw a line through the squares to the right and above the corner square, like the photie up there ^ on the right. Draw a little x on the same two triangles as I did. 🙂
Corner Bookmarks
Corner Bookmarks
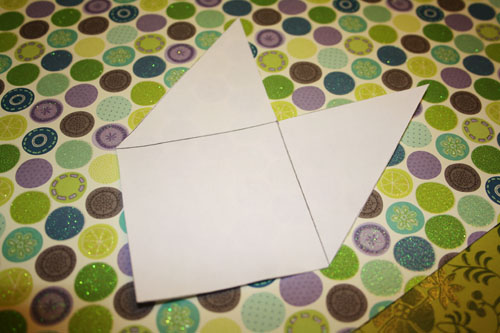
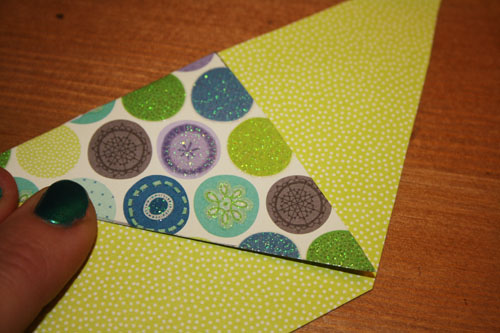
Next, cut out the shape, without the x’ed out triangles. This is your template, use it to trace around on pretty scrapbooking paper and cut it out.
Corner Bookmarks
Corner Bookmarks
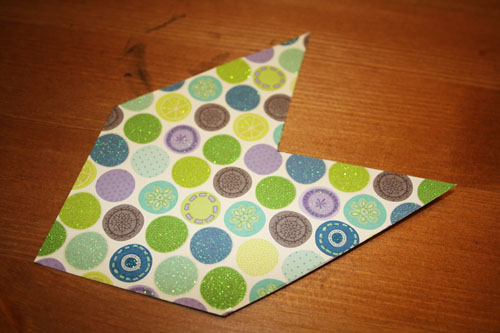
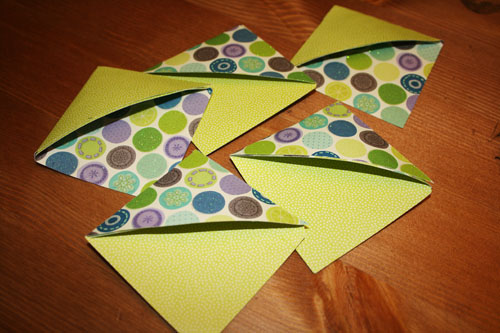
Score along the edges of the original square and fold those triangles down.
Corner Bookmarks
Corner Bookmarks
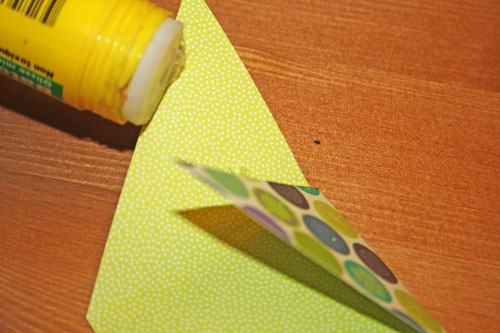
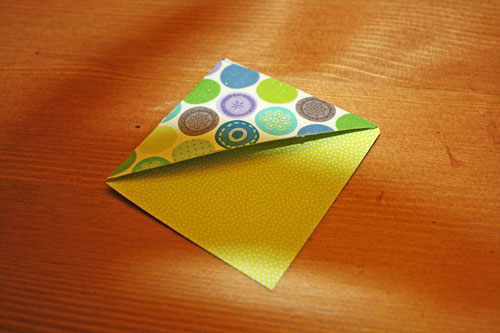
The first triangle that’s folded down only needs glue on top of it and then press the second triangle down on top. So simple and fun!
Corner Bookmarks
Corner Bookmarks
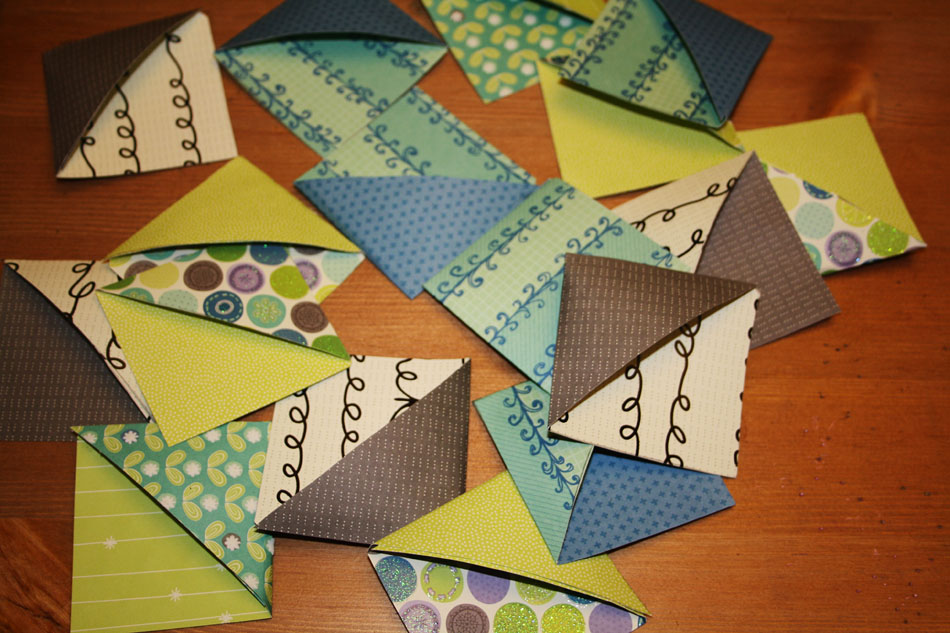
I didn’t decorate mine further, but you can add whatever you want to them!
Corner Bookmarks
No Comments

Fabric Covered Clothespins

Crafty

Today, I’m linking up with Dandelion House, Petals to Picots, Chubby Cheeks Thinks, Finding Fabulous, 504 Main, Thirsty World Designs and Serenity Now.

I first saw clothespins covered in fabric in a craft shop in Toronto about a million years ago. I loved them right away but didn’t buy them because I had no idea what I’d do with them. It wasn’t long after that I was hanging up a masterpiece made by one of the littles with a horribly plain clothespin on a string in the play room. That was the first thing I decided I needed them for. I ended up painting some wooden clothespins to use for this.

Then a couple of years ago, I came across Martha’s Mitten Clips, they’re super cute to attach to packages. I think it’s especially sweet to make them in a cold climate and send them to friends and family in warmer places (which is the opposite of what we’ve got going on right now….).

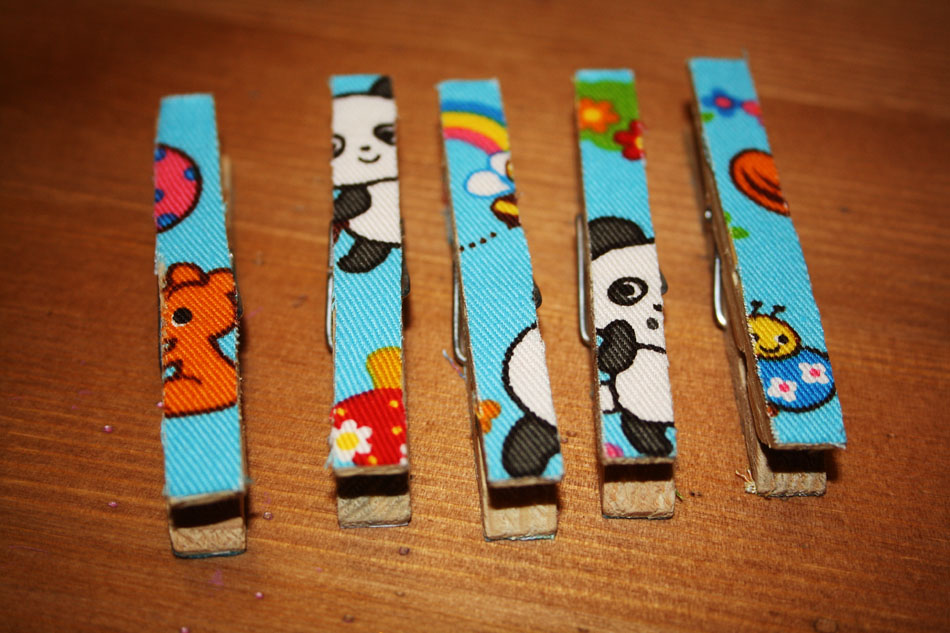
Then I came across this tutorial on Creature Comforts and I knew I had to try! They took maybe 10 minutes and I adore them. Next up of course will be glittered clothespins, clothespins with cute flowers and pom poms and stuff glued to them. I’m far too into this, I know. But so cute – look!

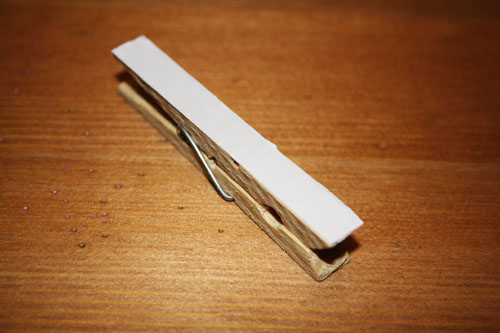
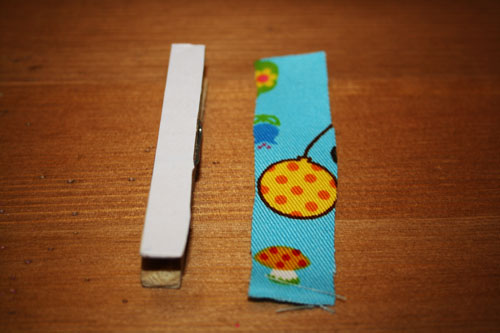
All I did was cut a strip of double sided tape for both sides of each clothepin, then cut fabric the same size and then pressed the fabric to the tape! Voila!

Fabric Covered Clothespins
3 Comments

Craftster Craft Challenge #82 – Gingerbread House Contest

Crafty, Domestic
Craftster Craft Challenge #82 - Gingerbread House Contest
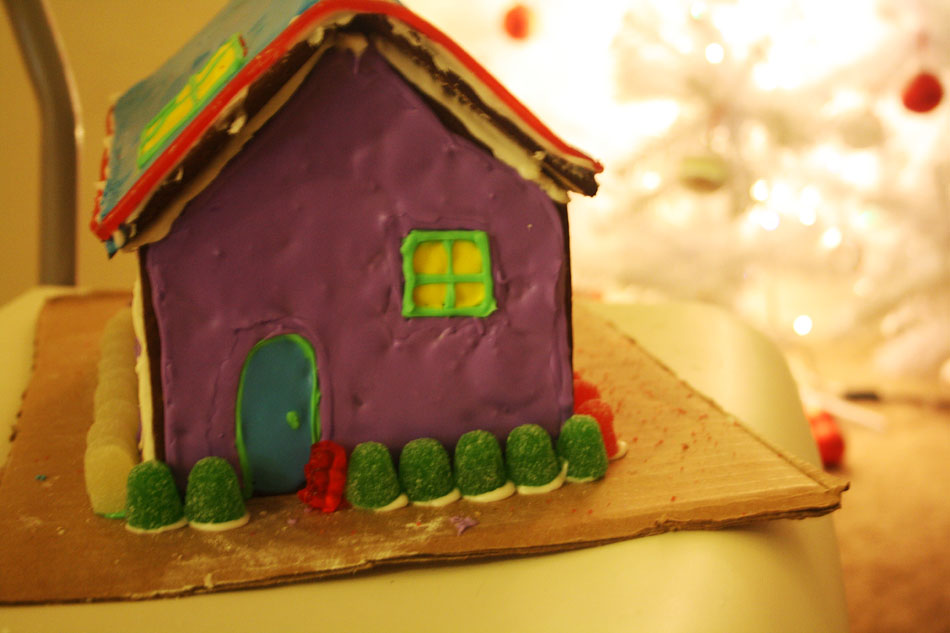
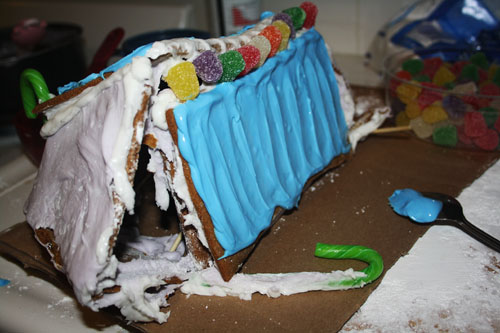
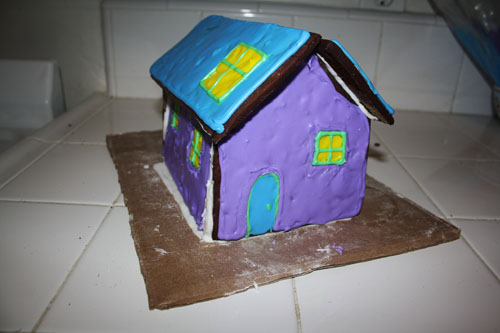
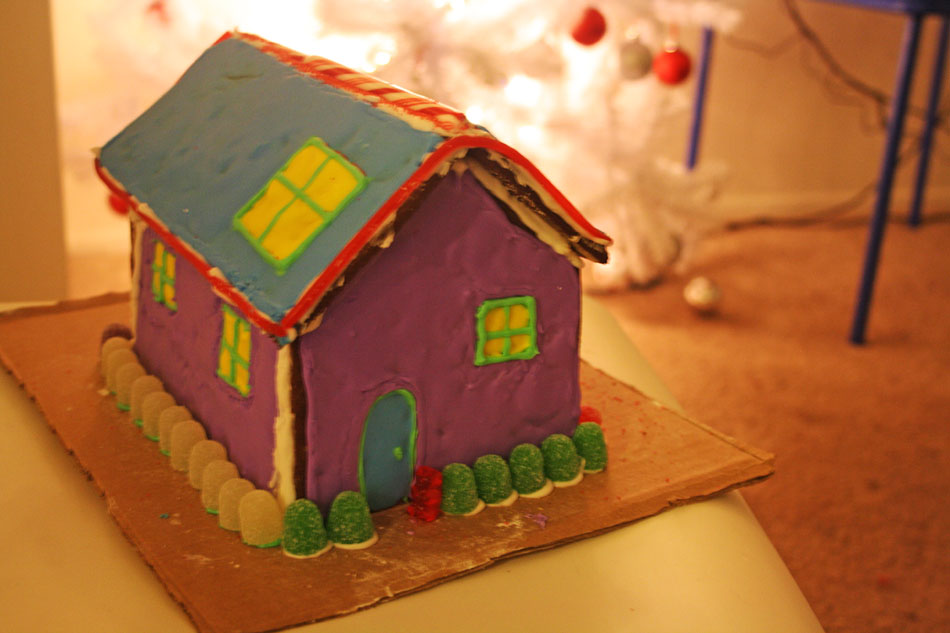
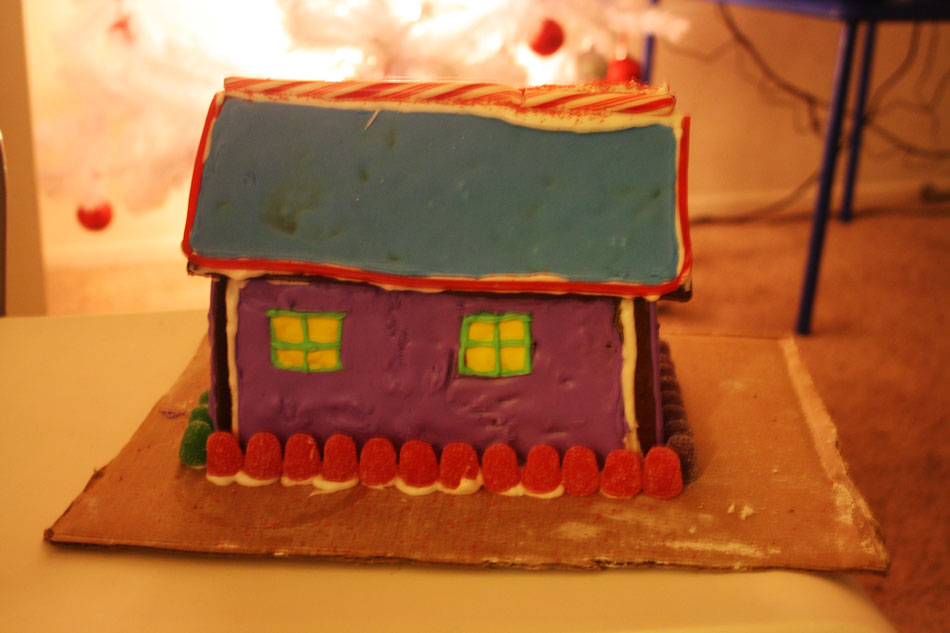
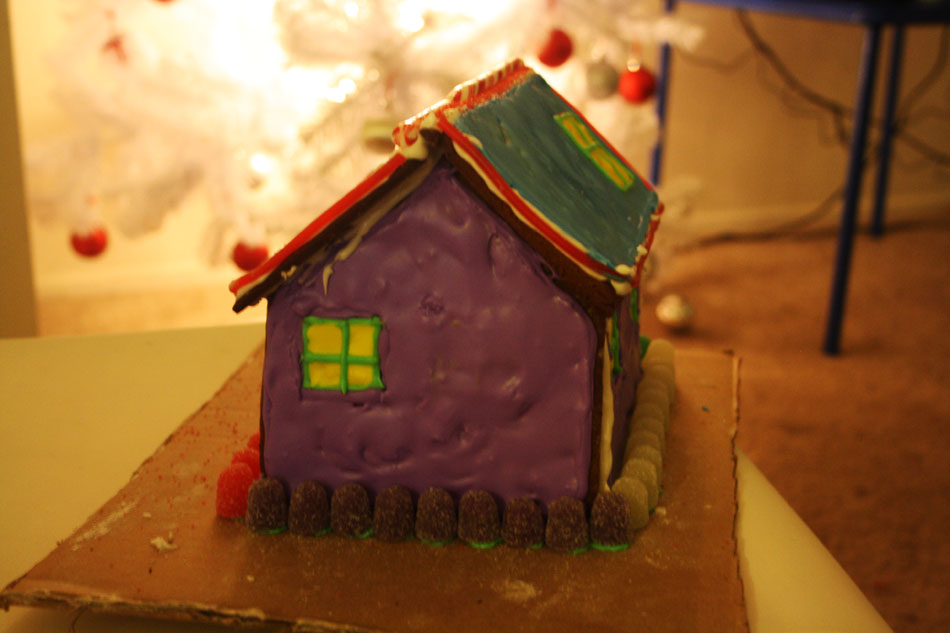
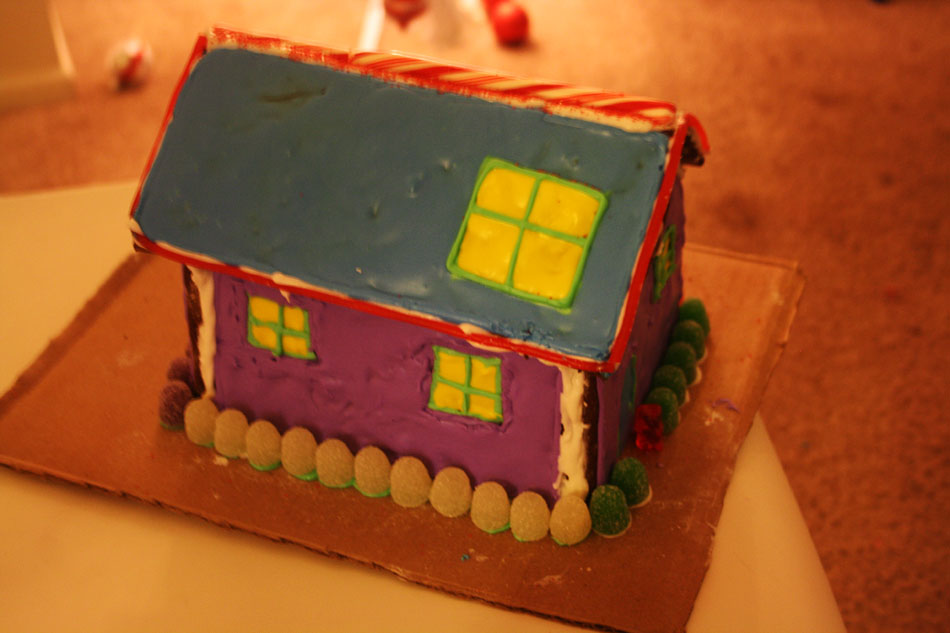
This house on the right was my first attempt at my first Craftster Craft Challenge of the year. The house pictured above is my shining masterpiece that I submitted last night! I made two pretty epic missteps with the first house. My pieces were not completely cooled off when I started and I used homemade marshmallow fondant for the decoration, which was a little heavier than I anticipated. Duh. I think I also wasn’t as careful as I should have been when I was cutting out the pieces for the house and they didn’t fit together as well as they should have.

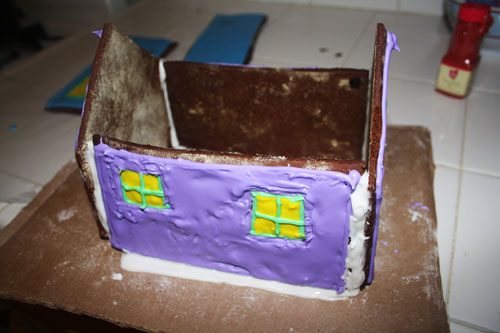
So this time around, I carefully measured every piece and made sure it cooled off for a few hours before I started working on it! I used slightly thicker icing glue this time around and I also went with thinned royal icing instead of fondant.

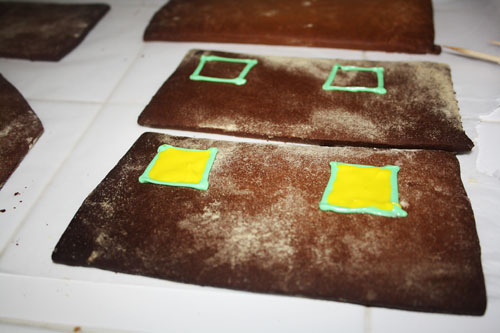
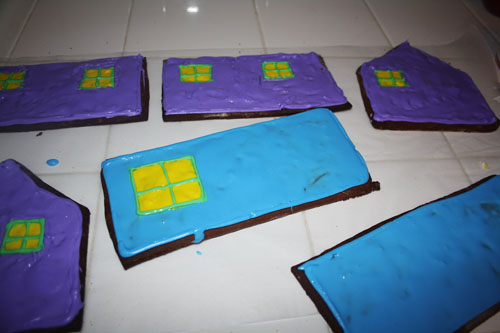
I also opted to decorate each piece before I assembled it all, and I think that helped. I went with pastel colors, inspired by our white Christmas tree this year that has a real vintagey feel.

Craftster Craft Challenge #82 - Gingerbread House Contest
Royal Icing
3 egg whites
1 tablespoon cream of tartar
2 lbs icing sugar
1/4 cup cold water (more or less)

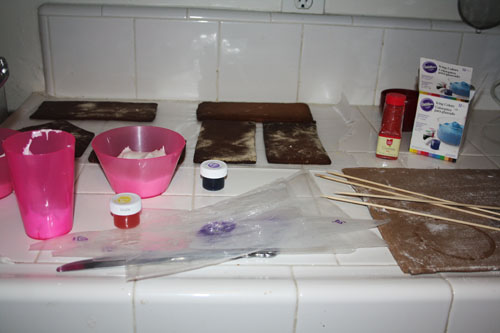
Beat the egg whites on high for 3-5 minutes, then reduce speed and add the cream of tartar, reduce to low and slowly add the icing sugar. The mixture will be really thick. From here, the less water you add here the strong the icing will be as glue – but the less smooth it will be as ‘paint’. So when making a gingerbread house, set aside some icing while it’s really thick and thin the rest of it out with water before adding colors!

Craftster Craft Challenge #82 - Gingerbread House Contest
Gingerbread

This is the gingerbread recipe I used, I don’t remember where I came across it but I have been using it forever!

1/2 cup butter
1/2 cup packed brown sugar
1/4 cup molasses
1 tablespoon cinnamon
1 tablespoon ginger
1 teaspoon ground cloves
1 teaspoon baking soda
2 cups flour
2 tablespoon water

First, cream the butter and the sugar and add molasses. Then whisk together the cinnamon, ginger, cloves, baking soda and flour. Mix that with the butter mixture and when it gets really chunky add the water slowly.

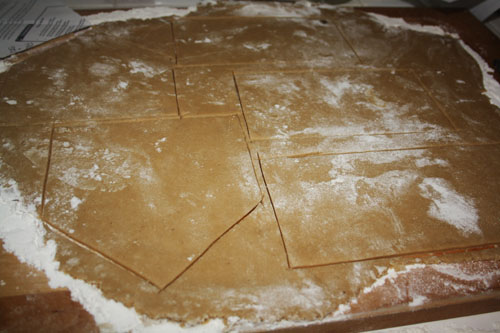
Put the dough in a baggie and chill for about an hour. Then roll out it with plenty of flour and cut out your shapes!

Craftster Craft Challenge #82 - Gingerbread House Contest
1 Comment
« Older Posts
Newer Posts »