Browsing the archives for the daring kitchen tag.

Last Daring Cook Challenge for 2010 – Eggs Benedict

Domestic

In this post, I’m participating in Tempt My Tummy Tuesdays, Tuesdays at the Table, Tuesday Night Supper Club, Hearth ‘n Soul, and of course, The Daring Cooks.

Jenn and Jill have challenged The Daring Cooks to learn to perfect the technique of poaching an egg. They chose Eggs Benedict recipe from Alton Brown, Oeufs en Meurette from Cooking with Wine by Anne Willan, and Homemade Sundried Tomato & Pine Nut Seitan Sausages (poached) courtesy of Trudy of Veggie num num.

I have watched Julie and Julia about 1000 times lately, so I was all over poaching a egg! I really wanted to do it, and since I live in the woods now, it’s not hard to find farm fresh eggs! I decided to go with Eggs Benedict for the whole Julie and Julia butter references.

I have been peaking in at the Daring Kitchen message boards, as I always do, and I found that mostly out of necessity a lot of my fellow Daring Cooks had made their own English muffins. Naturally, I had to jump on this bandwagon! The very first blogger, Audax Artifex, to post their finished creation often comments here – how lucky! He included a recipe for English muffins based on Alton Brown’s recipe.

English Muffins – from Alton Brown
1/2 cup non-fat powdered milk (skim milk powder)
1 cup very hot water (you can use 1 cup of very hot evaporated milk instead of the powdered milk and very hot water) <– that’s what I did

1/2 tablespoon sugar
1 teaspoon salt
1 tablespoon butter, melted
1 teaspoon dry active yeast
1/8 teaspoon sugar
1/3 cup warm water
2 cups all-purpose (plain) flour, sifted
Non-stick vegetable spray


Mix your really hot evaporated milk (or your really hot water and milk powder), with 1 tbsp sugar, 1/2 tsp salt, butter until the sugar and the salt are dissolved. Set aside to cool.

Separately, combine the yeast and 1/8 tbsp sugar in 1/3 cup of warm water. Let it sit until the yeast has dissolved, then add to the milk mixture.

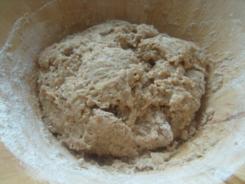
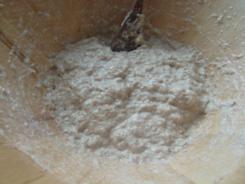
Add the sifted flour and and mix (it says with a wooden spoon), then cover the bowl and let it rest in a warm spot for 15-30 minutes until a few small bubbles form on the top of the batter and it becomes very sticky and thick.
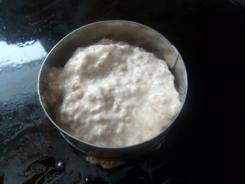
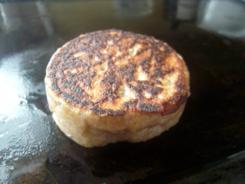
 

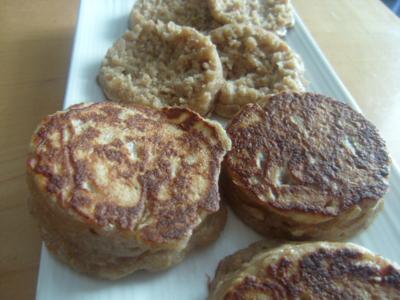
Preheat your griddle to 300, add the leftover 1/2 tsp salt and mix till totally combined. Now the recipe says to put 3″ metal rings onto the griddle and coat them with vegetable spray (4″ for the giant ones). My metal ring is 2.5″, and while I read on Daring Bakers that a tuna can is the perfect size for the huge ones, I went with minis! 1/4 cup of batter per muffin for about 5 minutes each side and they’re so cute!!

Split with a fork to get that nook and cranny goodness!
Now that that’s out of the way, it was time for the Hollandaise sauce and poach the eggs! I had never made Hollandaise sauce before, but I’ve wanted to do forever.

Eggs Benedict w/ Hollandaise Sauce – from Alton Brown
4 eggs
2 English muffins
4 slices of Canadian bacon/back bacon
Chives, for garnish
Splash of vinegar (for poaching)

3 large egg yolks
1 tsp water
1/4 tsp sugar
12 tbsp unsalted butter, chilled and cut in small pieces
1/2 tsp kosher salt
2 tsp freshly squeezed lemon juice
Pinch cayenne pepper (optional)

1. Fill a medium saucepan halfway with water and bring to a simmer.

2. Cut the chilled butter into small pieces and set aside.

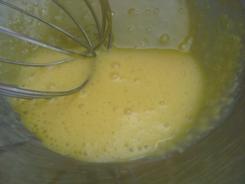
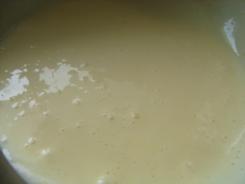
3. Whisk egg yolks and 1 tsp. (5 ml) water in a mixing bowl large enough to sit on the saucepan without touching the water (or in top portion of a double boiler). Whisk for 1–2 minutes, until egg yolks lighten. Add the sugar and whisk 30 seconds more.

4. Place bowl on saucepan over simmering water and whisk steadily 3–5 minutes (it only took about 3 for me) until the yolks thicken to coat the back of a spoon.
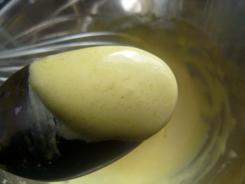
 

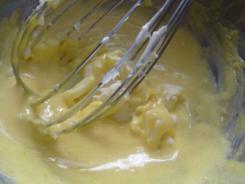
5. Remove from heat (but let the water continue to simmer) and whisk in the butter, 1 piece at a time. Move the bowl to the pan again as needed to melt the butter, making sure to whisk constantly.

6. Once all the butter is incorporated, remove from heat and whisk in the salt, lemon juice, and cayenne pepper (if using).

7. Keep the hollandaise warm while you poach your eggs in a thermos, carafe, or bowl that you’ve preheated with warm water.
 

8. If the water simmering in your pan has gotten too low, add enough so that you have 2–3 inches of water and bring back to a simmer.

9. Add salt and a splash of vinegar (any kind will do). I added about a tablespoon of vinegar to my small saucepan (about 3 cups of water/720 ml of water), but you may need more if you’re using a larger pan with more water.

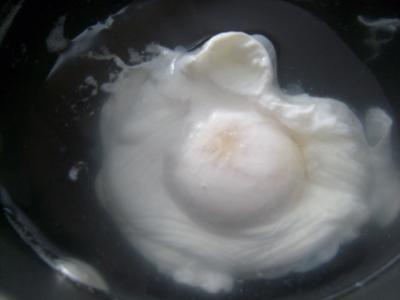
10. Crack eggs directly into the very gently simmering water (or crack first into a bowl and gently drop into the water), making sure they’re separated. Cook for 3 minutes for a viscous but still runny yolk.
11. While waiting for the eggs, quickly fry the Canadian/back bacon and toast your English muffin.

12. Top each half of English muffin with a piece of bacon. Remove the eggs with a slotted spoon, draining well, and place on top of the bacon. Top with hollandaise and chopped chives, and enjoy!
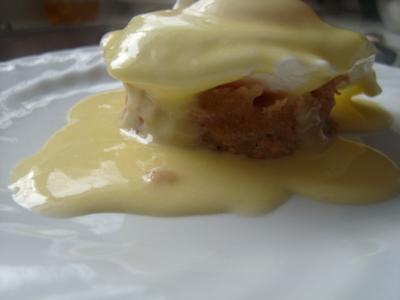
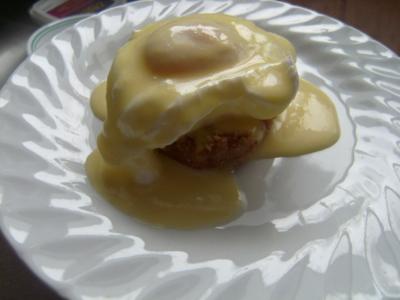
That was so fun. We discovered that wee one #1 loves my homemade English muffins with butter and wee one #2 loves them with jam. Our littlest one was snacking on her plain. 🙂

I am so hyped for this month’s Daring Baker challenge. Stay tuned!
13 Comments

Doughnuts from Scratch – Daring Bakers Challenge Oct 2010

Domestic

In this post, I’m participating in The Daring Kitchen, Tempt My Tummy Tuesday, Tuesday Night Supper Club, Hearth ‘n Soul, Tuesdays at the Table and Delicious Dishes at It’s a Blog Party

The October 2010 Daring Bakers challenge was hosted by Lori of Butter Me Up. Lori chose to challenge DBers to make doughnuts. She used several sources for her recipes including Alton Brown, Nancy Silverton, Kate Neumann and Epicurious.

This challenge was so fun I don’t even know where to begin. Think about entering a coffee shop, and the row upon rows upon rows of doughnut behind the counter. With the recipes from this month’s challenge, you can literally make all of them! I may be 300lbs the next time anyone sees me!

These doughnuts are the final birthday party item I didn’t post about yesterday! Surprise!

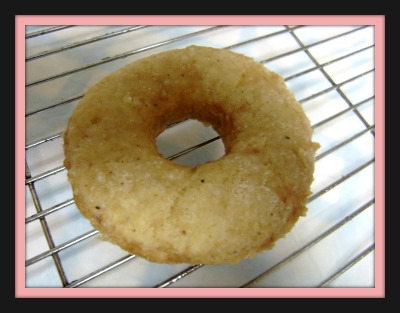
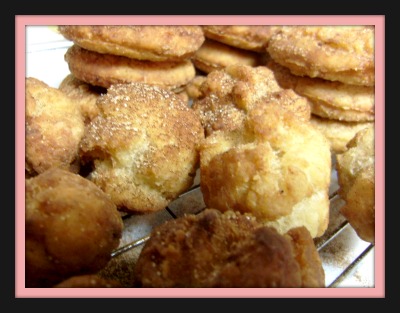
There yeast doughnuts, old fashioned buttermilk cake doughnuts, bomboloni (German style with a fruity filling) and pumpkin. I went with the old fashioned buttermilk cake doughnuts and no lie, they taste exactly like the Tiny Tom carnival doughnuts!

So first, here’s the recipe I used!

Old-Fashioned Buttermilk Cake Doughnuts:
Sour Cream 1/4 cup
All Purpose Flour 3 1/4 cup
White Granulated Sugar 3/4 cup
Baking Soda 1/2 teaspoon
Baking Powder 1 teaspoon
Kosher (Flaked) Salt 1 teaspoon (If using table salt, only use 1/2 teaspoon)
Nutmeg, grated 1 1/2 teaspoon
Active Dry Yeast 1 1/8 teaspoon
Buttermilk 3/4 cup + 2 Tablespoon
Egg, 1 large
Egg Yolk 2 large
Pure Vanilla Extract 1 Tablespoon
Powdered (Icing) Sugar 1/4 cup (used for decorating and is optional)


First heat the sour cream in a stainless steel bowl set over a pot of simmering water. Then turn your oil on. 😉

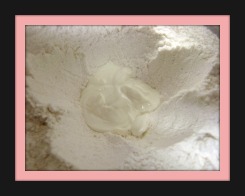
Over a large mixing bowl, sift together the flour, sugar, baking soda, baking powder, salt, nutmeg; make a large well in the center. Place the yeast in the well; pour the sour cream over it. Allow it to soften (if using packed fresh yeast), about 1 minute.

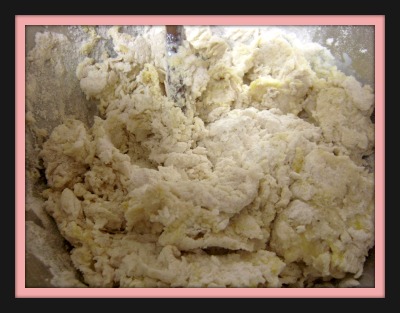
Pour the buttermilk, whole egg, egg yolks, and vanilla extract into the well. Using one hand, gradually draw in the dry ingredients. The mixture should be fairly smooth before you draw in more flour. Mix until it is completely incorporated. The dough will be very sticky. Wash and dry your hands and dust them with flour.

If I’m honest here, I’d admit that I love mixing food by hand. Loooove it.

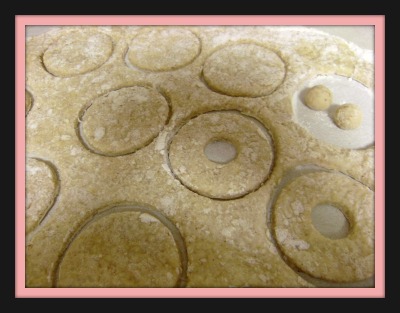
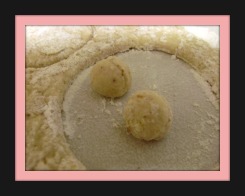
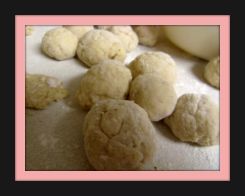
Now comes the really fun part!! Shaping them! For the traditionally shaped doughnuts, I used a drinking glass and a very teeny shot glass, though I am aware there are actual doughnut cutters out there! Now that I know how to make them, I have those cutters on my wish list.

Be sure to seriously flour up your counter and work fast!


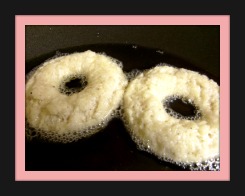
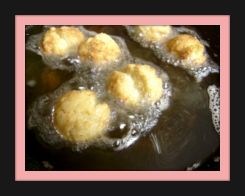
They really don’t take long at all, maybe 30 seconds a side, and really the second side is a little less. They’re super fun to make and, as usual, I was in the kitchen, dancing around and listening to my music louder than I probably should when all the kids are in bed and I was almost done the whole batch before I knew it.


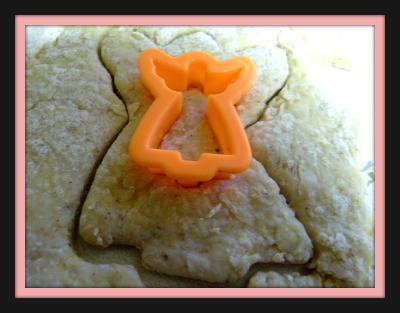
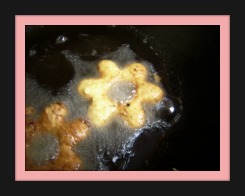
Once my husband came in the room and saw what I was doing, he raided the cookie cutter cabinet (yes I have a cabinet full of cookie cutters), and cut out angel and heart shaped doughnuts. He is hilarious. We ended up making another batch and made all silly shapes! The kids loved them the next day – I wonder if it’s weird that their parents stayed up and made funny doughnuts while they were sleeping? Ha!


Ok, back to our regular doughnuts. Since they were really hot and we were working fast (because the recipe told us to!) we hadn’t tried them yet. So as soon as the doughnut holes were ready we had one. Oh. My. Goodness. When we realized that they tasted exactly like the Tiny Tom mini doughnuts, we immediately bathed them in cinnamon and sugar and nom nom nomed half a tray of them.

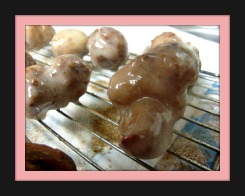
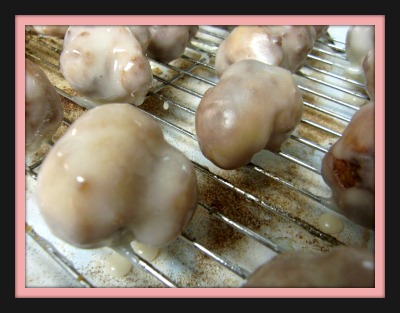
Eventually, we restrained ourselves long enough to whip up a sour cream glaze (!!) for the remaining doughnut holes. Man, they were good!

Sour Cream Glaze – found on an index card in my kitchen
3/4 cup icing sugar
2 tablespoons sour cream
1/4 teaspoon vanilla extract
1/2 teaspoon water


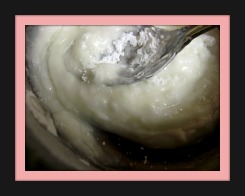
Just stir the sugar and sour cream in a small pot over low heat till it’s melted and almost smooth. Remove from heat and stir in the vanilla an water. Voila!

The glaze is really shiny and almost see through on the first coat. Once it’s a little dry and duller, you can dip it a second time – or more if you prefer. I found that two coats gave it that perfect coffee shop shell, you know? Watch out for cavities!

I can hardly wait for next month’s Daring Baker challenge!! Stay tuned!

17 Comments

Stuffed Grape Leaves (Dolmathes) – Daring Cook Challenge Oct 2010

Domestic

Our October 2010 hostess, Lori of Lori’s Lipsmacking Goodness, has challenged The Daring Cooks to stuff grape leaves. Lori chose a recipe from Aromas of Aleppo and a recipe from The New Book of Middle Eastern Food.

I am four days late to posting this because I threw myself an early birthday and five of my dearest made the road trip out to see me for the weekend! <3 I will post about that another day. This was my second Daring Kitchen challenge, and my first Daring Cook! I was excited when I first read the challenge because I’m Greek and would love to make Dolmathes. However, we just moved to the woods and there are no grape leaves here. Anywhere. My husband went on a mission and drove to two other towns (bless!!) with no luck. So I caved and went with cabbage leaves, an acceptable alternative listed in the challenge. The recipe called for 2 21oz jars of grape leaves, so I went with two heads of cabbage.

The recipe from the challenge turned out so well! So let’s back up a little and go through the recipe.

1 pound ground beef
1/3 cup short grain rice, soaked for 30 minutes
1 teaspoon allspice
2 tablespoons vegetable oil
1 teaspoon cinnamon
1 teaspoon Kosher salt (or 1/2 teaspoon table salt)
1/4 teaspoon white pepper
1 onion chopped (optional)
1 cup pine nuts (optional)

The filling is the easy part, as I’m sure you can imagine. Soak your rice as you mix up all the other ingredients. You’ll also need to blanch your leaves (regardless of what kind you’re using) for a few seconds before you use them (to soften them up enough to roll with). Do this just before you need them.

Rolling Dolmathes is nothing new to me, actually if I ever have the opportunity to host a challenge, it’ll be Spanakopita (my hands down fave Greek appetizer and it includes a lot of rolling and wrapping). Growing up in a half-Greek, half cabbage-roll loving family, we made a lot of these. However, I had never made this exact recipe before and I had never done it on my own, so this was a lot of fun for me!


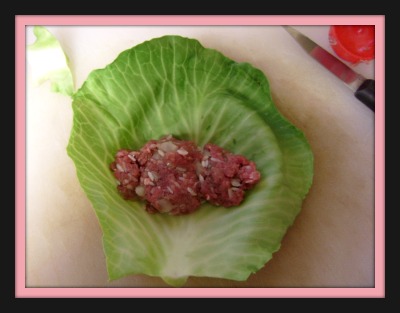
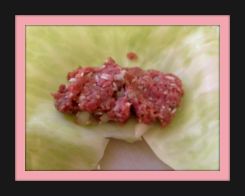
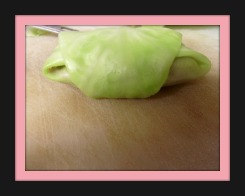
Place about 2 tesapoons, or maybe a little more, in the bottom center of the leaf. In the case of cabbage, you’re going to want to cut away the hard part of the stem at the bottom. You can see in the first photo where I put the filling and in the second one, how close to the filling I came when I cut the stem out.

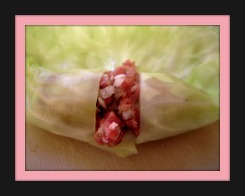
Then take the little flaps, roll them over the filling, (one at a time if you need to), and then tuck them under the filling. You’ll likely have a little pouching out like mine. 😛


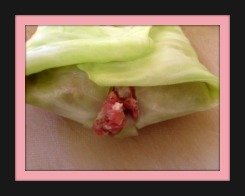
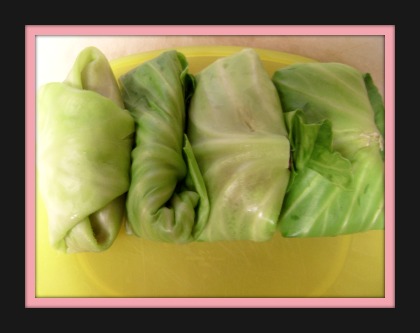
Now just roll this little log towards the rest of the leaf, tucking the sides in as you go. Voila, it looks like a weird little wrap sandwich! Finally, you just make the final roll and tuck the top of the leaf over the whole little package and you’re done rolling!

Just like with origami, there is a whole lot of room for variation and technique – and also like with origami, some of your little packages may totally fall apart and need to be re rolled.

/p>

Next you line a pan with them and ‘sweat’ them for about 5 minutes with a little oil, lemon juice and water. Then you can cook them over a low heat in whatever kind of sauce you like. In the supplied recipe, there is seasoning made and apricots are placed with the rolls in the pan. When I made them, I used a tomato sauce with a little bit of oregano. I am not a fan of cabbage rolls to be honest, but everyone here that night loved them! I made myself (and my sister who is also not that into it) what my parents called ‘stuffed nothings’ when I was a kid, which is just the same recipe with a bit more rice! A dollop of sour cream on that and we were set!

I am really loving these Daring Kitchen challenges. I’ve already baked up and photographed my Daring Baker challenge for this month – it will be posted on the 27th! So fun!

1 Comment