Browsing the blog archives for March, 2012.

Pinwheels

Domestic

Today, I’m linking up with KD Buggie Boutique, Mom Blog Monday and Tough Cookie Mommy for Mingle Monday.

Yet another notarecipe recipe. Just four ingredients, very little actual mixing, no stress but deeeelish!!

I made these to go with the Pixie Purses for my mother’s Pixie-themed 60th birthday party. So silly and so fun.

These little treats bring together crunchy and flaky with a hit of cheesy, but not pizza style stringy melty cheesy, just hint of cheesy flavor.

Pinwheels

Wing it!

I used roughly

1/3 cup pine nuts
1/4 cup grated parmesan cheese
3 tablespoons rosemary
phyllo pastry
melted butter

Pinwheels
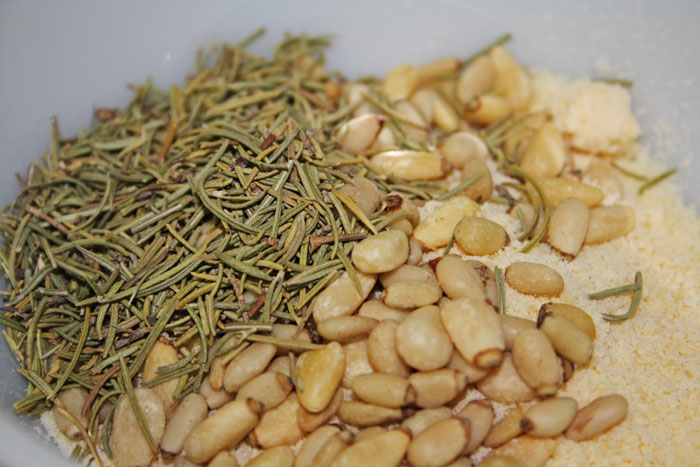
Mix the pine nuts, parm and rosemary in a small bowl. Preheat oven to 375F.
Pinwheels
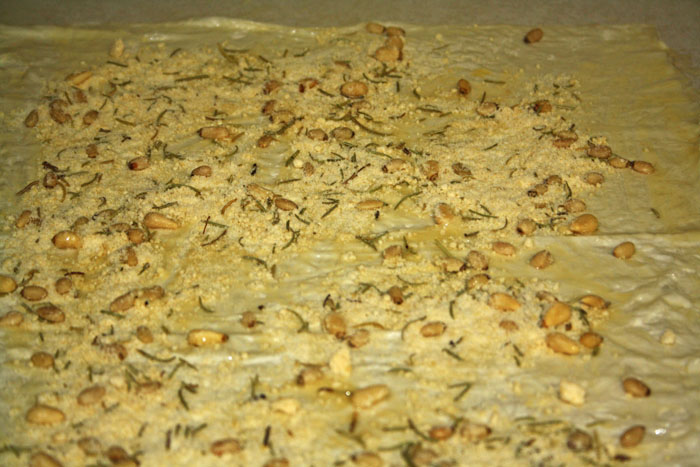
Brush 3 sheets of phyllo with melted butter and sprinkle mixture on top.
Pinwheels
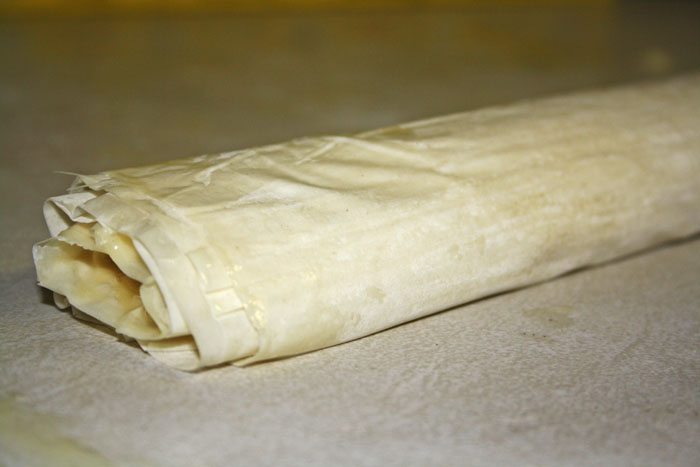
Roll up the phyllo tight enough to keep the filling in but loose enough to not rip it.
Pinwheels
Cut the phyllo roll into finger food size slices and bake for about 15 minutes. That’s that!!
No Comments

Pretzel Bites

Domestic

Eastside Food Bites, The Curvy Carrot, What’s Gaby Cooking, Smells Like Home, Mel’s Kitchen Cafe, all of these blogs are conspiring against me to fill me with salty carbs. The easy to follow and execute recipes and the beautiful photography totally worked on me. I made these first for a few of my girlfriends who came up to the woods for an afternoon of acting like kids and swimming in the lake by our house. They were amazing, and we polished them off on one sitting. Then I made them a few months later when one of our aunts and uncles came to visit, and then again when more dear friends came out. Ugh. I can’t help but spread them around!! I must be stopped!!!

THESE, these Ham and Cheese Pretzel Bites are the next level of this little baking adventure and I can’t wait to try them!

Pretzel Bites

1 1/2 cups warm water
2 tablespoons brown sugar
1 1/4 teaspoons active dry yeast
6 tablespoons melted butter
2 1/2 salt
4 1/2 cups flour
vegetable oil
3 quarts water
3/4 cup baking soda
1 whole egg, beaten with 1 tablespoon cold water

Pretzel Bites
Pretzel Bites
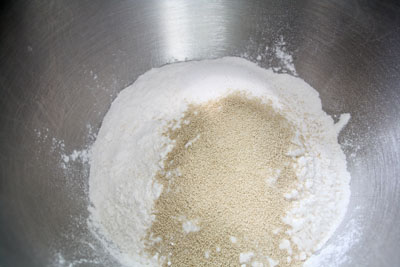
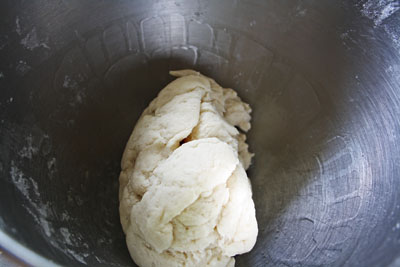
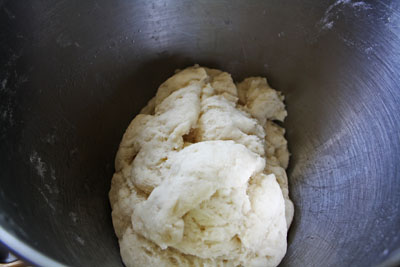
I did this a little backwards. I mixed the flour, salt, sugar and yeast and then added the water and the butter. Mix it with the dough hook on your mixer until it forms a ball of dough. Oil up the bowl and let it sit by the oven to rise, preheat your oven to 425F and watch your dough rise. Well, I’m sure you have better things to do than sit there and watch it, but when you come back, it’ll be bigger!
Pretzel Bites
Pretzel Bites
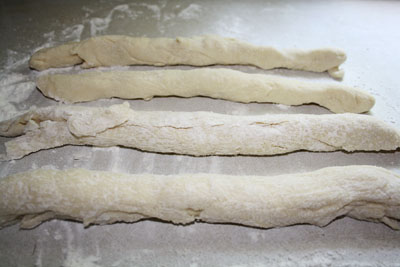
Divide the dough into a few smaller balls and roll into long strips.
Pretzel Bites
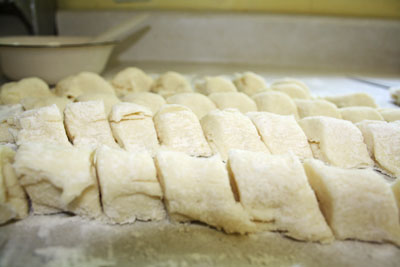
Slice the rolls of dough into bit size pieces. Boil the water and add the baking soda. Plunk a few dough pieces in the boiling water at a time, then move them to a parchment paper lined cookie sheet. Brush each one with the egg and water mixture, sprinkle with salt and bake for about 15 minutes.
Pretzel Bites
Caution: Only make these for a group – or when you have starving children around. DO NOT make these and assume you’ll have ‘just a few‘. Famous last words, my friends. They are way too addicting.
Pretzel Bites
No Comments

Oatmeal Almond Jammies

Domestic

I made these as part of a cookie platter for our aunt and uncle who came for a visit to the woods. I love when people drive all the way out here to hang out for lazy afternoons on the back porch. Though I don’t know how lazy it really is when all three kids want to do stuff with everyone who comes over and then Wee One #2 convinces us to play hide and seek for at least a little while. Seriously. She’s gotten grandparents and jaded aunties in their 20s and everyone in between to play hide and seek with her. She’s very convincing!

So back to the cookies. I love the idea of the combo of oatmeal and jam but it’s never really worked out for me until this recipe. Yet another hit from my Great Cookies book! Maybe it’s the choice of jam? This recipe called for blueberry when usually recipes with oats call for strawberry or raspberry? I dunno, but it’s a winning combination and unlike a lot of ‘just ok’ recipes I’ve made, I will be making these again and again for sure!

Oatmeal Almond Jammies

Oatmeal Almond Jammies via Great Cookies: Secrets to Sensational Sweets

1 1/2 cups flour
3/4 cup old fashioned oats
1 1/4 teaspoons baking powder
3/4 teaspoon cinnamon
1/2 teaspoon salt
3/4 cup butter, softened
3 ounces shredded almond paste
1 1/4 cups sugar
1 large egg
2 large egg yolks
1 1/2 teaspoons vanilla extract
1/2 teaspoon almond extract
1 1/2 cups sliced almonds
2 large egg whites, lightly beaten with 2 teaspoons water
1/2 cup blueberry preserves

Oatmeal Almond Jammies
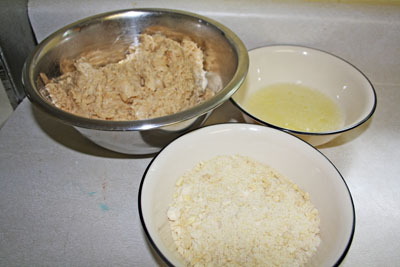
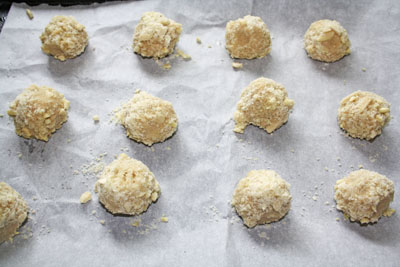
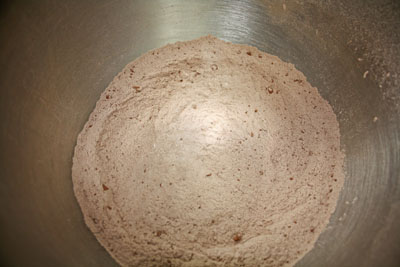
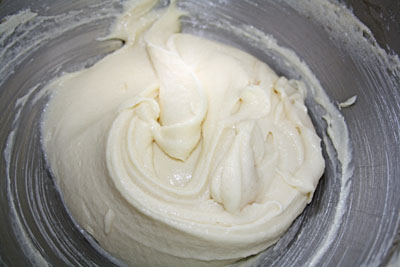
First, process the flour, oatmeal, baking powder, cinnamon, and salt for about 15 seconds. Do this four times until the mixture is ‘cakey’. Then, in a separate bowl, cream the butter and add the almond paste, it’ll take a few minutes until it’s smooth. Add the sugar slowly, then the egg, egg yolks, and extracts and mix, mix, mix! With the mixer on low add the dry ingredients until just blended. Chill it for about 45 minutes. These three bowls are the dough, the almonds and the egg whites with water. Preheat the oven to 350F, line cookie sheets with parchment paper. Roll the dough into 1″ balls, dip in the egg whites and then roll in the almonds.
Oatmeal Almond Jammies
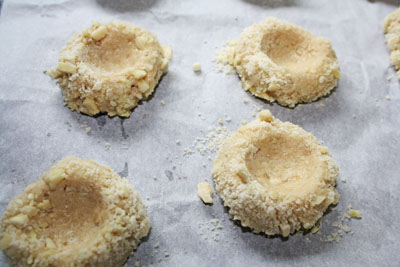
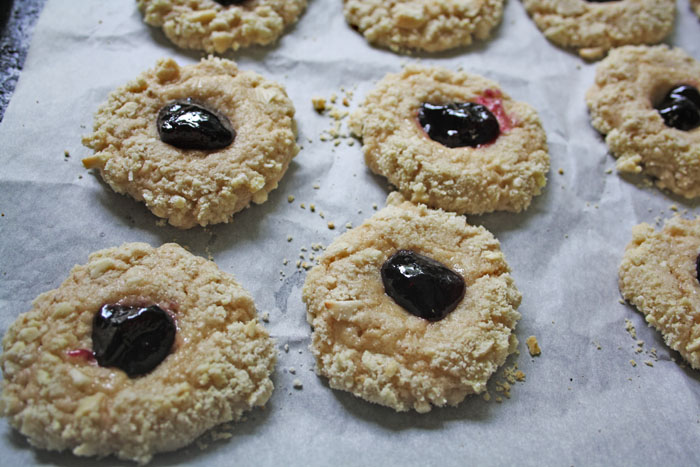
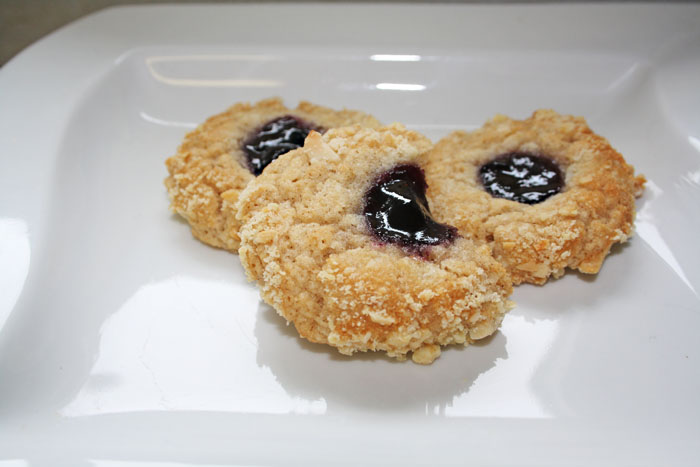
Then I used the back of a spoon to make ‘thumbprints’ in the dough. Are thumbprint cookies EVER made with actual thumbs? I think not! What a farce! I dropped less than a tablespoon into each ‘thumb’ print and baked for 12 minutes. I think it’s the blueberry that has me smitten, I loved these – and so did everyone I served them to!
Oatmeal Almond Jammies
No Comments

Lasagna Wraps

Domestic

This is one of those recipes that’s hardly even a recipe really. You can make as much or as little as you want, depending on what you already have on hand. Don’t mistake though, even if you don’t have any of the ingredients on hand this little treat is worthy of a trip to the store. I have read Lasagna Wraps described as a quick fix to a lasagna craving. No. No, it’s not a quick fix. You still have to make your sauce, which is arguably the bulk of the work in making lasagna anyway, you still have to shred cheese and you still have to boil the noodles. Even if you use ‘quick’ noddles, you have to boil them when with lasagna of course you don’t have the boil the quick ones. So long story short, they’re good and smaller and cuter, but they’re pretty much the same amount of work – unless you have a pot of lasagna sauce kicking around. In which case, they will be pretty close to effortless.

Anyhoo, I pretty much gave you the recipe in the intro. Ha. You’re welcome!

Lasagna Wraps
*Measurements are non existent because it can be tailored to what you have / want without much thought

your favorite lasagna sauce (hehe)
-lasagna noodles
-shredded cheese

Lasagna Wraps
Lasagna Wraps
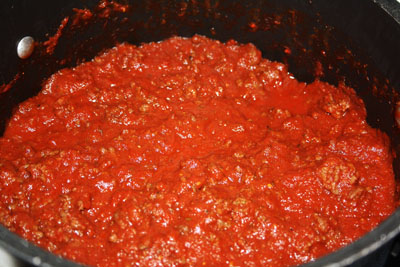
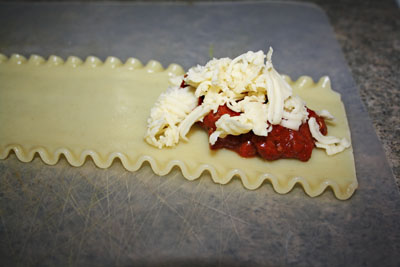
I linked to my own lasagna sauce recipe because it’s tried and amazing. Next boil as many lasagna noodles as you want servings. Scoop about 2 tablespoons or so of the sauce onto the edge of a noodled laying flat on a cutting board (or whatever), top with cheese and roll.
Lasagna Wraps
Lasagna Wraps
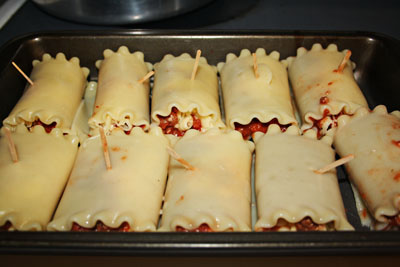
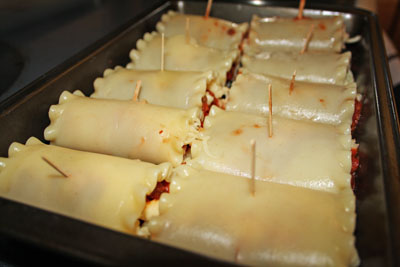
I secured each one with a toothpick because really? You have to ask why? What a mess without them. I have 8 in this cute little brownie pan, I made these as part of a buffet for overnight guests and they were all gone.
Lasagna Wraps
Lasagna Wraps
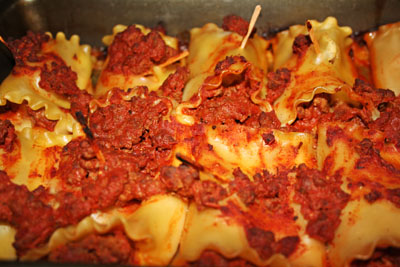
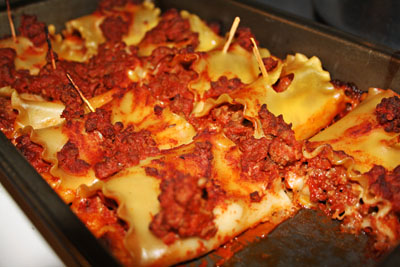
On top I added a thin layer of sauce and a small handful of shredded cheese. You could really cover these little guys in both more sauce and more cheese, but then it’s almost like a lasagna and if you went to the trouble to make wee wraps, you may as well let them look like wraps. I cooked them at 350F for about 30 minutes. Everything is already cooked so you can get away with just popping them in to melt the cheese if you used quick noodles!
No Comments

Hard Candy Black Shadow

Pretty

Being a teenager in the 90s meant that I was hopelessly obsessed with Hard Candy. Hopelessly. It wasn’t widely available in Canada, so we had to either hunt for it, or wait for friends and family to come back from American shopping adventures. Seventeen magazine totally fueled my obsession. Truthfully Seventeen magazine still fuels a lot of my obsessions but now I can get pretty much whatever I want via the internet. Hooray for technology, making it easier for me to procure very specific sparkly eyeshadow – that gets all over everything, but I love it anyway!

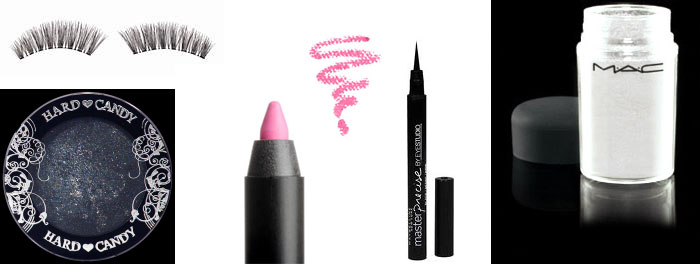
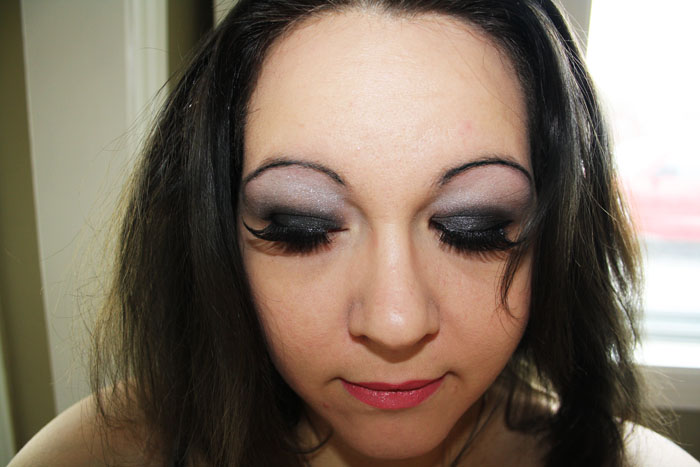
As you may have noticed, black and pink are my absolutely favorite colors, especially together. This look is def one of my most worn. I apply a serious base of the Hard Candy Baked Meteor Eyeshadow in Outerspace all over the lid and in the crease. Then I use a blending brush to pull it up closer to my brows, leaving plenty of room for the silvery MAC Pigment in Frozen White. I’m not going to lie, blending this is kind of a bitch, but totally worth it. Don’t pull the black too far up, adding more is a whole lot easier than taking it away. Pull down the pigment as far as you want because you’ll still see the black shadow through it. I also tend it pull the pigment up to my brows.

On my brows and as a liner (both top and bottom), I used the Maybelline Eye Studio Master Precise Ink Pen Eyeliner in black. That’s a mouthful of a name but it honestly feels like a fine marker. If you’ve ever been leery of liquid liners, this pen will give you the look you want without the fumbling. I use my everyday lashes with this look, the Quo 808 lashes and I use whatever mascara is on hand (could be Maybelline Lash Blast or Too Faced Pinpoint or whatever). Lips with this look is always BH Cosmetics Lip Liner in Candy with a sheer gloss on top.

If I didn’t feel the need to switch up my colors all the time, I’d rock this look every damn day!

Hard Candy Black Shadow

Hard Candy Black Shadow
No Comments

Fancy Hollandaise Sauce with Bacon and Cheddar Topped Biscuits

Domestic

Sometimes, I get up stuuuuuuupid early and make a fancy breakfast for the wee ones (and my husband if he wants but he almost never has breakfast). There is never any guarantee the children will actually eat whatever I felt like cooking at the crack of dawn. We have learned that while waffles, muffins, and other various sweet breakfast treats get all three of them going, hollandaise doesn’t cut it. I tried this on them last year and they weren’t into it, so I also made some chocolate chip muffins muffins for the littlest ones and some bacon and cheddar biscuits for the oldest, juuust in case and sure enough, they weren’t having it.

Dude. I can’t eat 1 cup of butter and 4 egg yolks. Can I? No, I’m pretty sure my heart would like, stop right there in protest. It’s so good though it’s hard to have around. Either make it for a group or take it to your neighbor’s house ASAP.

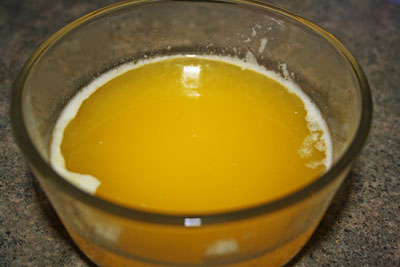
As per instructions in the book, I clarified the butter before I started and it was the first time I had done it. I was so pleased with myself! It’s one of those magic things in the kitchen that you don’t see the magic in until you actually do it. So, as you probably know, butter is butterfat, milk solids and water. When you clarify butter, you’re removing the milk solids and the water, leaving just the butterfat. It sounds, well, amazing but not something my doctor would approve of! Generally clarified butter is great for sautéing with because it burns at a much higher temperature than actual butter, but because it’s also crazy rich and flavorful, it’s very good for dishes where the butter flavor takes center stage.

Fancy Hollandaise Sauce with Bacon and Cheddar Topped Biscuits

Hollandaise Sauce – via Cooks Book

2 tablespoons white wine vinegar
2 tablespoons water
1 teaspoon lightly crushed white peppers
4 egg yolks
1 cup unsalted butter
juice of 1/2 lemon
pinch of cayenne pepper

Fancy Hollandaise Sauce with Bacon and Cheddar Topped Biscuits
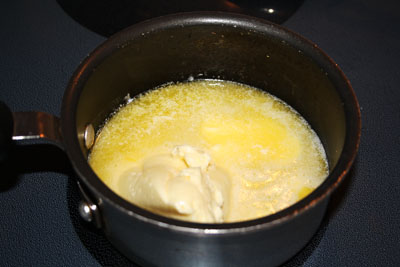
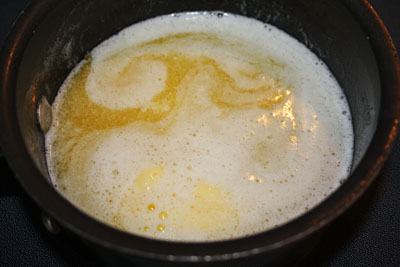
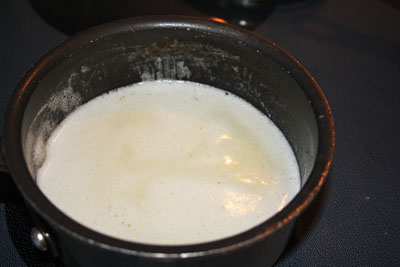
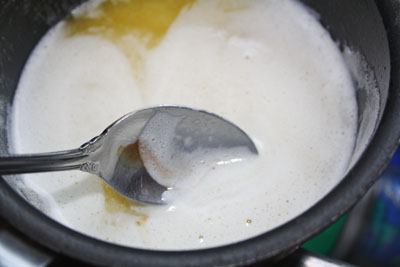
Start melting the butter over medium-low heat. The white goo at the top is the milk solids separating. As the milk solids bubble up, skim them off with a spoon until you’re left with the pure butterfat.
Fancy Hollandaise Sauce with Bacon and Cheddar Topped Biscuits
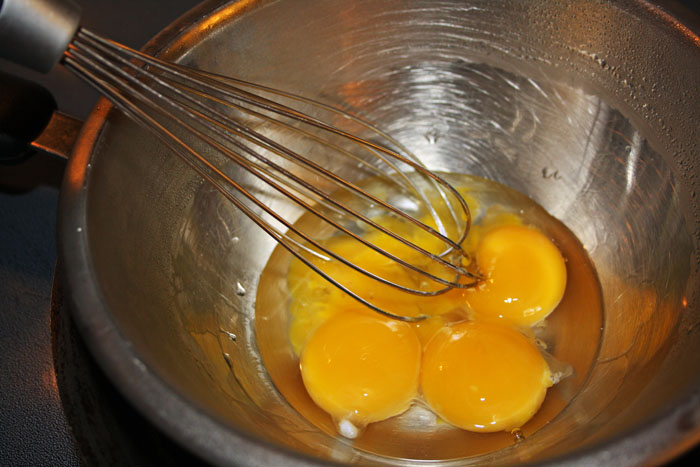
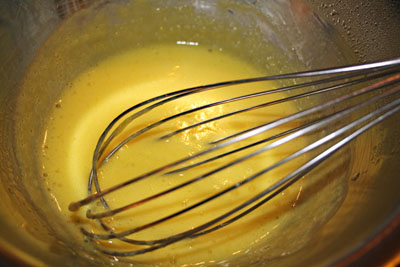
First (not pictured) mix vinegar, water and peppercorns in a small pot and bring to a bowl. Lower heat and simmer for 1 minute (should be reduced to 2 1/2 tablespoons). Remove it from heat and set aside. Now bring a small pot of water to almost a boil and set a heat proof bowl over it, slip your yolks into it and whisk, whisk, whisk. Whisk your little heart out.
Fancy Hollandaise Sauce with Bacon and Cheddar Topped Biscuits
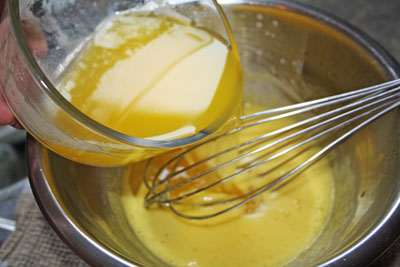
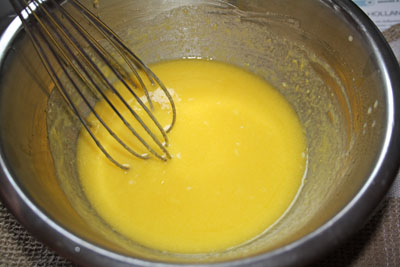
Now, with the egg yolks whisked into submission, remove from heat and whisk in the butter. Theeeen whisk in the cooled vinegar mixture and then the lemon and cayenne.
Fancy Hollandaise Sauce with Bacon and Cheddar Topped Biscuits
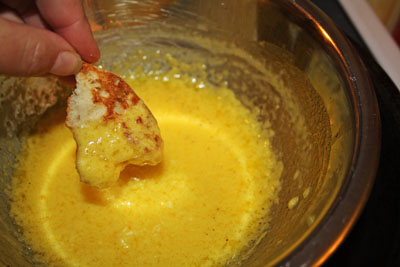
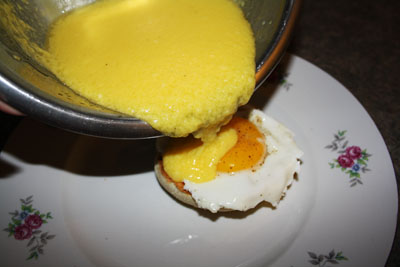
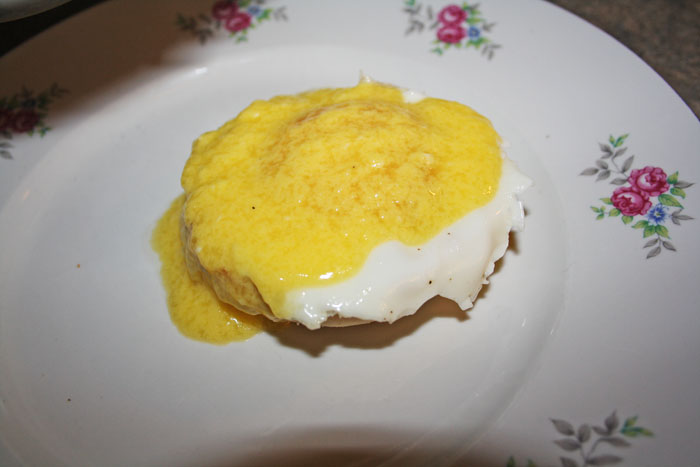
Now sneak a taste with a crust of bread. The French always say ‘a crust a bread’, like a soft piece of bread isn’t worthy or something. If your sauce starts to separate, it’s totally a visual thing it will still be amazing, but if you need to fix it (or as The Cook’s Book says ‘returned to respectability’) by slowly whisking in a fresh egg yolk. Pour over a gently fried egg on an English muffin or biscuit.
Fancy Hollandaise Sauce with Bacon and Cheddar Topped Biscuits
Yummy grown up breakfast food on a weekday! No way!
Fancy Hollandaise Sauce with Bacon and Cheddar Topped Biscuits
These were for Wee One #1 and the kids next door. I made a bunch of biscuits the night before and just topped them with bacon and shredded cheddar. Then I popped them back in the oven for about 15 minutes to melt the cheese. They totally cleaned the platter!
No Comments

Chocolate Shortbread Cookies

Domestic

Shortbread cookies, of any variation have a very distinct texture and really nothing else will do when you’re craving shortbread. I’ve tried too many types of shortbread to remember but only baked a few. I’ve made a few different recipes of traditional shortbread recipes, and a few with dried fruits in them (cranberries and cherries, natch) and of course these – Chocolate Shortbread. I have to admit I really, really love shortbread that has very finely chopped nuts in them but even against those, I think this is my favorite bastardization of shortbread.

Chocolate Shortbread Cookies

Chocolate Shortbread Cookies via Great Cookies: Secrets to Sensational Sweets

1 1/4 cups flour
1/2 cup rice flour
1/2 cup strained Dutch process cocoa
1/4 teaspoon salt
1 cup butter
2/3 cup superfine sugar
1 teaspoon vanilla extract
1 tablespoon sanding sugar
4 ounces bittersweet chocolate
1 teaspoon canola oil

Chocolate Shortbread Cookies
To prep, preheat your oven to 350F and line a baking dish with aluminum foil. Then sift togetherthe flours, cocoa and salt. In a separate bowl, cream the butter and the sugar, then add the vanilla and mix again.
Chocolate Shortbread Cookies
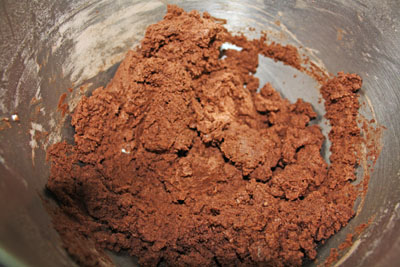
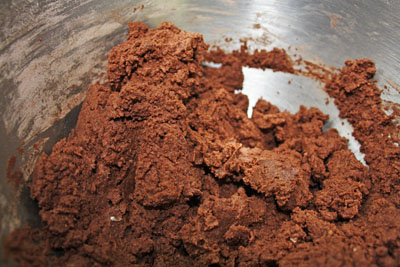
This next step is a lot easier if you use a big bowl. Add half the dry ingredients to the butter mixture and combine, then add the rest. Don’t overmix it!
Chocolate Shortbread Cookies
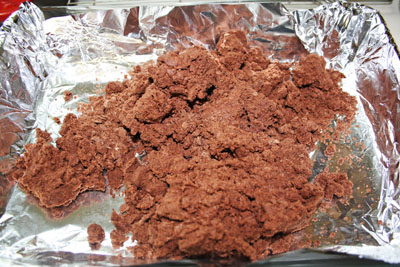
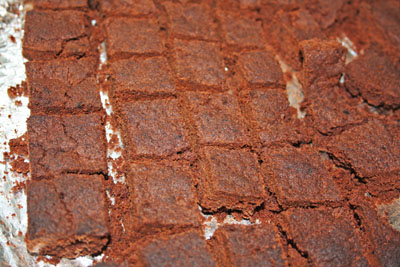
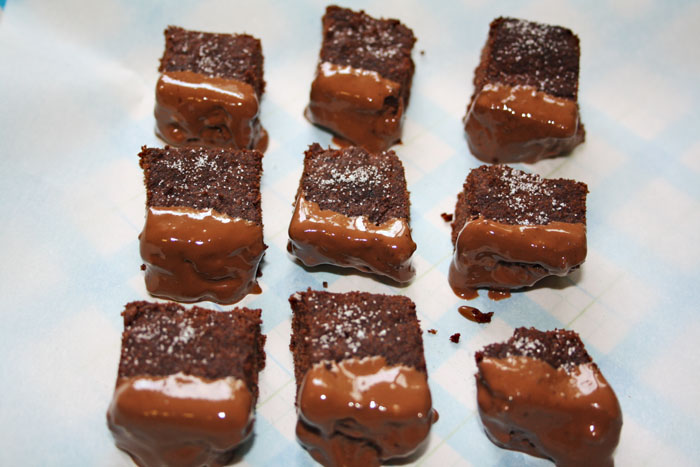
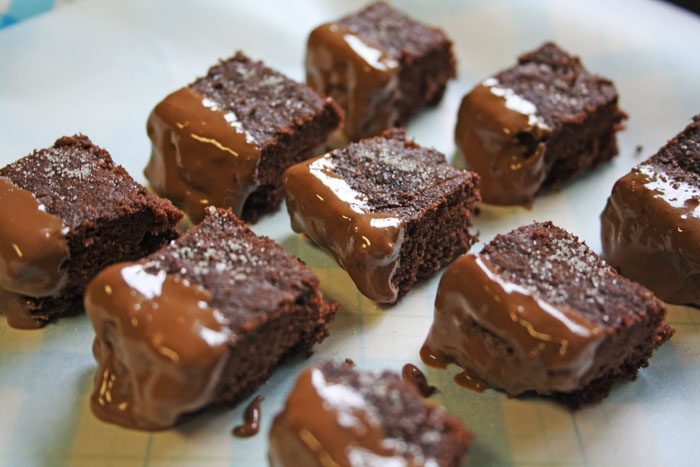
Now dump the mixture out onto your foil-lined dish and press it into it. Try to make it as even all the way around the pan as possible. Bake it for about 45 minutes, turning it twice during baking. Once it’s cooled off a bit, (but not totally cool), cut into bite sized squares. Then melt your chocolate and mix in your oil. Dip the cookie pieces into the chocolate and let dry on parchment paper. Sprinkle with sanding sugar and voila! Cute, yes?
Chocolate Shortbread Cookies
No Comments

Raw Vegan Cinnamon Donut Holes

Healthy

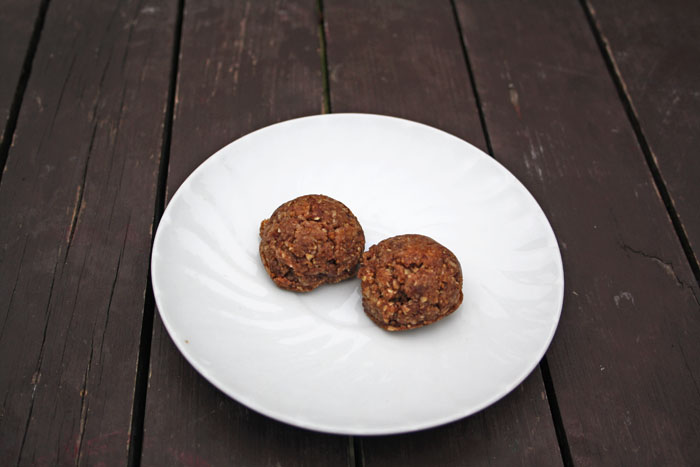
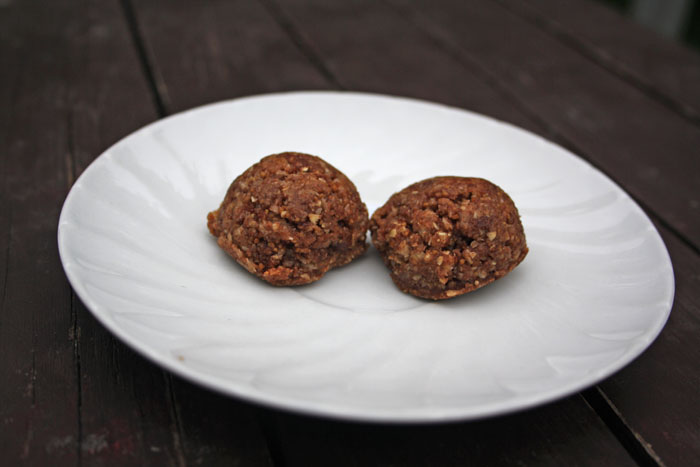
Another vegan win! Sweet enough to quiet the sweet tooth, not so sweet that it’s overwhelming (and it wont make you crave sweets for days after like other indulgences). They are very good.

I made these for my Dad when he came up for a visit to the woods and not only did he say he loved them (Dads just do that to make us feel good, yes?), I totally caught him eating them in the wee hours of the night! <3 They come together pretty quickly and as all my favorite vegan recipes they make my food processor feel reeeeeeeally useful. The original recipe calls for raw oat groats flour which requires you to soak oat groats overnight, drain and rinse the next day, sprout if you wish, dehydrate and process in a high speed blender to a fine powder oooor you can use grind up raw oats in your food processor until they’re powdery. So far, every time I come across raw oat groats in a recipe I just use raw oats, but next time it comes up, I’m totally going to try the actual oat groats.

As far as I have read, a lot of the health benefits of raw oat groats are the same as regular oats, since you know, they’re practically the same thing. I said practically, so there is a difference. An oat groat is the whole unbroken grain of the oat without the hull. Since it’s raw and still in one piece, you can sprout it! Rolled oats have been rolled flat and dried. Most of the time rolled oats are steamed to do this, and so they’re not raw but some health food stores have actual raw rolled oats. With that distinction in mind, both kinds of oats are an amazing source of fiber (including soluble fiber – a great help in regulating blood glucose levels). They also have a serious punch of B vitamins, potassium, iron, phosphorous, selenium, zinc, manganese and magnesium. Phew. I just read today that regularly drinking raw oat milk ‘can reduce bowel fungus and promote the growth of healthy intestinal fauna.’ OMG ewww. Does that mean that most of us have bowel fungus?! Ugh, sometimes a little knowledge is a painful thing. You know I’m going to try to make raw oat milk now.

Anyhoo, so what do all these vitamins do for us anyway? Well, together they support the rate of metabolism, maintain healthy skin, hair and muscle tone, enhance immune and nervous system function, promote cell growth and division, and reduce the risk of pancreatic cancer. They can help against stroke, blood pressure problems, anxiety and stress, muscular strength, metabolism, heart and kidney disorders and the nervous system! Not to mention boosting your energy levels, improving your body’s immunity, and helping you sleep.

Raw Cinnamon Donut Holes

Raw Vegan Cinnamon Donut Holes – via Mama in the Kitchen
*The original recipe made the donut holes and then rolled them in a mixture of cinnamon and dried whole cane sugar, I added the cinnamon and cane sugar right to the donut holes themselves.

1/2 cup raw coconut flour (just grind raw dried shredded coconut in your food processor)
1 cup raw oat groats flour (or like I did, use 1 cup of ground up raw oats)
1 cup raw sprouted soft wheat flour (I didn’t sprout mine)
1/2 teaspoon sea salt
1 teaspoon vanilla extract
5 tablespoons extra virgin coconut oil
5 tablespoons raw honey
2 tablespoons ground cinnamon
6 tablespoons dried whole cane sugar

Raw Cinnamon Donut Holes
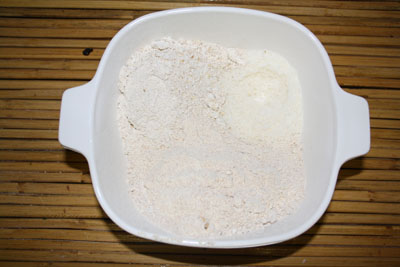
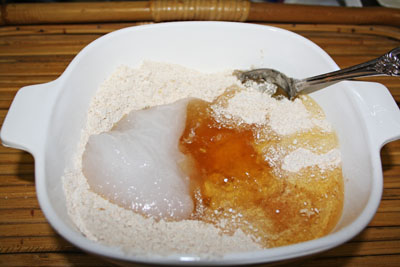
So first mix together the coconut flour, oats and soft wheat flour. Then add the salt, vanilla, coconut oil and honey.
Raw Cinnamon Donut Holes
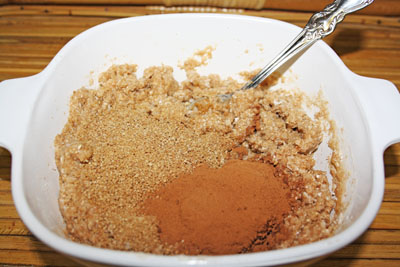
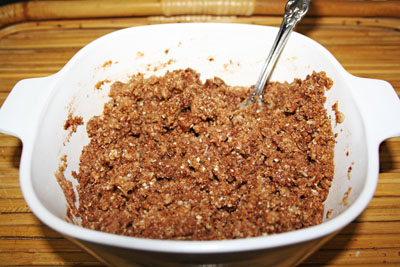
Once that’s all combined, add the cinnamon and cane sugar.
Raw Cinnamon Donut Holes
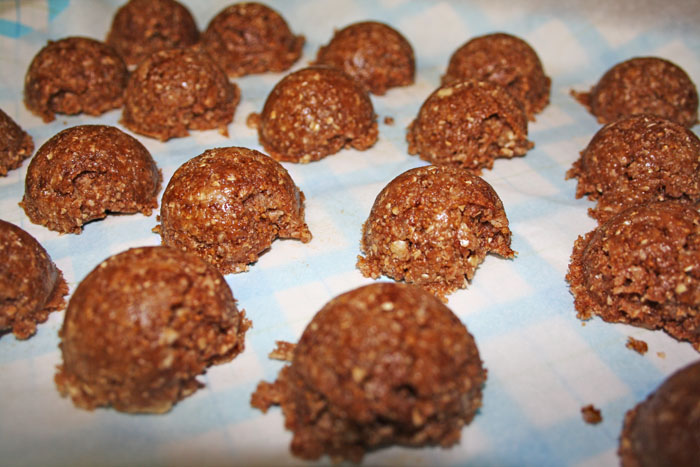
Now you shape them into donut holes however you can! You could scoop them out with a spoon and roll them or you could use a small ice cream scoop or melon baller or whatever you have on hand. Whatever shape you make them, they’re delicious and actually good for you!
Raw Cinnamon Donut Holes
No Comments

Barbie Party and Pink Jello Cookies

Crafty, Domestic, Kids

Wee One #2 is a serious Barbie kid and loves all things pink, so naturally for her 6th birthday we went all out. She’s really turning into a mini May and it’s totally happening just by watching me. When she decided she wanted a Barbie party she did three things that struck me as so very … me. First, she went to Google for inspiration. Next, she made a board on Pinterest (right here if you’re interested) and pinned things she found and wanted to incorporate into her party. These two steps alone only really prove that she was born after 2000, right? I mean most kids (especially kids with computer geeky parents) would think to do this, right? The third thing though, totally me. She passed over all the glossy post-1980 Barbies and was only interested in the vintage style black and pink old school Barbies. Love!!!

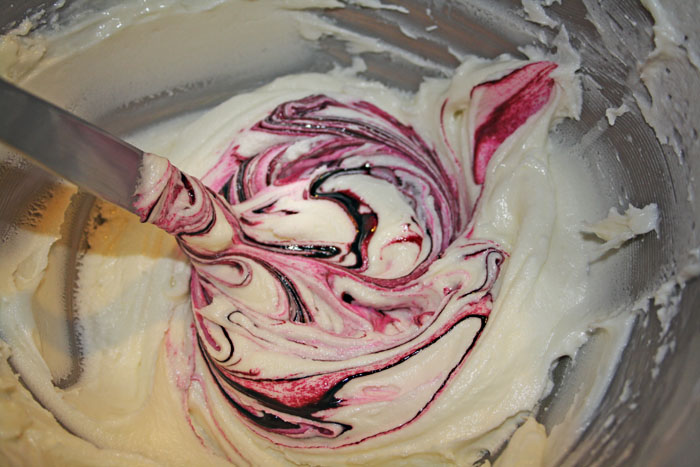
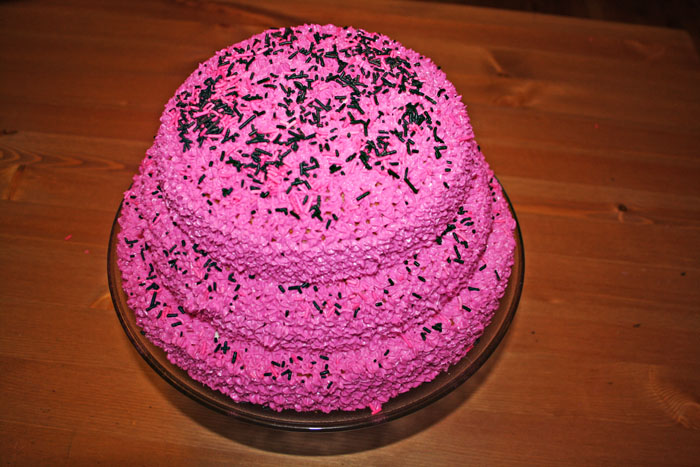
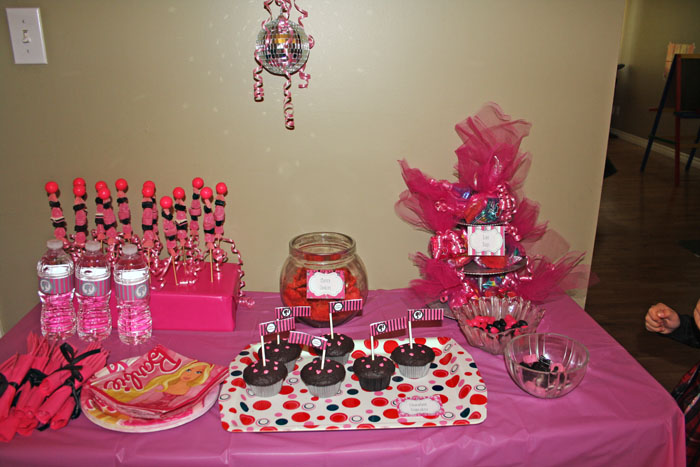
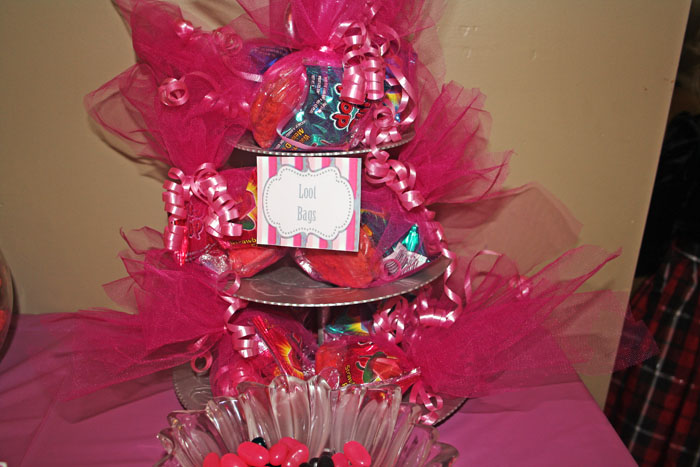
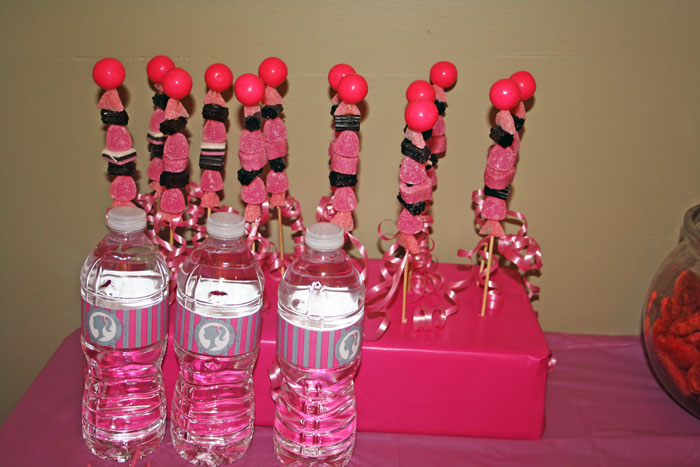
I whipped up some fuchsia buttercream for her three tiered cake, strung vintage Barbie printables and small disco balls from pink curling ribbon from our kitchen chandelier, and set up a cute pink table with treats, loot bags, cutlery, and candy kabobs – as per her instructions! The pink cookies I had made before and liked, but I didn’t loooove them. She however, did. So she insisted they be included in her party and all her wee little girlfriends really, really liked them. I thought the bright pink and black candy kabobs would have stolen the show, or that the crazy sugar coma inducing cake with buttercream would do it, but no. It was the pink jello cookies.

Barbie Party and Pink Jello Cookies

The Chocolate Cake was the same chocolate cake I usually make, with Classic Wilton Buttercream.

Barbie Party and Pink Jello Cookies
Pink Jello Cookies via Kraft Recipes
3 1/2 cups flour
1 teaspoon baking powder
1 1/2 cups butter or margarine, softened
1 cup sugar
2 pkg. (3 oz. each) Jello Cherry Flavor Gelatin, divided
1 egg
1 teaspoon vanilla
Barbie Party and Pink Jello Cookies
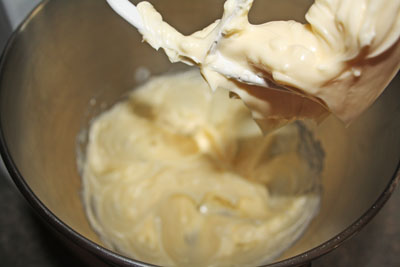
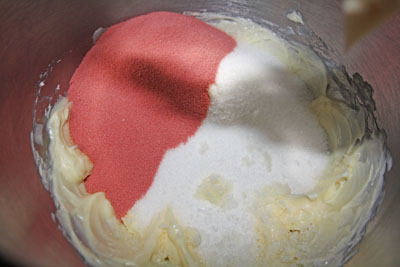
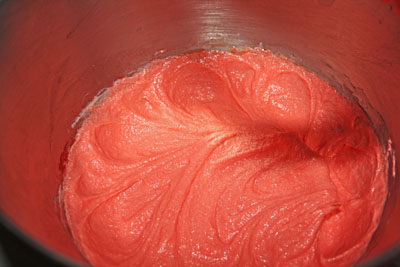
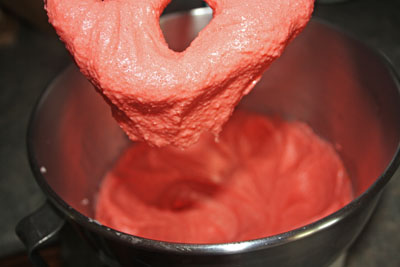
Cream the butter till smooth (don’t skip this), then add the sugar and one of the jello packages. Beat till totally smooth.
Barbie Party and Pink Jello Cookies
Now add the egg and vanilla.
Barbie Party and Pink Jello Cookies
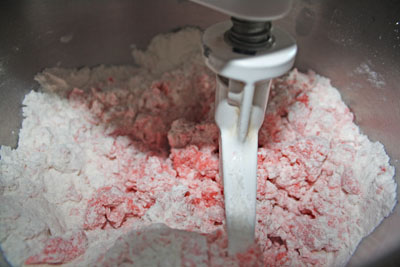
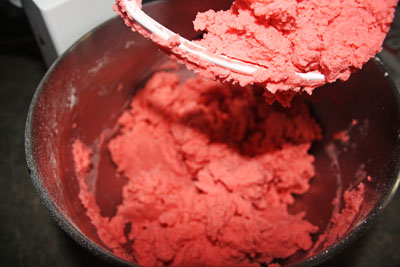
Slooooowly add in the flour and stop once it’s all combined and pink.
Barbie Party and Pink Jello Cookies
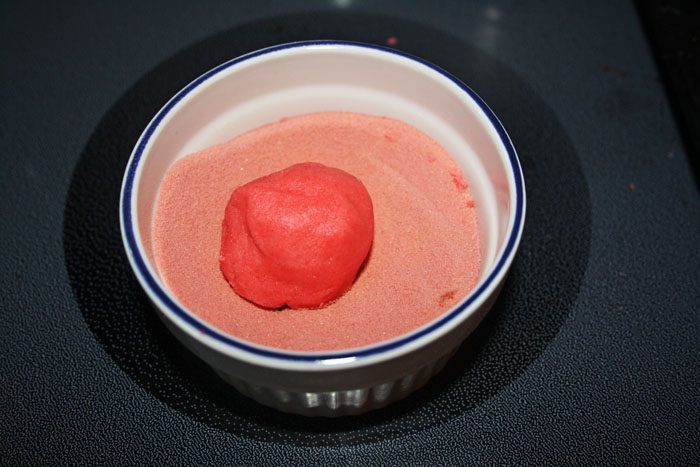
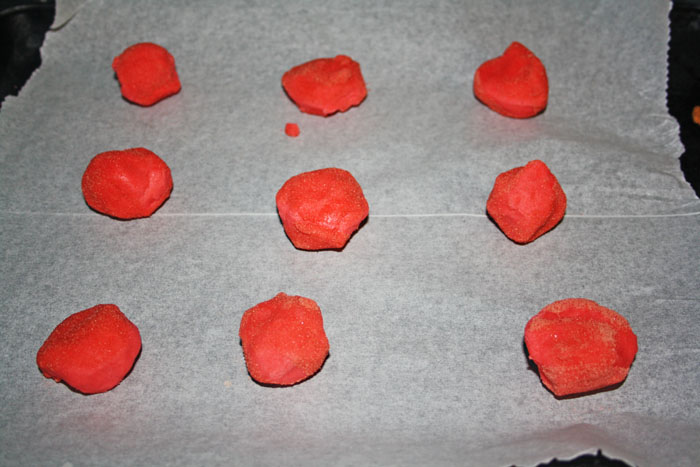
Empty the other jello package in a small bowl, and roll up all of the dough into smallish balls. I got almost 5 dozen. Drop each ball hehe into the jello powder to coat it.
Barbie Party and Pink Jello Cookies
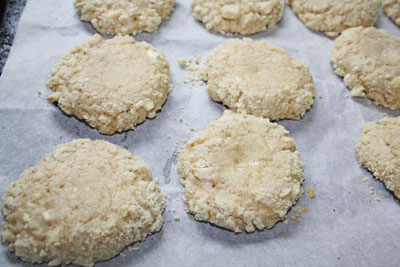
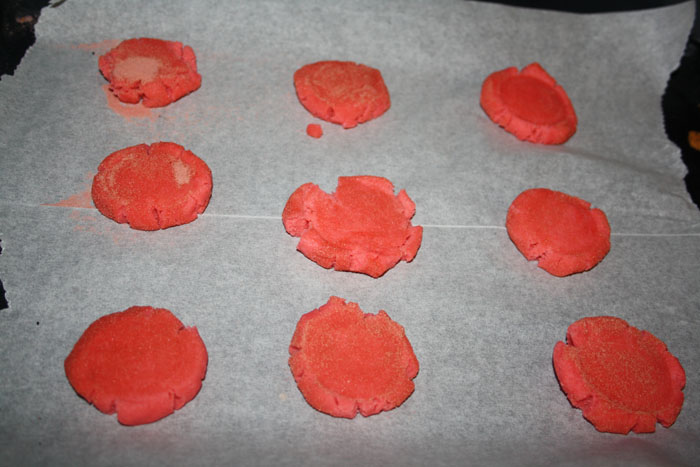
Flatten each ball with the back of a glass and bake at 400F for 8 minutes.
Barbie Party and Pink Jello Cookies
No Comments

Pies in Cakes

Domestic

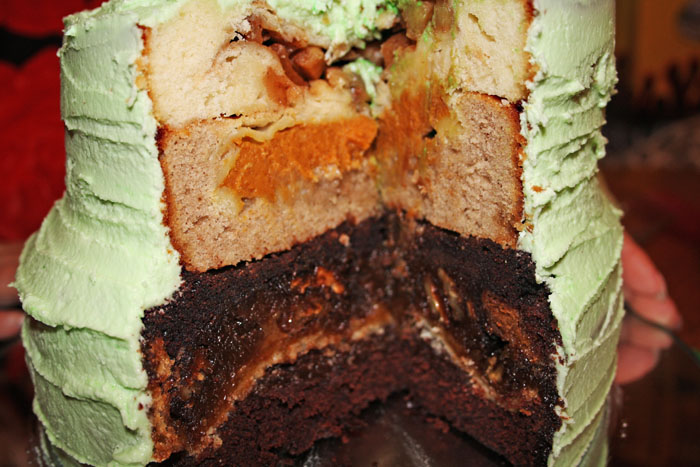
I don’t know if this even qualifies as a recipe, and if I posted step by step pictures of all of it, it’d be a seriously epic post. You may have heard about a bakery in Philadelphia that baked up a two layer cake with two pies in it. Then of course other bakers made it, and most added a third layer. Depending on what cakes and pies used, the name differs. Made from cherry, pumpkin and apple pies, this one is called the Cherpumple. I first saw it on Outrageous Food about a year and a half ago and naturally, I had to make it.

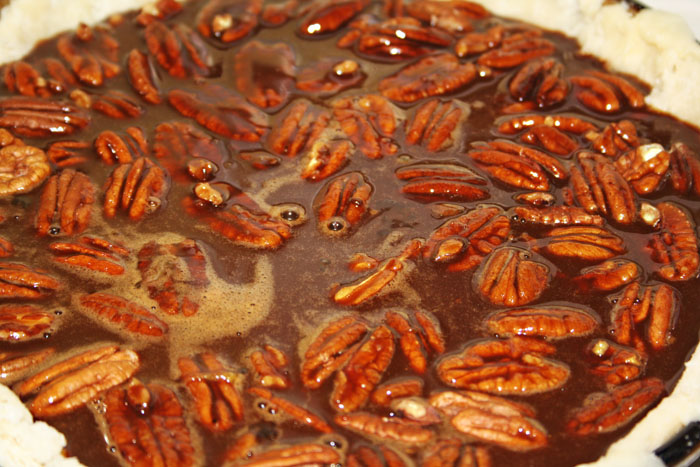
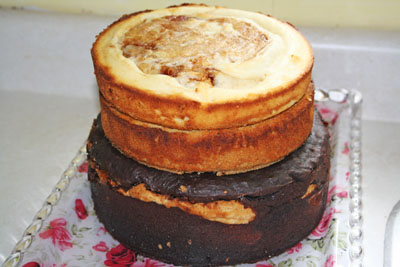
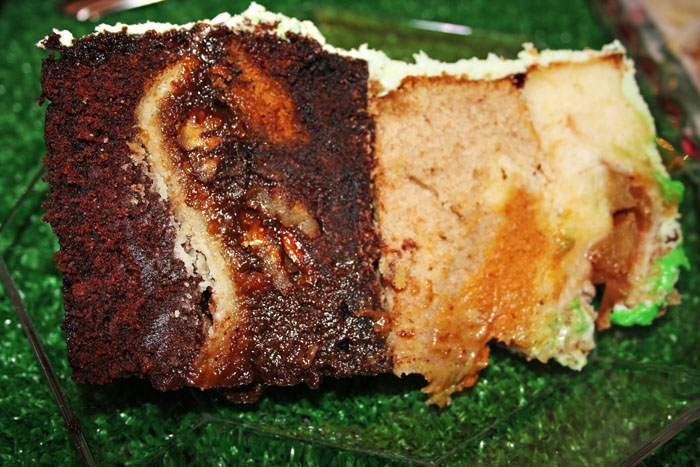
My version is three layers, two medium tiers and one big one. The top tier is an apple pie baked into a vanilla cake, the second tier is a pumpkin pie baked into a spice cake and my personal favorite is a chocolate pecan pie baked into a chocolate cake! So what is that?! Apppumpecan? Or maybe a Pecapumple? I dunno, but it’s like 2000 calories a slice and so good it’s a little frightening.

I trust you can handle the how to of each recipe. If you’re super lazy or really just feel like you can’t do it, go ahead and get some premade pie crust. Just please, don’t use cakes mixes. I’ll know!

Pies in Cakes

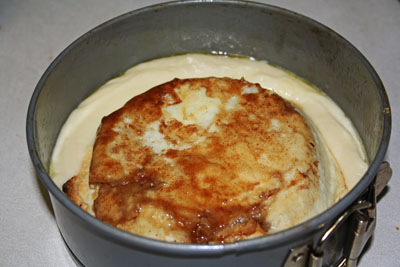
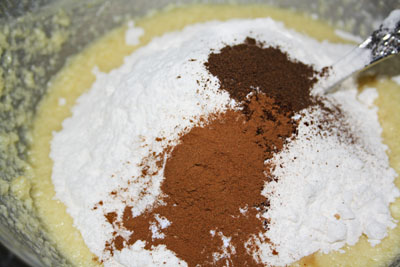
This is how I pulled it all together. First, I baked an apple pie, a pumpkin pie and then a larger chocolate pecan pie. As they were all cooling, I made the batter for a vanilla cake, a spice cake and a larger chocolate cake and poured each into their cake pans. Theeeeen, I turned the pies upside down and slammed them into their respective cakes-in-waiting.

Also note these recipes made more than I needed for this project. Extra cake batter was made into cupcakes, pie filling was either made into tarts with extra pie crust or snarffled down from a bowl in the kitchen standing over the sink. What?! Don’t look at me like that!

Vanilla Cake via Martha Stewart
1 cup (2 sticks) unsalted butter, room temp
2 1/2 cups all-purpose flour
1/2 teaspoon baking powder
1/2 teaspoon baking soda
1 teaspoon salt
1 1/2 cups sugar
2 large eggs
3 large egg yolks
2 teaspoons pure vanilla extract
1 cup low-fat buttermilk
Apple Pie via my Granny
7 cups chopped apples (your pick!)
2 tablespoons lemon juice
1 cup sugar
1/4 cup all-purpose flour
1 teaspoon ground cinnamon
1/4 teaspoon ground nutmeg
2 tablespoons butter or margarine
1 egg yolk
1 tablespoon water
Spice Cake via The Hungry Mouse
2 cups cake flour
3/4 cups sugar
3/4 teaspoon baking soda
1 1/2 teaspoons cinnamon
1/2 teaspoon nutmeg
1/2 teaspoon cloves
2 tablespoons ground ginger
3/4 teaspoon salt
3/4 cup brown sugar
8 tablespoons butter, room temp
3/4 cup buttermilk
2 eggs
Pumpkin Pie via my Granny
3/4 cup white sugar
1 teaspoon ground cinnamon
1/2 teaspoon salt
1/2 teaspoon ground ginger
1/4 teaspoon ground cloves
2 eggs
1 (15 ounce) can pureed pumpkin
1 (12 fluid ounce) can evaporated milk
Chocolate Cake via Me in 2010
1 1/2 cups flour
1 cup granulated sugar
1/4 cup cocoa powder
1 teaspoon baking powder
1 teaspoon baking soda
1/2 teaspoon salt
1 cup warm water
1/3 cup canola oil
1 tablespoon vinegar
Chocolate Pecan Pie via Me in 2009
3oz unsweetened chocolate
2 oz butter
4 large eggs
1 cup maple syrup
1 cup sugar
1/4 teaspoon salt
2 tablespoons instant espresso powder
1 tablespoon hot water
2 tablespoons Bailey’s (or something like it)
2 cups pecans
Pies in Cakes
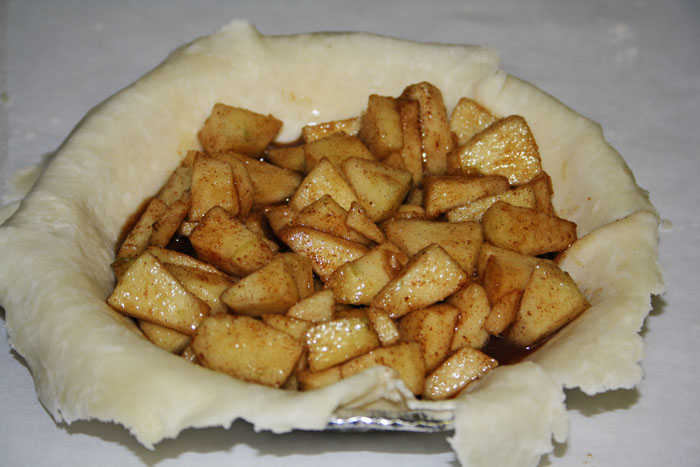
Apple Pie waiting it’s turn for the oven!
Pies in Cakes
Chocolate Pecan Pie headed for the oven.
Pies in Cakes
Pies in Cakes
Baked Apple Pie sitting face down in it’s Vanilla Cake batter (left) and the beginnings of the Chocolate Cake (right).
Pies in Cakes
Pies in Cakes
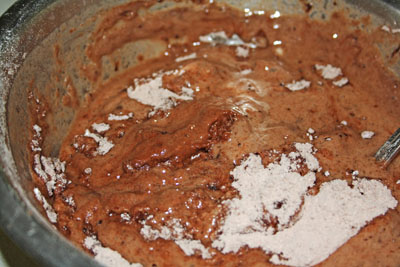
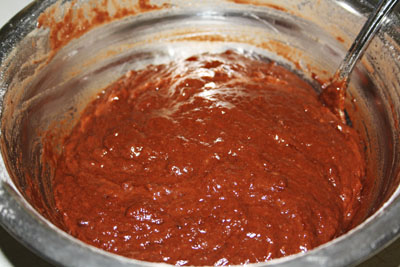
Chocolate Cake batter, ready to be poured (left), and the starting of the Spice Cake batter (right).
Pies in Cakes
Pies in Cakes
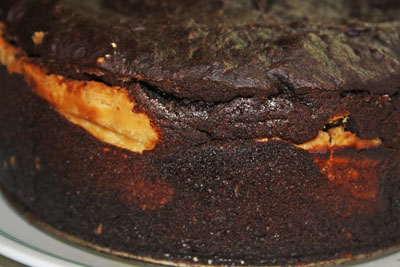
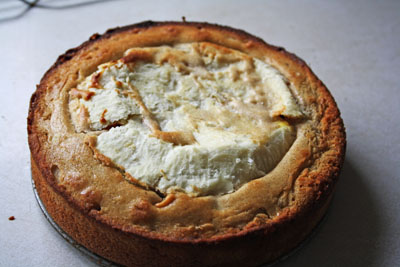
Finished Chocolate Pecan Pie baked into the Chocolate Cake (left), innocent looking Vanilla Cake that’s hiding an Apple Pie (right).
Pies in Cakes
Pies in Cakes
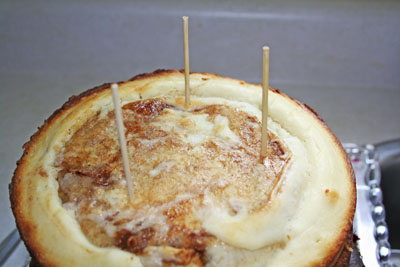
The teetering tower of pies in cakes (left), the dowels I decided to stick in the top of the Pumpkin Pie/Spice Cake to make sure the Vanilla/Apple didn’t fall off.
Pies in Cakes
And voila! This took one day and about an hour the following afternoon. I made it for a party about 2 hours from home so I had to finish assembling it there.
Pies in Cakes
Everyone had a favorite layer, mine was defo the Chocolate Cake / Chocolate Pecan Pie. I always add espresso to my pecan pies because I’m a total coffee junkie and that layer is a dessert I would make again on it’s own.
2 Comments
« Older Posts
Newer Posts »