Browsing the archives for the Halloween tag.

Witchy Cupakes – 30 Sleeps Till Halloween

Kids

Let the countdown to Halloween begin!!

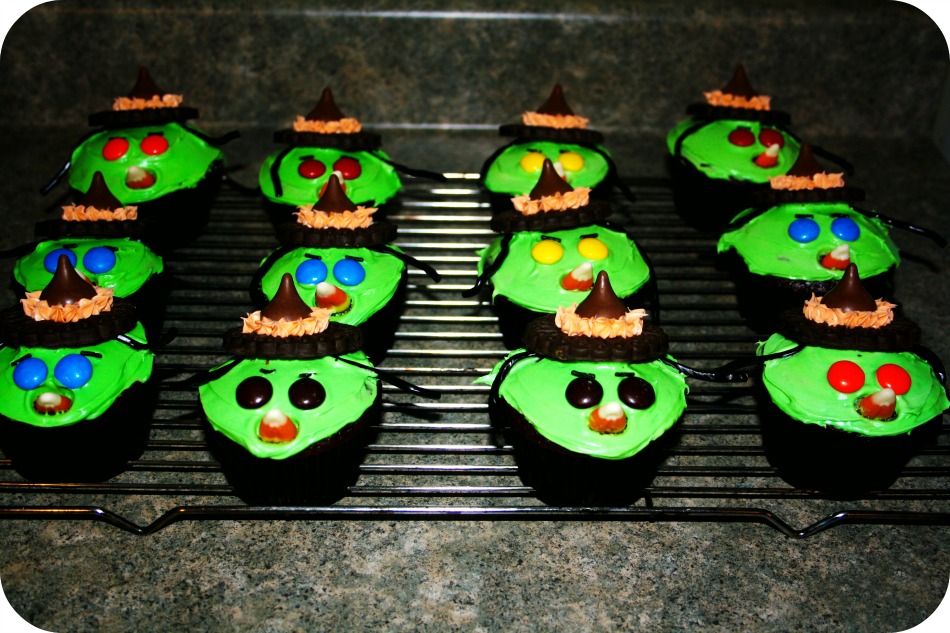
These little cupcakes are so cute!! I really like to get crafty with kid food, and holiday kid food is my favorite! I used one of my go to chocolate cake recipes. This one is from Robin Hood and I’ve been baking it since 2009 at least. It is one of those wonderfully simple ‘dump all the ingredients in one bowl, mix, pour and be done’ recipe. However, unlike most of those recipes, this one actually comes together with no lumps and it comes out just perfect.

Stir and Bake Chocolate Cake

via Robin Hood

1/2 cup flour
1 cup granulated sugar
1/4 cup unsweetened cocoa
1 teaspoon baking powder
1 teaspoon baking soda
1/2 teaspoon salt
1 cup warm water
1/3 cup oil
1 tablespoon vinegar

Start with the flour, sugar, cocoa, baking powder, baking soda and salt. Whisk it all together. Then mix in the water. Then mix in the vinegar. Whisk, whisk, whisk and pour into 12 cupcake cups (cups you have previously lined with black or otherwise Halloweeny liners) and bake for about 30 minutes.

To make them witchy you’ll need:
green buttercream icing
decorative chocolate wafer cookies
Hershey kisses
black sprinkles
M & Ms
black shoestring licorice
candy corn

Witchy Cupakes  Witchy Cupakes

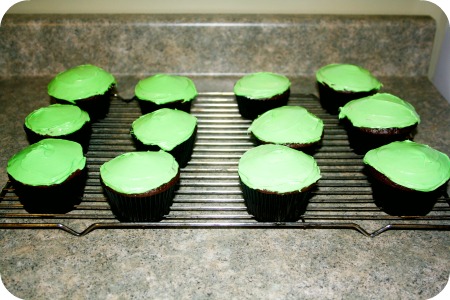
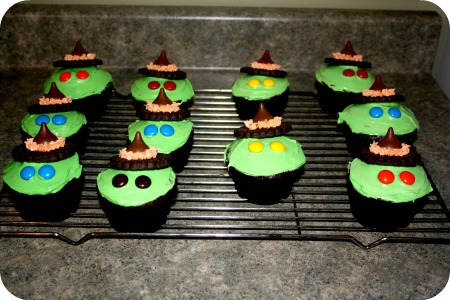
First I frosted the cupcakes, then I made their little hats by ‘gluing’ the Hershey kisses to the chocolate wafer cookies with a little dab of buttercream icing. Then I piped orange frosting around it to secure it.

Witchy Cupakes  Witchy Cupakes

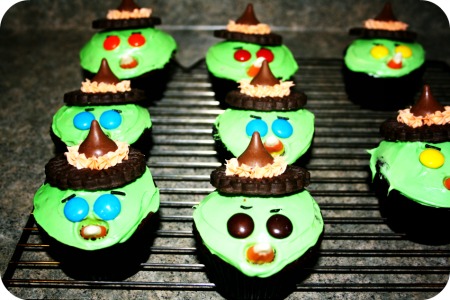
Next I added their black sprinkle eyebrows, M&M eyes and their candy corn noses! The personality is all in the eyebrows, amirite?! Some of them look confused but I think the overall effect of grumpy witches worked out.

Witchy Cupakes
1 Comment

Sturdy Cut Out Cookies – Ghosts & Tombstones

Domestic, Kids

Happy Halloween!!!

There is so much going on today for us that I have no idea where to begin. We ended up spending most of the day on Monday dealing with long distance house selling issues. Please note, however stressful irritating maddening ahem troublesome you think selling a house may be, imagine for a moment that you are about 2600 miles away from it and all cleaning, packing, moving and signing of official documents will be done long distance. Yeah, so that was Monday.

Yesterday was a fun meeting with Wee One #2’s teacher, I really like homeschooling this way. Support from the teacher, freedom to accomplish it our own way and most important the time we all get to have together! Amazing, really. So instead of Twinkle Twinkle’s Halloween party on Monday, we are going this afternoon and the kids are really, really hyped for it. I’m not going to lie, I’m super hyped for it too. It’s my favorite place to take the kids for some fun (and too many Caffe Americanos for mommy).

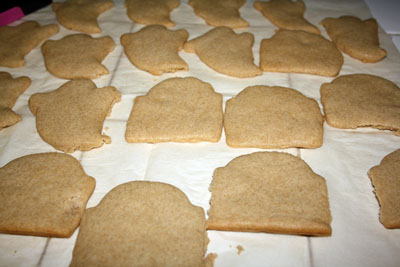
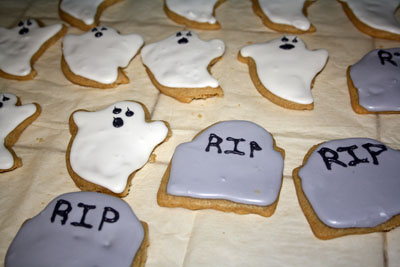
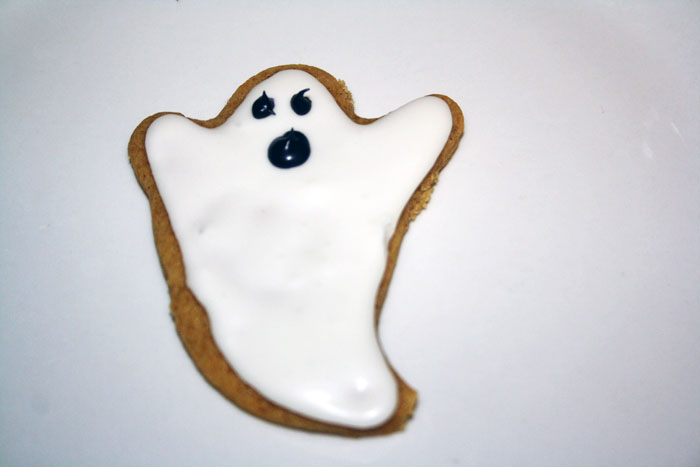
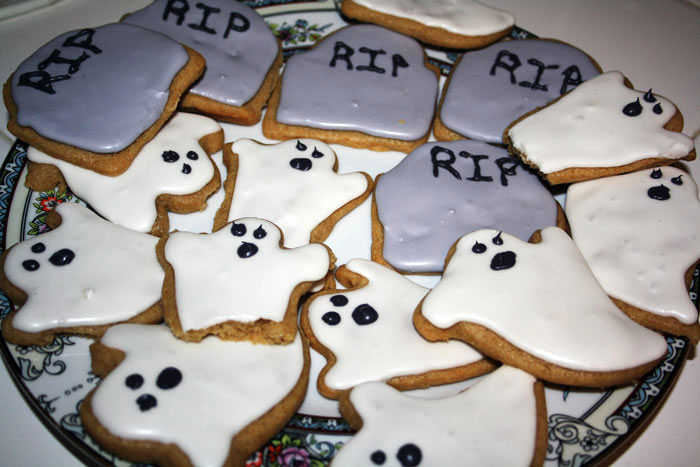
Today, we attack a stack of cookies and turn the kitchen upside down. It seems the best days around here end in a destroyed kitchen that I then spend a good hour after they’re done cleaning – but it’s totally, undoubtedly, absolutely worth it. <3 This recipe is from a book of activities to do with preschoolers, so you know this cookie is sturdy! They are not horribly chewy, which would be a really weird texture for a cut out cookie, but they are not so tough they're really crunchy either - just perfect. Especially perfect for handing over half the batch to an eager 3 year old and 6 year old with royal icing covered aprons, an arsenal of sprinkles and a whole lot of imagination. They didn't break a single cookie! This is officially my new go-to recipe for cut outs. The only thing to note about them really is that they are not as white as a traditional sugar cookie and the cinnamon and ginger give them a spice cookie taste without being overwhelming. Sturdy Cut Out Cookies - Ghosts & Tombstones

Sturdy Cut Out Cookies – via The Preschooler’s Busy Book

2 1/2 cups flour
1 teaspoon cinnamon
1/2 teaspoon ginger
1/2 teaspoon baking powder
1/4 teaspoon baking soda
1/4 teaspoon salt
3/4 cup butter
1/2 cup liquid honey
1/3 cup sugar
1 egg

Sturdy Cut Out Cookies - Ghosts & Tombstones
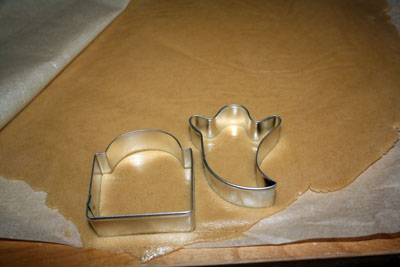
Super super simple, just mix all the dry, then the wet and then the two together! I found they rolled out and baked best when I followed this method: Divide the dough into four balls and roll each one between two sheets of parchment and pop in the freezer for as long as it takes to roll the rest out between their own sheets of parchment. Then take out the first one you put in and cut out the shapes, pop it back in the freezer and repeat that until all four balls are rolled out and cut into shapes. Follow the same process for lifting the shapes onto a baking sheet lined in parchment and rolling and cutting new shapes. Bake at 375 for about 7 minnutes.
Sturdy Cut Out Cookies - Ghosts & Tombstones
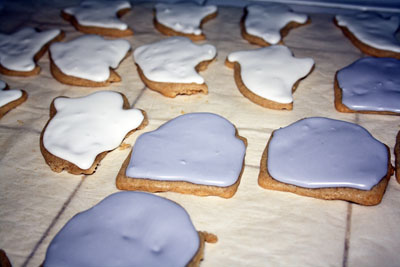
The beauty of these is you can cut out whatever shapes you want (or whatever shapes your kids want) and then decorate them in any way you (or more likely your kids) choose – or even better, both! Win-win! I chose ghosts, Wee One #2 chose tombstones (the other two were totally uninterested in what shapes we used). I made my standard Royal Icing (2 large egg whites, 3 cups icing sugar and 1 teaspoon lemon juice). I tinted a little bit black, a whole lot gray and left the rest of it white.
1 Comment

Halloweeny Greetings

Crafty, Kids

These cards were a fun afternoon with the kids, a way to show our far flung family and friends some Halloweeny love. I mean of course we try to send postal love as much as we can anyway, but festive love is the best kind of love, oui? Le duh is the appropriate response.

Halloweeny Greetings

-card stock
-heap tons of Halloweeny scrapbooking paper
-Halloweeny cookie cutters
-Halloweeny stickers
-construction paper
-silly festive jokes
-glue sticks
-loads more construction paper to make envelopes
-tape (to seal the envelopes)

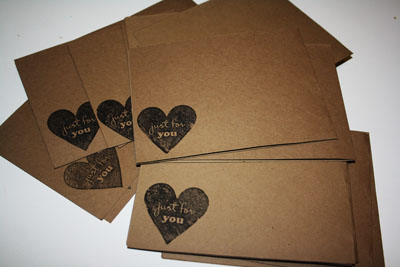
*I also used a ‘just for you’ stamp that I fell in love with at Michaels and want to stamp on everything I make

Halloweeny Greetings
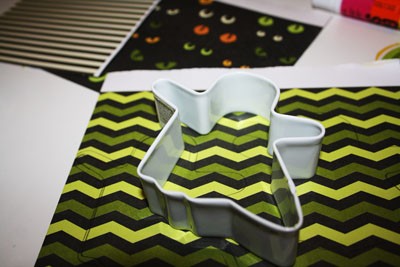
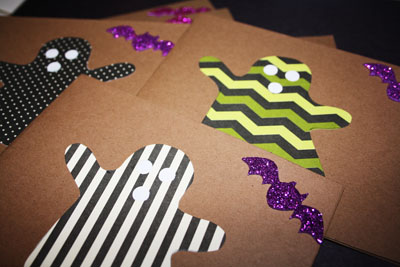
First, I cut each 8 x 10 piece of thick card stock in half and then folded it in half (using my Knit Picks guage ruler doodle but you could use a bone folder if you want to be proper about it). Then I stamped the back of each card with my cute stamp and started tracing the cookie cutters over scrapbooking paper.
Halloweeny Greetings
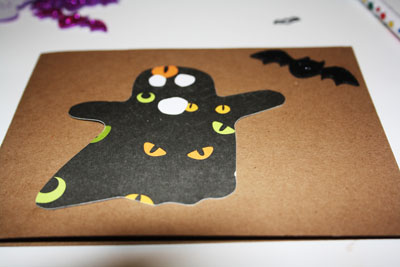
I put an unreasonable amount of thought into which shapes should be cut from which paper. Totally unreasonable, I especially love the ghosts with the green chevron and the eyes. The eyes and mouth of the ghosts came straight from my hole puncher – that’s some really effective recycling right there.
Halloweeny Greetings
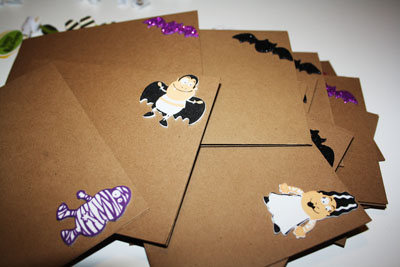
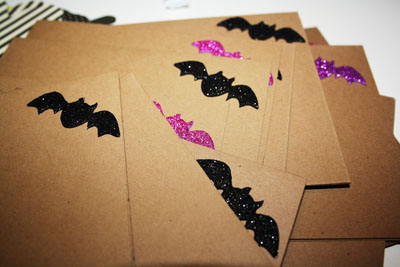
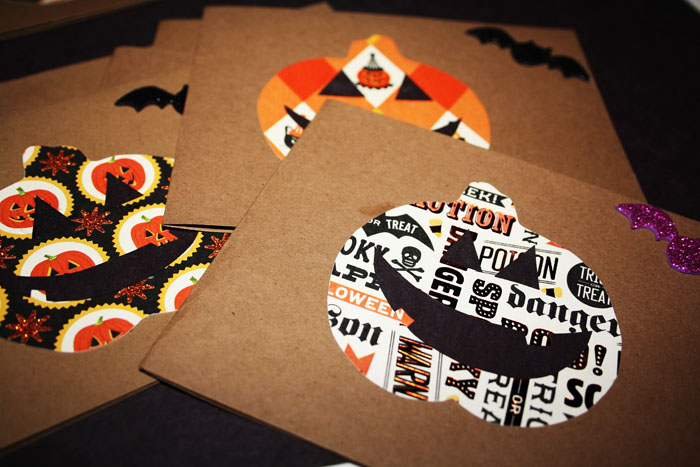
I also stuck a Halloweeny sticker in the corner of each card – and cut out a zillion more ghosts and pumpkins. With the pumpkins, I also cut out Jack o’lantern faces and glued them on. Then I added one of 5 silly jokes inside each card and a cute note to our folks, our aunts and uncles and our long distance friends and then we all signed them. Well, I signed for Wee One #3, but otherwise, we all signed them. Theeen I took apart a cute envelope that fit the cards and made a stack of envelopes, addressed all the envelopes, taped them shut and away they went! Hopefully everyone adores receiving them as much as we loved sending them.
Halloweeny Greetings
1 Comment

Halloween Countdown Calendar

Crafty

Today, I’m linking up with Sugar Bee Crafts, A Bowl Full of Lemons, My Uncommon Slice of Suburbia, Today’s Creative Blog, Tip Junkie, Our Thrifty Ideas and Cherished Bliss

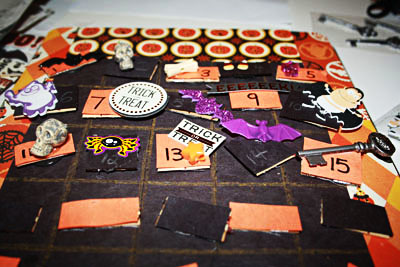
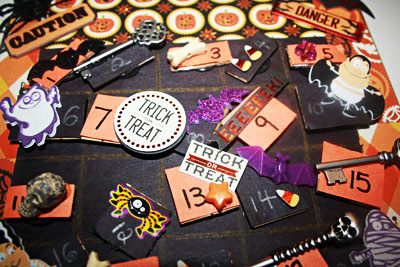
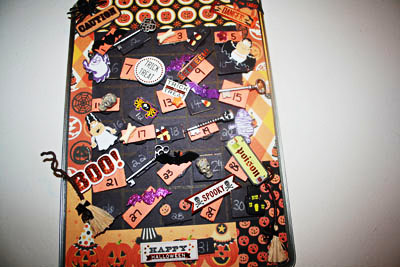
This is easily one of my favorite projects I’ve made. I adore Halloween and I adore countdown calendars so pairing the two makes me happier than it probably should. The original inspiration for this project came from Make it, Give it. I followed the basic guidelines but since, you know, I’m me, I had to make them a little more. Haha. I love how they turned out and I made a little tutorial in case you want to make one too.

Halloween Countdown Calendar

You will need:
-glue gun and refills
-magnet dots
-orange and black construction paper
-wooden pieces (something to act as a backing for each piece)
-a small baking sheet
-Halloweeny paper
-eleventy billion trinkety things (or you know, 31)
-scissors, ruler, white colored pencil, black marker, orange or white crayon

Halloween Countdown Calendar
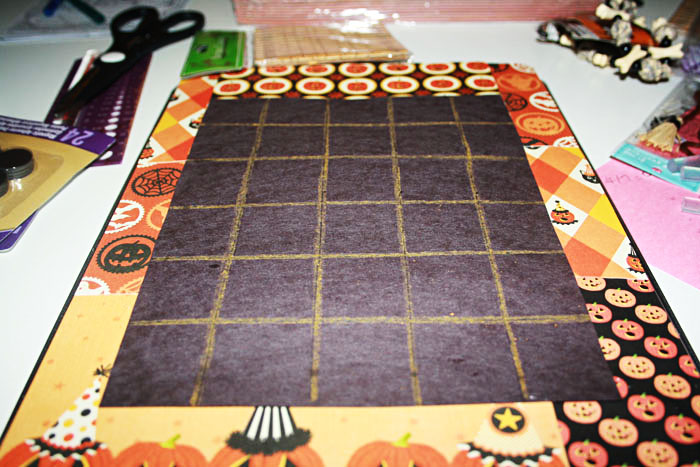
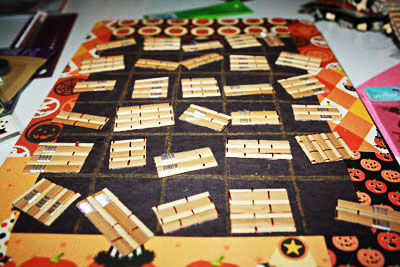
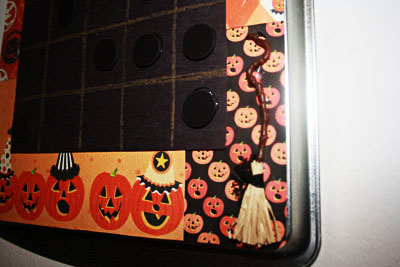
First decorate the cookie sheet however you see fit. You could paint the whole thing black and then add stickers and other embellishments. I glued some cute Martha Halloweeny paper to my cookie sheet, and a rectangle of black construction paper to act as my calendar background. You can’t see but I didn’t stack the papers behind it, they are arranged in a frame around it with the construction paper overlapping just a little. Otherwise, there would likely be a magnet issue!

You’ll notice there are only 30 squares on my calendar, I did that to make #31 a bigger piece under them all but you can make your calendar however many days you like. If you only want to count down two weeks before, make it just 14 squares.

Halloween Countdown Calendar
Then I went through some of the trinkety things I picked up and decided where I wanted to use some of them and I cut down a few bamboo coasters to be the backings for my pieces.
Halloween Countdown Calendar
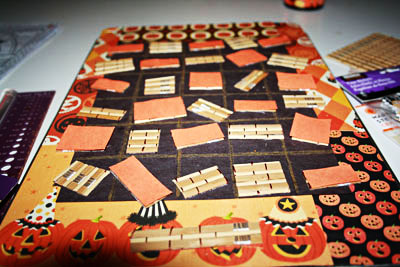
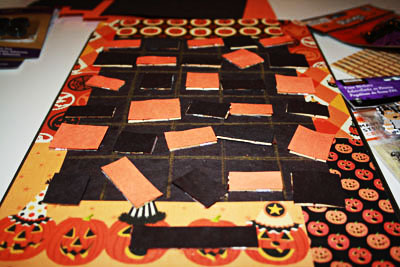
Next I glued orange construction paper to every other piece and black to the leftover pieces.
Halloween Countdown Calendar
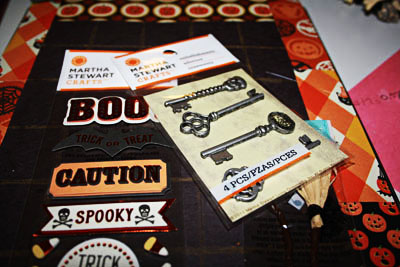
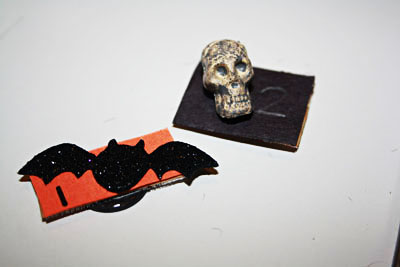
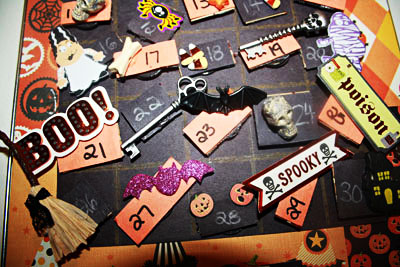
This is where it really gets fun! The only guidelines here are that each piece needs some kind of embellishment, a number and a magnet dot on the back. The details are up to you. My first two were a sparkly bat sticker and a skull from a seriously ugly bracelet. I used plain stickers, raised stickers, and beads. The purple bat was cut off the front of a plastic ring and the key is from a Martha scrapbooking set.
Halloween Countdown Calendar
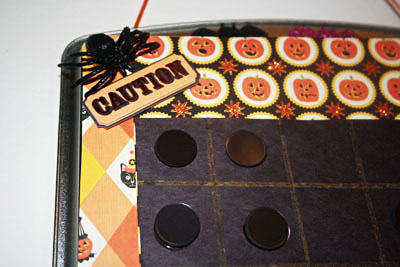
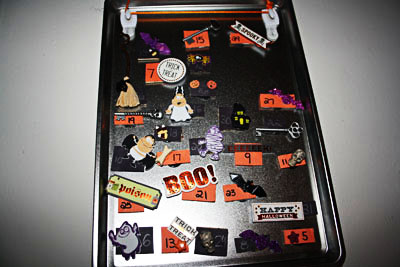
Once I had finished making pieces for each day, I embellished the cookie sheet itself a bit more. I added a witch broom to one corner and a big ugly spider to another. I also added magnets to some squares on the calendar that had especially heavy pieces to make sure they wouldn’t fall off.
Halloween Countdown Calendar
I have seen some versions of this with holes drilled in the cookie sheet to allow a ribbon to be weaved through for it to hang from. I had to recharge my Dremel and decided to try out the 3M Command Hooks I just picked up and they worked really well! Two hooks on the back of the cookie sheet and one hook on the wall.
Halloween Countdown Calendar
The kids are taking turns putting one up each day, and all of the magnets are stored on the back! Happy Halloween!!
No Comments

Spooky Shepherd’s Pie, Zombie Fingers and Granola Bars

Domestic, Healthy, Kids

In this post, I’m participating in Tempt My Tummy Tuesday, Tuesday Night Supper Club, Hearth ‘n Soul, Tuesdays at the Table and Delicious Dishes at It’s a Blog Party

We were really feeling the Halloweeny vibe this year, but wee one #2 marches to the beat of her own drummer. So in the midst of the black and orange explosion of last week, she chose to go off the rails and bake something not even remotely seasonal. That’s ok, she’s 4 – as long as she’s actually creating edible food in the kitchen who cares if it’s on theme or not right? Right!

The Halloweeny food does not need recipes, as I am sure you make these on your own already and if you don’t there are about eleventy billion recipes online. I did my best to make Halloween week as silly and as fun as possible for the kids – of course it got me in the spirit too. Every day, we had at least one themed treat or meal, and towards the end of the week the whole day was themed! Not that I have ever been known to get carried away. Ahem.

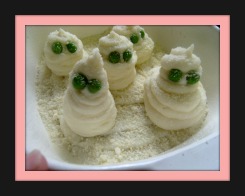
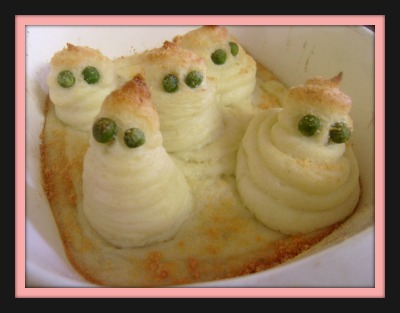
The spooky shepherd’s pie was just sherpherd’s pie with spooky dudes on top. I put the mashed potatoes into cake decorating bags and piped little creatures on top, one for each of us – with little pea eyes of course!

I sprinkled Parmesan cheese on top – liberally – so it’d brown nicely and look less pasty than when it went in!

I think it turned out pretty good and the kids all loved it so that works for me.

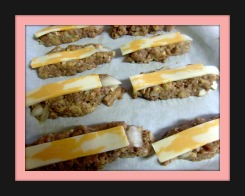
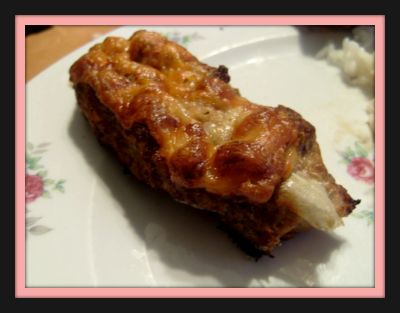
The night before Halloween, my husband and I found a recipe for a meat hand! A meat hand!! I didn’t want to be a total copy cat, so we made meat fingers and with the cheese on top and the onion fingernail it looked so gross and zombie-like so we called them zombie fingers.

I used the exact recipe for my hamburgers, which is just 2lbs of ground beef, an onion, way too much garlic

(mmmm garlic), oregano, a little thyme and a teeny bit of Miss Diana sauce for chicken. I know that doesn’t sound amazing, but trust me, it is.

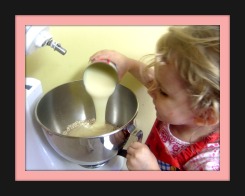
We were having a really laid back day and I asked wee one #2 if she felt like baking something on her own (under supervision, natch) and without even thinking about it she announced she wanted to make granola bars!

They are painfully easy. All I did was turn the oven on, measure the ingredients into bowls, put the dish into the oven and then later take it out. She did the rest.


Painfully Easy Granola Bars

3 cups quick cook oats
1 cup chopped peanuts
1 cup mini chocolate chips
1/2 cup mini marshmallows
1 teaspoon vanilla
14 oz condensed milk
1 egg, beaten
2 tablespoons butter


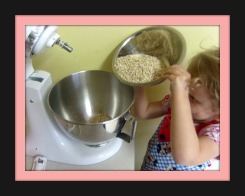
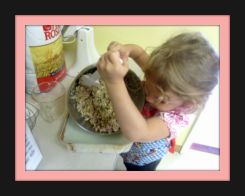
First she piled her dry ingredients into the Kitchen Aid and gave it a whirl. My mother didn’t get a Kitchen Aid till I was 14, so it’s hilarious to see my not quite 5 year old daughter working the kitchen power tools!

Then she literally dumped all the wet ingredients on top and gave it another whirl. It worked. If I had made them, I likely would have mixed all the wet ingredients together first and then added that to the dry, but what do I know?! 😉

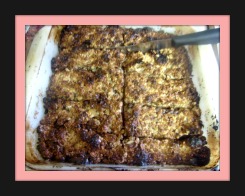
She then greased a brownie pan with Becel and a pastry brush before unhooking the bowl from the stand and dumping the entire contents into the pan. She smoothed it out and instructed me to pop it in the oven. And so I did – then 20 minutes later I took it out again.

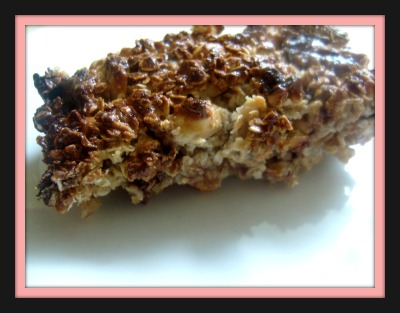
It was hard to hold everyone back while the pan cooled enough for me to cut them into bars. Mmmm. The kids brought them to school the next day! Yes, I know there are peanuts in them and I said they took them to school. Believe it or not, their school only has 41 kids in it and no peanut allergies so they are a peanut friendly school.

2 Comments

Fall Baking Round Up (Halloween and Birthdays)

Domestic

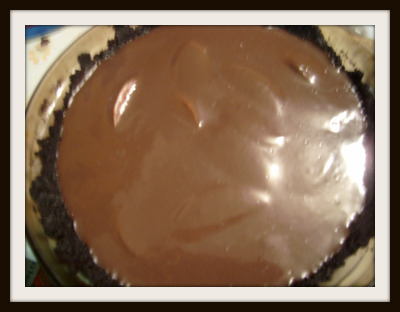
Making a different pie every week all year has lead to some pretty funny pies. I strive to rival Martha, and some days I do (hello Valentine’s Day, 2009!), but other days I end up making a chocolate crumb crust, lining the bottom with sliced apples and pouring chocolate pudding on top. Yup. Meet pie #47, Apple Chocolate Pudding Pie. It was delicious, for the record, but the description above is 100% true. My 9 year old could have made this, actually I bet my 4 year old could have made it too (she likes to make instant pudding in the Kitchen Aid)!
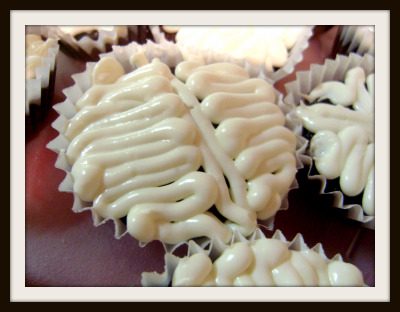
Moving along to treats I am more proud of, brain cupcakes made for wee one #1’s school Halloween party! One of my dearest friends, Talea, gave me an icing pen for my birthday this year, because 2010 is the Year of Cakes and Cupcakes! I used it for the first time to make these brains. I was so happy while making them because the pen, though a little fiddly to fill, works like a dream and made the cupcakes look all brainy! Of course, once they were all packaged up and ready to roll the night before the party I started to get self-conscious about them. Did they look brainy enough? Maybe I should have tinted the icing to be pinkish? Maybe I should have added blood? No.
I made these Chocolate Witch Hats from a Martha Stewart recipe. In her recipe is says to paint the cones with chocolate, but the image it conjured of the messy hands killed it for me. All you need; a box of sugar waffle ice cream cones, a tray of chocolate wafer cookies (I made mine from scratch thankyouverymuch), a bowl of broken Kit Kats, and a bowl of melted chocolate.
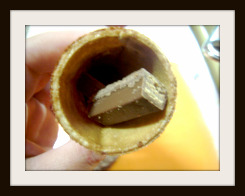
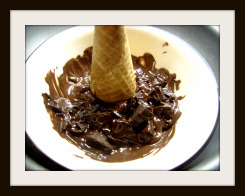
 

Dunk the ice cream cone into the melted chocolate, put a few broken Kit Kat pieces inside, and top it with the cookie (using the flat bottom of the cookie as the underside of the lid so it holds to the cone better), you may have to brush the seal with melted chocolate too. Just as many children ate these as adults once we got them into the school. Most of the office staff had one!
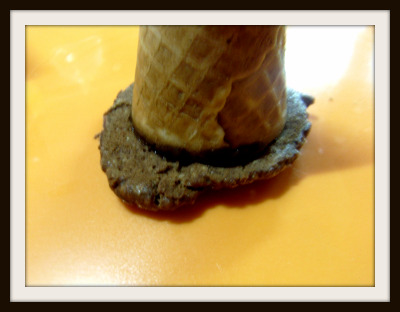
Shortly after all this Halloweening it up in the kitchen, I came across this post on Cake Spy from May on a Cookie Cake Pie, which naturally, got me very excited! I still had some of the cocoa cookie dough in the fridge from the Chocolate Witch Hats I had made, so I went with a chocolate version. I’m not sure what I did wrong. I think I will try this again when I visit with my friend Heather when we go on our Christmas trip. I didn’t do the idea justice, it was ok, but a little dry and not half as exciting as the original idea.

I immediately redeemed myself with these Pumpkin Carrot Muffins, though, so it’s ok. 😉
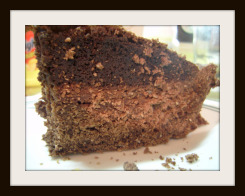
 

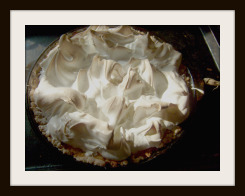
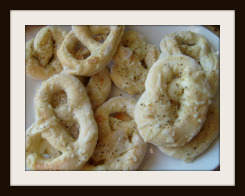
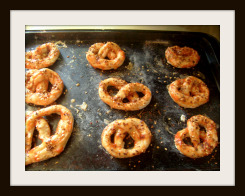
Standard Lemon Meringue was pie #51, with the standard coffee ring (chopped up to fit on the platter, naturally), and (drum roll please) pretzels.
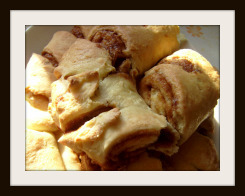
 

I made pretzels from scratch! The recipe was alright, but the instructions were sub par so I will try this again and share a how to once I’m better at it!
 

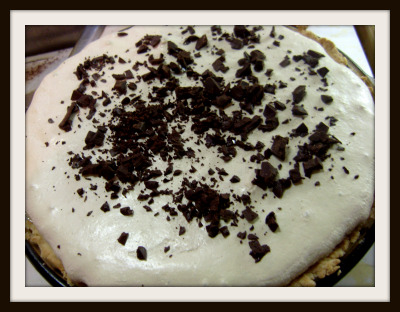
This was exciting for me. Meet pie #52, Mint Chocolate Chip! It was delicious, but it was also so pretty and the sound the meringue made when I cut it was that perfectly crunchy but not hard shell cracking sound. Mmmm. I was impressed with myself, for sure.

I made a standard white flour pie crust (we’ve established that whole wheat flour and chocolate only work nicely in brownies), baked it, then made chocolate pudding with some mint extract, filled the pie crust and popped it back in the oven for another 30 minutes or so. Then I whipped the meringue and added green food coloring, I topped the pie off with that and then put it back in the oven again for another 10 minutes. I added the chopped chocolate once I took it out.
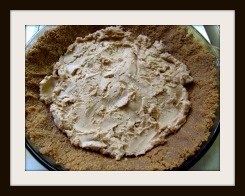
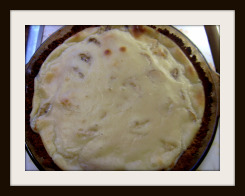
I maybe should have called this the Elvis Pie, since it’s pretty much equal parts banana and peanut butter, I learned when making this pie that while a smashed banana is delicious and invisible in baked goods, the same is not true for actual pieces of banana. They are still delicious, but they’re not pretty.
 

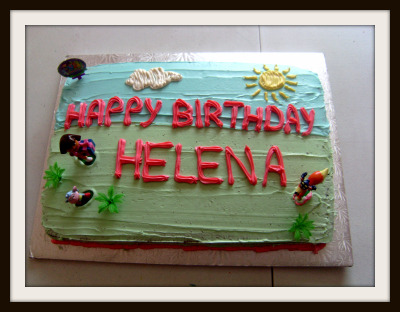
Finally, this cake is my most favorite recent accomplishment. One of my wee ones has a thing for Dora, as many wee ones do and asked me to make her a cake. So far, on the baking front, I’ve been getting pretty good at making very pretty cakes, but they are decorated differently. My mother was always baking and frosting cakes. By the time I was half way through elementary school, she was making cakes and chocolates from home as a small business. Her style of decorating was piping the entire cake from the Wilton decorating tips and it was so so so nice. I have yet to get that good at piping, so I smooth out the cake and pipe what I think I will do the least damage with. I used the same decorating pen from Talea for the sun and cloud. She loved it, and so did her wee friends!
    Next up is some serious holiday baking!
4 Comments
Newer Posts »