Browsing the archives for the shortbread tag.

Red Velvet Fireplace Cookies

Domestic

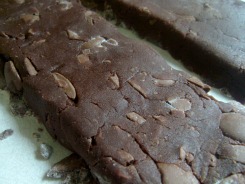
I have wanted to make these little darlings since I first read about them last year! So cute! Since I was bringing mine to a park date with my favorite mommies ever, I skipped the chocolate and royal icing fire in the fireplace and opted to just decorate the mantle. They were a hit with everyone we shared them with because they were equally as tasty as they were adorable! True story!

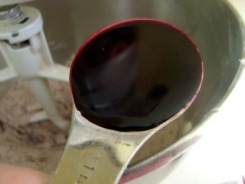
I do try to avoid using food coloring when I can, though I admit that I always add it to my frostings. To me, it’s just one of those ‘time and a place for everything’ kind of things and I think the time for artificial food coloring is anytime you’re making royal or buttercream icing (though I will also say that I’d never use anything other than Wilton food color gels – if you’re going to do it, you may as well do it right). So in this case, I thought about using beet puree in place of the food coloring, but it would change the texture of the cookie completely and possibly make them unusable. So, food coloring it is!

Loads more cookies coming your way this month, pinky swear.

Red Velvet Fireplace Cookies – via Diamonds for Dessert

1 1/4 cups flour
1/3 cup sugar
2 tablespoons cocoa
1/4 teaspoon salt
1/2 cup butter, cubed
1 tablespoon food coloring
green, yellow and red gummy bear hands and feet (just cut the nubs off with kitchen scissors)

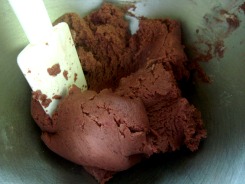
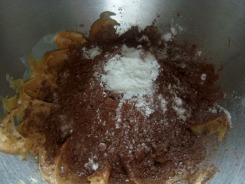
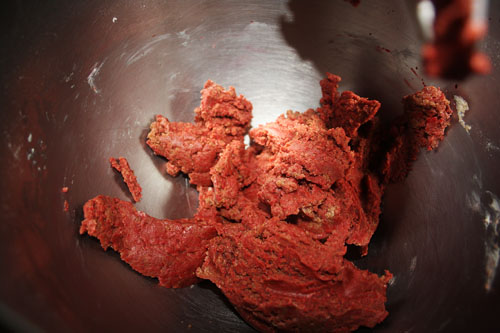
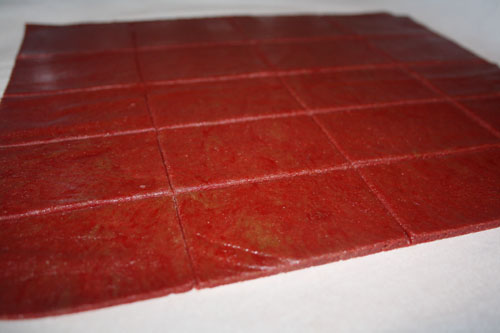
You don’t need me to tell you how to make these, but I will anyway. Ha! Just mix the flour, sugar, salt and cut in the butter with two knives. Usually, like with red velvet cake I strive for beet puree instead of red food coloring but it totally messes with the texture of the cookies. Just use let this be the day you throw food coloring caution to the side, k? Thanks!
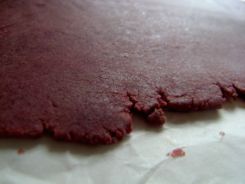
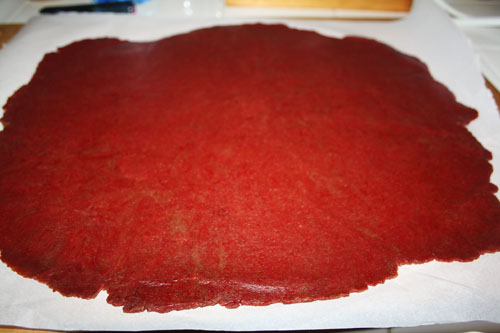
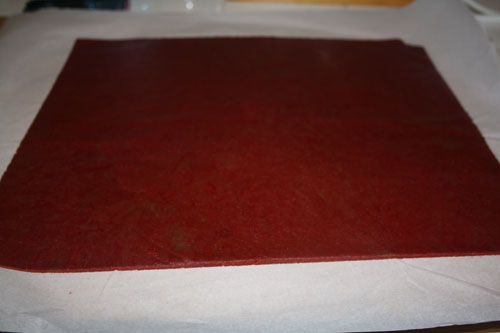
Now roll out the dough to about 1/4″ thick, give or take a little and trim off the edges, then cut into 3″ x 2″ rectangles.
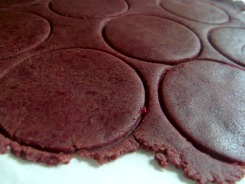
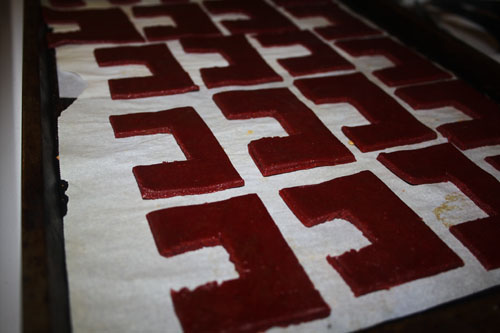
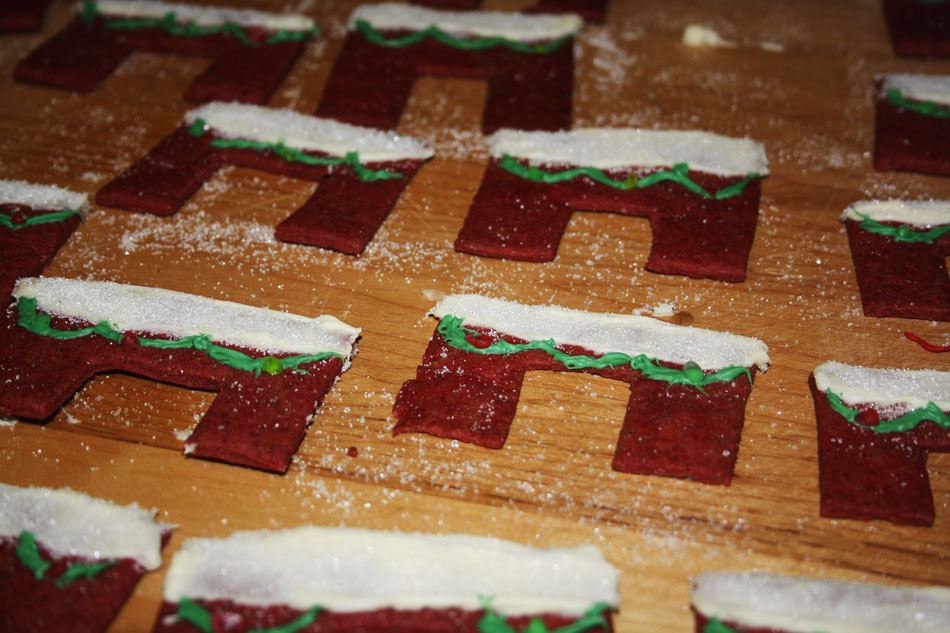
This part is a little tricky, so pop the dough in the fridge for freezer for a few minutes first. Then cut out a smallish square in the middle of the bottom of each rectangle to make a fireplace opening. I made some bigger than others to see how different they’d look after I decorated them! I baked them at 325 for about 15-20 minutes.
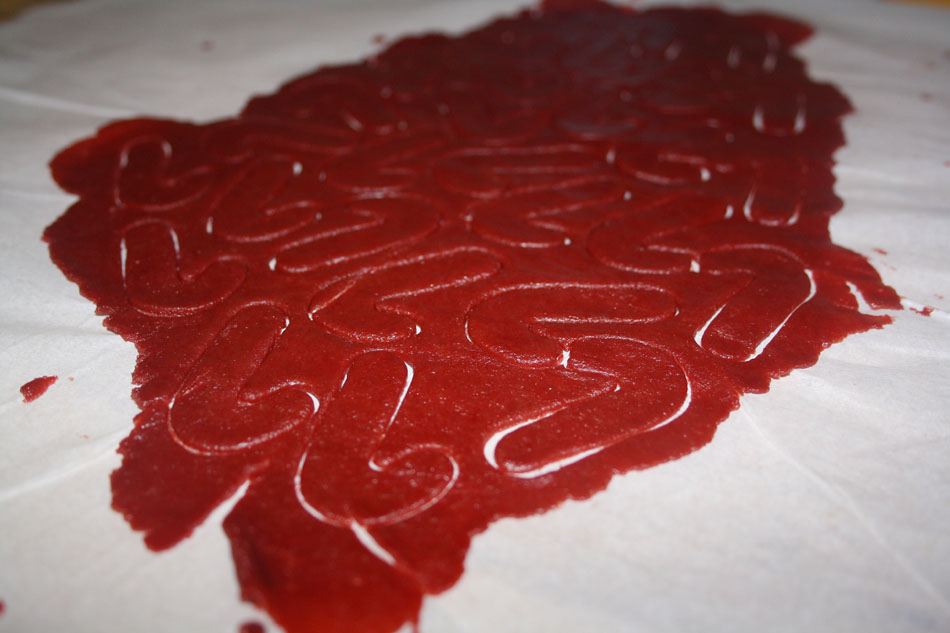
I had some extra dough so I rolled it out and cut out some candy canes!
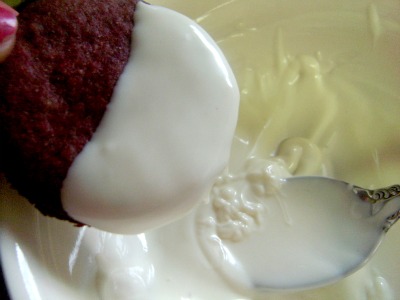
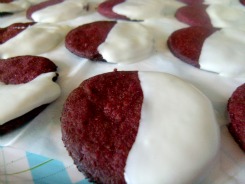
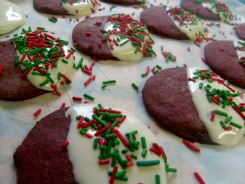
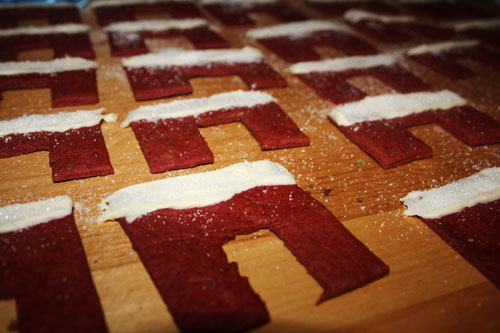
Once they were cool, I dipped the tops in melted white chocolate and then piped melted green chocolate to hang like a string of lights! You could use royal icing, but they’d be a little more delicate that way. I dusted the entire cookie in sanding sugar and attached the gummy bear nubs to the still-wet green chocolate.
Super, super cute right?!
No Comments

Christmas Freezer Baking

Domestic

I have missed three posting days after not missing for over a month! The horror!! I will wait till next Monday to catch up on my Marriage Monday posts, and will resume my regular posting schedule next week. For now though, I’ve got some fun recipes to get you in the mood for Christmas!

Just a little note for future reference, mostly to myself. All recipes made for the 2010 Christmas season will come from magazines and books I have fallen in love with, bought, and left to sit alone (well, alone with each other) in my kitchen. I have about eleventy billion of them, time to actually use them!

I’ve been gearing up for Christmas baking, mostly icebox cookies that are made for freezing. Some doughs make for great slice and bake logs and some cookies freeze excellently after they’ve been baked and cooled. So I’m doing a bit of everything and as I make things for the freezer, I’ll post recipes and next month let you know how well they froze. I can’t possibly explain to you how hard I am hoping that next month I’ll say that all the recipes I chose to freeze worked out perfectly! The whole point to doing this is to cut back on my December baking time and to make as many different kinds of cookies and bars and wee treats to package up and send out as possible!

So far, I have made White Chocolate Dipped Red Velvet Shortbread Cookies, Peanut Butter Brownie Biscotti and Ooey Gooey Chewy Smore Bars. Yes, I sampled – but just one of each! They were all pretty straightforward and turned out well. Today I’ll give you the shortbread and the biscotti – stay tuned tomorrow for these gooey bars. Mmmmm.

The red velvet shortbread was pretty much what you’d expect – a fairly standard shortbread with a general addition of red food colouring, once they were baked and cooled, I dipped them all in white chocolate. I got two dozen cookies out of the recipe, half of them I left the white chocolate alone, and the other half got a dash of red and green sprinkles.


Red Velvet Shortbread Cookies – from Christmas Cookies ’09 (a Better Homes & Gardens magazine)

1 1/4 cups flour
1/2 cup sugar
2 tablespoons unsweetened cocoa powder
1/4 teaspoon salt
1/2 cup butter, cut up
1 tablespoon red food colouring
3 ounces white chocolate
1 1/2 teaspoons shortening


Preheat to 325. Stir together the flour, sugar, cocoa powder and salt. Use a pastry cutter to cut in butter and food colouring until mixture is crumbly and starts to cling together. Form into a ball, knead till smooth.

Now flour your counter, knead your dough on it and roll out to about 1/2″ thick, cut your dough in whatever shape you like, just keep in mind the baking times will be off. Put them on your parchment paper lined baking sheet, mush the scraps up, re roll them and do it again.

The recipe said to bake for 20 minutes and mine burnt at the 10 minute mark. In my supernova oven they were ready in 6 minutes, so test your oven!!

As the cookies were cooling on a wire rack, I melted the white chocolate in a ceramic bowl set in a pan of hot water. Then I coated half the cookie, and put it on a piece of parchment paper on a tray. If they got a shot of sprinkles, they got it here before they were popped in the freezer till the chocolate had set so I could put them in freezer containers.


Even though I had never made biscotti before, making four different kinds of it to give away at Christmas is on my list of things to do this week. I’d show you my list but I don’t want to frighten you. 😉


Peanut Butter Brownie Bsicotti – from Christmas Cookies ’09 (a Better Homes & Gardens magazine)

1/2 cup creamy peanut butter
1/4 cup butter, softened
2/3 cup sugar
1/3 cup unsweetened cocoa powder
1 1/2 teaspoons baking powder
2 eggs
1 teaspoon vanilla
1 3/4 cups flour
1 cup chopped semi-sweet chocolate (about 6 ounces)

Preheat to 375. Cream the peanut butter and the butter, beat for 30 seconds and add the sugar, cocoa powder, baking powder. Scrap down the sides of the bowl, beat in the eggs and vanilla until well mixed, now beat in the flour and once it’s all combined, stir in the chocolate chunks with a spoon.

Knead the dough on your floured countertop and form it into a 9″ x 2″ roll. Usually, when recipes tell me to do something like that, I can never get it to be the right shape but this recipe actually works and 9″ x 2″ is totally doable. Bake this loaf on a parchment paper lined baking sheet for 20 minutes (according to the recipe, my crazy oven had both rolls fully cooked in half the time).

Once they’re out, you can turn off your oven – for now. Let them sit for an hour, then cut them into 16 pieces each and bake them again, for another 10 minutes (5 for me), then flip them over and bake for another 10 (or 5 lol).


This month is full of Christmas baking and knitting and serious prep for my sister’s 22nd birthday party in 2 weeks. I’m so excited I want to post all about it, but I don’t want to unleash any surprises in case she’s reading. Hi Nikki!

1 Comment