Jan 29, 2013
I had seen these around all over and just love, love, loved them! They perfectly combine my love of paper crafts and reading! I am not at all a fan of scrapbooking, but I love me some scrapbooking paper. I hope to be bit by the scrapbooking bug eventually, because I do really like the finished product – either of the wee ones or our friends. However, at the moment I’d rather knit. That’s pretty accurate of almost anything ha!
The two best tutorials I have found for these cuties are over at Midwestern Moms and Tally’s Treasures. My photos are pretty much the same as theirs but I’m posting them anyway – Tally’s Treasures added teeth and big eyes to hers and they look so so cute for little ones. I think I will show my littles how to make these and see what they come up with!

double sided scrapbooking paper
sharp pencil
ruler
scissors
glue stick
|
|
|
| First, measure out three 2.5″ squares on cardstock or cardboard, as in the photie up there ^ on the left. Draw a line through the squares to the right and above the corner square, like the photie up there ^ on the right. Draw a little x on the same two triangles as I did. 🙂 |
|
|
|
|
Next, cut out the shape, without the x’ed out triangles. This is your template, use it to trace around on pretty scrapbooking paper and cut it out.
|
|
|
|
|
Score along the edges of the original square and fold those triangles down.
|
|
|
|
|
The first triangle that’s folded down only needs glue on top of it and then press the second triangle down on top. So simple and fun!
|
|
|
|
|
I didn’t decorate mine further, but you can add whatever you want to them!
|
|
|
Oct 30, 2012
These cards were a fun afternoon with the kids, a way to show our far flung family and friends some Halloweeny love. I mean of course we try to send postal love as much as we can anyway, but festive love is the best kind of love, oui? Le duh is the appropriate response.

-card stock
-heap tons of Halloweeny scrapbooking paper
-Halloweeny cookie cutters
-Halloweeny stickers
-construction paper
-silly festive jokes
-glue sticks
-loads more construction paper to make envelopes
-tape (to seal the envelopes)
*I also used a ‘just for you’ stamp that I fell in love with at Michaels and want to stamp on everything I make
|
|
|
| First, I cut each 8 x 10 piece of thick card stock in half and then folded it in half (using my Knit Picks guage ruler doodle but you could use a bone folder if you want to be proper about it). Then I stamped the back of each card with my cute stamp and started tracing the cookie cutters over scrapbooking paper. |
|
|
|
| I put an unreasonable amount of thought into which shapes should be cut from which paper. Totally unreasonable, I especially love the ghosts with the green chevron and the eyes. The eyes and mouth of the ghosts came straight from my hole puncher – that’s some really effective recycling right there. |
|
|
|
| I also stuck a Halloweeny sticker in the corner of each card – and cut out a zillion more ghosts and pumpkins. With the pumpkins, I also cut out Jack o’lantern faces and glued them on. Then I added one of 5 silly jokes inside each card and a cute note to our folks, our aunts and uncles and our long distance friends and then we all signed them. Well, I signed for Wee One #3, but otherwise, we all signed them. Theeen I took apart a cute envelope that fit the cards and made a stack of envelopes, addressed all the envelopes, taped them shut and away they went! Hopefully everyone adores receiving them as much as we loved sending them. |
|
|
Oct 9, 2012
Today, I’m linking up with Sugar Bee Crafts, A Bowl Full of Lemons, My Uncommon Slice of Suburbia, Today’s Creative Blog, Tip Junkie, Our Thrifty Ideas and Cherished Bliss
This is easily one of my favorite projects I’ve made. I adore Halloween and I adore countdown calendars so pairing the two makes me happier than it probably should. The original inspiration for this project came from Make it, Give it. I followed the basic guidelines but since, you know, I’m me, I had to make them a little more. Haha. I love how they turned out and I made a little tutorial in case you want to make one too.

You will need:
-glue gun and refills
-magnet dots
-orange and black construction paper
-wooden pieces (something to act as a backing for each piece)
-a small baking sheet
-Halloweeny paper
-eleventy billion trinkety things (or you know, 31)
-scissors, ruler, white colored pencil, black marker, orange or white crayon
|
|
| First decorate the cookie sheet however you see fit. You could paint the whole thing black and then add stickers and other embellishments. I glued some cute Martha Halloweeny paper to my cookie sheet, and a rectangle of black construction paper to act as my calendar background. You can’t see but I didn’t stack the papers behind it, they are arranged in a frame around it with the construction paper overlapping just a little. Otherwise, there would likely be a magnet issue!
You’ll notice there are only 30 squares on my calendar, I did that to make #31 a bigger piece under them all but you can make your calendar however many days you like. If you only want to count down two weeks before, make it just 14 squares.
|
|
|
|
| Then I went through some of the trinkety things I picked up and decided where I wanted to use some of them and I cut down a few bamboo coasters to be the backings for my pieces. |
|
|
|
|
Next I glued orange construction paper to every other piece and black to the leftover pieces.
|
|
|
|
| This is where it really gets fun! The only guidelines here are that each piece needs some kind of embellishment, a number and a magnet dot on the back. The details are up to you. My first two were a sparkly bat sticker and a skull from a seriously ugly bracelet. I used plain stickers, raised stickers, and beads. The purple bat was cut off the front of a plastic ring and the key is from a Martha scrapbooking set. |
|
|
|
| Once I had finished making pieces for each day, I embellished the cookie sheet itself a bit more. I added a witch broom to one corner and a big ugly spider to another. I also added magnets to some squares on the calendar that had especially heavy pieces to make sure they wouldn’t fall off. |
|
|
|
I have seen some versions of this with holes drilled in the cookie sheet to allow a ribbon to be weaved through for it to hang from. I had to recharge my Dremel and decided to try out the 3M Command Hooks I just picked up and they worked really well! Two hooks on the back of the cookie sheet and one hook on the wall. I just picked up and they worked really well! Two hooks on the back of the cookie sheet and one hook on the wall.
|
|
|
|
|
The kids are taking turns putting one up each day, and all of the magnets are stored on the back! Happy Halloween!!
|
Jun 17, 2012
I hope everyone is off to have an amazing and memorable Father’s Day! If you are lucky enough to be able to hang out with your Dad today – go hang out with him! My husband and I will have to settle for Skype convos with our Dads tonight, but that’s after we spend the day celebrating here with the wee ones!
For now though, here’s a quick look at our week!
|
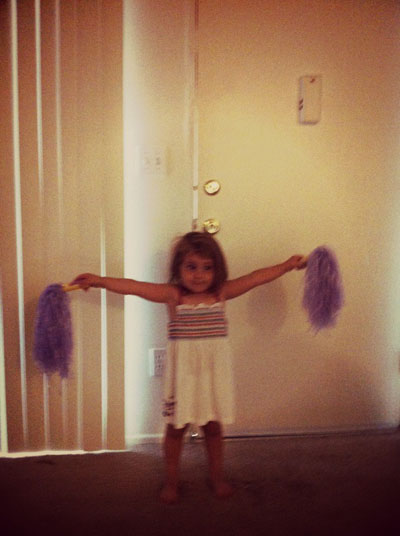
Sunday = my personal cheerleader
|
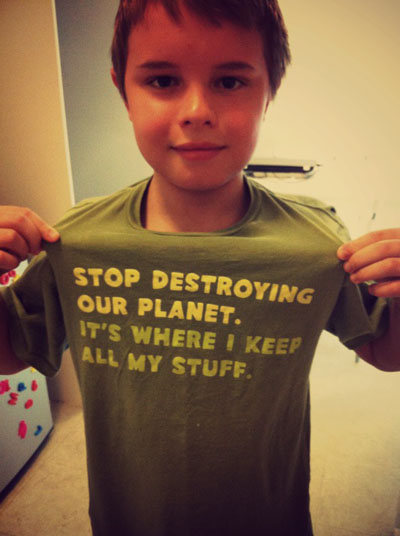
Monday = rad new shirt
|
|
|
|
|
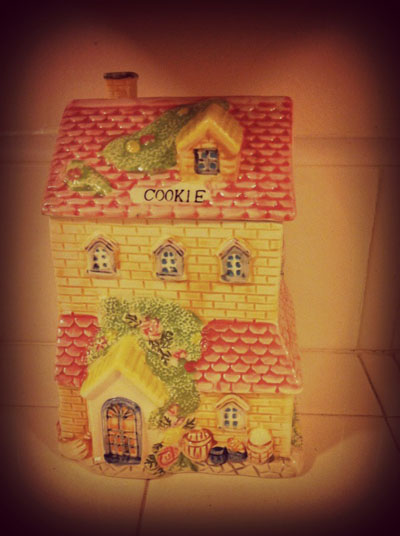
Tuesday = so ugly it’s cute cookie jar
|
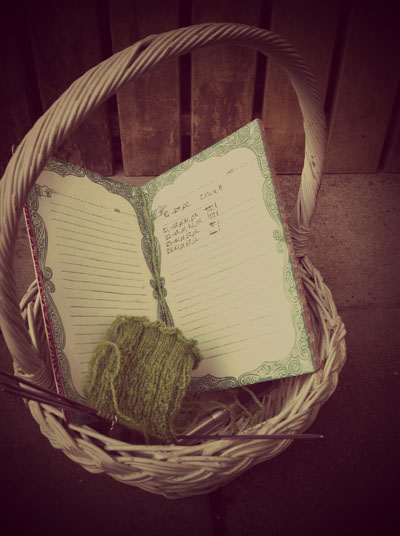
Wednesday = knitting on the patio
|
|
|
|
|
Thursday Morning = these animal crackers are not for sharing
|
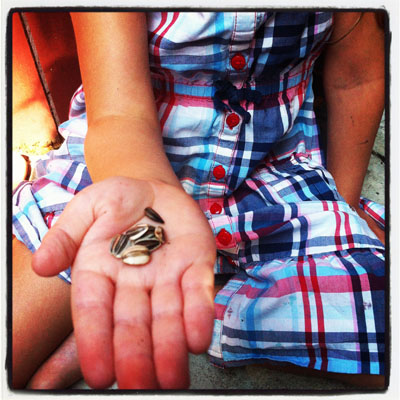
Thursday Afternoon = time to plant some patio garden seedlings
|
|
|
|
|
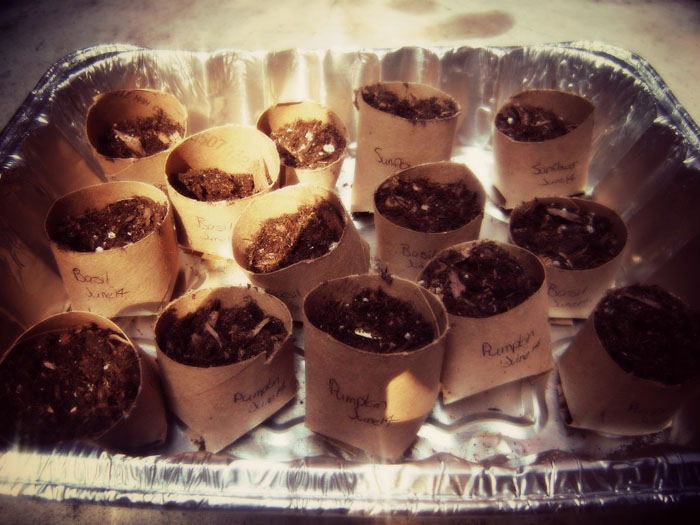
Thursday Afternoon = patio seedlings started off in repurposed toilet paper tubes
|
|
|
|
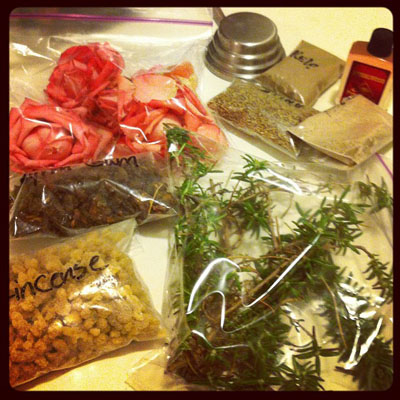
Friday = the possibilities in soap making combos are pretty much endless – so exciting
|
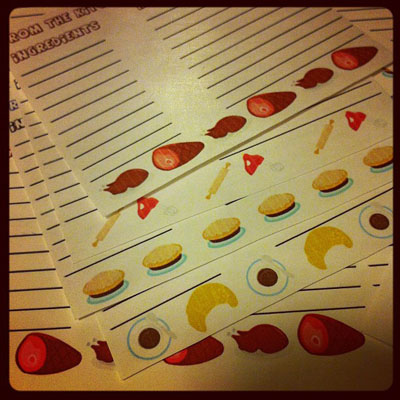
Saturday = making personalized recipe cards
|
|
|
|