Last weekend, four of my dearest friends made the two hour journey (one of them had a 5 hour journey) to my house in the woods to help me celebrate my birthday.
Backing up a bit, when I was preparing for my ladies (and Andrew) to come up for the weekend, I naturally went on a baking spree, and so I needed birthday items, like sprinkles and candy melts. I literally asked for a handful of 3 colours of candy melts, 3 colours of sprinkles and about 1/2 lb of milk chocolate. My husband drove into town to get the gear I needed and came back with what can only be described as an avalanche of sprinkles and candy melts and other amazing things I didn’t even ask for. That’s love people, that’s love.
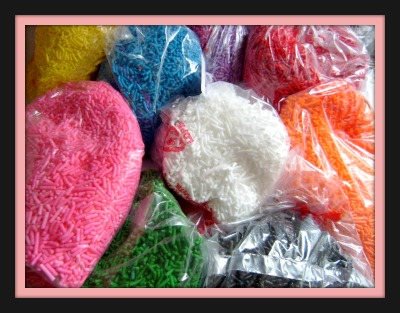
I had asked for the candy melts and sprinkles to make cupcake pops. I’ve made cake balls many, many times before but these are so much more festive! I used the Bakerella Cupcake Bites Made Easy post as my guide. They really are so easy, all you need is some chocolate, a candy cup mold (like the bottom of a Reese’s Peanut Butter cup), candy melts in different colours, some sprinkles in different colours and Smarties. Ready?
|
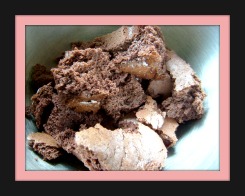
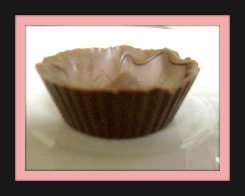
First, of course, make your cake. I used the Stir and Bake Chocolate Cake I posted a couple of weeks ago. While the cake is baking, make your chocolate cups. Just melt the chocolate over a double boiler (a lot of people use the microwave with great success), and pour it into the mold. Be sure to coat the sides well! Once the cake has baked and cooled, cut off any crispy edges so you’re just left with the soft cakey part and then smush it up! |
|
Leave the chocolate to dry on the counter for a bit, and once it’s lost it’s shiny gloss, pop it in the fridge for a few hours.
Now add a few dollops of buttercream or cream cheese icing and mix it up. The ratio is different depending on what recipes you use for the cake and for the icing. We’ve been over the whole store bought things before. I know it’s so much easier to use a boxed cake mix and a tub of frosting but my Granny has drilled in to me that I should just do it from scratch. I swear it doesn’t take that much longer at all!
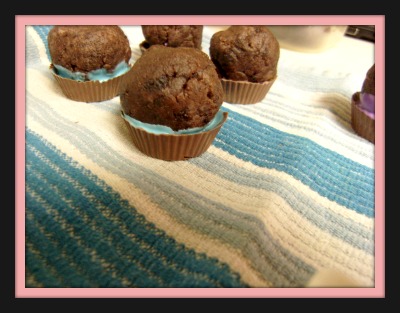
Once you’ve got the right consistency, roll your mixture into cake balls and put those in the fridge as well. Make sure you roll them big enough (or small enough depending on your mold) to sit comfortably in your chocolate cups!
When your chocolate cups are ready, and you’ve popped them out of their molds, melt some of your candy melts down to use as glue to hold the cake balls in the chocolate cups.
Bakerella squished the cake balls right into the melted chocolate in the mold before it even went in the fridge. Which is genius. I, however, did not do that so I had to glue them in. Next time, I will do that.
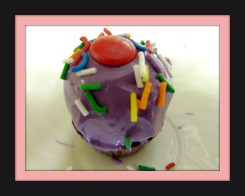
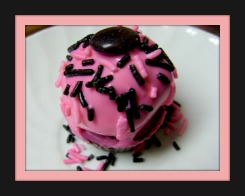
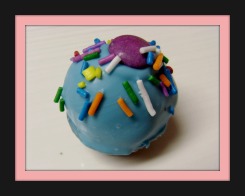
Now holding the cupcake pop by the chocolate cup, dip it in the candy melts and add your sprinkles and Smartie to it while it’s still wet! These are a lot of fun to make because you can literally use whatever sort of toppings you want depending on the occasion!
|
|
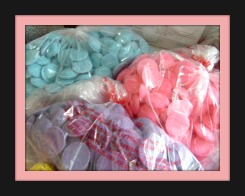
The purple ones are a replica of the ones in Bakerella’s tutorial, the blue ones just also felt really festive. The pink ones were a little birthday treat to me because my favourite colour combo is black and pink (obviously). These are hands down the best birthday treat I’ve made. I made extras and let the kids decorate a bunch on their own. They were really creative with it and made a wonderful mess in the kitchen! |

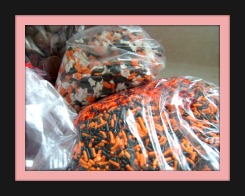
Keeping with the theme of treats I love that look a lot harder to make than they really are, I also made Leek Rings. They really should be eaten fresh, so I made them as I knew everyone was coming over. I went with leeks instead of onions because we all prefer them, and they’re just a little different than what you’d expect. So people were arriving as I was making these, and no lie, they were eating them right out of the collinder! Very few of the leek rings even made it to a plate.
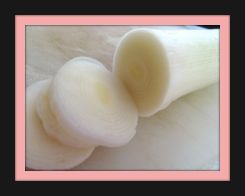
Very simple to make!! You can cut your leeks (or onions) thin and have a lot or cut them thicker to make a bigger snack out of them. If you cut them as thin as I did, you can just pop them in your mouth in one or two bites. Which may not be a good thing!
|
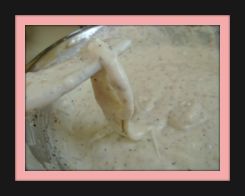
Leek Rings Heat up a wok (or frying pan or whatever) 1/2 full of canola oil, use a fork to dip the |
|
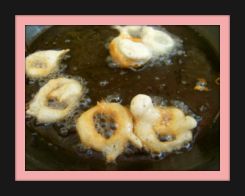
leek/onion in the batter, shake it off a bit and pluink it in the oil. Let it cook for just a few seconds if you want it a golden brown, then flip it, cook it for another few seconds and move it to a paper towel-lined collinder. If you like them crispier, just leave them in longer – but not too long, these babies cook fast!
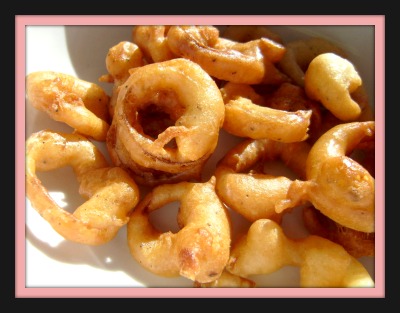
I could eat and eat and eat these. They were so good it’s a little alarming. I would gain so much weight if I made these all the time, but boy do I ever want to make these all the time! I will save them as treats for when I have visitors (which isn’t that often out here in the woods)!
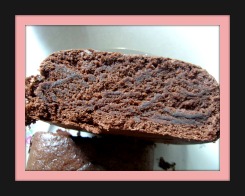
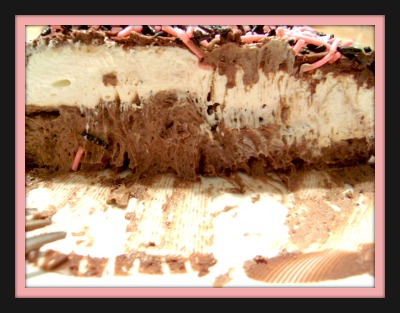
One more treat and I’ll let you get on with your day. This was my birthday cake. I was having some serious oven issues and my sister looooves cheesecake, so I whipped up this Chocolate Elegance Cake from Kraft. Amazing, and again, so simple!!


Chocolate Elegance Cake – from Kraft
1 1/2 packages cream cheese, softened
1/2 cup sugar
2 1/2 cups Cool Whip
6 ounces chocolate chips
1 package jello chocolate instant pudding (4 servings)
1/2 cup milk
This cake is made upside down in a loaf pan, set in the fridge, covered in chocolate and set in the fridge again. Then your friends come over and eat it all!
Beat the cream cheese and the sugar till blended, then stir in 1 1/2 cups of the Cool Whip. Spread 2 cups of this mixture onto the bottom of a 8 x 4 loaf pan lined with plastic wrap.
Melt 3 ounces of the chocolate chips, and add to the rest of the cream cheese mixture along with the pudding mix and milk. Beat till blended and spread over the first layer in the pan. Pop this in the fridge for about 4 hours.
Once the cake as set, melt the rest of the chocolate (3 ounces) and Cool Whip (1 cup) together, let it cool a bit. Now invert your cake onto the platter you’re using and take off the plastic wrap. Spread the glaze you just made over the cake and immediately top with either sprinkles or nuts or whatever you like. Put it back in the fridge for another half hour or so, till the glaze is set.
This cake was amazing, and I later thought about tinting the first layer to a bright colour, or making several layers like that one and tinting them all different colours!
I made one more treat for my birthday party, but I can’t tell you about it yet because it’s a Daring Baker’s challenge and we’re not unleashing it until tomorrow. Trust me though, it’s good! Once you read how to do it, you’ll be wondering why you don’t make it yourself all the time!!


