Salt Dough Gift Tags and Ornaments

Crafty

Salt dough is great for making super cute personalized gift tags or you can make ornaments and decorate them however you want! I have made this recipe into so many different shapes for both gift tags and ornaments. Our girls made really elaborate, sparkley, seriously blinged out ornaments to send to their grandparents and aunties back home and I will post those later this month. I made some bright red gift tags a couple of years ago for the kid’s friends at school. There were a lot of steps to it, but most of the time was in waiting for the paint or mod podge to dry. I made the dough, cut out a zillion stars and painted one side red. Waited for them to dry. Then painted the other side red. Waited for that to dry. Then I used a paintbrush to paint on the initial of the recipient in glue and covered it in glitter. Waited for the glue to dry. Covered that side in mod podge. Waited for that to dry. Then I mod podged the back and once that finally dried I tied some red yarn through the hole to hang them from. So cute! Seeing them again makes me want to make more!


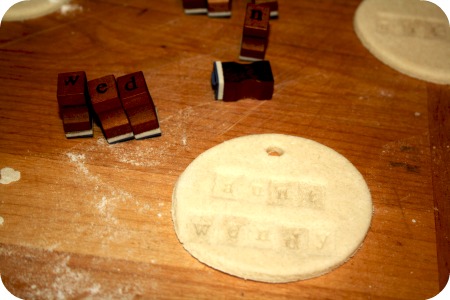
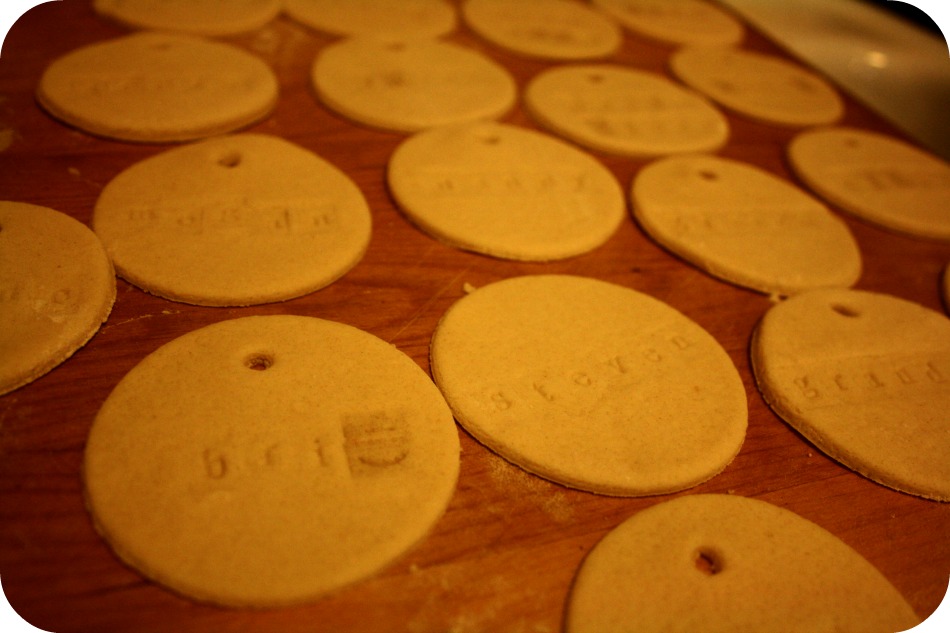
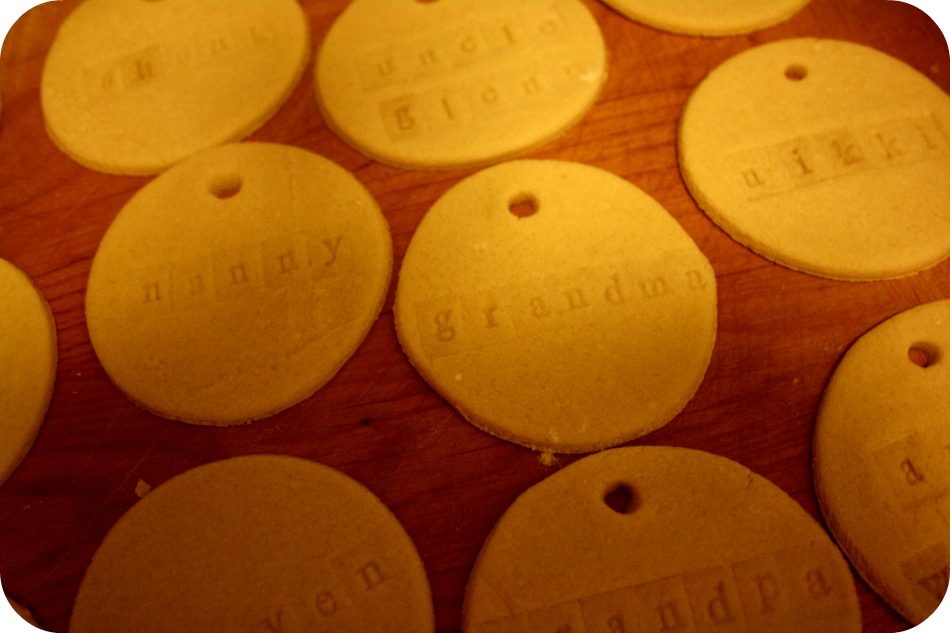
This year for gift tags I’m going more rustic because of a really cute alphabet stamp set I found on Etsy. I bought them specifically to use with food so while these gift tags don’t really count as food, they have never had any ink on them so there is no residue. If you choose to use stamps for letters try to wash off any ink that may be stuck inside them first.

Salt Dough

1 cup flour
1/2 cup salt
1/2 cup water

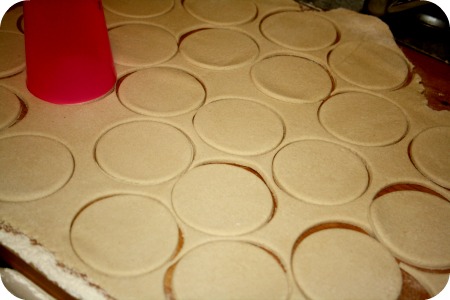
This is incredibly easy and while I always start with this general recipe, I also always add more flour. Preheat the oven first, to 250. Just mix the flour, salt and water with the hook attachment on your mixer or by hand for a few minutes and then turn it out onto a floured surface and keep kneading it until it’s elasticy. You will likely need to add more flour to make it smooth. It will be sticky, don’t panic, just keep kneading in more flour until it’s almost like play doh. Now you can roll it out and cut out whatever shapes you like. If you’re going to use stamps or something to make indentations in the dough, do it before you bake. Don’t bake glitter or other embellishments because they will end up melty and gross, not at all cute. Also, make sure you poke a hole in the tops of these babies before you bake them! A plastic straw is the perfect size.


Bake for about 2 hours and then let them cook before you paint, glitter, mod podge or whatever.

There are so many ways to dress these up and so many other kinds of dough you can make for different kinds of ornaments. We are going to do some crafty kitchen experiments this weekend to see what kinds of dough work the best.

1 Comment

Peppermint Meringues

Domestic

Here we go, let the countdown to Christmas officially begin! We have 23 sleeps to go and my little family is packing a whole lot of Christmas insanity into this month. Our elf on the shelf has been bringing us treats and making messes since last Tuesday, in our family the elf shows up the day after we put up our tree and we’ve been putting up the tree on the same day for about 14 years now so it’s a neat addition to a family tradition.

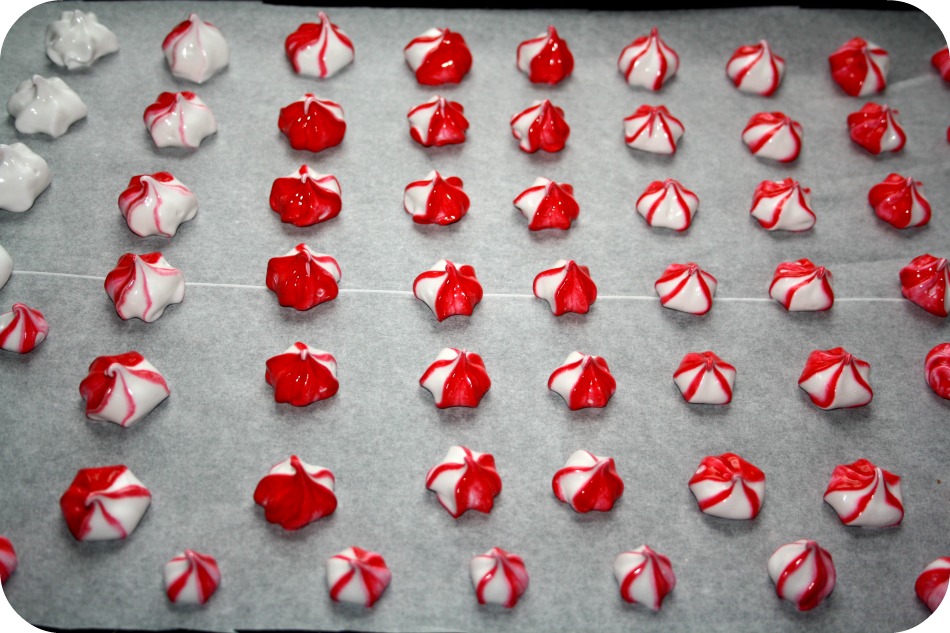
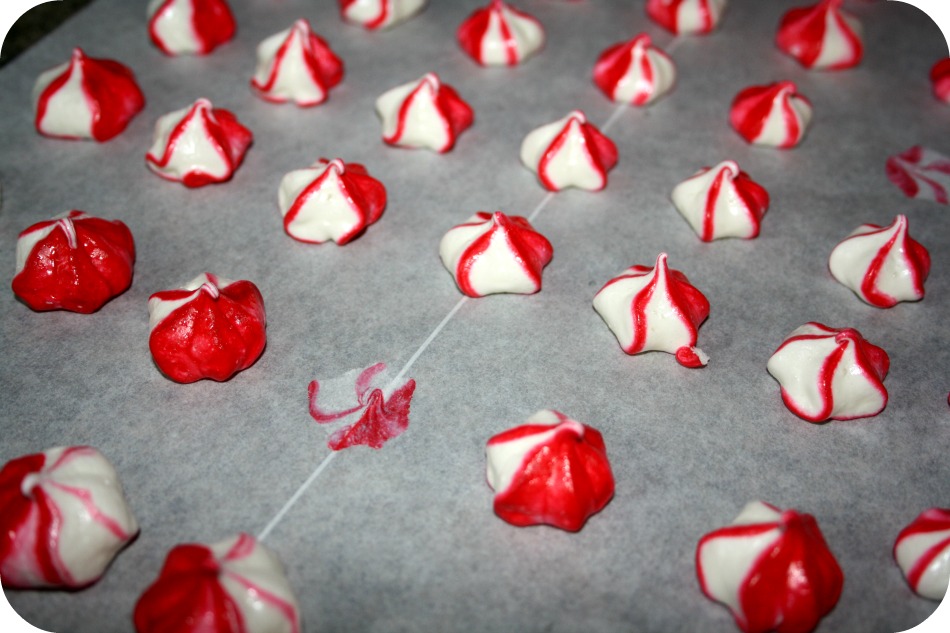
These little meringues are so simple and so good! I love how pretty and festive they look with minimal effort, and I really love how many little stars you can make in few hours! They look so pretty on cookie platters and they dress up assorted cookie tins too! I wish I knew where I got this recipe from, but I clipped it from a magazine years ago and have no idea which one. I am fairly sure it is from one of those holiday cookbook magazines by the checkout at the grocery store, probably either Good Housekeeping or Better Homes and Gardens.

Peppermint Meringues

3 egg whites
1/4 teaspoon cream of tartar
1/4 teaspoon peppermint extract
1/8 teaspoon salt
3/4 cup sugar
red paste food coloring

Peppermint Meringues Peppermint Meringues

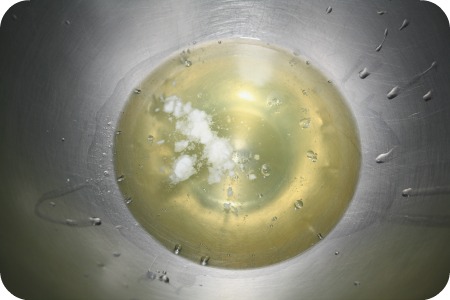
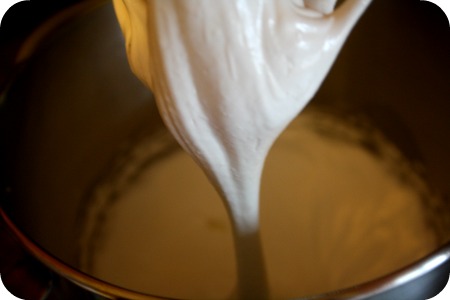
The meringue itself is fairly standard. Just beat your egg whites and cream of tartar until it magically transforms from goo into this big, billowy, fluffy cloud.

Peppermint Meringues Peppermint Meringues

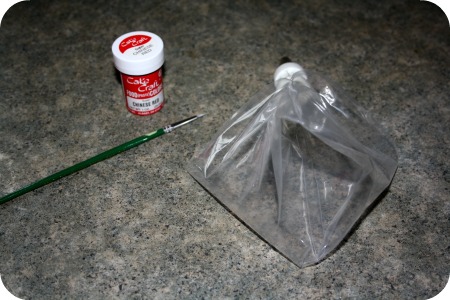
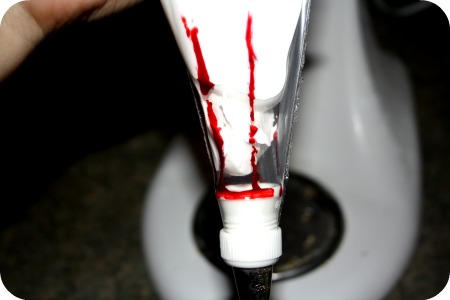
Next, prepare your pastry bag with a Wilton star tip and, using a fine paint brush, paint on four stripes of red food coloring before you spoon your meringue mixture into the bag. Then add the meringue and pipe sweet little stars on a baking sheet lined with parchment paper. Bake at 200 for about an hour and a half.

Peppermint Meringues
No Comments

Homemade Ketchup

Healthy, Kids

Generally speaking, ketchup is king with little kids. I know a few littles that don’t like it at all (aliens, obviously) but as a rule, kids and ketchup are a great pair. I have seen a lot of parents (among other family members) make a meal and present it to a child and be horrified or disappointed when they ask for ketchup. As if it is so offensive to them that a 4 year old wants to drown the pot roast they worked on all day in tomatoes and sugar. As long as my kids eat it, I’m cool with pretty much whatever they want to smother it in. My only problem is when I do my best to make a nutritionally balanced meal and a good portion of it goes uneaten, usually the healthiest part.

Insert dramatic sigh? Never! Insert healthy ketchup recipe instead! This is another winner from Deceptively Delicious! Thank you (yet again), Mrs. Seinfeld.

When I make homemade chicken strips and a veggie medley and they skip the medley to dunk the chicken strips in this ketchup, I’m fine with it. They’re getting huge doses of vitamins C, A and K plus potassium from both the tomato paste and the carrot and the flavonones, flavonols and hydroxycinnamic acids from the tomato. That just means they’re both great with anti-cancer, cardiovascular benefits and bone health.

You probably have most of the ingredients in your pantry already, too! All you need is a couple of mason jars.

Homemade Ketchup

1 6oz can tomato pasts
1/2 cup carrot puree
1/4 cup water
2 tablespoons apple cider vinegar
2 cloves garlic, minced
1 tablespoon packed brown sugar
1/2 teaspoon dry mustard
1/4 teaspoon salt
1/4 teaspoon ground allspice
1/4 teaspoon chili powder (or not, taste it first and decide)

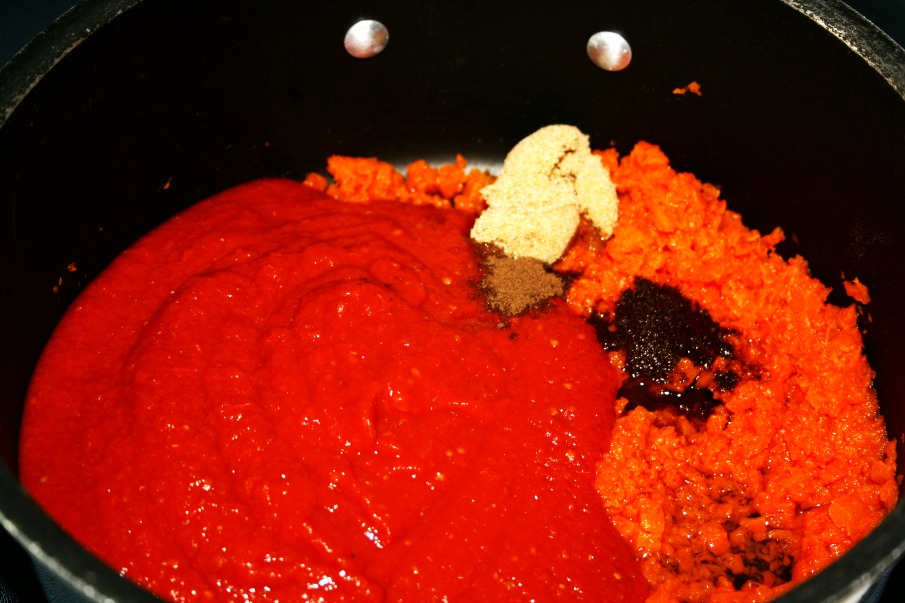
Crazy simple. Just dump all but the chili powder in a saucepan and bring to a boil. Lower to a simmer for about 20 minutes, or until it has reduced by half.

It’s good in the fridge for 5 days at the most, but how long does a bottle of ketchup last with a few kids running around? Spoiler: not long at all. You can freeze it for 3 months though! I put about 1/4 of this recipe in a jar in the fridge, 1/4 in the freezer and I shared the other half with our neighbors.

Homemade Ketchup


1 Comment

Warm Chocolate Pudding

Domestic, Kids

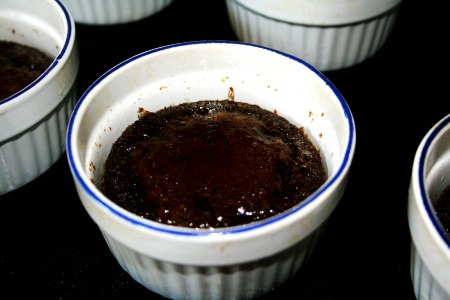
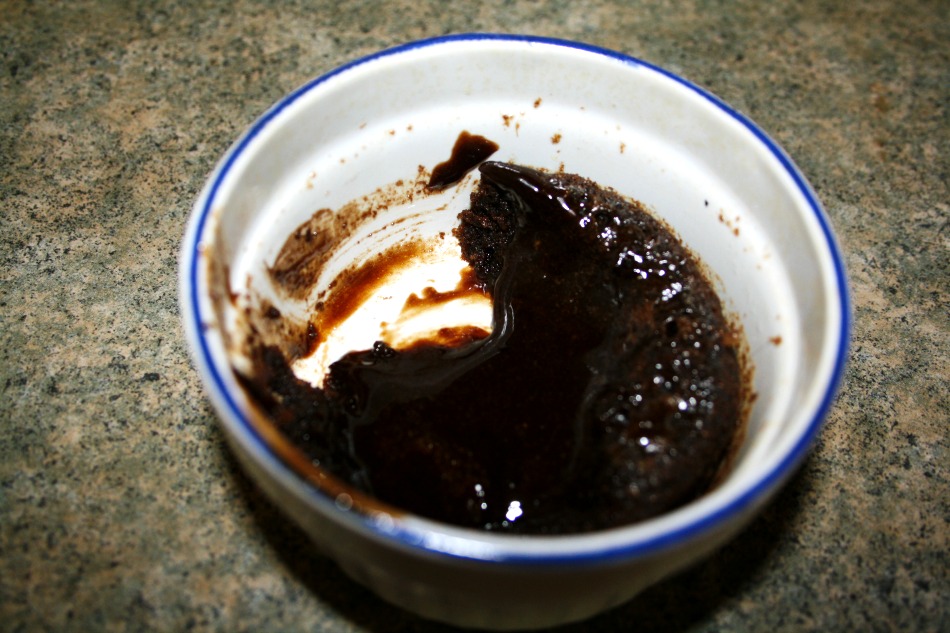
I know that pumpkin and brown sugar generally take center stage in Thanksgiving desserts, maaaaaaybe something with apples too. None of our littles like pumpkin all that much, as far as I remember I didn’t like it much when I was a kid either. My granny always did Thanksgiving dinner and she always, always made sure there was something chocolaty for my sister and I to have for dessert. This chocolate pudding is served warm but instead of having a typical pudding skin on it, it bakes on top so you have a wonderful little layer of cake and then the warm pudding under it. So good – especially nice when it’s cold outside.

This recipe is another from Baking with Kids. All of the recipes in this book are well written and simple enough for small children to do with assistance either from an adult or an older child. Between our three, they can make these recipes by themselves and they love to be able to say they didn’t need any help. So sweet! It’s especially fun to have the littles involved in Thanksgiving dessert since the day is supposed to be about coming together as a family and celebrating what we are all thankful for – and most of the time, kids are shooed out of the kitchen!

Warm Chocolate Pudding

6 ramekins
5 1/2 oz bittersweet chocolate
7 tablespoons unsalted butter
2 extra large eggs, at room temperature
2 egg yolks, at room temperature
5 tablespoons sugar
2 tablespoons sliced almonds, ground

Warm Chocolate Pudding Warm Chocolate Pudding

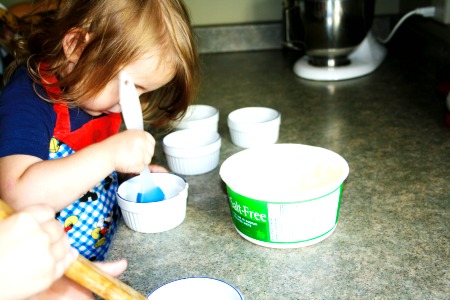
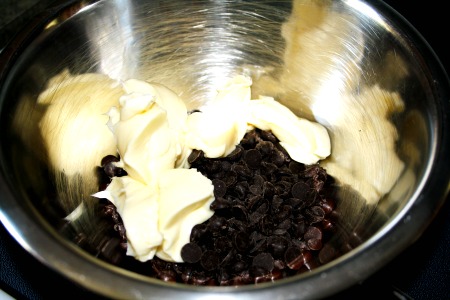
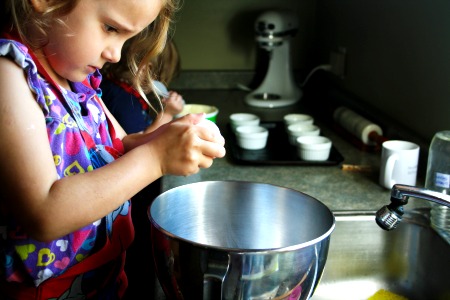
First preheat your oven to 425, get a small helper to butter your ramekins, and then put your chocolate and butter in a heat proof bowl. Set it over a pan of simmering water until it melts.

Warm Chocolate Pudding Warm Chocolate Pudding

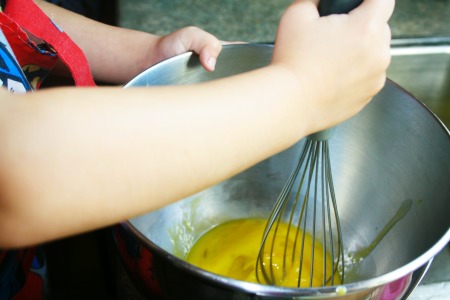
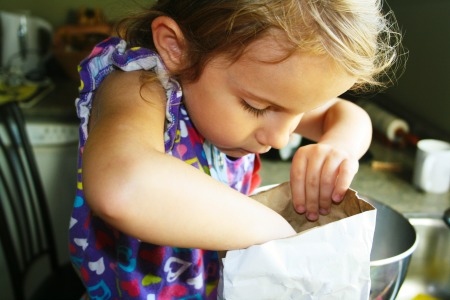
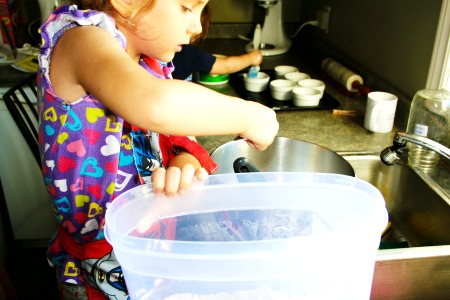
Then have a small helper crack open the eggs into a mixing bowl and add the additional 2 egg yolks and sugar. The kids love using the kitchen power tools so this is the perfect time to let them use the mixer. Beat it until very light and foamy. Now add the ground almonds and whisk.

Warm Chocolate Pudding Warm Chocolate Pudding

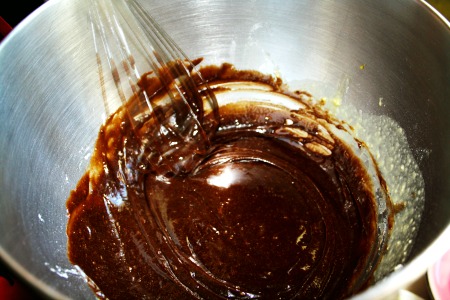
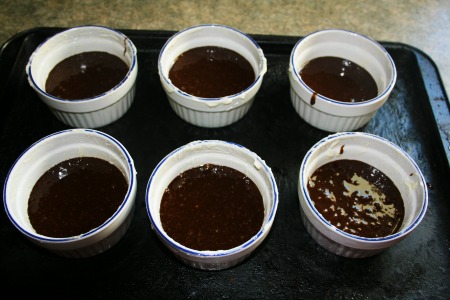
With a slightly older helper, stir the melted chocolate mixture until smooth and pour the chocolate mixture into the egg mixture. Be sure to scrape the bowl and then whisk the mixture again, for about two minutes.

Warm Chocolate Pudding Warm Chocolate Pudding

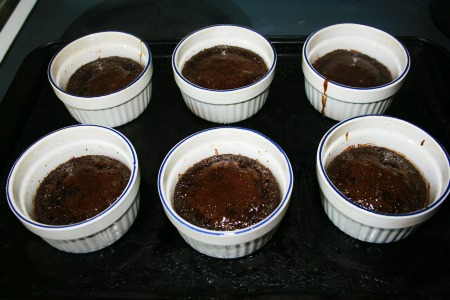
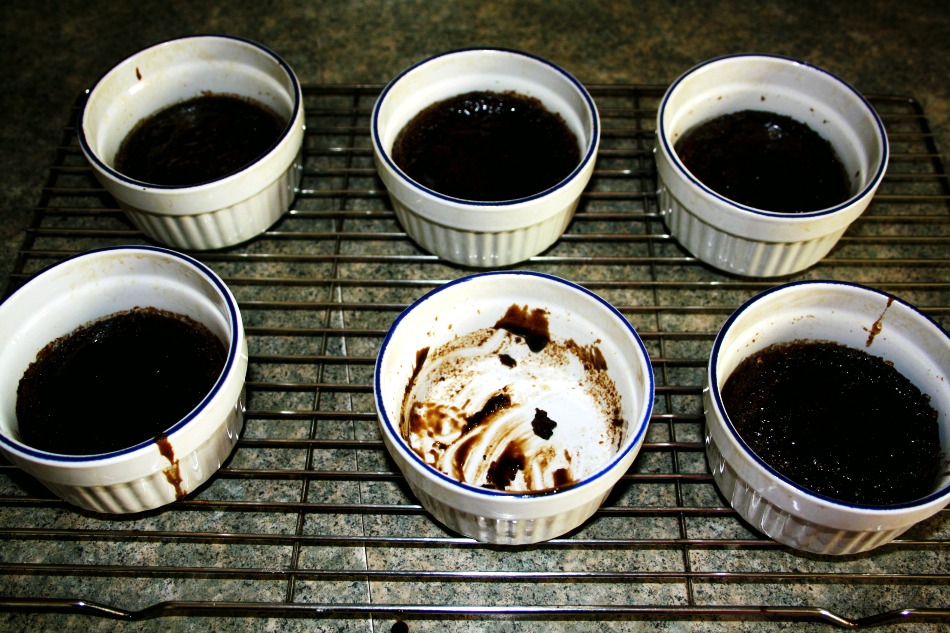
Bake for about 10 minutes. You just want them to be a little puffed and still soft in the middle. They are so good warm from the oven (let the ramekins cool off first, duh), but they are also really good once they have cooled off.

Warm Chocolate Pudding

No Comments

Twice Baked Potatoes

Domestic

As I collect ideas for Thanksgiving and try them out on my (thankfully willing) family, I am also collecting ideas for Christmas and I may or may not be knitting at a break-neck pace to try to knit up and otherwise craft all these fun projects! Second year here and it’s still pretty weird to be knitting up Christmas gifts and trying out Thanksgiving recipes when the weather is so wonderful but I know, poor me, right?

The kids have been learning more differences between Canadian Thanksgiving and American Thanksgiving. Canadian Thanksgiving is all about the fall harvest and of course, American Thanksgiving is a celebration of the Plymouth colonists and Wampanoag Indians sharing a harvest feast. Similar, but not quite the same. So we’ve been learning some American history. Here’s a little trivia that’s new to me, this first breaking of bread between the colonists and the Native Indians took place in 1621, but it wasn’t an official holiday until Lincoln declared it one in the middle of the Civil War in 1863. I wonder if it was a tradition for some people during those 242 years it wasn’t an ‘official’ holiday?

These potatoes have an extra dose of Vitamin C, Vitamin B-6 and Magnesium by adding pureed cauliflower to the mixture before it’s spooned back into the potato skins. This is yet another winner from Deceptively Delicious, my go-to collection of recipes for hiding pureed veggies in everyday meals.

Deceptively Delicious Twice Baked Potatoes

4 large potatoes
1 cup cauliflower puree
1/2 cup sour cream
2 tablespoons butter
1 garlic clove
1/4 teaspoon salt
1/4 teaspoon pepper
2 slices turkey bacon (cooked, drained, dried and chopped)

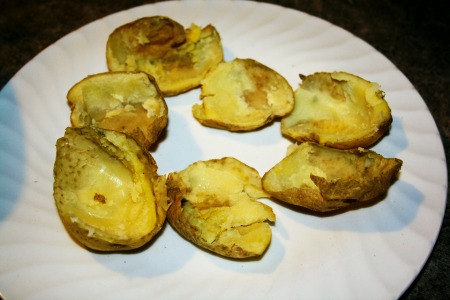
Preheat your oven to 400, and wash the potatoes. Poke vents in them in a fork, wrap in aluminum foil and bake for about an hour.

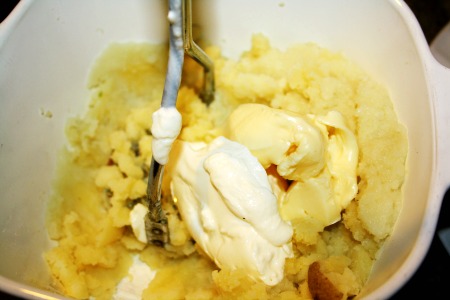
Once potatoes are cooked and cooled, cut each in half and remove the flesh. Don’t scoop too close to the skin or you may tear it, better to leave some extra flesh than lose a whole potato skin bowl! Mash the potato flesh with the cauliflower puree, sour cream, butter, garlic, salt, and pepper.

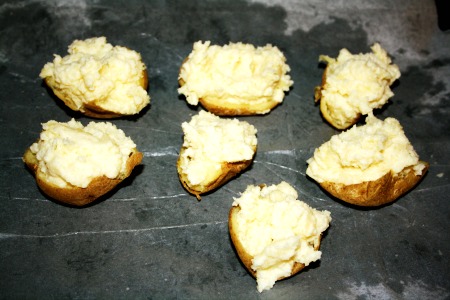
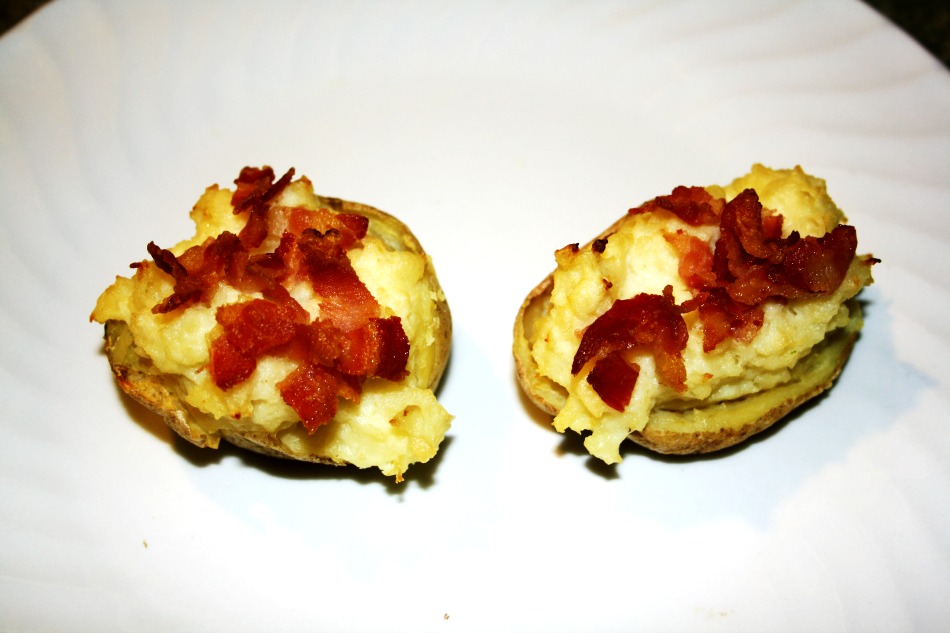
Spoon this mixture back into the potato skins and bake for another 15 minutes. Now sprinkle with bacon and voila!

Twice Baked Potatoes Twice Baked Potatoes
Twice Baked Potatoes
No Comments

Cheddar Bacon Buns

Domestic

When looking for new ideas for fancy meals (or fancy feasts as my littles call them), I almost always go straight for breads. I like to have a winning bread option at dinner because each of us can be picky about different things and while I do try hard to come up with meal ideas everyone will like, of course there are some meals that are better received by some littles than others. Thankfully, our pickiest little one loves pretty much anything to do with bread, so I always have something different ready for her.

Bread, scones, buns, rolls, sticks, whatever. Something carby with a little something extra, like cheese or bacon or like these, both!

Cheddar Bacon Buns

2 cups all-purpose flour
1/2 teaspoon baking soda
1/2 teaspoon salt
4 tablespoons cold butter
3/4 cup shredded cheddar cheese
3 bacon slices
1 cup low fat buttermilk

If you can make scones or muffins, you can make these. Simple and pretty fast but really good too!

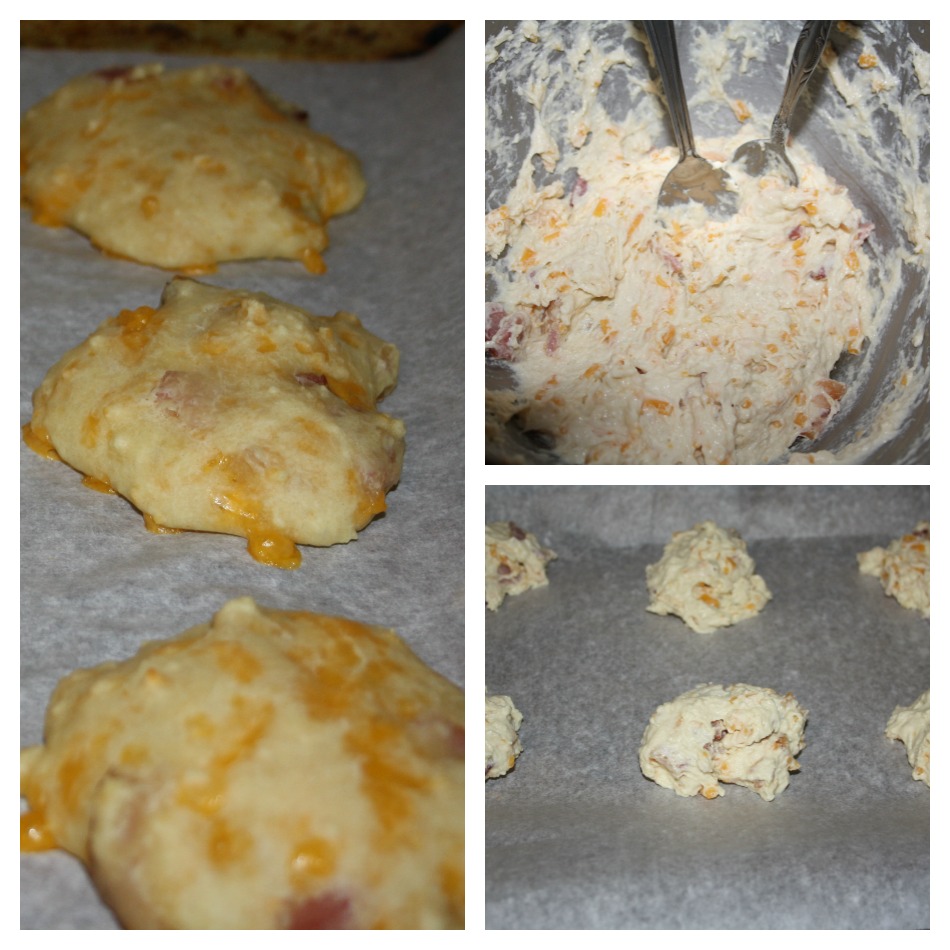
Preheat the oven to 400 and cook the bacon first so it’s ready to roll, and then chop it to bits. Whisk the flour, baking soda, and salt. Then using either a pastry cutter or two butter knives, cut in the pieces of butter until the batter looks oatmealy. Now stir in the cheese and chopped bacon, and add the buttermilk while stirring until you’ve got a sticky dough.

Place heaps of dough about 2″ apart on a parchment paper lined baking sheet. My heaps were about 1-2 tablespoons each, maybe a little more. Bake for about 20 minutes or until cooked through.

No Comments

Gearing up for Thanksgiving!

California, Kids

One of the things I really love about the date difference between Canadian and American Thanksgiving is that since American Thanksgiving is after Halloween the holiday season kicks off with Halloween and keeps rolling until New Years! So fun! In Canada since Thanksgiving is before Halloween there is sort of a whole lot of nothing going on in November and then BAM, Christmas. I always say I’m going to leisurely knit my Christmas projects throughout the fall and be done comfortably before Christmas, and then I tend to knit it all in December. Not so awesome. I’ve already made a decent dent in my list!

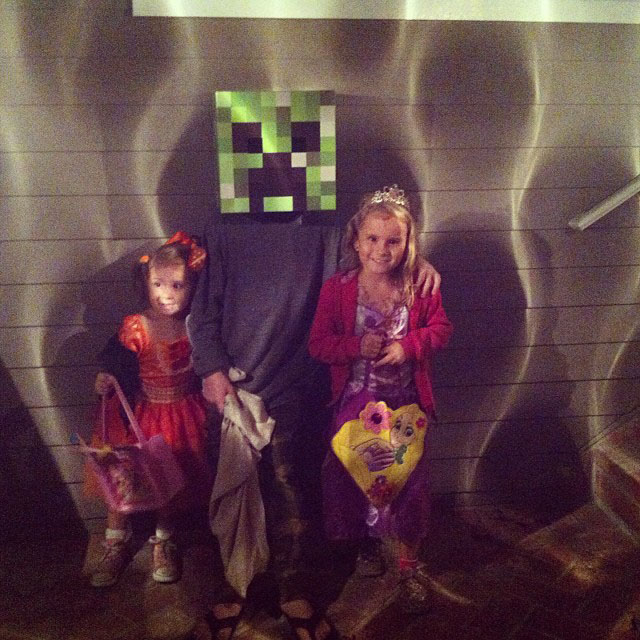
Halloween really ran away from me! My aunt came to visit from Canada and we ran all over LA showing her some of our favorite places and had such a blast I was exhausted and half asleep before reaching my bed each night. Tiring but so so fun. Our second Halloween in California was spent the same as our first, in Manhattan Beach and it was just as much fun as last year – if not more so since we know where we are going now. Our girls went as princesses and our son went as a Minecraft creeper! Since all of us play Minecraft it was an especially silly costume for him to wear!

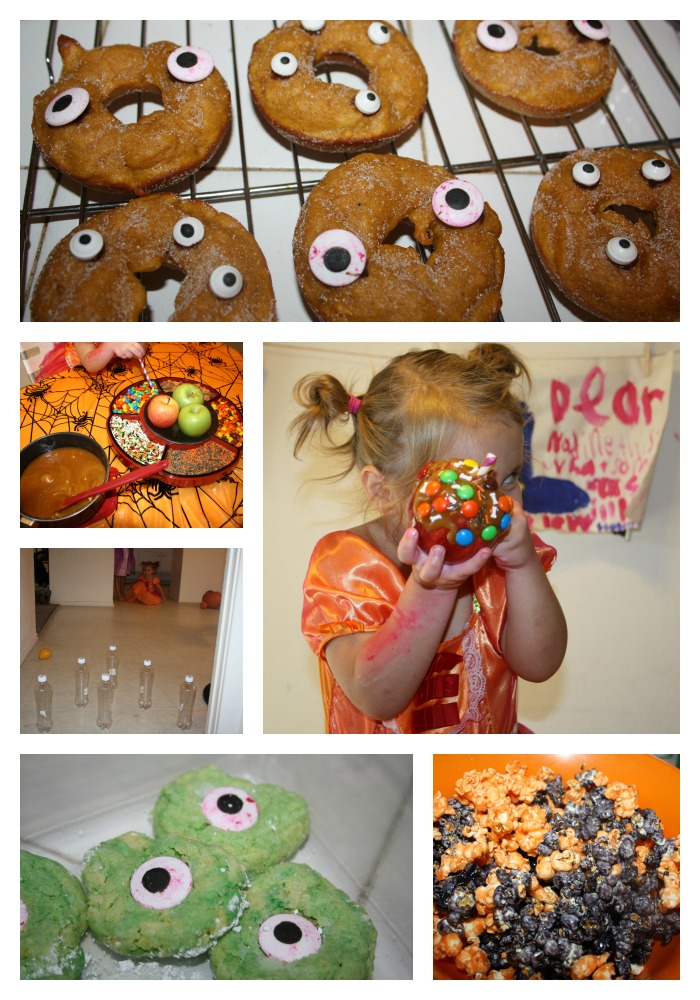
We had a Halloween party with my girls’ besties, we made caramel apples, pumpkin donuts with eyeballs, creepy soft green cookies (with more eyeballs), and played so many silly Halloweeny games!

Now we are gearing up for Thanksgiving! I’m testing out some fun and festive recipes I’ve never tried and I will also make some tried and true family favorites and I have about a dozen bread recipes I have been waiting to try. It’s hard to get into bread baking when it’s 80 degrees, and now that it’s cooling off a bit I’ll have a chance to make a few loaves. I’m also hoping to knit some leaves and pumpkins to hang in the window, this is our second autumn in California and while I love, love, love life without seasons, not going through them makes me want to decorate seasonally. So funny to me, as I have never really had the desire to decorate with leaves or snowflakes or anything. I don’t want to actually deal with real leaves or snow though!

No Comments

The Fierce Fund

California

Have a story of a time you were Fierce? Want to help Clever Girls Collective support women and girls to be Fierce? Visit www.clevergirlscollective.com/fiercefund to learn more about this girl-power project and vote for the Fierce Fund Grant Winner!

I’m adding another little break to the Halloween countdown going on the blog today to talk about something a little different. Being fierce! The Fierce Fund was created after Clever Girls Co-Founder Sheila Bernus Dowd, was diagnosed with Stage 2 breast cancer. Not only did Shelia kick cancer’s butt, she did it while still working at Clever Girls, and carrying on with the rest of her busy life! This week, some of us ‘Clever Girls’ are posting about a time when we were fierce to bring awareness to our Traveling Blue Wig project! Search #fiercefund on Twitter to find more stories about being fierce!

When I was selected to blog about a time I was fierce, I wasn’t sure what I had to bring to the table, especially since this whole project began because of a woman dealing with breast cancer. I mean, that’s pretty heavy, right? I almost wrote about putting our lives on pause and moving to California for a few months (that has turned into 18 months and counting), because I had to give up the idea of planning and knowing what was happening next and just embrace what life was handing me each day. I scrapped that because people move to a new country all the time and then I almost wrote about homeschooling because I hadn’t intended to homeschool and then this move happened and I started with a child in 1st grade and a child in 6th grade and one about to start pre-K and now we’re almost two years into it. But guys? You know all about that stuff already and I can give you more than that. I like to keep it light and fun around here so I don’t bring it up, but here goes.

After I had Wee One #3 I slowly started developing postpartum anxiety, the lesser known, (and lesser supported) sister of postpartum depression. Everyone knows about PPD, our doctors all ask us endless questions at the 6 week checkup to make sure we’re doing well, but no one talks about the anxiety. I have always been a very, very chill person. I mean, I know I go about a zillion miles a minute and I’m always busy and you know, probably a little intense with all the coffee and multitasking, but when it comes to freaking out, or worrying (about anything), I just didn’t. So when I started panicking about every. little. thing. I knew something was up, but honestly it didn’t hit me right away.

Our first day home from the hospital, I felt really excited. Christmas Eve excited, even. My husband was hyped too, so I didn’t think it was weird. A week later, I was still roller coaster pumped and while he was obviously happy to have a new baby he wasn’t jumping the couch about it. My excitement slowly turned into worry and I would get really freaked out about stuff that I knew to be non issues. We had a hearing test at 1 month, and from the time she was a week old until the morning of her appointment, I was filled with dread about her having a hearing problem. Dread. My baseline is way, way calmer than that normally. The year before she was born, our oldest had a growth hormone deficiency test and I was moderately concerned. No dread then. That feeling you get when you lose sight of your child for a second? The way the pit of your stomach drops? I was feeling that every day! Shortly after the hearing test, I started having random physical symptoms and went to my doctor 3 times for various (imaginary) ailments before my doctor suggested that I might have an anxiety problem. My bestie, Talea, had some history with this so I texted here when I was having an anxiety attack and she totally relieved me, she came over and we talked, I felt less crazy (but still pretty crazy) and this whole time she’s been there and made me feel less crazy. The physical symptoms were weird like tingly hands and feet, or I’d feel light headed or like I couldn’t get a deep breath. She helped me either ignore or otherwise take the fear out of some symptoms, which made my life so much easier to live and then my doctor did a complete physical and I was fine. Perfectly healthy, nothing to fret about, all the physical things going on that I thought were unrelated issues are all just anxiety. I decided not to take anything for it, because even though it was so, so weird I felt it was manageable. My bestie was amazing at dealing with the random-hour texts about a tingly foot or tight chest or insomnia or whatever, and having someone I could count on that also totally understood what I was going through made it even more manageable.

The anxiety lasted about a year at the same level of intensity and it. sucked. It was manageable because I knew I was fine and that kept me from running back to my doctor all the time. I didn’t want to wait this out at home, hiding even though some days I really wanted to. I still ran around Toronto and took them to all the fairs and dinosaur exhibits and library activities and karate and gymnastics and the Y and and and….I put one foot in front of the other and just did it. At the time I was just doing what I had to do, and because I didn’t want to just ‘get through’ it, I tried to slow down and really step into the moment. I never thought in the middle of that, that I was being ‘fierce’. I had a wonderful support network of friends and family that all were there for me in different ways and I have no doubt that I needed every single encouraging person in my life to rally and they totally did. Thanks guys. ๐Ÿ™‚

Then it got a whole lot better, I kept declaring myself ‘70% better’ and after a little under a year of that, I felt even better and that’s where I was until we moved here. The adventure to get down here from Central Ontario was pretty high strung, I think that’s to be expected on a trip like that, and once we found a place and got settled, I felt totally and completely chill. I have been fluctuating between feeling better and aaaalmost feeling better since we have settled into a full life and busy routine here. When I look back to that first year, I’d happily take almost feeling better forever than ever feeling the days-long dread again. I see now that while living under the great Piglet Cloud of Anxiety, making school lunches, running around Toronto with three kids under 8, making adventures for the kids on the regular and keeping up with chores were all fierce, even if (maybe especially since) I didn’t know it at the time.


No Comments

Happy Canadian Thanksgiving

Domestic

I need to interrupt my little Halloween countdown for Canadian Thanksgiving, but it’s still a fairly Halloweeny recipe – pumpkin pie. And not pumpkin pie from a can, actual pumpkin pie. If you don’t want to gut small pumpkins and puree that, you can use a can of pumpkin, but not the pumpkin pie mix. Since the pumpkin pie mix is so simple, people use it instead of actual pumpkin assuming that making it form scratch is so much harder. The thing most people don’t realize is that it’s the same thing as making your own pancakes vs pancake mix. Not hard, I swear! You need a can of evaporated milk either way and you probably have everything else you need already.
Also, just for the record, there are 17 sleeps till Halloween. ๐Ÿ˜‰

Pumpkin Pie

1/2 cup packed light brown sugar
1/2 teaspoon salt
1 1/2 cups cooked and drained pumpkin
1 5oz can evaporated milk
1 9″ unbaked pastry pie crust shell
1/2 cup sugar
5 teaspoons pumpkin pie spice
3/4 cup whole milk
3 extra large eggs, beaten
whipped cream (topping)

Preheat your oven to 400, then combine both sugars, salt, and the pumpkin pie spice (if you don’t have any and don’t want to buy any, cinnamon will work just fine). Now add the pumpkin, stir and stir and stir until it’s blended. Recipes like this make me even more thankful for my standing mixer than usual. Next add the whole milk, evaporated milk, and eggs. Stir this until it’s totally smooth.

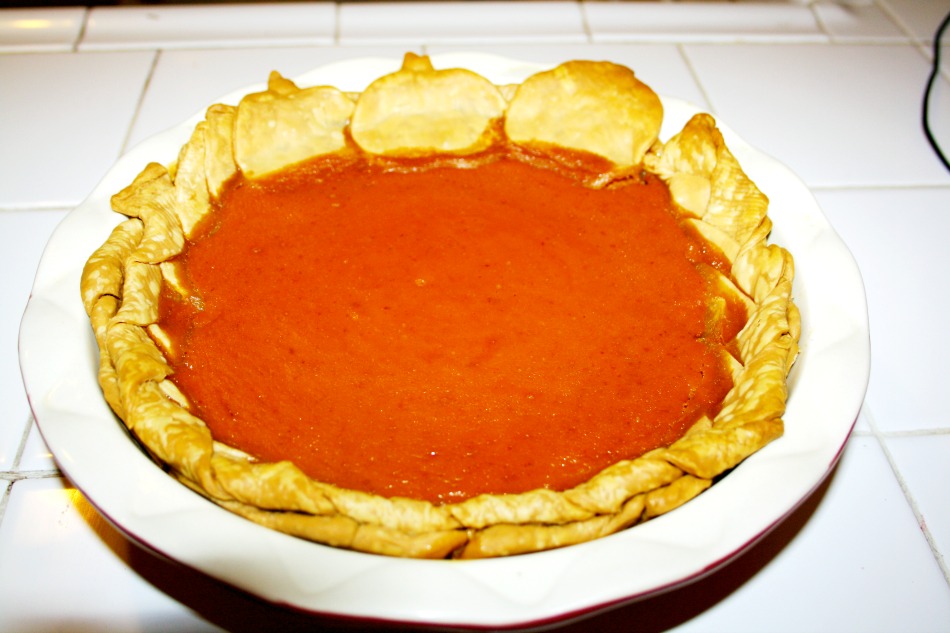
Lay your pie crust in the pie plate and pour the pumpkin mixture into it. Use any leftover pie crust dough to make a braid to go around the end of the pie and maybe a few little pumpkins if you have a pumpkin cookie cutter.

Baking it is a little like making popovers in that you change the temperature of the oven without removing the pie. So when you first put it in, your oven should be at 400, then after 15 minutes turn the oven down to 350 and keep baking for another 45 minutes. Depending on your oven, you may need to leave it in even longer, just keep checking the center with a toothpick every 10 minutes or so until the toothpick comes out clean.

Once it cools off, spoon some whipped cream over top with a little sprinkle of cinnamon and voila! Perfect ending to Thanksgiving – or any fall meal!

Pumpkin Pie
 Pumpkin Pie
No Comments

Frankenstein Cereal Treats with 19 Sleeps Left!

Domestic

With over two weeks to go until Halloween still, the kids are finishing up their costumes with accessories and makeup ideas. I would have loved to sew their costumes, but my sewing machine is in Canada. I know, I probably say ‘my (insert precious thing I should have brought with me) is in Canada’ at least once a week. That’s ok. I’ll either get it back soon or I’ll get another one. ๐Ÿ™‚ So this year they are rocking store bought costumes, but they’re jazzing them up so they are not so pedestrian. This weekend is a pretty big deal at our house. First, tomorrow is the season premier of Walking Dead and my husband and I are impossibly hooked on it. I will make something to celebrate it, and since it’s pretty Halloweeny on it’s own that wont really interfere with the countdown. However, Monday is Canadian Thanksgiving and even though we plan to do up American Thanksgiving in a serious way, we’ll be celebrating Canadian Thanksgiving too.

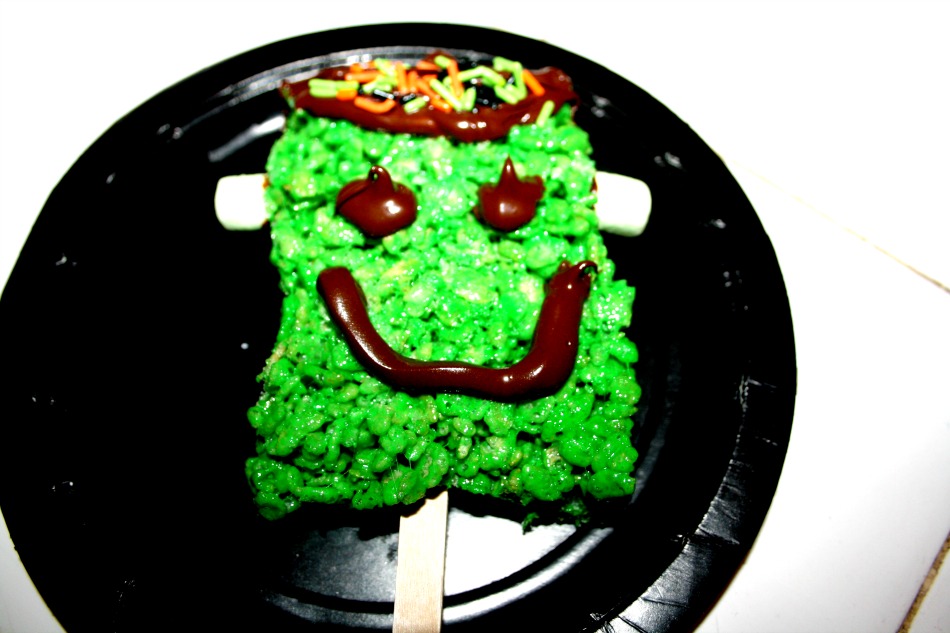
These little treats are so simple, they’re just cereal squares, but with a little twist to make them Halloweeny! Just a few extra ingredients and a little extra time and you’ve got cute little Frankenstein treats! My littles used them as puppets before they devoured them.

Frankenstein Cereal Treats

3 tablespoons butter
1 teaspoon vanilla
4 cups mini marshmallows
6 cups rice cereal
green food coloring
Halloweeny sprinkles
green mini marshmallows
candy sticks
1/4 cup chocolate chips

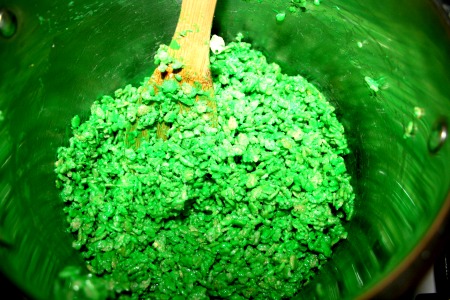
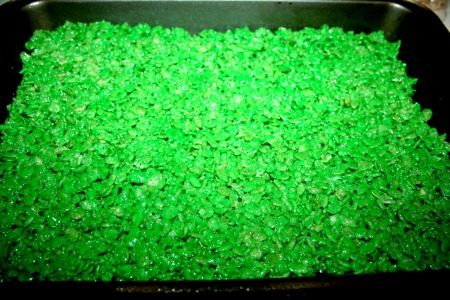
Make the cereal treats as you normally would. If you don’t normally, I swear it’s super simple. Just melt the butter in a big pot and add the marshmallows, stir over low heat until the marshmallows are melted. Add the vanilla and the green food coloring. Once the melted marshmallows are completely green, go ahead and add the cereal. Make sure you mix it until it’s all green with no extra goopy marshmallow hiding anywhere. Then flatten it into a 9″ x 13″ pan, it works best if you either wet your hands and use them or spay the back of a wooden spoon with cooking spray and use that to flatten.

Frankenstein Cereal Treats Frankenstein Cereal Treats

Now you’ve just made green cereal squares. Make them Frankenstein by cutting out rectangles, poking a stick in the bottom and dipping the top of melted chocolate chips and then sprinkling Halloweeny sprinkles on for hair! Put the rest of the melted chocolate into a small pastry bag (or a small zipbag with a tiny hole snipped in the corner), and pipe on eyes and a mouth. Don’t forget the little knobby things! Put a small drop of melted chocolate on two green mini marshmallows and stick them on the sides of his head.

Frankenstein Cereal Treats
No Comments
« Older Posts
Newer Posts »